KitchenAid Strawberry Ice Cream Recipe
KitchenAid Strawberry Ice Cream Recipe combines fresh strawberry puree with a sweet cream base. This extra creamy recipe uses a 2-quart ice cream maker and will be your new favorite recipe all year long!
Head to a round-up post of KitchenAid Ice Cream Recipes for all of my ice cream recipes!
Creamy Strawberry Ice Cream
Is there anything better than homemade ice cream? I think not! Especially when you have an extra creamy flavor like this one. In fact, I prefer mine quite soft which is why it’s hard to resist eating this straight from the attachment bowl!
While I can appreciate all the trendy flavors at times, I really prefer the classics. Chocolate, vanilla, strawberry, and cookies and cream. But never say never. I’ll keep trying new flavors!
Other Flavors:
So tell me, which kind of ice cream do you want to make next?
- Something fruity? Peach | Blueberry | Very Berry | Creamsicle
- Chocolatey? Double Chocolate | Chocolate Peanut Butter | Nutella
- Classic? Vanilla Bean | Butter Pecan | Cookies and Cream | Mint Chip | Oreo | Caramel Swirl
- Something different? Peppermint Stick | Pumpkin | Coffee Toffee | Reese’s PB | Chunky Monkey
Ingredient Notes:
- Dairy – An equal ratio of whole milk to heavy cream.
- Eggs – We’re using four egg yolks for this ice cream.
- Sugar – Some granulated sugar is included for sweetness.
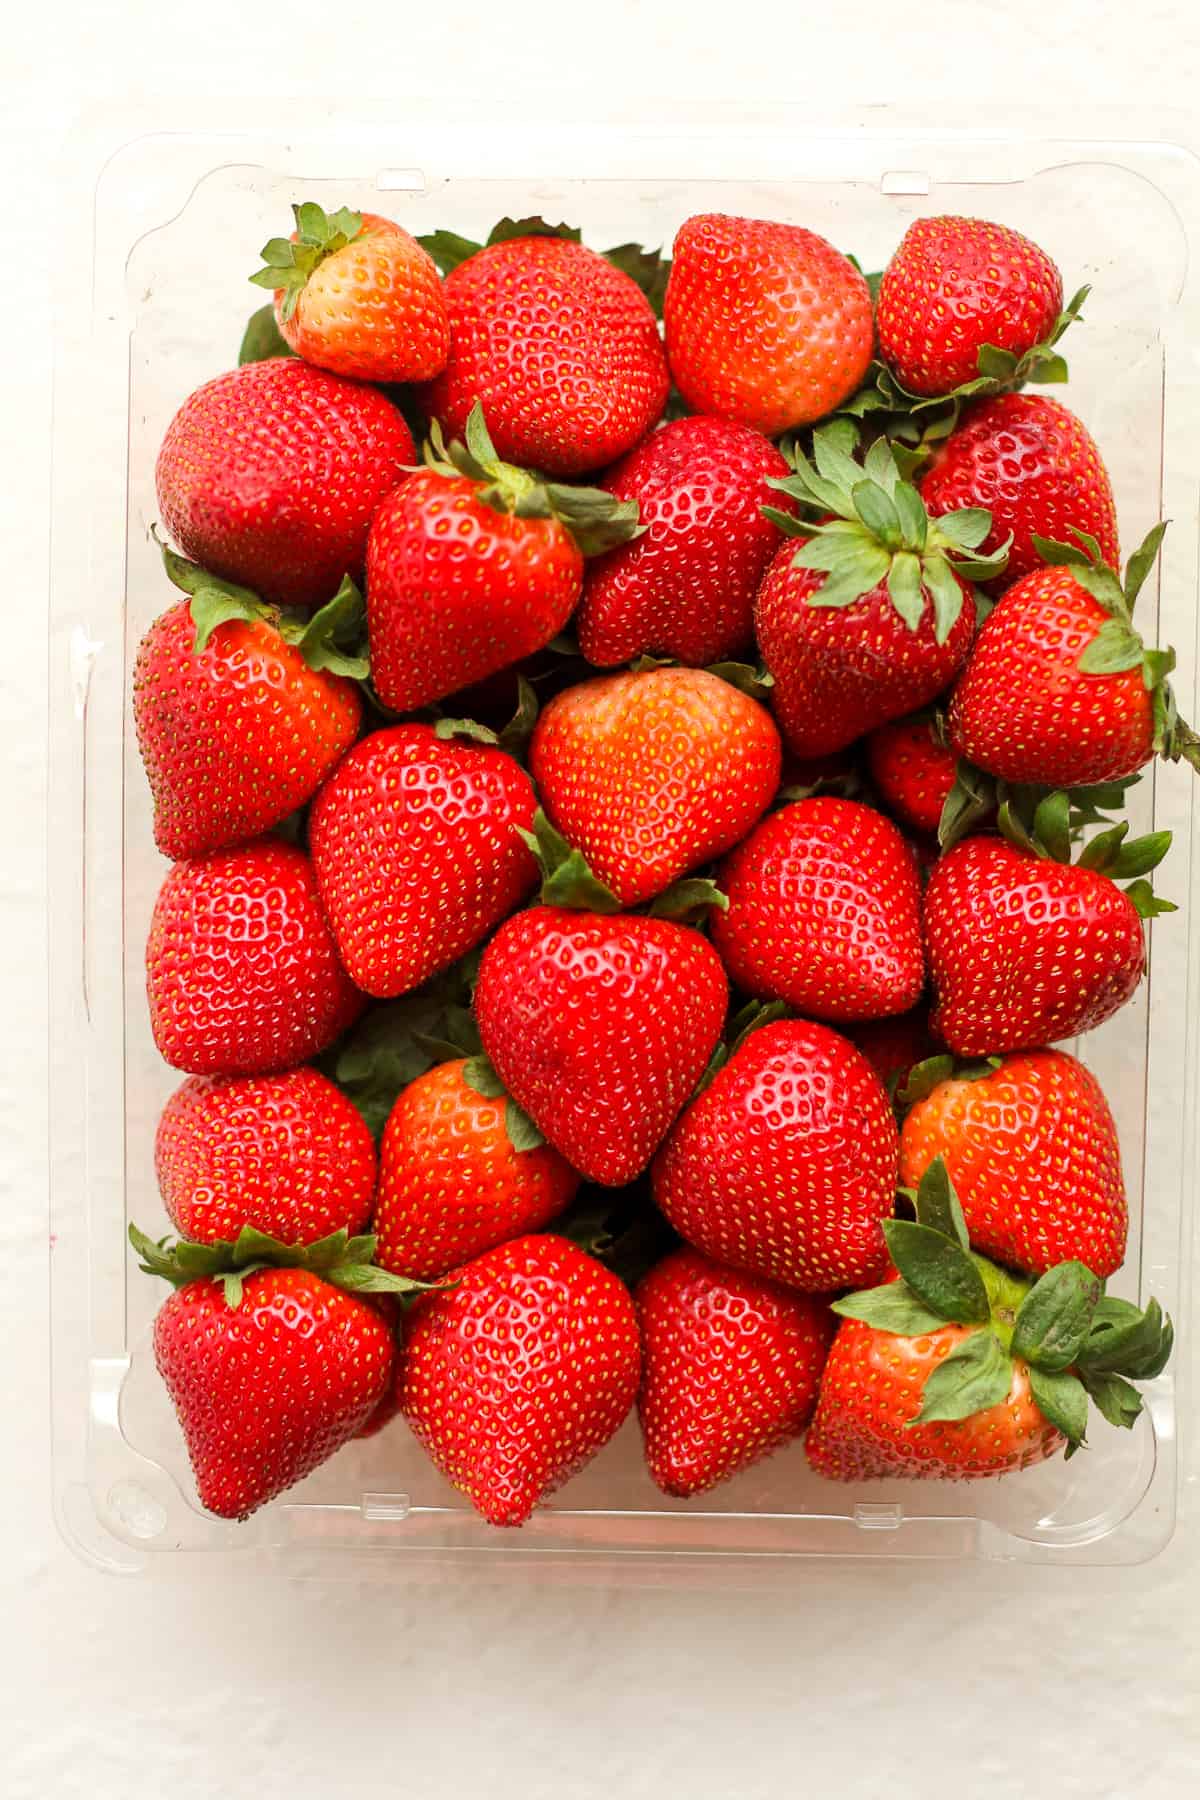
- Strawberries – You’ll need one pound of hulled strawberries.
- Vanilla – Some vanilla extract adds incredible flavor, as usual.
** This recipe is for a 2-quart ice cream maker. If using a smaller size, you will need to adjust recipe quantities. Make sure your machine has enough room for the ice cream to expand as it freezes. If it doesn’t have room, it will stay in liquid form!
How to make KitchenAid Strawberry Ice Cream:
Step 1
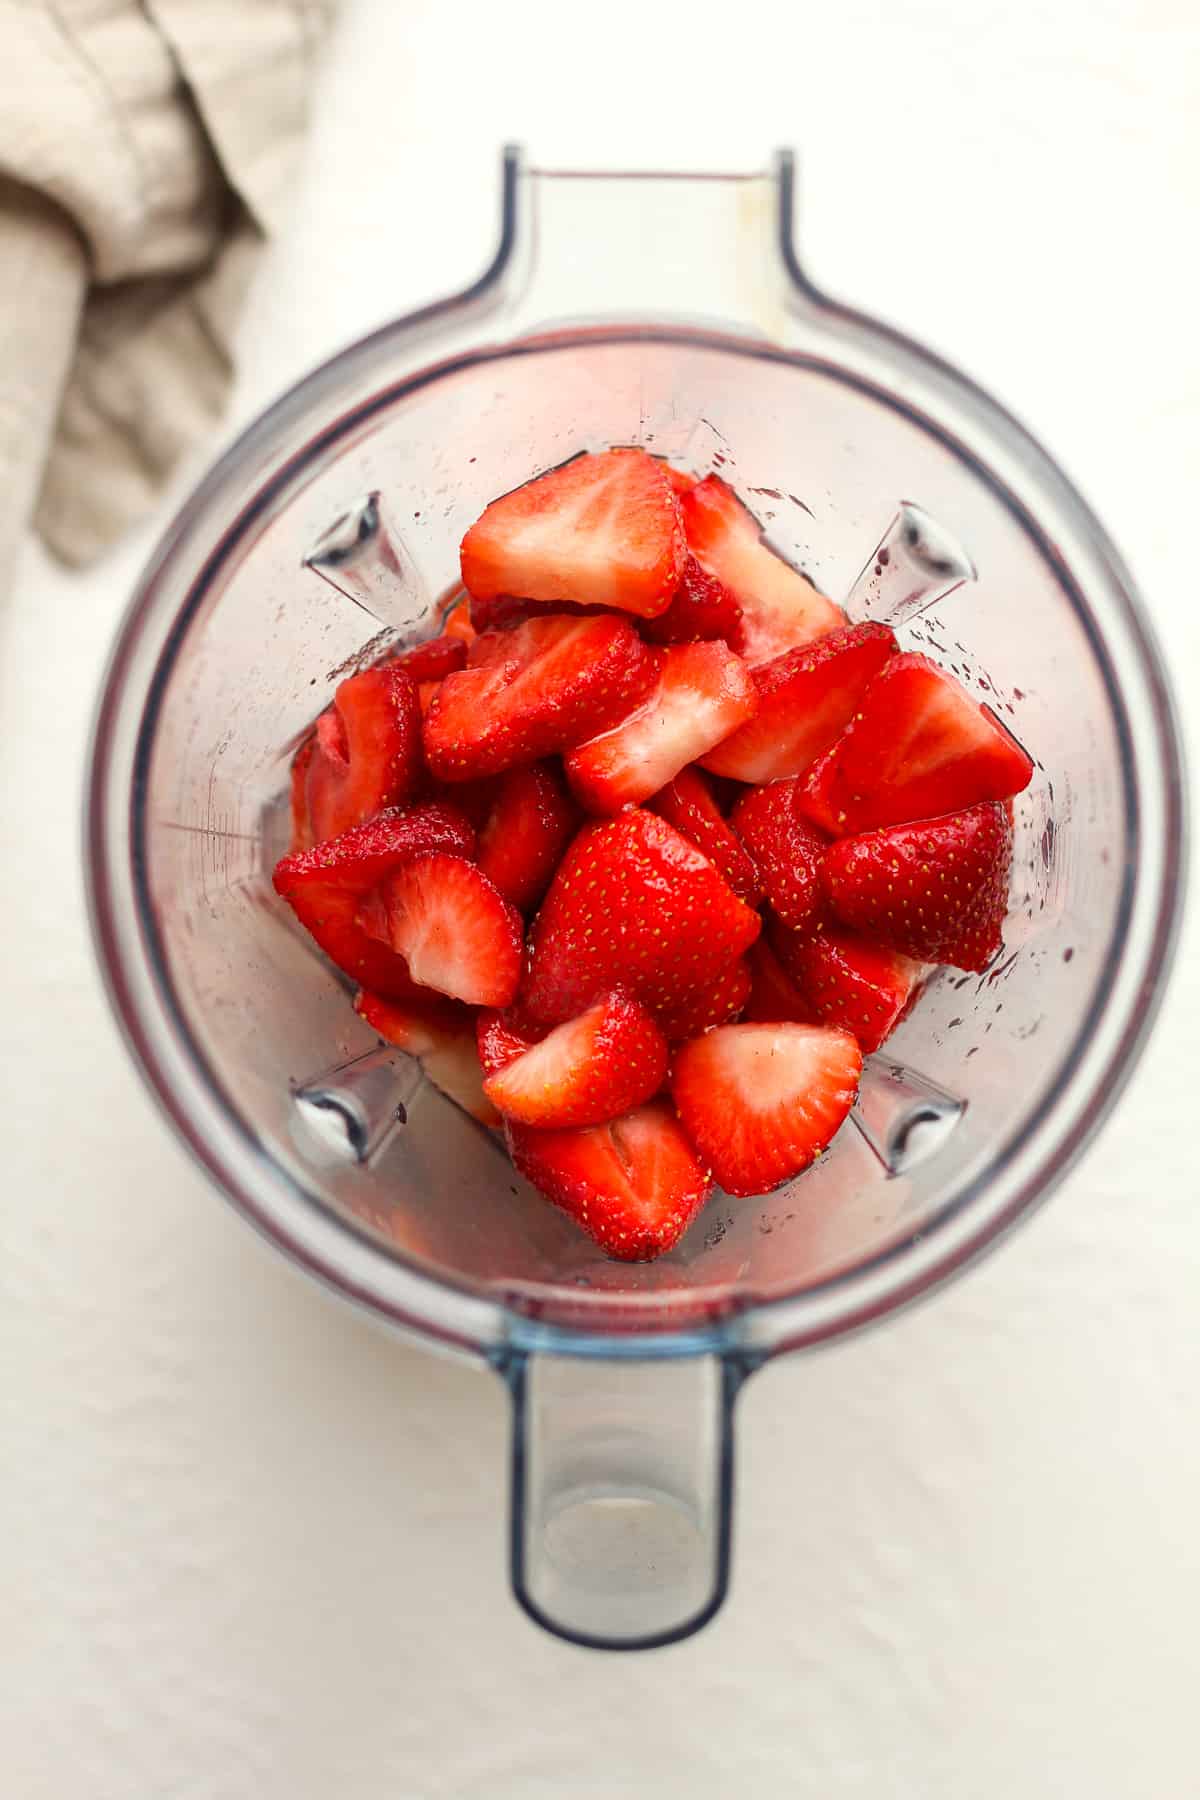
Prep strawberries. Rinse the strawberries in cold water. Hull and slice them, and add to a mixing bowl. Then add 1/2 cup of sugar and stir to combine. Let the strawberries sit on your countertop for about an hour, until juices form.

Step 2
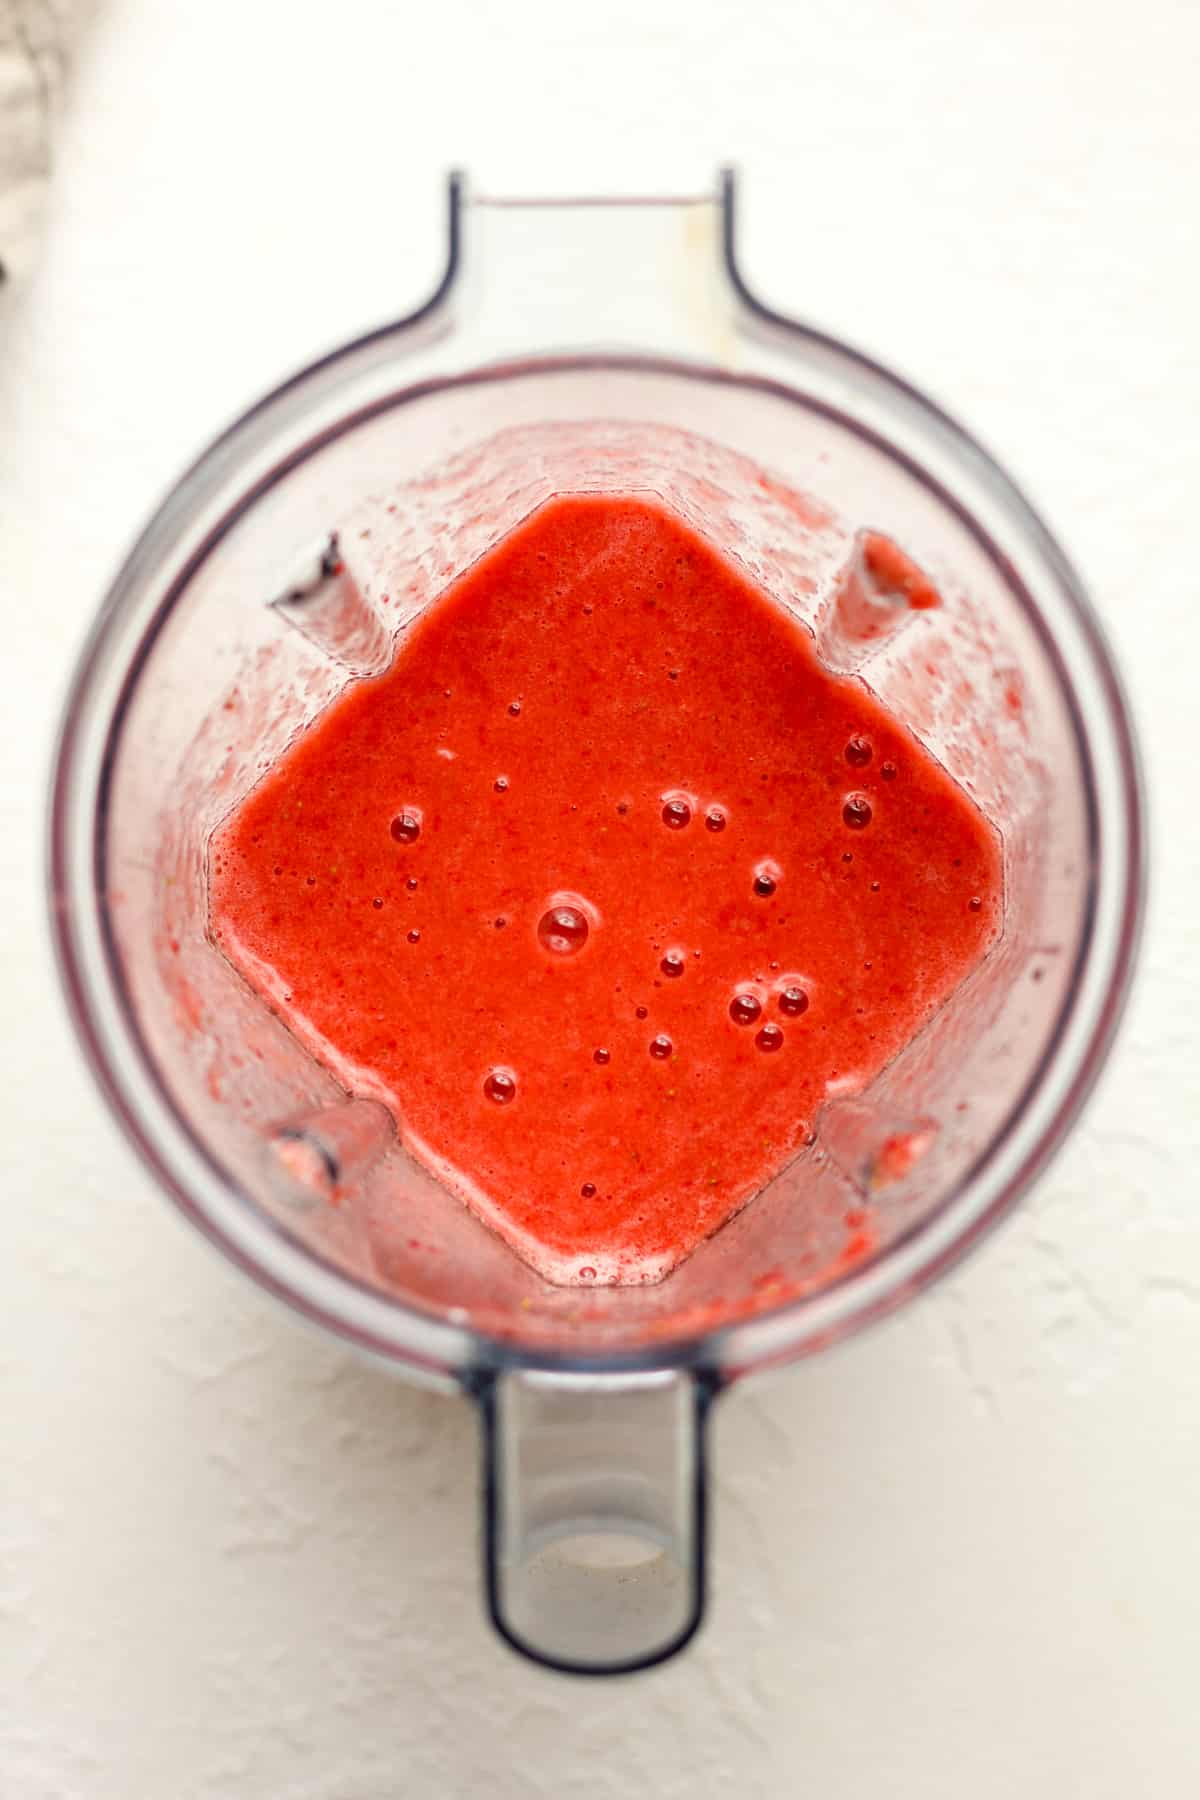
Puree strawberries. Pour the strawberries and juices into a blender. Pulse until very well pureed. Add to a large mixing bowl or 8-cup measuring cup. (This puree equals about 2.5 cups.)
Step 3
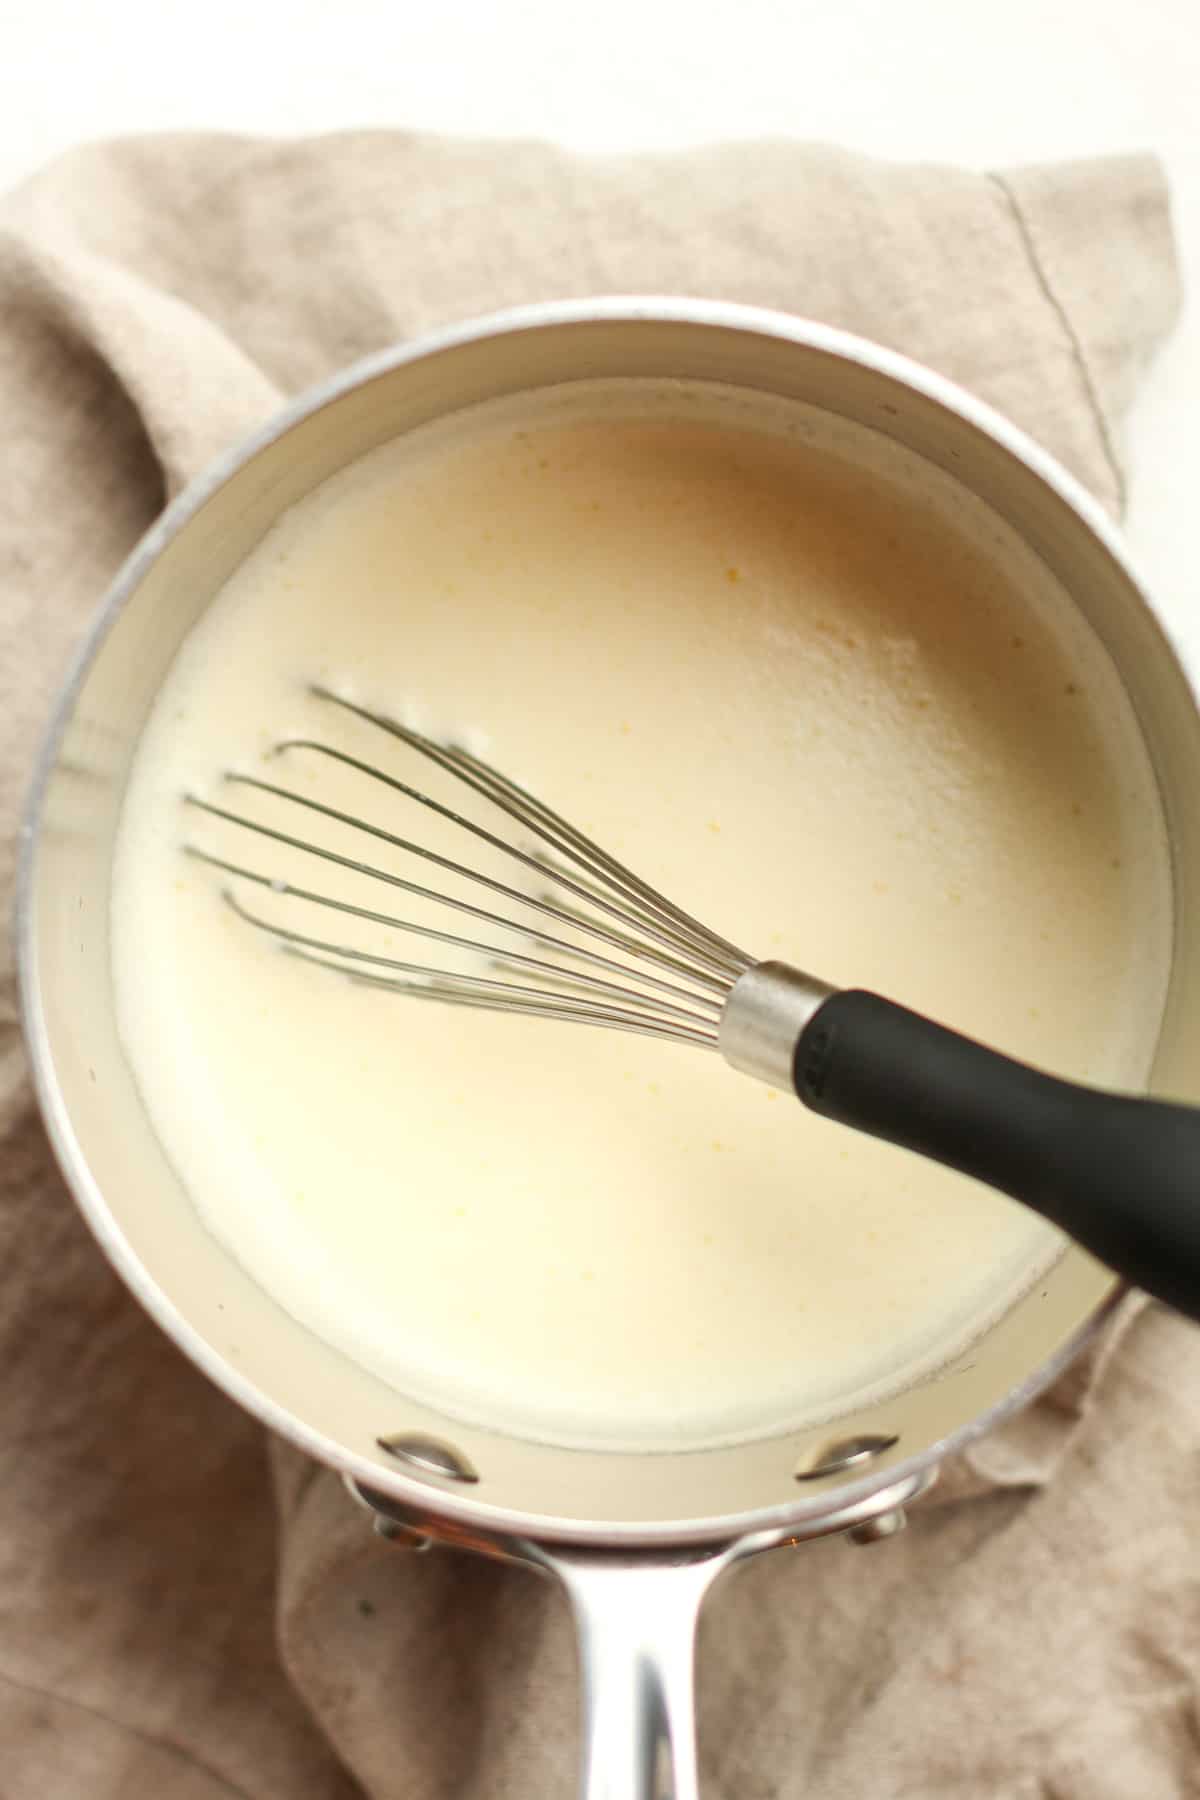
Temper eggs. Combine the egg yolks and 1/4 cup of sugar in a mixing bowl. Add the milk to a saucepan and heat over medium heat to a temperature of 165 degrees. (Do not boil.)
When the milk is hot, drizzle about one cup of it into the eggs/sugar mixture, whisking constantly. Then pour the egg mixture back into the pan plus the remaining 3/4 cup of sugar, and heat again to 165 degrees.

Step 4
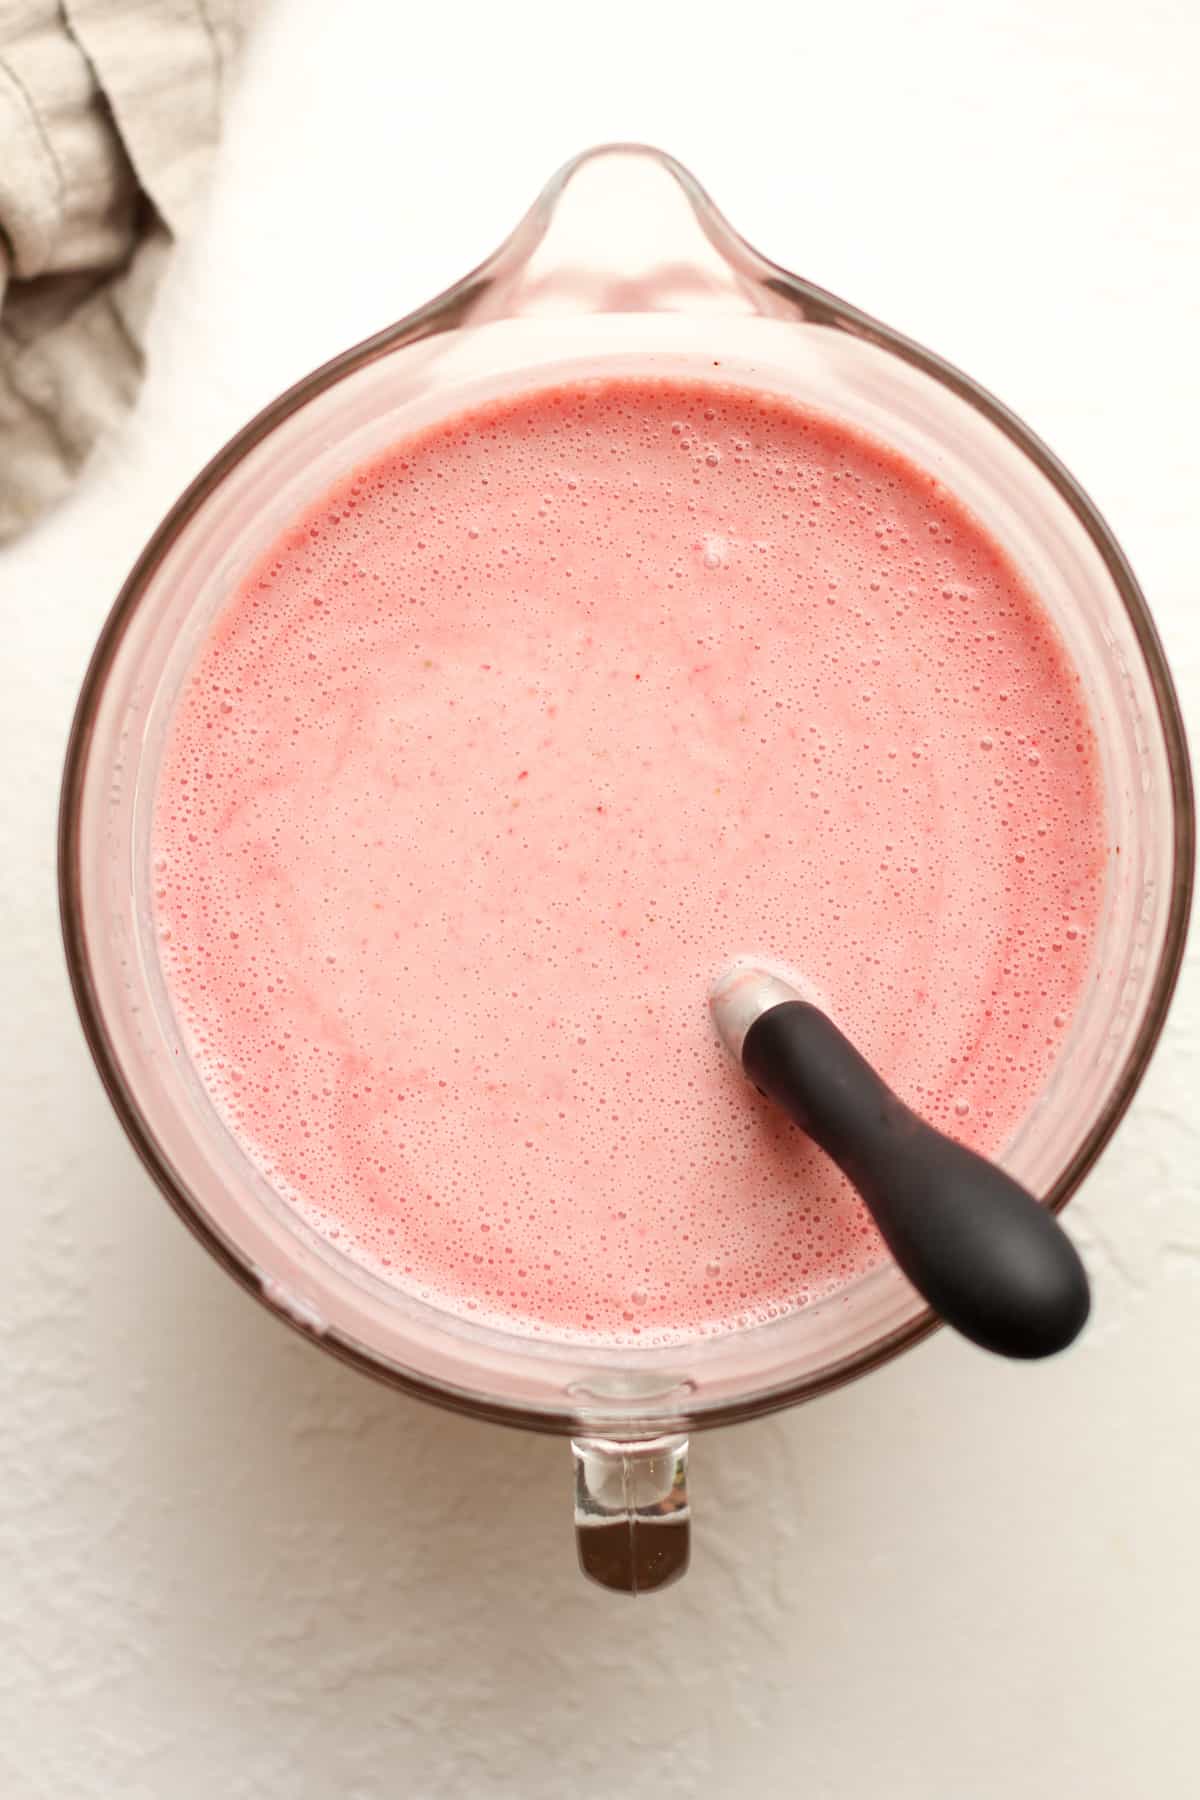
Add remaining ingredients. Let the mixture cool slightly and pour into the large bowl or measuring cup. Then add the heavy cream, vanilla extract, and a pinch of salt. Whisk well.
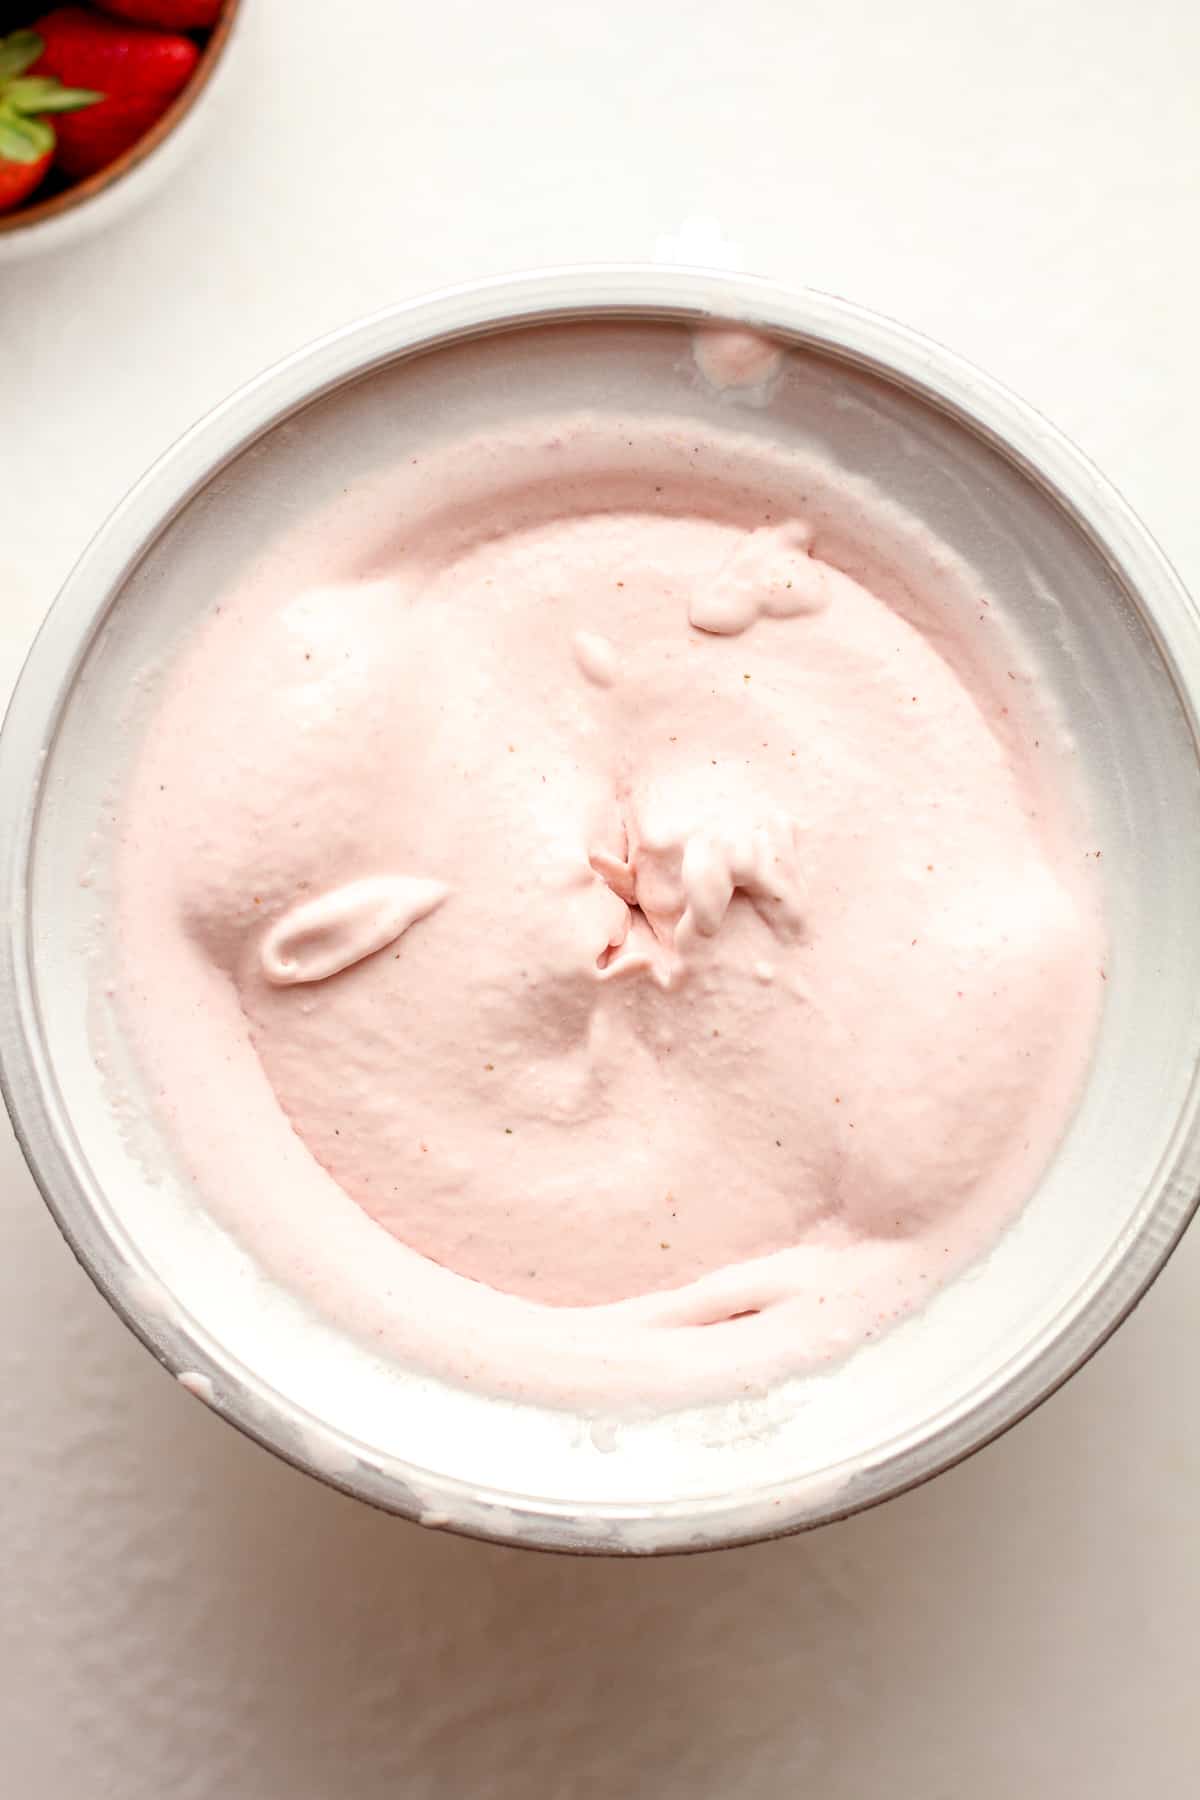
Step 5
Chill. Cover the liquid mixture with plastic wrap, and refrigerate for at least four hours before churning. The mixture should be VERY COLD!
Step 6
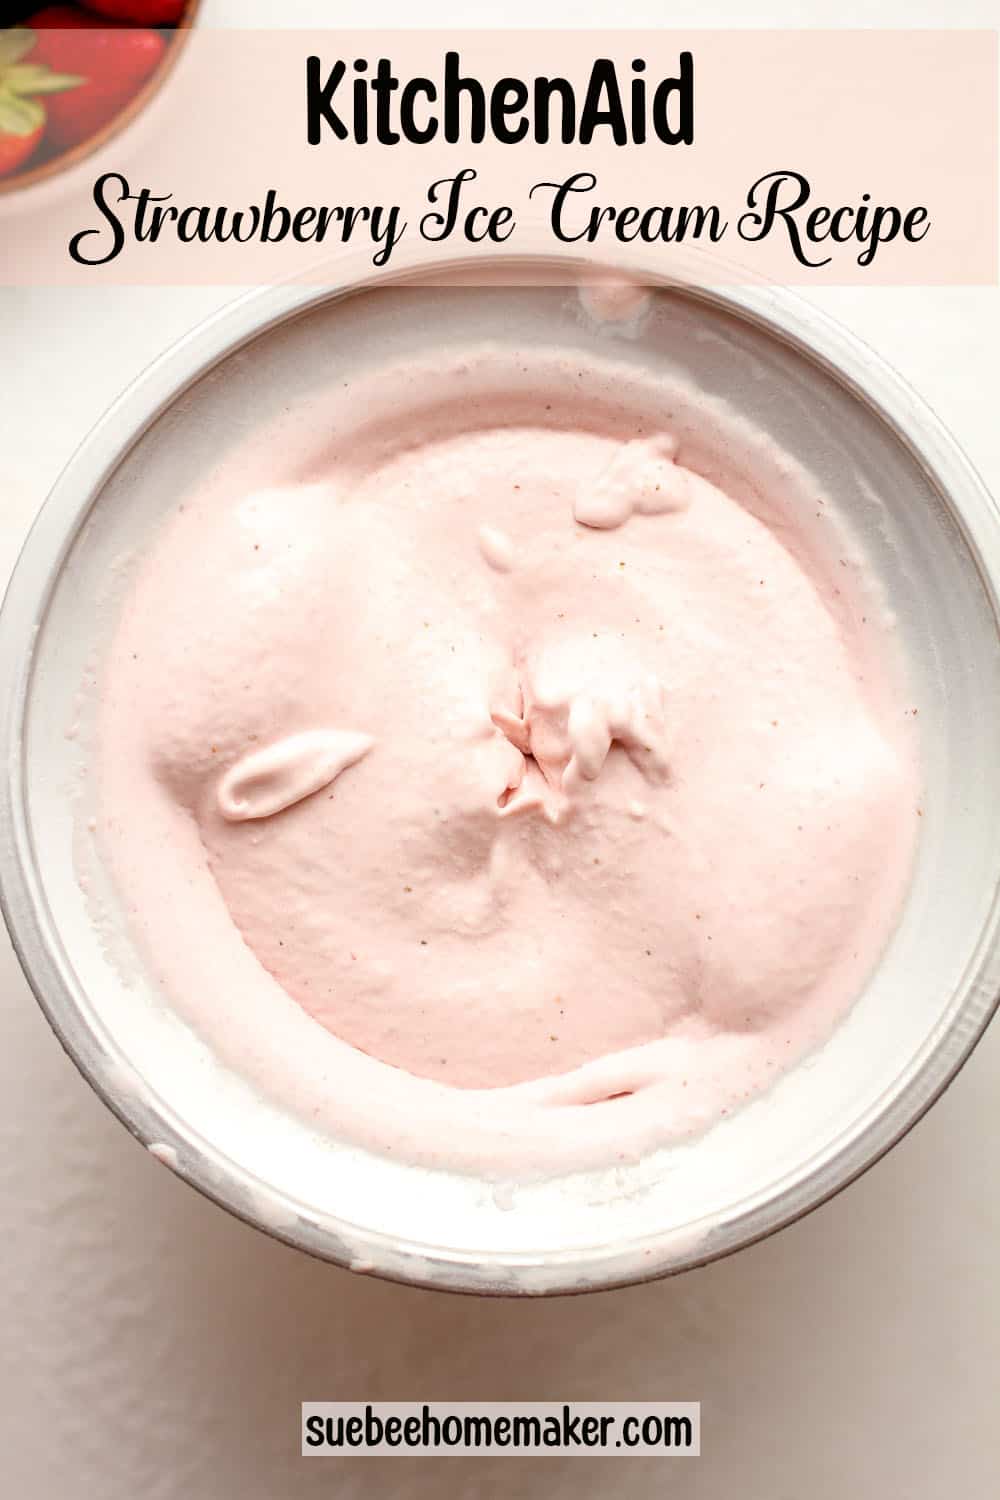
Churn ice cream. Start your 2-quart ice cream maker (I use a KitchenAid Attachment – linked below.) and pour the chilled ice cream mixture into the bowl (the attachment) while it’s running. Let the mixer churn until the ice cream sets.
You’ll see the ice cream start to thicken and rise toward the top of the bowl. The mixer may slow down slightly. (This should take 30-35 minutes or so.)
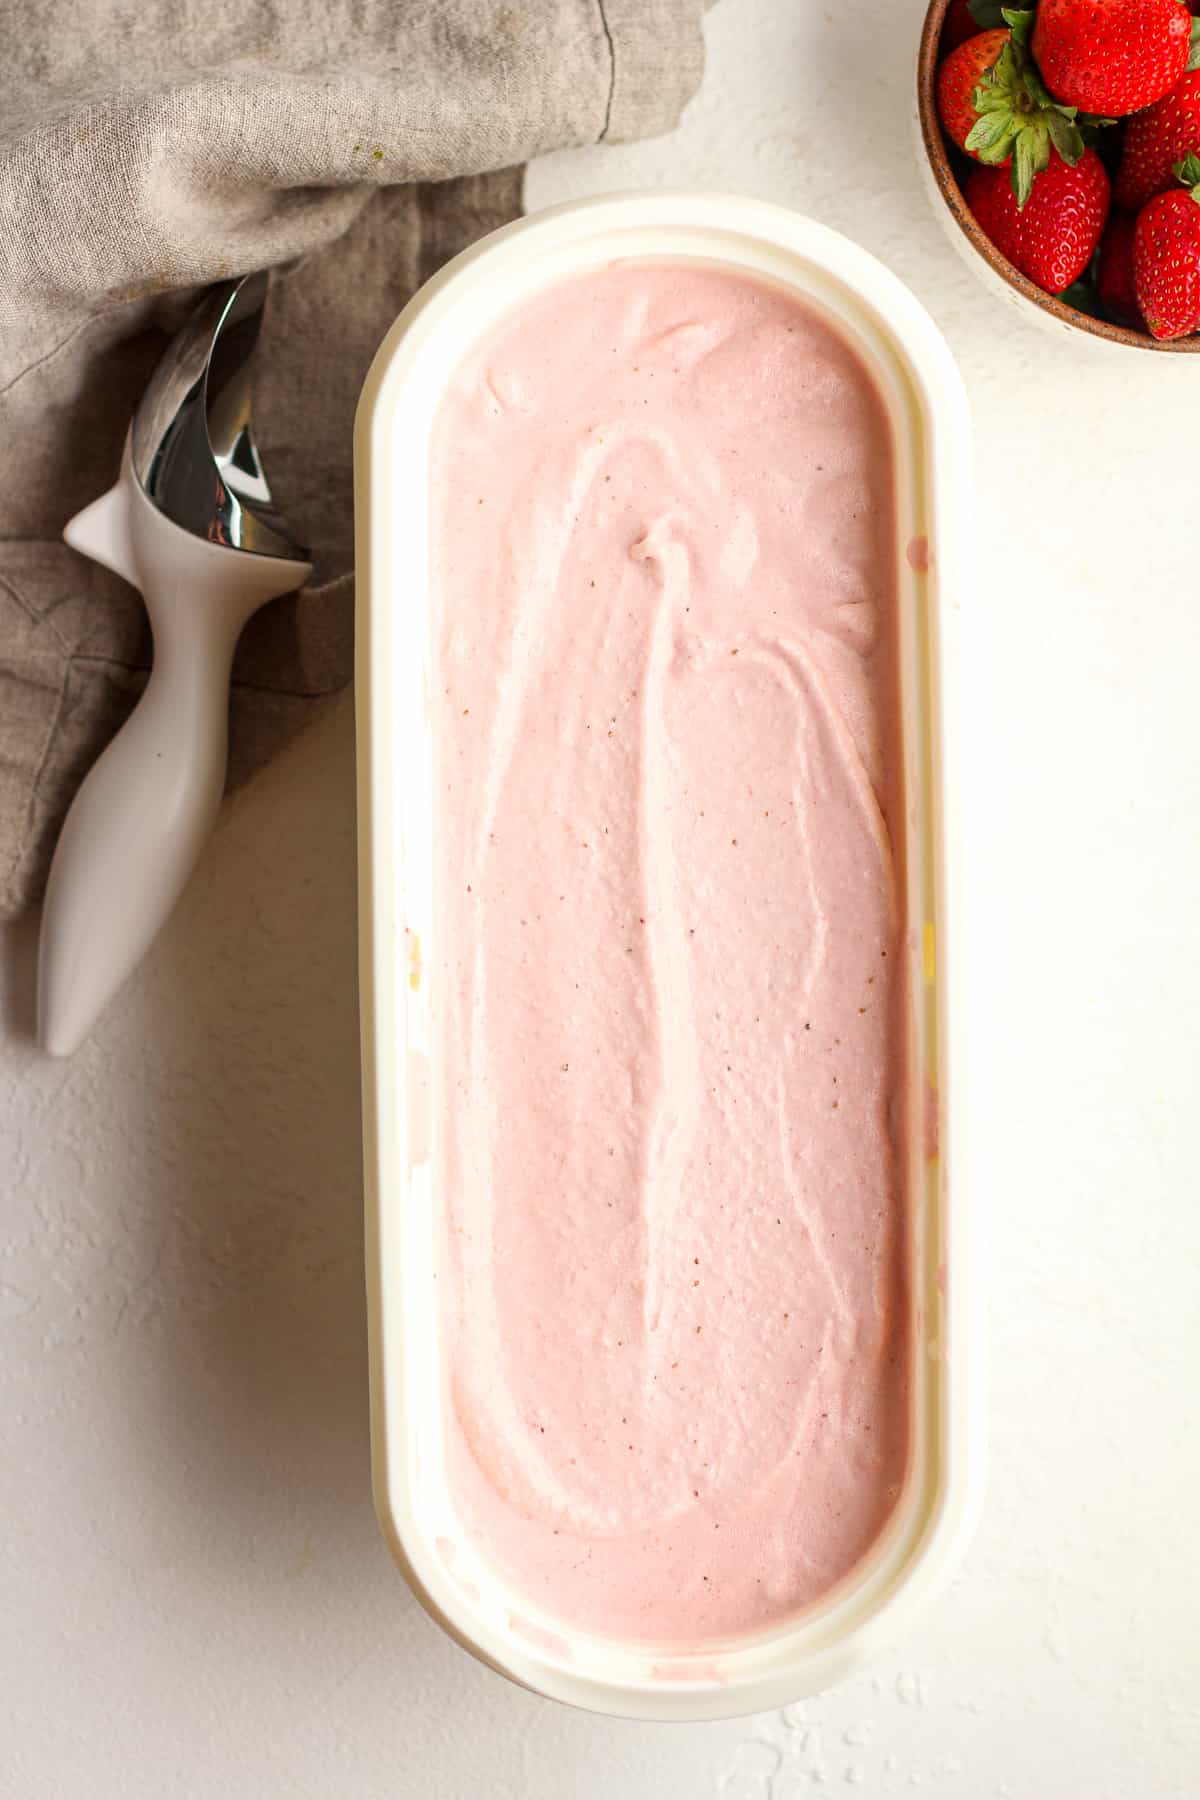
Step 7
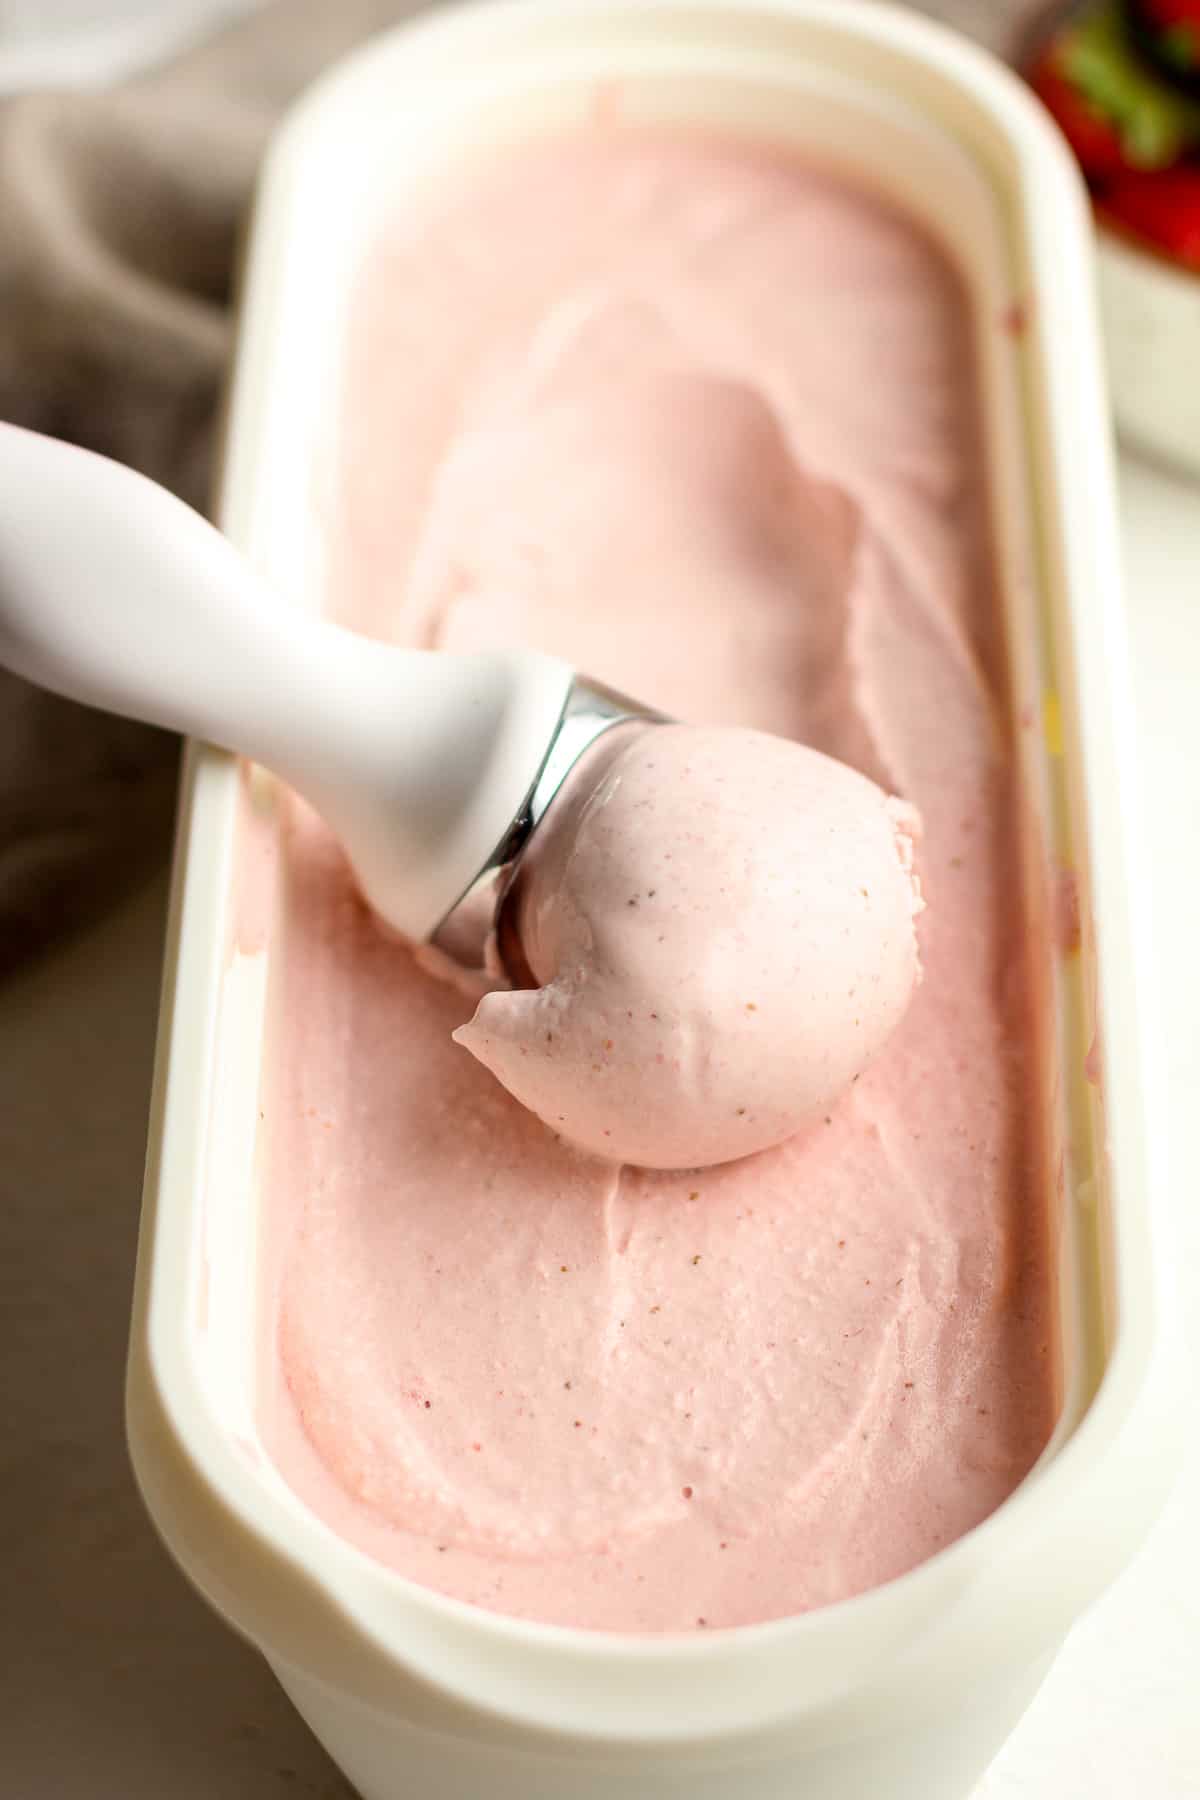
Freeze. Place container in the freezer to set up further. Initially, the ice cream will be very soft so freezing it for a couple of hours helps firm it up.
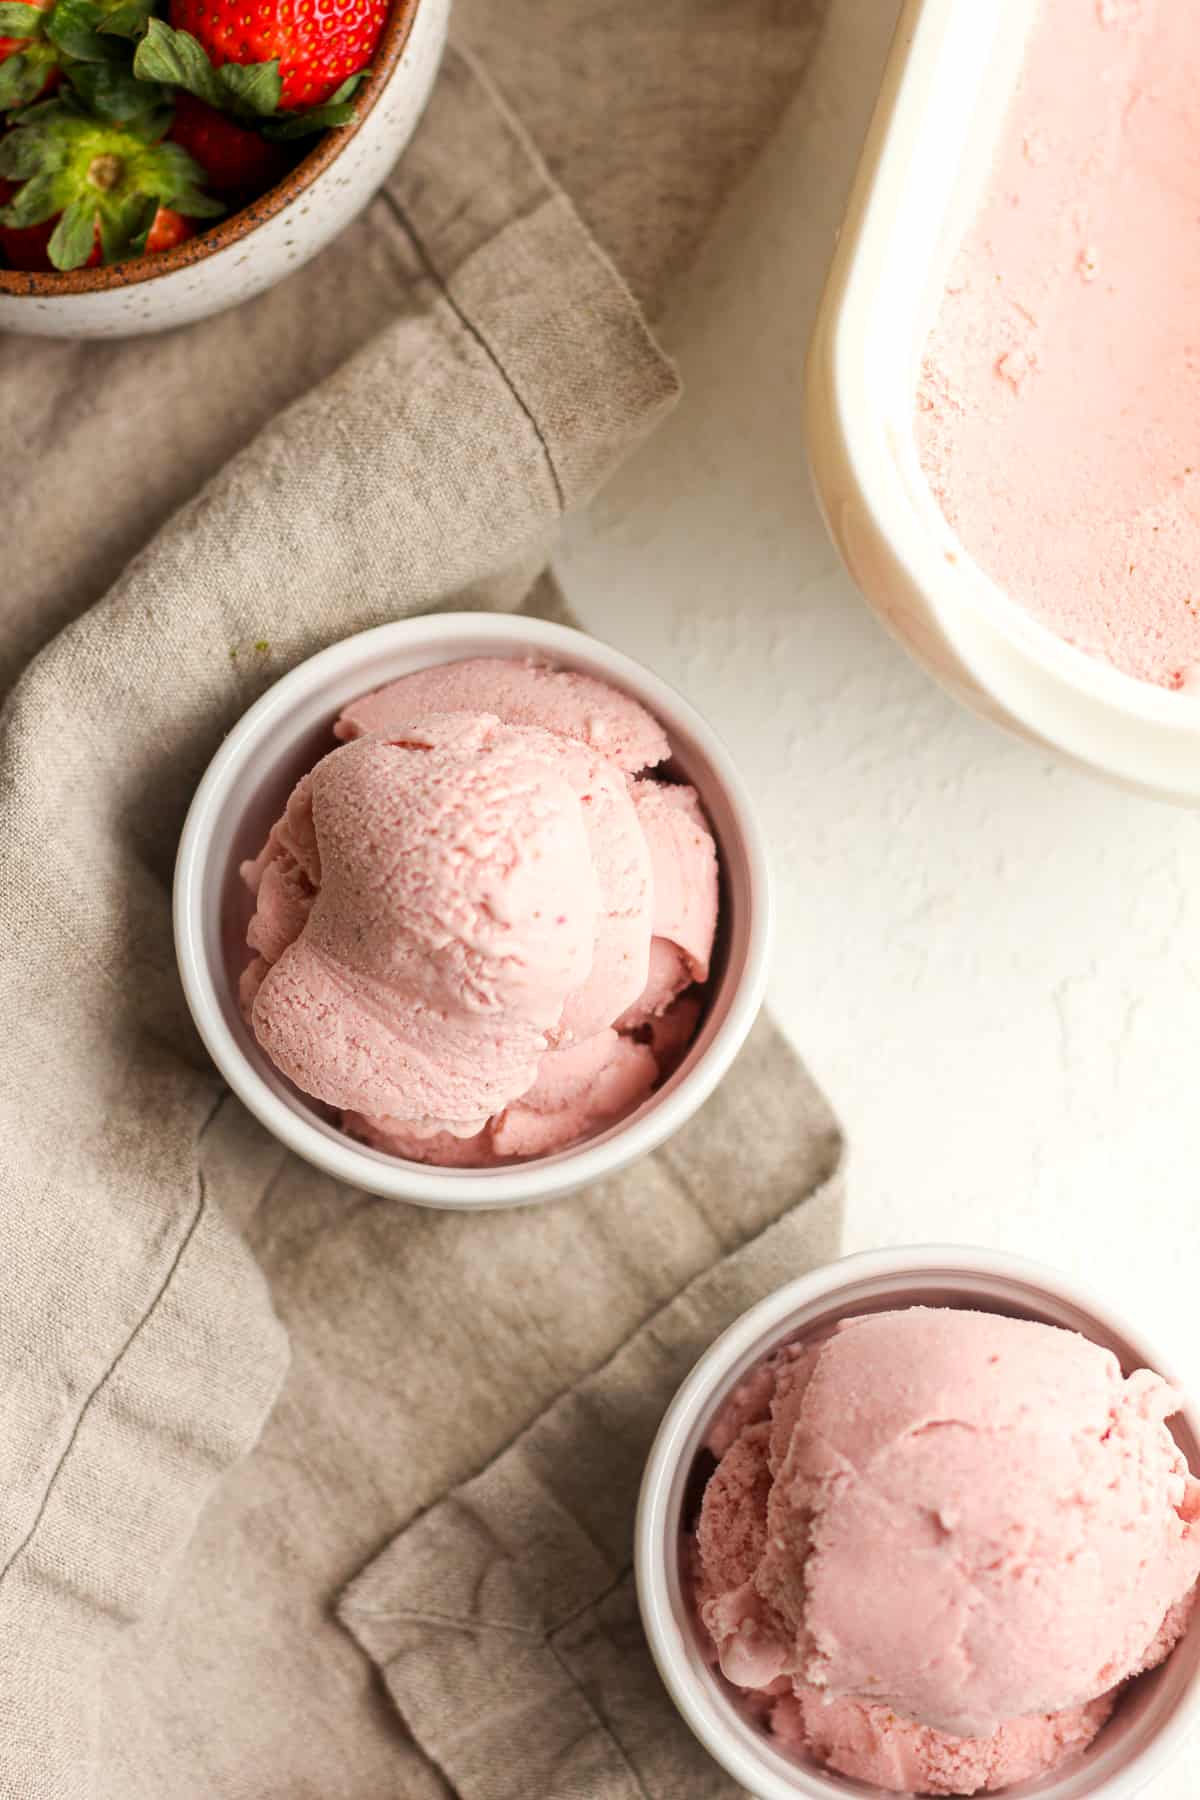
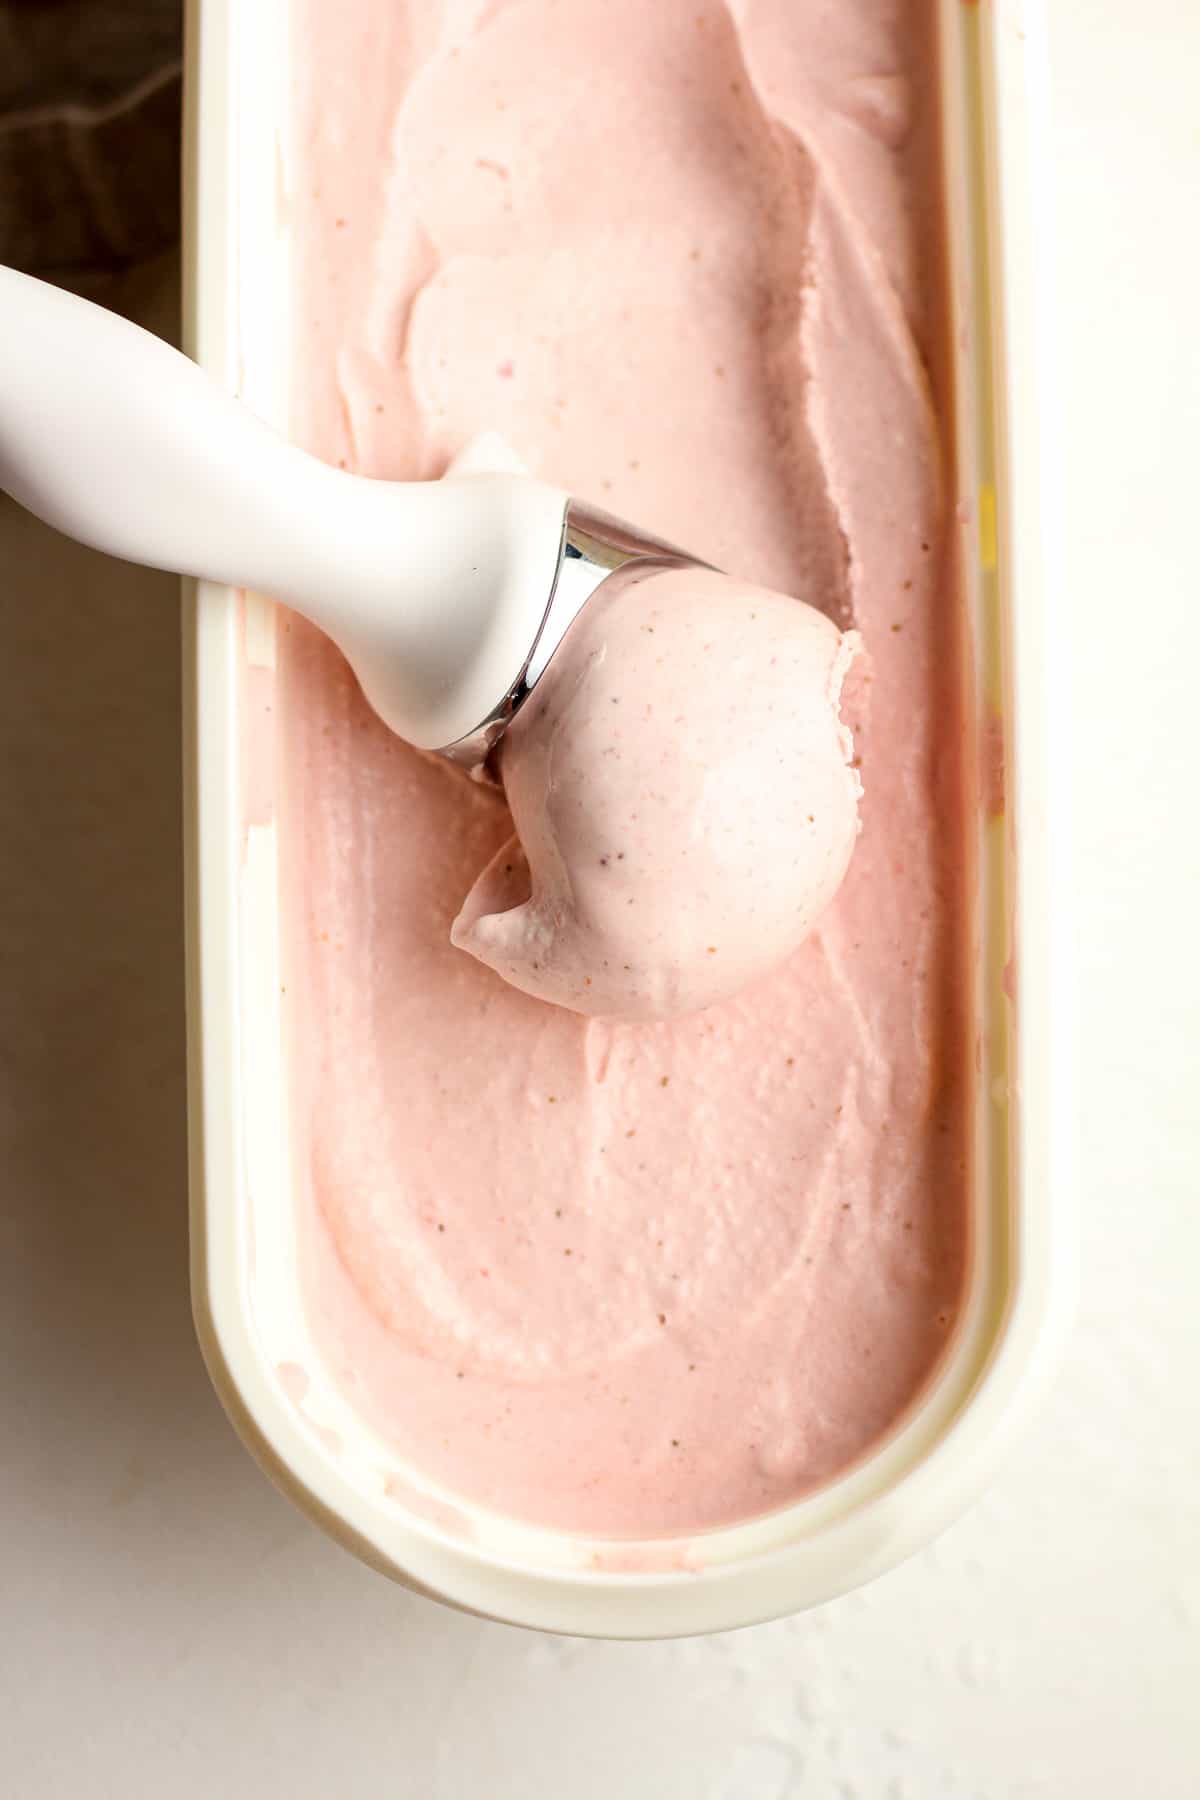
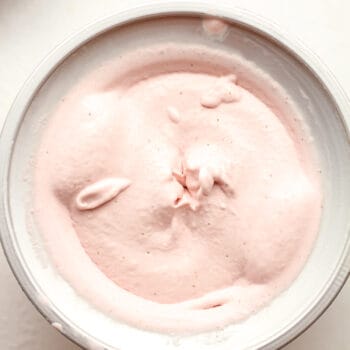
Step 8
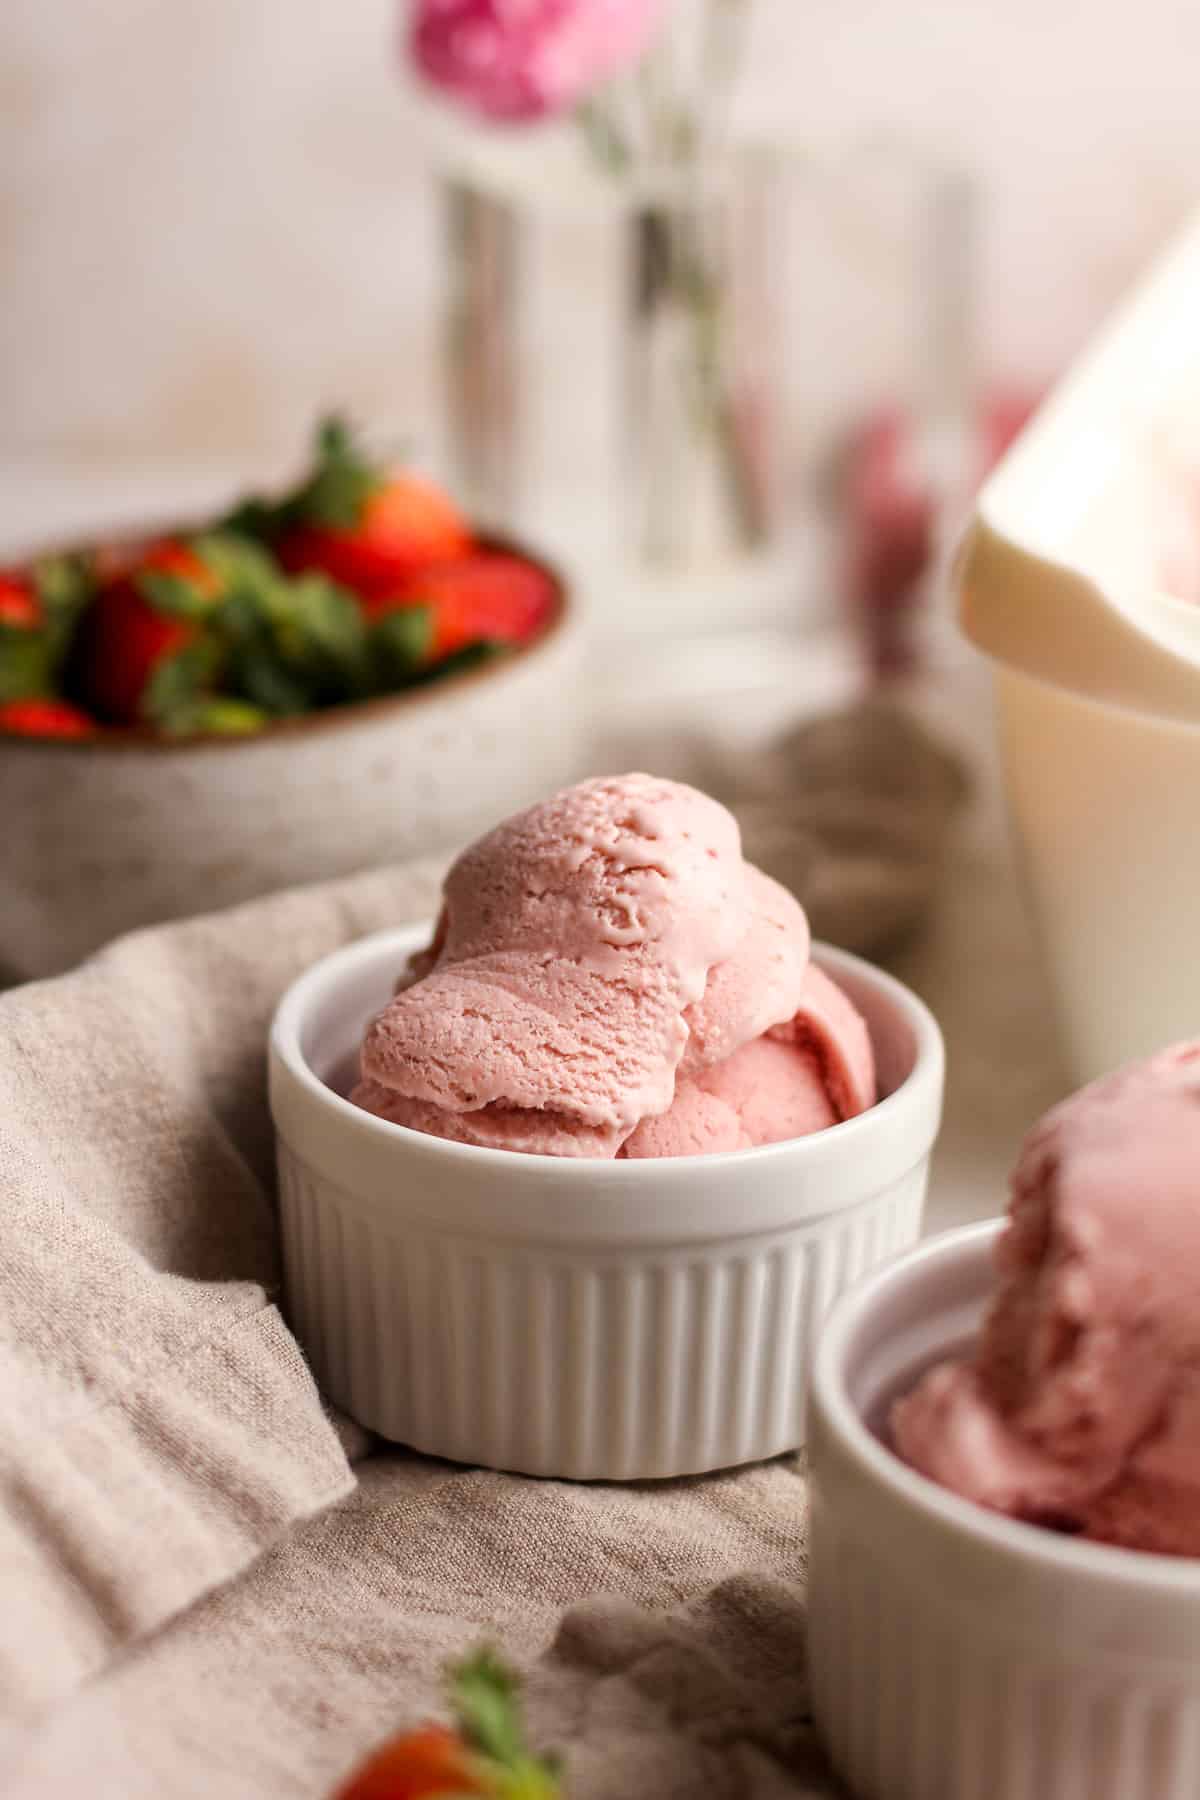
Serve. Serve the ice cream with some extra fresh strawberries, if desired!
Should I temper my eggs?
You’ll want to temper your eggs so that they are safe to eat in raw form. You can also use pasteurized eggs instead if you can find them in the grocery store.
Many people use raw eggs in their ice cream and other desserts. In fact, my parents used regular raw eggs in their ice cream, back in the day and nobody got sick. However, I like to temper eggs to be on the safe side. This is a must if you are serving the elderly, or anyone with a health condition.
Tips for using a KitchenAid Attachment:
- Place bowl attachment in freezer. You’ll want to be sure to store the bowl in the freezer for AT LEAST 15 hours before using. Since we have an extra freezer in our laundry room, I keep ours in there all the time. That way we can make ice cream on a whim!
- Run mixer in advance. Attach bowl to the KitchenAid mixer and add the attachments. Start mixer on the lowest setting BEFORE adding ice cream mixture. This will prevent the bowl from freezing up.
- Add liquid while mixer is running. Then carefully pour the liquid into the bowl attachment while it’s running.
- Let it slow down slightly. The ice cream is done when you see it expanding to the top of the bowl and the mixer starts to slow down.
xoxo ~Sue
KitchenAid Strawberry Ice Cream Recipe
Ingredients
- 1 pound fresh strawberries – hulled
- ½ cup granulated sugar
- 4 large egg yolks
- 1 cup granulated sugar – divided
- 1½ cups whole milk
- 1½ cups heavy cream
- 2 Tablespoons Watkins vanilla – or good quality vanilla extract
- pinch of salt
Instructions
- Prep strawberries. Rinse the strawberries in cold water. Hull and slice them, and add to a mixing bowl. Then add 1/2 cup of sugar and stir to combine. Let the strawberries sit on your countertop for about an hour, until juices form.1 pound fresh strawberries, ½ cup granulated sugar
- Puree strawberries. Pour the strawberries and juices into a blender. Pulse until very well pureed. Pour puree into a large mixing bowl or 8-cup measuring cup. (This puree equals about 2.5 cups.)
- Temper eggs. Combine the egg yolks and 1/4 cup of sugar in a mixing bowl. Add the milk into a saucepan and heat over medium heat to a temperature of 165 degrees. (Do not boil.)When the milk is hot, drizzle about one cup of it into the eggs/sugar, whisking constantly. Then pour the egg mixture back into the pan plus the remaining 3/4 cup of sugar, and heat to 165 degrees.4 large egg yolks, 1 cup granulated sugar, 1½ cups whole milk
- Add remaining ingredients. Let cool slightly and then add into the large bowl. Then add the heavy cream, vanilla extract, and a pinch of salt. Whisk well.1½ cups heavy cream, 2 Tablespoons Watkins vanilla, pinch of salt
- Chill. Cover the liquid mixture with plastic wrap, and refrigerate for at least four hours before churning. The mixture should be VERY COLD!
- Churn ice cream. Start your 2-quart ice cream maker (I use a KitchenAid Attachment – linked below.) and pour the chilled ice cream mixture into the bowl (the attachment) while it’s running. Let the mixer churn until the ice cream sets.
- You’ll see it start to thicken and rise toward the top of the bowl. The mixer may slow down slightly. (This should take 30-35 minutes or so.)
- Freeze. Place container in the freezer to set up further. Initially, the ice cream will be very soft so freezing it for a couple of hours helps firm it up.
- Serve. Serve the ice cream with some extra fresh strawberries, if desired!
Notes
- Place bowl attachment in freezer. You’ll want to be sure to store the bowl in the freezer for AT LEAST 15 hours before using. Since we have an extra freezer in our laundry room, I keep ours in there all the time. That way we can make ice cream on a whim!
- Run mixer in advance. Attach bowl to the KitchenAid mixer and add the attachments. Start mixer on the lowest setting BEFORE adding ice cream mixture. This will prevent the bowl from freezing up.
- Add liquid while mixer is running. Then carefully pour the liquid into the bowl attachment while it’s running.
- Let it slow down slightly. The ice cream is done when you see it expanding to the top of the bowl and the mixer starts to slow down.
I like some actual strawberries in my strawberry ice cream…
Can I reserve some to fold in after churning..?
You can either reserve some strawberries or just add extra (my suggestion).
I made this recipe today. First thing the Kitchen Aid has been used for. It is just fantastic. I made the strawberry recipe. Wow. Thank you.
Went to the local strawberry fields this weekend and used our new Kitchen Aide attachment. Thank you for the recipe! This is the the best ice cream I’ve ever had! Can’t wait to try more if your recipes
Thanks so much Stacey!
Delicious, but I think 2 tbsp of vanilla extract is too much. That amount of alcohol prevented my ice cream from freezing properly. I would make again with much less vanilla extract
I tried many… but this is by far THE BEST!
We love it too! Thanks Miche!
This was very good! Thanks for the awesome recipe: )
Thanks so much!
I love the flavor! I had issues getting it to thicken up. It’s kind of icy and not as creamy. Any ideas where it went wrong?
Did you make sure the liquid mixture was super cold? Fruit ice cream can oftentimes be a bit icy because of the fruit itself.
I had it in the fridge overnight!
Was your ice cream attachment in the freezer for the right amount of time? Did the ice cream end up thickening up in the freezer?
Oh my goodness. This was absolutely delicious and refreshing. I will never buy ice-cream again. I truly couldn’t believe how perfect it was. I have a KitchenAid mixer and ordered the attachment instead of another appliance. I ordered one for my daughter along with a couple of ice-cream containers. Thank you so much for this wonderful and easy recipe. I’m going to try the mint chip next.
So glad to hear this, Eva!
I made your recipe and now my daughter and her family request it on a regular basis. They won’t eat store bought anymore. Absolutely a perfect ice cream. I’m making another batch tomorrow and my SIL has requested a chocolate swirl in it. It will be delicious!
That sounds delish! Thanks Laurie!
I substituted the fresh strawberries with fresh peaches and WOW, I have never had homemade ice cream this smooth and creamy. Will definitely be making again and will do strawberry or black cherry next time!
We love using fruit in ice cream too!
At what point do I put in the puréed strawberries? I’ve reread the recipe?? Am I missing a step?? It looks and sounds great. Thank you.
After you puree them, you add them to large bowl and then add the tempered eggs etc.
This was my first time using the Kitchenaid Ice Cream Bowl attachment and making icecream. This recipe is so easy to follow! My family loved the strawberry flavour and will definitely will be making it again. Thankyou!
Oh I love to hear this, Louise! Thank you!
I’m so glad you enjoyed this ice cream, Louise!
I’d like to try this recipe, but it doesn’t state when to add the strawberries. I’m guessing at the end?
You add the strawberry puree to the tempered egg mixture and remaining ingredients in the large mixing bowl that get’s chilled. It all gets churned together.
Delicious and very easy! Thank You!!
You’re welcome, Leslie!
This strawberry ice cream recipe is delicious! I wouldn’t change a thing!
How is the recipe if I got the pasteurized eggs?
Thanks
Then you’ll just combine all of the ingredients.
I bought the ice cream attachment, but no instructions where in box on how to add the little attachment to mixer and no screws were included. Instructions please
Nothing screws in. You slip one semicircle cutout side of the short, spring-loaded attachment across to the motor drop-down metal base. The triangle on the underside of the spring-loaded attachment fits opposite the drop-down metal base. Push up the spring-loaded bottom when you get the top of it in place. Work with it until it fits.
I lift my bowl to attach the paddle to the motor attachment after it has been secured. Hope this helps.
2 Tablespoons of vanilla? Is that right or teaspoons?
Yes, 2 Tablespoons is correct.
I use tbsp of vanilla and 1tbsp of real strawberry extract. Just saying.
Sounds delicious!
Used the above technique & list of ingredients to make “Four Fruit” ice cream – simply substitute a bag (14-16 oz.) of frozen mixed fruit for the strawberries – there are several combinations of mixed fruit available & the one I used contains dark, pitted cherries, blueberries, red raspberries and blackberries – allow to thaw and then process as per strawberries above (add sugar, allow to set & then pulse in blender).
Sounds delicious, John!
I just got the KitchenAid ice cream maker attachment for Christmas and jumped right into making ice cream for the first time. The instructions are easy to follow and the recipe is so delicious. Definitely a favorite over here, perfect amount of strawberry flavor with simple ingredients and comes out so tastey and creamy.
I’m so happy to hear this, Karolina! Thanks for your feedback!
Just made this and it is fabulous! I messed up not reading the recipe correctly and it was still awesome. Just so you know you can add the eggs, both milk and cream with 1/2 c of sugar and slowly cook to 165 and still have great results we are using honey crystals instead of granulated sugar and it worked great!
So glad to hear it, Cathy!
Trying this out but replacing strawberries with bananas. Hopefully it turns out good.
Can I make this without eggs ?
The eggs help develop a creamy texture. I haven’t tested it without eggs.
cant wait to try it
I hope you love it as we do, Sandy!
Step #11 is the best part. Awesome recipe and life is better with Homemade Ice Cream!