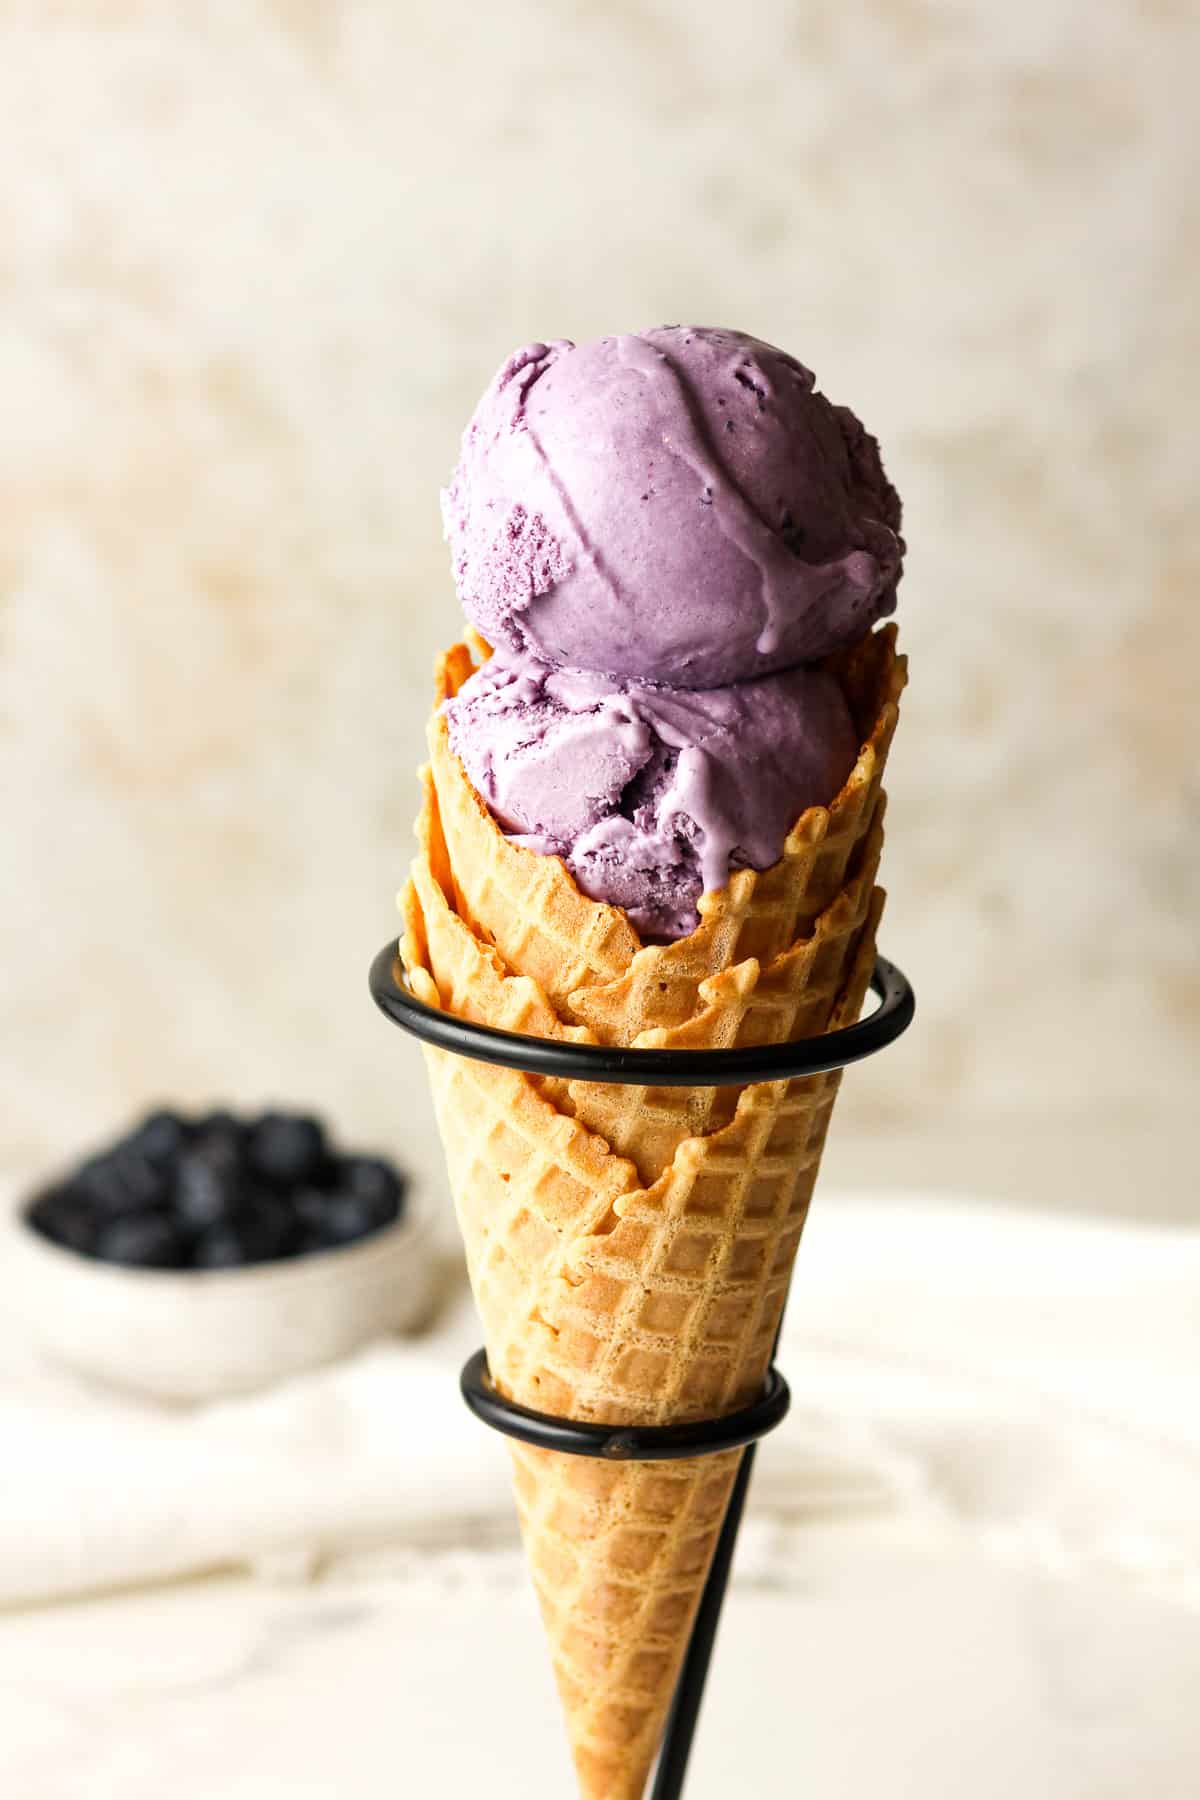
Blueberry Ice Cream Recipe
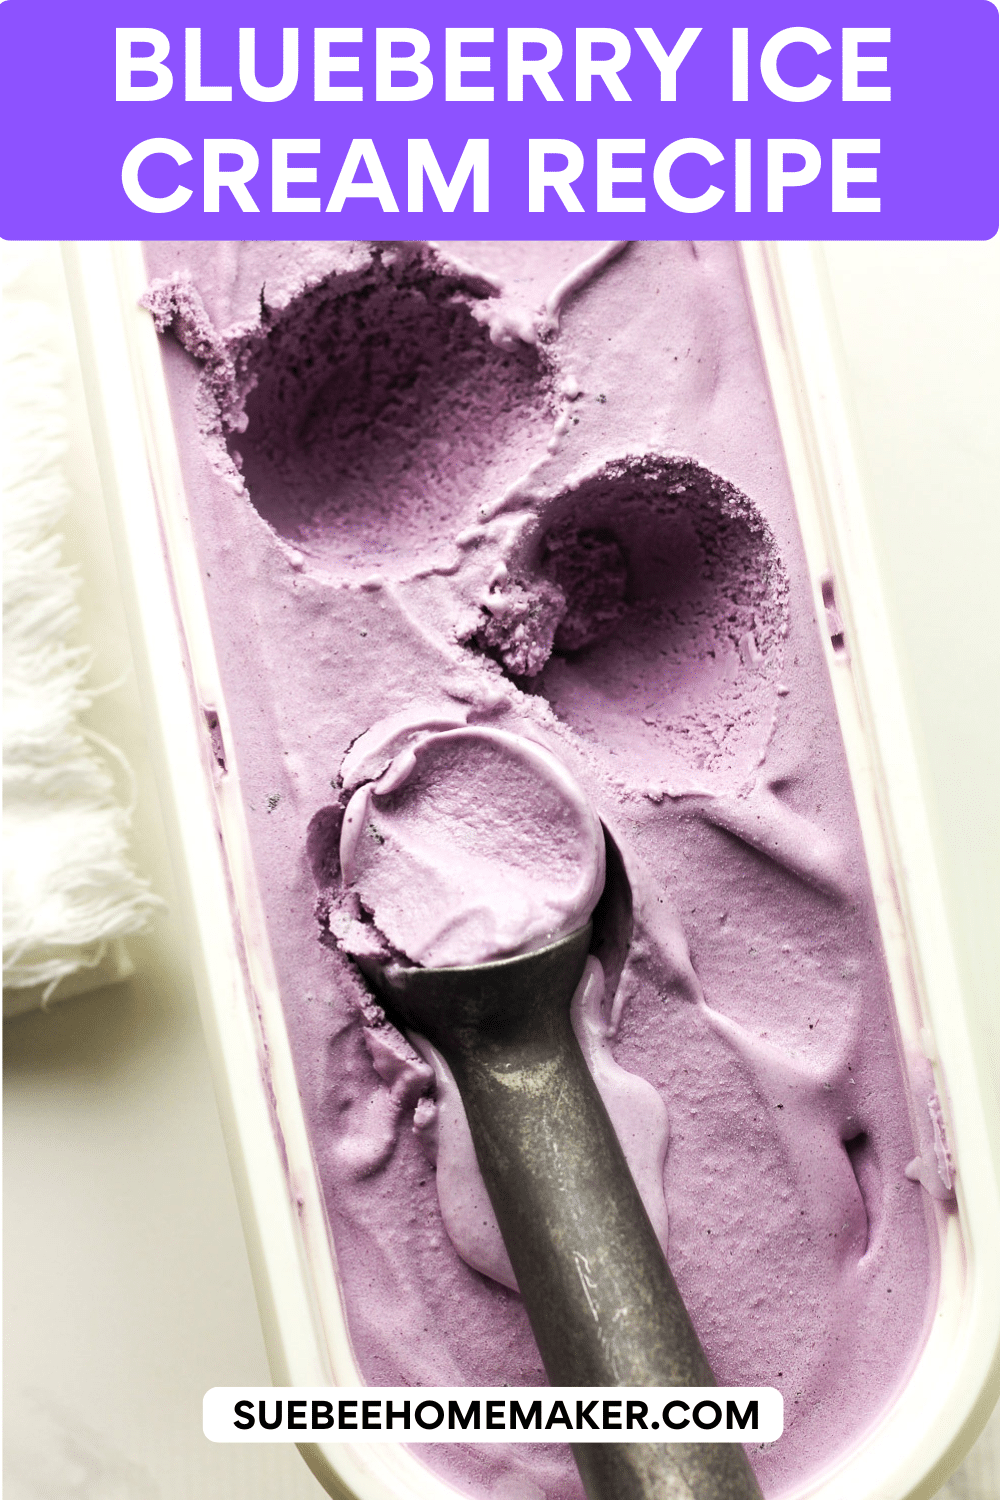
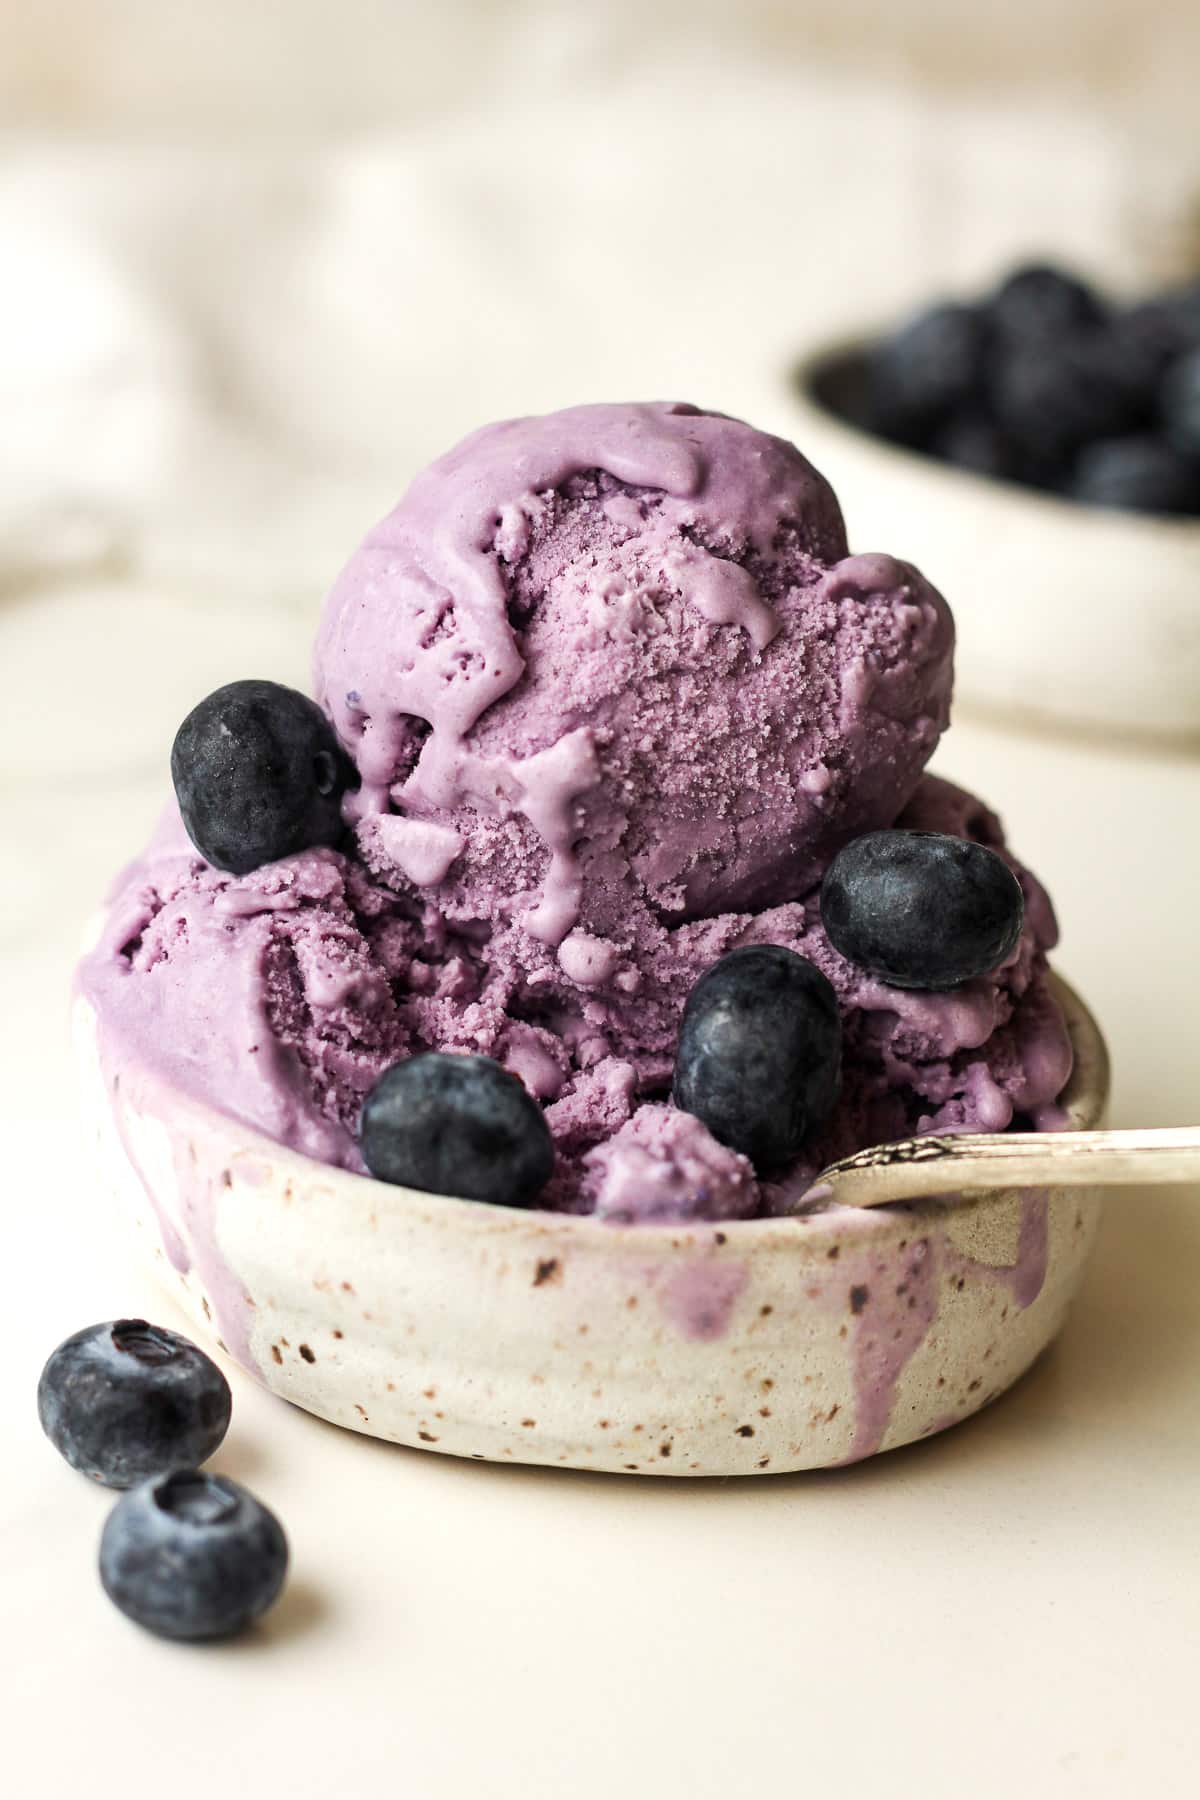
This homemade blueberry ice cream is rich, creamy, and bursting with fresh blueberry flavor in every scoop. Made with real blueberries and a simple custard base, it’s the perfect summertime treat for any ice cream lover.
NOTE: I recently adapted this recipe to leave out the blueberry pulp. This recipe now includes only the blueberry juice – but the pulp can be added if you prefer it!
Best Blueberry Ice Cream
Mike and I celebrated our 30th wedding anniversary in Maine two years ago – home of the blueberry! We fell in love with all things blueberry, from the best blueberry beer and refreshing blueberry mules to creamy blueberry ice cream. We discovered an amazing soft-serve shop just a few blocks from where we were staying in Bar Harbor, and after my first bite, I knew I had to recreate it for the blog.
When I buy blueberries, I almost always buy the large one-pound (or bigger!) containers, especially when they’re in season. If I’m not turning them into blueberry ice cream, you can usually find me eating them by the handful.
Other Delicious Blueberry Recipes:
You’ll love these blueberry recipes too!
Ingredients Needed:
- Dairy – An even amount of heavy cream and whole milk is needed.
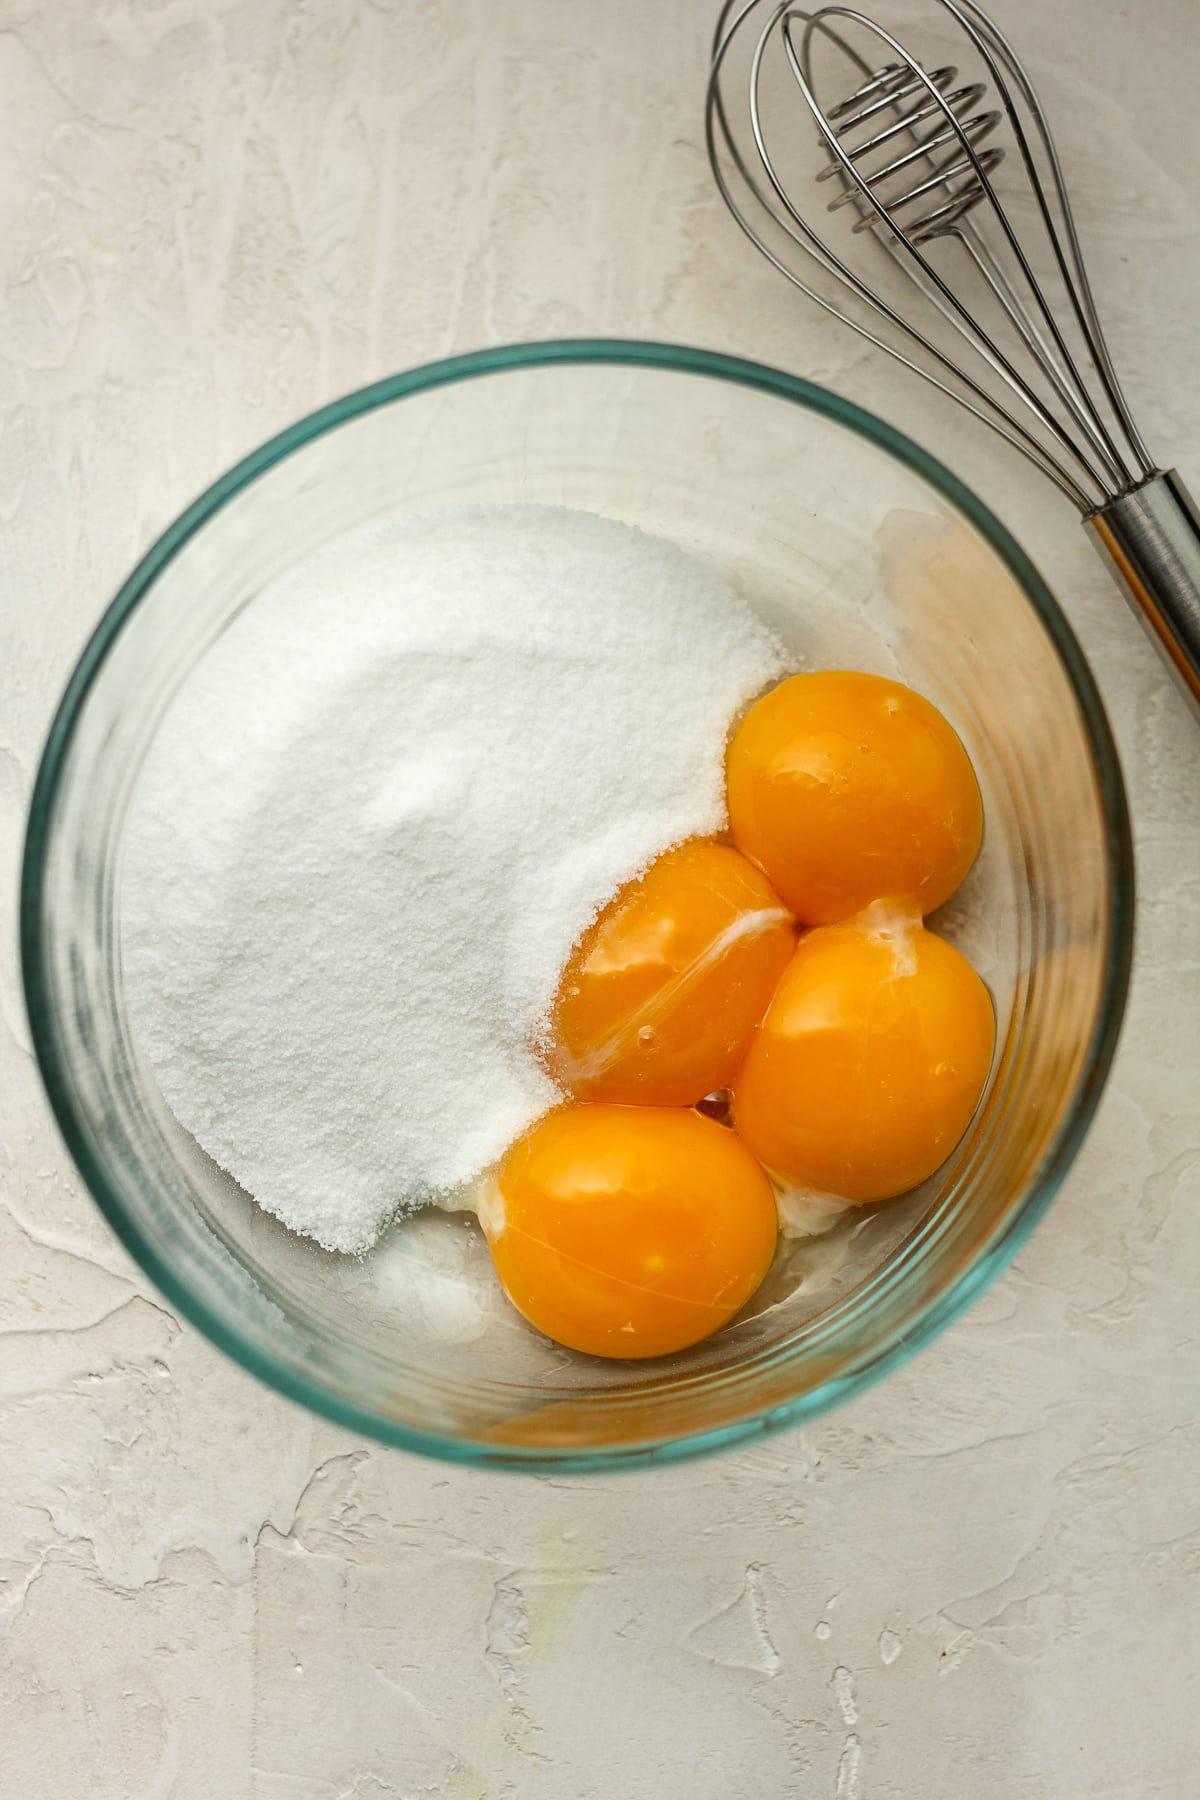
- Eggs – I used four egg yolks for this recipe.
- Sugar – Just a cup and a fourth of granulated sugar.
- Vanilla – I always use Watkin’s Vanilla.
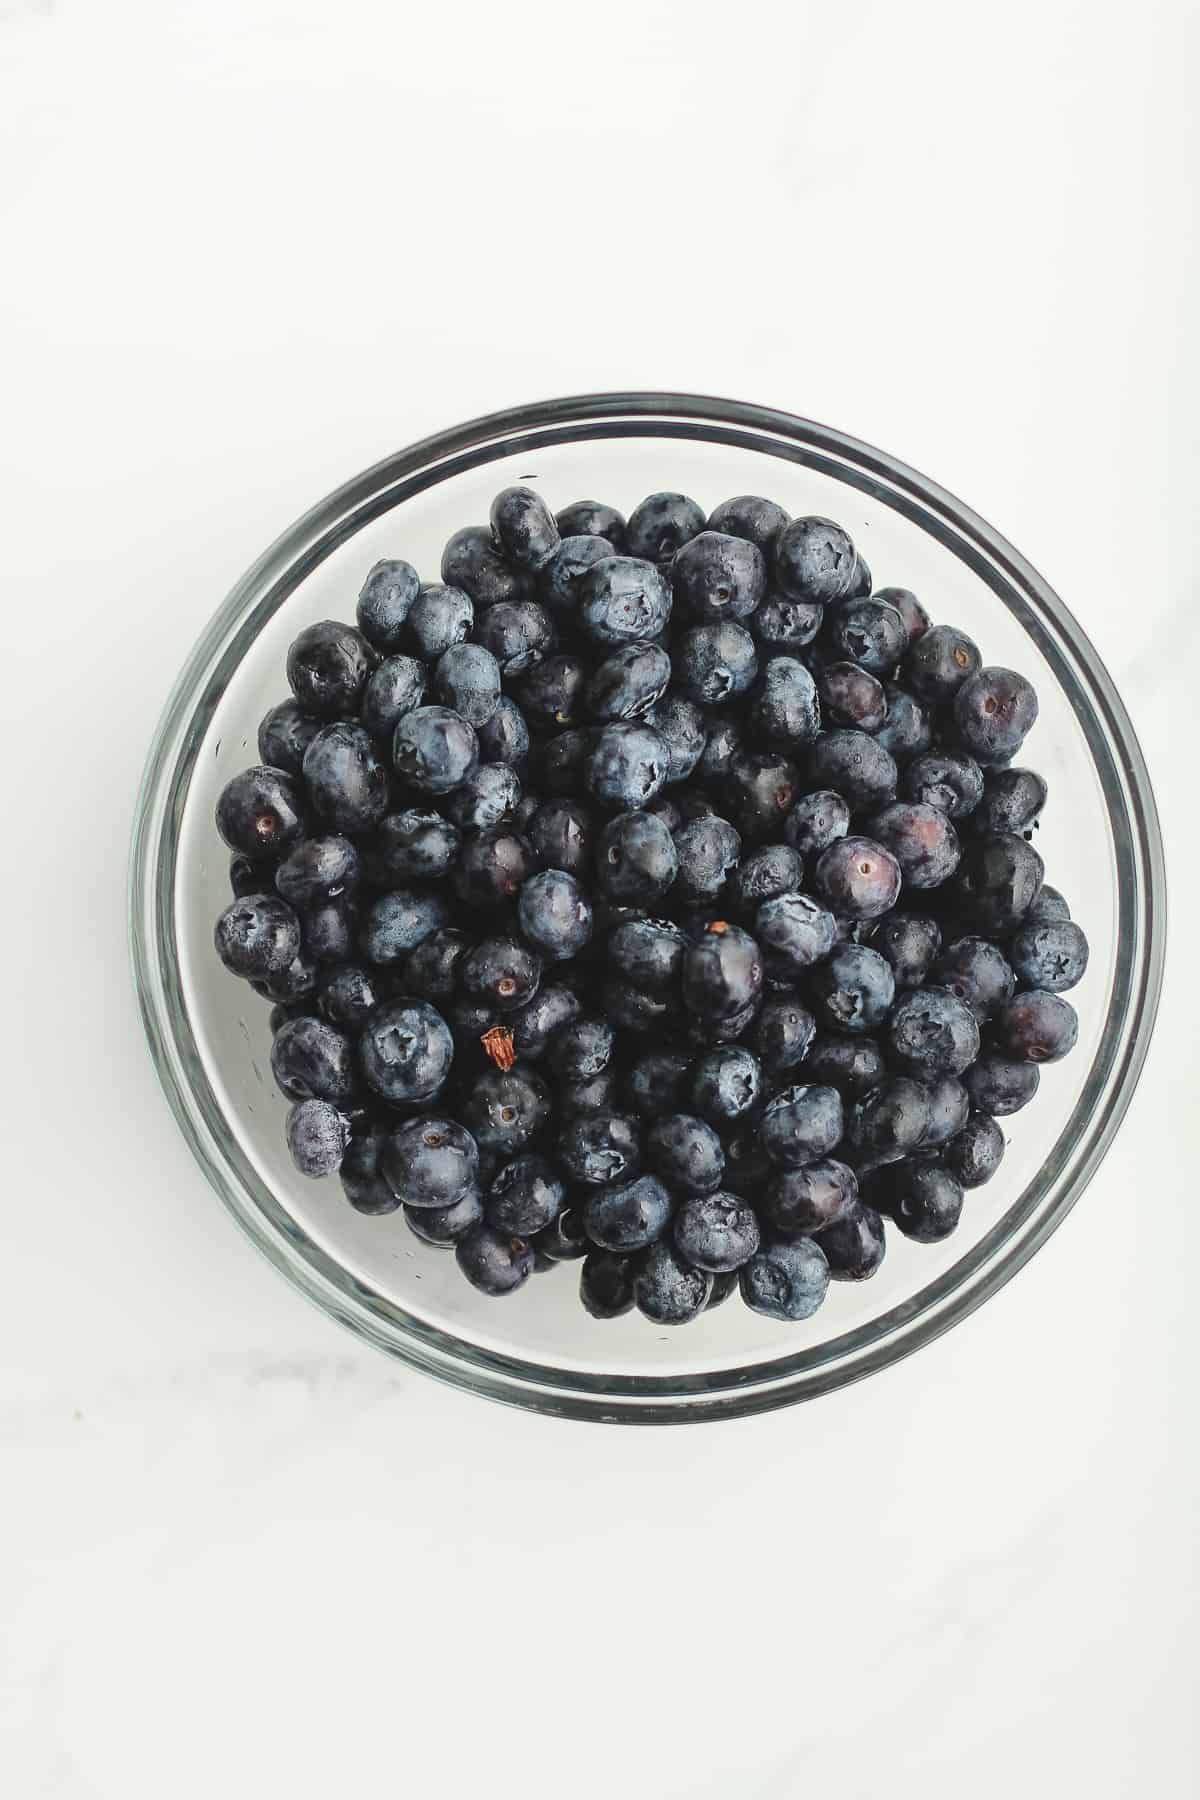
- Blueberries – Fresh blueberries work best!
- Lemon – Some fresh lemon juice helps keep the blueberries fresh!
How to Temper Eggs:
You’ll want to temper your eggs so that they are safe to eat. You can also use pasteurized eggs instead if you can find them in the grocery store.
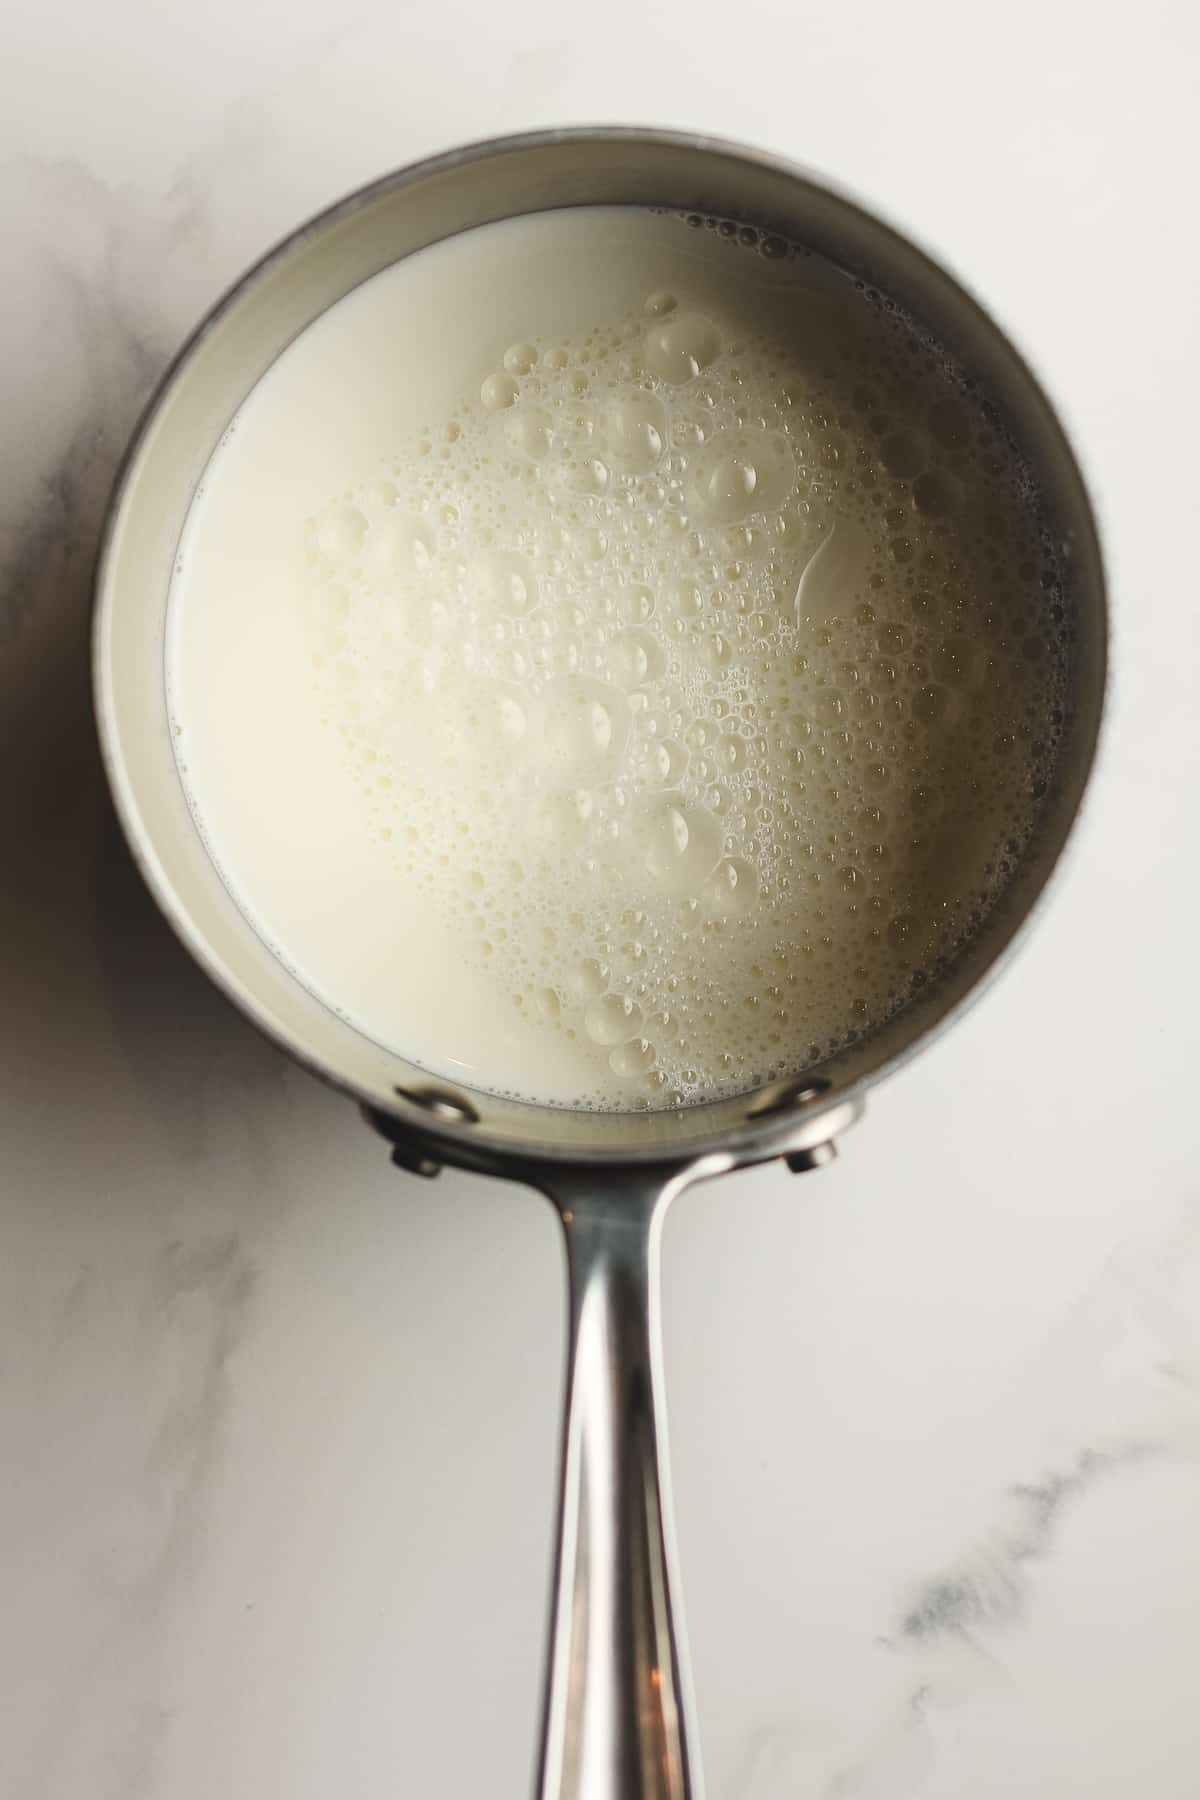
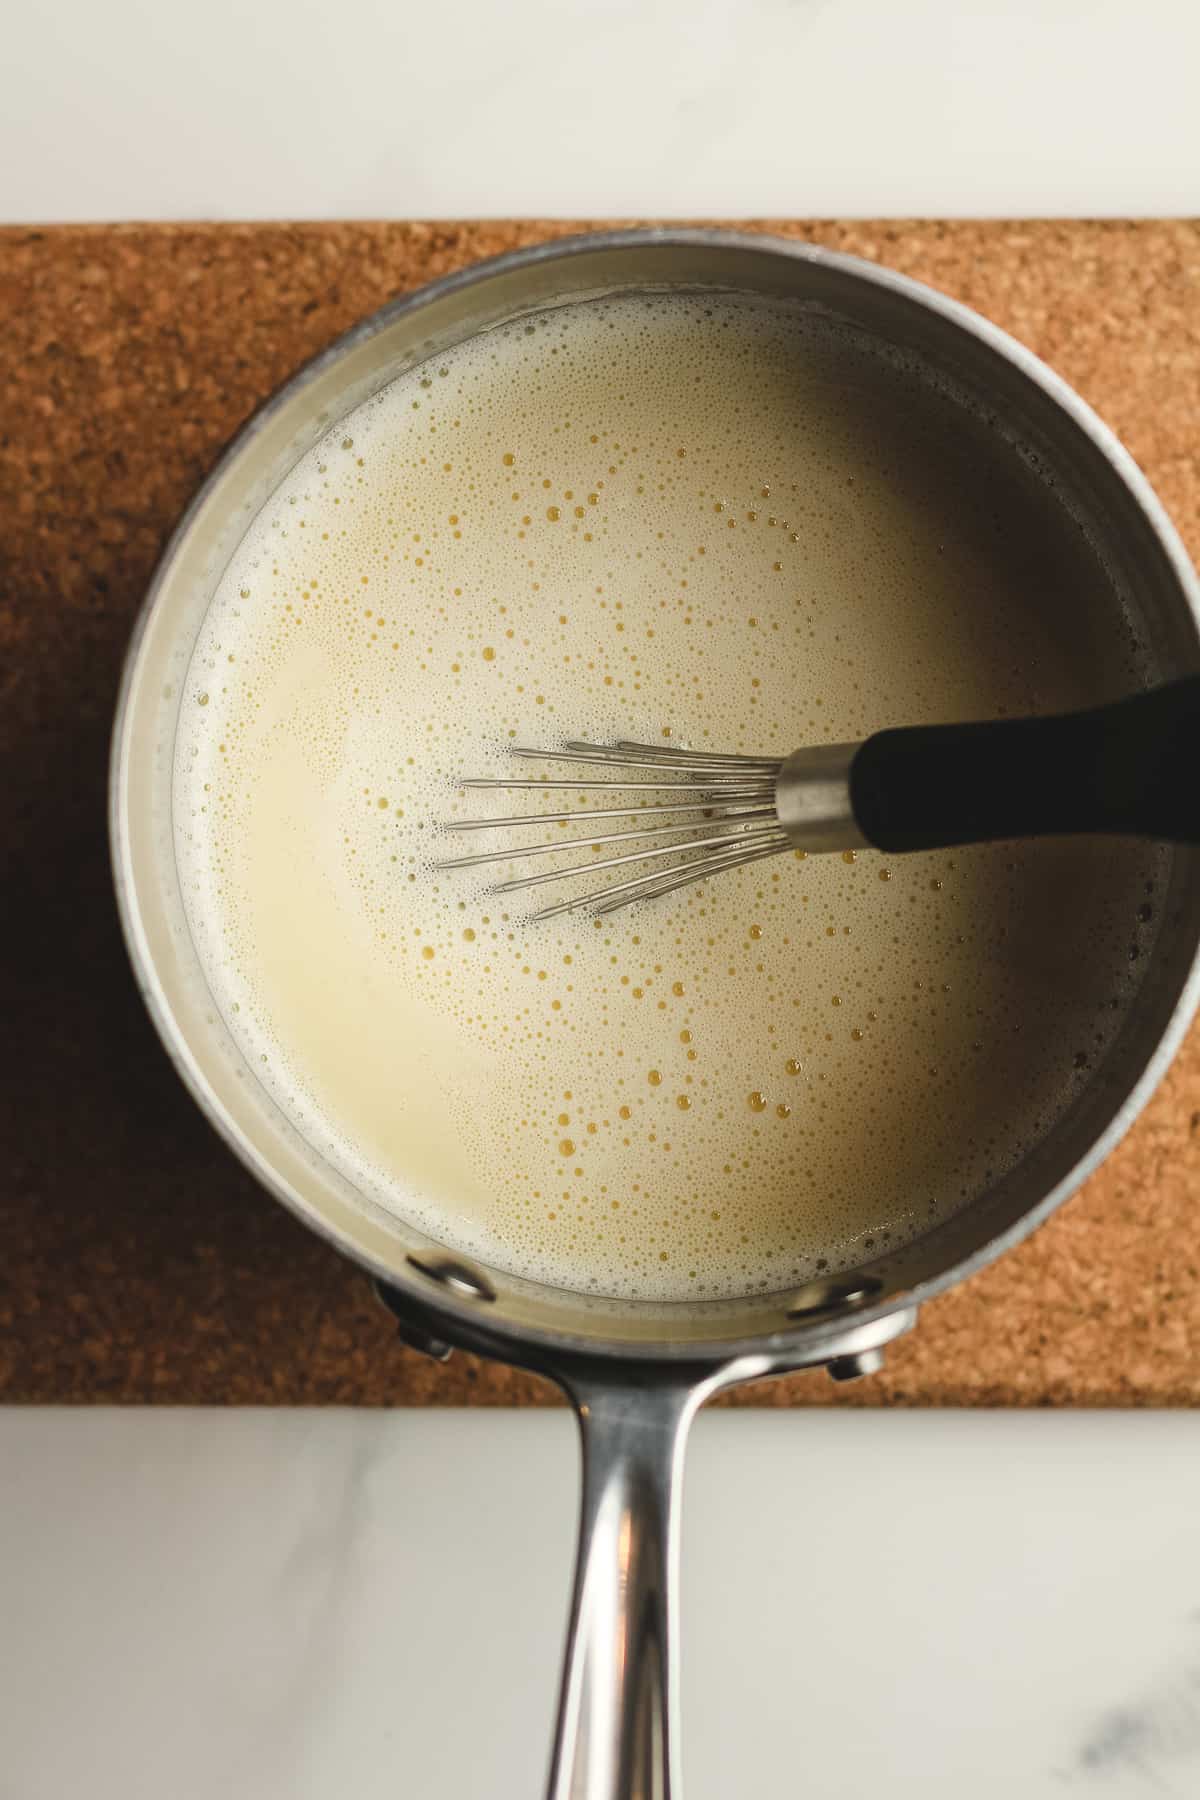
- Pour the whole milk and heavy cream into a small saucepan and heat over medium heat until it reaches 165 degrees F, stirring often. Do not boil.
- In a small mixing bowl, combine the egg yolks and 1/4 cup granulated sugar, and whisk well.
- When the dairy reaches 165 degrees F, take a measuring cup and pour about one cup into the egg mixture, whisking vigorously as you pour. Do not stop whisking as you drizzle in the dairy.
- Then pour the contents of the bowl into the saucepan and place back on heat. Continue whisking and heating until the mixture reaches 165 degrees F.
- Remove from heat and let cool slightly. Refrigerate.
How to make blueberry ice cream:
Step 1
Prep. If using a KitchenAid attachment, place the bowl into the freezer a full day in advance (or at least 15 hours) before churning.
Step 2
Temper the eggs. See directions above.
Step 3
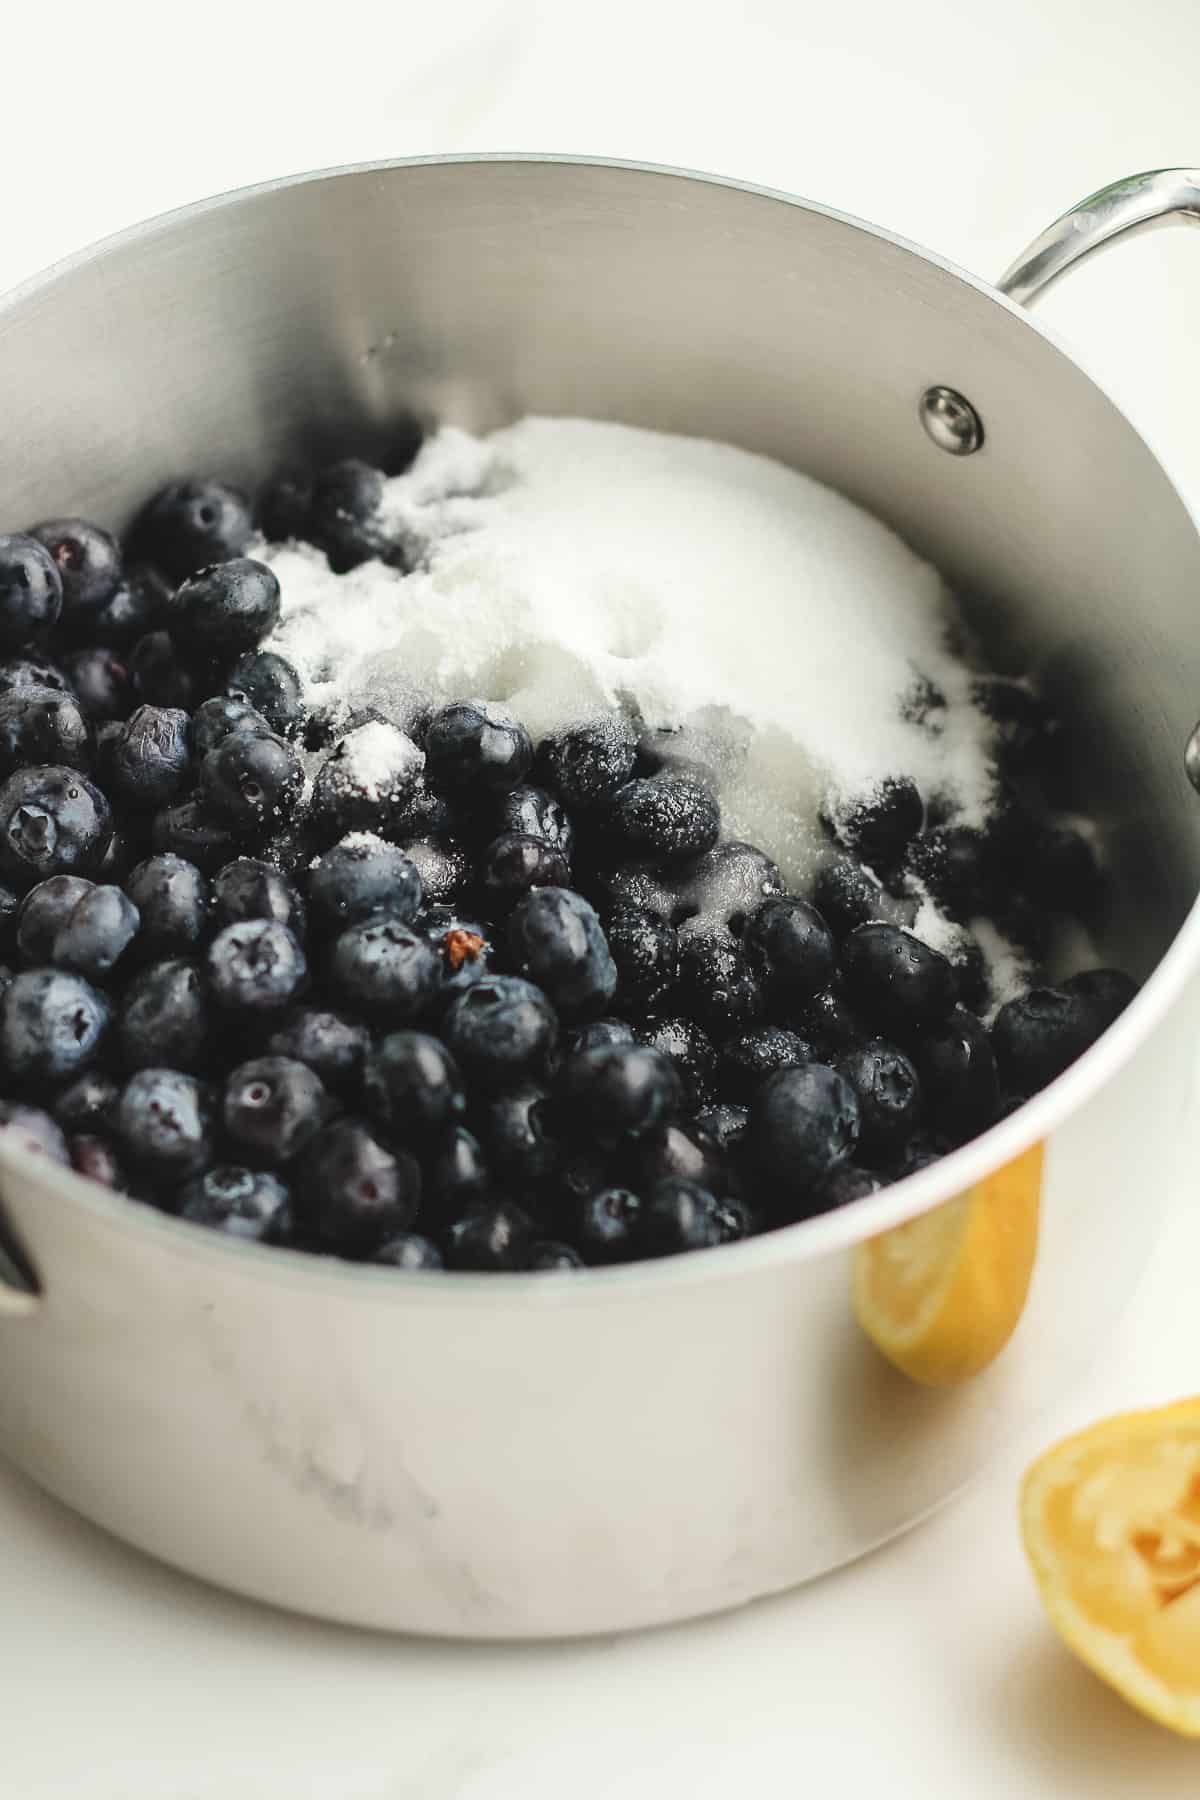
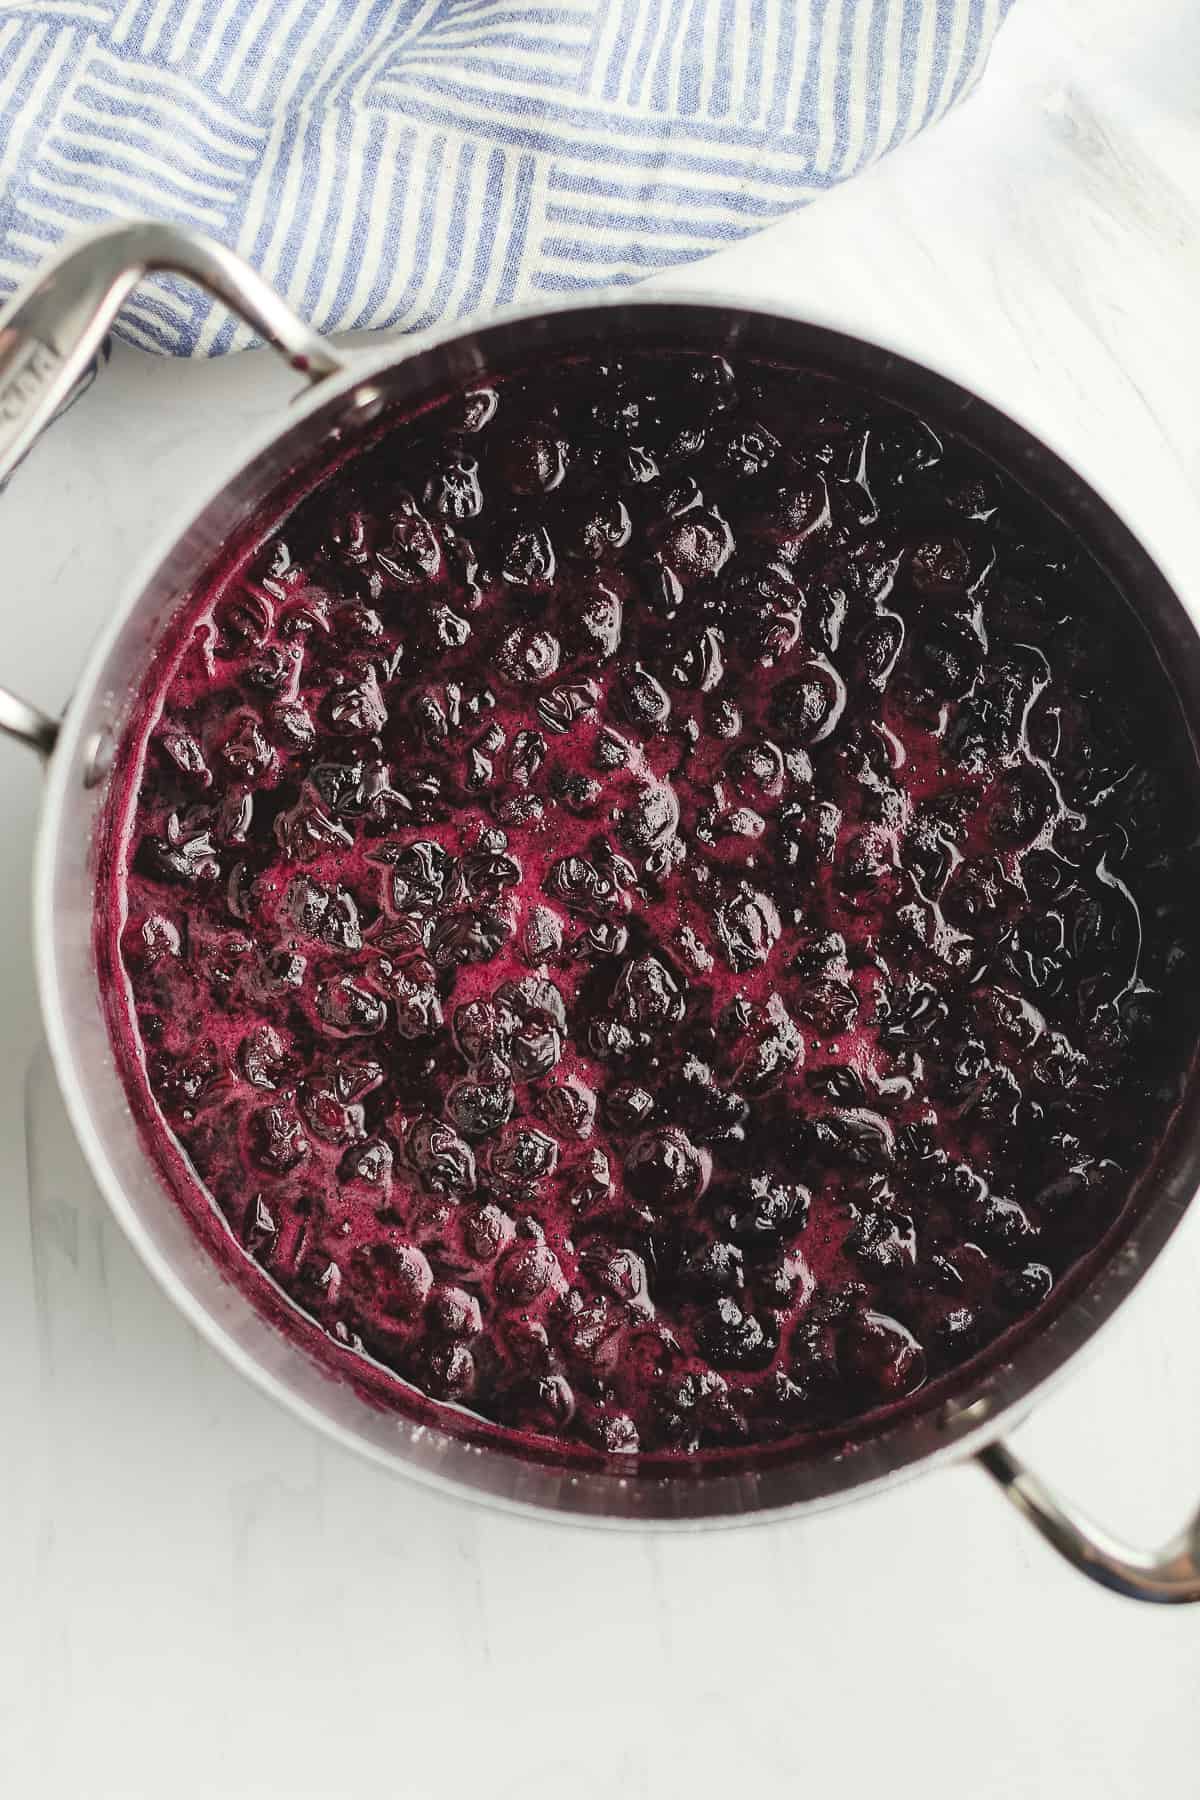
Cook the blueberries. In a medium saucepan, combine the blueberries, the freshly squeezed lemon, and 1/2 cup of granulated sugar. Cook on medium heat, and use a potato masher to smash the blueberries open while cooking. This process will take about 20 minutes.
Step 4
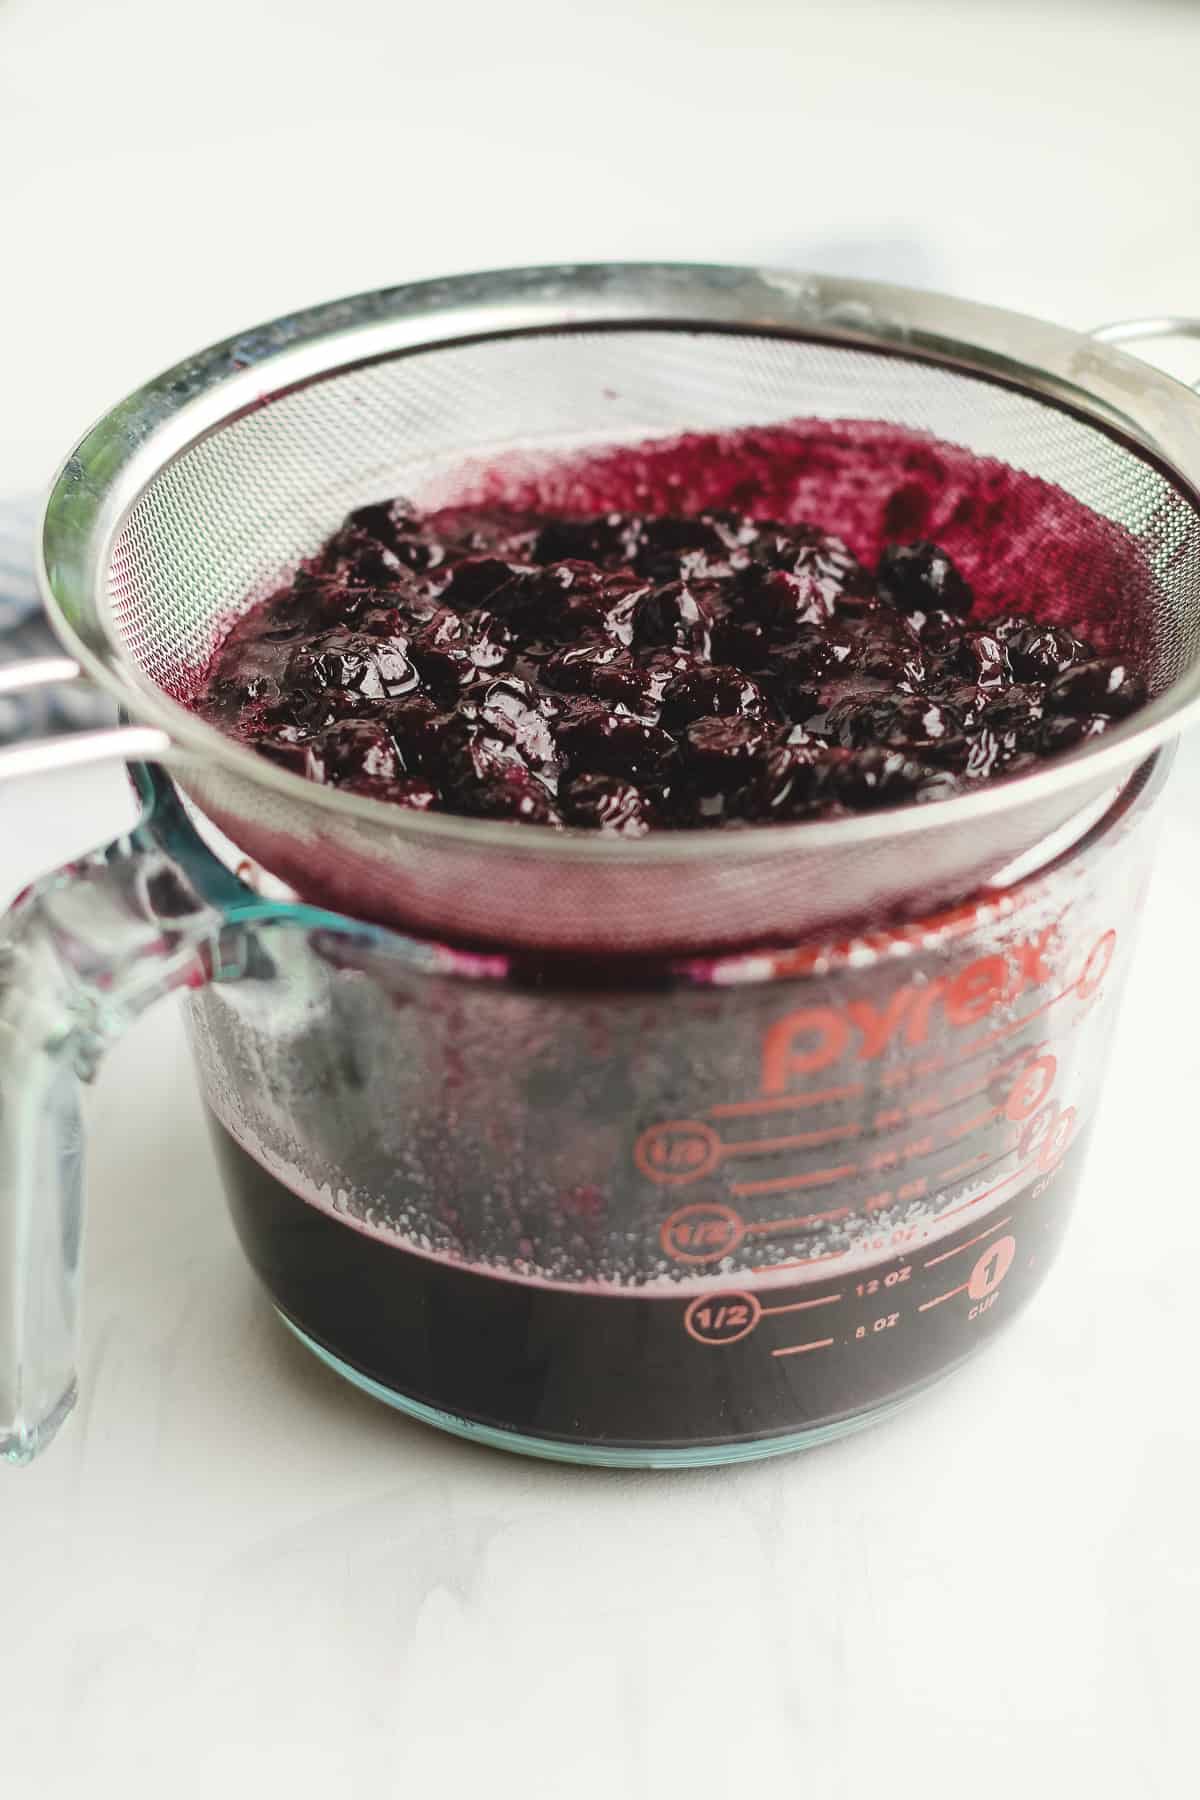
Strain the blueberries. Pour the cooked blueberries into a fine-mesh strainer set over a bowl, reserving all of the juices. Use the back of a spoon to gently press and stir the berries, extracting as much juice as possible. Let the blueberry juice cool.
Step 5
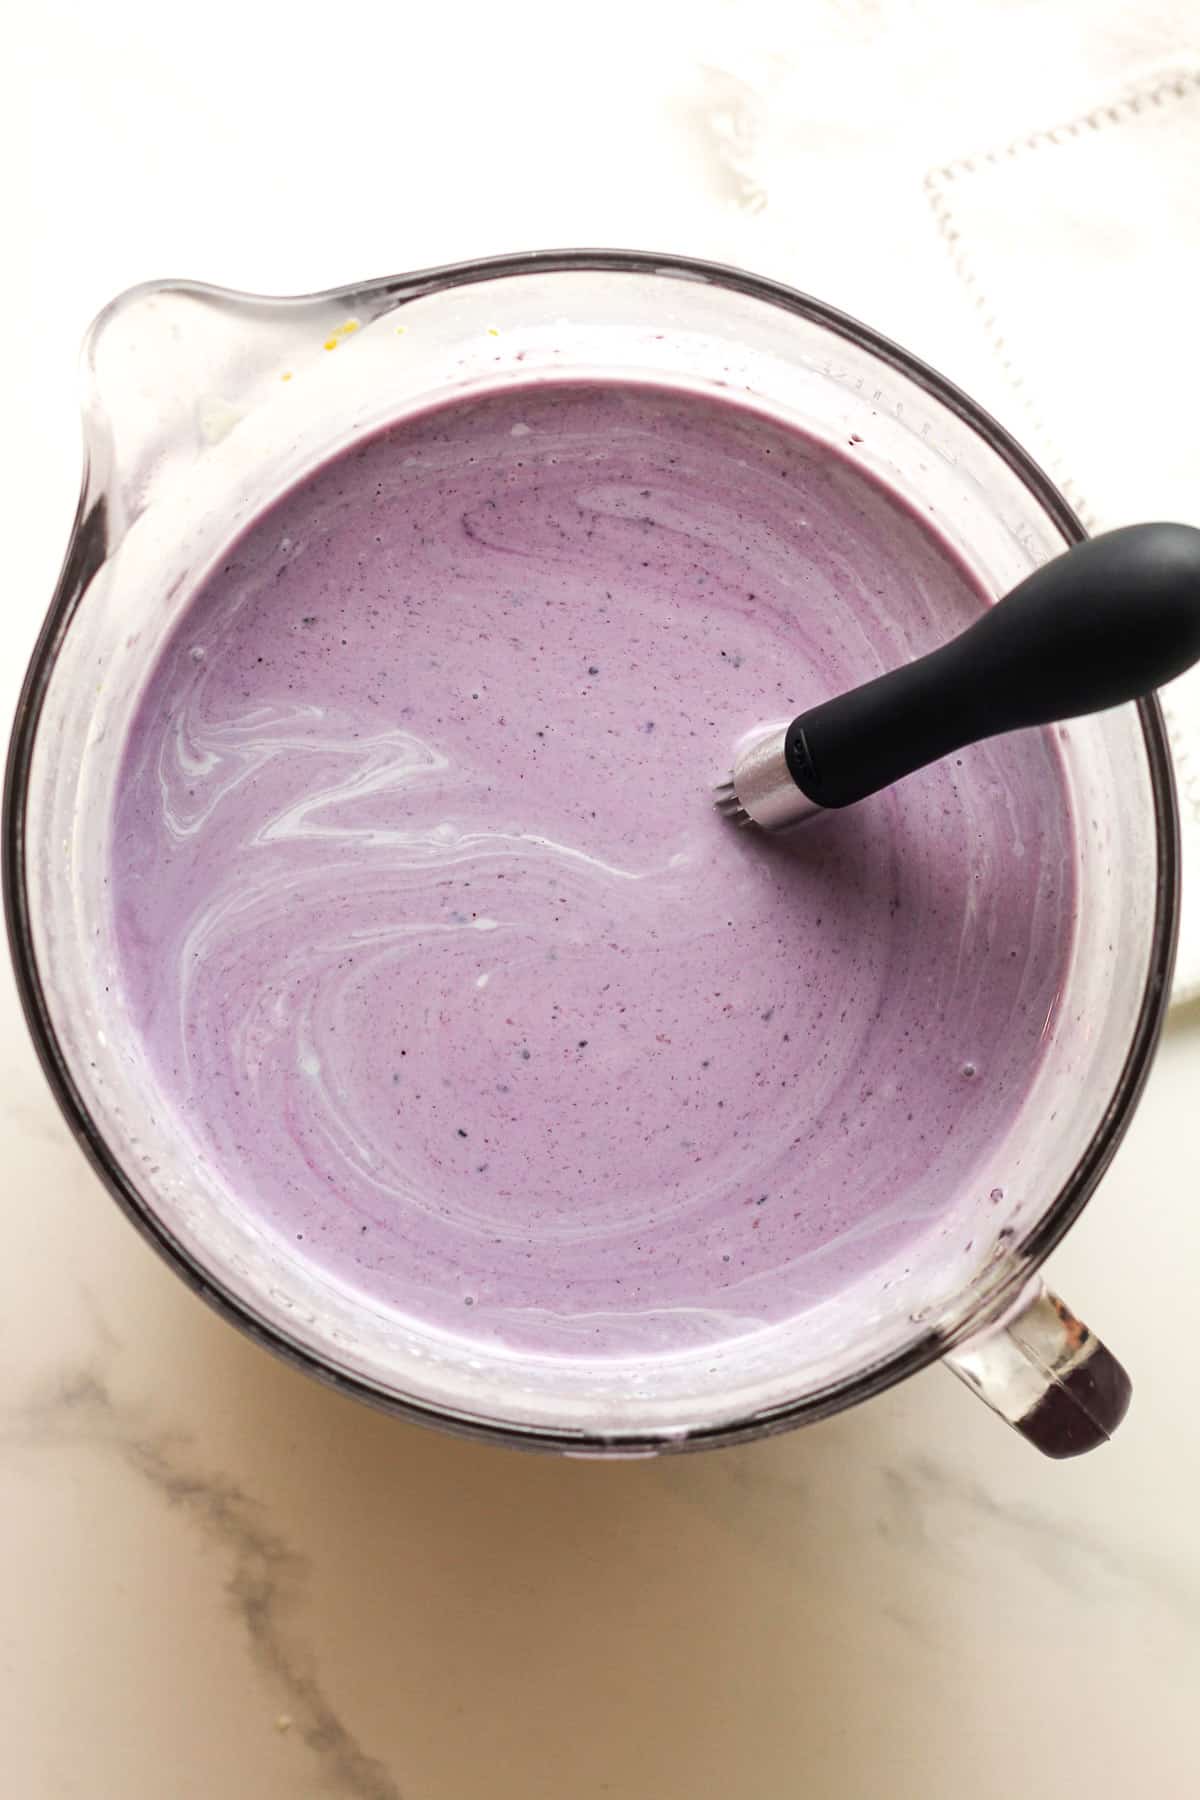
Combine ice cream ingredients. In a large measuring bowl, combine the cooled tempered egg mixture, the blueberry JUICE (not the berry pulp), and the vanilla extract. Mix well and refrigerate for at least four hours before churning. The mixture should be VERY COLD!
Step 6
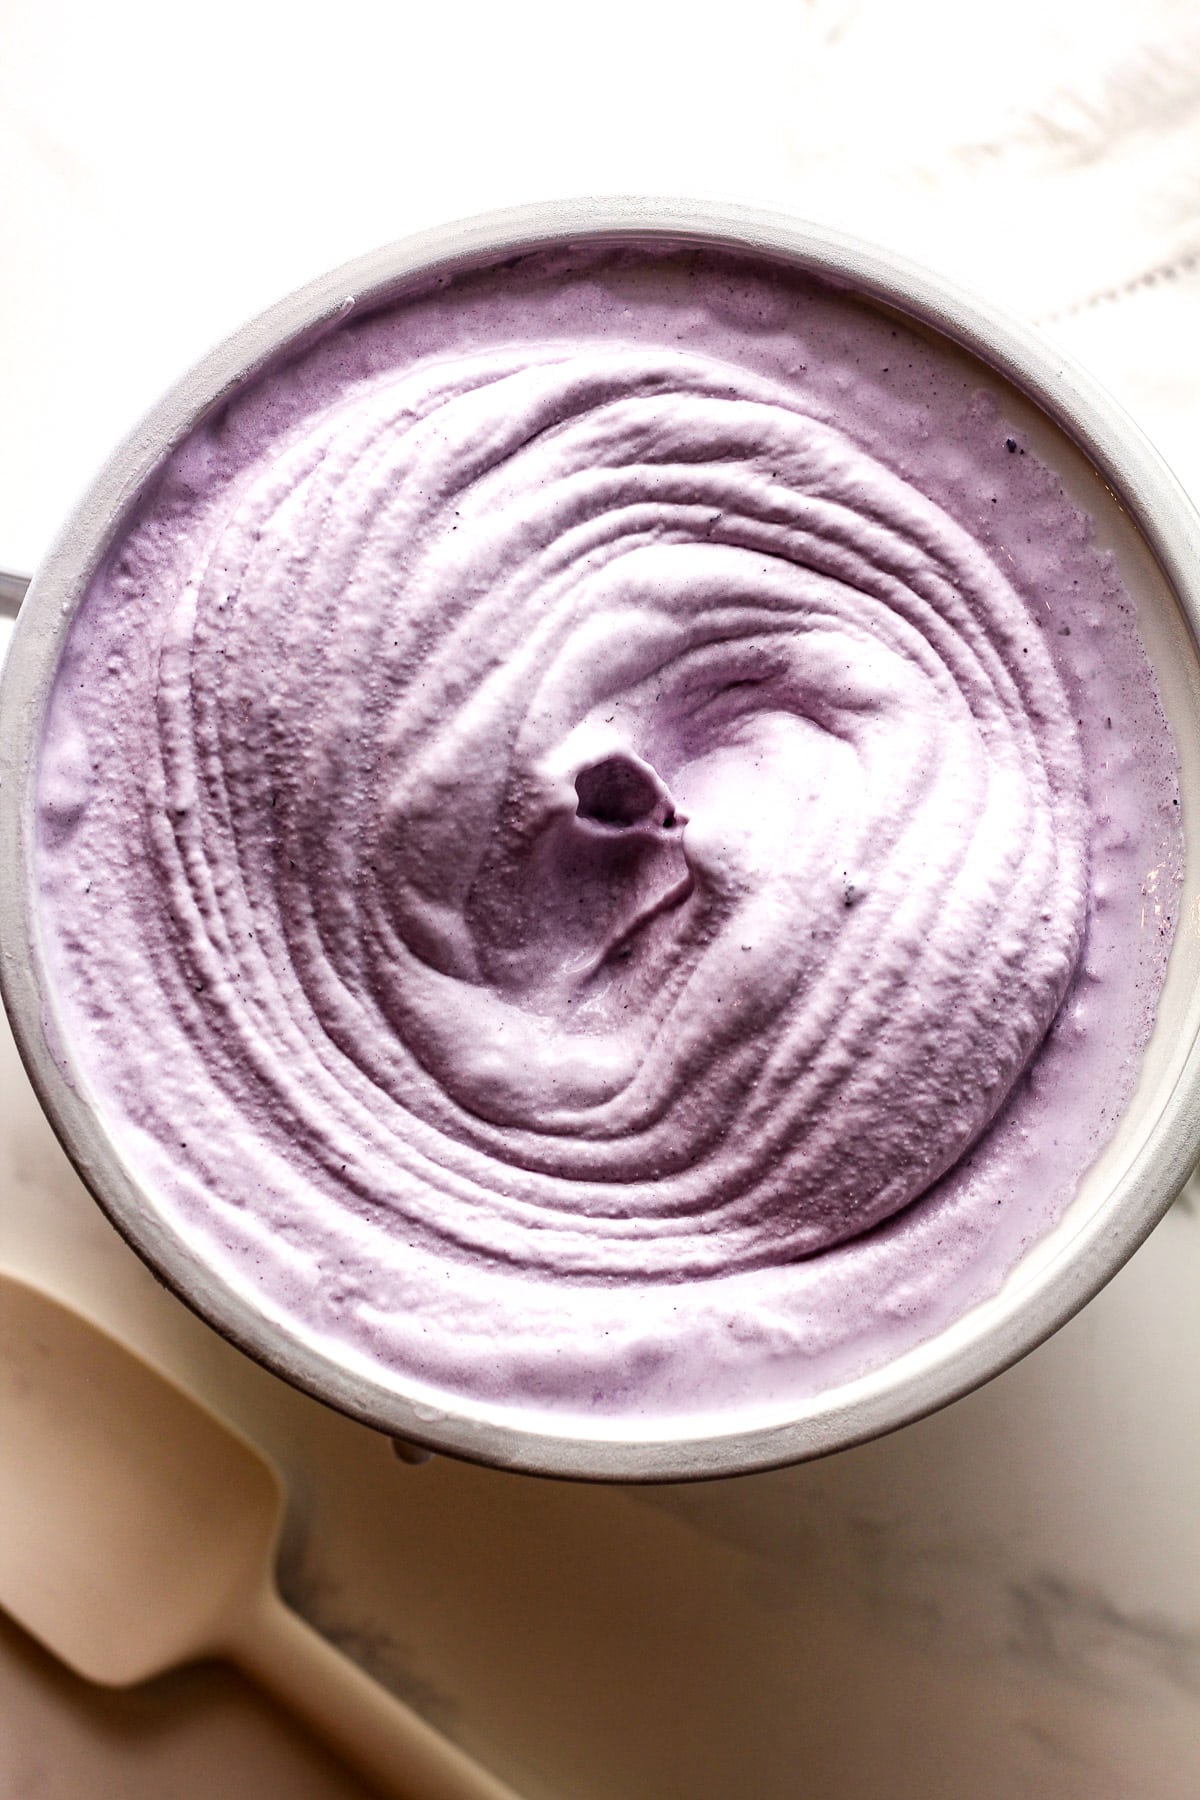
Churn. If using a KitchenAid attachment (as pictured below), start the mixer with the attachment so that it’s turning BEFORE you pour the liquid in. Then pour in whisked ingredients and let it churn until finished. You’ll know it’s done when the mixer starts slowing down and it rises to the top of the bowl, approximately 25-30 minutes.
Step 7
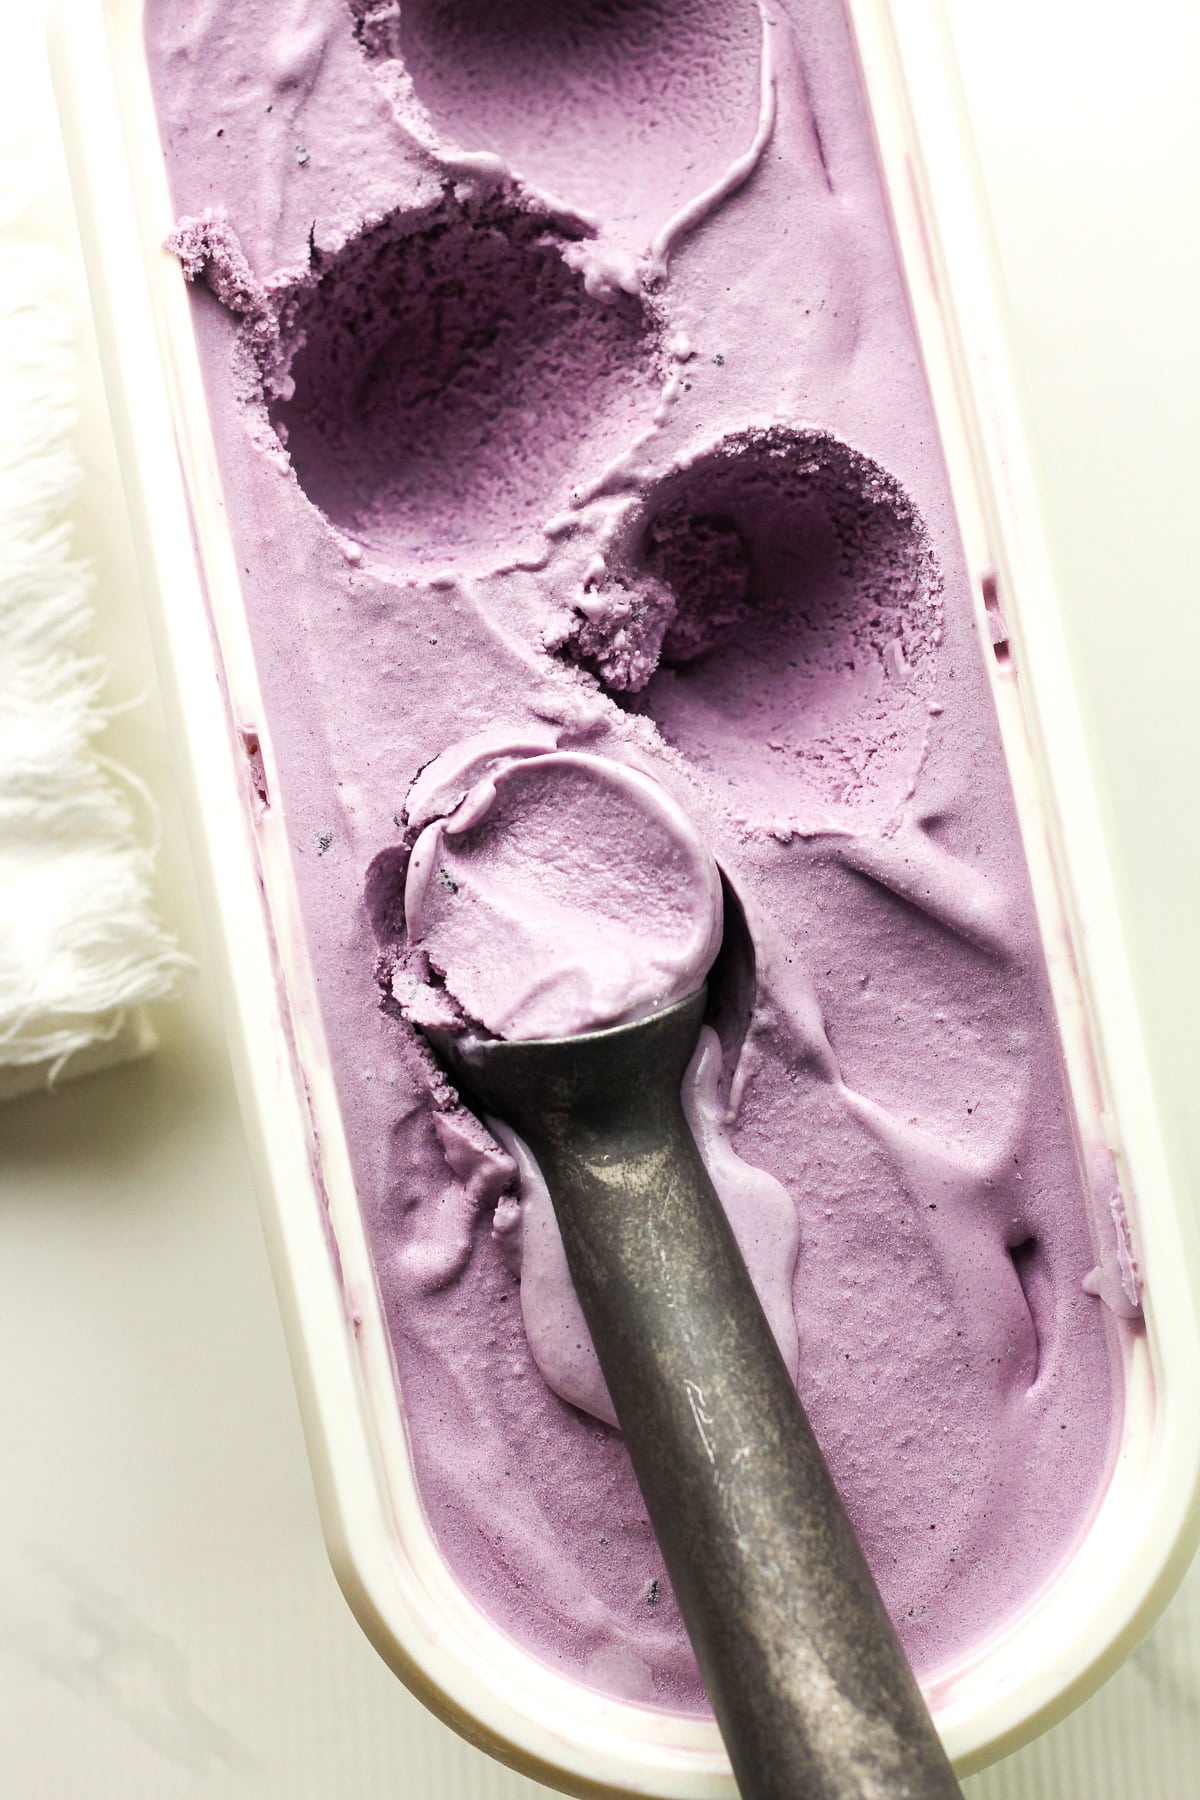
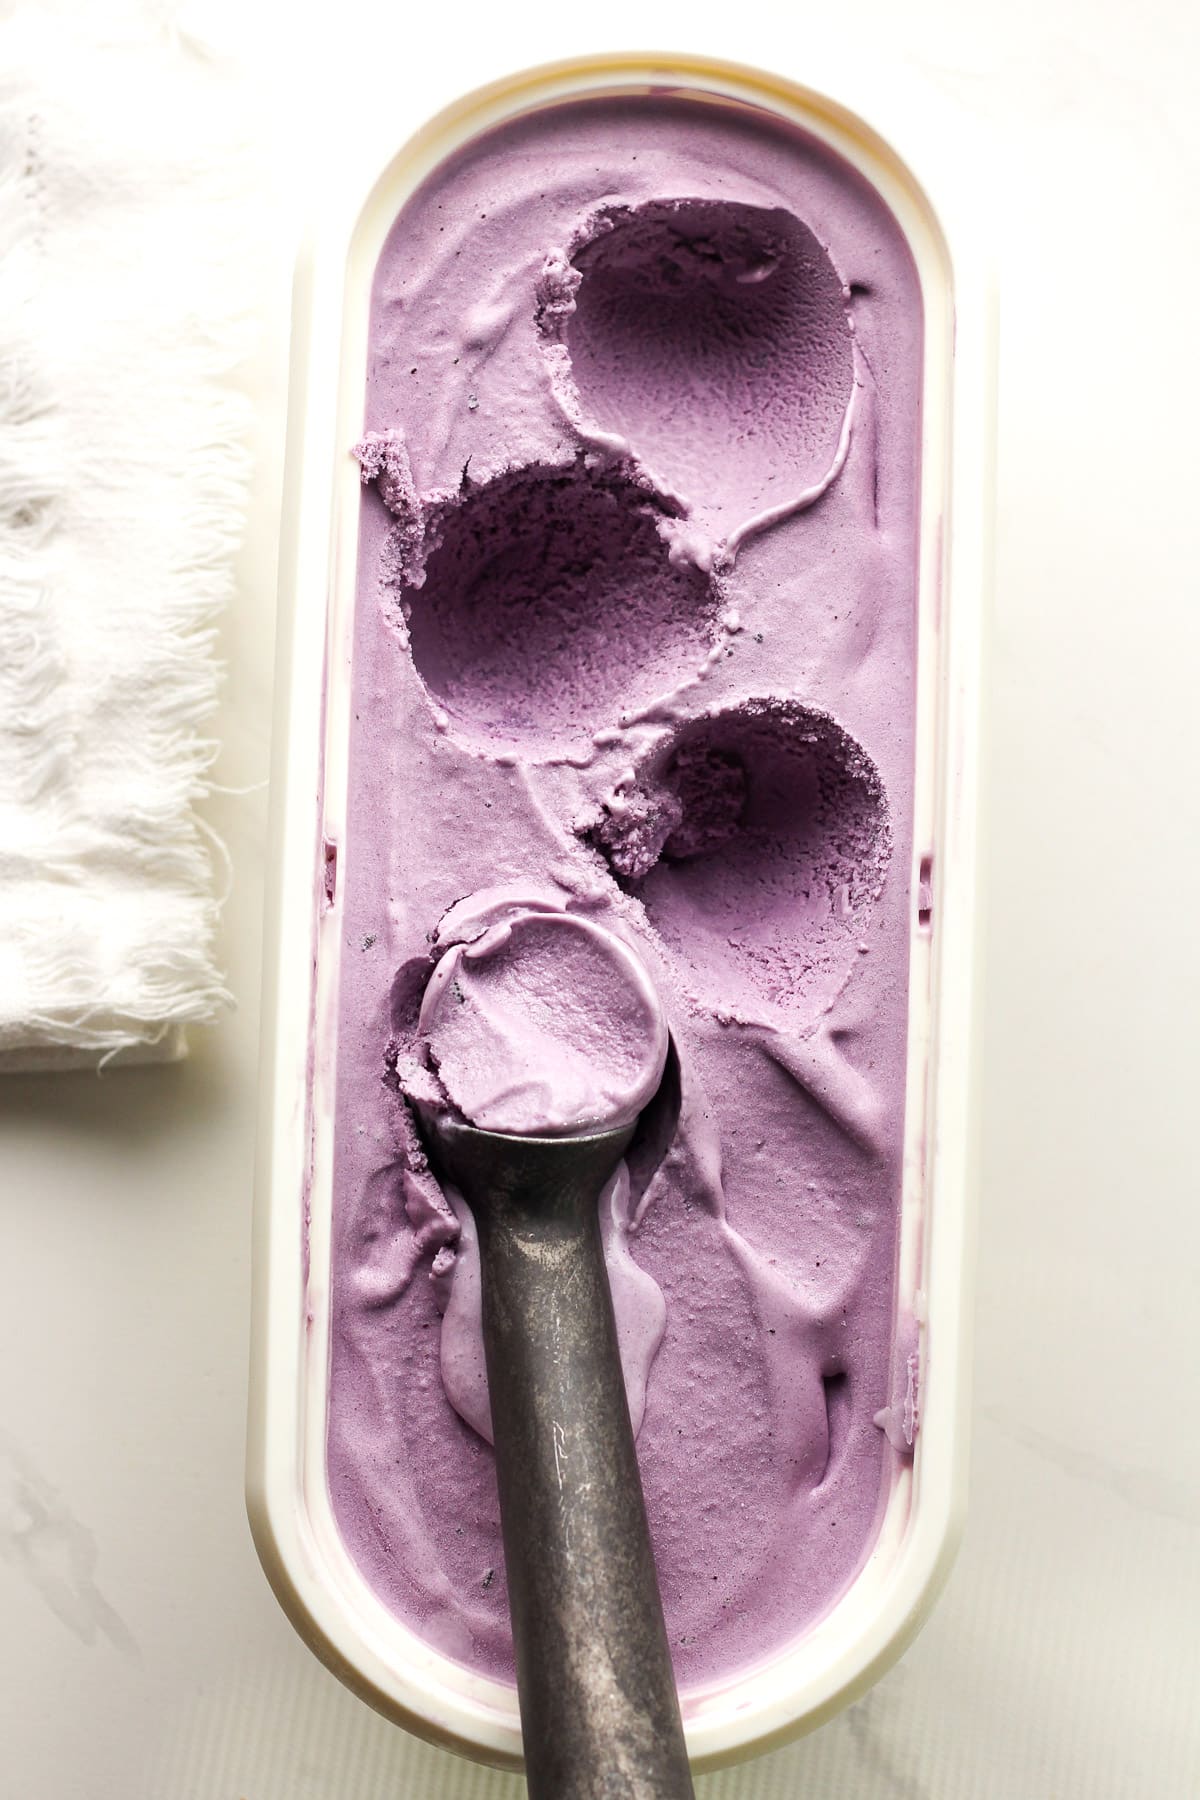
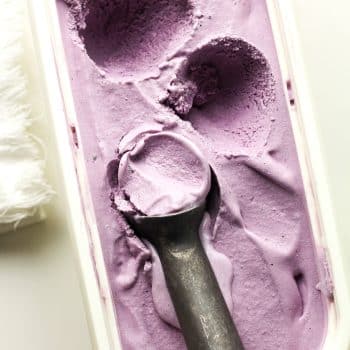
Remove. Use a rubber scraper to pour the ice cream out of the bowl into a freezer-safe container, smoothing evenly to all sides.
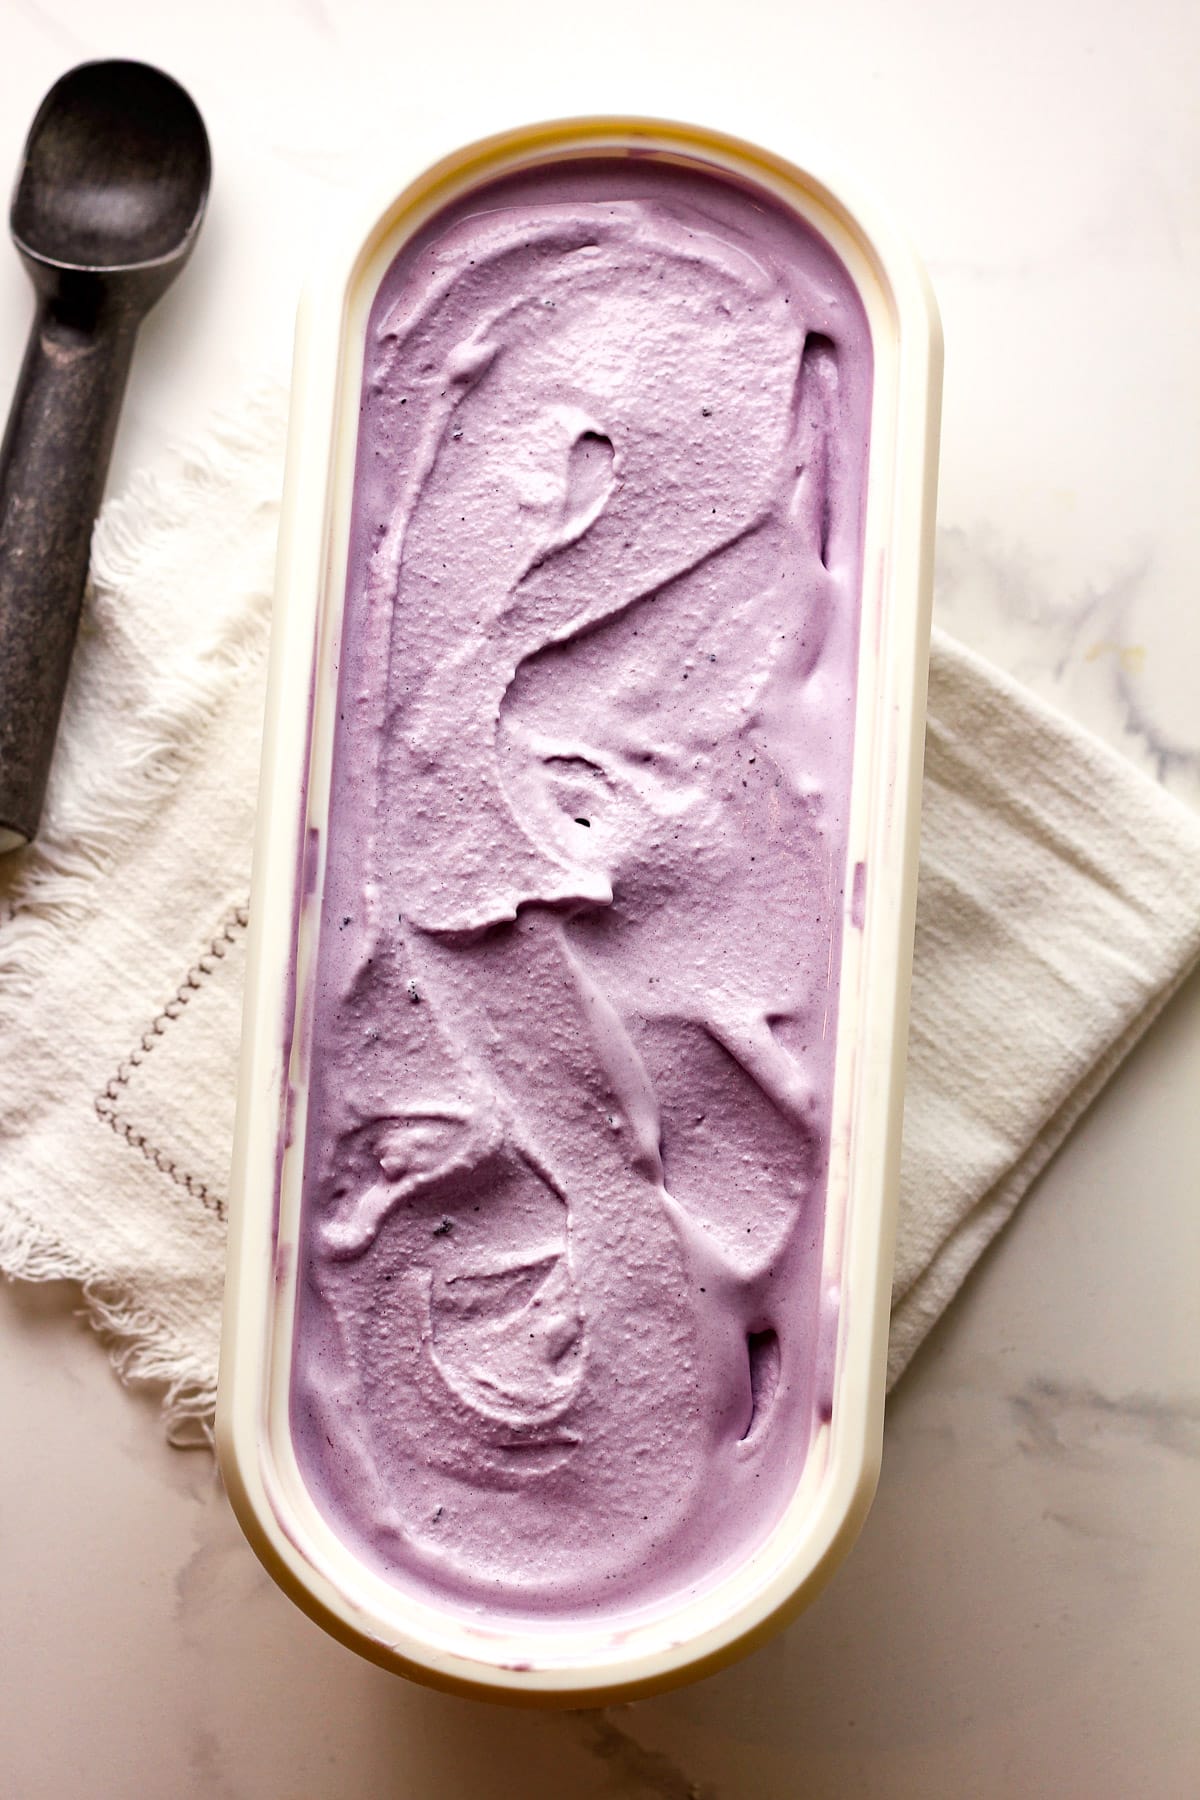
Step 8
Freeze. Freeze the blueberry ice cream until ready to serve. The ice cream will be a bit soft so it needs a couple of hours to firm up.
Tips for using a KitchenAid Attachment:
- Place bowl attachment in freezer. You’ll want to be sure to store the bowl in the freezer for AT LEAST 15 hours before using. Since we have an extra freezer in our laundry room, I keep ours in there all the time. That way we can make ice cream on a whim!
- Run mixer in advance. Attach bowl to the KitchenAid mixer and add the attachments. Start mixer on the lowest setting BEFORE adding ice cream mixture. This will prevent the bowl from freezing up.
- Add liquid while mixer is running. Then carefully pour the liquid into the bowl attachment while it’s running.
- Let it slow down slightly. The ice cream is done when you see it expanding to the top of the bowl and the mixer starts to slow down.
Other Ice Cream Flavors:
So tell me, which kind of ice cream do you want to make next?
- Something fruity? Peach | Blueberry | Very Berry | Strawberry
- Chocolatey? Double Chocolate | Chocolate Peanut Butter
- Classic? Vanilla Bean | Butter Pecan | Cookies and Cream | Mint Chip | Oreo
- Something different? Peppermint Stick | Pumpkin | Coffee Toffee | Reese’s PB
No matter which kind of ice cream maker you are using, you can adapt all of my ice cream recipes to fit. Head to our KitchenAid Ice Cream Recipes post to see my other recipes!
Kitchen Items Used: (affiliate links)
xoxo ~Sue
Blueberry Ice Cream Recipe
Ingredients
For the blueberries:
- 2 pints blueberries – or 24 ounces
- 1/2 cup granulated sugar – divided
- 1/2 large lemon – freshly squeezed
The remaining:
- 4 large egg yolks
- 3/4 cup granulated sugar
- 2 cups whole milk
- 2 cups heavy cream
- 1 Tablespoon vanilla extract
- a pinch of salt
Instructions
NOTE: I recently adapted this recipe to leave out the blueberry pulp. This recipe now includes only the blueberry juice – but the pulp can be added if you prefer it!
- If using KitchenAid attachment, place the bowl into the freezer a full day in advance (or at least 15 hours) before churning.
- Temper the eggs. Combine the egg yolks and 1/4 cup of sugar in a mixing bowl. Add the whole milk and heavy cream to a saucepan and heat over medium heat to a temperature of 165 degrees F. (Do not boil.) When the dairy is hot, drizzle about one cup of it into the eggs/sugar mixture, whisking constantly. Then pour the egg mixture back into the pan, plus another 1/2 cup sugar, and heat to 165 degrees F. The mixture should be thick and easily coat the back of a spoon.4 large egg yolks, 3/4 cup granulated sugar, 2 cups whole milk, 2 cups heavy cream
- Cook blueberries. In a medium saucepan, combine the blueberries, the freshly squeezed lemon, and 1/2 cup of granulated sugar. Cook on medium heat, and use a potato masher to smash the blueberries open while cooking. This process will take about 20 minutes.2 pints blueberries, 1/2 large lemon, 1/2 cup granulated sugar
- Strain the blueberries. Pour the cooked blueberries into a fine-mesh strainer set over a bowl, reserving all of the juices. Use the back of a spoon to gently press and stir the berries, extracting as much juice as possible. Let the blueberry juice cool.
- Combine ice cream ingredients. In a large measuring bowl, combine the cooled tempered egg mixture, the blueberry JUICE (not the berry pulp), and the vanilla extract. Mix well and refrigerate for at least four hours before churning. The mixture should be VERY COLD!Mix well and refrigerate for at least four hours before churning. The mixture should be VERY COLD!1 Tablespoon vanilla extract, a pinch of salt
- Churn. If using a KitchenAid attachment, start the mixer with the attachment so that it’s turning BEFORE you pour the liquid in. Then pour in whisked and chilled ingredients and let it churn until finished. You’ll know it’s done when the mixer starts slowing down and it rises to the top of the bowl, approximately 25-30 minutes.
- Transfer to container. Use a rubber scraper to pour the ice cream out of the bowl into a freezer-safe container, smoothing evenly to all sides.
- Freeze the ice cream until ready to serve. The ice cream will be a bit soft so it needs a couple of hours to firm up.
Video
Notes
- Place bowl attachment in freezer. You’ll want to be sure to store the bowl in the freezer for AT LEAST 15 hours before using. Since we have an extra freezer in our laundry room, I keep ours in there all the time. That way we can make ice cream on a whim!
- Run mixer in advance. Attach bowl to the KitchenAid mixer and add the attachments. Start mixer on the lowest setting BEFORE adding ice cream mixture. This will prevent the bowl from freezing up.
- Add liquid while mixer is running. Then carefully pour the liquid into the bowl attachment while it’s running.
- Let it slow down slightly. The ice cream is done when you see it expanding to the top of the bowl and the mixer starts to slow down.
Nutrition
Friday #BBQWeek Recipes
Appetizers and Drinks
- BBQ Deviled Eggs by The Spiffy Cookie
- Lemonade Margarita by Cheese Curd In Paradise
- Mojitos with Grilled Strawberries and Mint by Our Good Life
Side Dishes
- Caprese Salad by House of Nash Eats
- Classic Broccoli Salad by Family Around the Table
- Cowboy Caviar by Devour Dinner
- Grilled Peppers and Potatoes by Jolene’s Recipe Journal
- Wilted Mixed Green Salad with Bacon and Blue Cheese by Karen’s Kitchen Stories
Main Dishes
- Grilled Shrimp Skewers with Tropical Fruit Salsa by A Day in the Life on the Farm
- Summer Steak Salad by Kate’s Recipe Box
Desserts
- Blueberry Coffee Cake by Sweet Beginnings
- Blueberry Ice Cream Recipe by SueBee Homemaker
- Copycat Dole Pineapple Whip by Hezzi-D’s Books and Cooks
- Grilled Strawberry Shortcake by Blogghetti
Be sure to follow our Pinterest board for more summer BBQ ideas. Thank you to Christie from A Kitchen Hoor’s Adventures and Ellen from Family Around the Table for hosting the event.
Wow that’s a pretty special blueberry ice cream recipe. Best I’ve ever had. I added 2 teaspoons of cinnamon per batch and an extra Egg yolk per batch, which I always do anyways, cause more egg yolks the merrier, and it was phenomenal and squeezed some fresh lemon from my Myers lemon tree. You can taste the lemon, the blueberry, and the cinnamon all nicely balanced. It’s just so delicious and creamy. Worth the extra effort of squeezing the blueberries out. My daughter kept haranguing me. Why
do you gotta do that? Why can’t you just use the skins? I said because that’s the way the recipe writes it, and there’s reasons why you don’t keep the skin and just follow the recipe and stop arguing! frigging kids these days. They think they know everything😂😂😂🙅♂️⚠️ Many mahalos from Kaua’i
Sue I made this recipe and it was the best ice cream I have ever made!!! The recipe was so simple to follow and make I was surprised. You are a true inspiration with all the ice cream recipes you offer…amazing!!! I have made the Butterscotch, Carmel, Chocolate and Toffee all easy and delicious! Thanks so much!
Hi Jackie! I’m so happy to hear that you’ve been enjoying my ice cream recipes! Thanks for your feedback. 🙂
Hello!
We are dying to try your recipe – the comments are so positive and it looks deelish. But your web page jumps around so much and there are so many pop ups we can’t even look at the page properly. Please fix it so that a person can actually remain on the page to read the content. Would go a long way! Thank you and all the best.
Used this Blueberry recipe and procedure (including cooking/pressing berries) to make BLACKBERRY ice cream, but substituted Half & Half for the milk – did not blend the blackberry pulp into the batter or churned ice cream since it is too “seedy” (unlike blueberry pulp, which can be optionally blended into ice cream) – turned out delicious! I’m assuming this will work well for red or black raspberry ice cream also.
Sounds great, John!
I made your strawberry ice cream recently and it was great! In that recipe you use egg yolks only, but in this blueberry recipe you’re using whole eggs (yolks and whites) – what’s the difference? Also – you don’t add the blueberry pulp until after churning but is it possible (and maybe desirable) to add while churning, say during the last 5 minutes or so? I know this will break up the pieces somewhat but maybe that’s desirable…
As I’ve created more ice cream recipes, I’ve started using the egg yolks only. Using just yolks is my preferred way now as it tends to make the ice cream creamier. Either way will still result in delicious ice cream, however!
I added all 2 cups of the milk to the egg and sugar mixture. Am I screwed??? And need to start over?
I was out of town when you sent this, Tiffany. Please let me know how the ice cream turned out!
I did this also – if there was a problem I didn’t notice – the ice cream turned out delicious!
I’m making this now and it says to put everything in the kitchen aid mixer including the “remaining sugar.” But there isn’t any remaining sugar. Recipe calls for 1-1/4 cups of sugar and 3/4 went into the tempered eggs and 1/2 went into the blueberries. Am I supposed to add more when it comes to the mixing part? If so, how much?
Oh I’m sorry about that. There is no remaining sugar! I’ll fix that now.
I can’t wait to make this. About how many cups of the blueberry syrup should I end up with?
It should make about 1 1/2 cups of syrup. Let me know how it turns out for you!
Thanks! It was delicious. I used berries from a farm about a mile away from my house. Can’t get much more local than that!
I always forget how easy the Kitchen Aid ice cream maker is to use. Going to make peach next week and be as big as a house. LOL
So far I have made the custard and the blueberry juice/pulp, but I have been trying to find out if this recipe will work in a 1 1/2 quart ice cream maker. If not, I guess I have to do in two batches which will be annoying because I’ll have to wait a whole day for the machine to freeze again. I didn’t see any link that helps scale it. Well, too late now but still excited to see the results. Can’t wait to try this beautiful treat.
You can change the serving size (in the recipe card) to scale the recipe.
Another recipe we so lucky to try on our sisters weekend and we are a family of ice cream lovers!! So delicious and blueberryeeee!! Dad would have loved it too!!
We love this one too!! 🙂
Favorite ice cream to date!
This blueberry ice cream is absolutely delicious! It’s now a new family favorite!!