Peppermint Stick Ice Cream
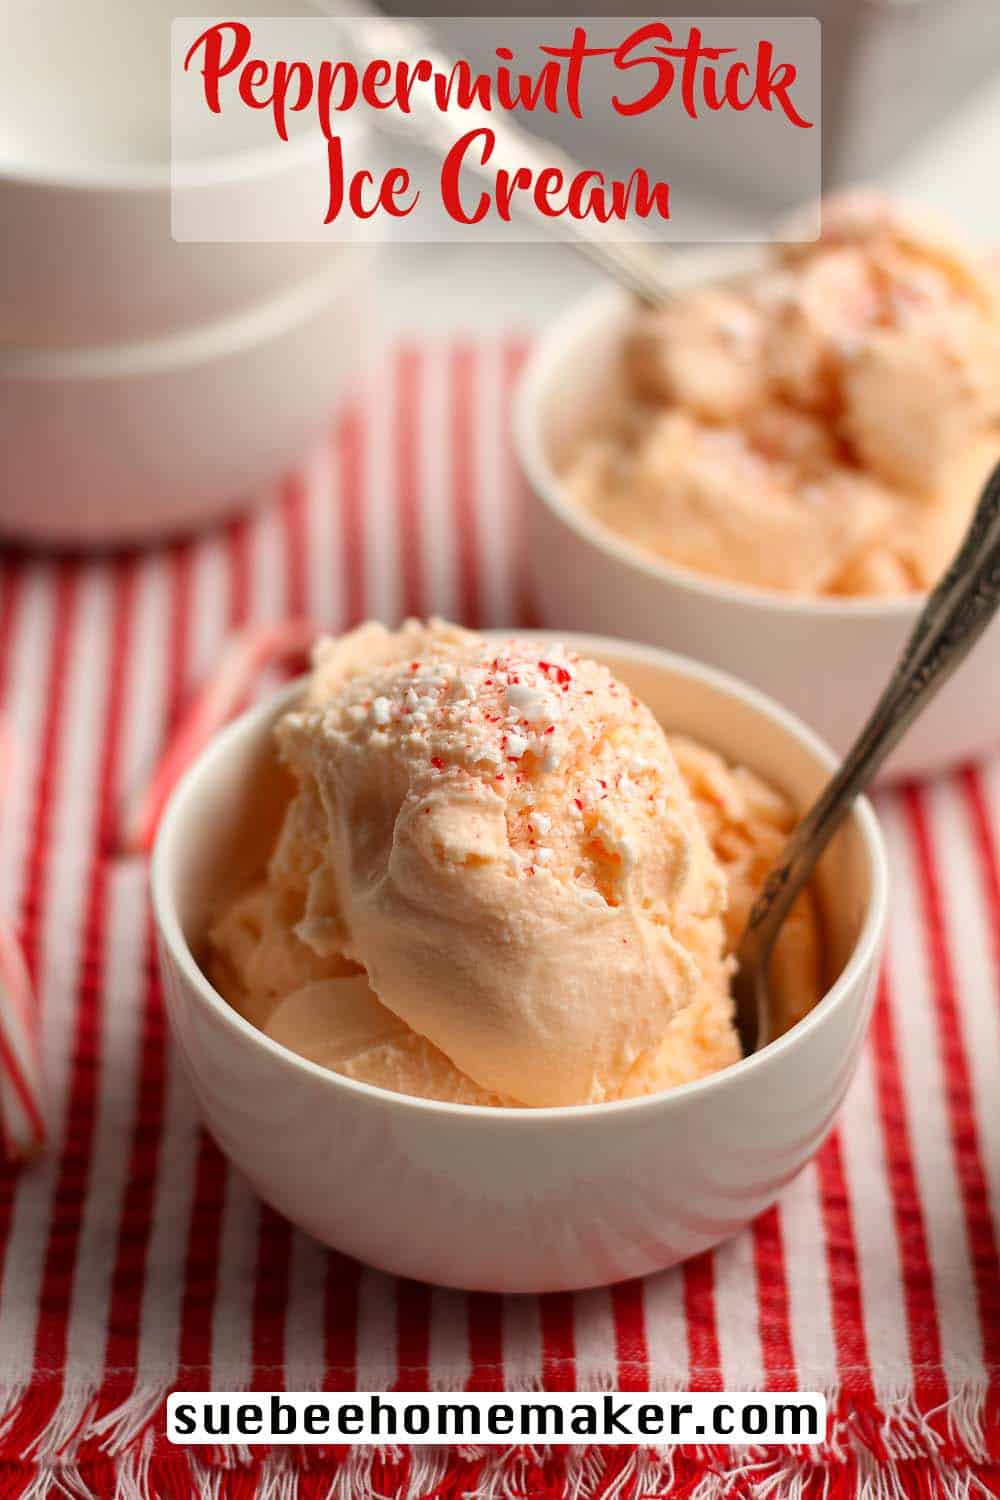
Peppermint Stick Ice Cream combines classic vanilla ice cream with peppermint sticks and extract. A holiday classic but delicious all year round too!
If you love that peppermint flavor, you’ll also enjoy my Peppermint Mocha Cookies!
Homemade Peppermint Ice Cream
I grew up looking so forward to the peppermint ice cream that Mom would pick up at the grocery store every December. It was pink with little specks of red and green peppermint bits. I was prone to standing at the kitchen counter with a spoon and a container of ice cream. Makes me smile just thinking of it.
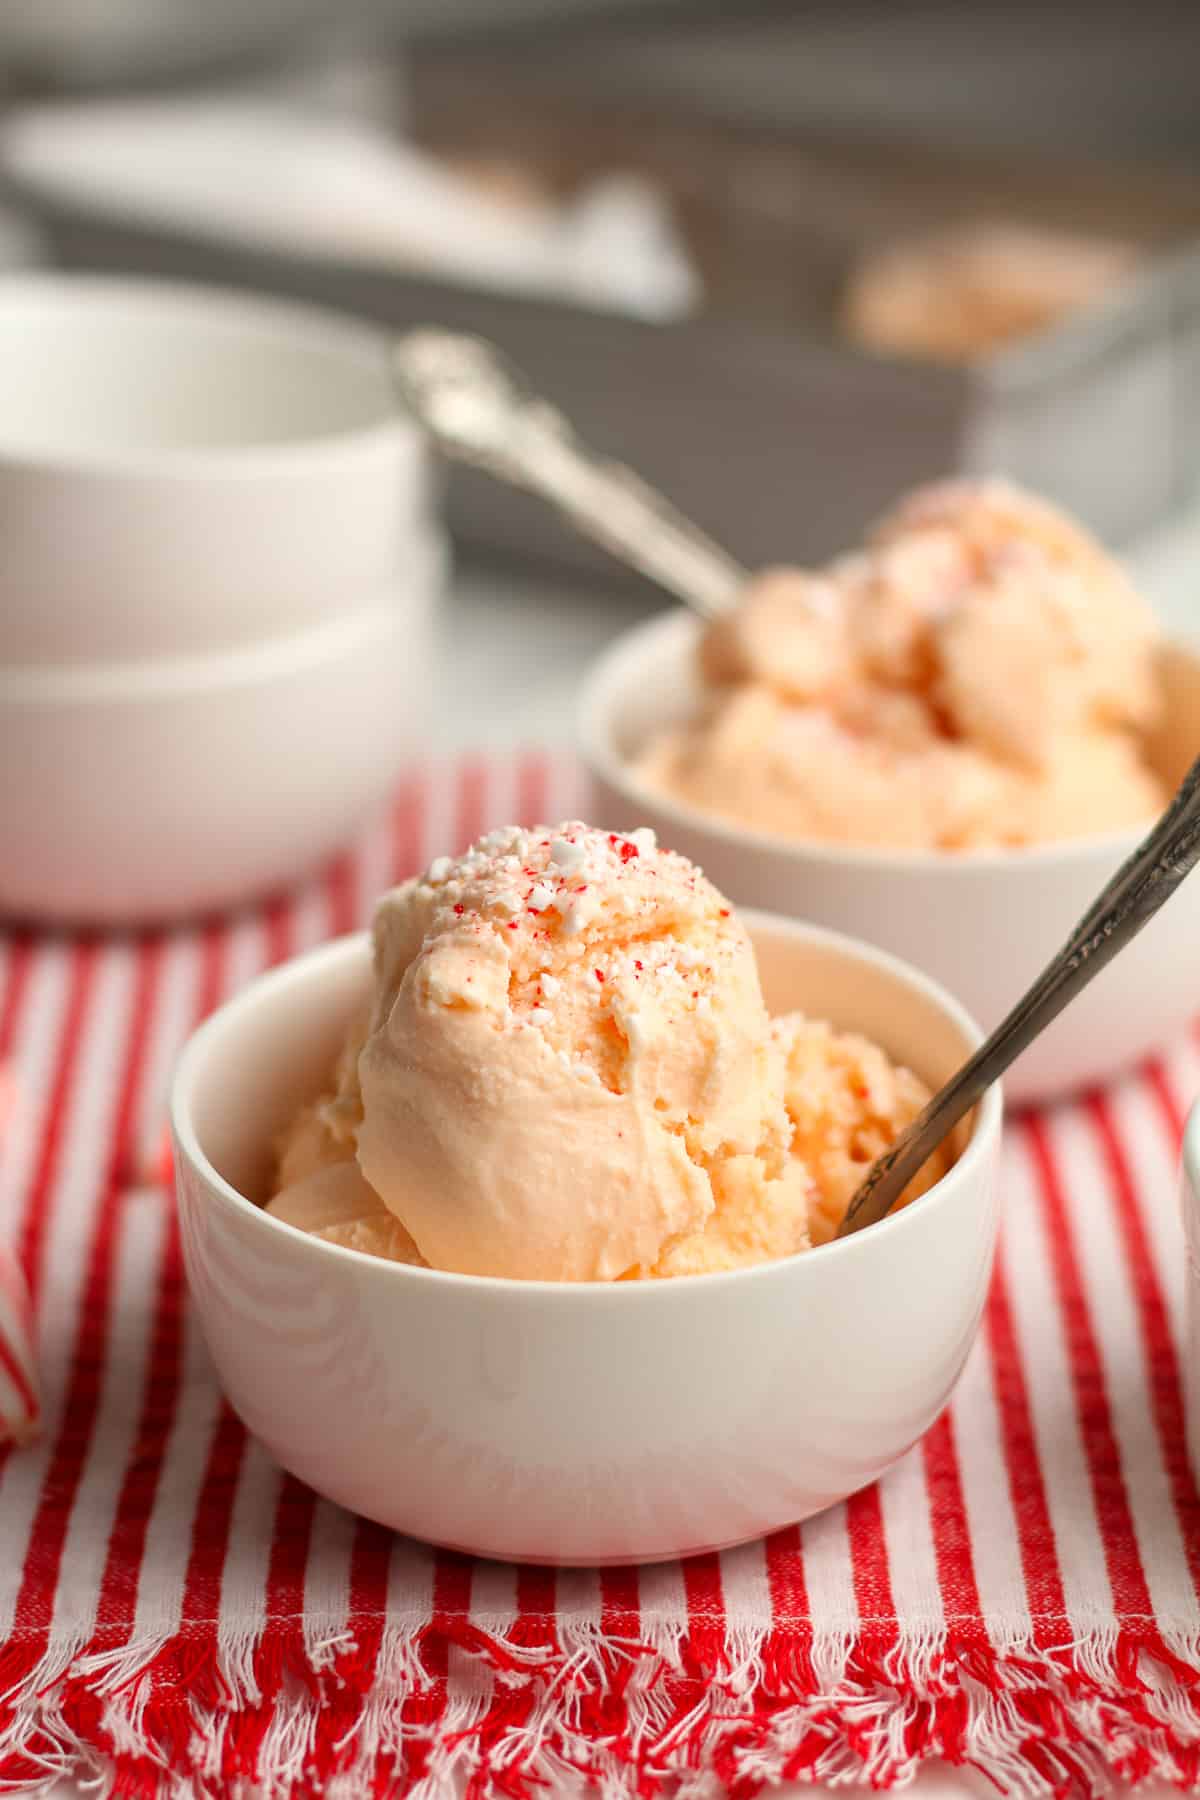
This ice cream? Oh, it’s so creamy and delicious – just like I remember the ice cream of my youth. I didn’t add the peppermint bits to the ice cream, but the crushed peppermint IN IT makes it taste just like what I was imagining. You can add some extra crushed bits to servings for those who want it!
For other delicious ice cream flavors, try some other flavors including Pumpkin Ice Cream, Vanilla Bean Ice Cream, Butter Pecan Ice Cream, and Chocolate Peanut Butter Ice Cream. Try them ALL!
Try our Candy Cane Pie next!
Ingredients needed:
- Dairy – Both heavy cream and whole milk is needed.
- Eggs – I used four egg yolks for this recipe.
- Sugar – Just a cup of granulated sugar.
- Peppermint Sticks – Use ground up peppermint sticks (or candy canes).
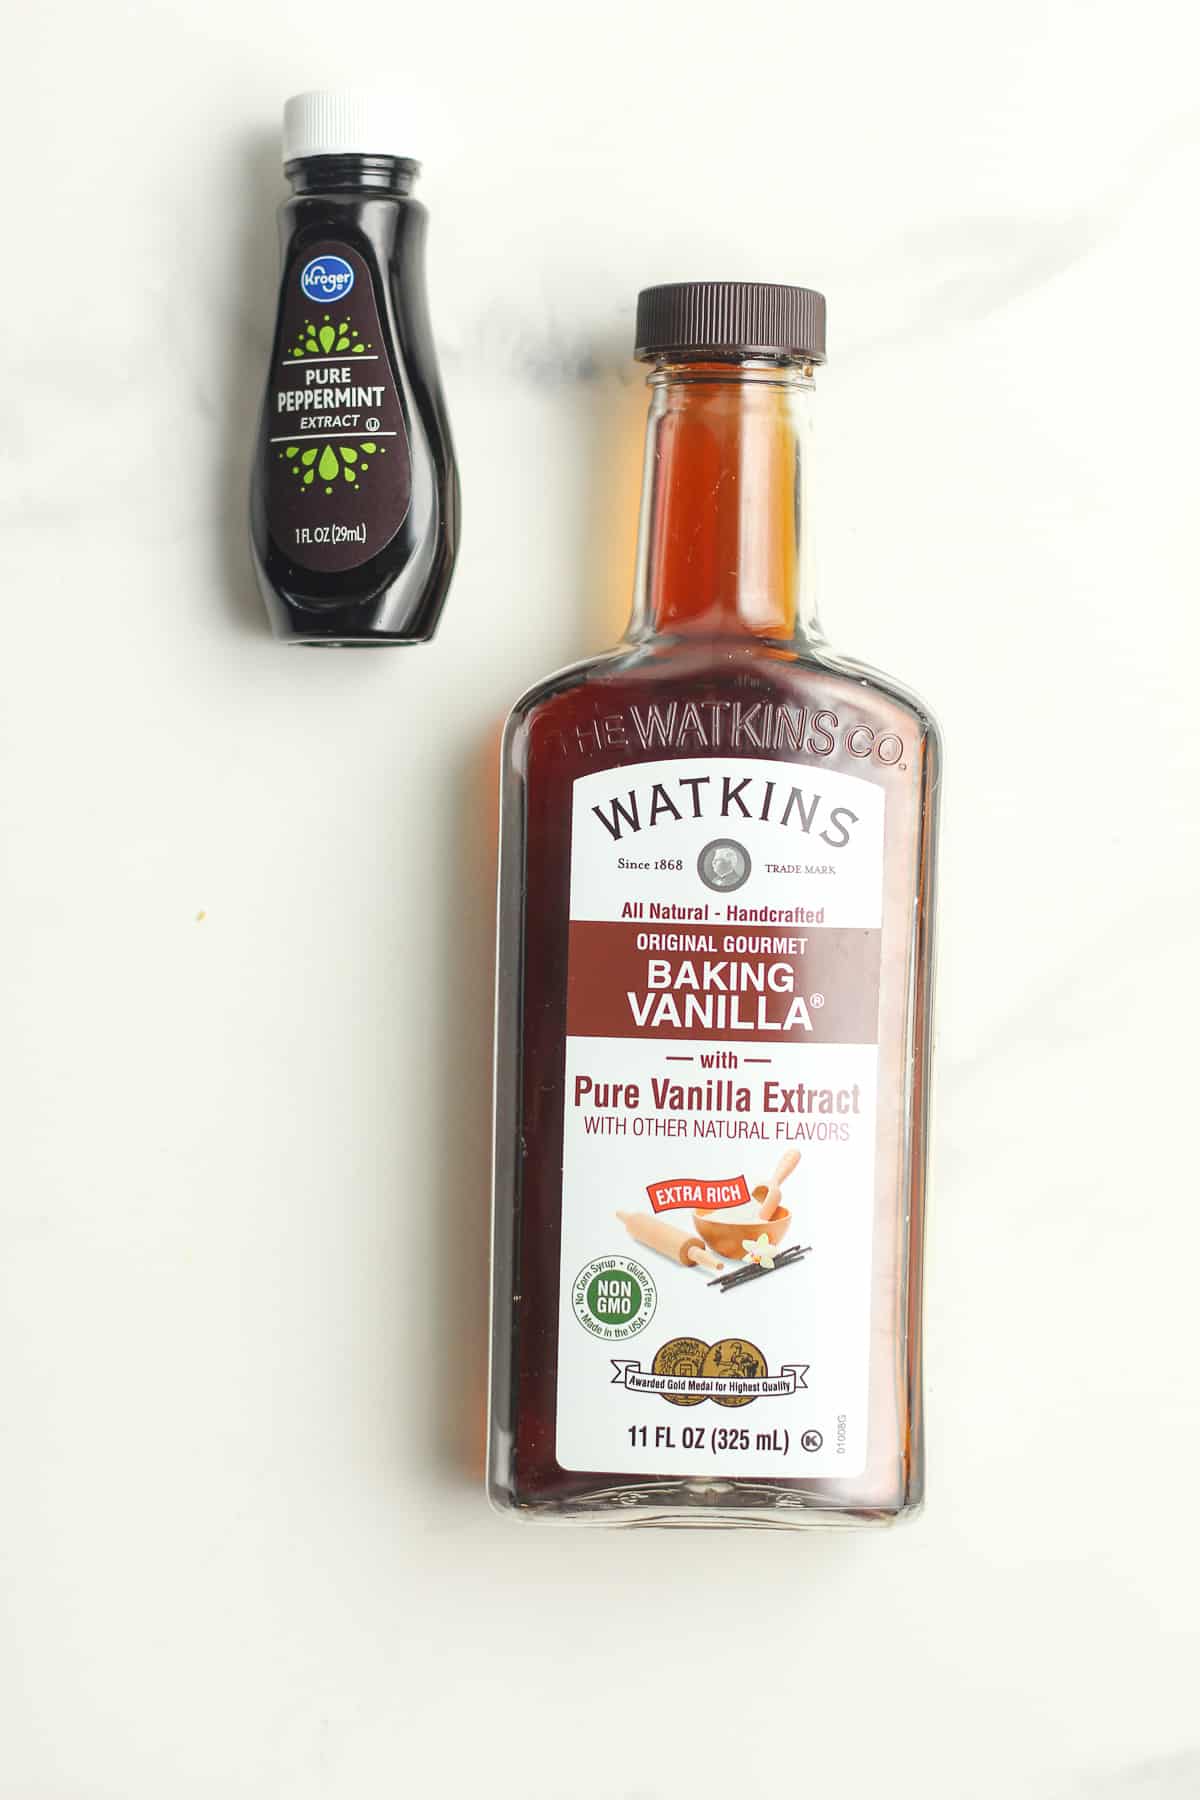
- Extract – You’ll need some vanilla extract and some peppermint extract.
- Salt – Just a pinch of kosher salt.
How to make Peppermint Stick Ice Cream:
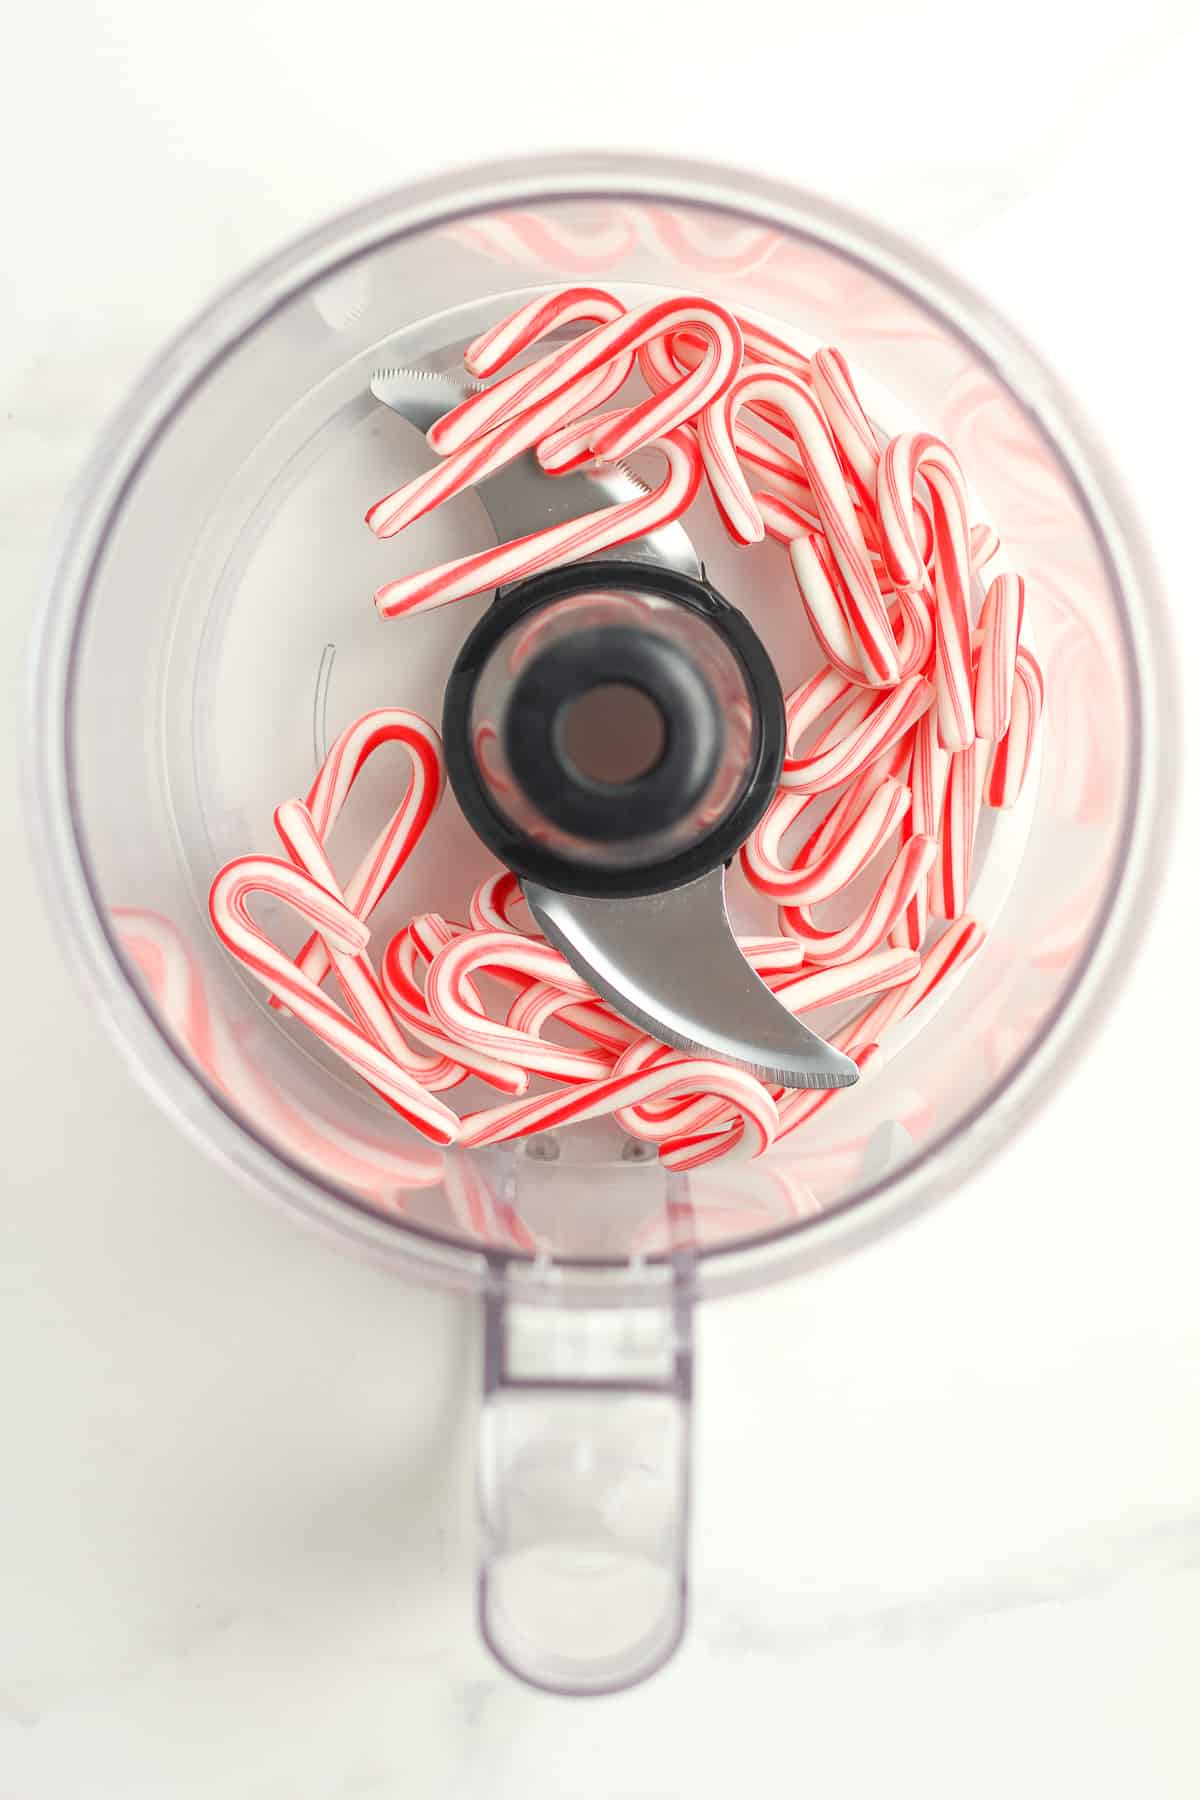
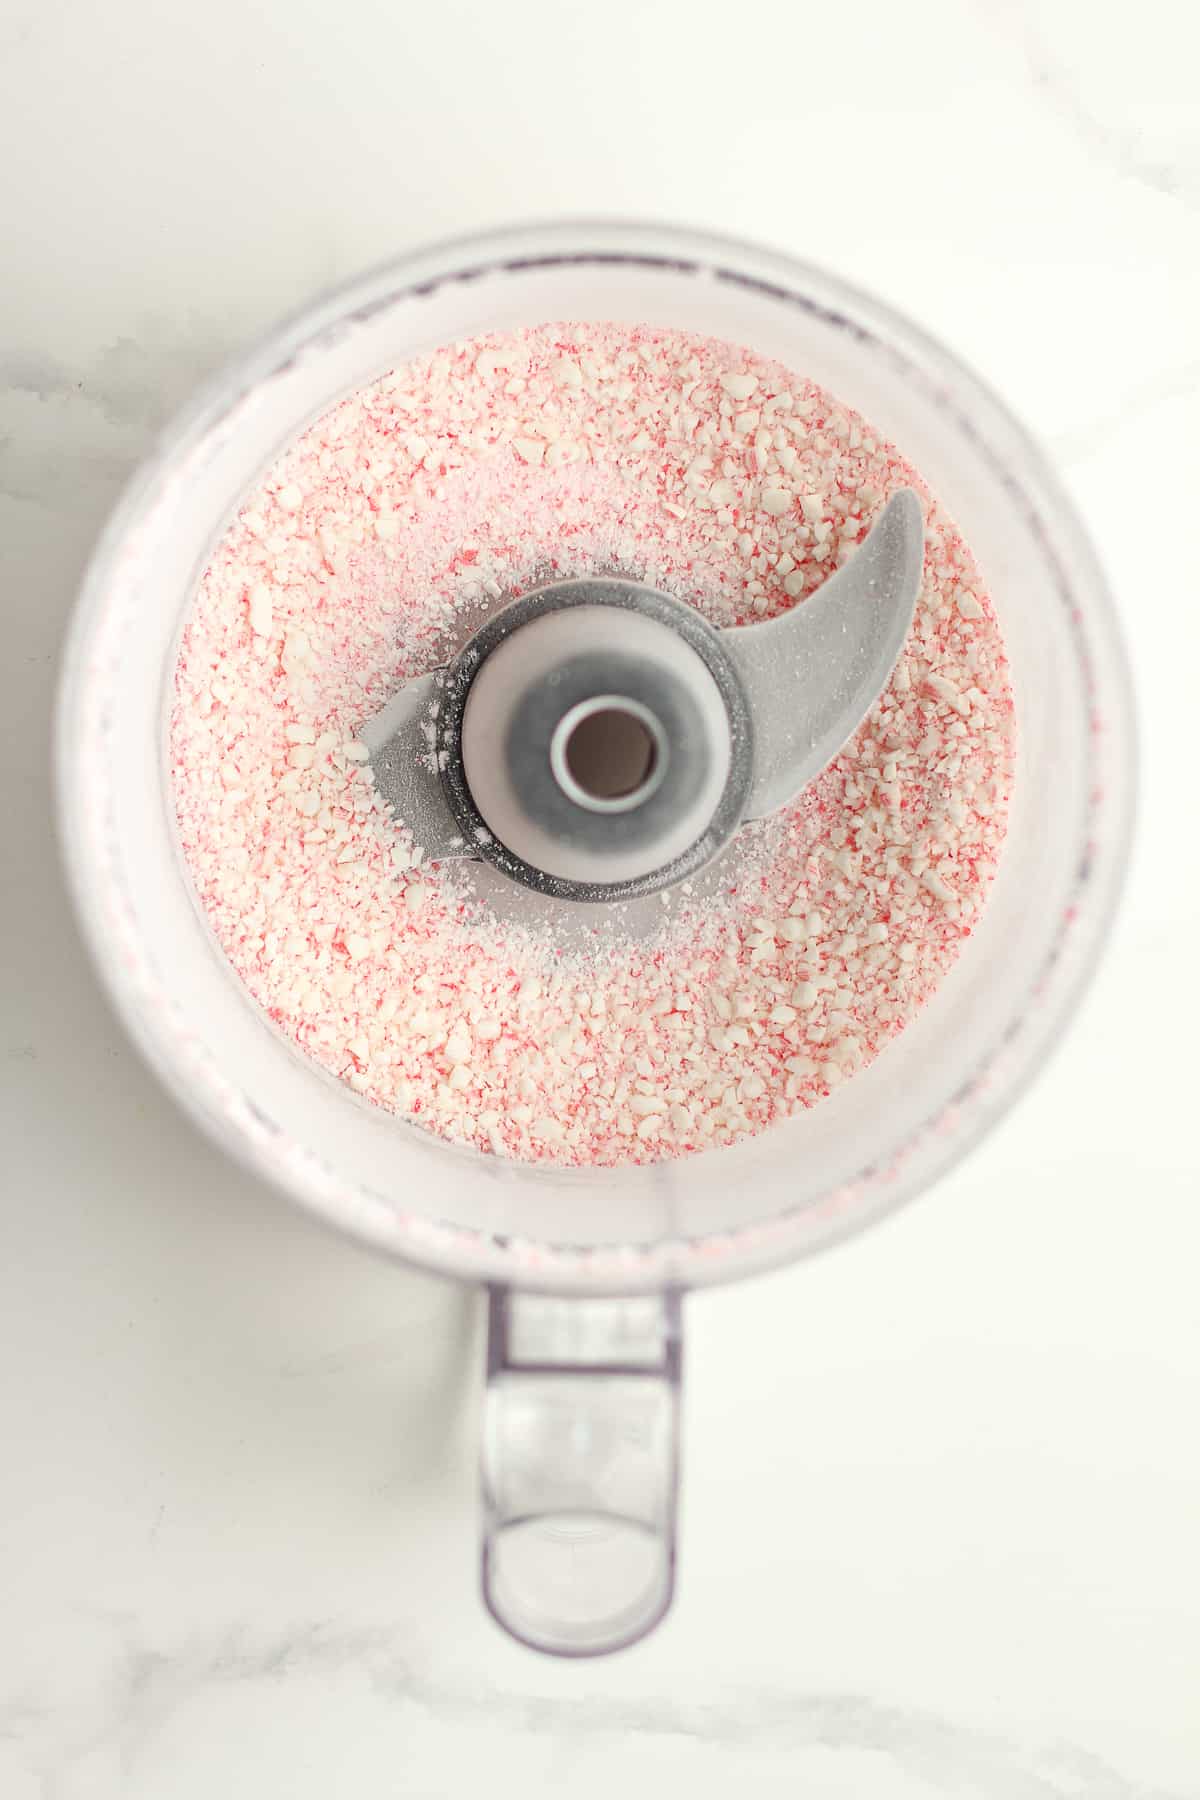
Step 1
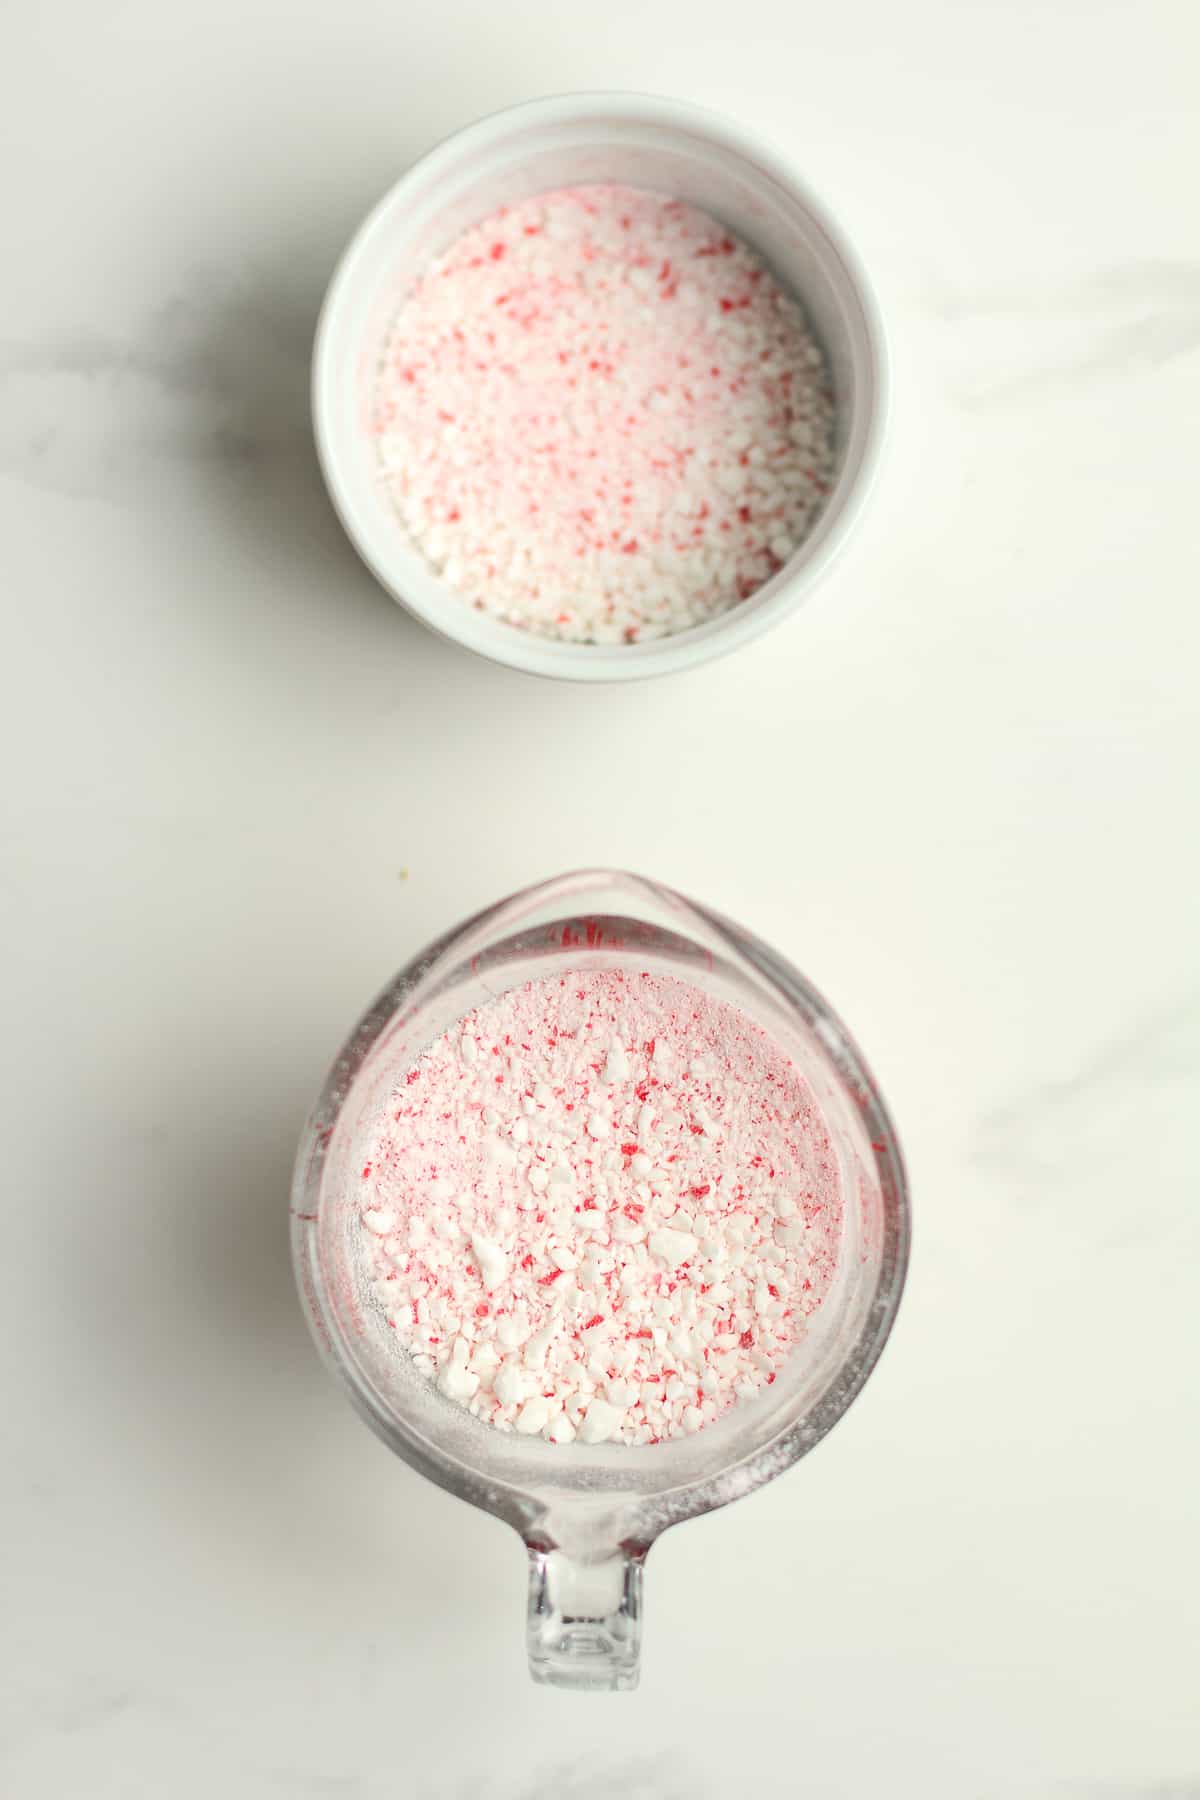
Grind peppermint sticks. Add the peppermint sticks to a food processor. Grind them until they are course crumbs.
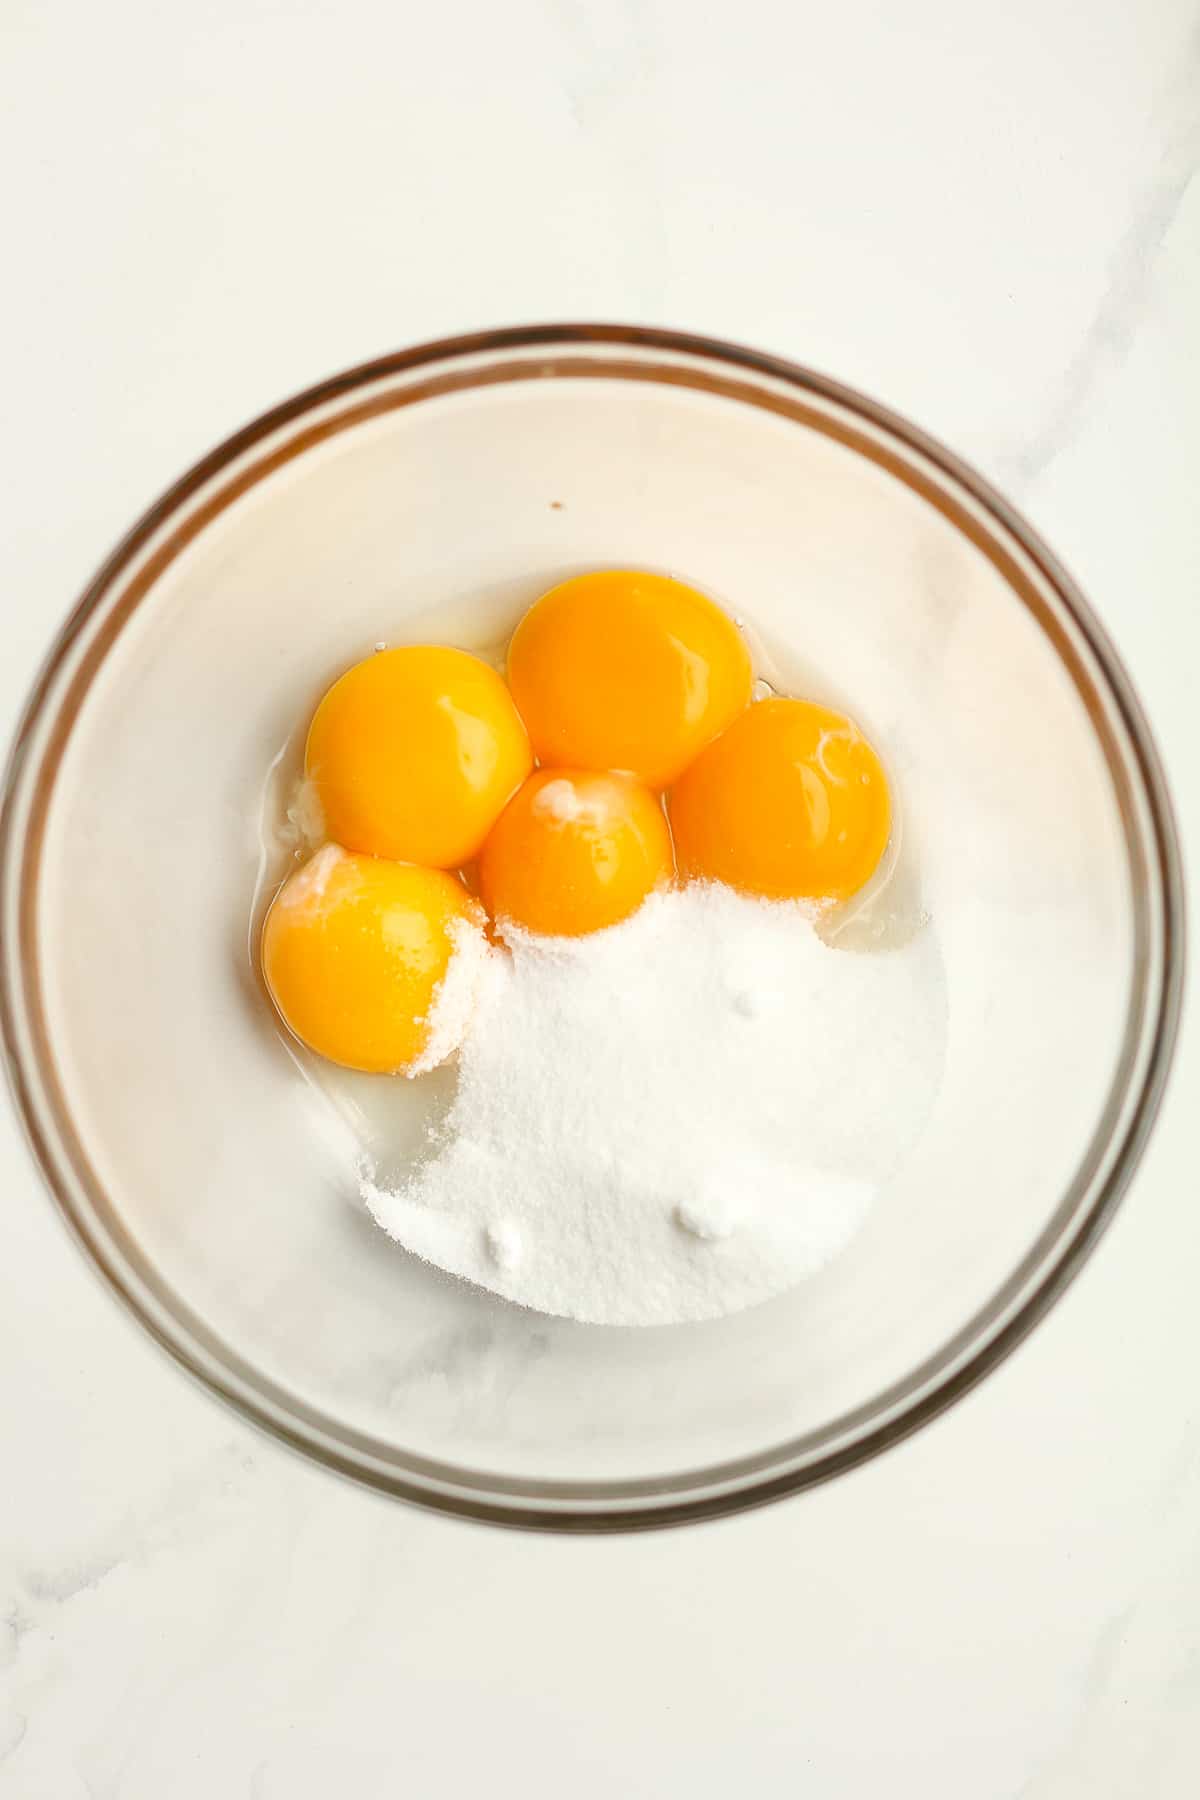
Step 2
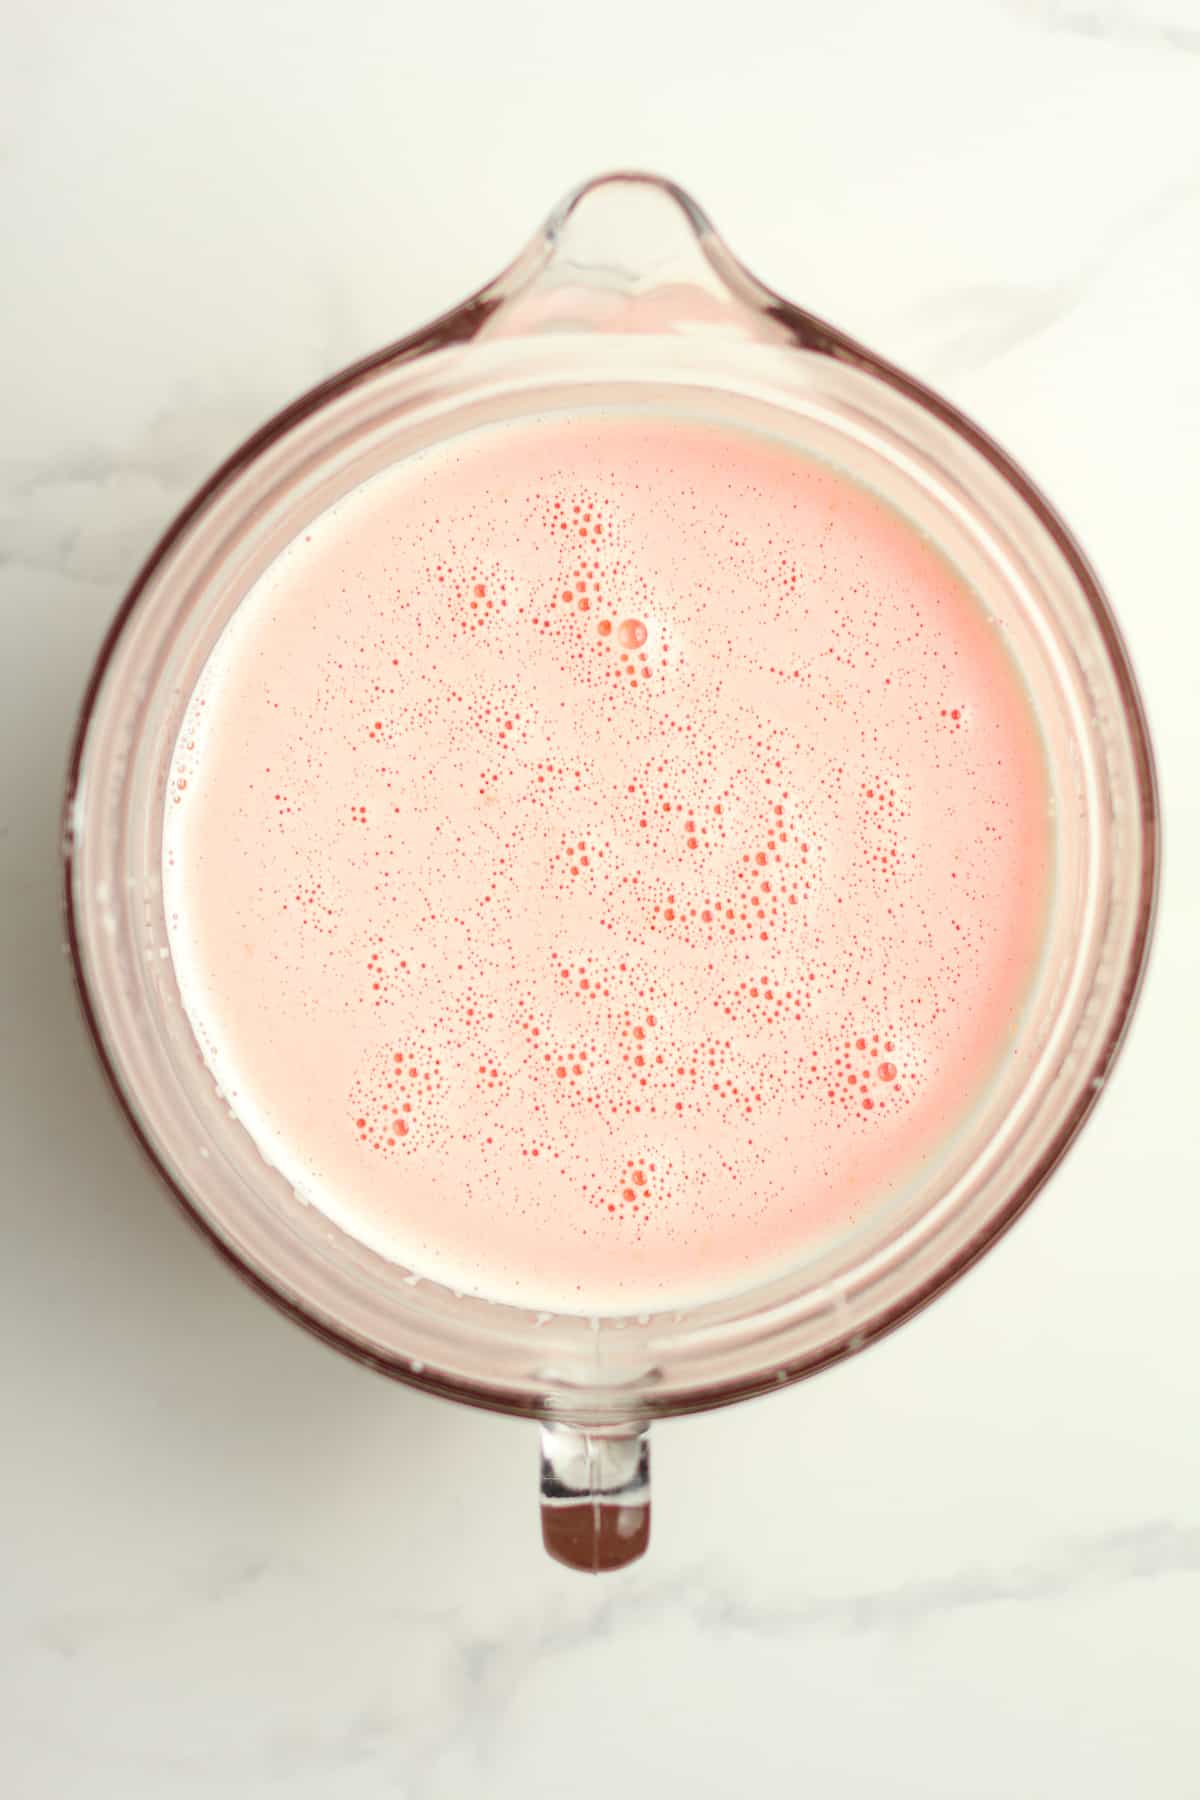
Temper eggs/make ice cream mixture. Pour the whole milk and heavy cream into a small saucepan. Heat over medium heat until it reaches 165 degrees on a digital thermometer, stirring often. Do not boil. In a small mixing bowl, combine the egg yolks and 1/4 cup sugar, and whisk well.
When the milk reaches 165 degrees, drizzle about one cup of it into the egg mixture, whisking vigorously as you pour it in. Do not stop whisking.
Then pour the contents of the bowl into the saucepan with the remaining 3/4 cup sugar. Place it back on the heat, along with the crushed peppermint. Continue whisking and heating until the mixture reaches 165 degrees and the peppermint is fully dissolved.
Remove from heat, let cool slightly, and add the vanilla and peppermint extract and the salt. You can also strain the custard here if you’d like.
Step 3
Refrigerate. Pour the ice cream mixture into a large bowl. Mix well, cover with plastic wrap, and refrigerate for at least four hours before churning. The mixture should be VERY COLD!
Step 4
Churn ice cream. If using a KitchenAid attachment, start the mixer with the attachment so that it’s turning BEFORE you pour the liquid in. Then pour in whisked ingredients and let it churn until finished. You’ll know it’s done when the mixer starts slowing down and it rises to the top of the bowl, approximately 25-30 minutes.
Pro-Tip: Make sure your ice cream mixture is VERY WELL chilled before trying to churn it. The first time I made this, it didn’t set up as well as I’d like so I just stuck it in the freezer to fix that problem.
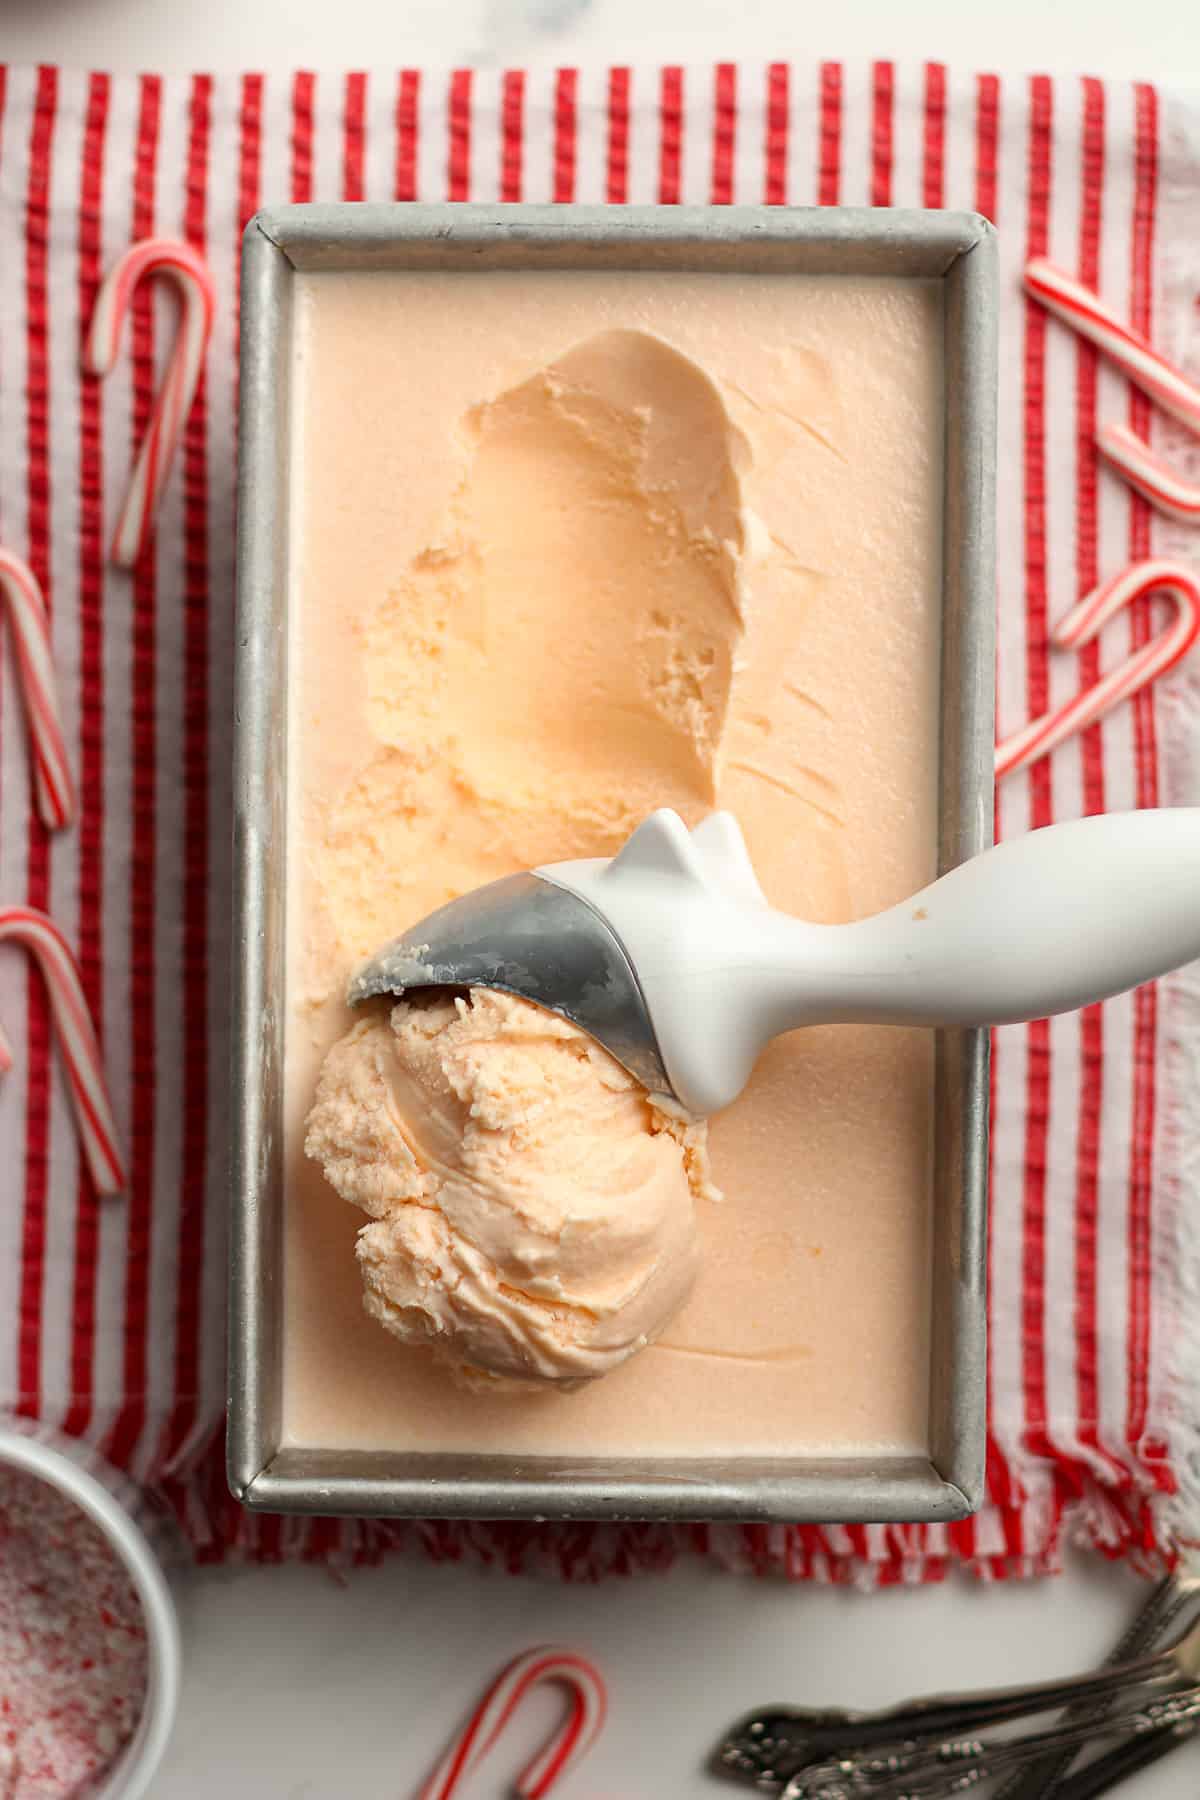
Step 5
Freeze. Pour ice cream into a separate container for freezing. Freeze for several hours to finish setting up.
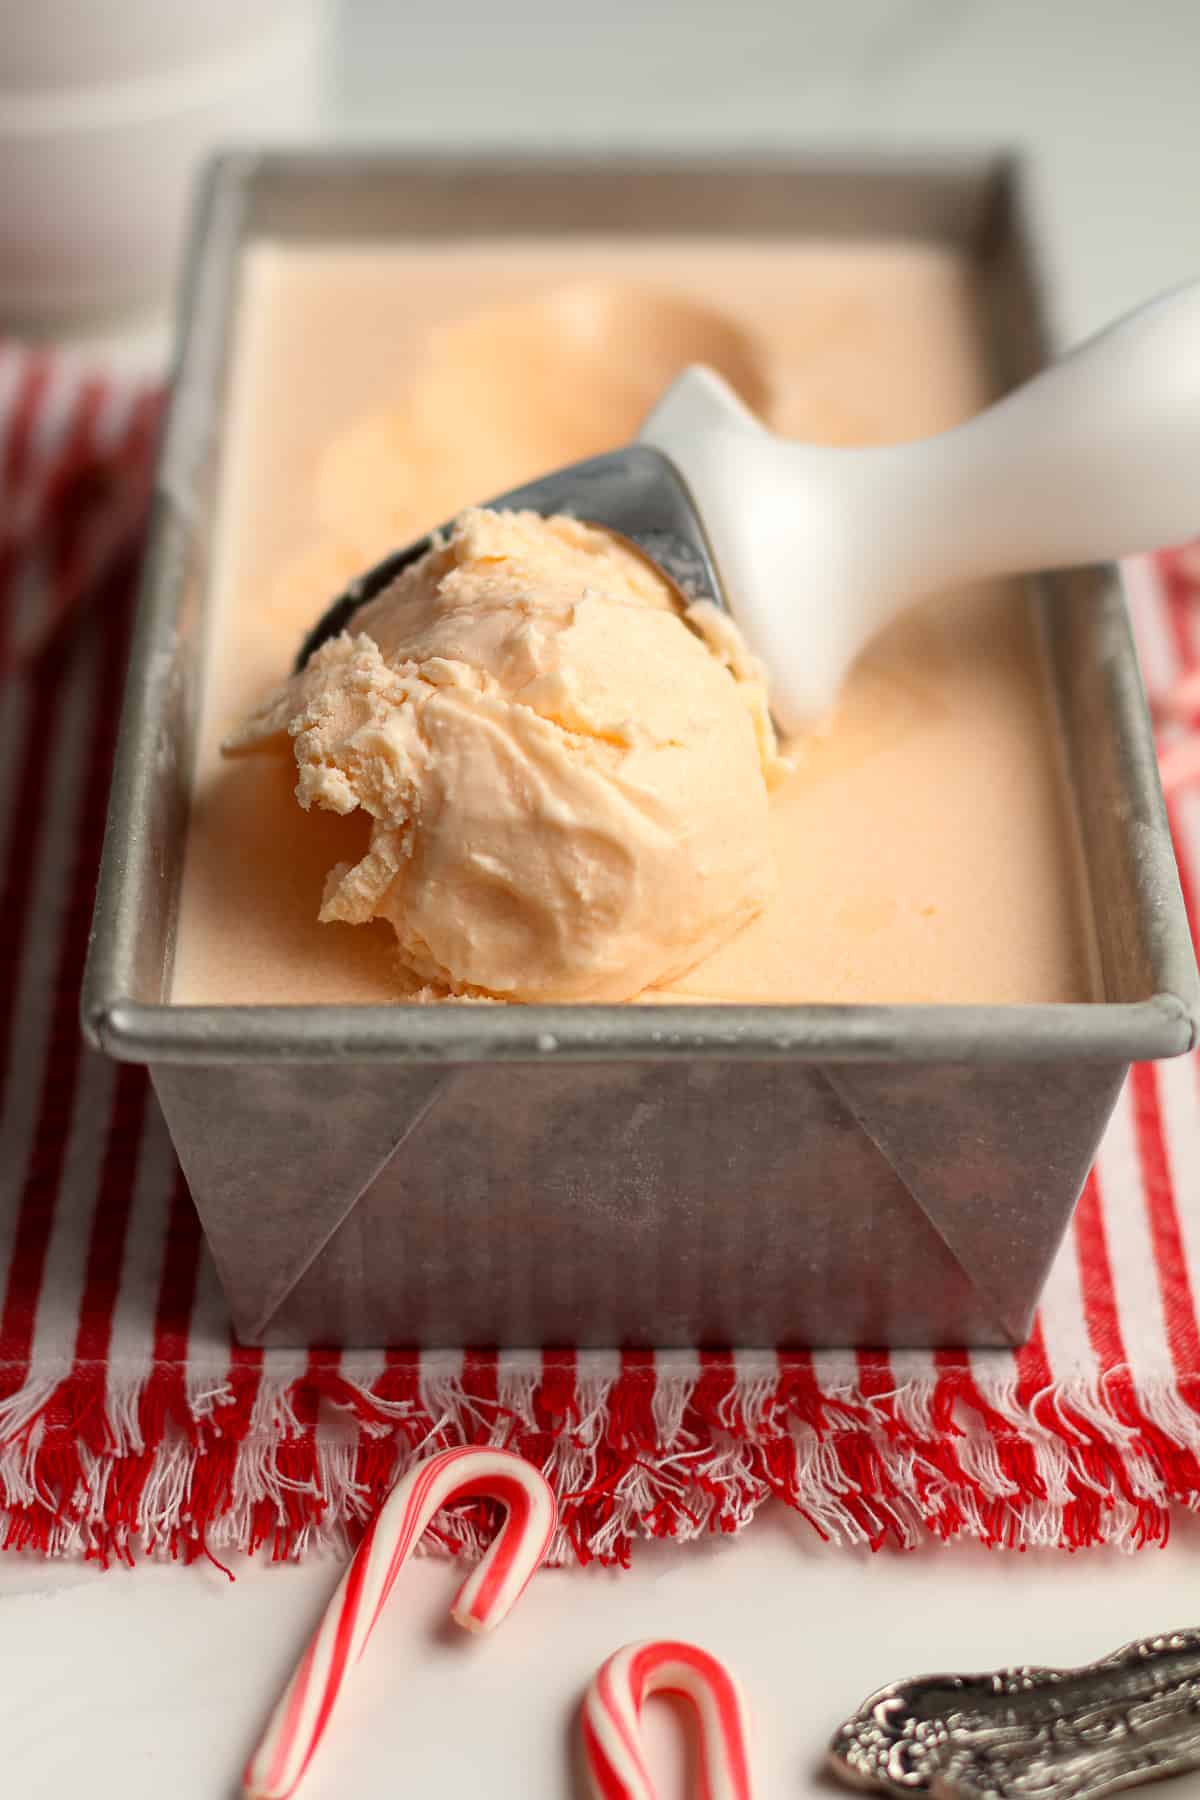
Step 6
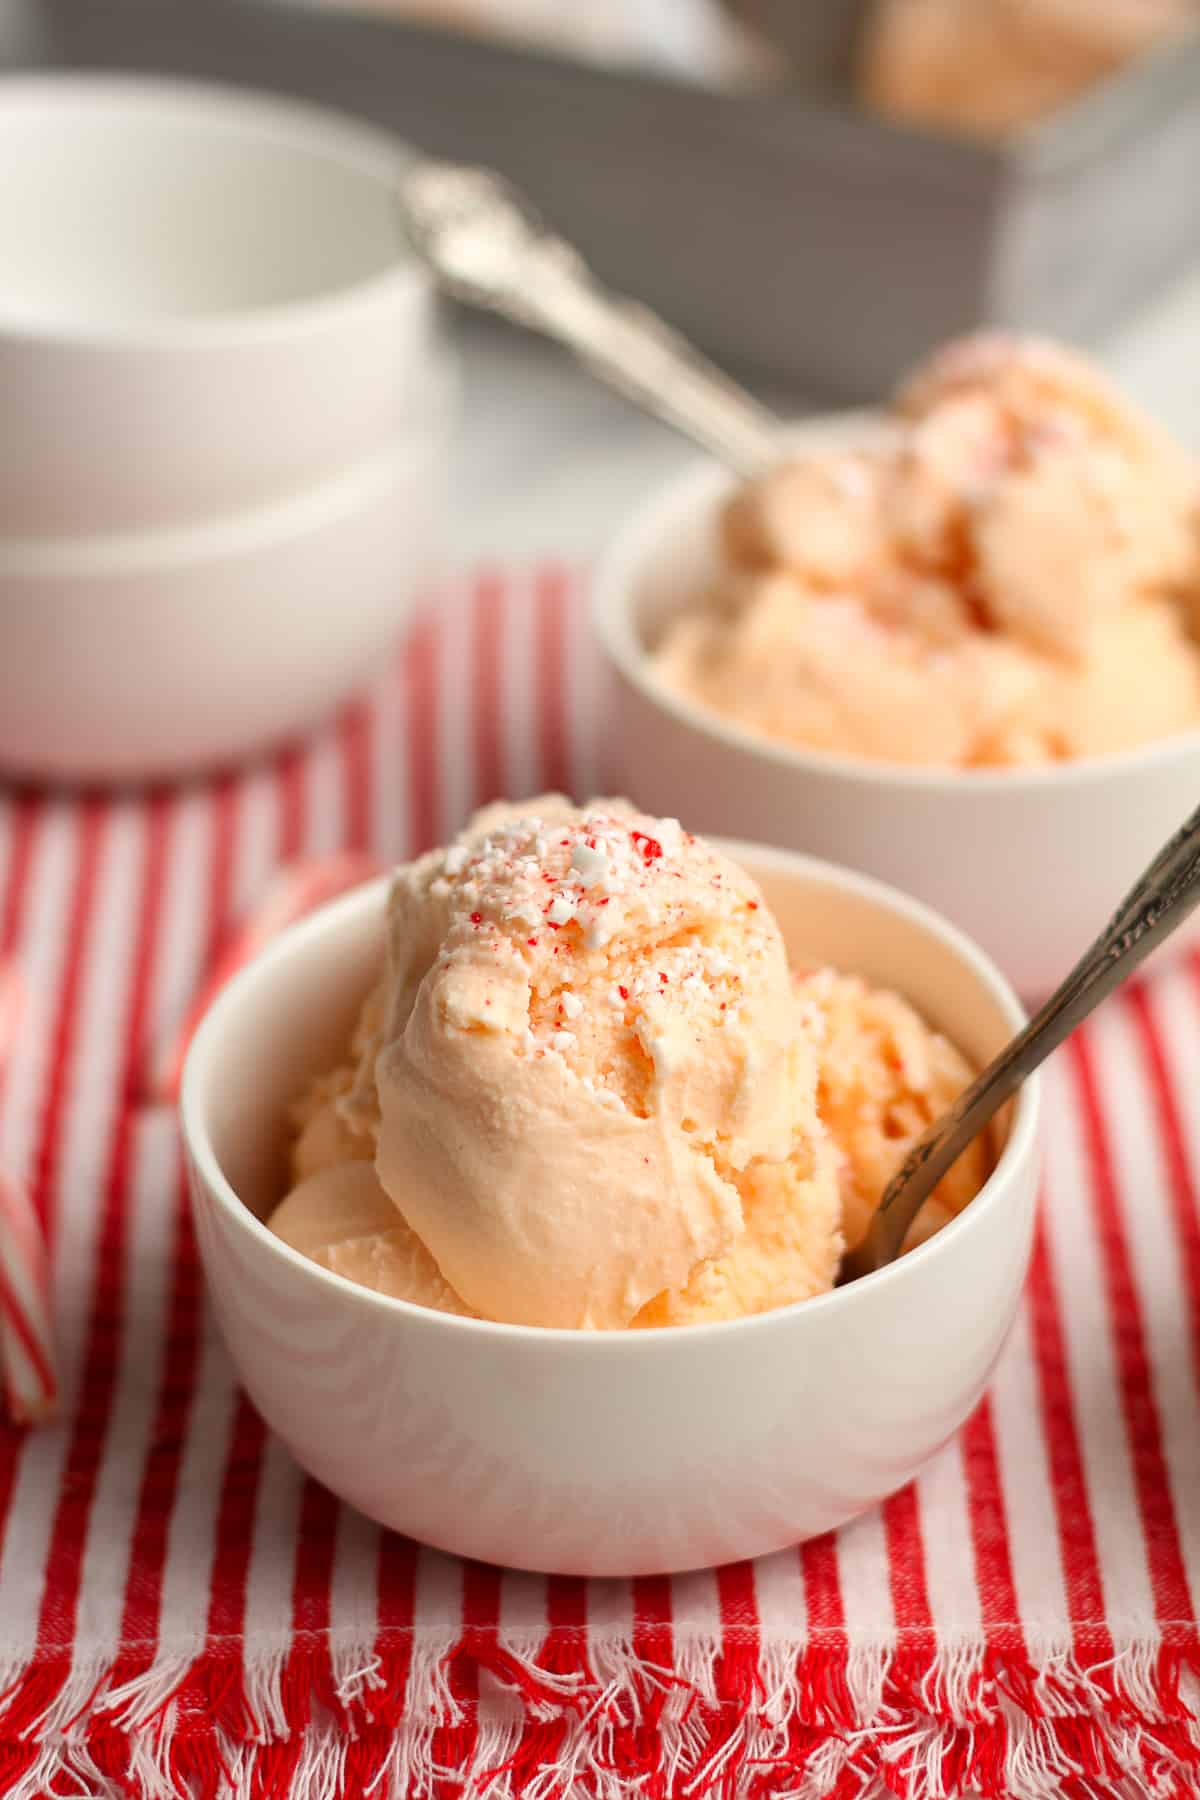
Serve. Serve ice cream with some extra crushed peppermint sticks.
Tips for using a KitchenAid Attachment:
- Place bowl attachment in freezer. You’ll want to be sure to store the bowl in the freezer for AT LEAST 15 hours before using. Since we have an extra freezer in our laundry room, I keep ours in there all the time. That way we can make ice cream on a whim!
- Run mixer in advance. Attach bowl to the KitchenAid mixer and add the attachments. Start mixer on the lowest setting BEFORE adding ice cream mixture. This will prevent the bowl from freezing up.
- Add liquid while mixer is running. Then carefully pour the liquid into the bowl attachment while it’s running.
- Let it slow down slightly. The ice cream is done when you see it expanding to the top of the bowl and the mixer starts to slow down.
** Whatever Ice Cream Maker you use is fine. You may need to adjust quantities, however. Make sure your machine has enough room for the ice cream to expand as it freezes. If it doesn’t have room, it will stay in liquid form!
Kitchen Tools Used: (affiliate links)
xoxo ~Sue
Peppermint Stick Ice Cream Recipe
Ingredients
- 1 ¾ cups whole milk
- 2 ¼ cups heavy cream
- 4 large egg yolks
- 1 cup granulated sugar
- ¾ cup crushed peppermint sticks – from about 7 ounces of peppermint sticks
- 1 teaspoon peppermint extract
- 1 Tablespoon vanilla extract
- pinch of salt
Instructions
Make the peppermint stick ice cream mixture.
- In a food processor, combine the peppermint sticks (or candy canes) and pulse until they are crushed. You can reserve a few tablespoons (before it is overly crushed) as you run the food processor.¾ cup crushed peppermint sticks
- In a small saucepan, add the whole milk and heavy cream, and heat over medium heat. Heat until it reaches 165 degrees on a digital thermometer, whisking often. Do not boil. In a small mixing bowl, combine the egg yolks and 1/4 cup sugar – and whisk.When the milk reaches 165 degrees, drizzle about one cup of it into the egg mixture, whisking vigorously as you pour it in. Do not stop whisking. Then pour the contents of the bowl into the saucepan with the remaining 3/4 cup sugar.1 ¾ cups whole milk, 2 ¼ cups heavy cream, 4 large egg yolks, 1 cup granulated sugar
- Add the crushed peppermint sticks, continue whisking, and heat mixture back up to 165 degrees.
- Remove from heat and let cool. Add vanilla extract, peppermint extract, and a pinch of salt. You can also strain the custard here if you’d like.1 Tablespoon vanilla extract, 1 teaspoon peppermint extract, pinch of salt
- Add ice cream ingredients to a large bowl. Mix well, cover with plastic wrap, and refrigerate for at least four hours before churning. The mixture should be VERY COLD!
Churn ice cream.
- If using a KitchenAid attachment, start the mixer with the attachment so that it’s turning BEFORE you pour the liquid in. Then pour in whisked ingredients and let it churn until finished. You’ll know it’s done when the mixer starts slowing down and it rises to the top of the bowl, approximately 25-30 minutes.
- Use a rubber scraper to pour the ice cream out of the bowl into a pan or container.
- Freeze the ice cream until ready to serve. The ice cream will be a bit soft so it needs a couple of hours to firm up.
Put me in coach….. This recipe was incredible and so much fun to eat! More please!