Caramel Swirl Ice Cream

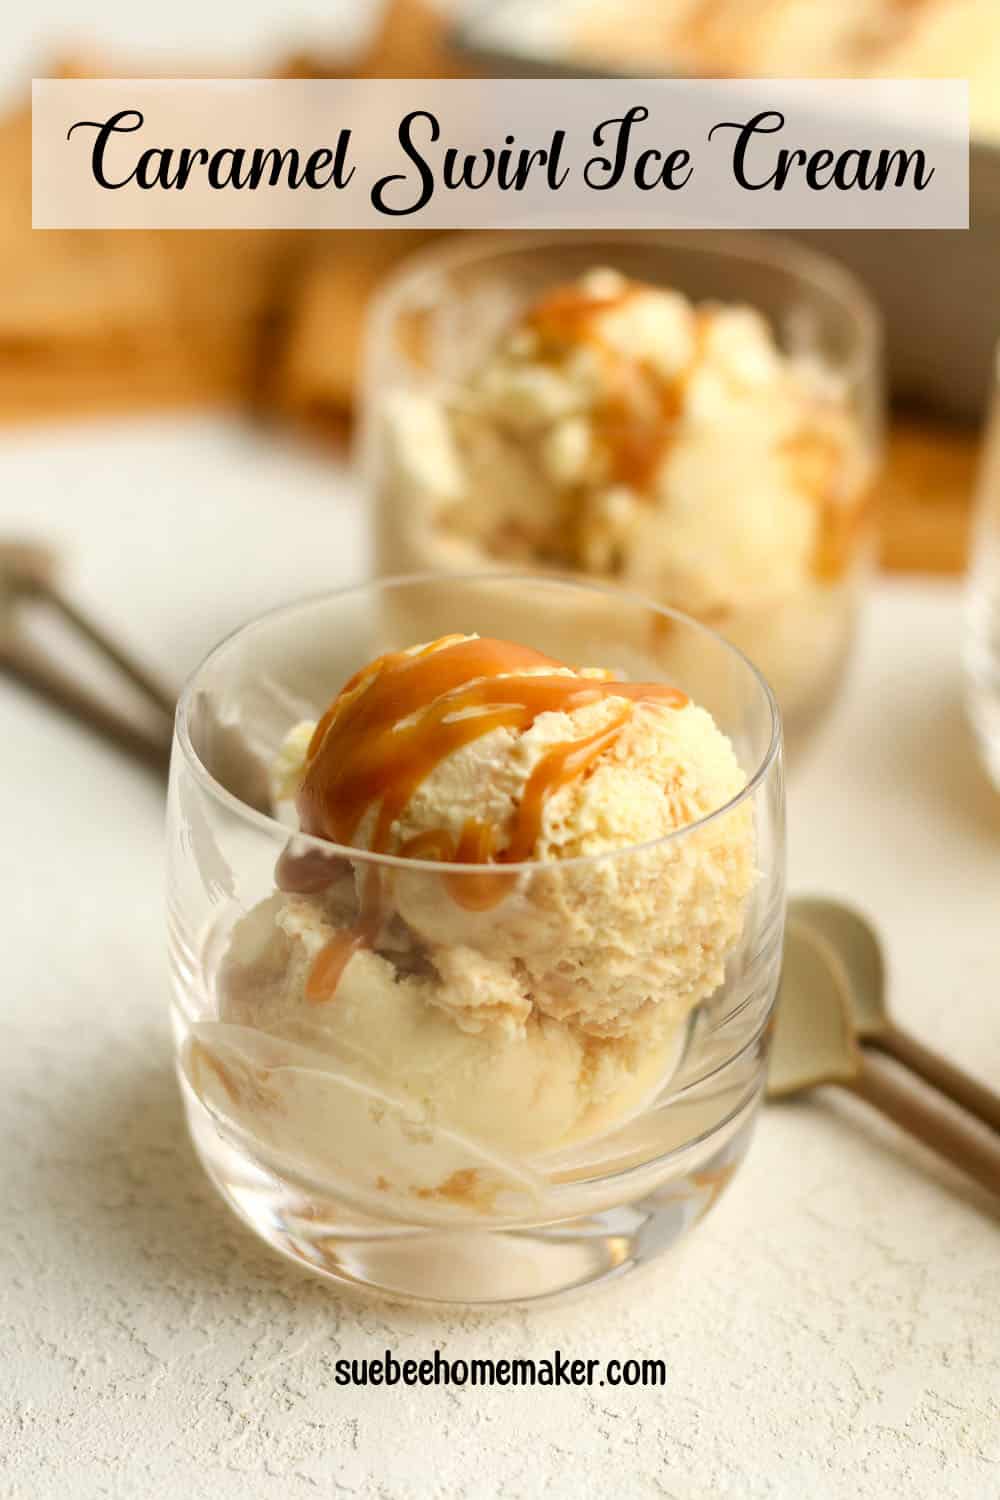
Caramel Swirl Ice Cream combines rich, creamy vanilla ice cream with ribbons of sweet and gooey caramel. This simple churned ice cream recipe will make your taste buds happy!
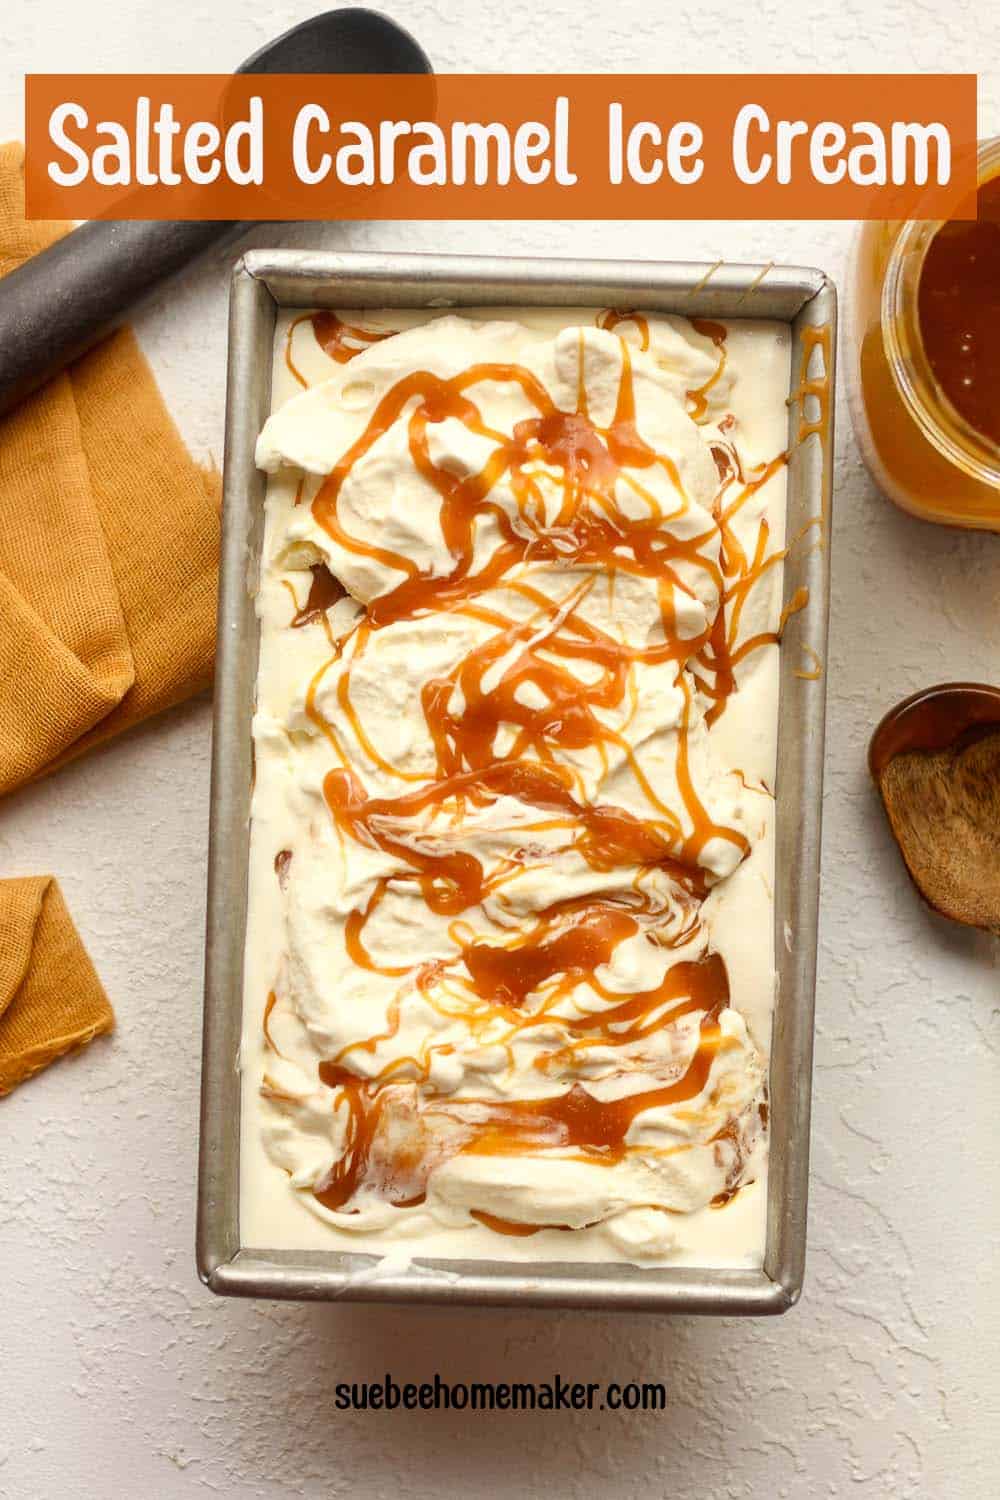
Salted Caramel Ice Cream
Salted Caramel Ice Cream is probably one of my hubby’s most ordered flavors when we visit an ice cream shop. It’s sweet and salty and yes, we’re both obsessed.
I knew I had to recreate a recipe for him this summer. He loves it and I know you will too!
Why We Love This Recipe:
- SWEET AND SALTY – We love the sweetness of the caramel sauce and the little bit of salt that’s added in. A truly wonderful combination.
- CREAMY – The sweet cream base is unbelievably creamy and makes a great combo with the salted caramel sauce.
- IMPRESSIVE – Homemade ice cream is hard to resist and always impressive for guests! Way better than store-bought ice cream, right?
How to make Caramel Swirl Ice Cream:
Step 1
Make the caramel sauce.
**ALL INGREDIENTS MUST BE AT ROOM TEMPERATURE!
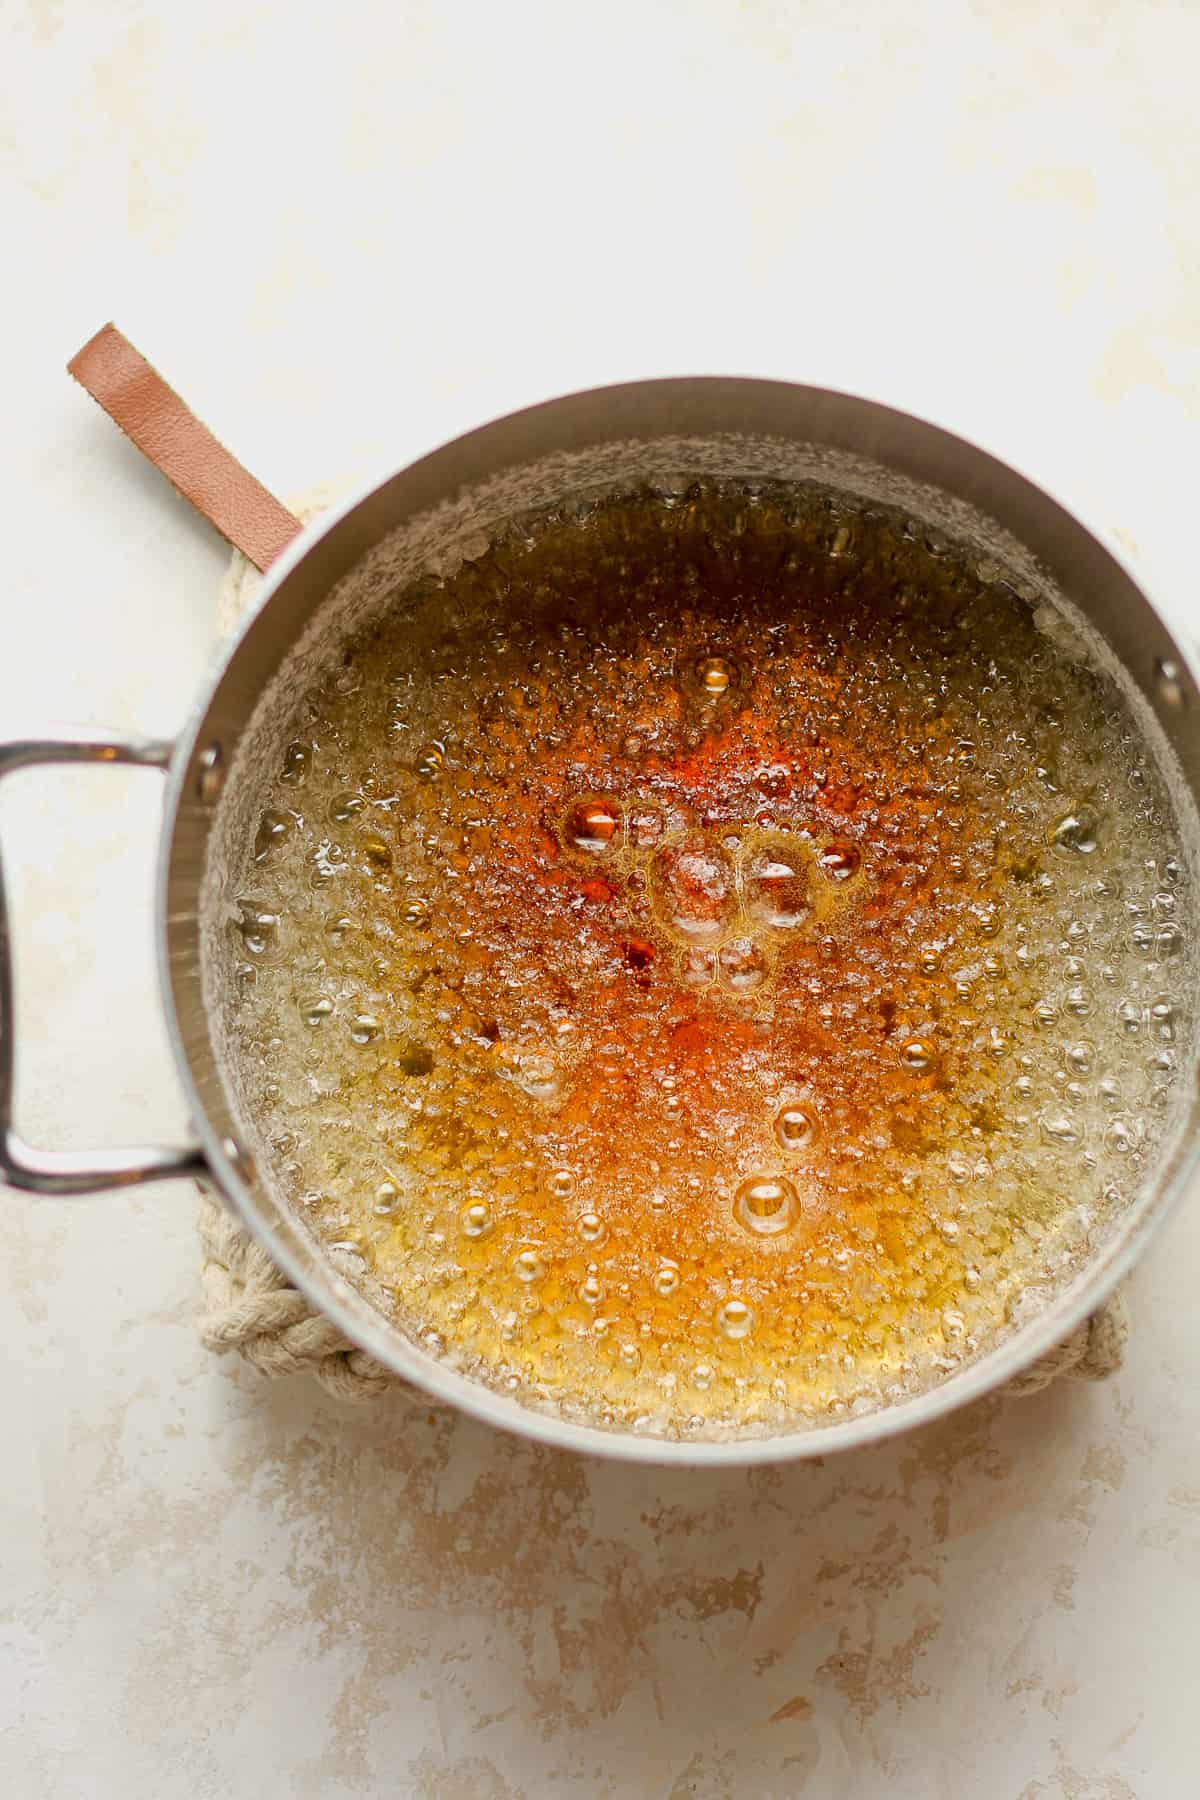
- Cook water and sugar. In a small saucepan, heat the water and sugar over medium heat. Stir constantly until the sugar has dissolved. Turn up the heat, bring the mixture to a boil, and stop stirring. Let the mixture continue to boil until it turns amber in color. This could take several minutes. (see photo below)
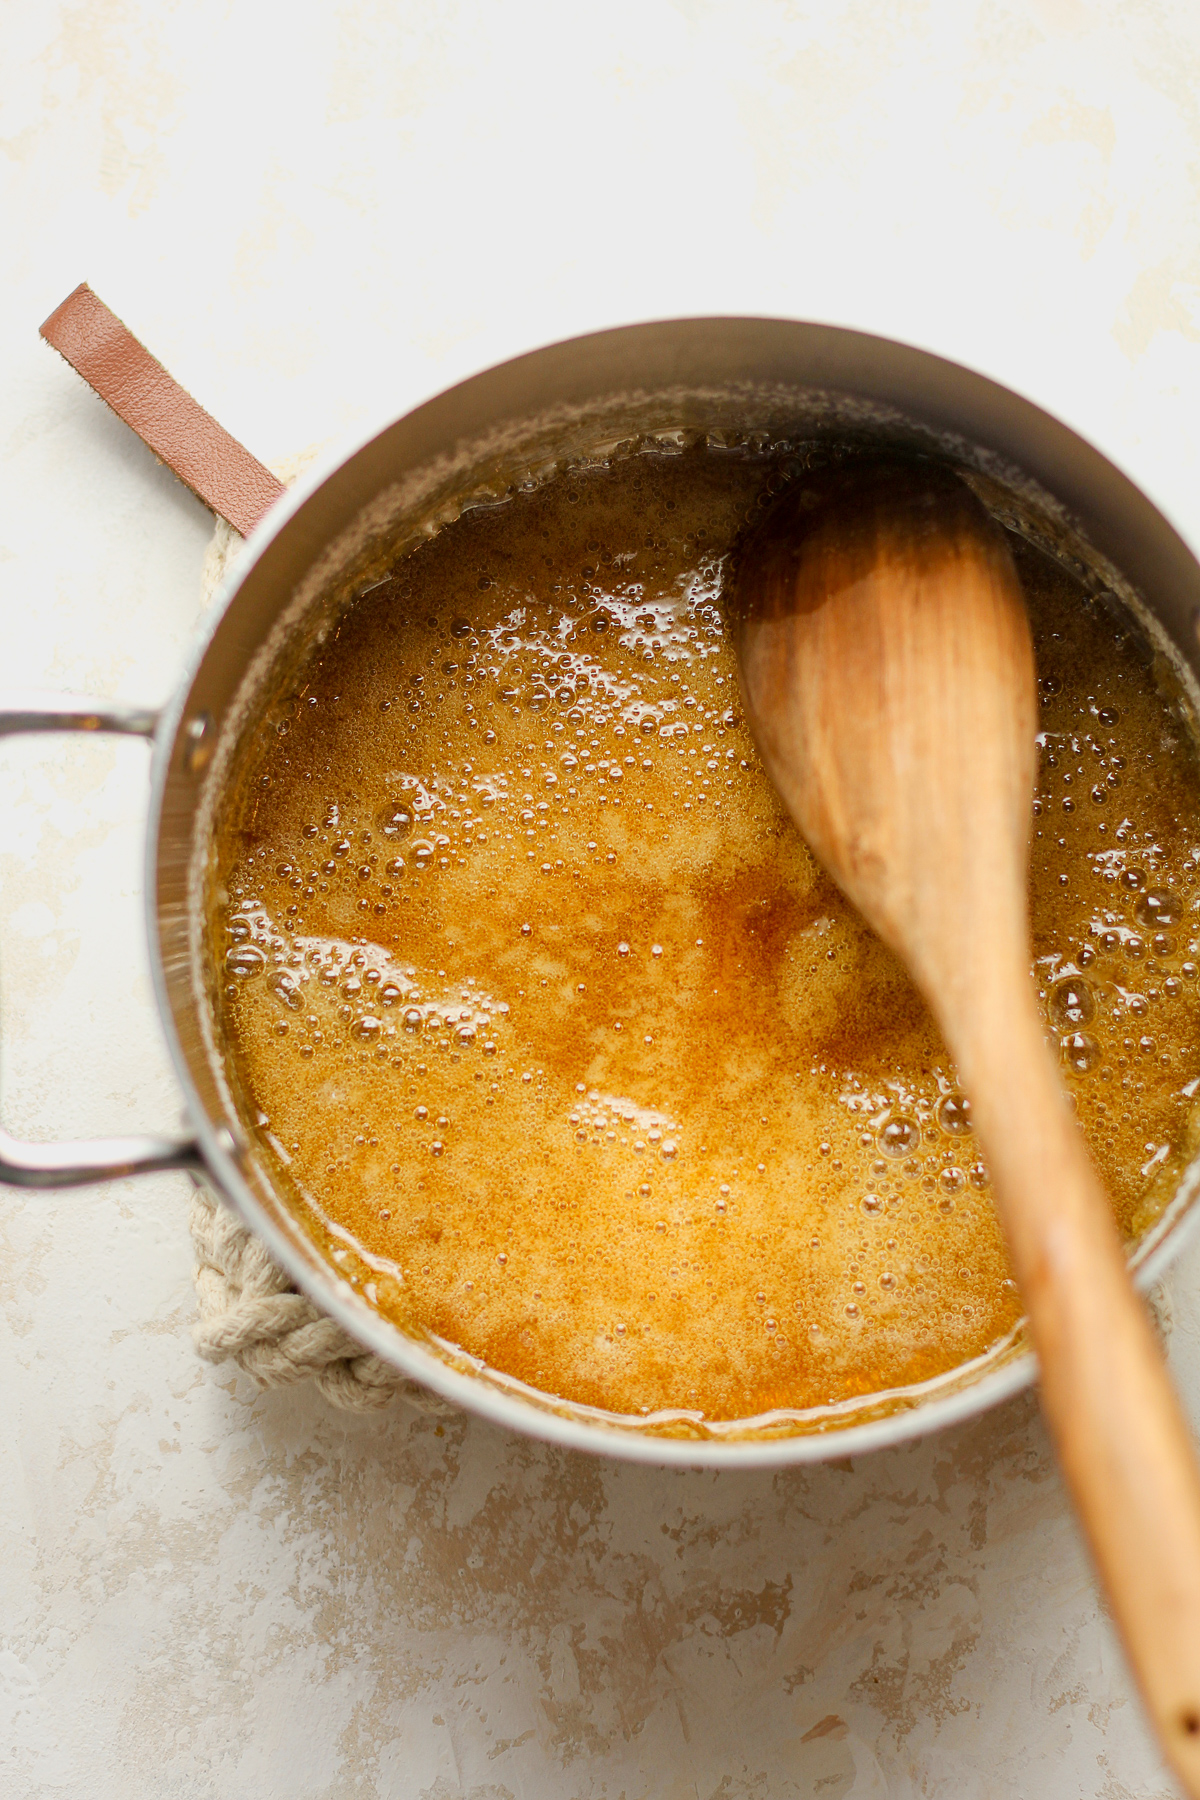
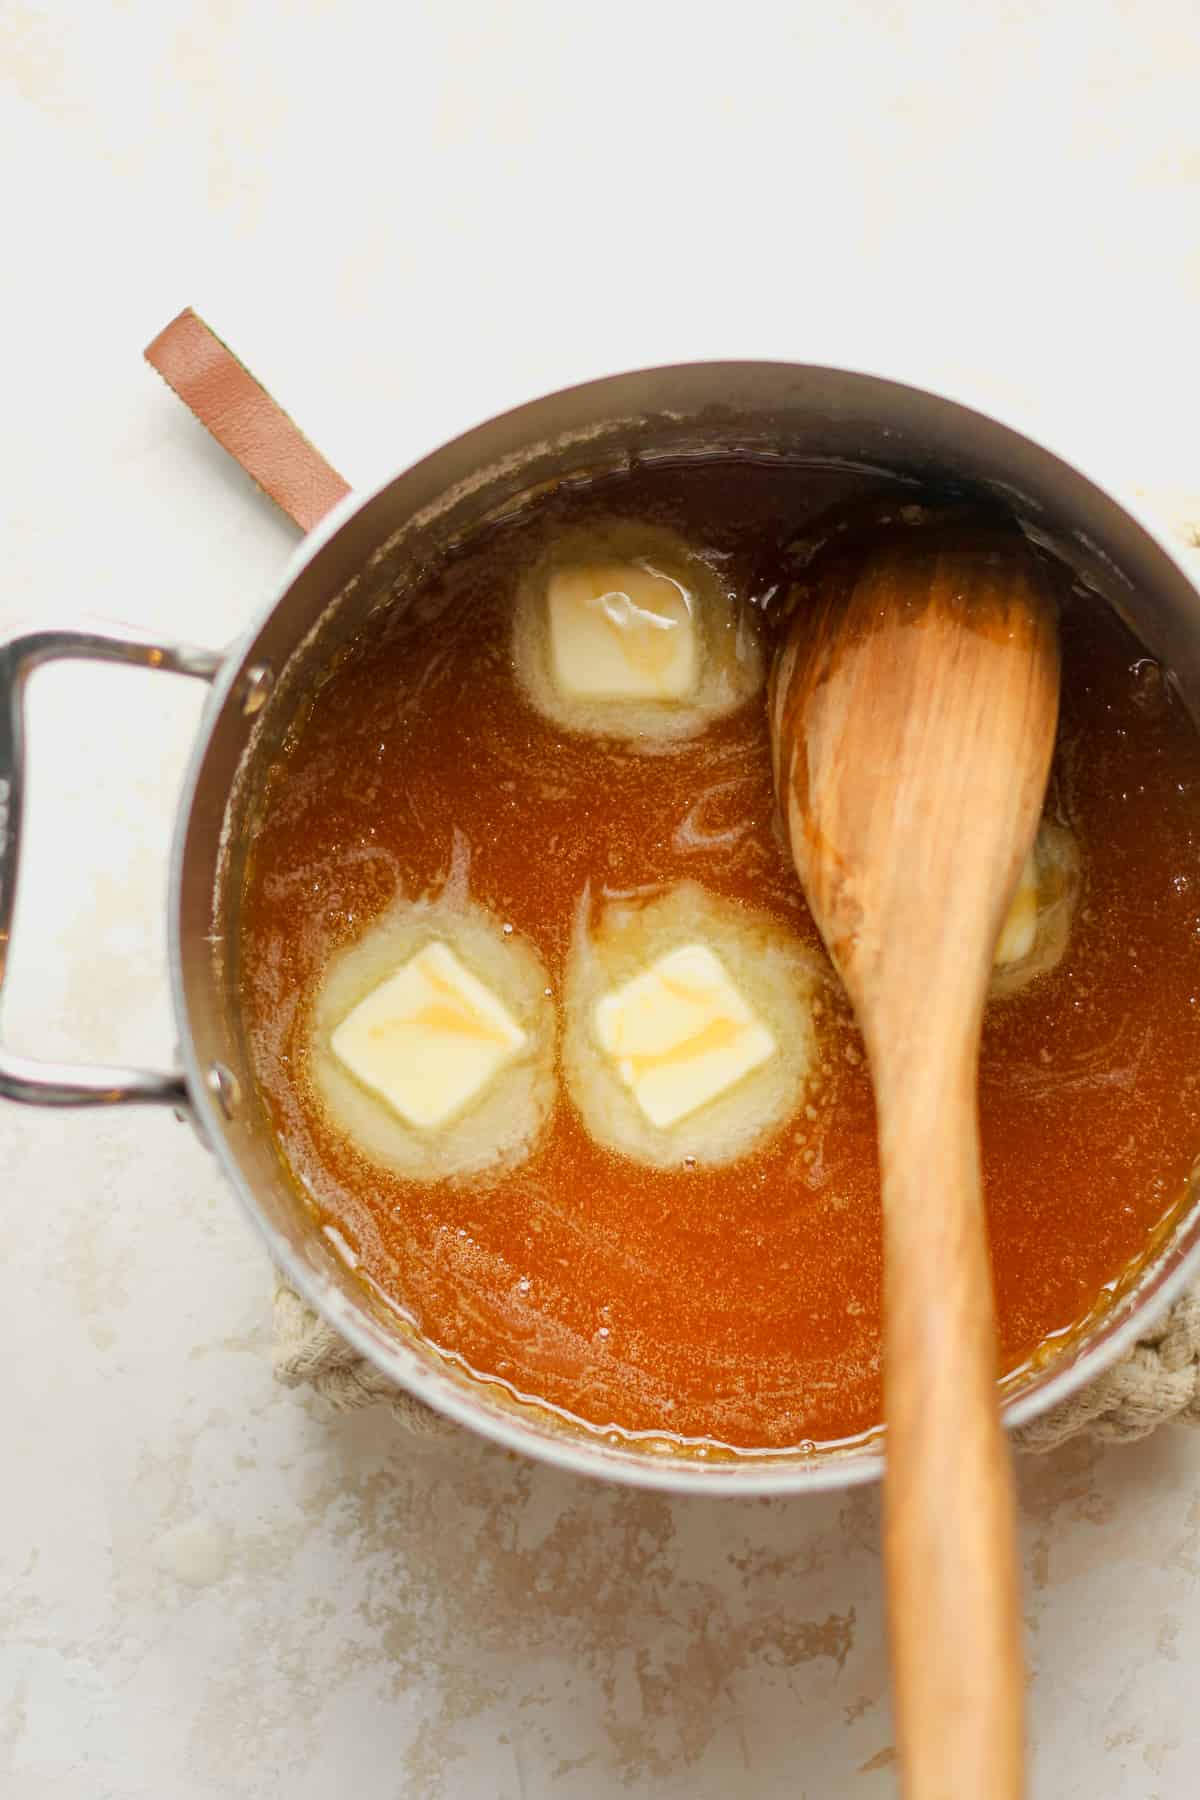
- Add remaining ingredients. Remove pan from the heat and slowly (and carefully!) whisk in the (ROOM TEMPERATURE) heavy cream, whisking or stirring the entire time. Then add the butter to mixture and add the sea salt. Stir well.
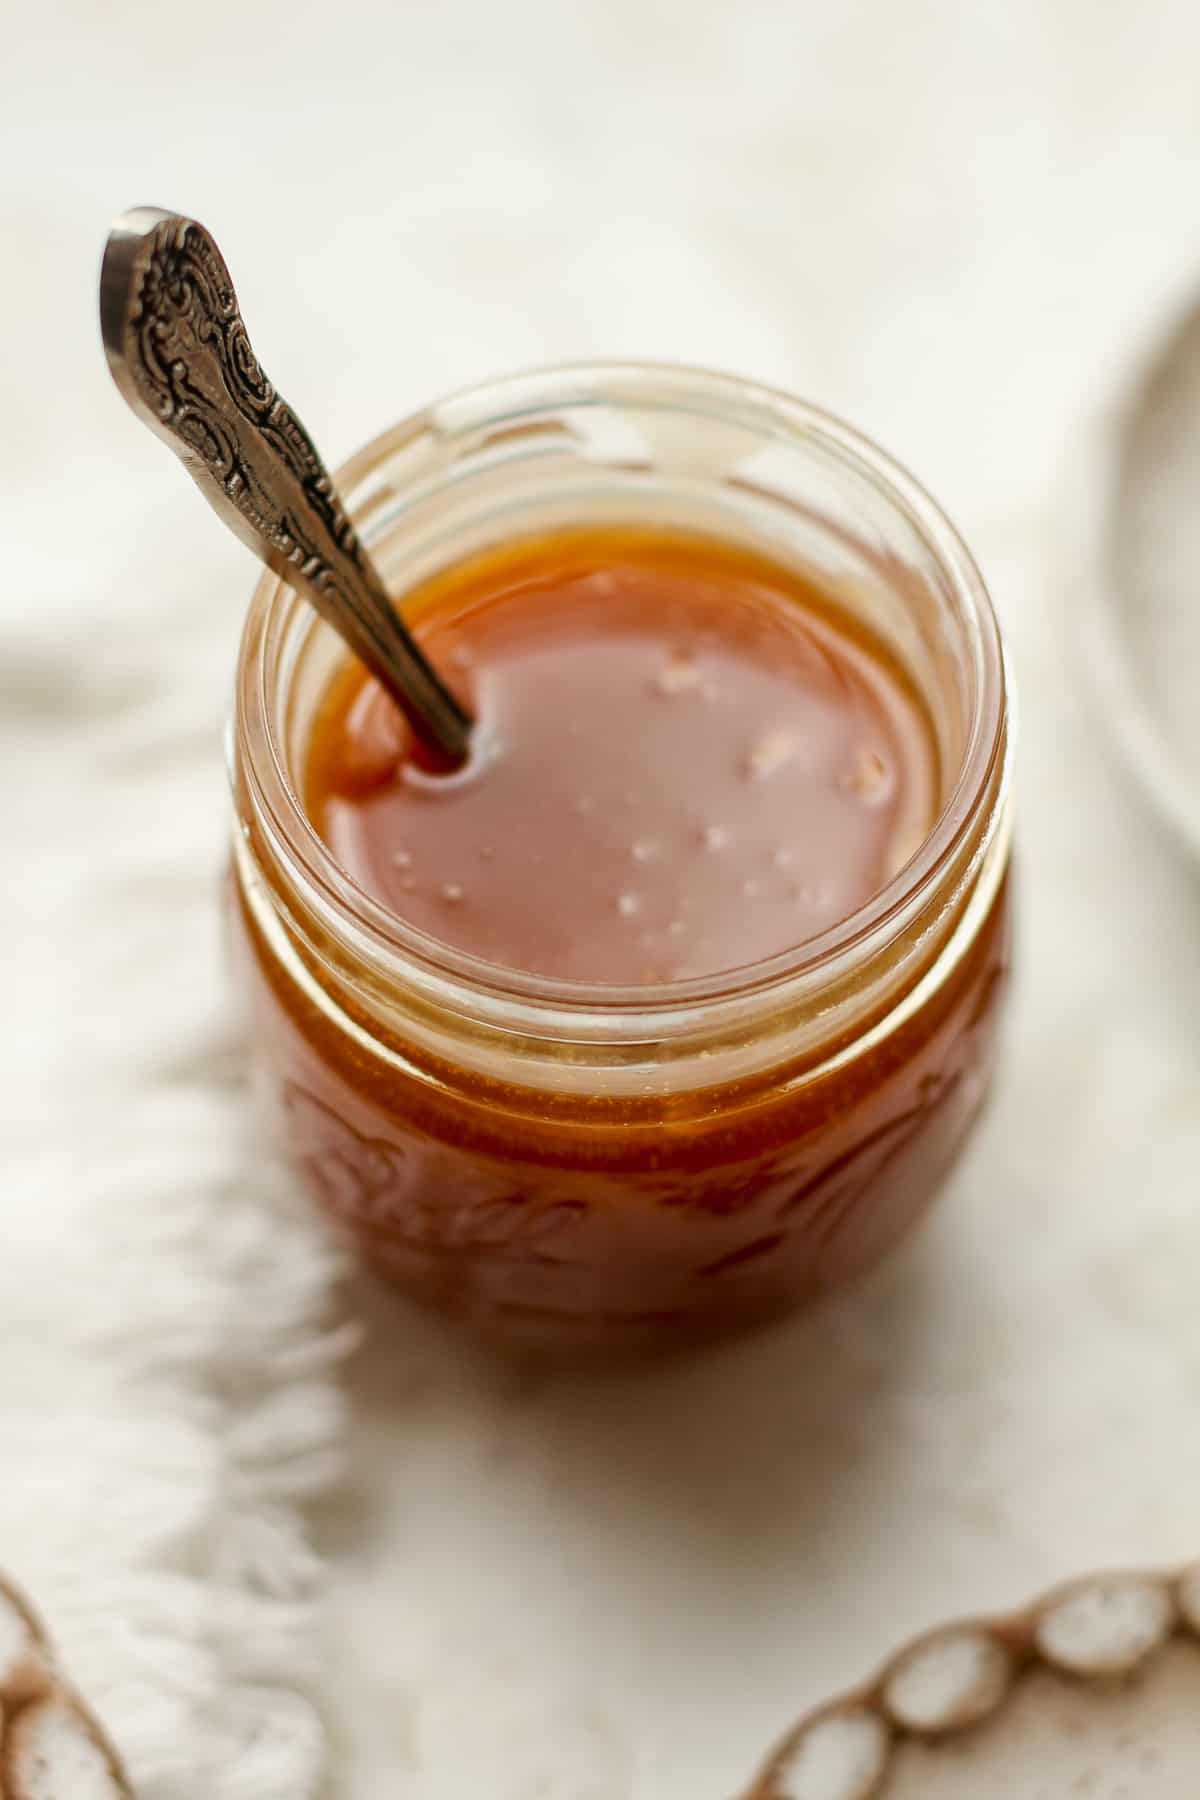
- Store. Pour the sauce into a mason jar and let cool at room temp.
PRO-TIP: Use extra caramel sauce to make a delicious Caramel Latte.
Step 2
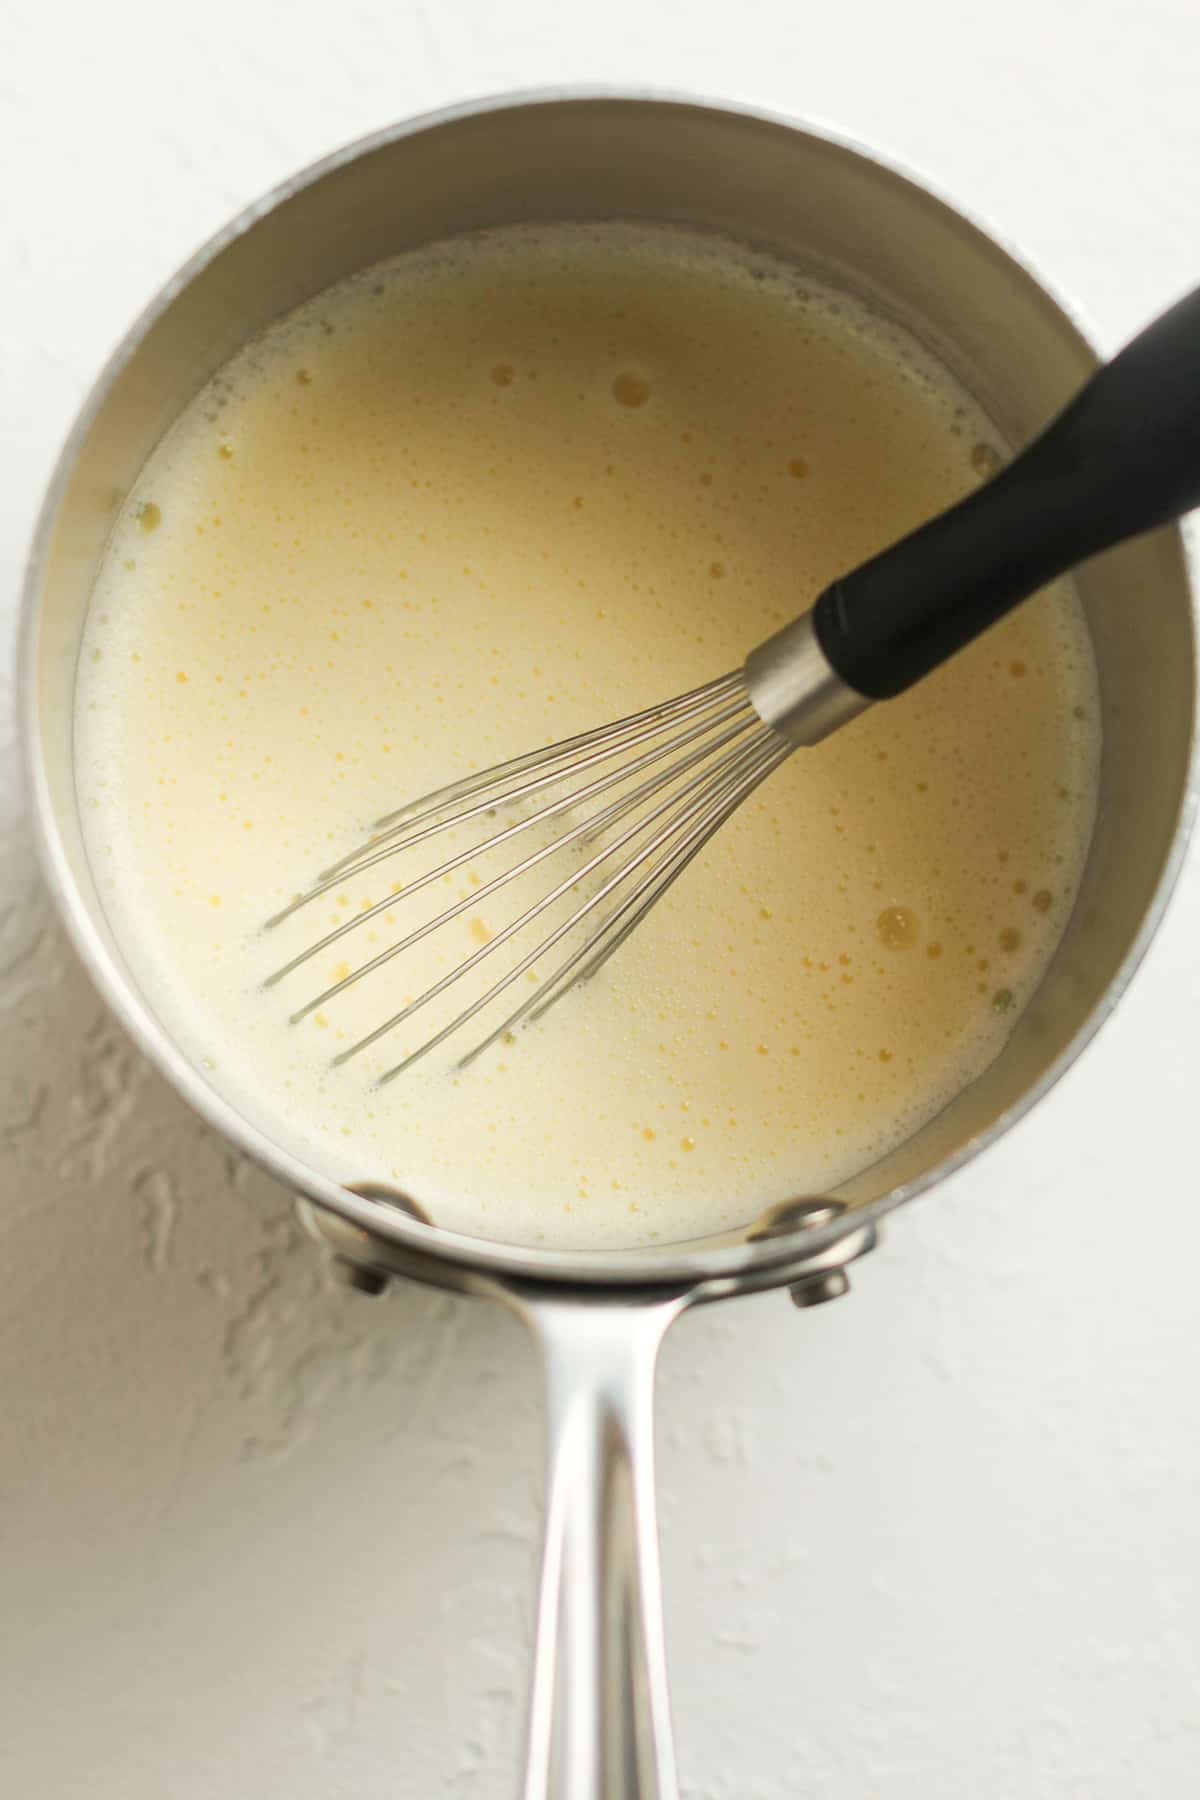
Temper eggs. Whisk egg yolks and 1/2 cup of sugar in a mixing bowl. Add the whole milk to a saucepan and heat over medium heat to a temperature of 165 degrees. (Do not boil.) When the milk is hot, pour 1/4 cup at a time into the eggs/sugar mixture, whisking constantly. Then pour the egg mixture back into the pan and heat again to 165 degrees.
When the custard mixture has thickened enough, it will coat the back of a spoon, and you’ll notice that the line created by your finger when you run it across the coated spoon remains distinct.
Step 3
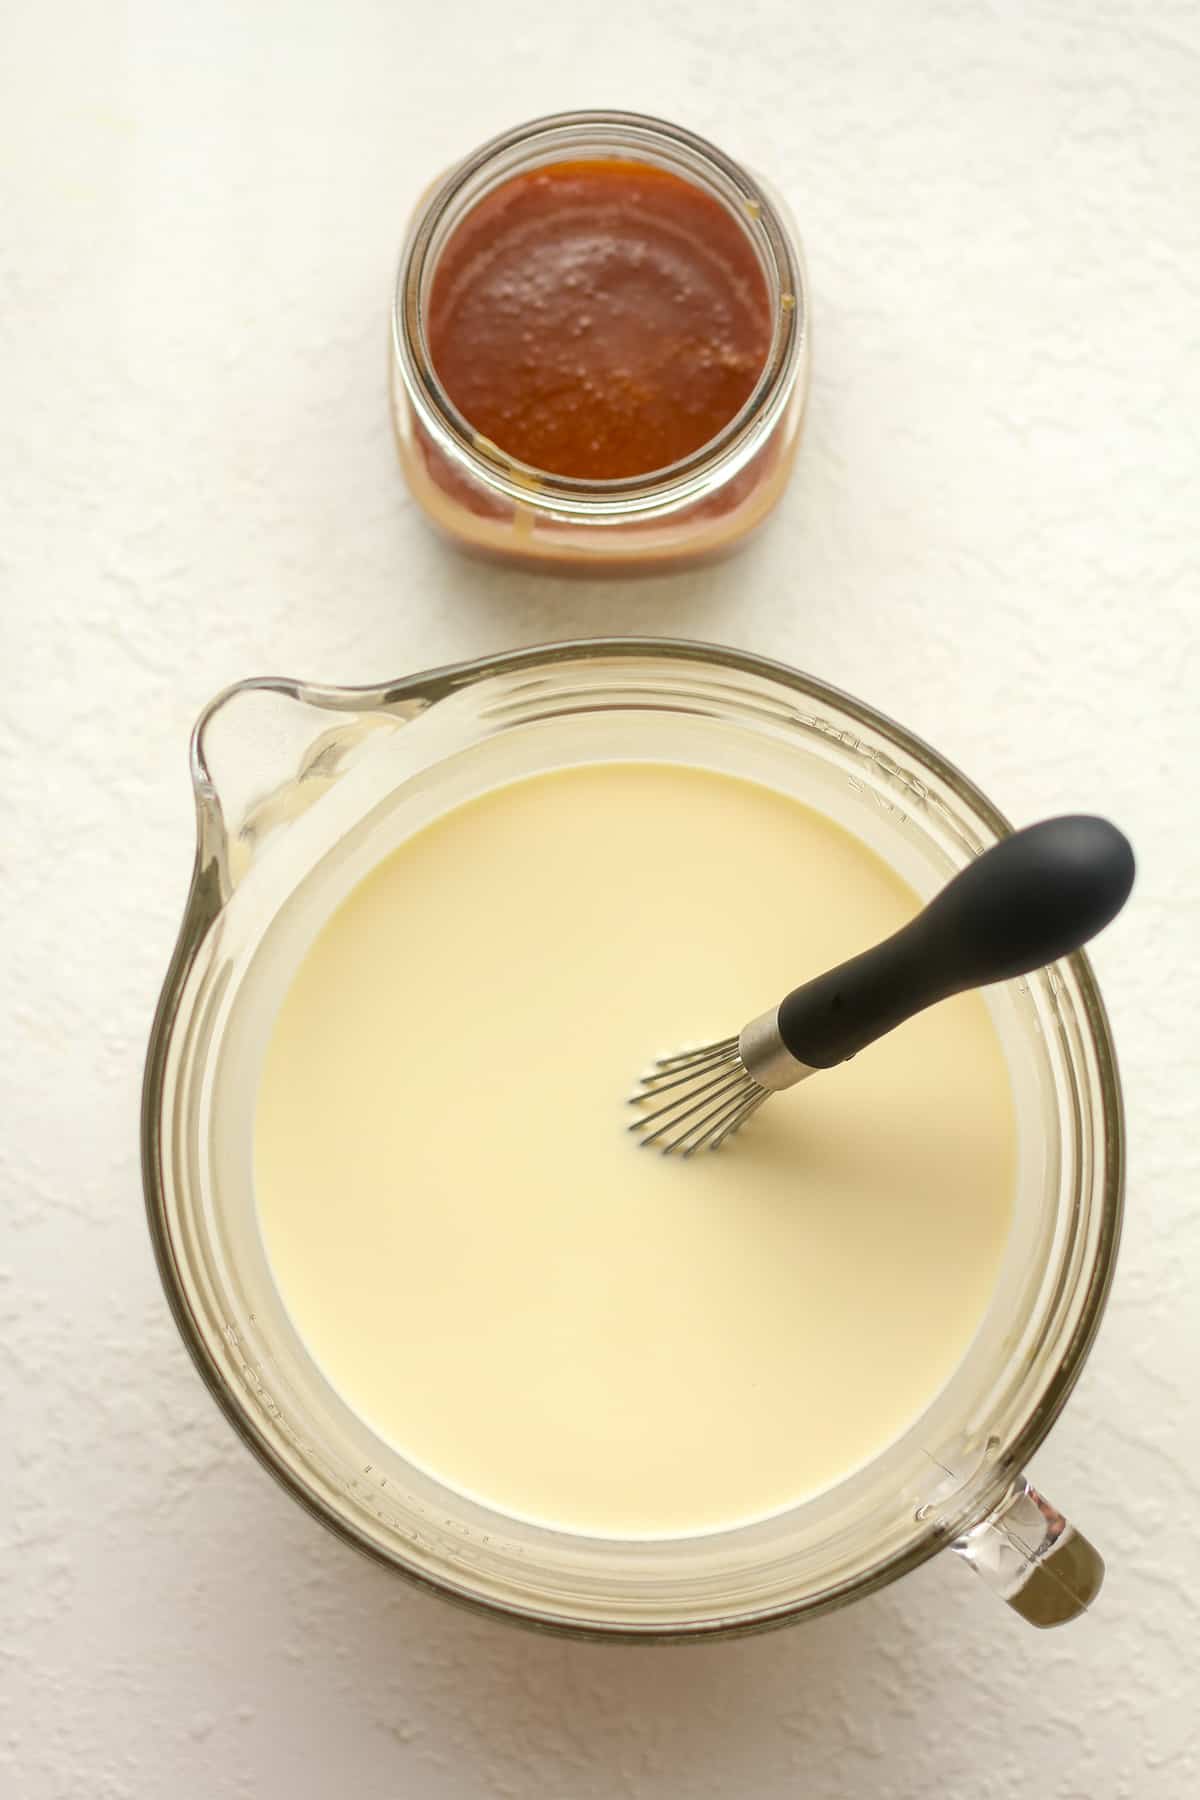
Add remaining ingredients. Pour the hot mixture into an 8-cup measuring cup or large bowl. Let it cool slightly and then add the heavy cream and vanilla extract. Whisk well.
Optional Step: Strain the liquid mixture through a fine mesh strainer into a bowl to remove any potential lumps, coagulated egg bits, or other solid particles that may have formed during the preparation process.
Step 4
Chill. Cover the liquid mixture with plastic wrap, and refrigerate for at least four hours before churning. The mixture should be VERY COLD!
Step 5
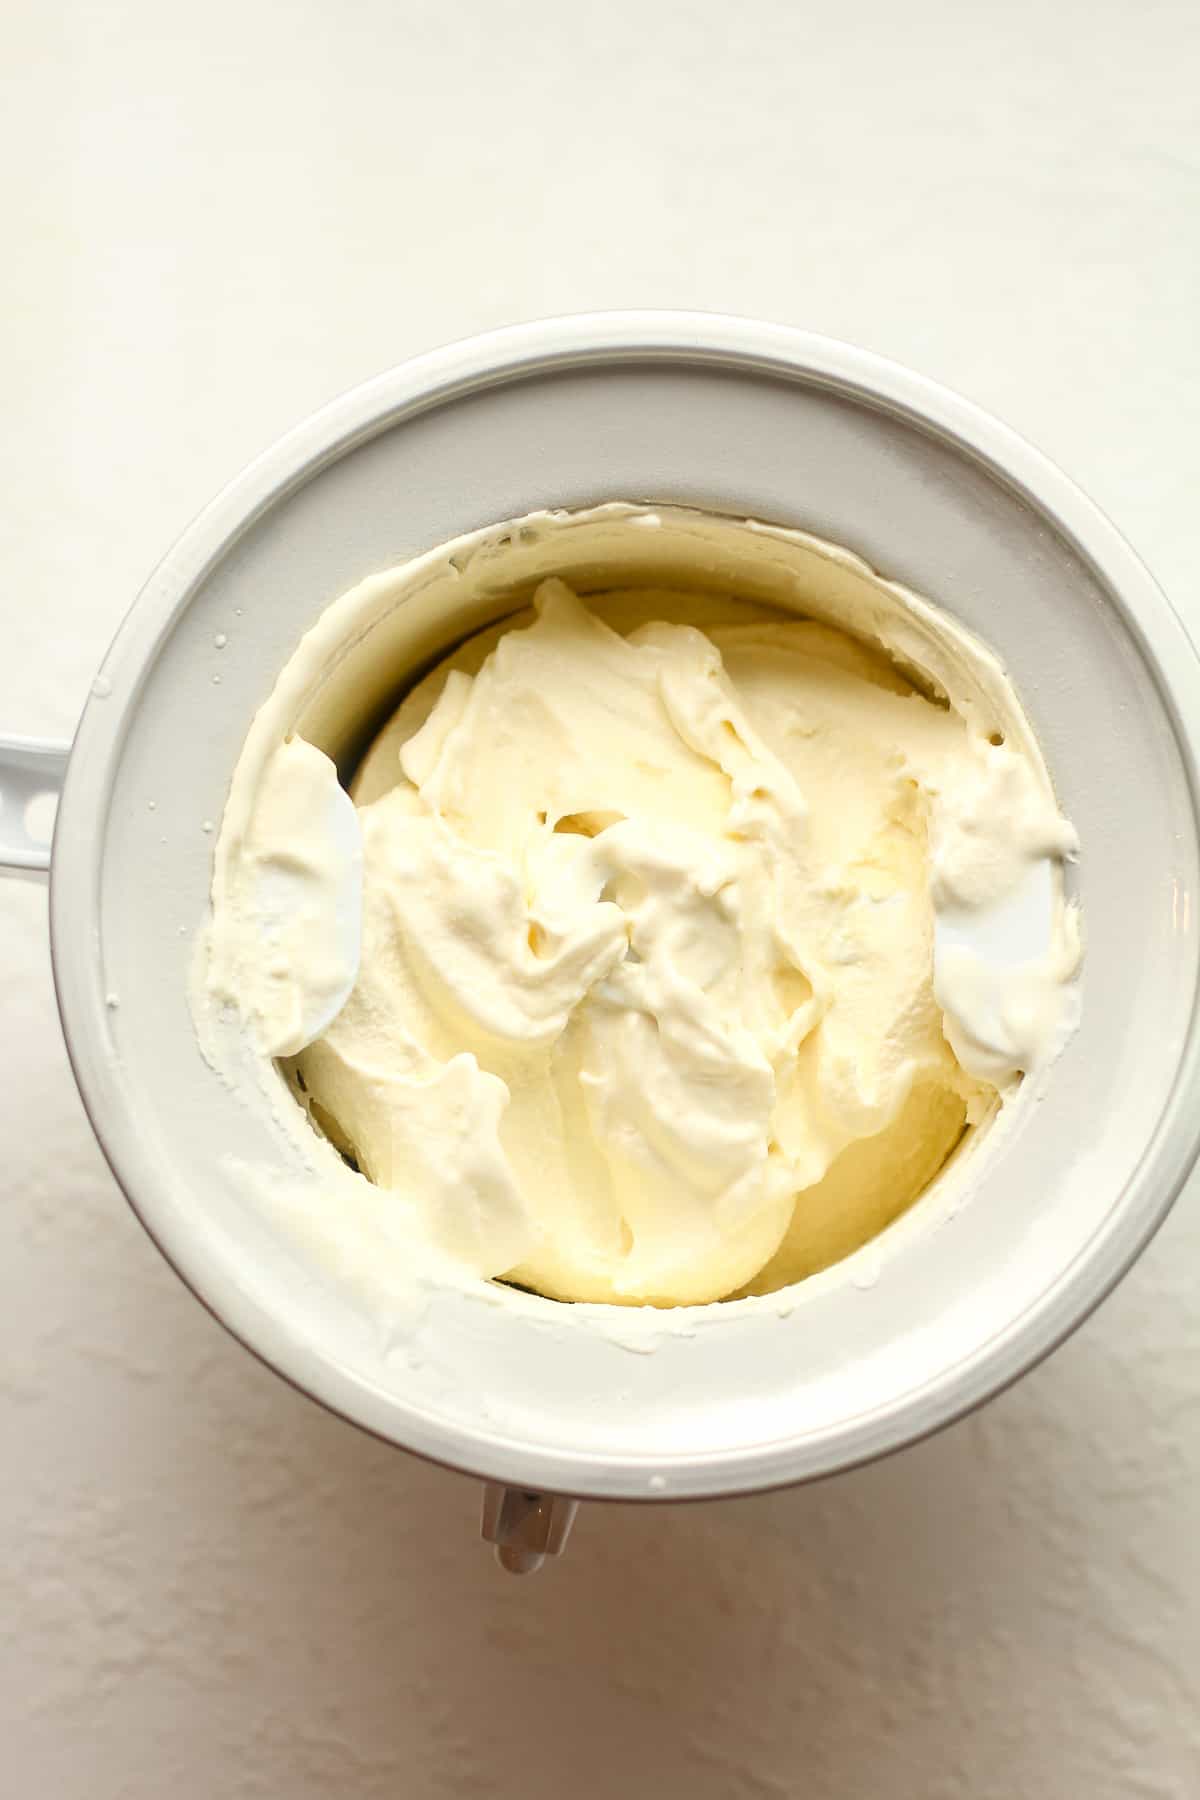
Churn ice cream. Start your 2-quart ice cream machine (I use a KitchenAid Attachment – linked below.) and pour the chilled ice cream mixture into the ice cream maker bowl (the attachment) while it’s running. Let the mixer churn until the ice cream sets.
You’ll see the ice cream start to thicken and rise toward the top of the bowl. The mixer may slow down slightly. (This should take 25-30 minutes or so.)
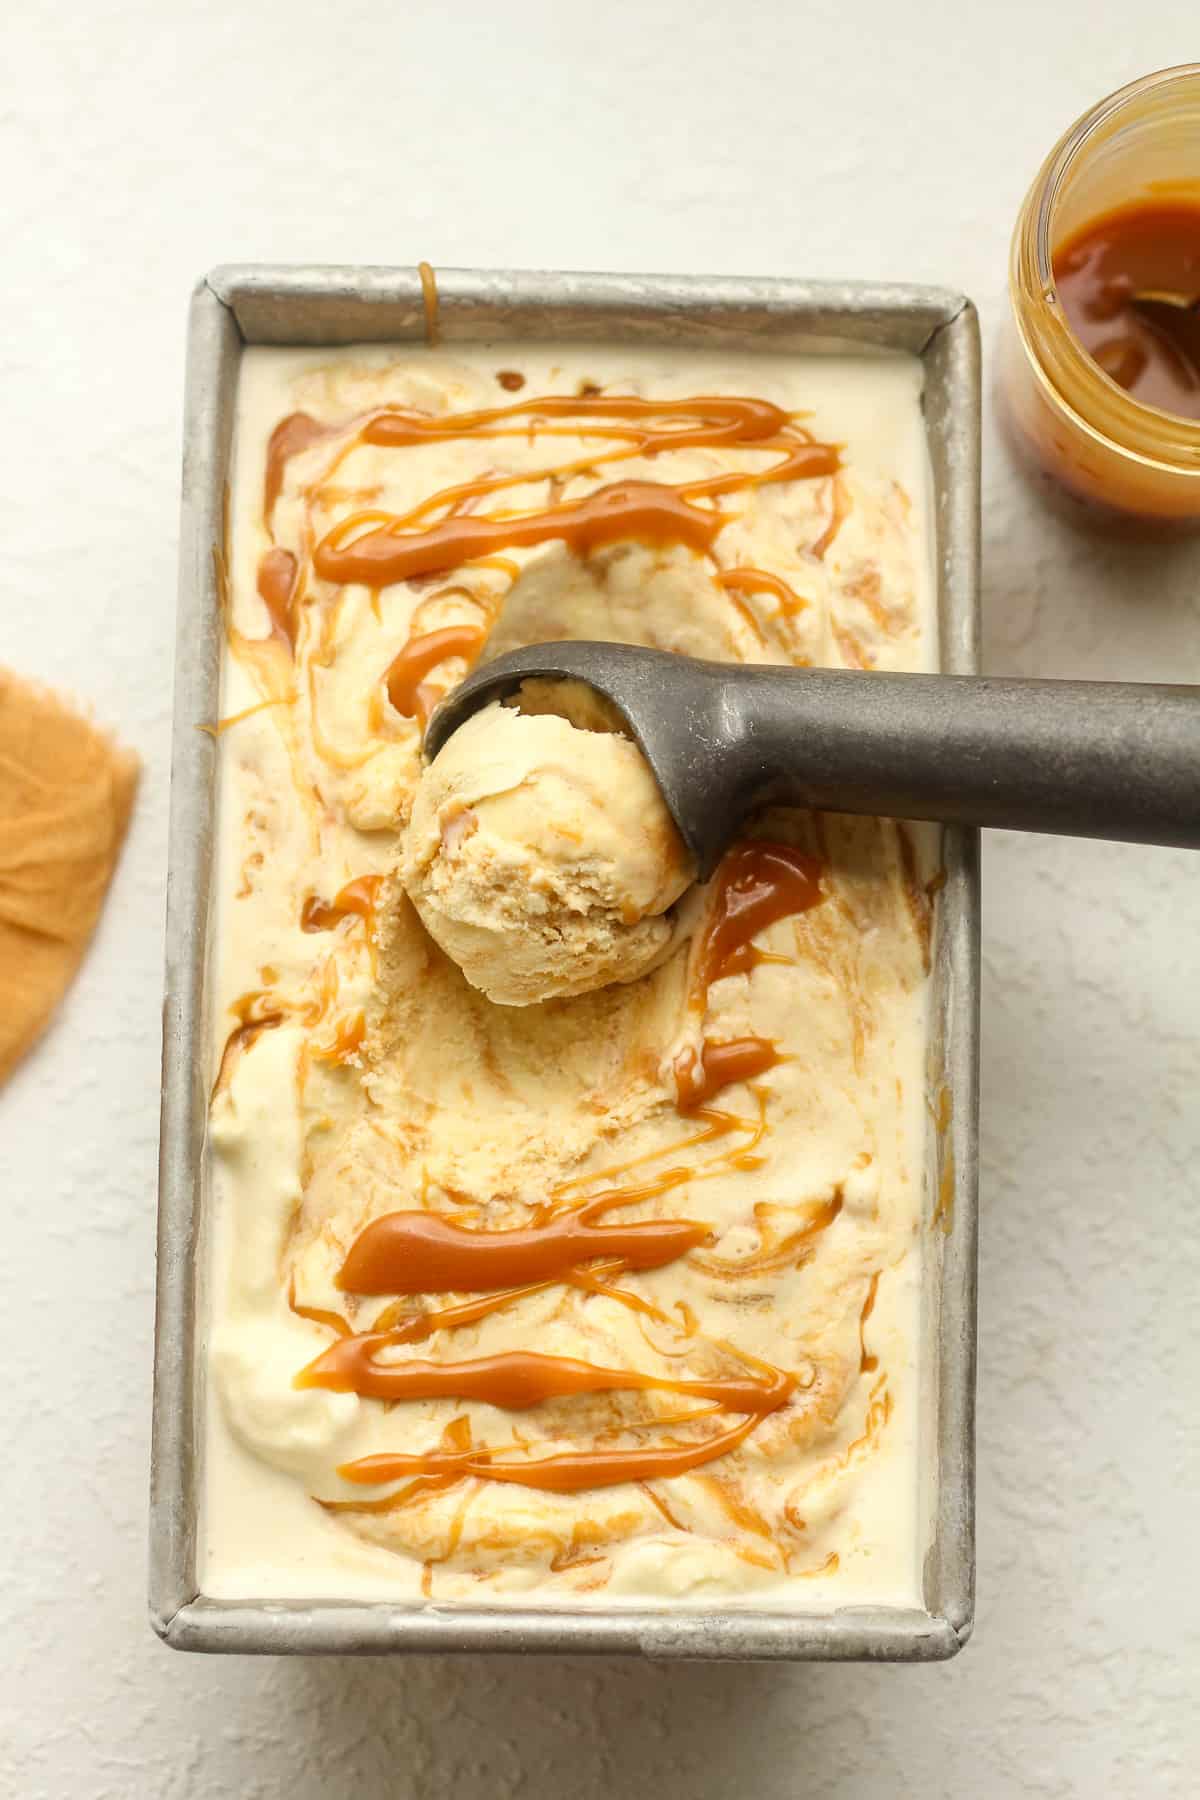
Step 6
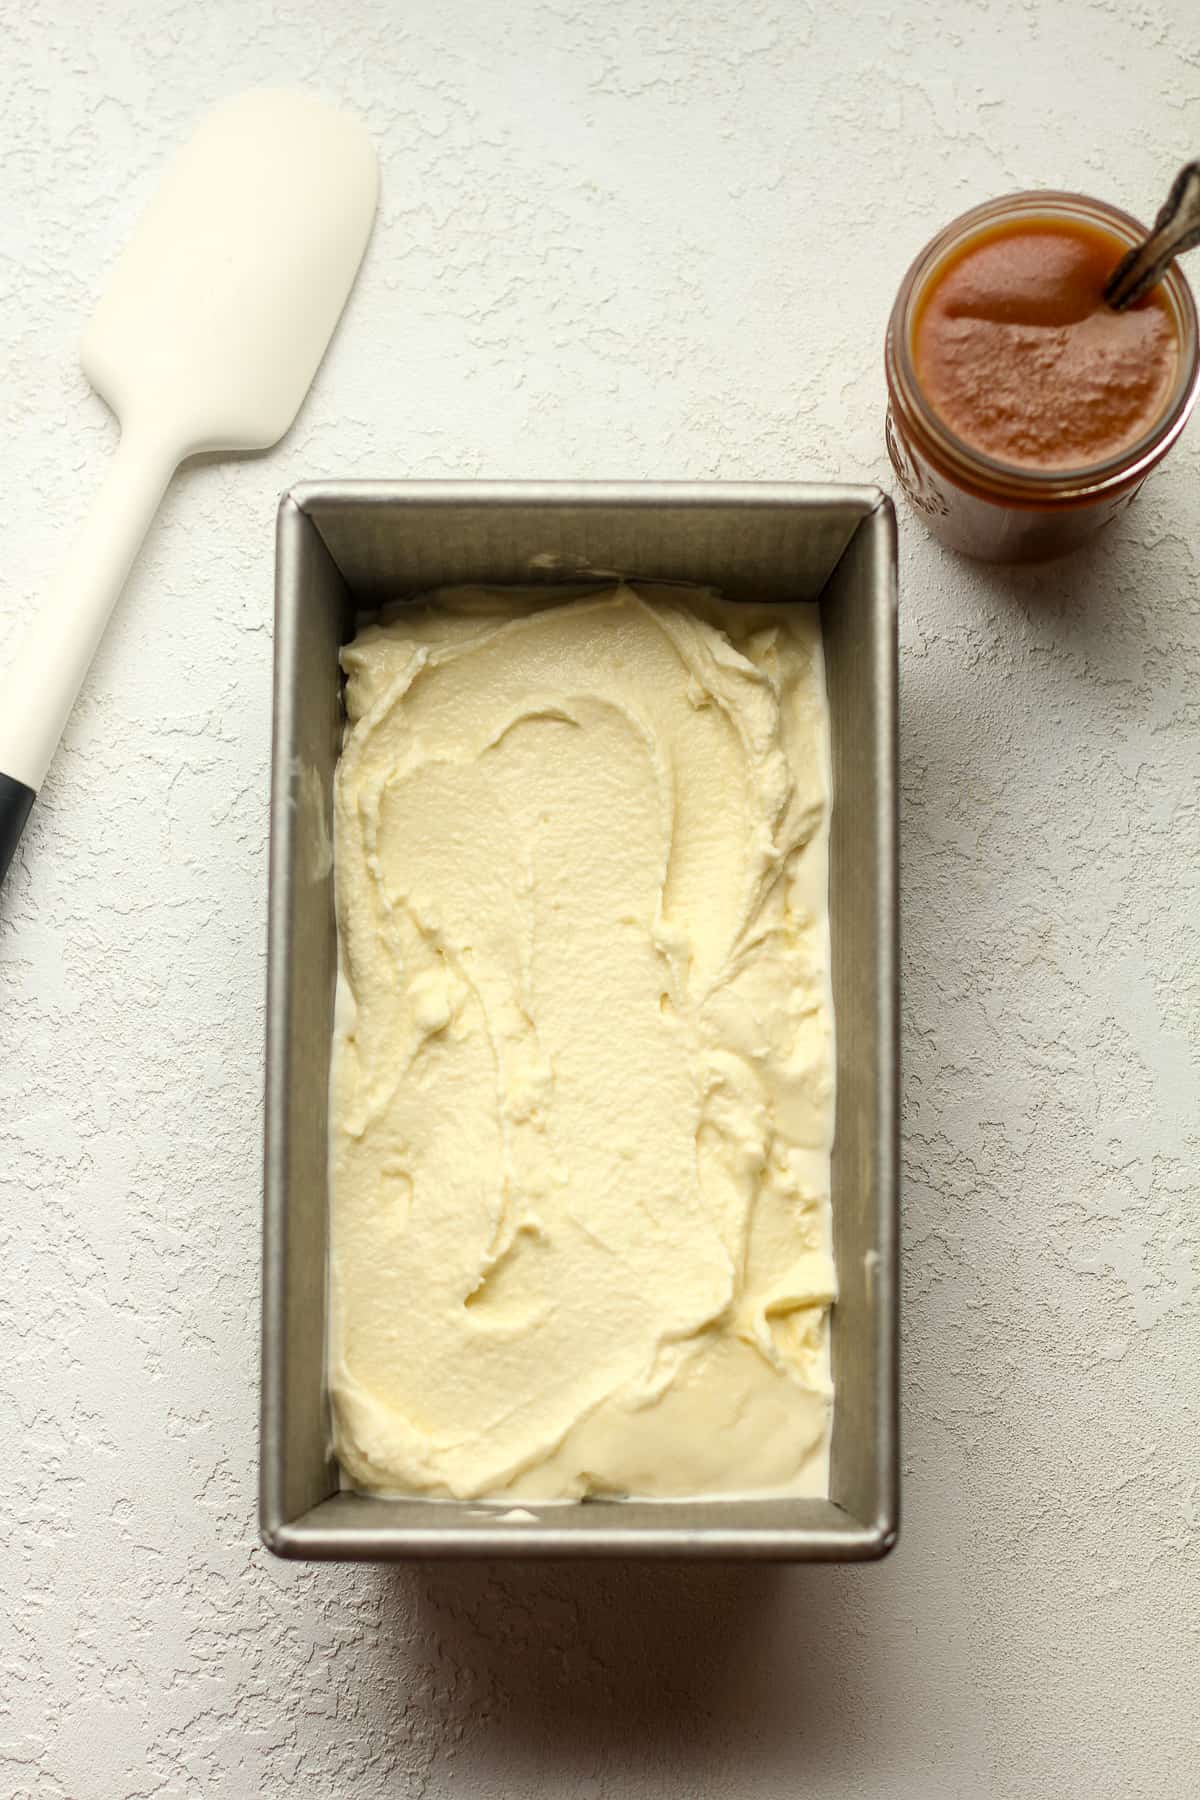
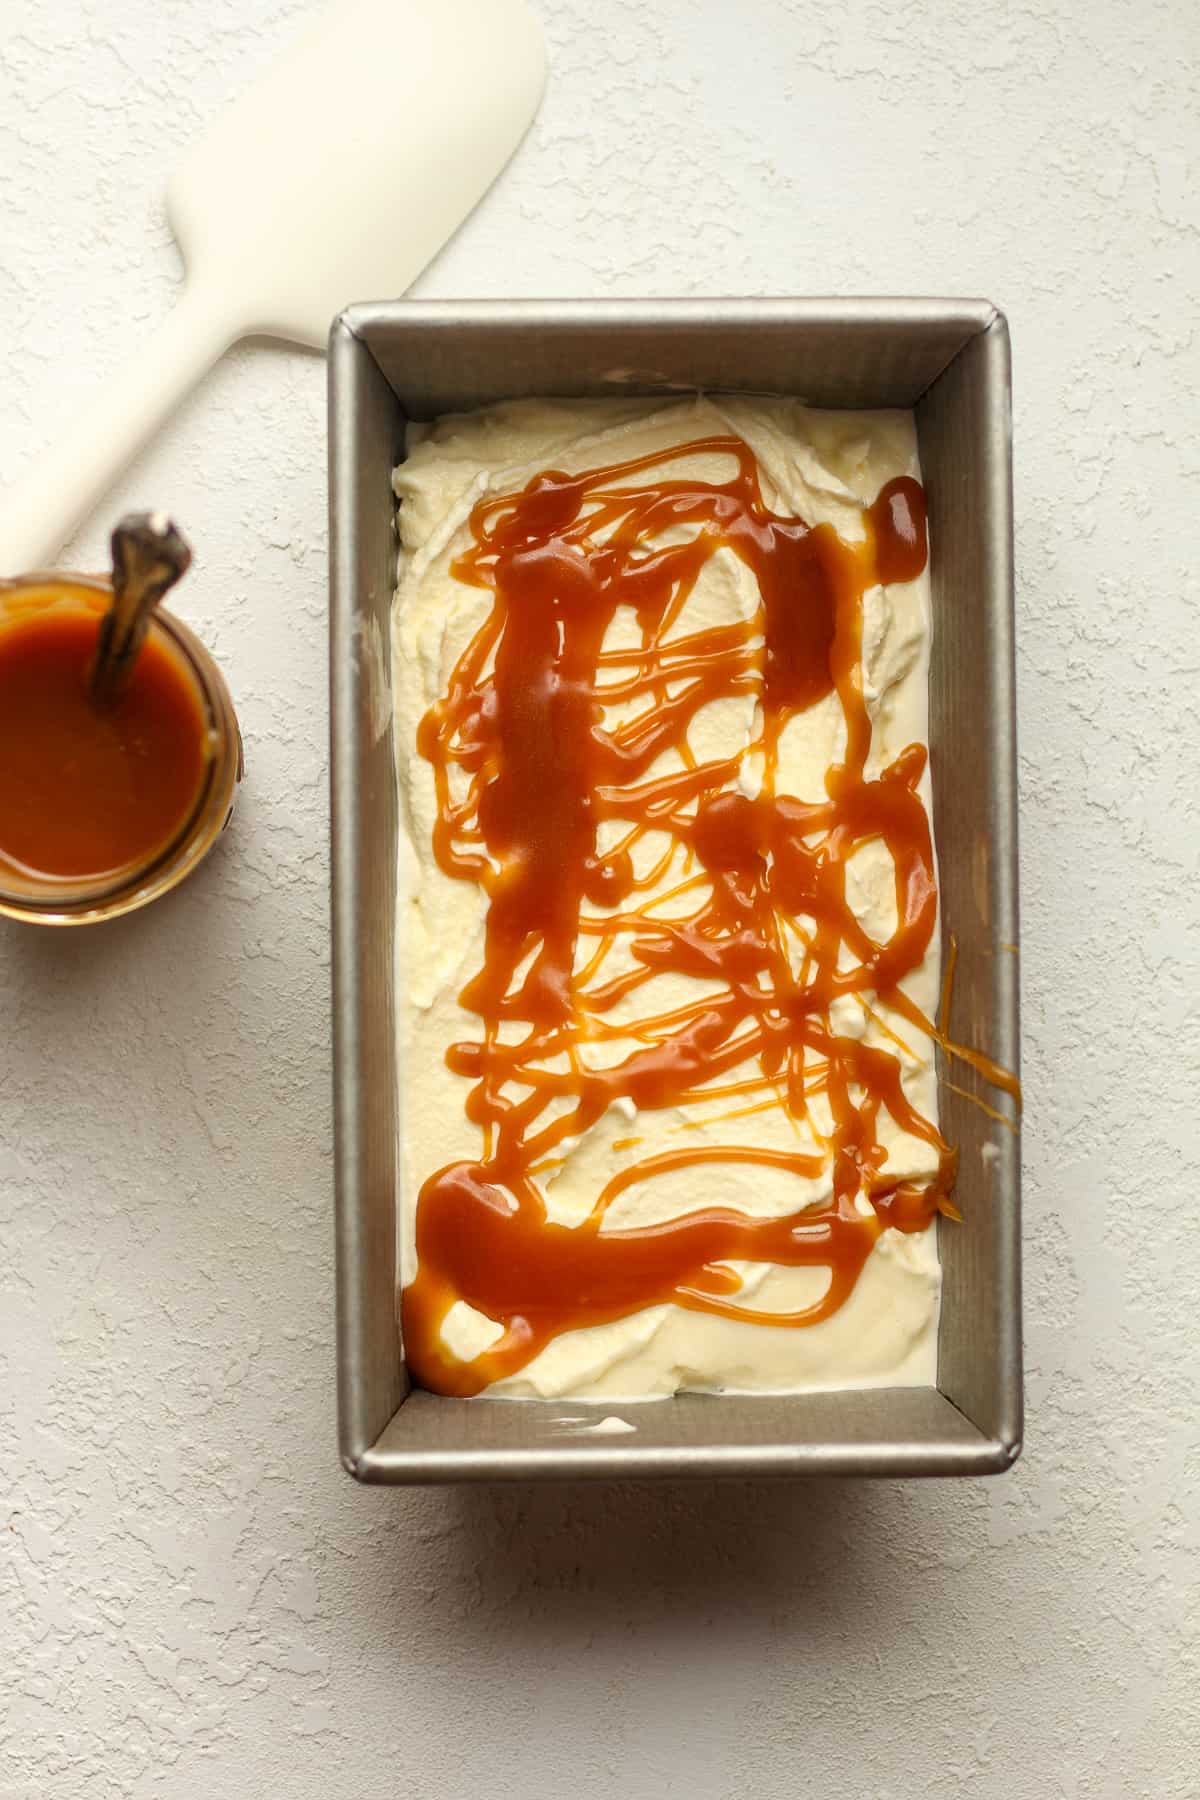
Add caramel sauce. Transfer half of the churned ice cream to an airtight container or pan (any shallow container works well) and drizzle a few tablespoons of caramel sauce over the ice cream. Then add the remaining ice cream and repeat with additional caramel. Reserve a little bit of caramel for serving.
NOTE: You may not need all of the caramel sauce. It depends on your preference.
Step 7
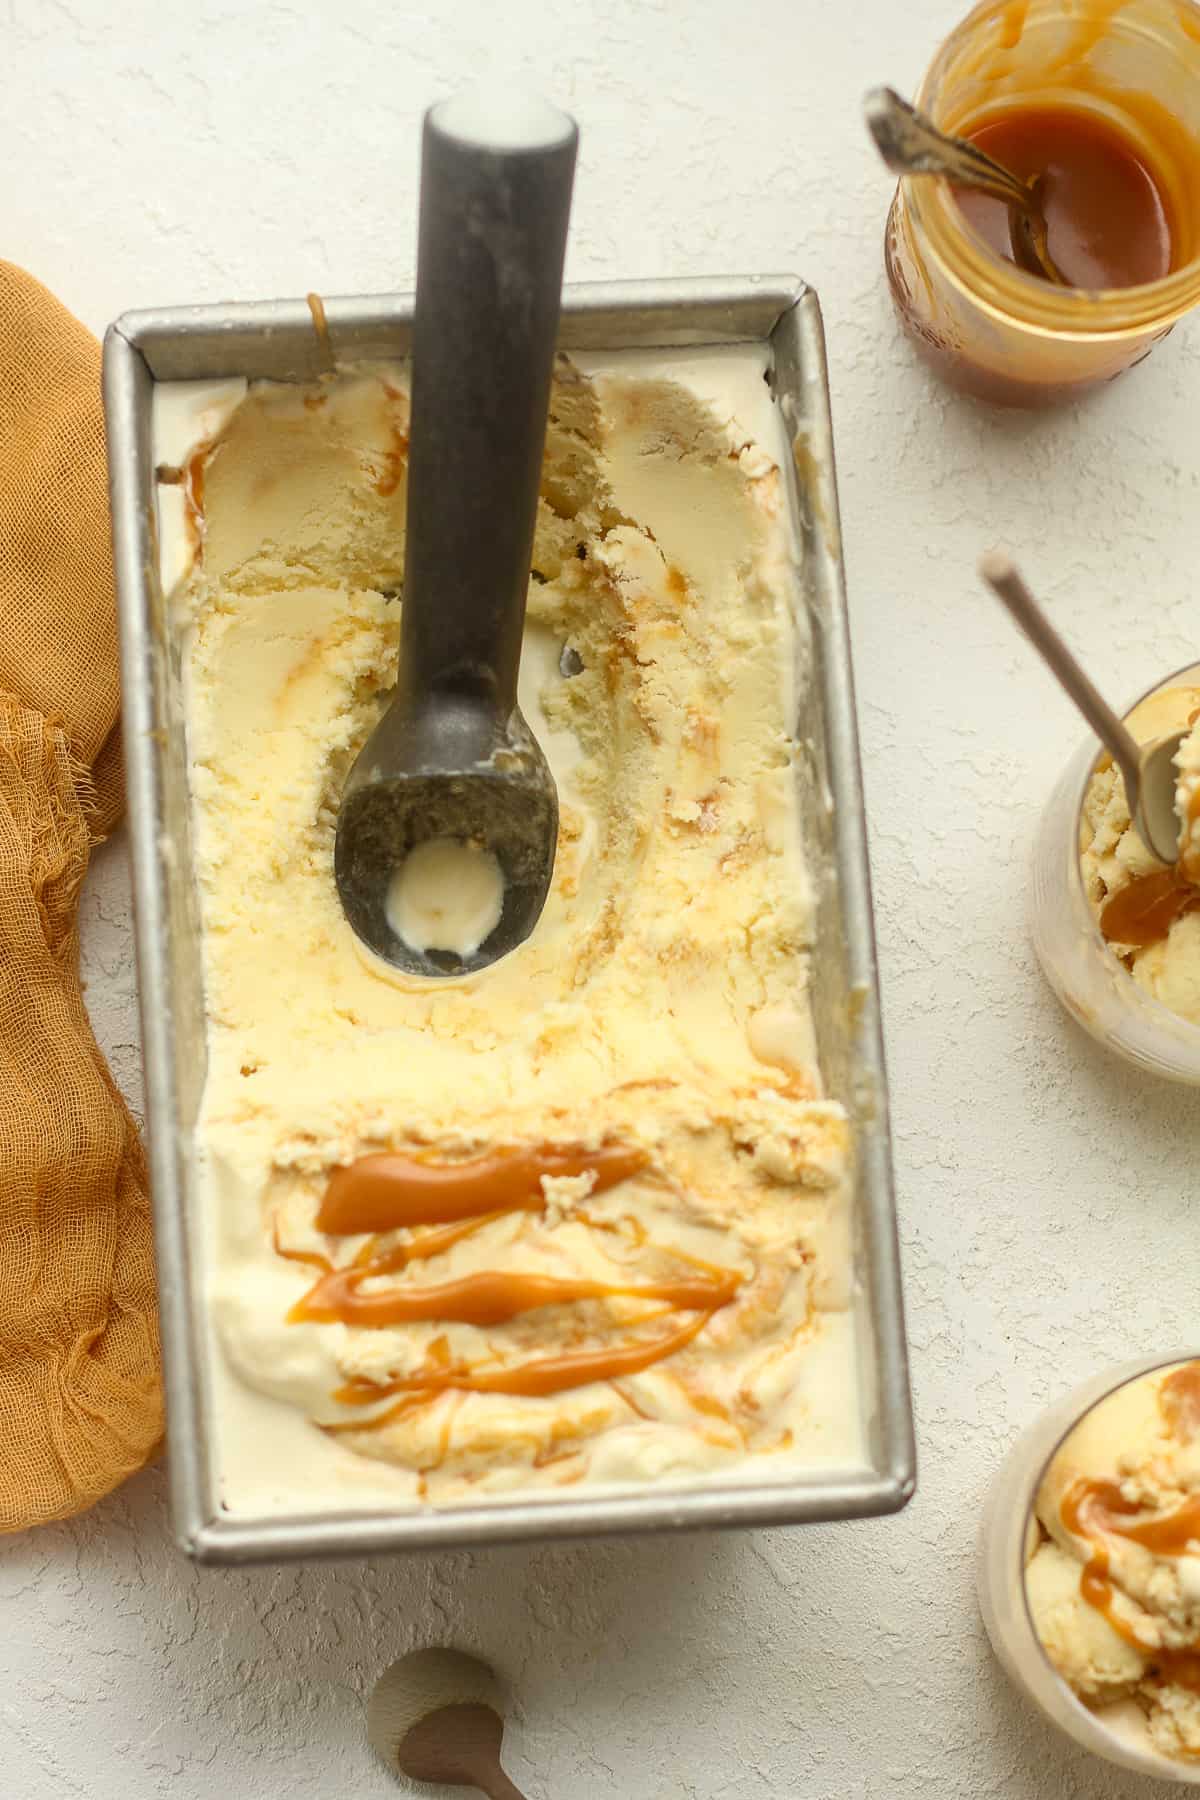
Freeze. Place the container in the freezer to set up further. Initially, the ice cream will have the consistency of soft-serve ice cream, so freezing it will firm it up.
Step 8
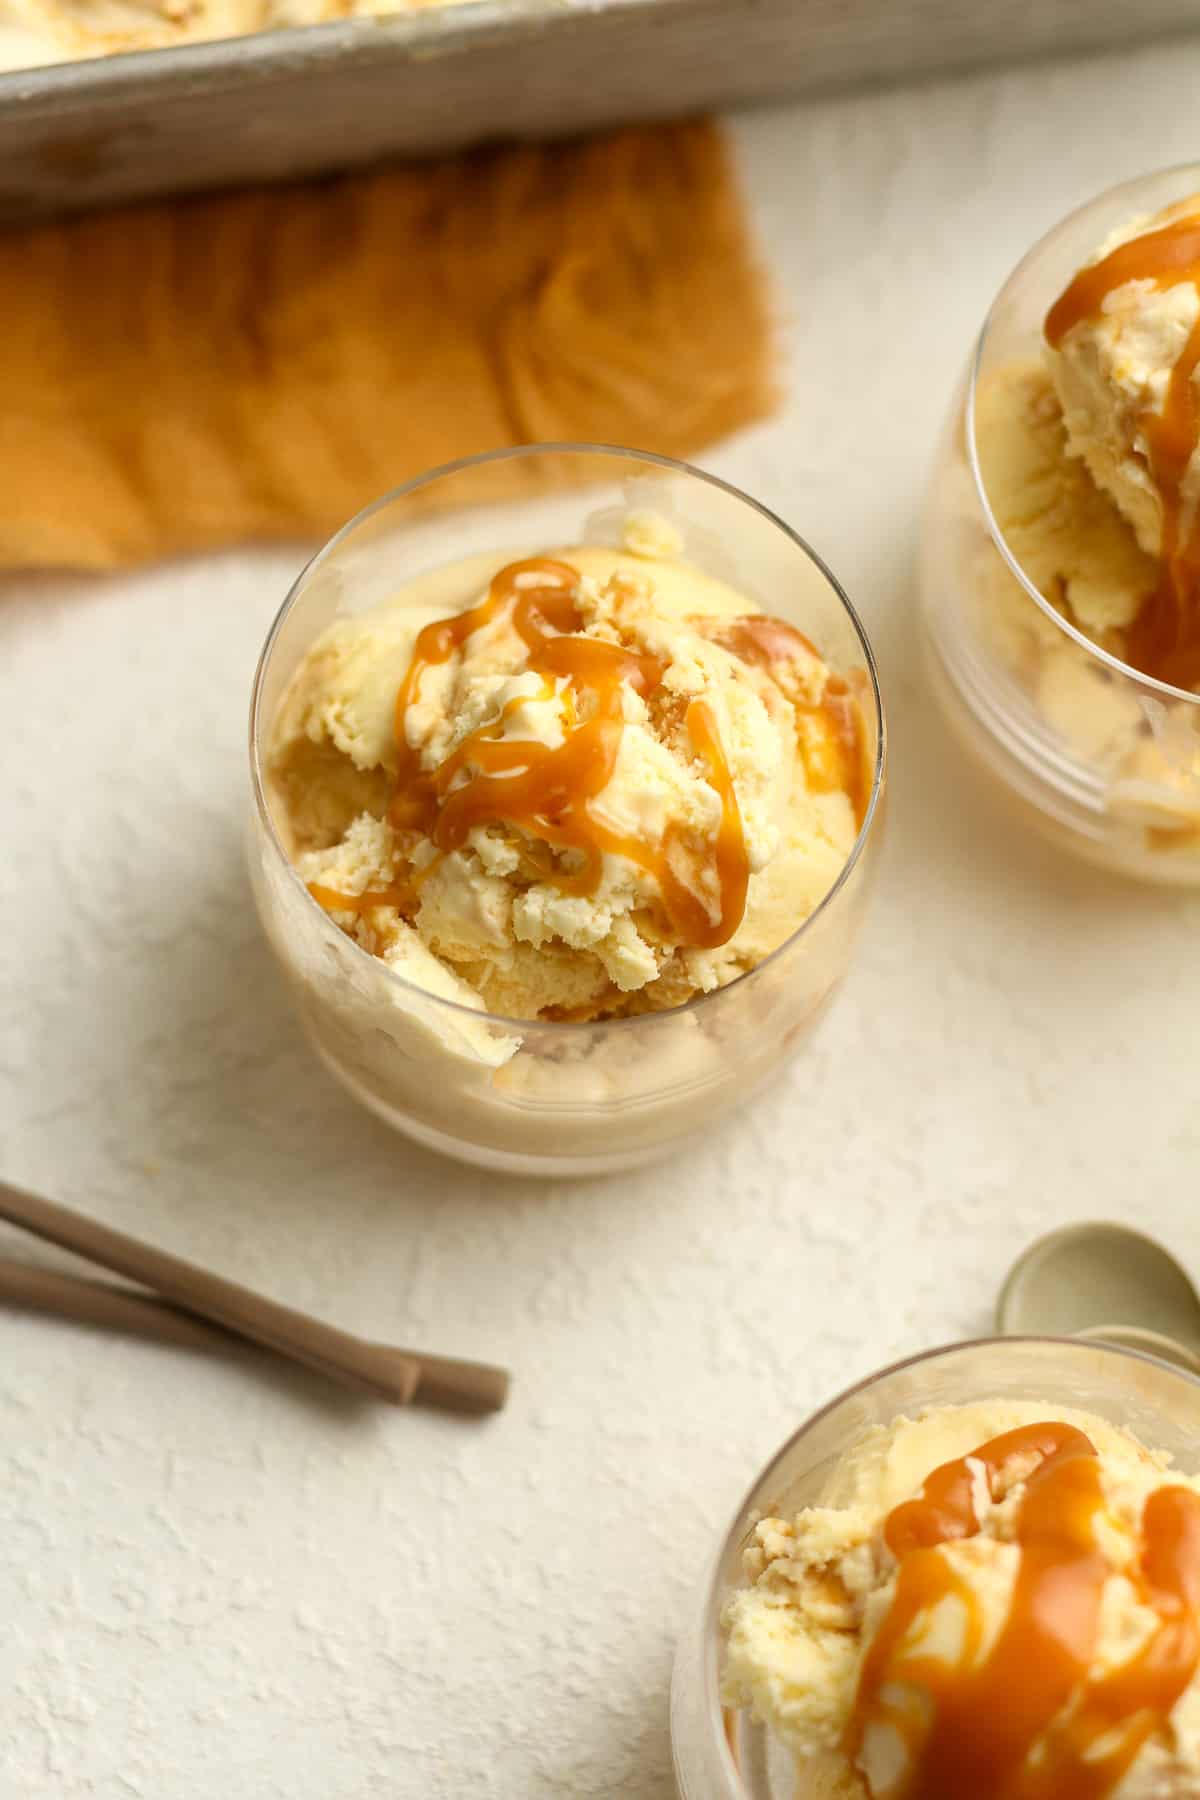
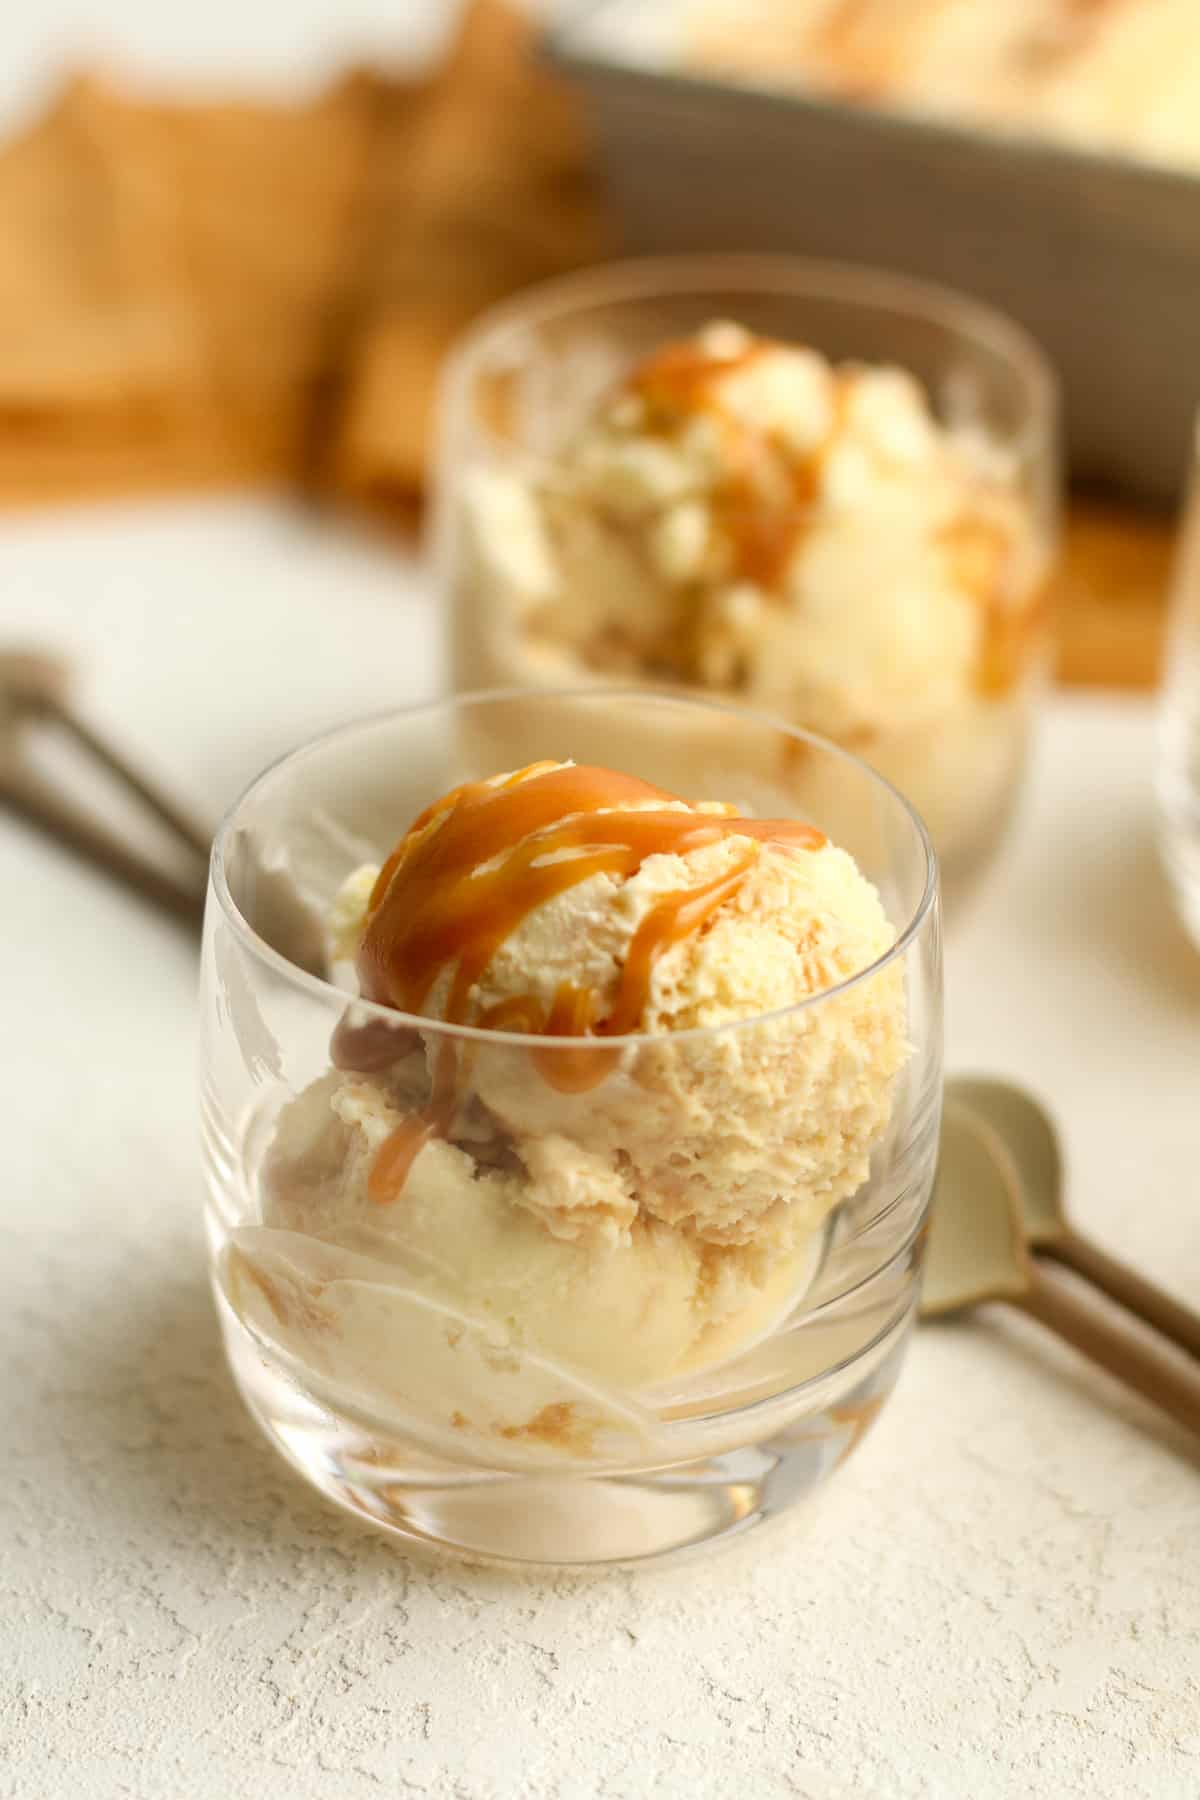
Serve ice cream. After the creamy caramel ice cream sets up, scoop it into serving bowls and add extra caramel to the top of the ice cream along with a sprinkle of sea salt.
More Ice Cream Flavors:
There are so many ice cream flavors to love. The following are a few of our favorites!
There are even more ice cream recipes on the blog!
NOTE: You can use this recipe in another 2-quart machine. If you have a different size machine, you’ll need to adjust the quantity of the liquid mixture.
Tips for using a KitchenAid Ice Cream Attachment:
- Freeze the bowl ahead of time: The Kitchenaid ice cream maker attachment comes with a freezer bowl that needs to be frozen before use. Make sure to freeze it for at least 15 hours prior to making your ice cream.
- Chill your ingredients: Before making your ice cream mixture, make sure to chill all the ingredients, including the milk, cream, and any mix-ins you plan to use. This will help the mixture freeze faster and prevent ice crystals from forming.
- Don’t overfill the bowl: Make sure not to overfill the freezer bowl with the ice cream mixture, as this can prevent it from churning properly. Leave at least one inch of space (or more) at the top.
- Start the mixer on a low speed: When you’re ready to start churning your ice cream, begin with the mixer on a low speed. You can gradually increase the speed as the mixture thickens.
- Be patient: Churning ice cream can take anywhere from 20 to 40 minutes, depending on the recipe and the consistency you’re looking for. Be patient and don’t be tempted to stop the mixer too early, as this can result in a soupy texture.
- Add mix-ins at the end: If you plan to add any mix-ins, such as chocolate chips or nuts, wait until the ice cream is almost fully churned before adding them in. This will ensure that they’re evenly distributed throughout the mixture.
- Transfer to a container and freeze: Once the ice cream is fully churned, transfer it to a freezer-safe container and freeze it for at least 4 hours, or until it’s firm enough to scoop. Enjoy your homemade ice cream!
Kitchen Tools Used: (affiliate links)
xoxo ~Sue
Caramel Swirl Ice Cream Recipe
Ingredients
For the ice cream:
- 1 ½ cups whole milk
- 4 large egg yolks
- 1/2 cup granulated sugar
- 2 ¼ cups heavy cream
- 2 Tablespoons vanilla extract
For the caramel sauce:
- 1/4 cup water – room temperature
- 1 cup granulated sugar
- 1/2 cup heavy cream – room temperature
- 1/4 cup unsalted butter – room temp
- 1 teaspoon sea salt
Instructions
For the Caramel Sauce:
- **ALL INGREDIENTS MUST BE AT ROOM TEMPERATURE!
- Cook water and sugar. In a small saucepan, heat the water and sugar over medium heat. Stir constantly until the sugar has dissolved. Turn up the heat, bring the mixture to a boil, and stop stirring. Let the mixture continue to boil until it turns amber in color. This could take several minutes.1/4 cup water, 1 cup granulated sugar
- Add remaining ingredients. Remove pan from the heat and slowly (and carefully!) whisk in the (ROOM TEMPERATURE) heavy cream, whisking or stirring the entire time. Then mix the butter into mixture and add the sea salt. Stir well.1/2 cup heavy cream, 1/4 cup unsalted butter, 1 teaspoon sea salt
For the ice cream:
- Temper eggs. Whisk egg yolks and 1/2 cup of sugar in a mixing bowl. Add the whole milk to a saucepan and heat over medium heat to a temperature of 165 degrees. (Do not boil.) When the milk is hot, pour 1/4 cup at a time into the eggs/sugar mixture, whisking constantly. Then pour the egg mixture back into the pan and heat again to 165 degrees.4 large egg yolks, 1/2 cup granulated sugar, 1 ½ cups whole milk
- Add remaining ingredients. Pour the hot mixture into an 8-cup measuring cup or large bowl. Let it cool slightly and then add the heavy cream and vanilla extract. Whisk well.2 ¼ cups heavy cream, 2 Tablespoons vanilla extract
- Chill. Cover the liquid mixture with plastic wrap, and refrigerate for at least four hours before churning. The mixture should be VERY COLD!
- Churn ice cream. Start your 2-quart ice cream maker (I use a KitchenAid Attachment – linked below.) and pour the chilled ice cream mixture into the ice cream maker bowl (the attachment) while it’s running. Let the mixer churn until the ice cream sets. You’ll see the ice cream start to thicken and rise toward the top of the bowl. The mixer may slow down slightly. (This should take 25-30 minutes or so.)
- Add caramel sauce. Transfer half of the churned ice cream to an airtight container or pan (any shallow container works well) and drizzle a few tablespoons of caramel sauce over the ice cream. Then add the remaining ice cream and repeat with additional caramel. Reserve a little bit of caramel for serving.
- Freeze. Transfer churned ice cream to an airtight container (any shallow container works well). Place container in the freezer to set up further. Initially, the ice cream will have the consistency of soft-serve ice cream, so freezing it will firm it up.
Notes
- Use a heavy bottom pan that has a little extra surface area. This is a small recipe but having a larger pan than you need is important for proper cooking.
- Use ROOM TEMPERATURE ingredients. You can even warm up the heavy cream a bit if you’re short on time.
- Make sure you let the sugar and water turn amber (see photos above) before removing from heat and adding remaining ingredients. DON’T STIR during this process.
- Add the heavy cream in SLOWLY and whisk or stir constantly.
- If the sugar starts to clump up, add a bit more water and continue stirring.
- If you sugar clumps and you can’t get it all to dissolve, it’s ok. Simply discard that clump and use the remaining caramel. It’s happened to me and it’s still delicious!
The caramel recipe didn’t work for me. The water evaporated before the sugar caramalized.
I am new to making icecream. Someone gifted me an old school electric icecream maker. Can I make this ice cream in that machine? Thanks for your help.
One of the best ice cream flavors I have tried yet! I’m going to make this again and try it with different mix-ins, starting with chopped brownie chunks!
Wow, what a special treat! I never make homemade ice cream but couldn’t wait to try this one. I’ll be making it again because it didn’t last long enough to get seconds!
Darn you…. I now have to make another batch because we already at the first! It is SOOO good!
Mmmmm so good. I loved the thick caramel swirl in this homemade ice cream recipe. Your tips make it so easy to make too. Great easy recipe.
Churned custard ice creams are our favorites, so worth the extra time for the uber creamy results! This is my son’s favorite ice cream and made him a big batch before he headed back to college!
Cooked and churned ice creams are so good. Worth the work. This was delicious, and the homemade caramel came out great. I made a double batch of that and used it over pies as well.
All of your ice cream recipes are awesome and yet simple! I love that combination.