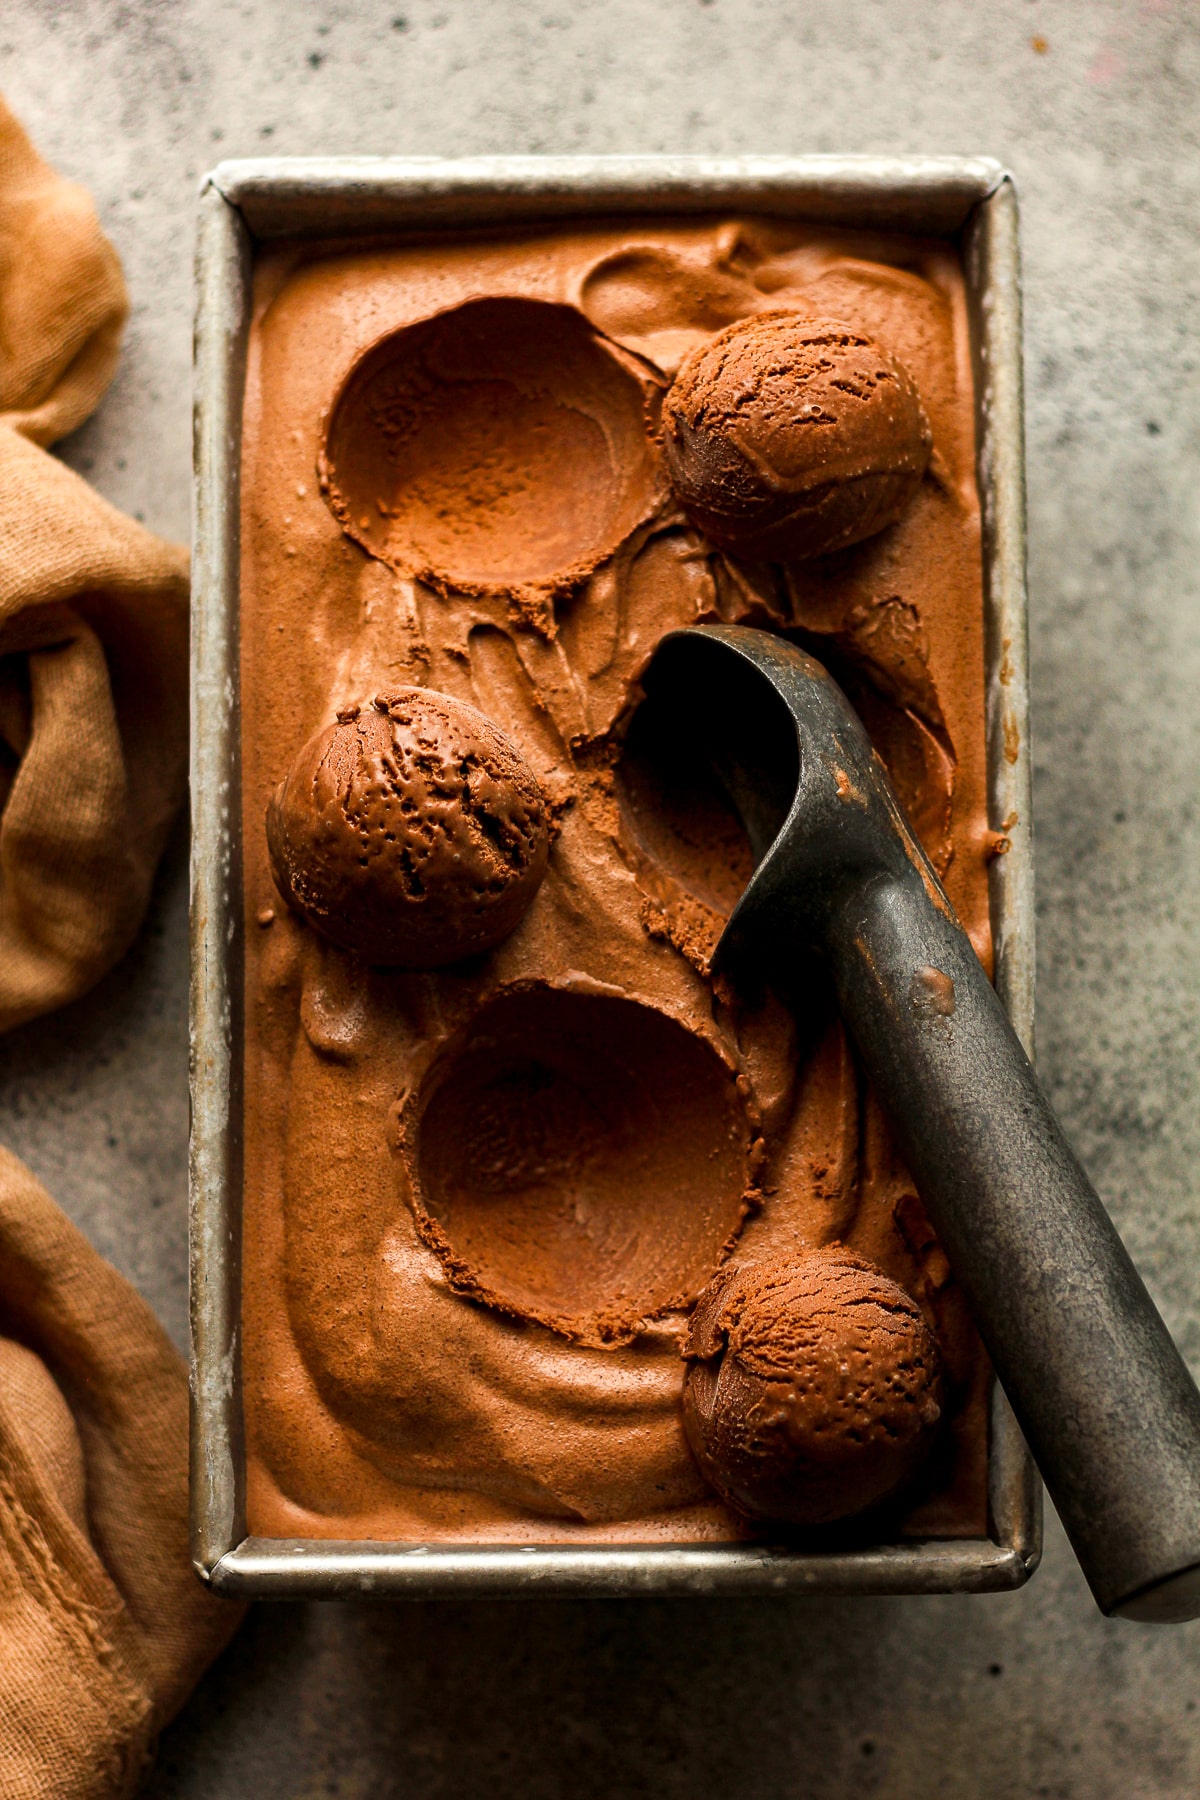
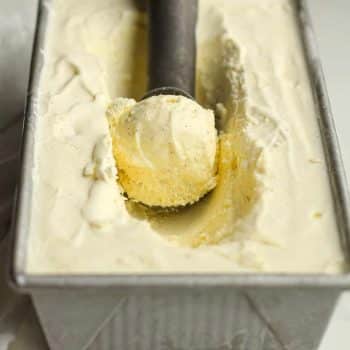
Homemade Vanilla Bean Ice Cream
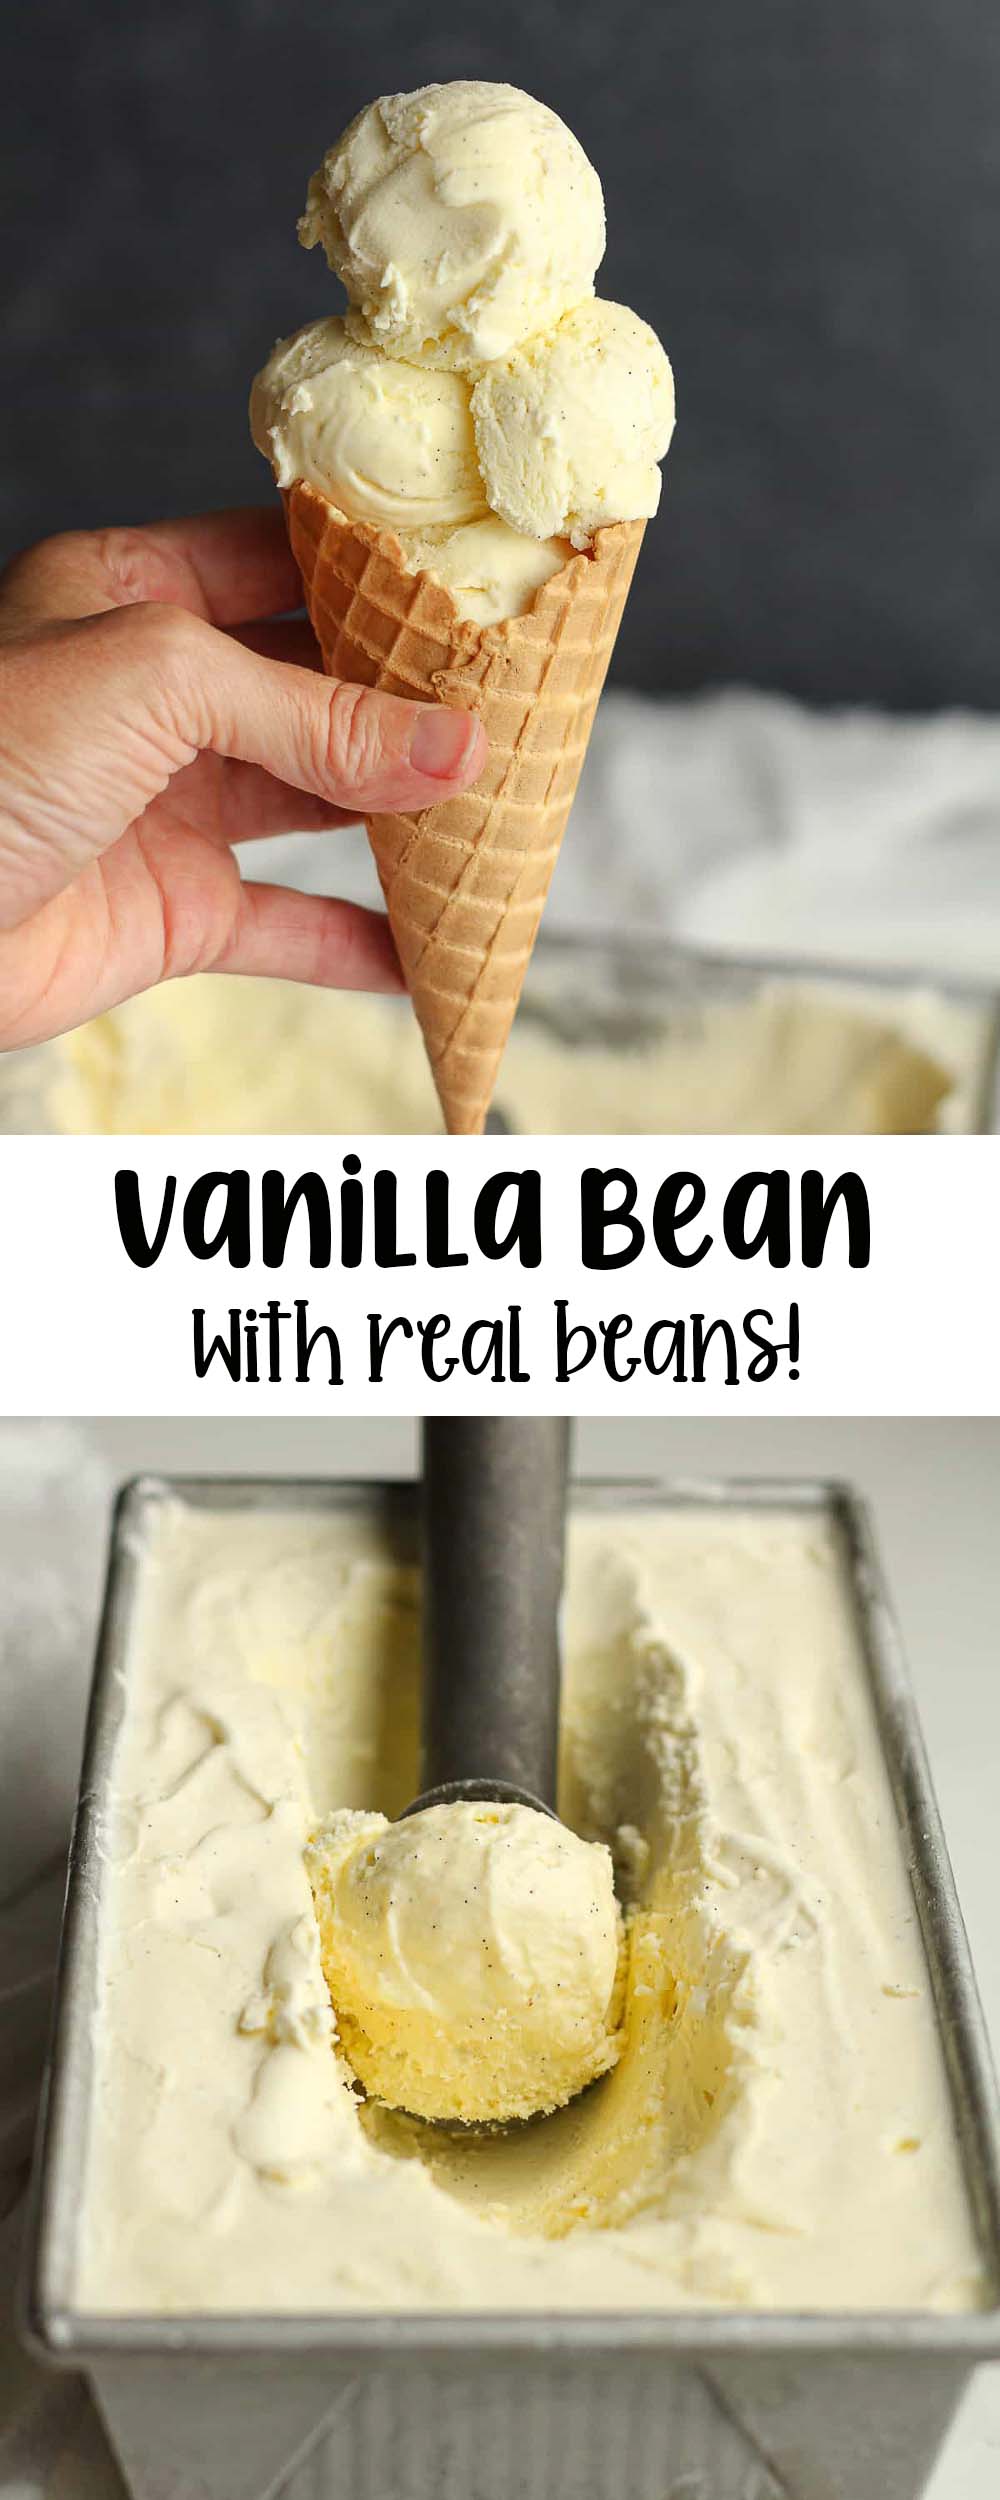
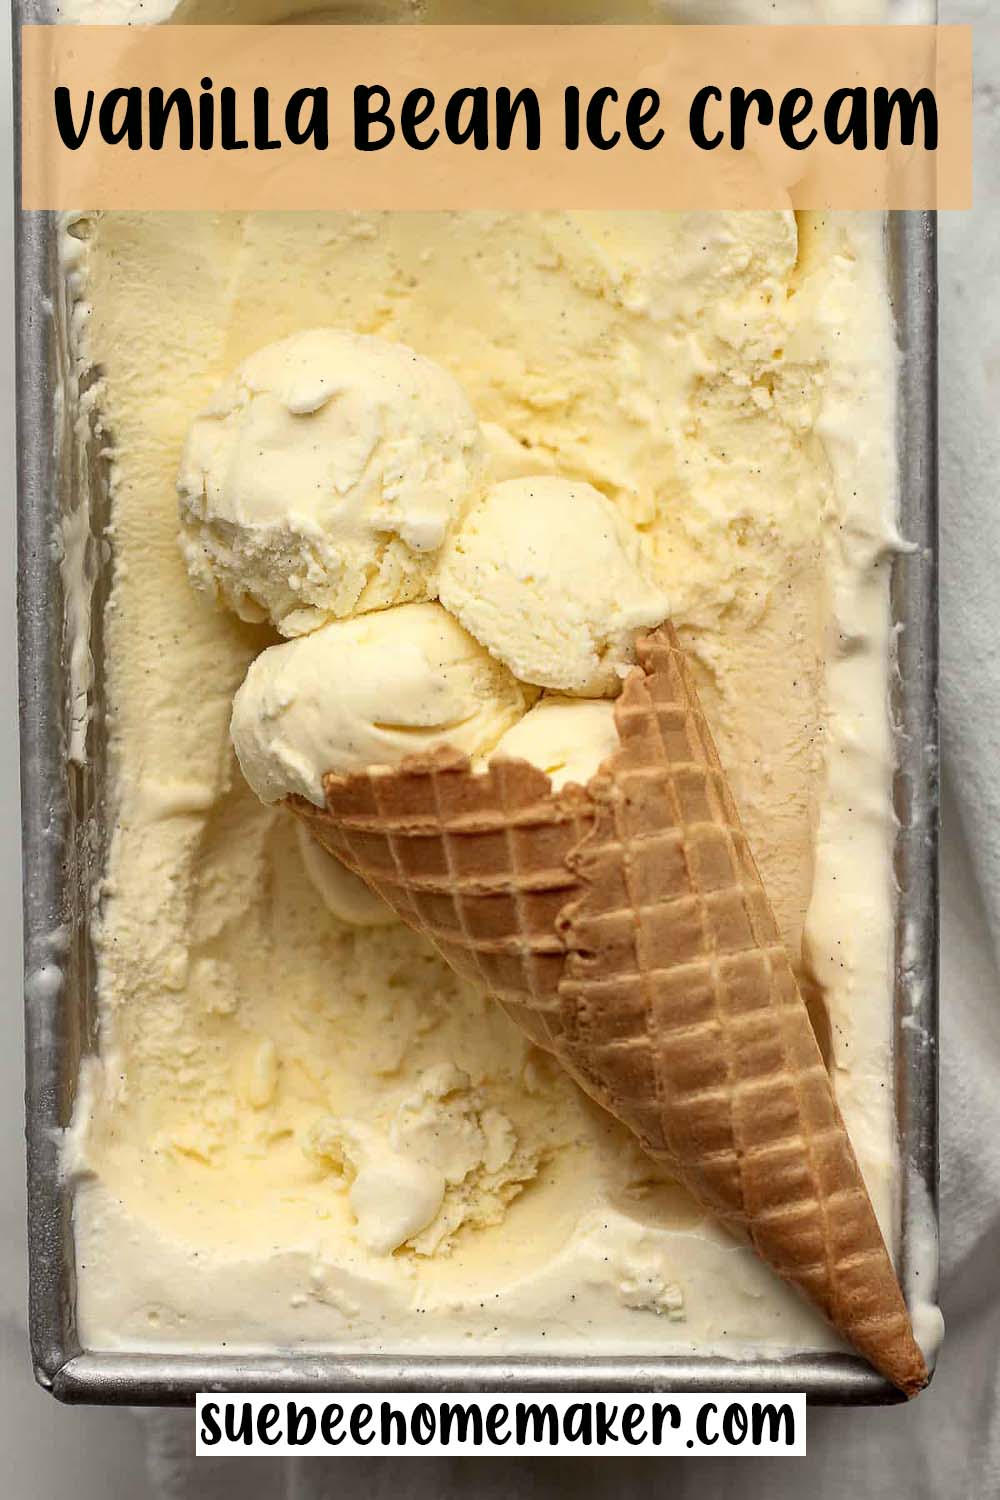
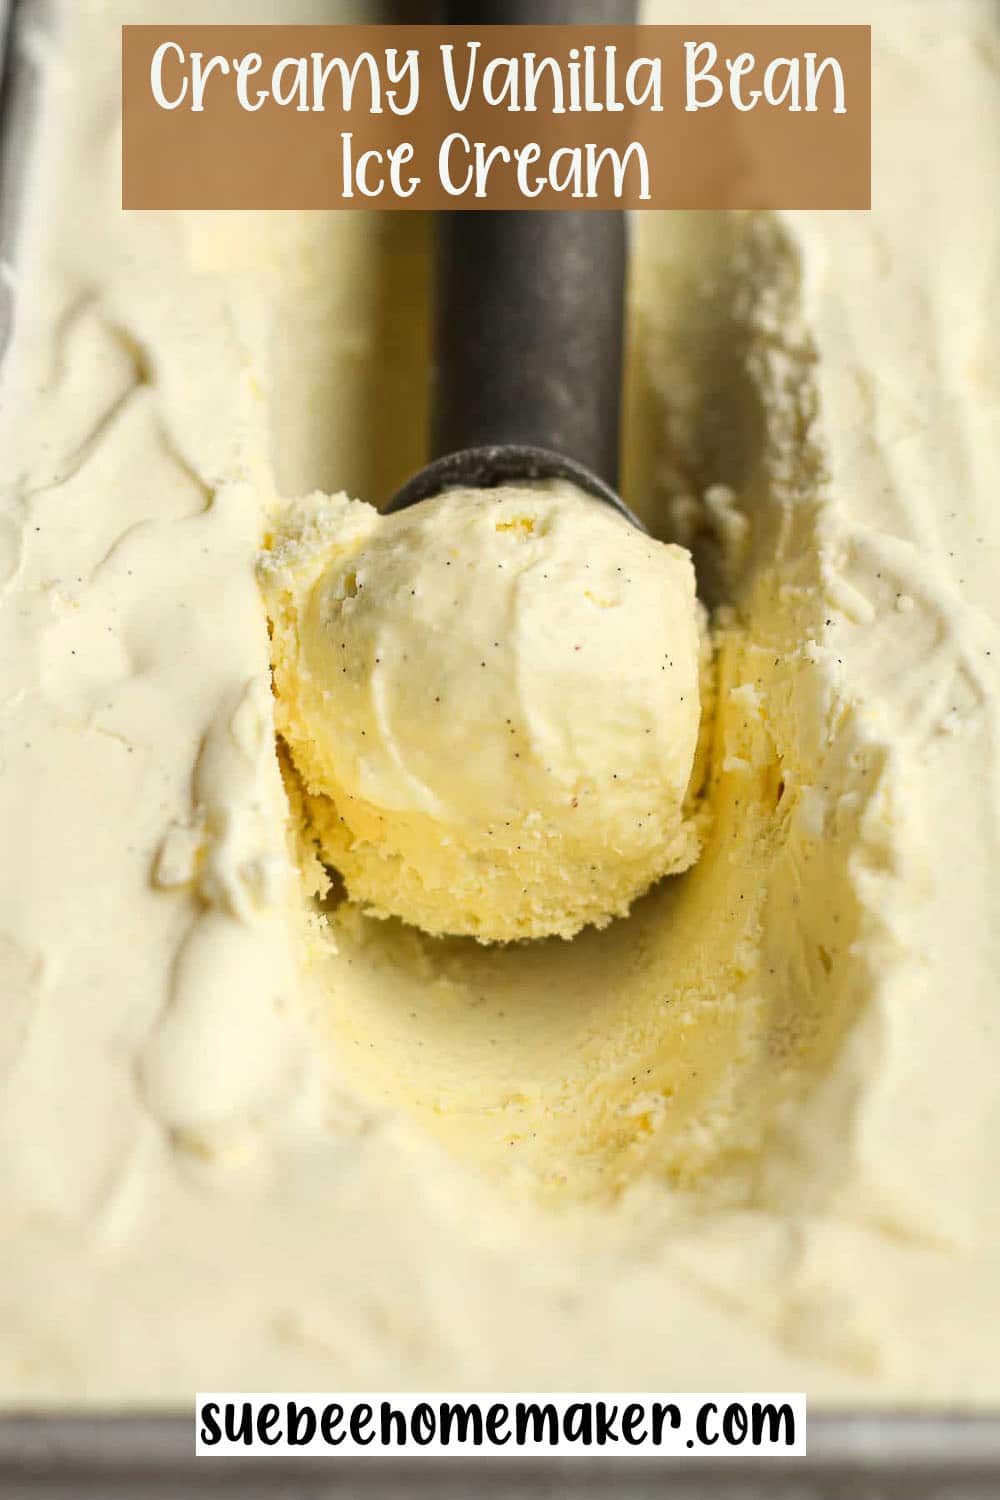
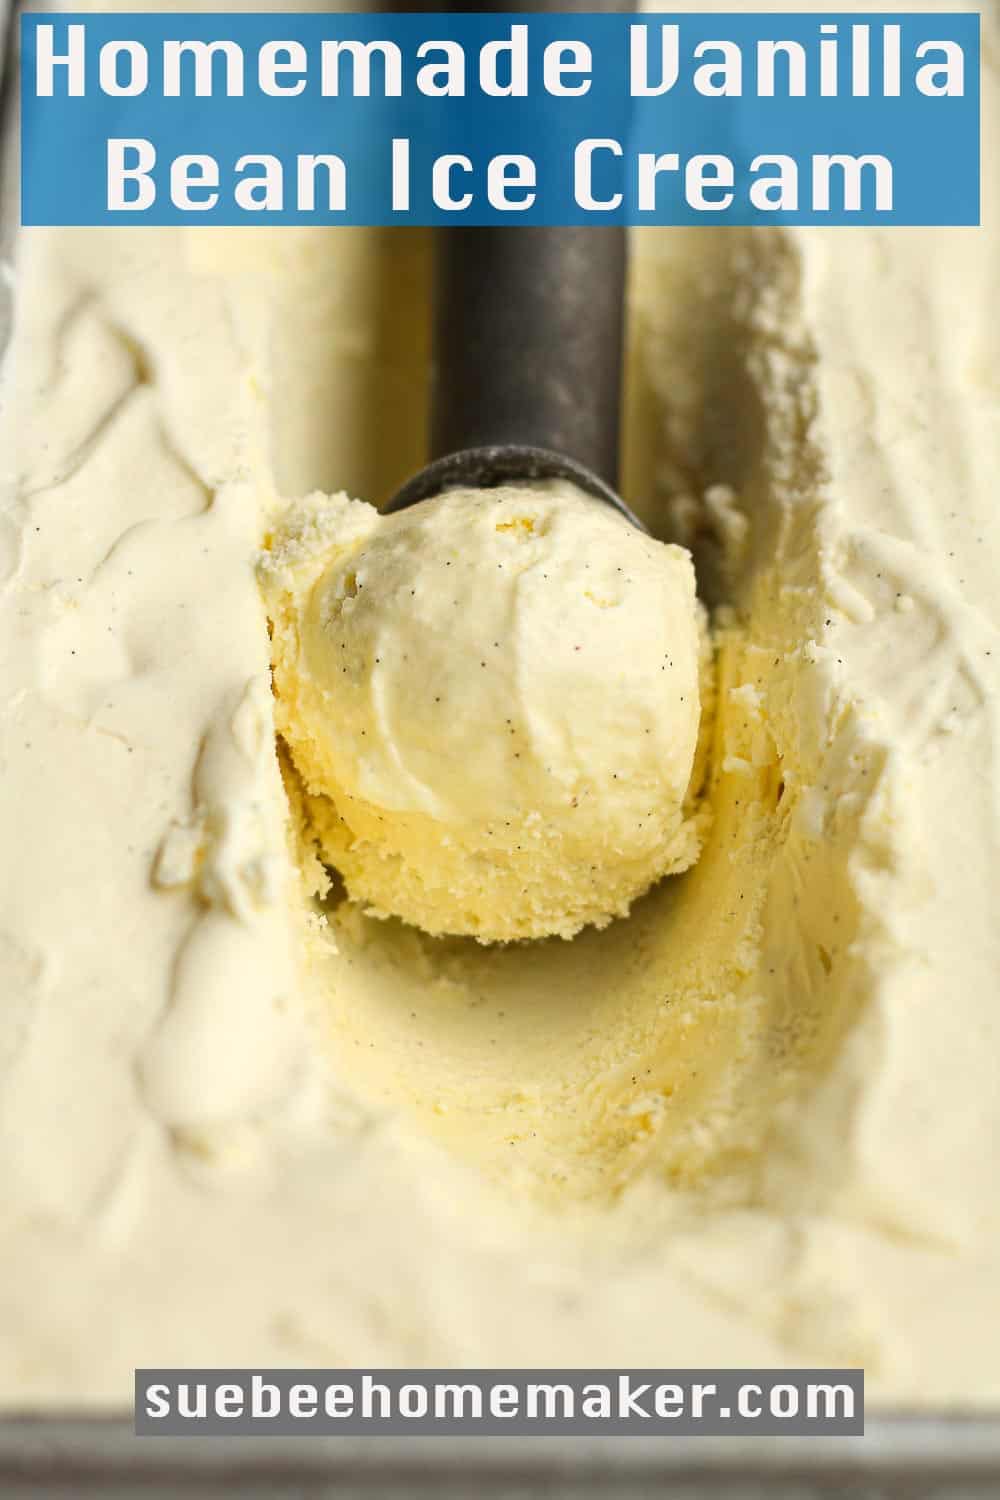
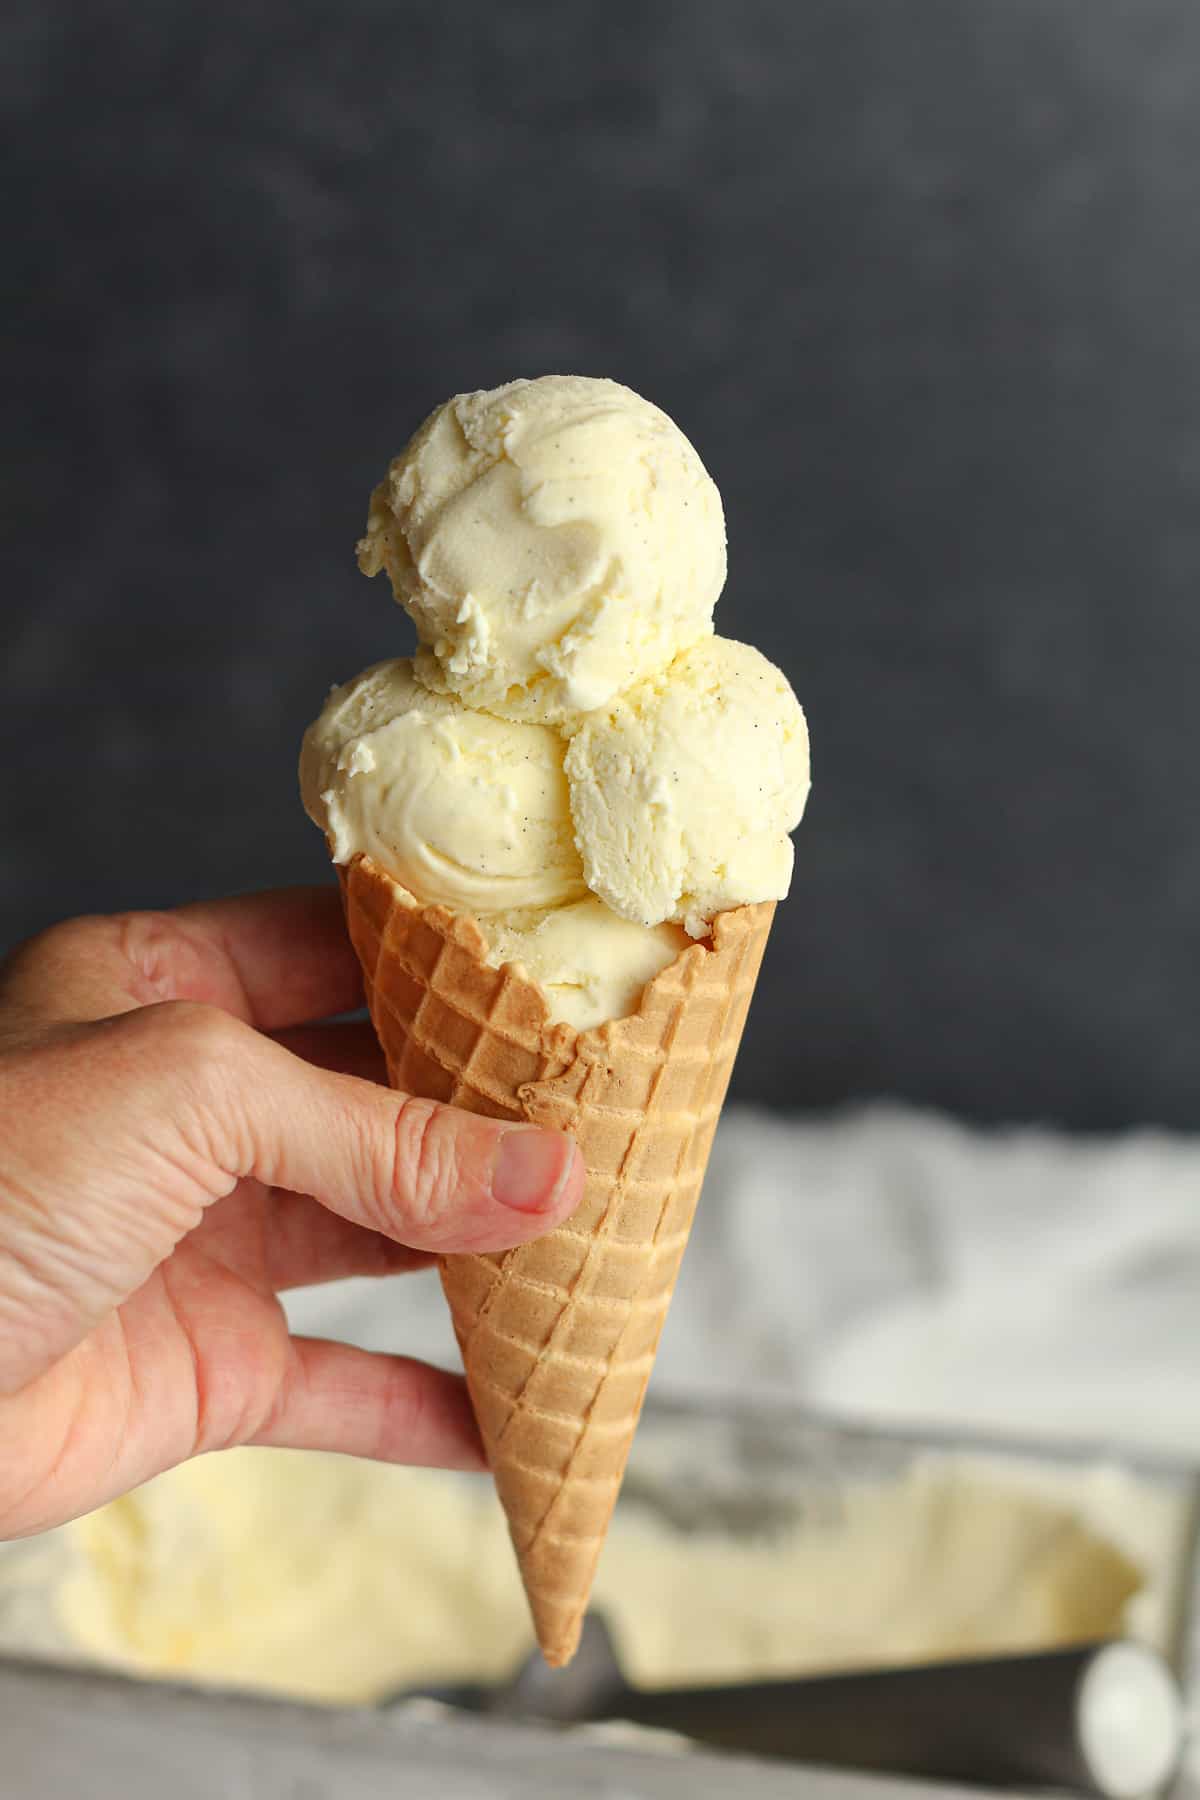
Homemade Vanilla Bean Ice Cream combines classic ice cream ingredients with real vanilla beans. Using the seeds of these beans adds an intense vanilla flavor that makes this homemade ice cream shine in a big way. Vanilla ice cream elevated!
KitchenAid Vanilla Bean Ice Cream Recipe
I know I say it a lot, but this really is a favorite flavor here. I love trying lots of different flavors, but plain vanilla is just so good. However, adding real vanilla beans is even more amazing! You can easily find them on Amazon (linked below) and some grocery stores. Use the REAL thing, friends. It’s worth it times 100!
Homemade ice cream is a fun tradition, regardless of what method you use. I’ve recently been using my KitchenAid Attachment, but we also use a four-quart electric mixer for larger batches. You can adjust my recipes to work in either method!
What is Vanilla Bean?
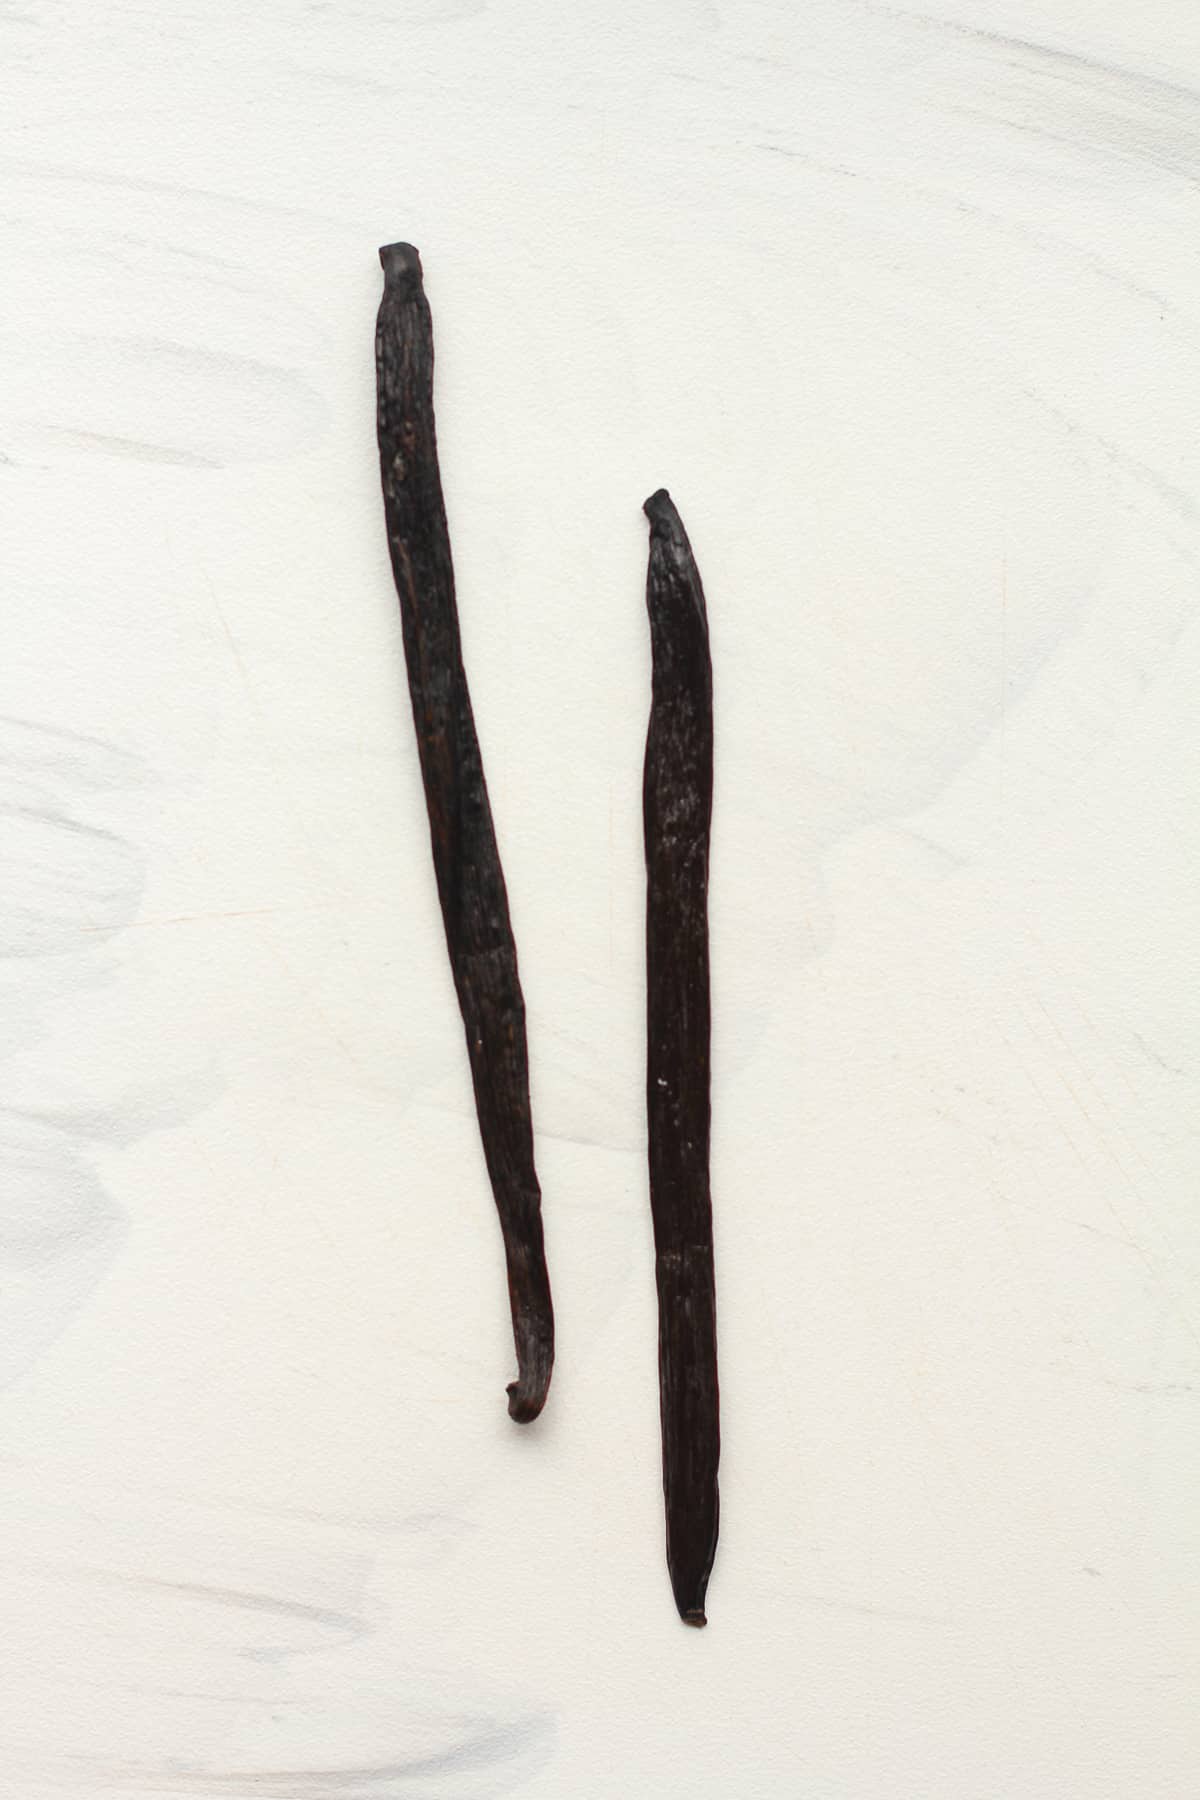
Vanilla is the fruit of an orchid plant and looks like a dark brown bean pod that is long and skinny. Vanilla orchids are grown in tropical climates, and the majority of the world’s supply comes from Madagascar. Vanilla is enjoyed in many forms, especially to add flavor to frosting, ice cream, and a variety of desserts.
The vanilla bean is normally used to make vanilla extract or vanilla paste, both of which are easily found in most grocery stores. Pure vanilla extract is made from real vanilla beans while imitation vanilla extract uses artificial vanillin flavoring.
Ingredients needed:
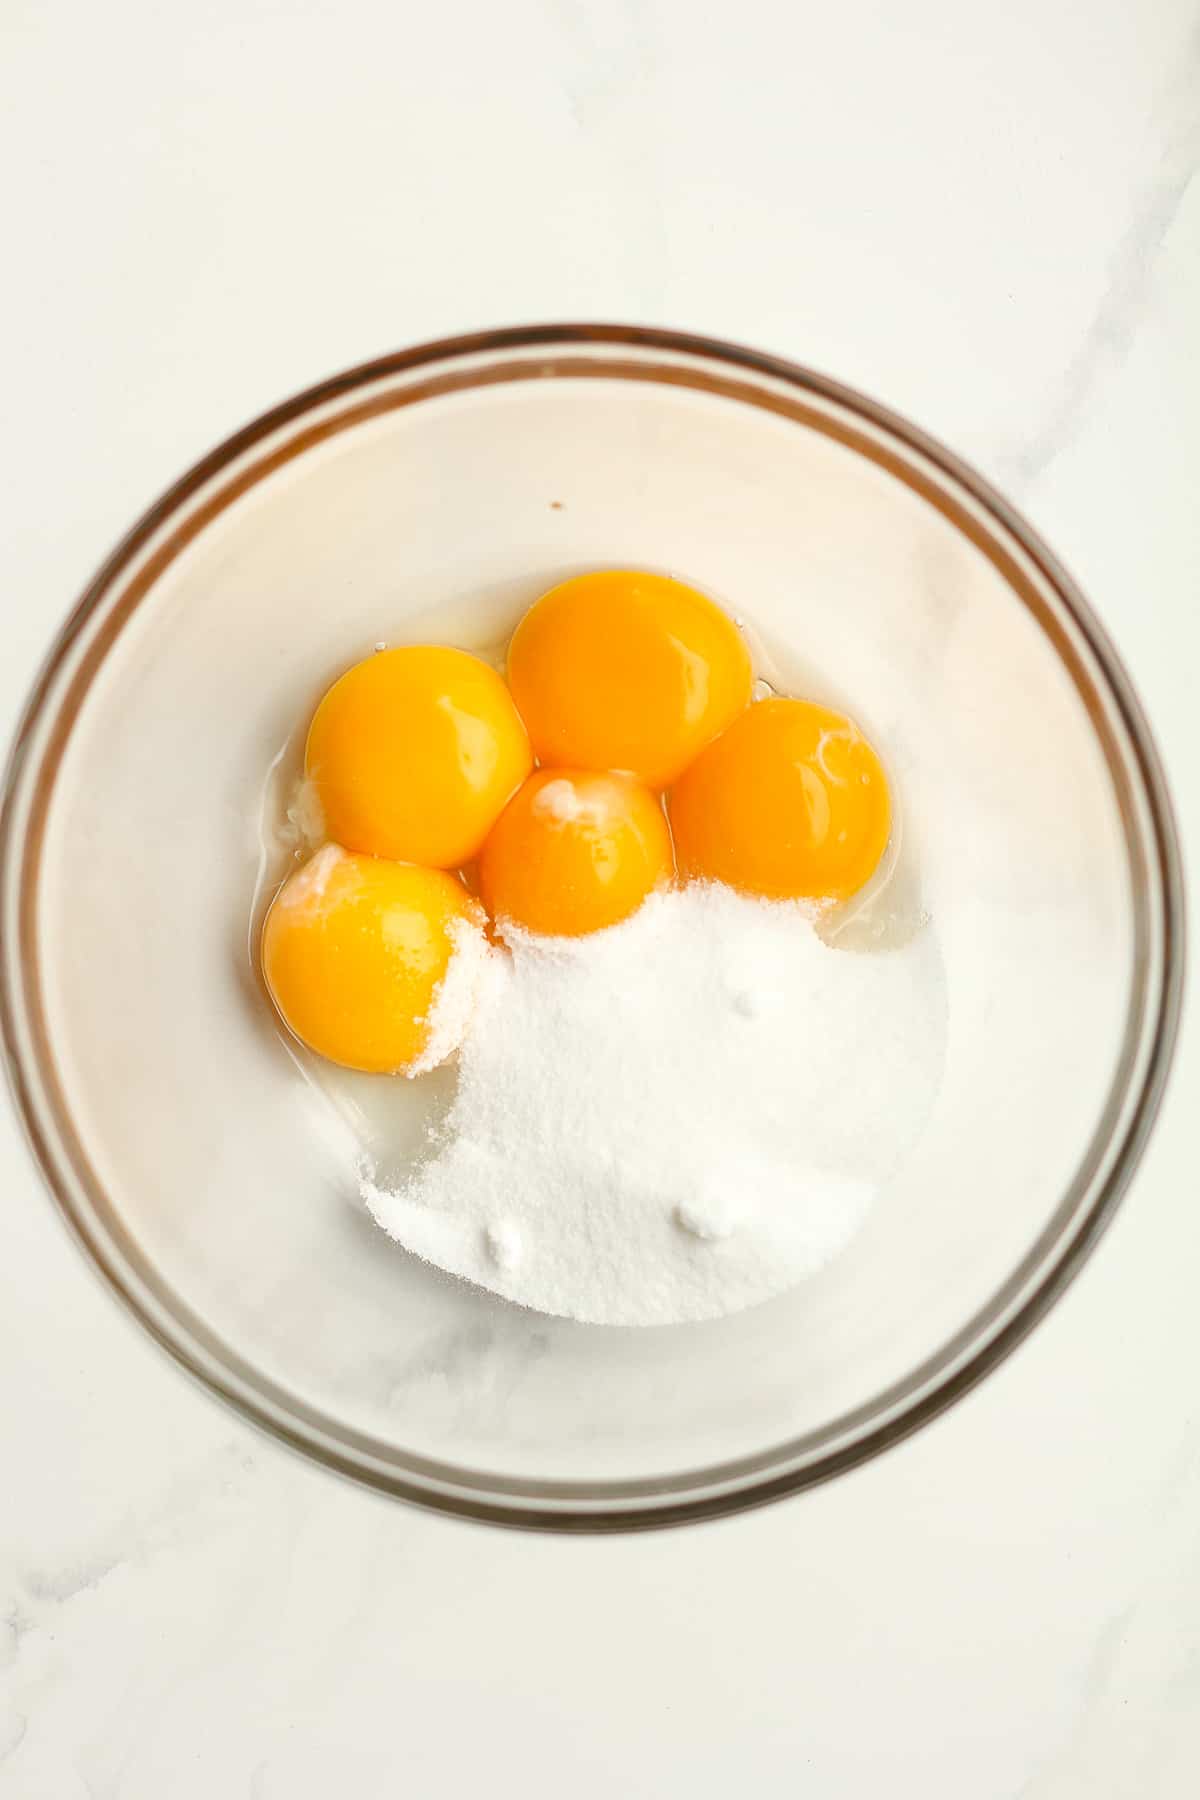
- Dairy – Both heavy cream and whole milk is needed.
- Eggs – I used five egg yolks for this recipe.
- Sugar – Just a cup of granulated sugar.
- Vanilla Beans – I used two vanilla beans for this ice cream. THIS is the key ingredient!
- Salt – Just a pinch of kosher salt.
NOTE: You can substitute 1 tablespoon of vanilla bean paste for 1 whole vanilla bean in ice cream (or any recipe). This swap gives you the same rich flavor and those lovely vanilla specks throughout the dessert.
How to prepare vanilla beans for ice cream:
Preparing a vanilla bean is simple. Use a sharp knife to slice the bean in half lengthwise, while leaving the underside intact. Then scrape the seeds out and combine them with the recipe’s other ingredients. The outer pod can be used to infuse the vanilla flavor even more, as I did with this ice cream recipe.
You can also use whole beans to make your own vanilla extract or vanilla paste. This process takes at least a couple of months, as they need time for the flavor to infuse.

How to Temper Eggs:
You’ll want to temper your eggs so that they are safe to eat. You can also use pasteurized eggs instead if you can find them in the grocery store.
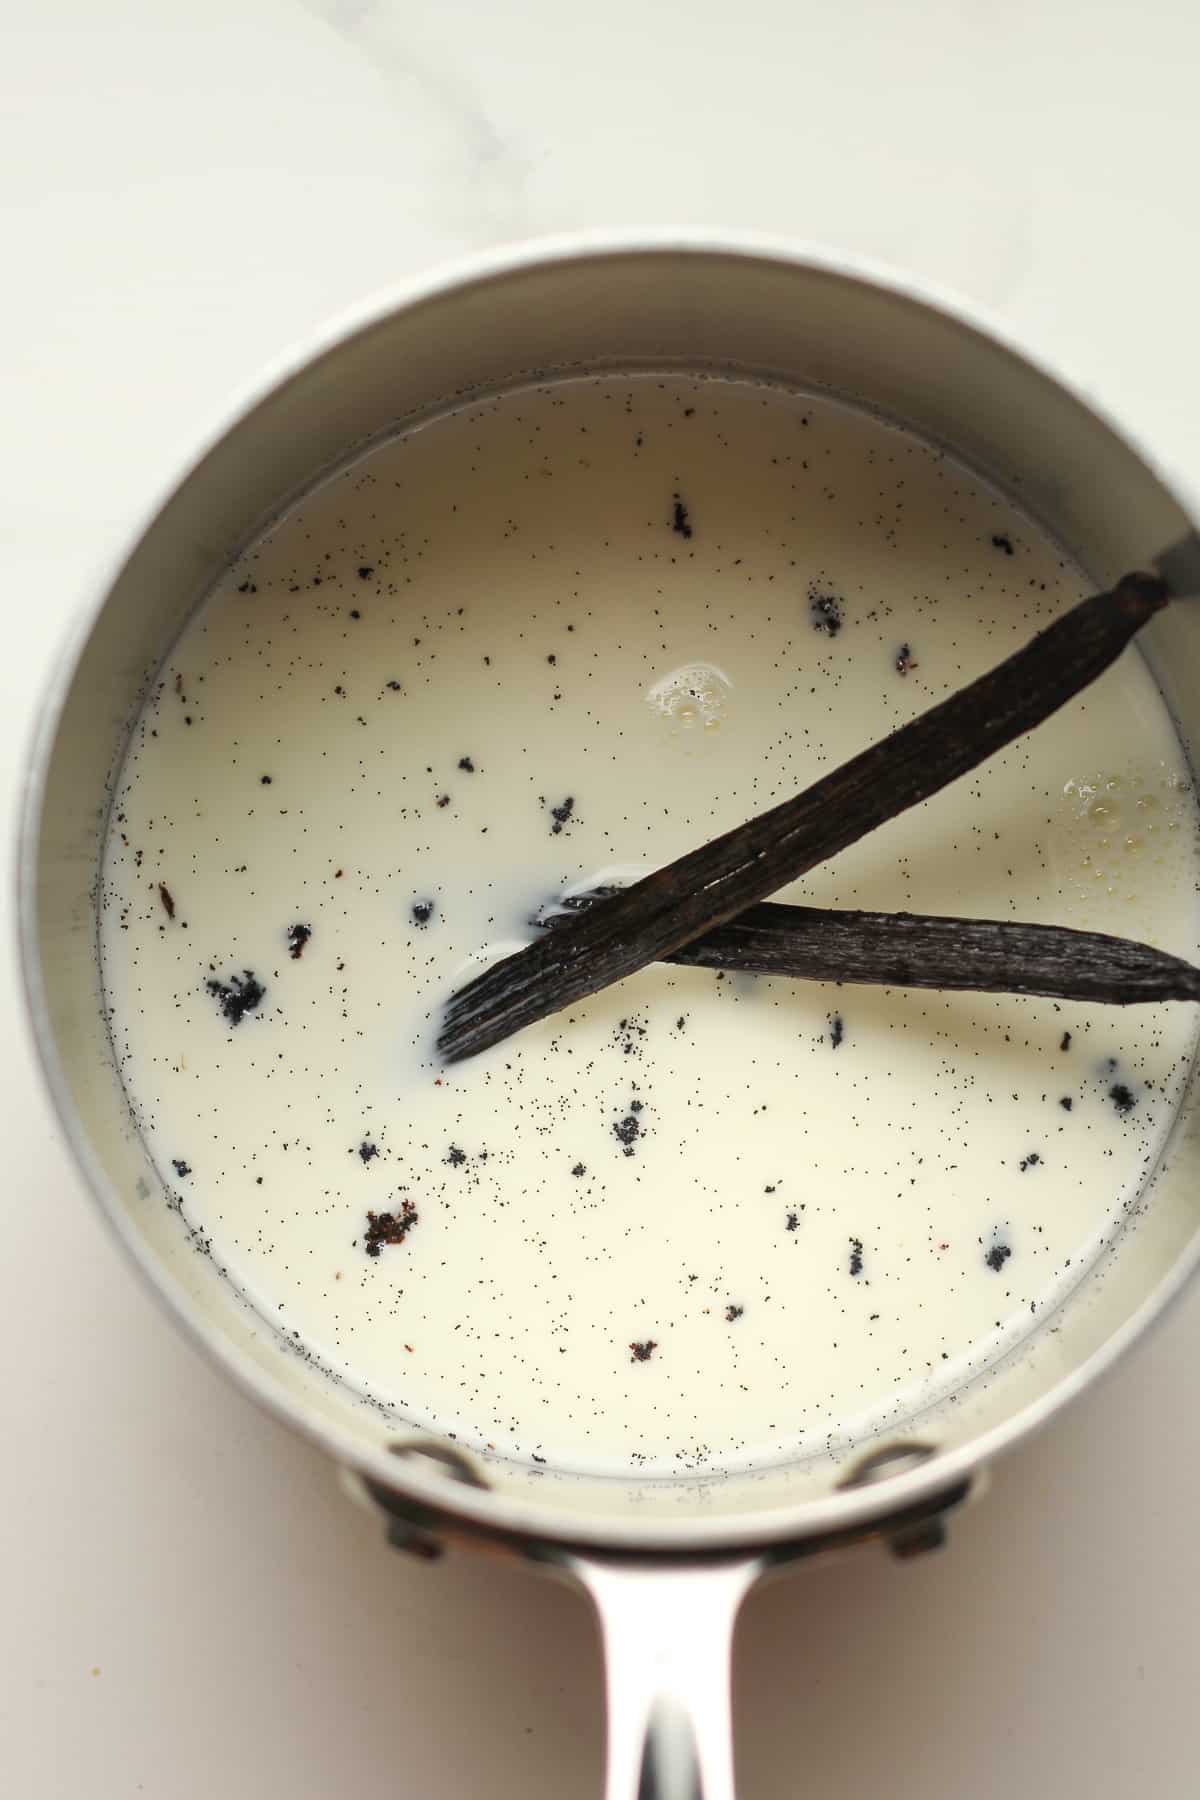
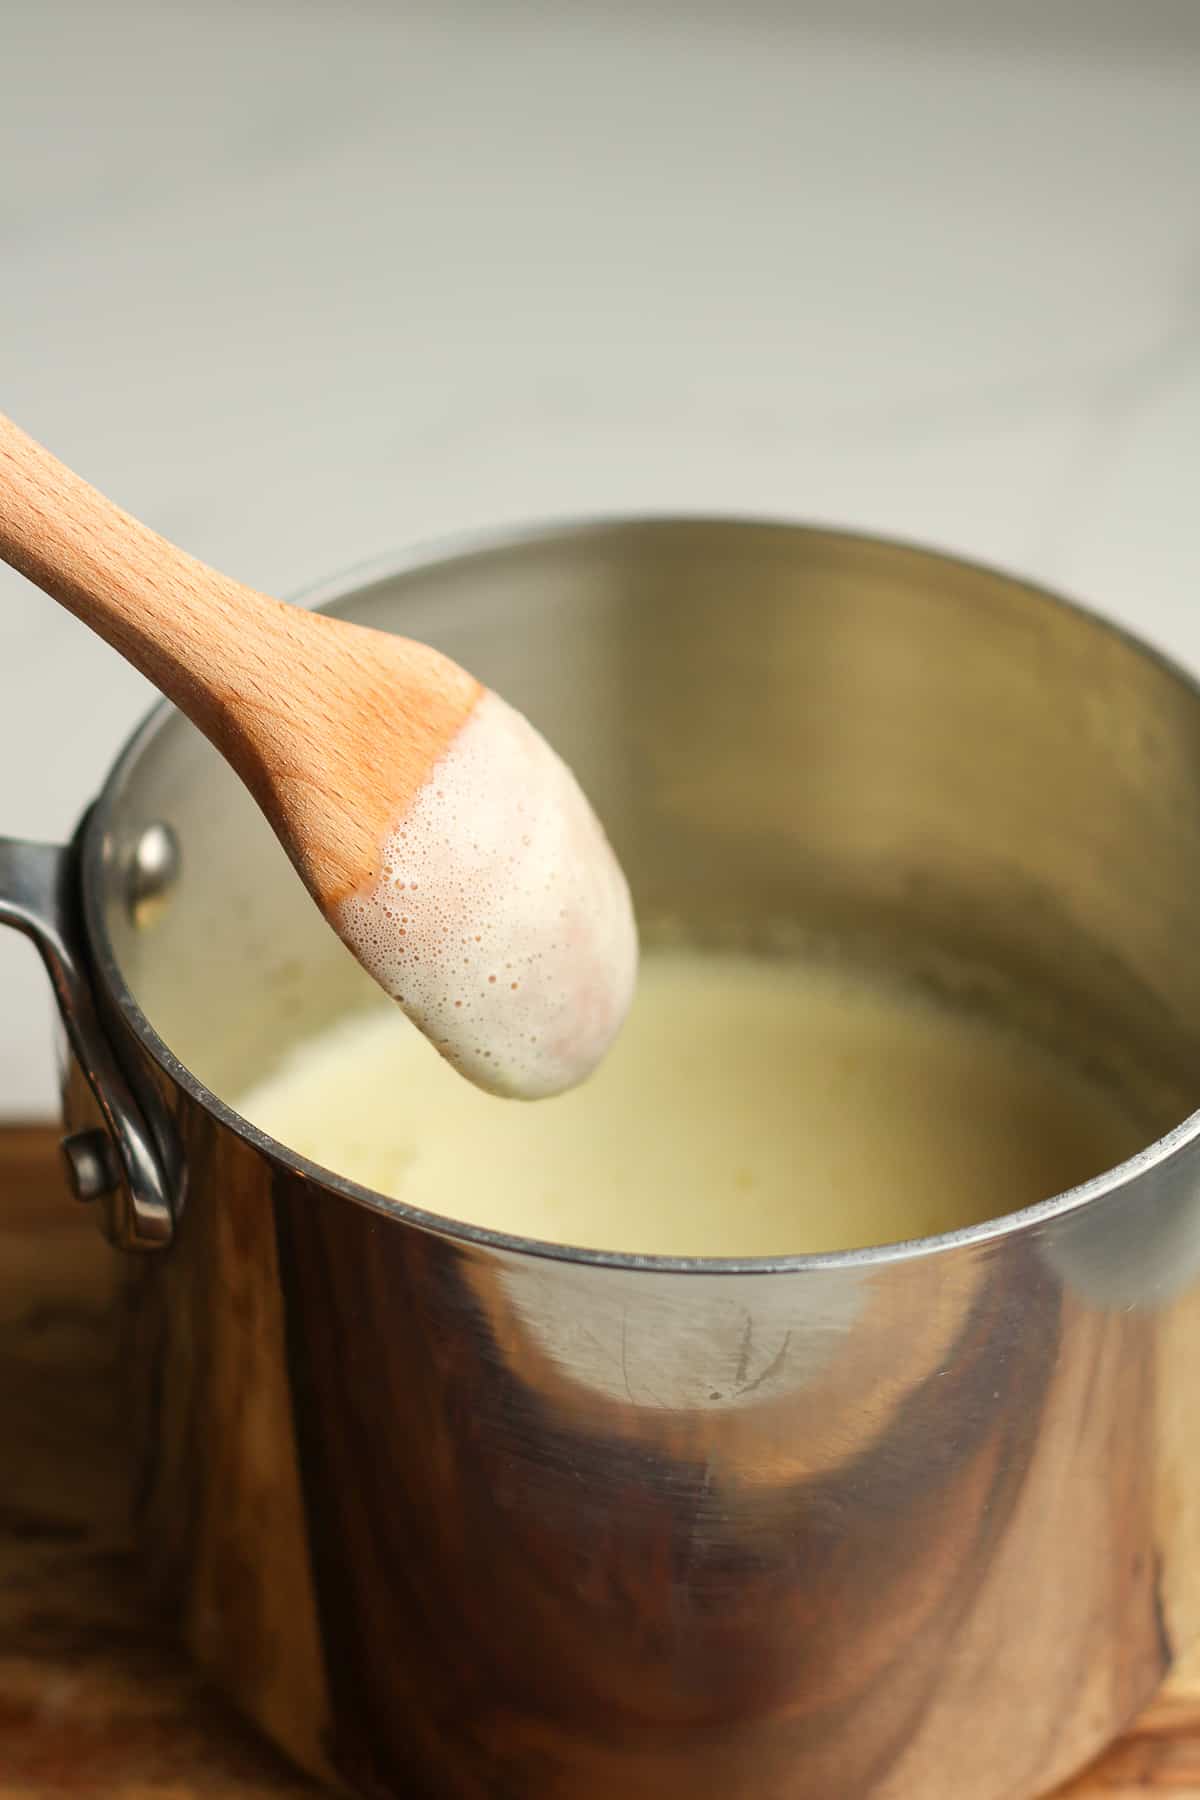
- Pour the whole milk into a small saucepan and add the just-scraped vanilla, as well as the pods. Heat over medium heat until it reaches 165 degrees on a digital thermometer, stirring often. Do not boil.
- In a small mixing bowl, combine the egg yolks and 1/4 cup sugar, and whisk well.
- When the milk reaches 165 degrees, take a small measuring cup and pour about into the egg mixture, whisking vigorously as you pour it in. Do not stop whisking, and continue to pour about a cup of hot milk into the eggs.
- Then pour the contents of the bowl into the saucepan and place it back on the heat. Continue whisking and heating until the mixture reaches 165 degrees.
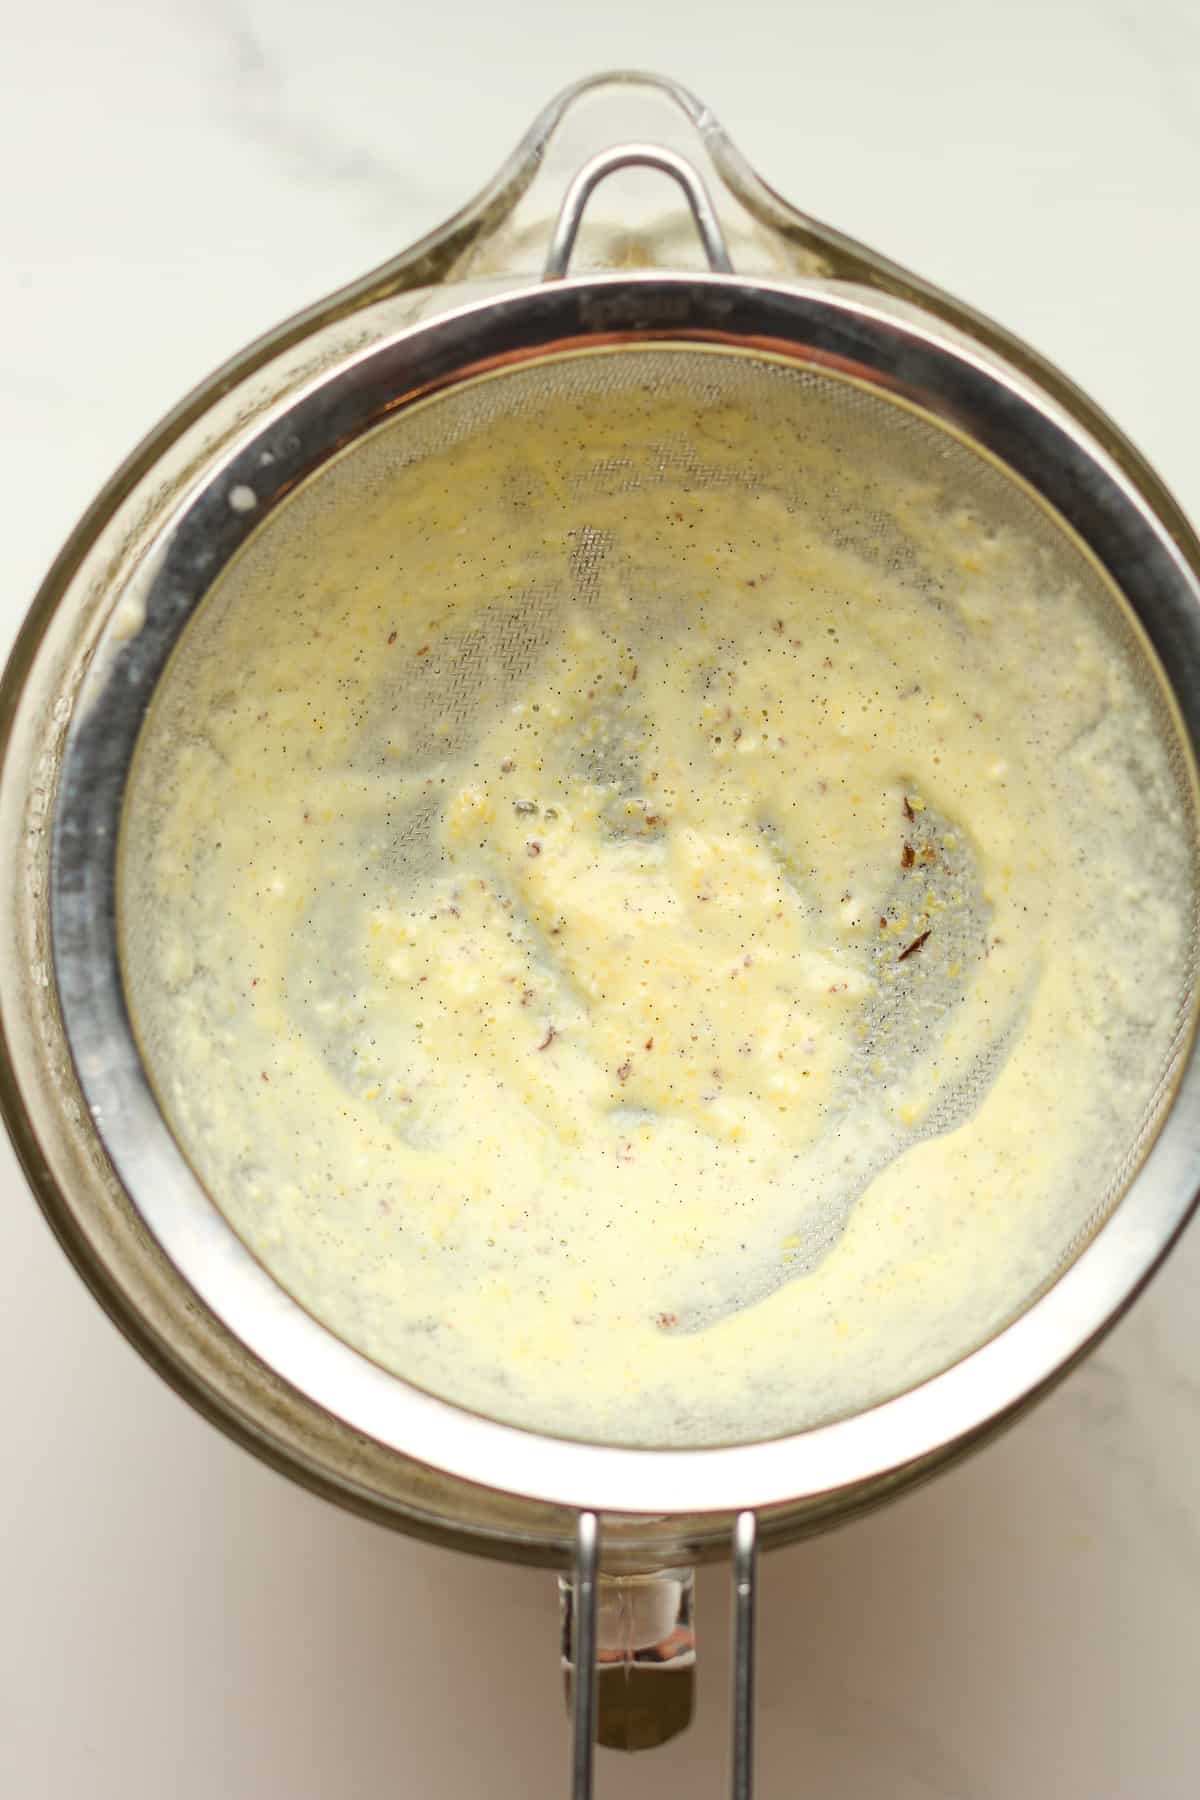
- Remove from heat, discard the vanilla pods, and let cool. You can also strain the custard here if you’d like.
- Refrigerate.
How to make Vanilla Bean Ice Cream:
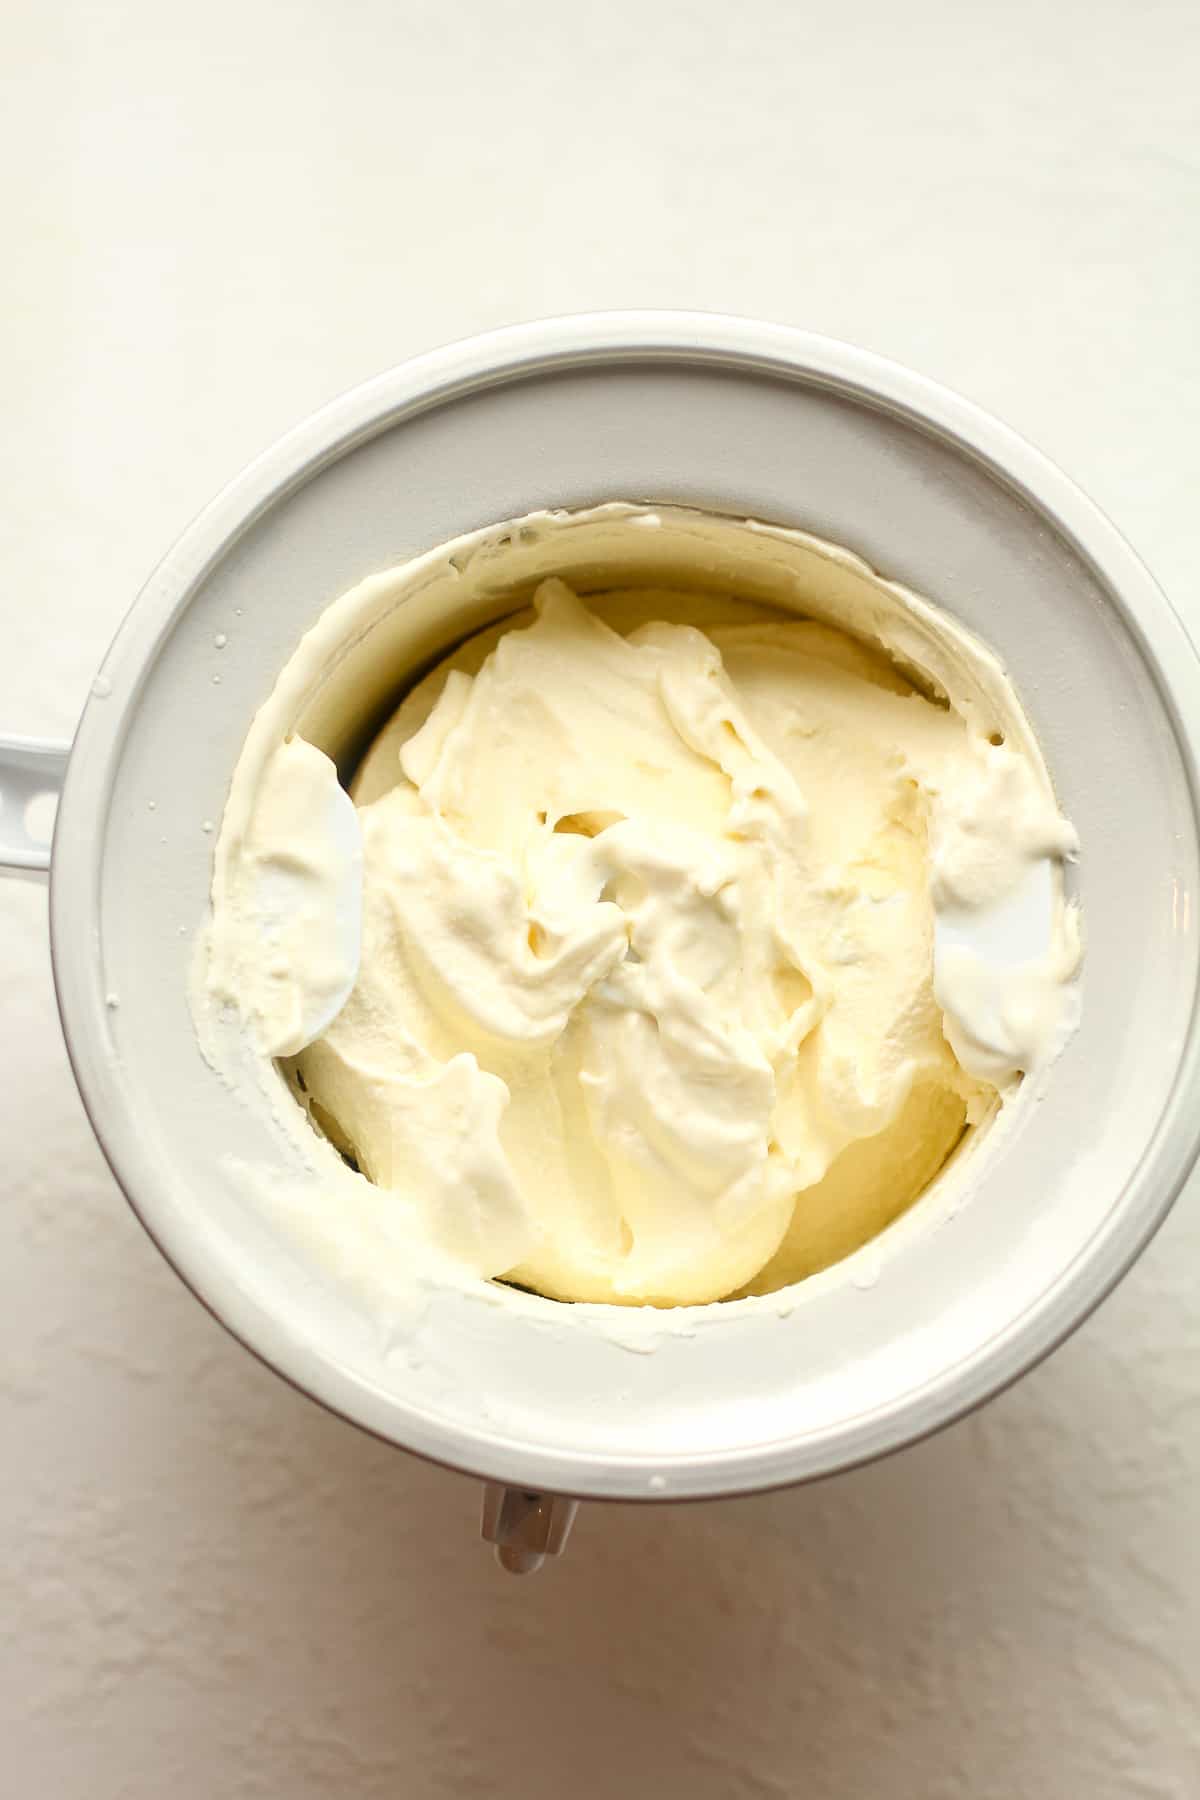
- Prep. If using a KitchenAid attachment, place the bowl into the freezer a full day in advance (or at least 15 hours) before churning.
- Temper the eggs. See directions above. I don’t always strain the custard, but you can if you’d like to.
- Prepare vanilla beans. See directions above for my simple process to prepare the vanilla beans.
- Combine ice cream ingredients. In a large measuring bowl, combine the cooled tempered egg mixture (whole milk, eggs, 1/4 cup sugar, and vanilla bean seeds), the remaining sugar, heavy cream, and salt. Mix well. Refrigerate mixture for at least four hours to overnight or until VERY COLD.
- Churn. If using a KitchenAid attachment, start the mixer with the attachment so that it’s turning BEFORE you pour the liquid in. Then pour in whisked ingredients and let it churn until finished. You’ll know it’s done when the mixer starts slowing down and it rises to the top of the bowl, approximately 25-30 minutes.
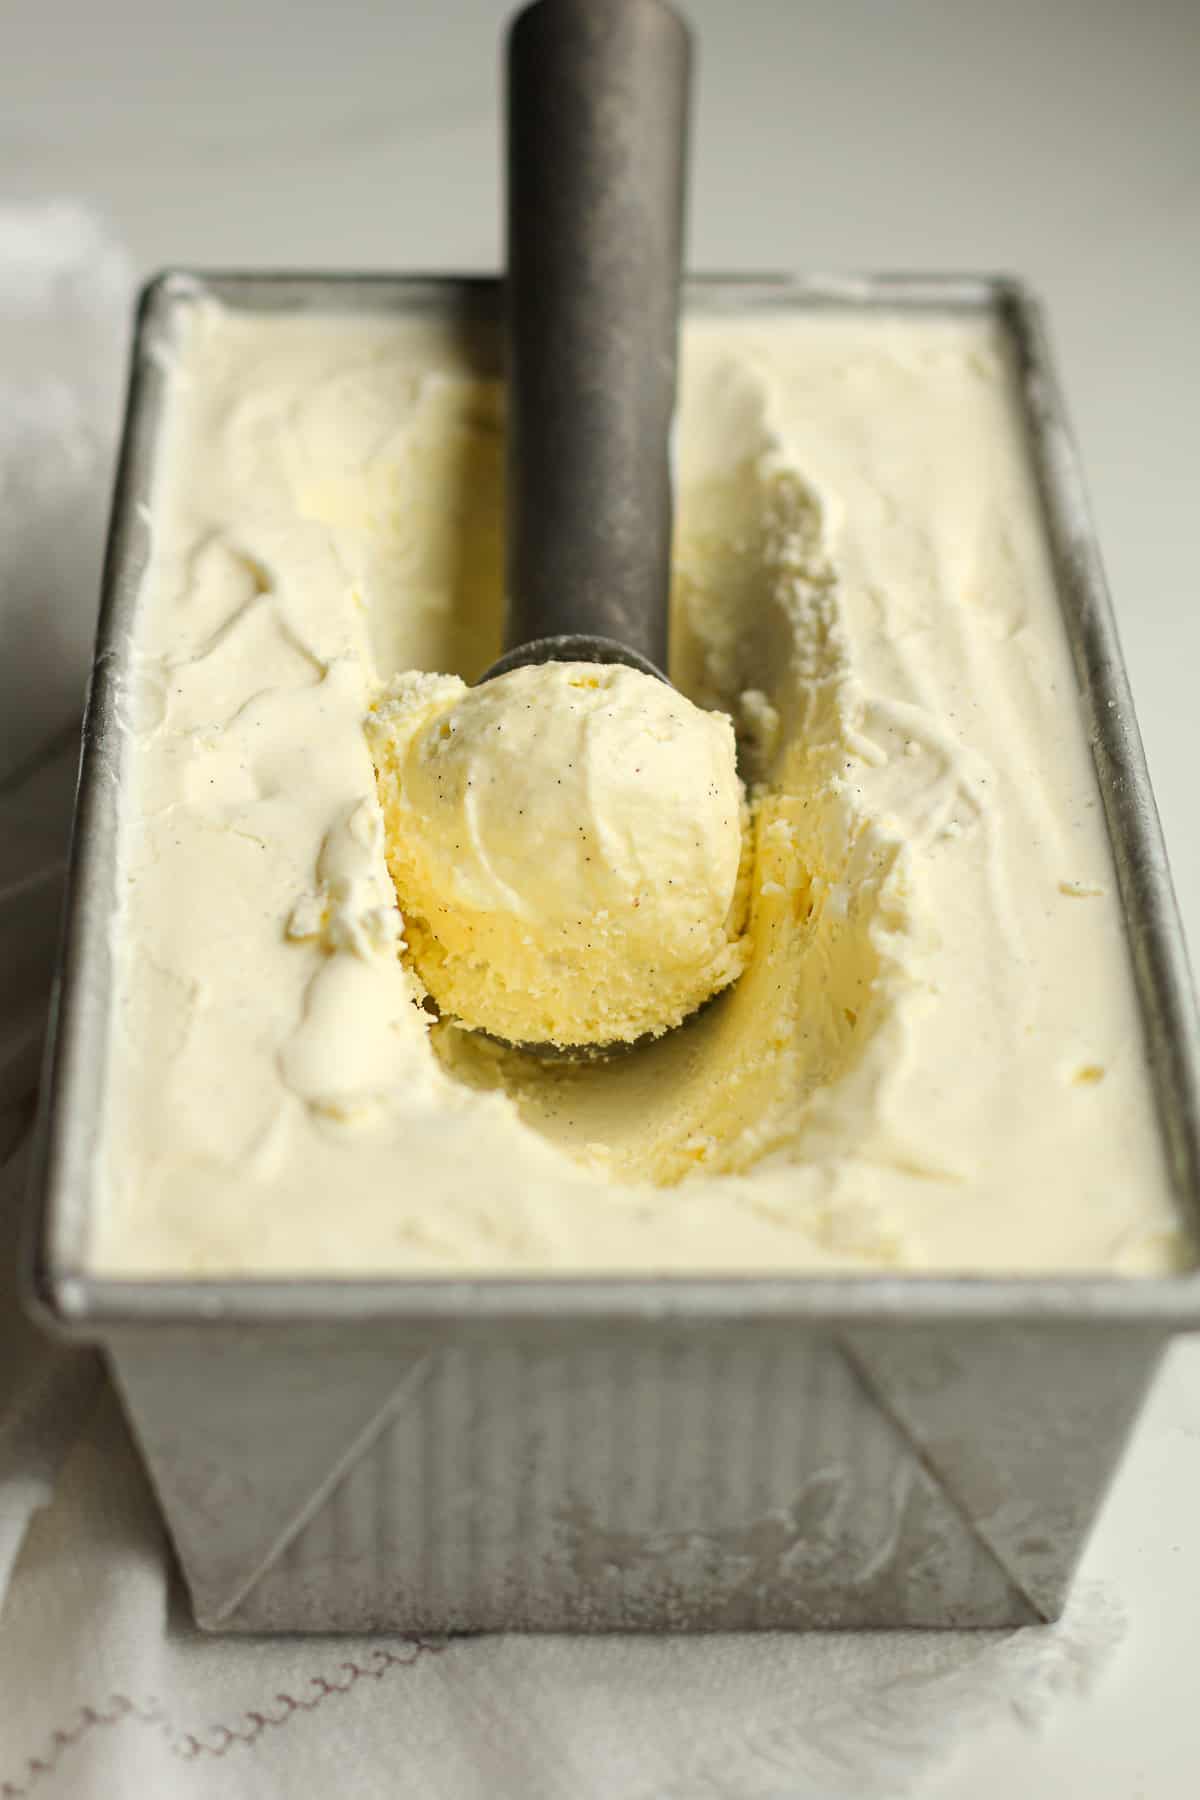
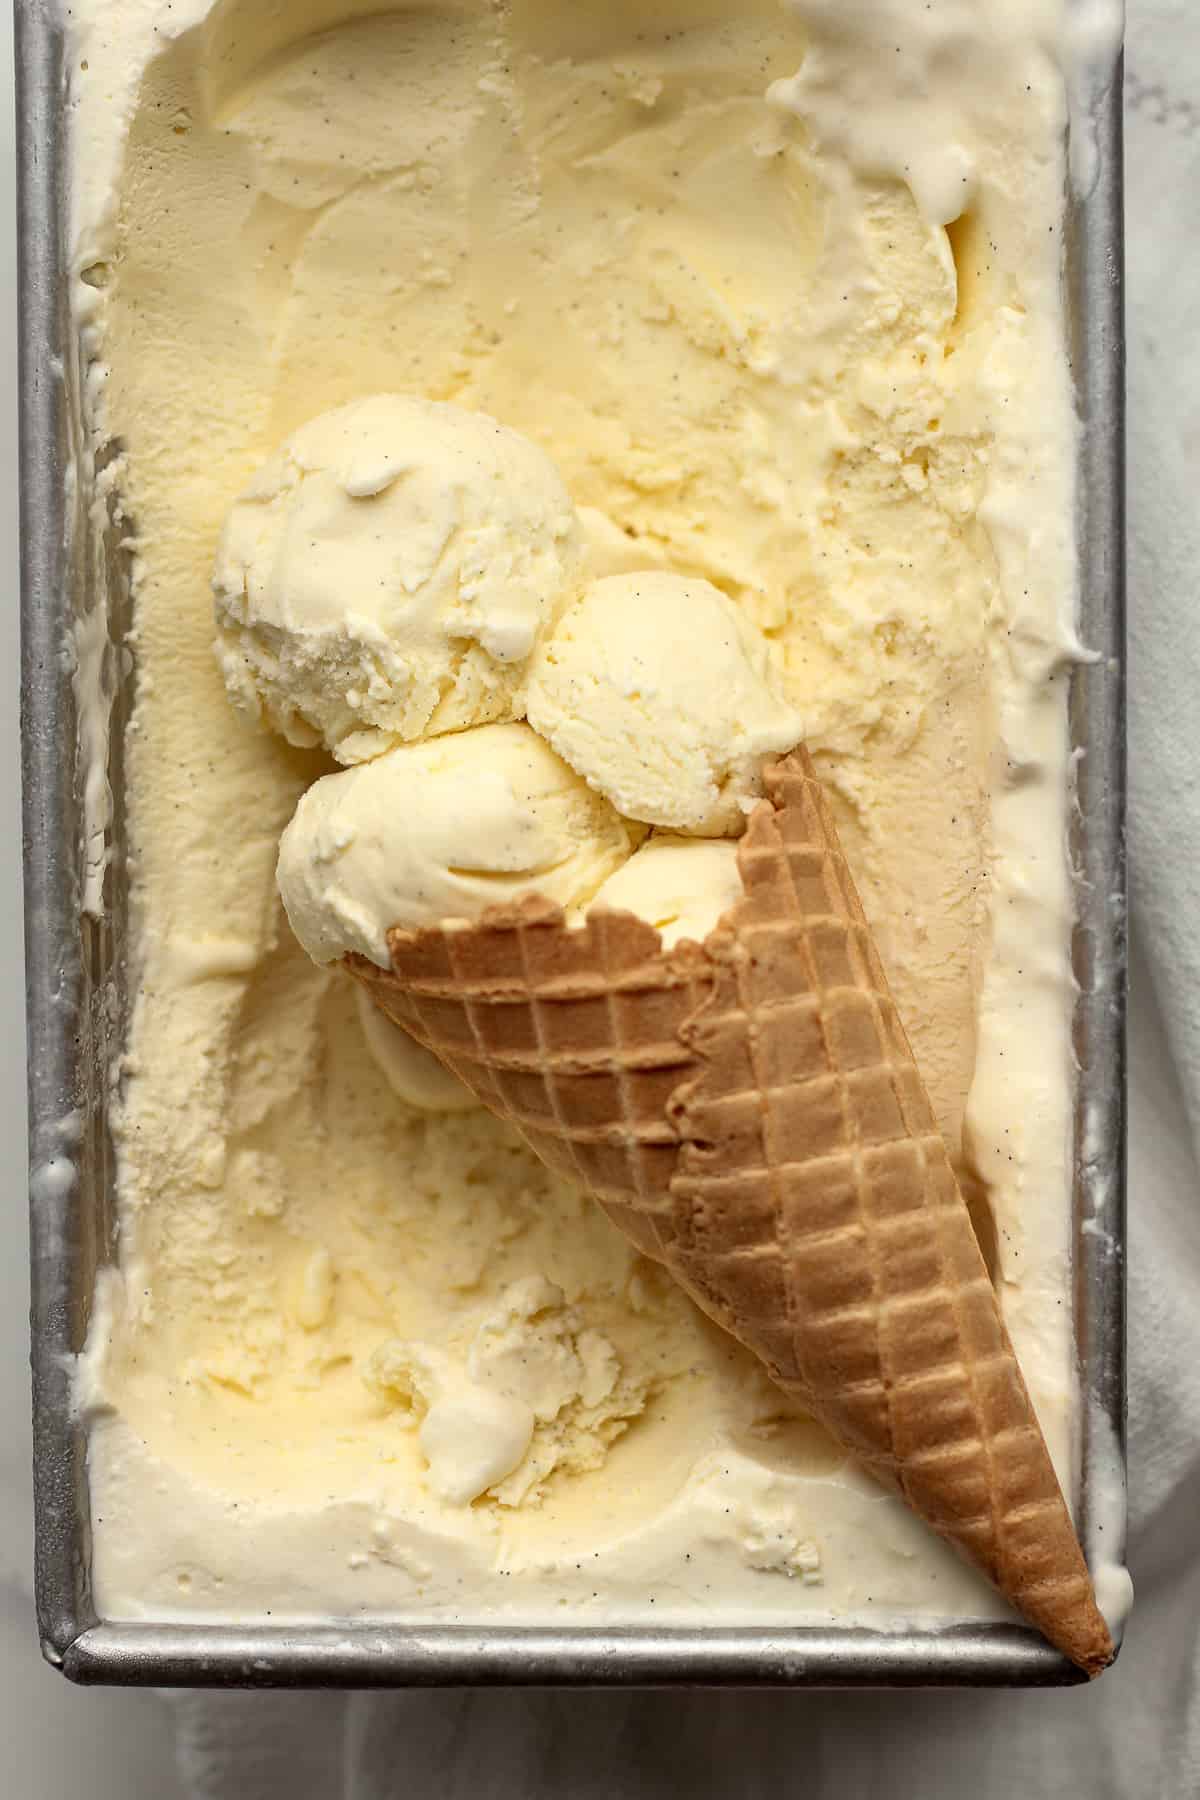
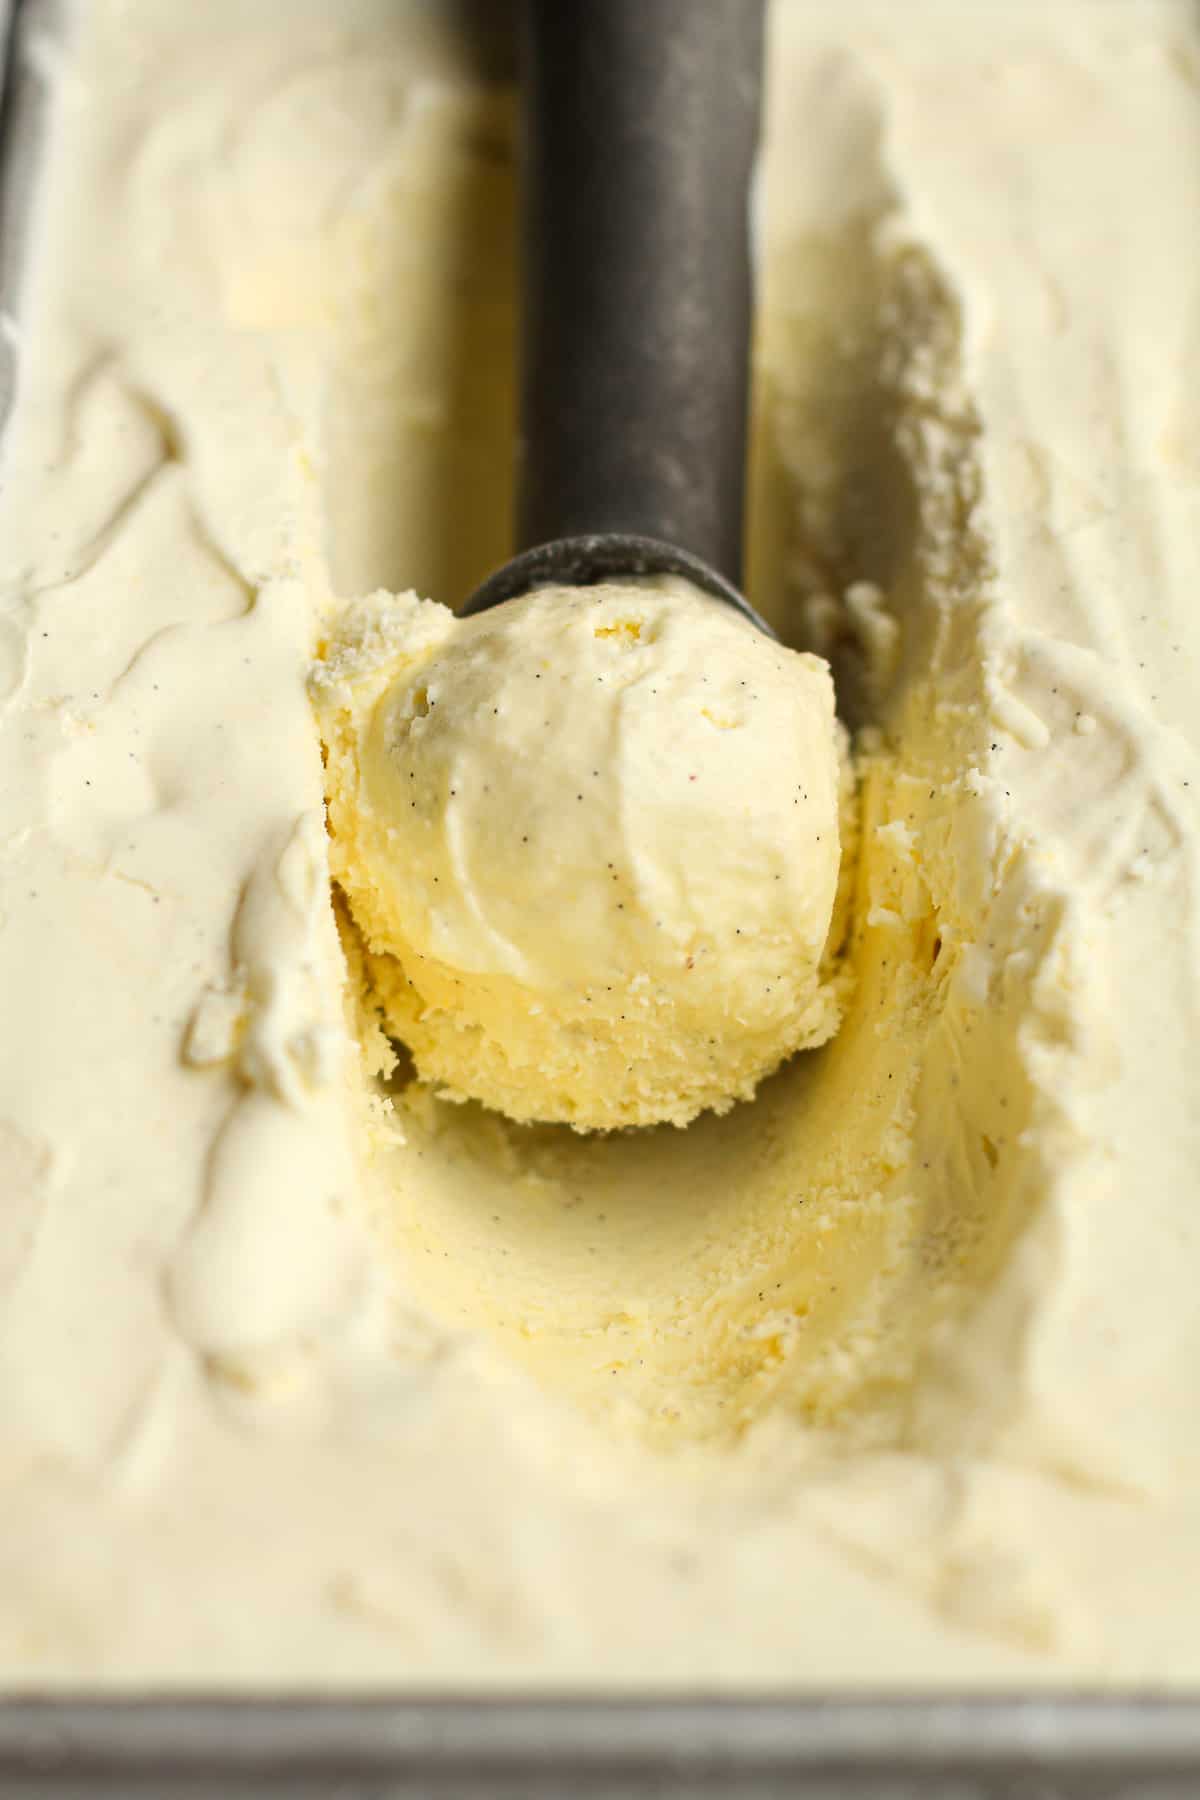
- Remove. Use a rubber scraper to pour the ice cream out of the bowl into a pan or container.
- Freeze. Freeze the ice cream until ready to serve. The ice cream will be a bit soft so it needs a couple of hours to firm up.
Tips for using a KitchenAid Attachment:
- Place bowl attachment in freezer. You’ll want to be sure to store the bowl in the freezer for AT LEAST 15 hours before using. Since we have an extra freezer in our laundry room, I keep ours in there all the time. That way we can make ice cream on a whim!
- Run mixer in advance. Attach bowl to the KitchenAid mixer and add the attachments. Start mixer on the lowest setting BEFORE adding ice cream mixture. This will prevent the bowl from freezing up.
- Add liquid while mixer is running. Then carefully pour the liquid into the bowl attachment while it’s running.
- Let it slow down slightly. The ice cream is done when you see it expanding to the top of the bowl and the mixer starts to slow down.
What should I add vanilla bean ice cream to?
I’ve got LOADS of choices for you. Get ready to swoon!
PLUS, you should try our Easy Hot Fudge Sauce and add it to your favorite ice cream!
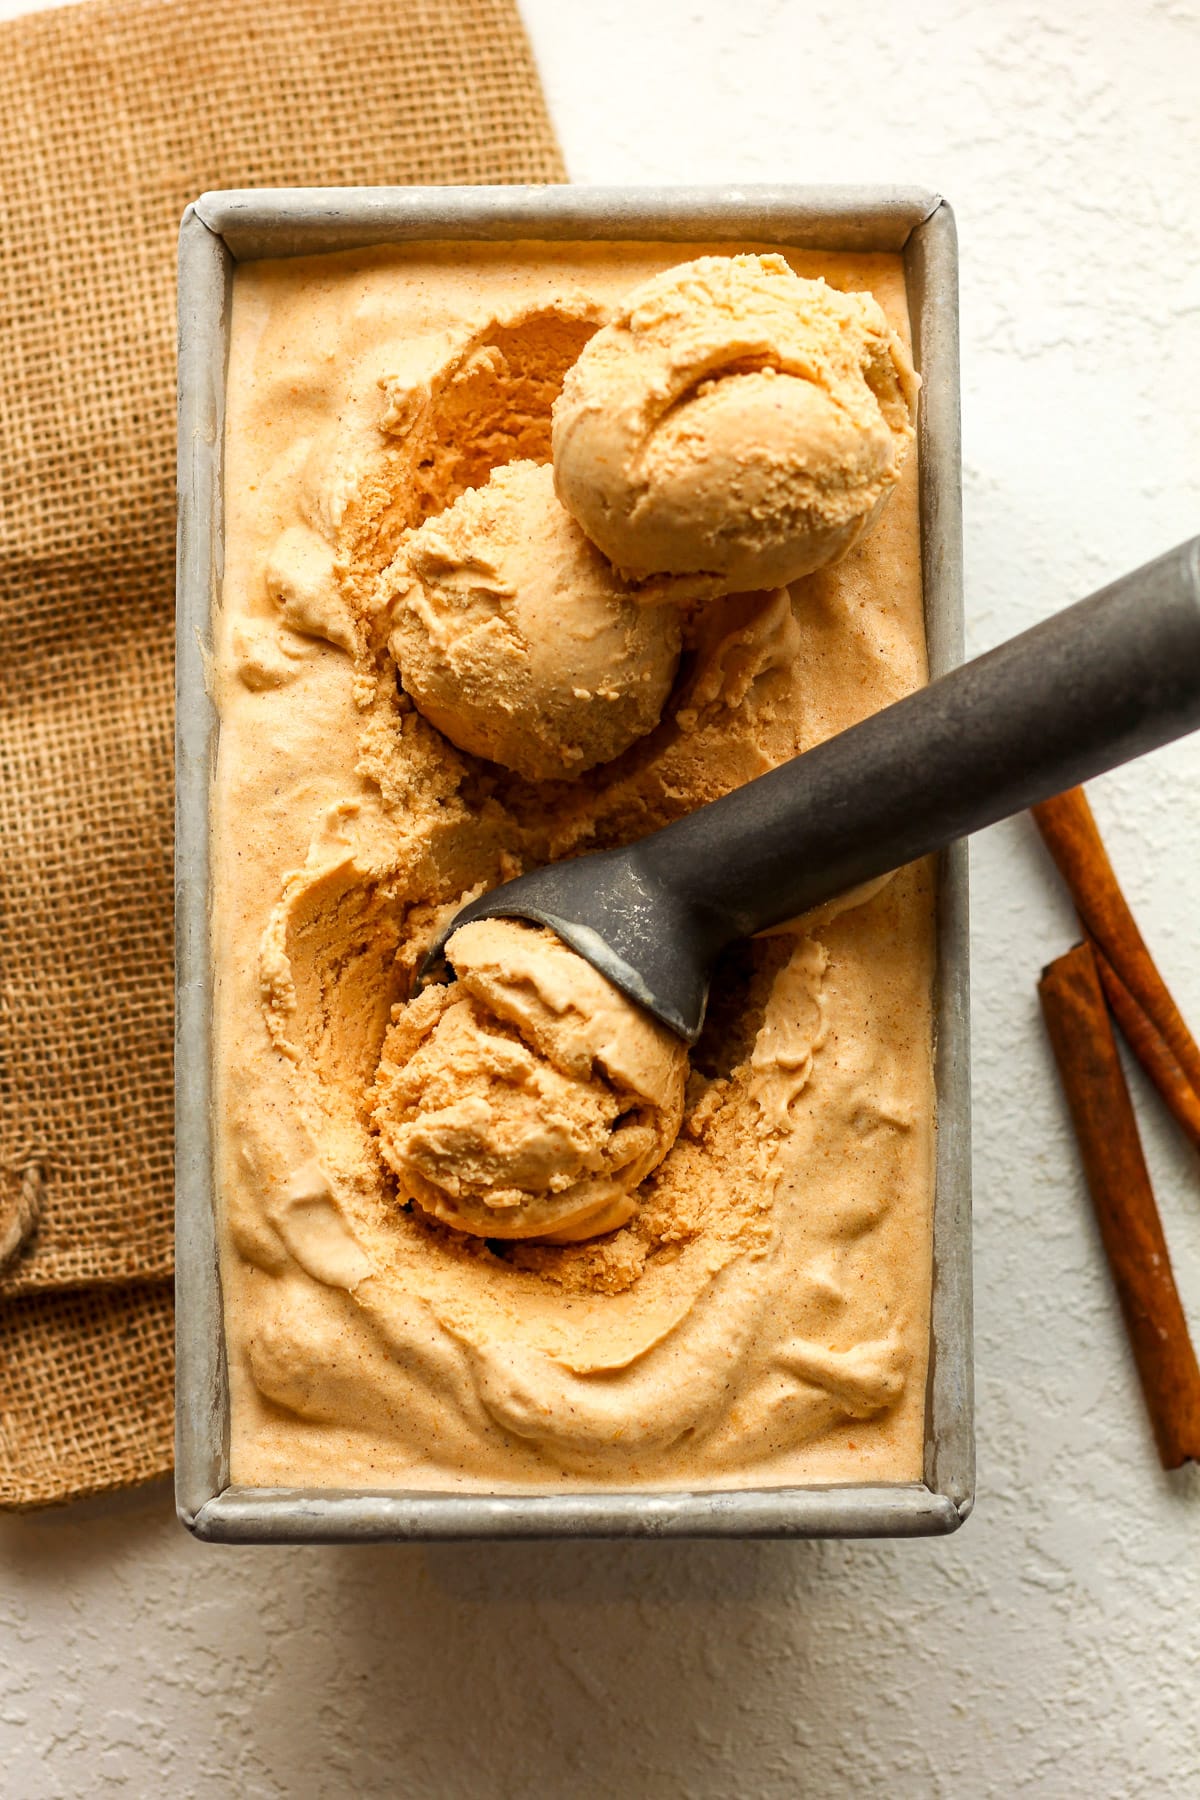
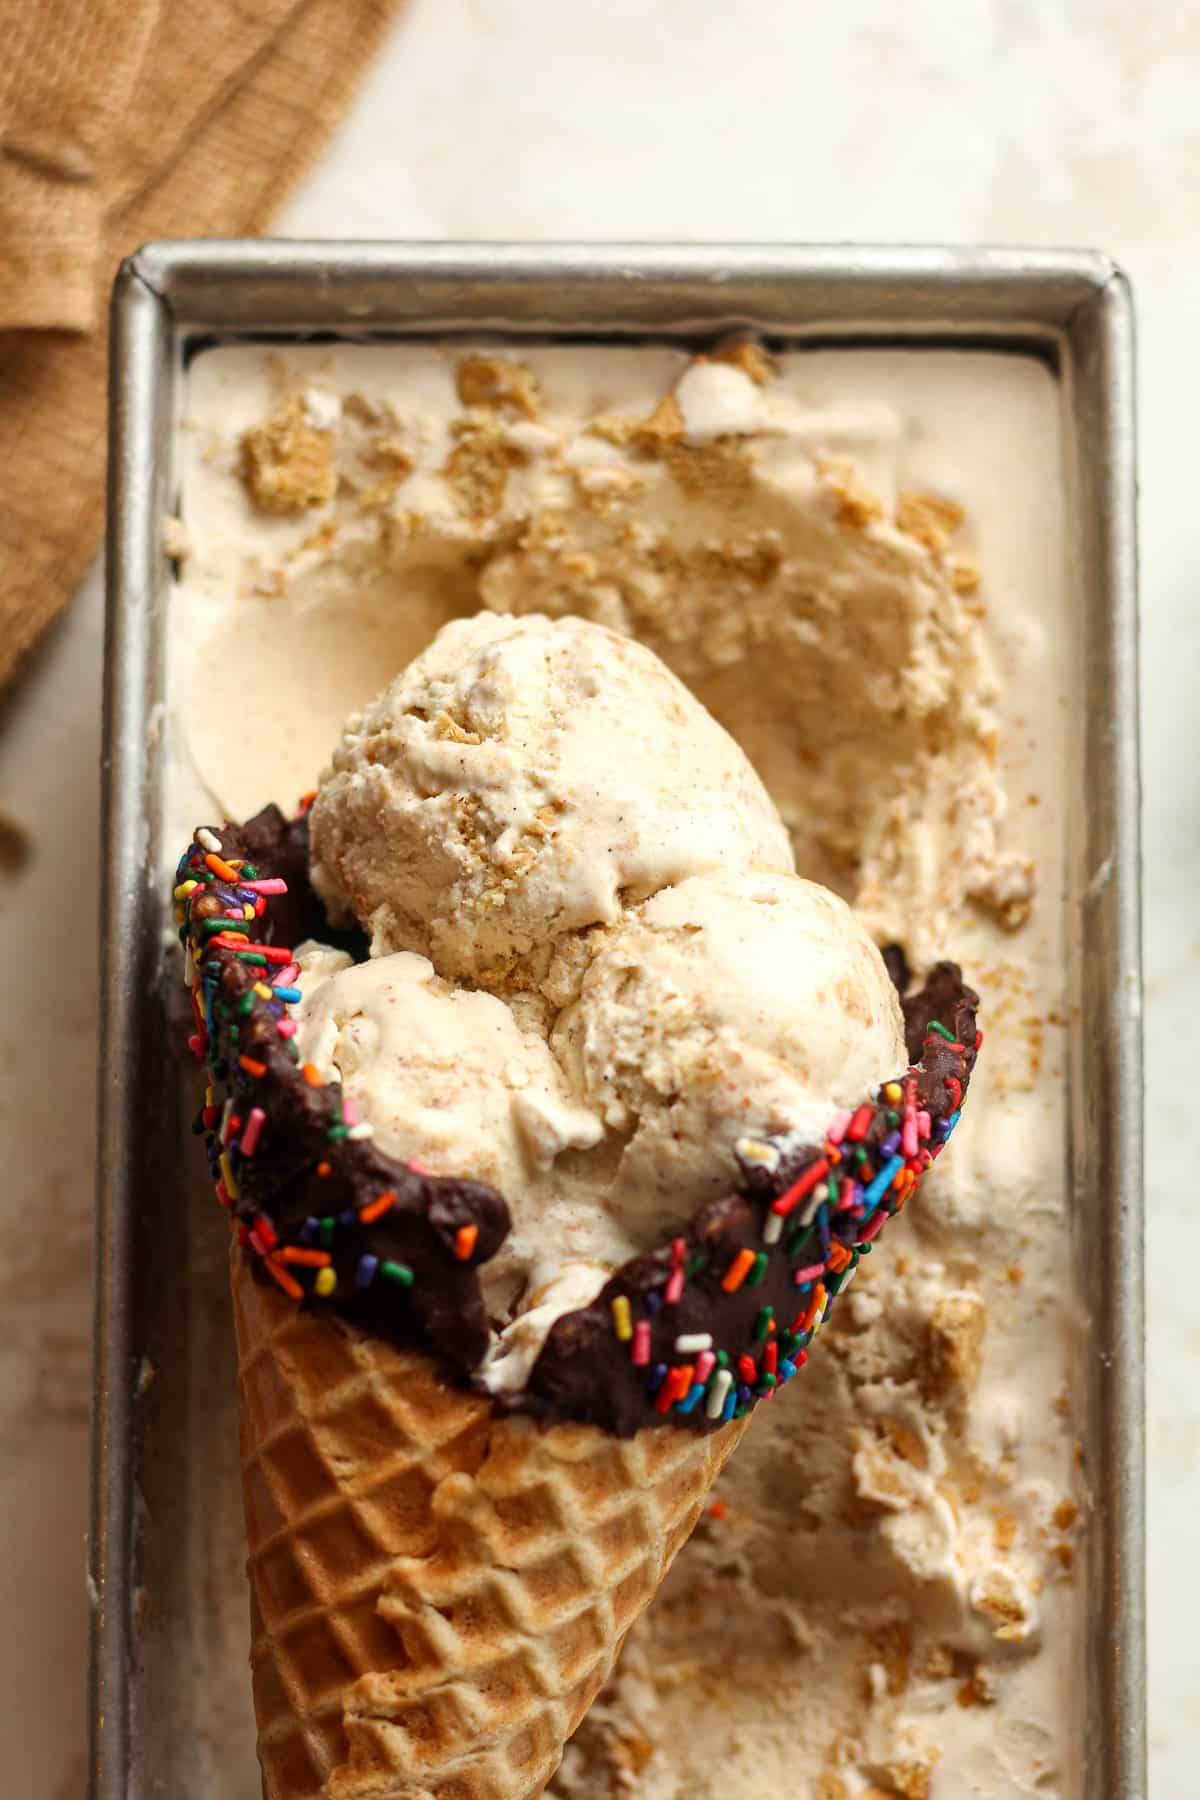
Other Delicious Ice Cream Recipes:
Kitchen Tools Used: (affiliate links)
I also used these Native Vanilla Beans for this ice cream.
xoxo ~Sue
Homemade Vanilla Bean Ice Cream
Ingredients
- 2 ¼ cups heavy cream
- 1 ¾ cups whole milk
- 5 large egg yolks
- 1 cup granulated sugar – divided
- 2 whole vanilla beans
- pinch of salt
Instructions
- If using KitchenAid attachment, place the bowl into the freezer a full day in advance (or at least 15 hours) before churning.
- Prep vanilla beans. Use a sharp knife to slice the beans in half lengthwise while leaving the underside intact. Scrape the seeds out.2 whole vanilla beans
Temper the eggs.
- Combine the egg yolks and 1/4 cup of sugar in a mixing bowl and whisk well. Pour the whole milk into a small saucepan, and add the just-scraped vanilla and the pods. Heat over medium heat until it reaches 165 degrees, stirring often. Do not boil.When milk reaches 165 degrees, take a small measuring cup and pour into the egg mixture, whisking vigorously as you pour it in. Do not stop whisking, and continue to pour about a cup of hot milk into the eggs. Then pour the contents of the bowl back into the saucepan with the remaining 3/4 cup sugar. Continue whisking and heating until the mixture reaches 165 degrees.5 large egg yolks, 1 cup granulated sugar, 1 ¾ cups whole milk, 2 whole vanilla beans
- Remove from the heat, discard the vanilla pods, and let cool. Strain the custard, if desired. (I don't always do this, but you can.) Refrigerate.
Combine all ingredients.
- In a large measuring bowl, combine the cooled tempered egg mixture, heavy cream, and salt. Mix well. Refrigerate the mixture for at least four hours or overnight. The mixture must be VERY COLD.2 ¼ cups heavy cream, pinch of salt
- Churn. If using a KitchenAid attachment, start the mixer with the attachment so that it’s turning BEFORE you pour the liquid in. Then pour in whisked ingredients and let it churn until finished. You’ll know it’s done when the mixer starts slowing down and it rises to the top of the bowl, approximately 25-30 minutes.
- Use a rubber scraper to pour the ice cream out of the bowl into a pan or container. Freeze the ice cream until ready to serve. The ice cream will be a bit soft so it needs a couple of hours to firm up.
Notes
- You’ll want to temper your eggs so that they are safe to eat. You can also use pasteurized eggs instead if you can find them in the grocery store.
- You can substitute 1 tablespoon of vanilla bean paste for 1 whole vanilla bean in ice cream (or any recipe). This swap gives you the same rich flavor and those lovely vanilla specks throughout the dessert.
Need more info about letting mixture thicken. Directions say do not boil, but comments note should let mixture thicken “until bubbly” and is a custard consistency- not stated in directions.
Also…when adding whole milk to egg mixture, seems to be words missing…”take small measuring cup and add to mixture”. Add what? How much?
As a new custard based ice cream maker, would appreciate some pics but definitely more specific directions of desired mixture texture and what to look for.
This came out absolutely perfect! While I didn’t have vanilla beans, I had Madagascar Bourbon vanilla bean paste and oh honey…It’s lucky any ice cream made it to the freezer!
Thanks Jessica!
What a delightful flavor. I used Tahitian vanilla beans. I followed the recipe and didn’t extend any time, because I was anxious to try my new toy. My bowl was “I dare you to put your tongue on it” cold. After making, and only 4 hours in the freezer, the texture came out like soft serve, but so silky smooth and rich. The color from the vanilla pods and caviar is just gorgeous.
I think I need to turn up the heat on the custard. I set my control closer to low. It was my first attempt… so… being careful. After all, vanilla beans don’t just pop up in the back yard. I’m going to put it in the deep freeze, LOL, in the Laundry room, and see if it stiffens up. Next batch will be done with patience and more time for the custard to cool.
As an 11 yo kid I remember cranking away and asking Mrs. Hill when it was done. I was disappointed I could see what was going on in that tin can I was spinning. I so enjoyed watching my ice cream churn, crystalize, and expand. thank you for helping me have a joyful day.
I loved reading this, Papa Joe! Thanks for sharing.
I made my first batch today. Family said it has a consistency of cool whip. I have a kitchen aid mixer and churned the mix for 20 minutes. Do I need to churn longer so it’s not so fluffy? I kept the speed between 1 and 2. It is delicious!
I’ve never had anyone say that this ice cream got too fluffy! If you used the ingredients stated, the texture should be smooth, creamy, and just like ice cream you get from a shop!
Just did this ice cream with 100g of allulose instead of the cup of sugar to make it more Keto friendly and it was simply AMAZING !!!! Thank you!!
Oh I’m so glad you made this recipe your own! Thanks Vincent!
My first ever to make ice cream, I followed the directions to the tee. I was a little unsure if the “custard” was supposed to be runny or thick……mine was runny. And also unsure about the speed of the mixer since directions only said to start on low so I did and them bumped it to 3.
I did use the whole bean and I could definitely tell a difference..
Turned out perfect, thank you I will be making more of your recipes
I keep my mixer on low but it sounds like your ice cream turned out perfect! Thanks for letting me know Amy!
Can you a vanilla bean paste instead of the vanilla bean
Yes you can use vanilla bean paste instead!
Hi! There is no mention of consistency or how each mixture should look like: Is the mixture milk-tempered eggs supposed to thicken before straining and refrigerating? I had a thermometer and focused on 165f heat but I may have not thicken it enough despite reaching 165; and now with the heavy cream and sugar mixture it seems super liquidy.
Can i make the first part the day before and then churn the following day?
Yes! That’s what I normally do.
Yes you have to stir and stir until the mixture becomes thick like custard on a heat level where the custard is constantly bubbling. Once you get it right, like I finally did, custard base is the way to go.
My eyes aren’t good but I’ve reread the recipe it calls for heavy cream but I’m not seeing when to add it.
Under “MAKE ICE CREAM” – Step 1. That’s when you add the heavy cream. Good luck!
After the tempured eggs have cooled and u add the rest of the ingredients and then cool for four hours.
Followed the recipe exactly and it came out amazing! Can’t wait to enjoy this with coffee, maple syrup, and more.
The vanilla flavor really shines through! I love using real vanilla beans instead of the extract and it’s a hit with a slice of chocolate cake!
Is there anything better than freshly made, REAL vanilla ice cream? I think not! Thanks for this great recipe.
Thank you Lynn!
This was the bomb! Custard-based ice creams are the best, this one had such great flavor. I made this for a bridal shower for dessert with fresh berries and shaved chocolate, and everyone raved about it!
This sounds lovely! Thanks Kathi!
Very good! Vanilla beans added extra vanilla – yum thanks.
Thanks Dan!
You inspired me to get out my Kitchen Aid ice cream maker and it was delicious! With some chocolate sauce, it was the perfect dessert.
Sounds perfect, Laura!
I am an experienced cook. I followed the recipe exactly using the kitchen aid ice cream maker. what a collosal failure It stayed liquid. A waste of money and time.
I am terribly disappointed
I really don’t understand how that could happen. This ice cream always turns out fantastic for me.
Same thing happened to me. Big bummer. Now I’m trying to save it. I came back to the comments to see if there were any solutions. So far no solutions.
The ice cream base AND the liquid ingredients must be VERY VERY cold (see blog post for specifics) before churning. I’m guessing that this may be your problem. There are plenty of favorable reviews on here so we know it works.
First time I tried this recipe with my KitchenAid attachment, it never got to the consistency of ice cream. It stayed more of a liquid form. Next time I made sure the bowl was in the freezer for 48 hours, and the ice cream mixture was very chilled, almost frozen before I added it to the maker. It turned out perfect. I think the liquid inside the bowl attachment needs to be frozen solid. Before you make ice cream, make sure you cannot hear any liquid sloshing around the walls of the bowl when you take it out of the freezer.
Is the salt necessary?
You can skip the salt if desired.
Just got the custard made up and didn’t see anything on what the consistency should look like until I read the comments. Mine was quite liquidity and not thick. Hoping this still comes out!
Hi Heather. Did you chill the mixture before adding it to the ice cream maker? LMK if it turned out for you!
Hello this might be a crazy question. New ice cream maker over here! The vanilla pods, are they minced up and put in or just put in whole after being scraped and strained out. I am unaware if the pod shells can be consumed. Thank you!
No, the vanilla bean pods are discarded in the end.
Hello.
Can you use vanilla extract in place of beans?
Yes, you can. The real vanilla from the beans adds extra flavor. But if you don’t have it, vanilla extract can be substituted.
Followed this recipe to a tee only swapping the heavy cream to double cream (Europe!) and the result was a lovely, delicately tasting vanilla ice-cream.
Third ice-cream I’ve made from this site (peach and Nutella were first) and they’re all very easy to follow and extremely delicious. Eyes peeled for maybe a mango ice-cream? 🙂
Hello!! I followed this recipe exactly and once I placed into the kitchen aid ice cream churner, it would not freeze! Any suggestions? Everything was super cold as I placed it into the frozen bowl.
Gosh, that’s strange. Do you use the KitchenAid Attachment? How full was the bowl after adding the liquid?
I love the flavor and consistency. I used a 40% fat whipping cream and 2% milk because that’s what I had on hand. Next time, I would reduce the sugar by at least ¼ cup.
This was so good! I did half the sugar though as 1 cup is alot. But it came out really really good! Thanks for the recipe!
Tried this recipe for the first time. Very different from my mom’s that I have used for years. I had a vanilla bean so I was looking for something new. Hand churned ice cream has been part of our traditional family cookout for years, so the sibs were pretty skeptical of the outcome. The ice cream churn has been in our family for over 30 years. It’s gone through some repairs but still holding up.
The results drew high praise from everyone. Lots of vanilla flavor, creamy and smooth. I did tweak the recipe just a bit by adding some whole milk along with the heavy cream just to lighten it just a bit (maybe a cup to 1 1/2 cups). The only complaint was there wasn’t
enough. I’ll double the recipe next time.
Simple recipe but FANTASTIC results! Thank you!
Thanks so much Kristi!
I made this with the addition of edible cookie dough in my KitchenAid bowl. Very easy recipe for beginners, and delicious! This is the second icd cream I’ve made from this site and I’ve really enjoyed both 🙂
How long should I refrigerate the egg mixture before I add rest of the ingredients? And should I refrigerate after? Using kitchenaid ice cream maker.
Just make sure the entire mixture is super cold before pouring it into the ice cream maker. I’d wait until the tempered egg mixture is at least room temp before adding the remaining ingredients.
Can I just double this recipe for a 4 quart ice cream maker?
Thank you!!
You should be able to double it. Just make sure you don’t overfill your ice cream canister. It needs room to freeze!
I know it’s vanilla, but it is still the best. Awesome recipe and the world constantly changes, but not my love for vanilla ice cream!
So true!