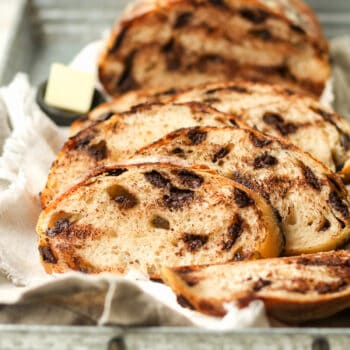
Chocolate Sourdough Bread
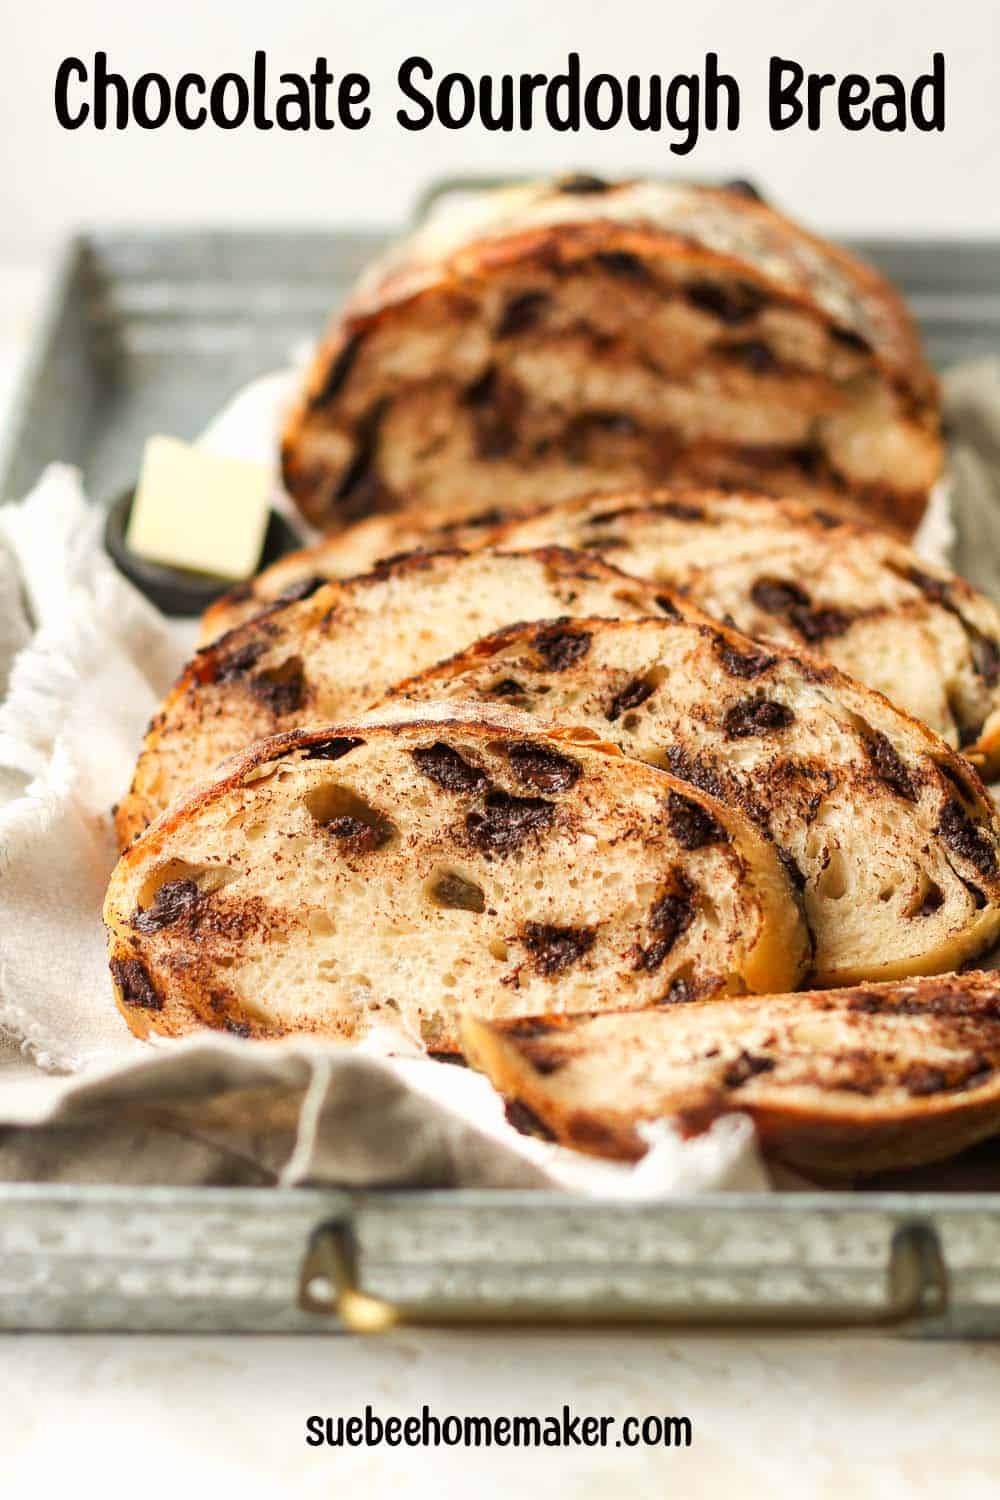
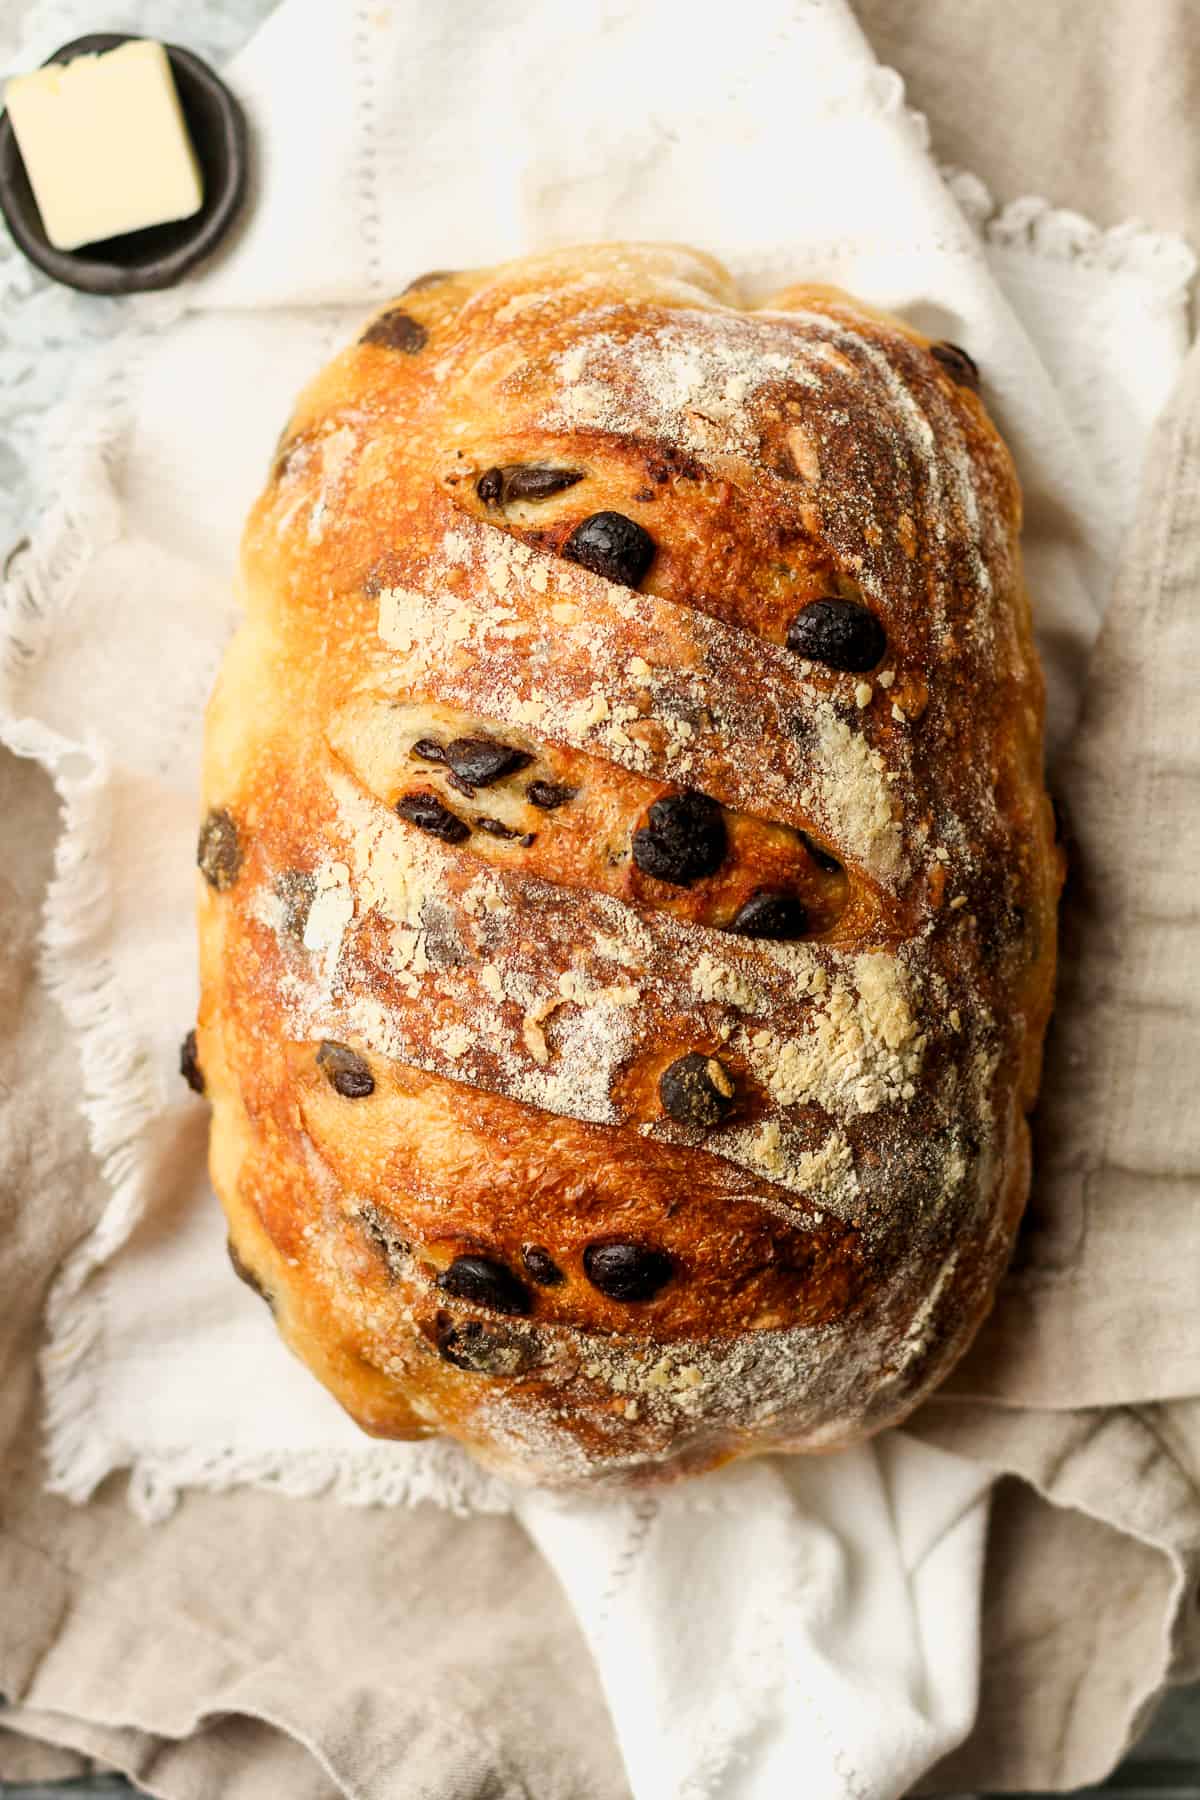
Chocolate Sourdough Bread starts with a sourdough base and incorporates dark chocolate chips. This decadent bread makes excellent toast with various added toppings including butter, peanut butter, or a cinnamon sugar combo!
Chocolate Sourdough
If you’re a dough girl like me and also love chocolate, then this recipe is for you. We enjoy this toasted with butter and peanut butter or just plain. The flavor is just out of this world!
The opportunities are endless with a sourdough starter. Try our Jalapeño Cheddar Sourdough Bread, Garlic Sourdough Bread, and Cinnamon Raisin Sourdough Bread next!
Why This Recipe Works:
- It’s simple. This recipe has only four base ingredients plus the chocolate chips!
- Gut healthy. Sourdough is a gut healthy bread. Sourdough bread is NOT gluten-free, as it contains flour, but its long fermentation helps break down this gluten. It’s easier on the gut because it’s more digestible and easier for the body to absorb.
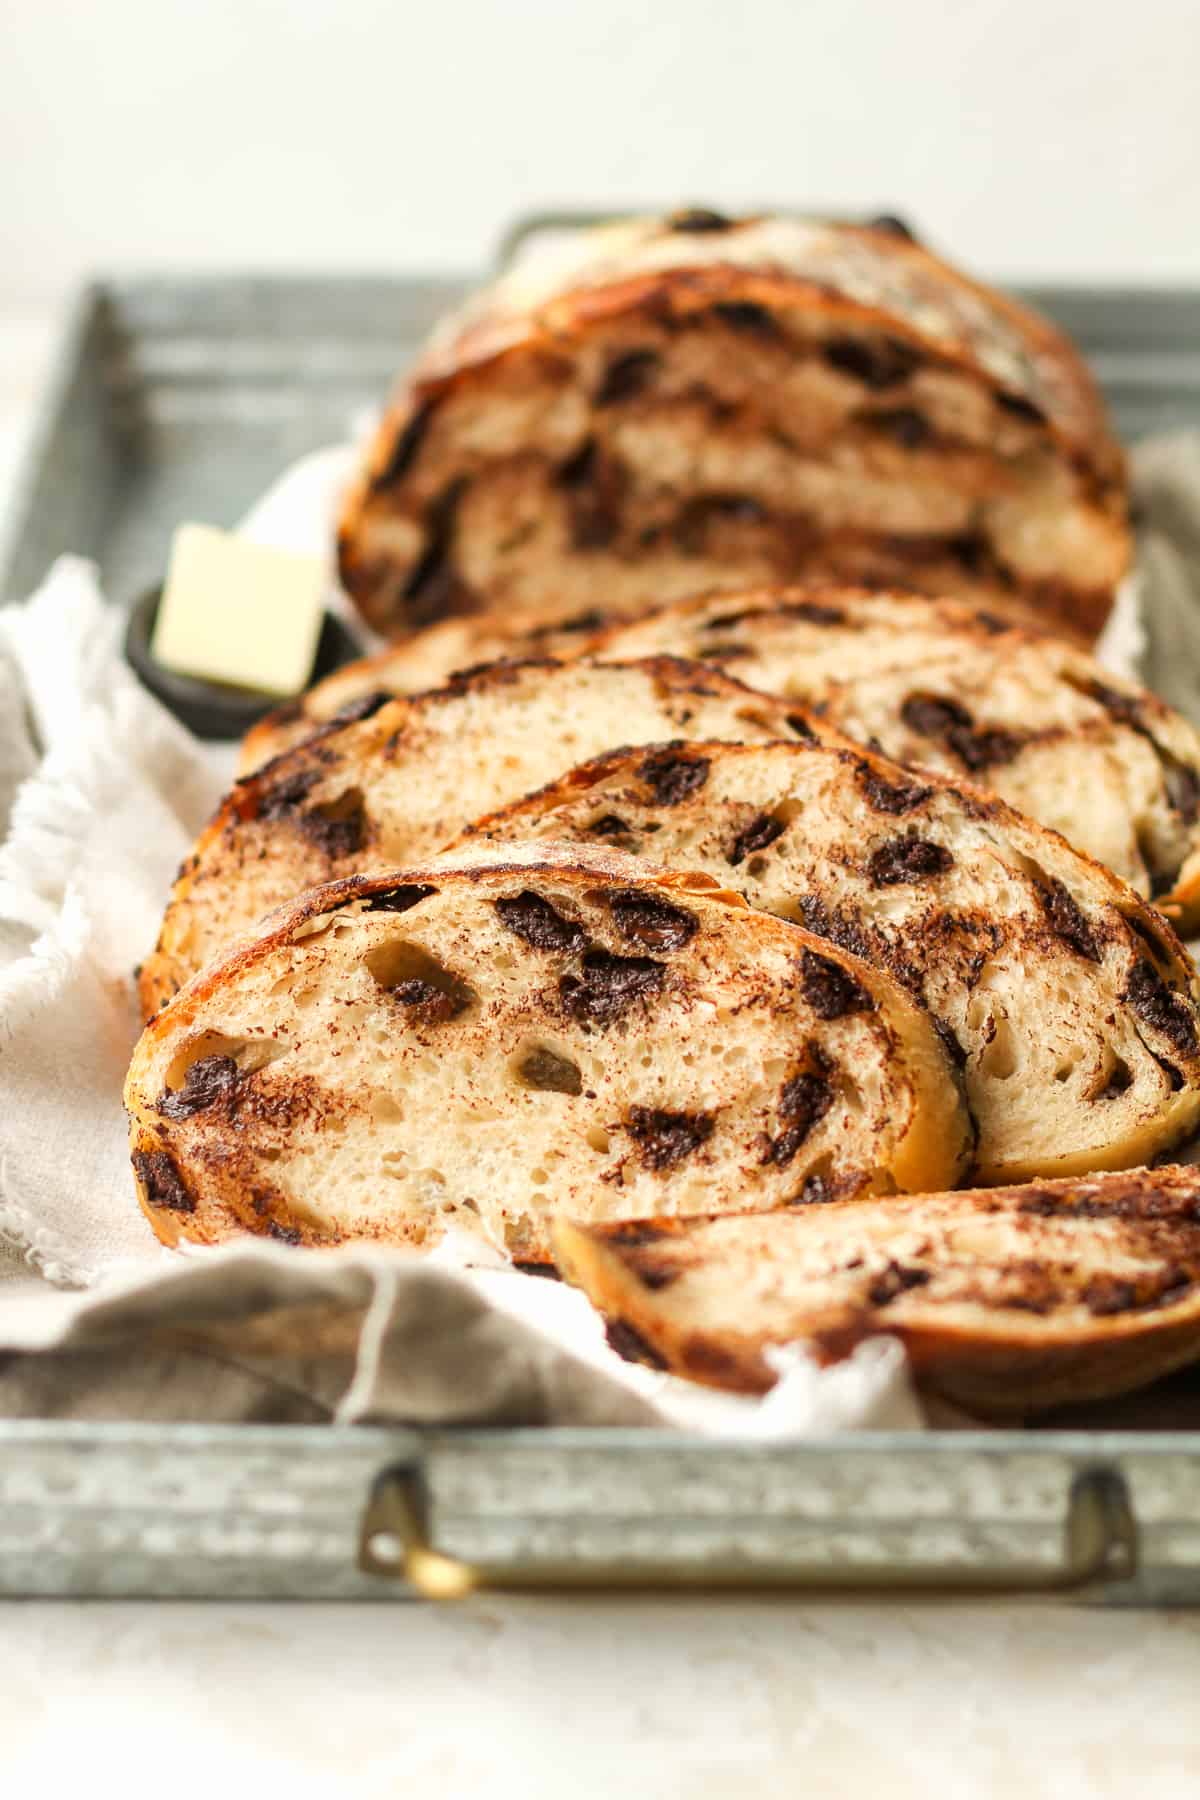
- Higher Hydration. This recipe is 75% hydration which means it’s a softer and has a more open crumb. You’ll see more “holes” in this bread due to a higher water to flour ratio.
- Delicious! We love the decadence of this sourdough and you will too!

Ingredients Used:
Only four base ingredients plus the dark chocolate chips are required for this delicious bread! I uses just one type of flour for this recipe as well.
- Bubbly Starter – The starter is THE most important part of sourdough bread making. It takes a little time, but you will be rewarded over and over again.
- Filtered Water – Use a filtered water, either out of your refrigerator filter system or use bottled water. The water should either be room temperature or slightly warmed before adding it to the sourdough process.
- Flour – I used unbleached bread flour for this recipe.
- Sea Salt – I recommend using fine sea salt.
- Chocolate – I used dark chocolate chips, but any kind of chips will work.
Make your own sourdough starter at home with just a few simple ingredients using Sourdough Starter Basics. In just over a week’s time and a little bit of patience, you’ll be ready to use your active starter to make the best sourdough bread!
How to make Chocolate Sourdough Bread:
Step 1
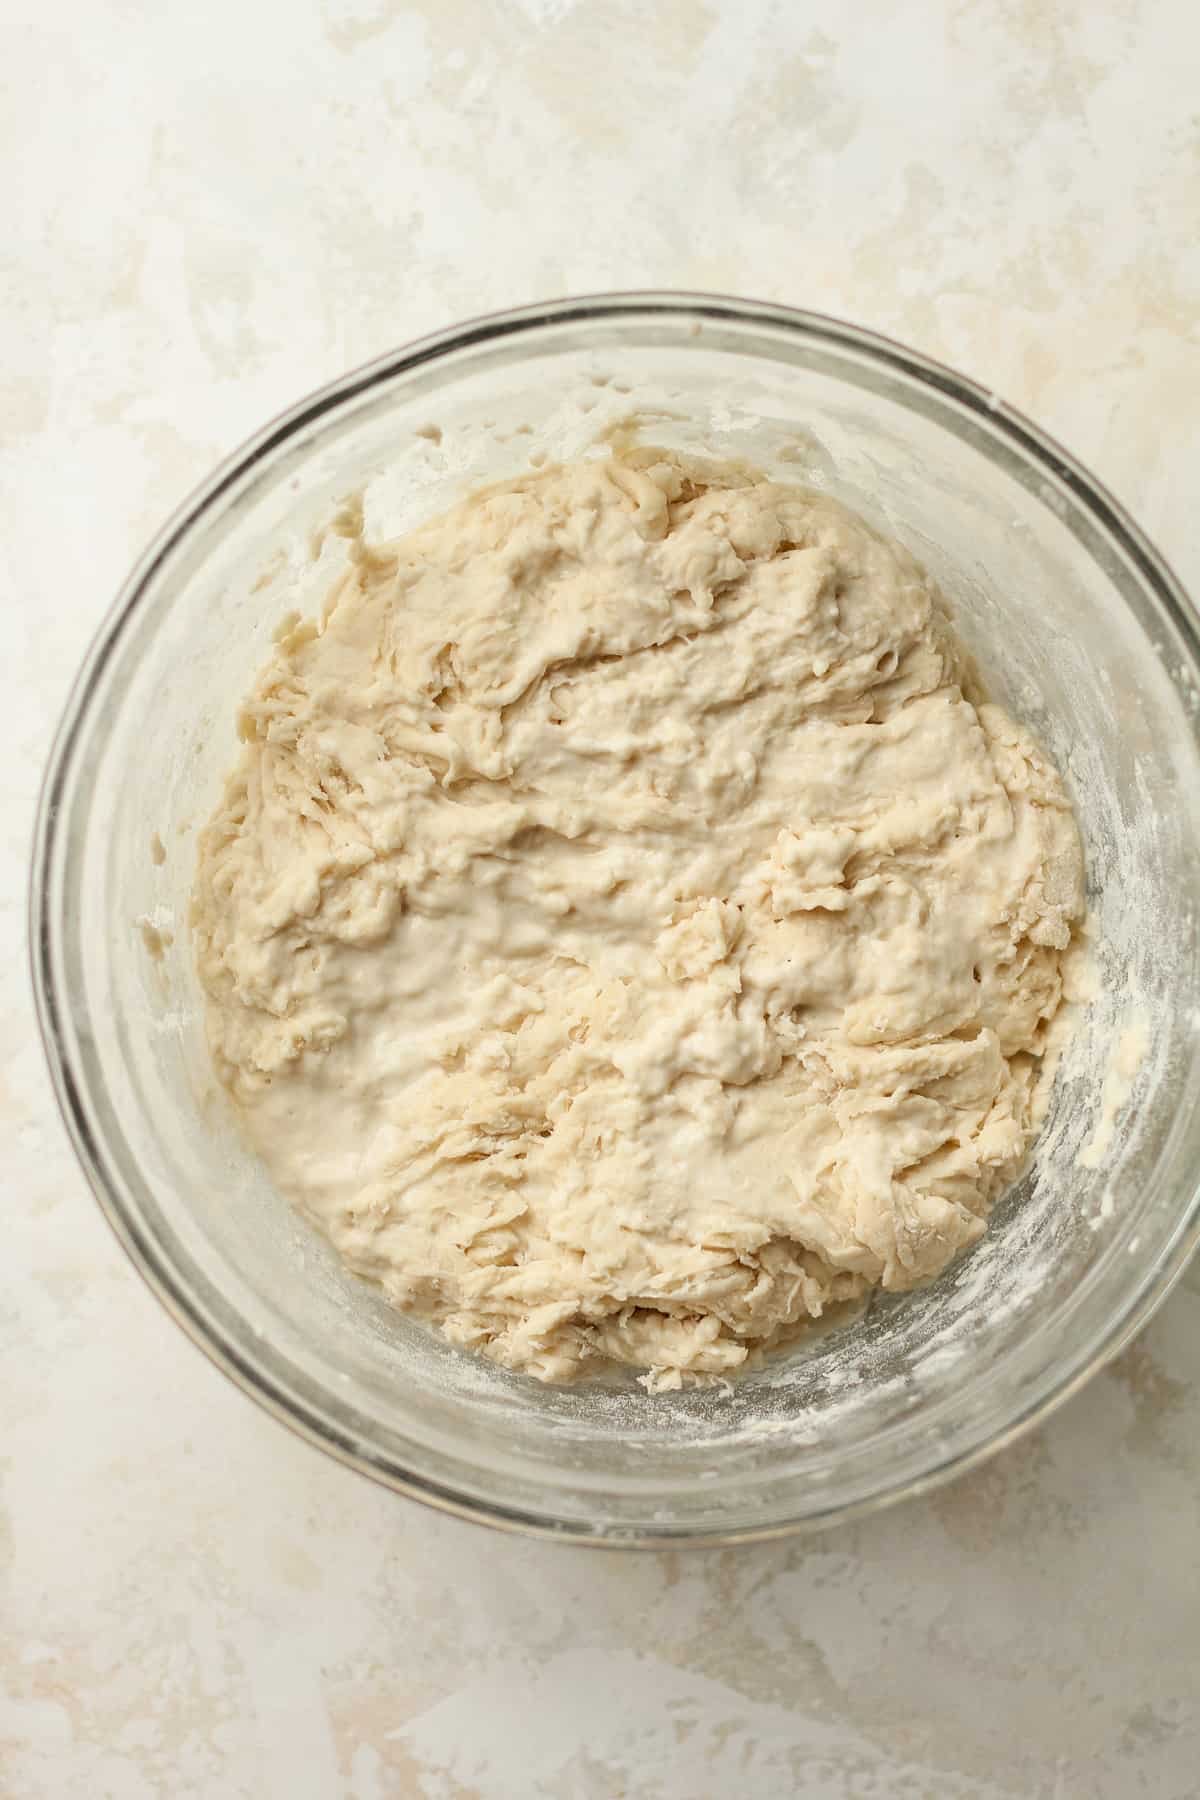
Carefully measure out the water and sourdough starter in a mixing bowl, and stir well with a fork. Add the flour and sea salt, and stir again.
Step 2
Then use your hands to bring the ingredients together. It will look shaggy. Cover with a damp towel and let it sit for 45 minutes. (Be sure to set a timer.) This is the AUTOLYSE.
Step 3
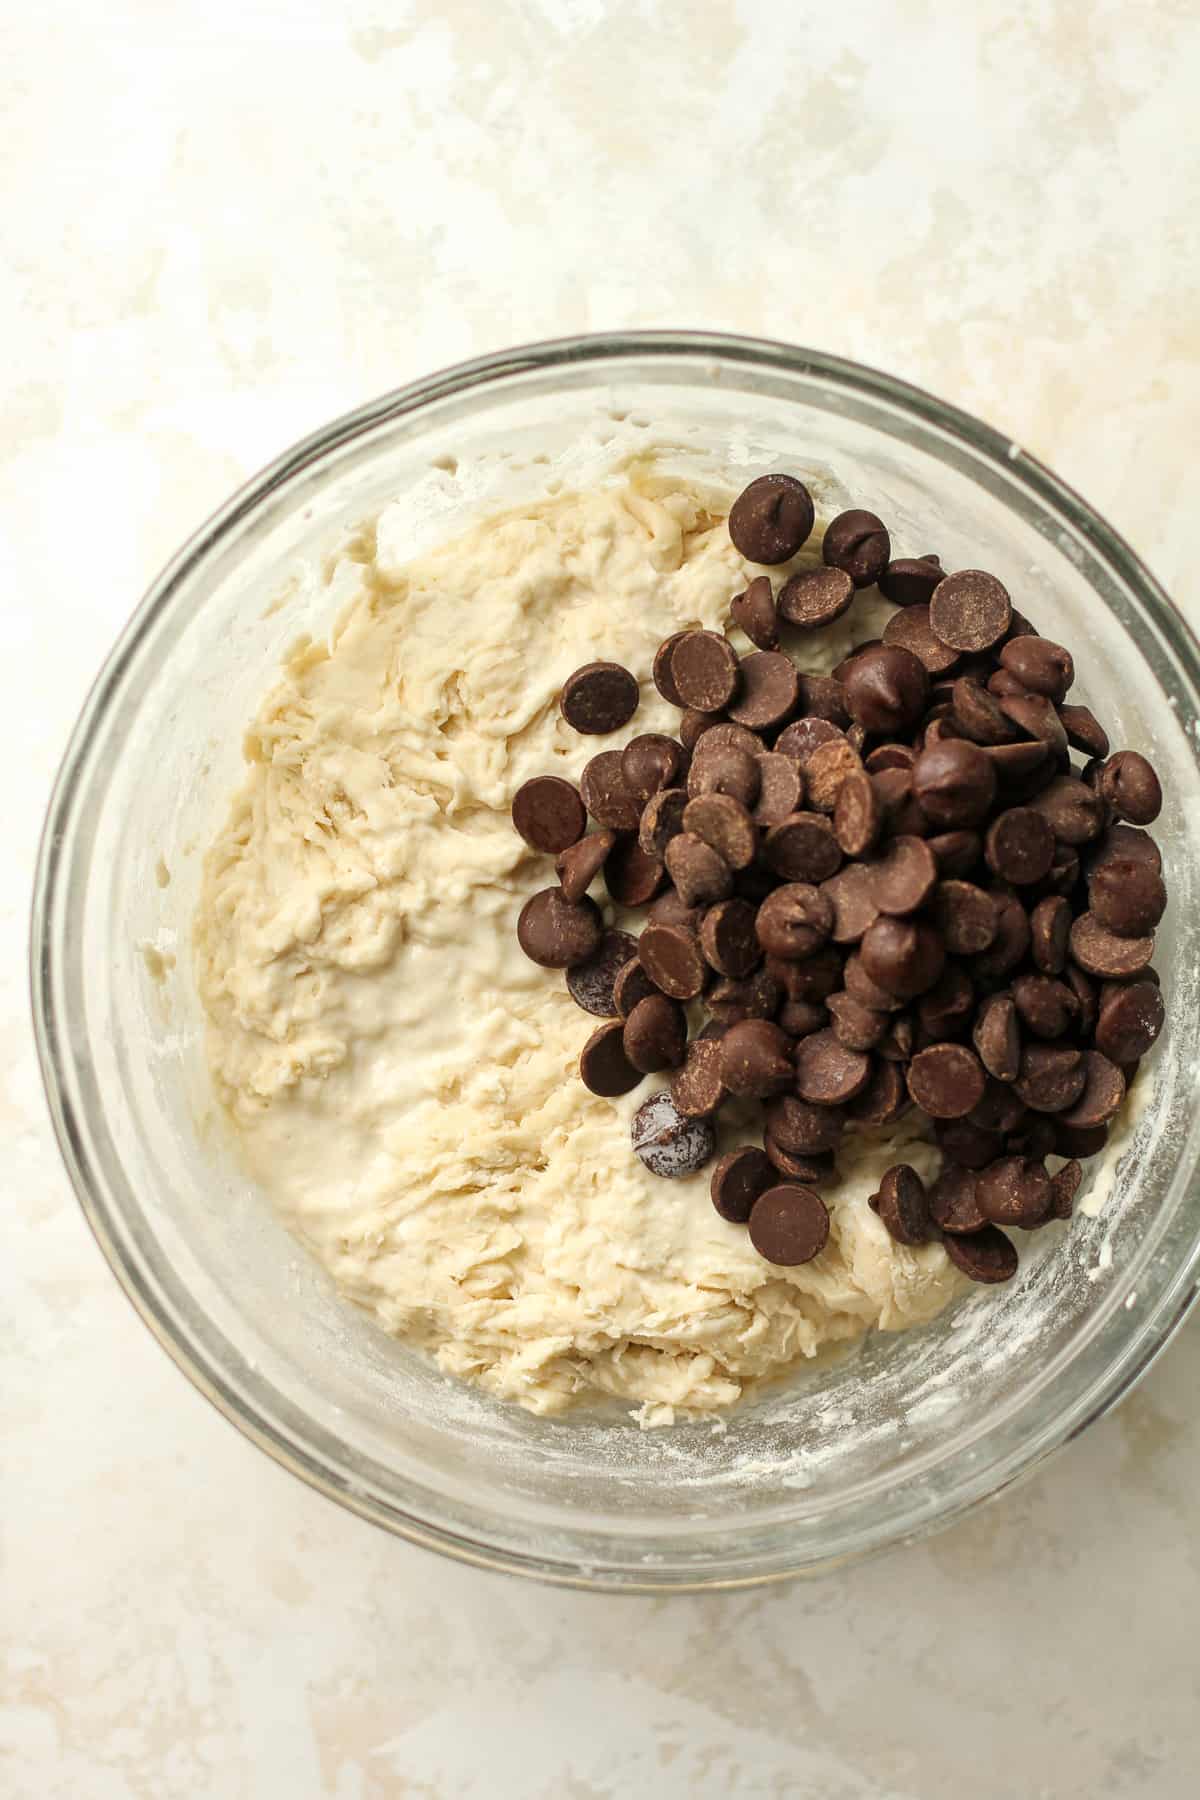
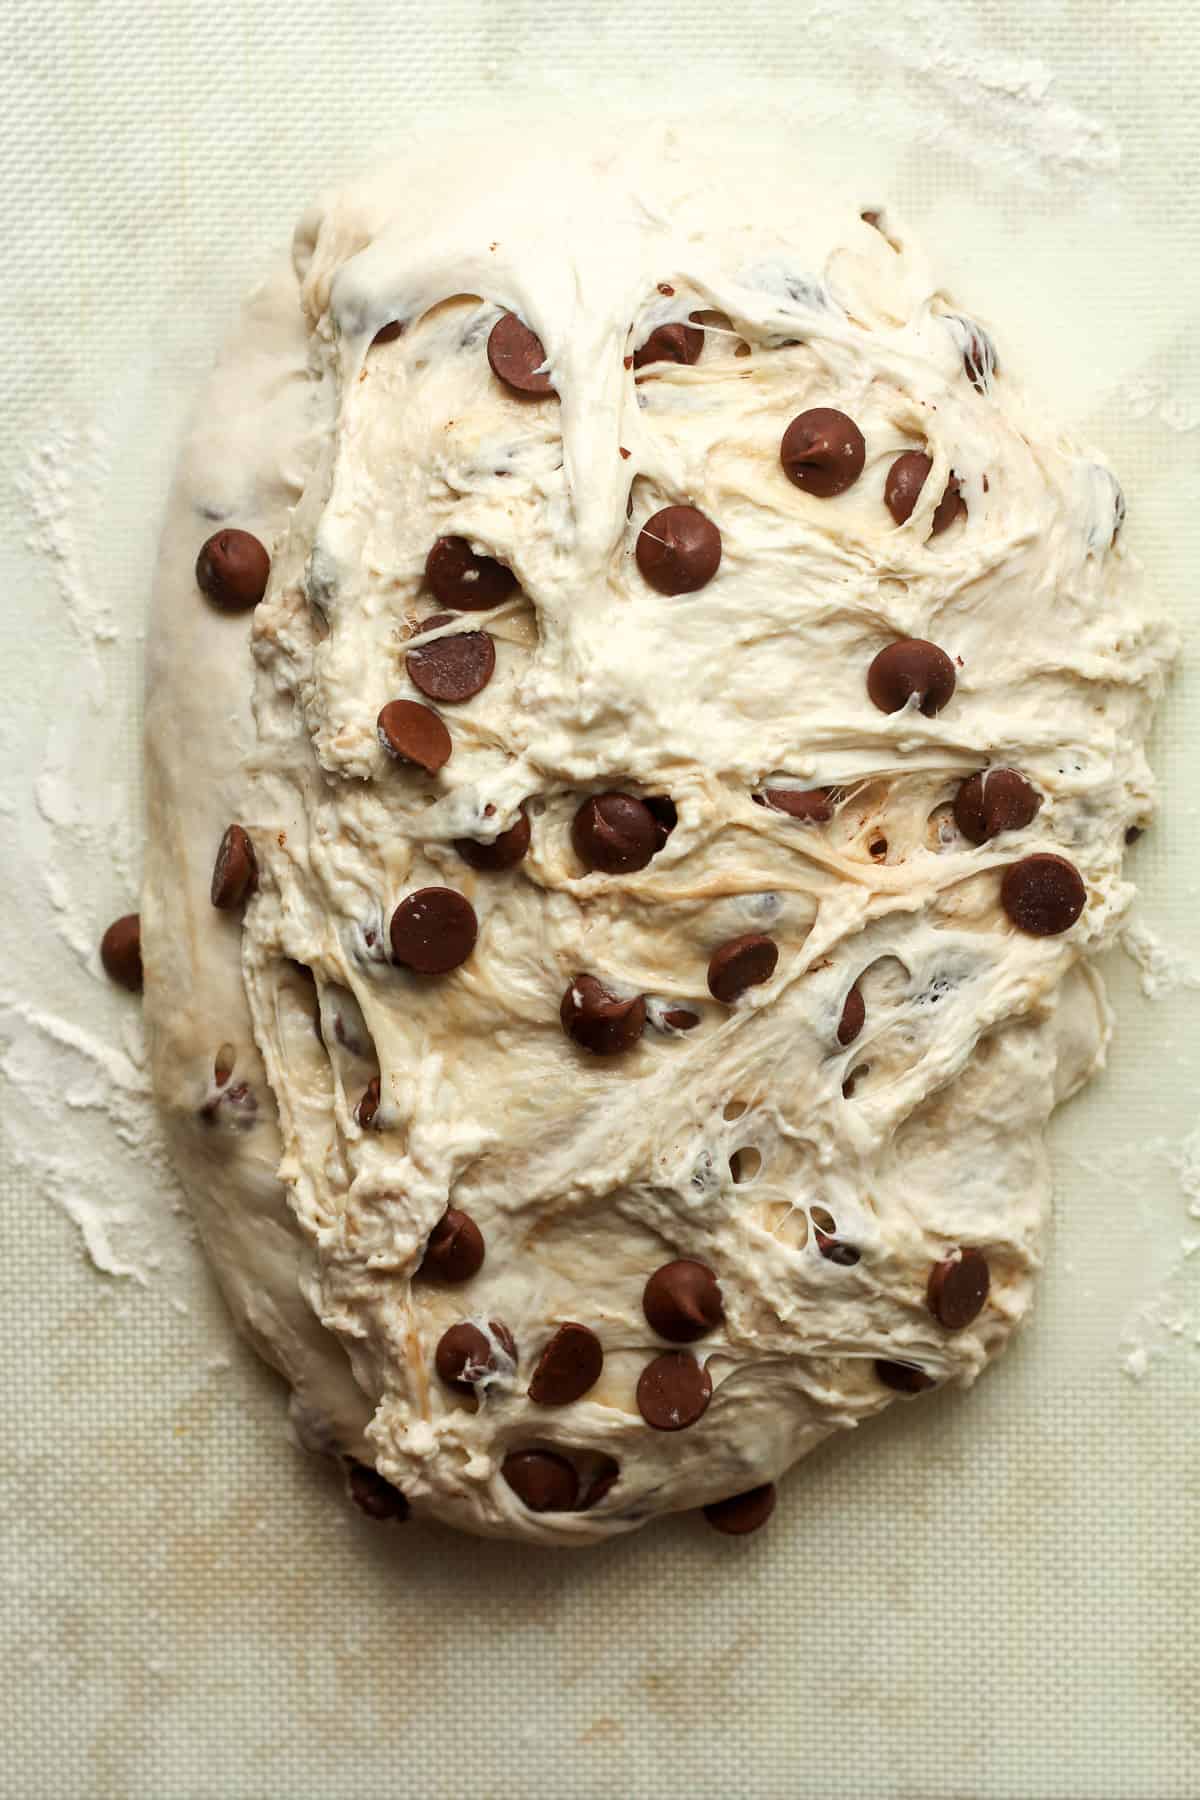
After 45 minutes, add the chocolate chips. Then start the stretch and folds. Use your hand and lift the dough up on one side, stretching it upward, and then punch into the center of the dough. Turn the dough and repeat. Continue this process for about 30 seconds. This is the STRETCH AND FOLDS.
You’ll want to try to get most of the chocolate chips in the center of the dough during this process. Form the dough into a smooth’ish ball, and place towel back in the bowl.
ADDITIONAL STRETCH AND FOLDS: I recommend doing additional stretch and folds if time permits. Do these every 30 minutes for 3-4 more times to further develop the gluten structure.
Step 4
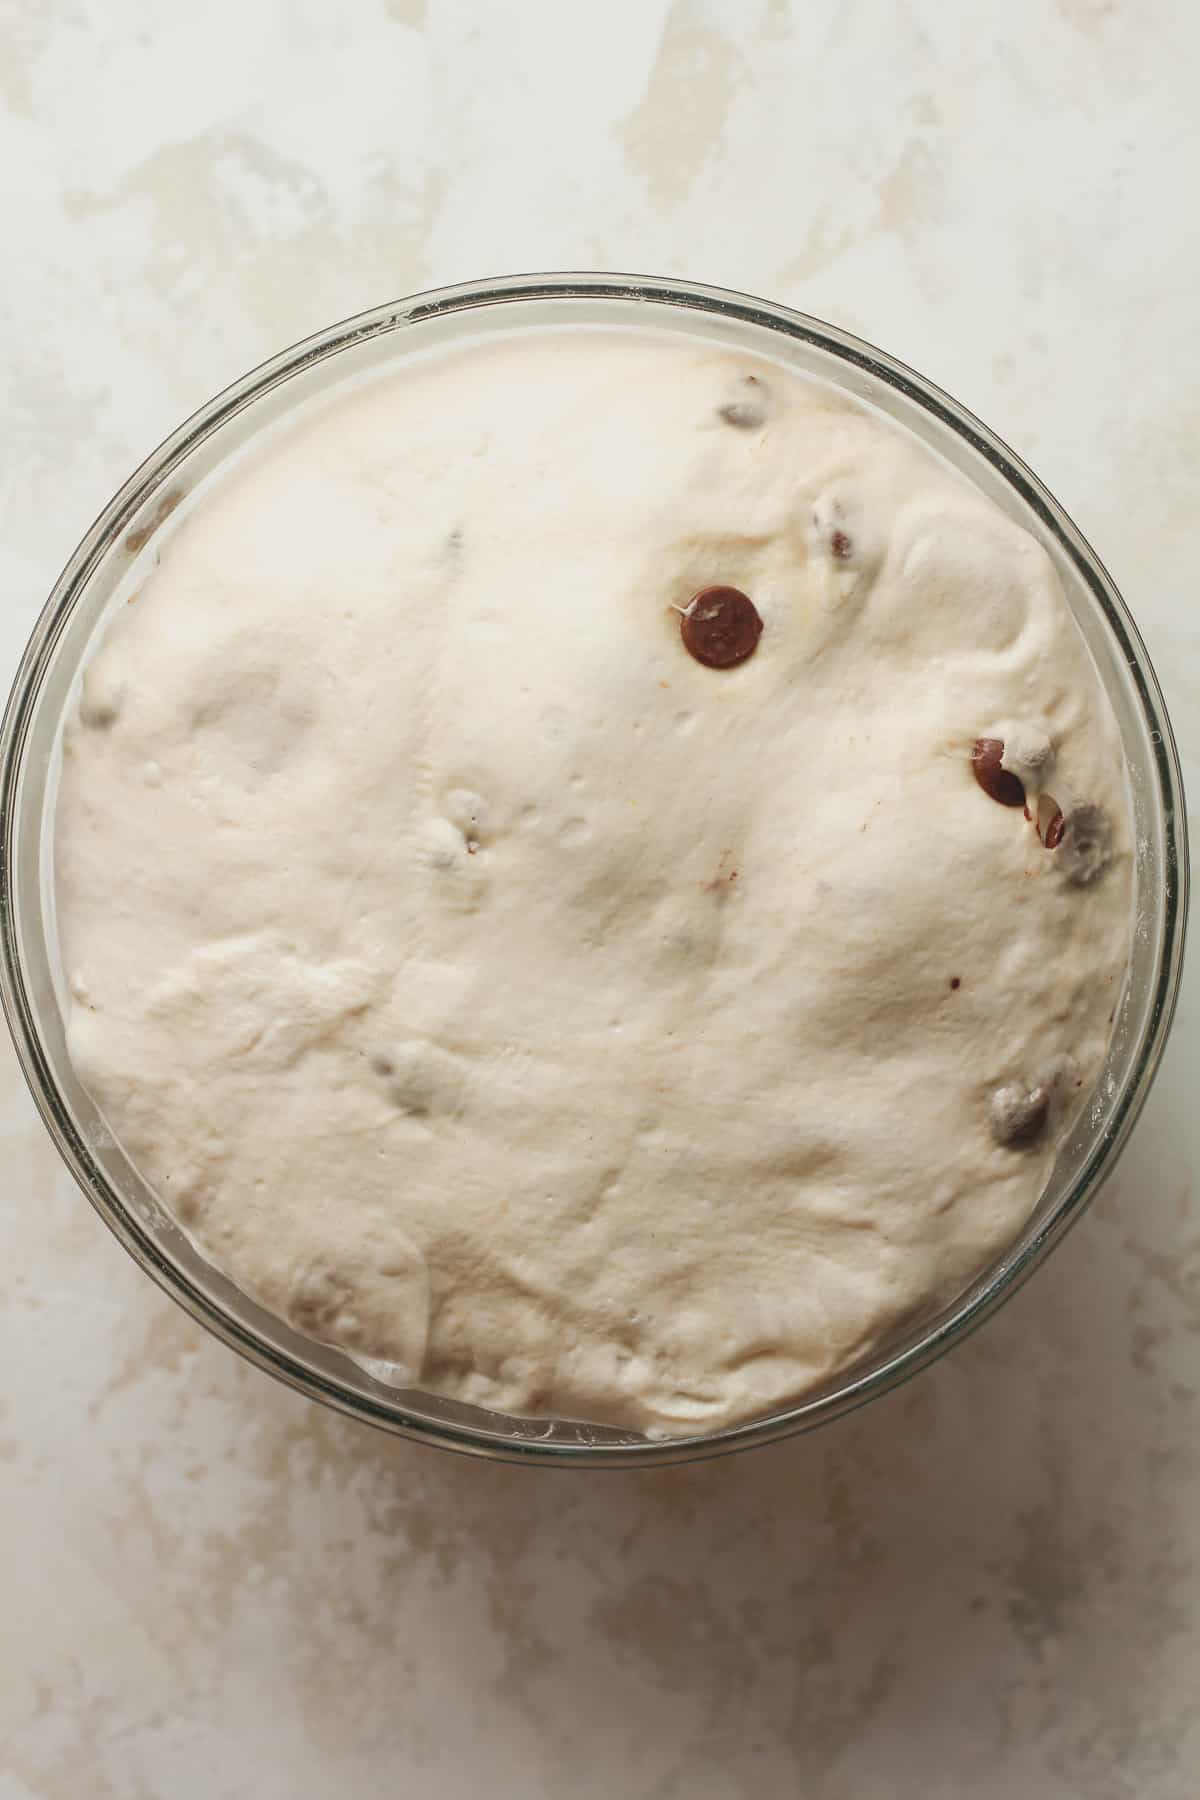
Let the dough rise for 6-8 hours, or overnight. It should almost double in size and appear soft on top. Small air bubbles may appear as well. This is the BULK RISE.
Note: I recommend placing a damp towel on the dough for the overnight rise. You might also add a bit of oil to the top to keep a crust from forming on the dough overnight.
Step 5
Add a light dusting of flour to a baking mat or clean surface. Remove the dough to the mat and gently form into your desired shape, usually round or oblong. Don’t punch the dough down because you don’t want to remove all the air. Let dough sit for five minutes.
After five minutes, use your hands to pull the dough toward you, dragging it along the mat to tighten it up. Repeat in the other directions to tighten. (Make sure you don’t have too much flour on the surface when tightening the dough, so there is some needed friction necessary to tighten it.)
Step 6
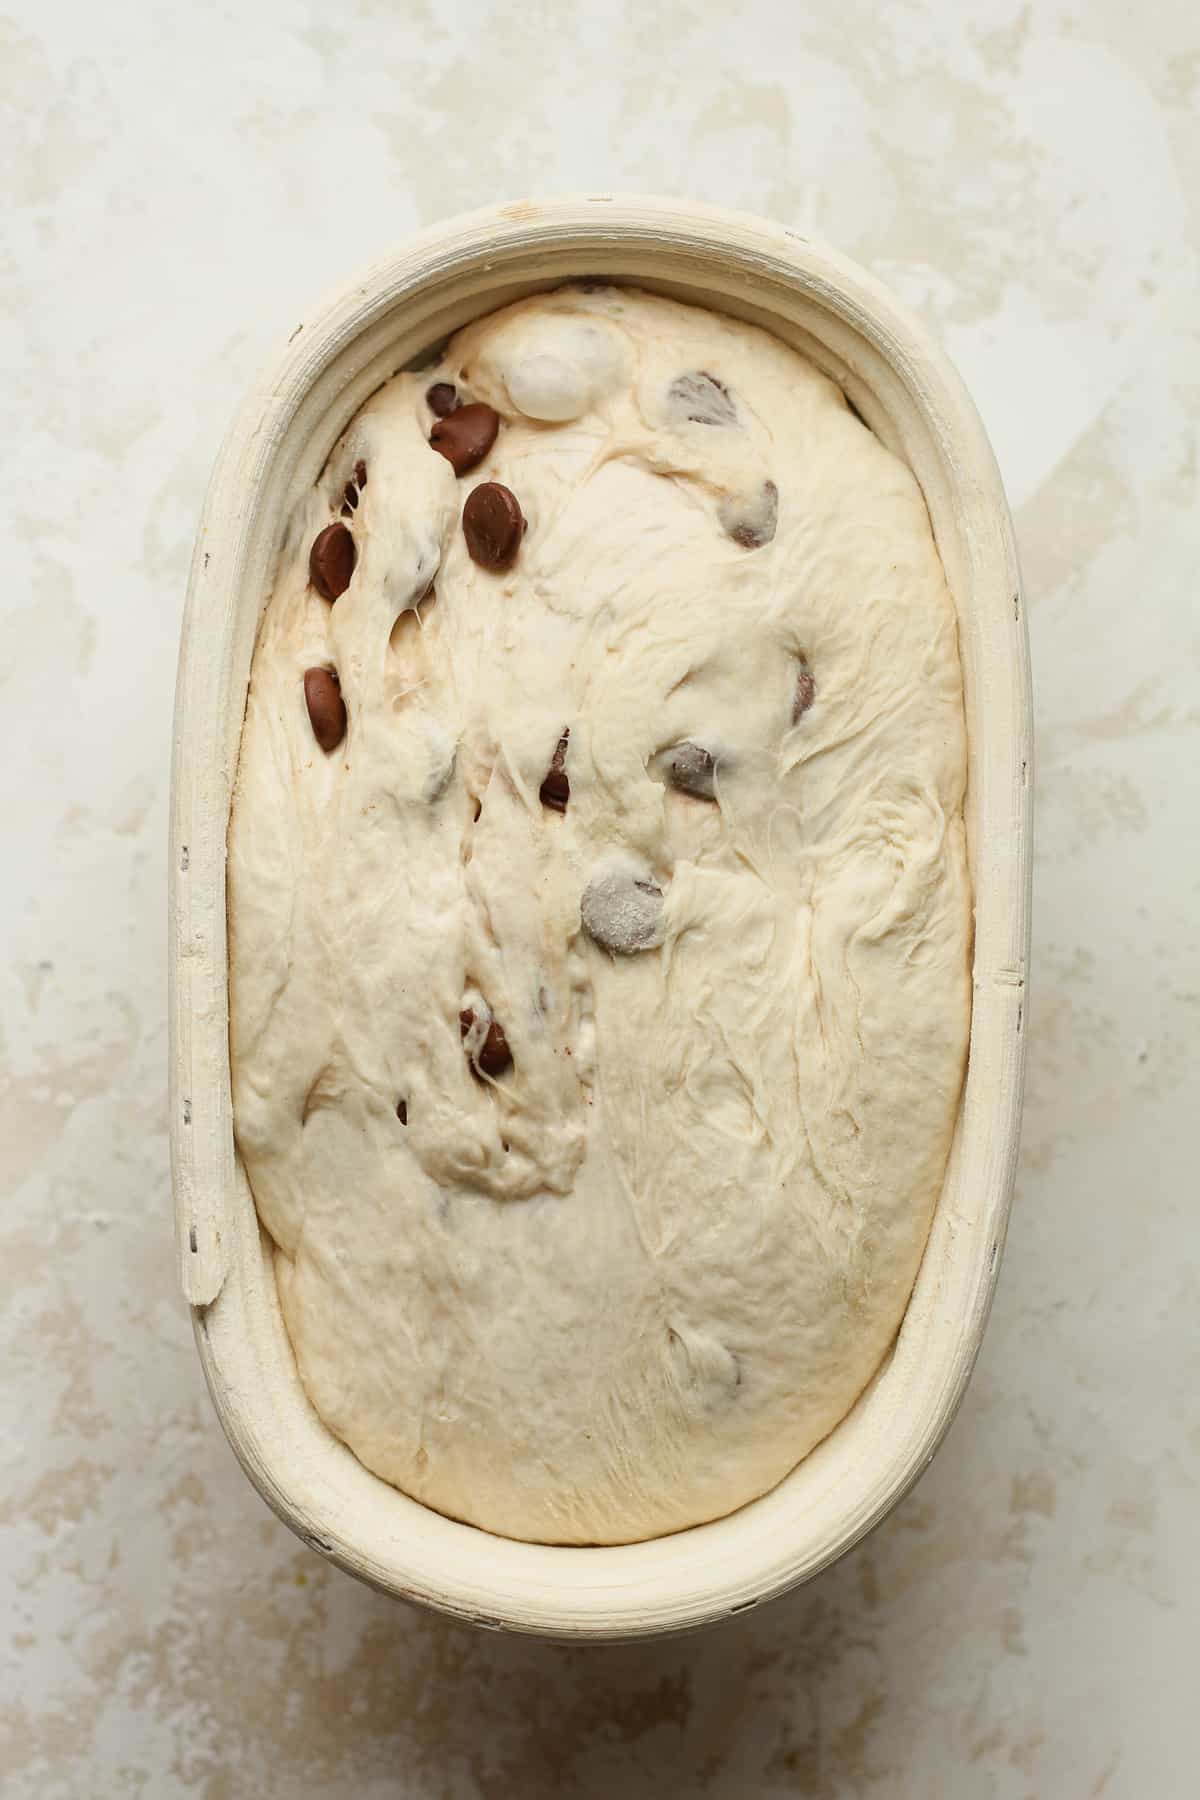
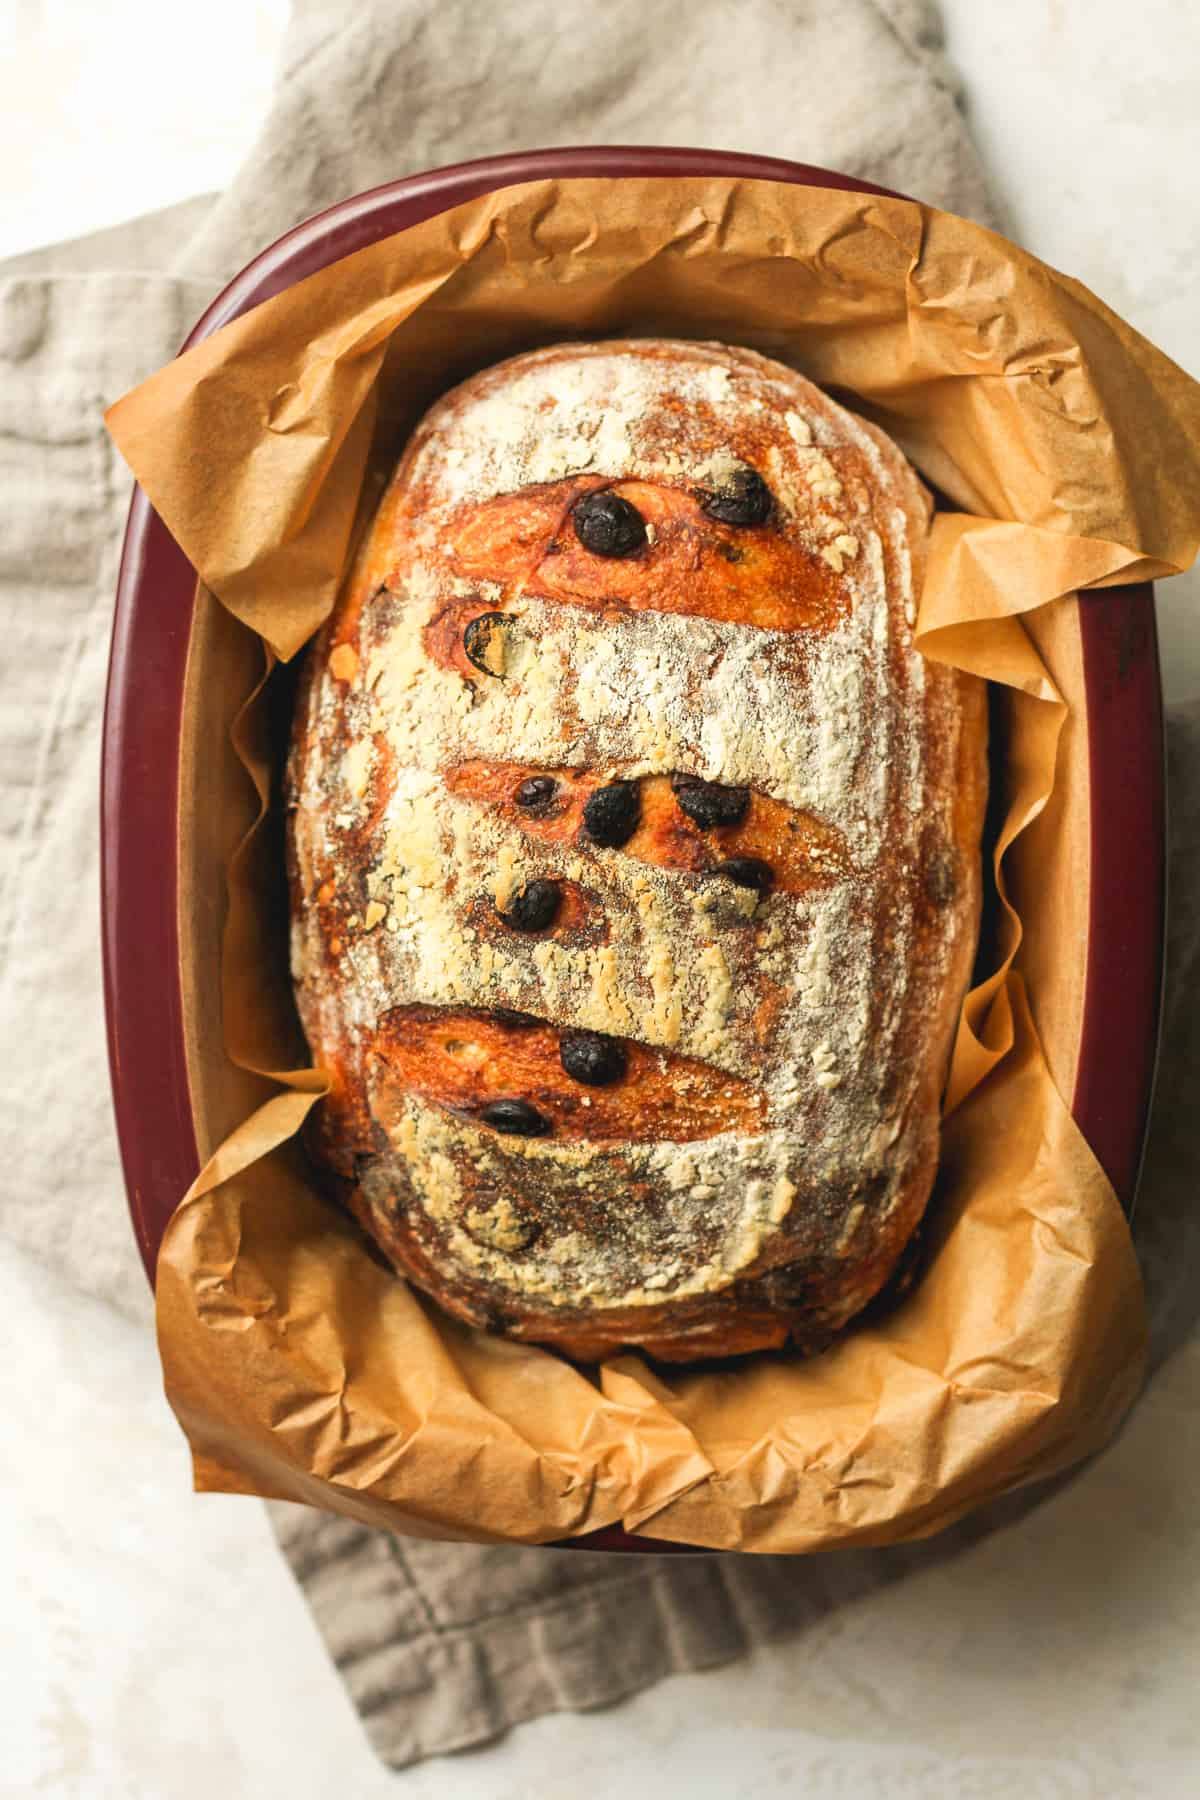
Place the dough, seem side up, in a bowl lined with a towel or a prepared banneton basket (pictured below). Cover with a damp towel and let it sit for about an hour or two. For this bread, it does not need to double again in size. This is the SECOND RISE.
NOTE: For both the bowl or banneton basket, you’ll need to prepare them. For a bowl, add a thin tea towel dusted with rice flour (or regular flour will work in a pinch). For the basket, add some rice flour as well. The rice flour will help prevent sticking while regular flour may not do this as well.
Step 7
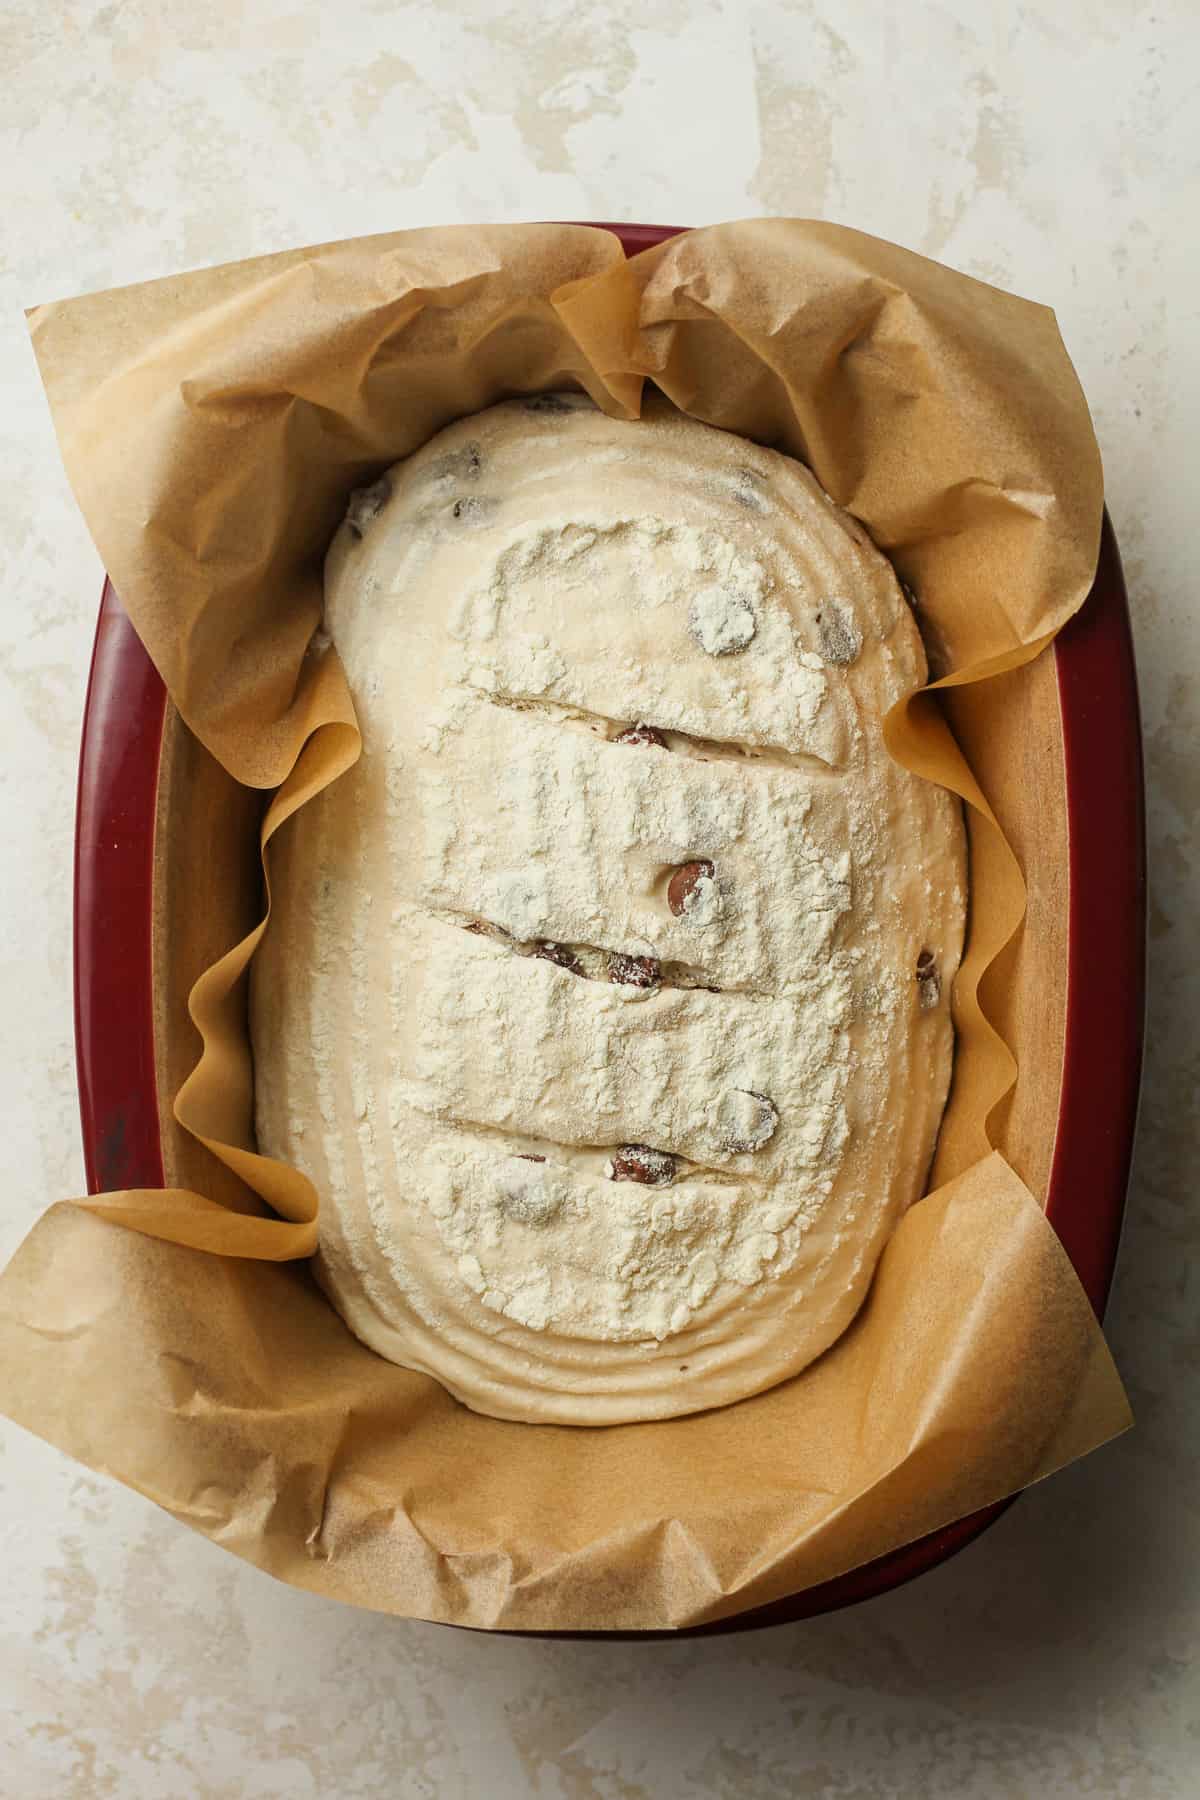
Prepare for baking. Preheat oven to 450 degrees. Carefully remove the loaf to a piece of parchment paper, smooth side up. Then take a serrated edge knife or a bread lame (linked below), and score the bread a couple of times. Place the bread (including parchment paper) into a dutch oven.
Step 8
Bake. Add the lid to the pan and bake for 20 minutes. Then remove the lid and bake an additional 30-35 minutes, or until bread is nice and golden on top and bottom.
Step 9
Cool. Remove pan and then use parchment paper as handles to lift the bread out of the pan. Place on a cooling rack. Let the bread COMPLETELY COOL before slicing.
See my post on how to store sourdough bread for maximum freshness! Let’s not let our hard work go to waste and savor every single morsel of sourdough.
Sourdough 101 FAQs:
- What is sourdough? Sourdough is a slow-fermented bread that doesn’t require store-bought yeast to make it rise. It’s a LIVE fermented culture which creates a natural leavening agent. A starter is required to make sourdough.
- What is a starter? A starter is a live culture made over a series of days, consisting of flour and water. It can be kept alive for years with periodic feeding.
- How do you make a starter? A starter can be created in less than a week with a simple combo of unbleached flour and filtered water. It’s a process of removing half of the starter and then “feeding” it every day, storing in a jar on your countertop, and getting it to a bubbly, sour point where it floats in water. More on this later.
- Is sourdough bread healthy? Sourdough bread is NOT gluten-free, as it contains flour, but its long fermentation helps break down this gluten. It’s easier on the gut because it’s more digestible and easier for the body to absorb. It’s also DELISH!
How we enjoy our chocolate sourdough:
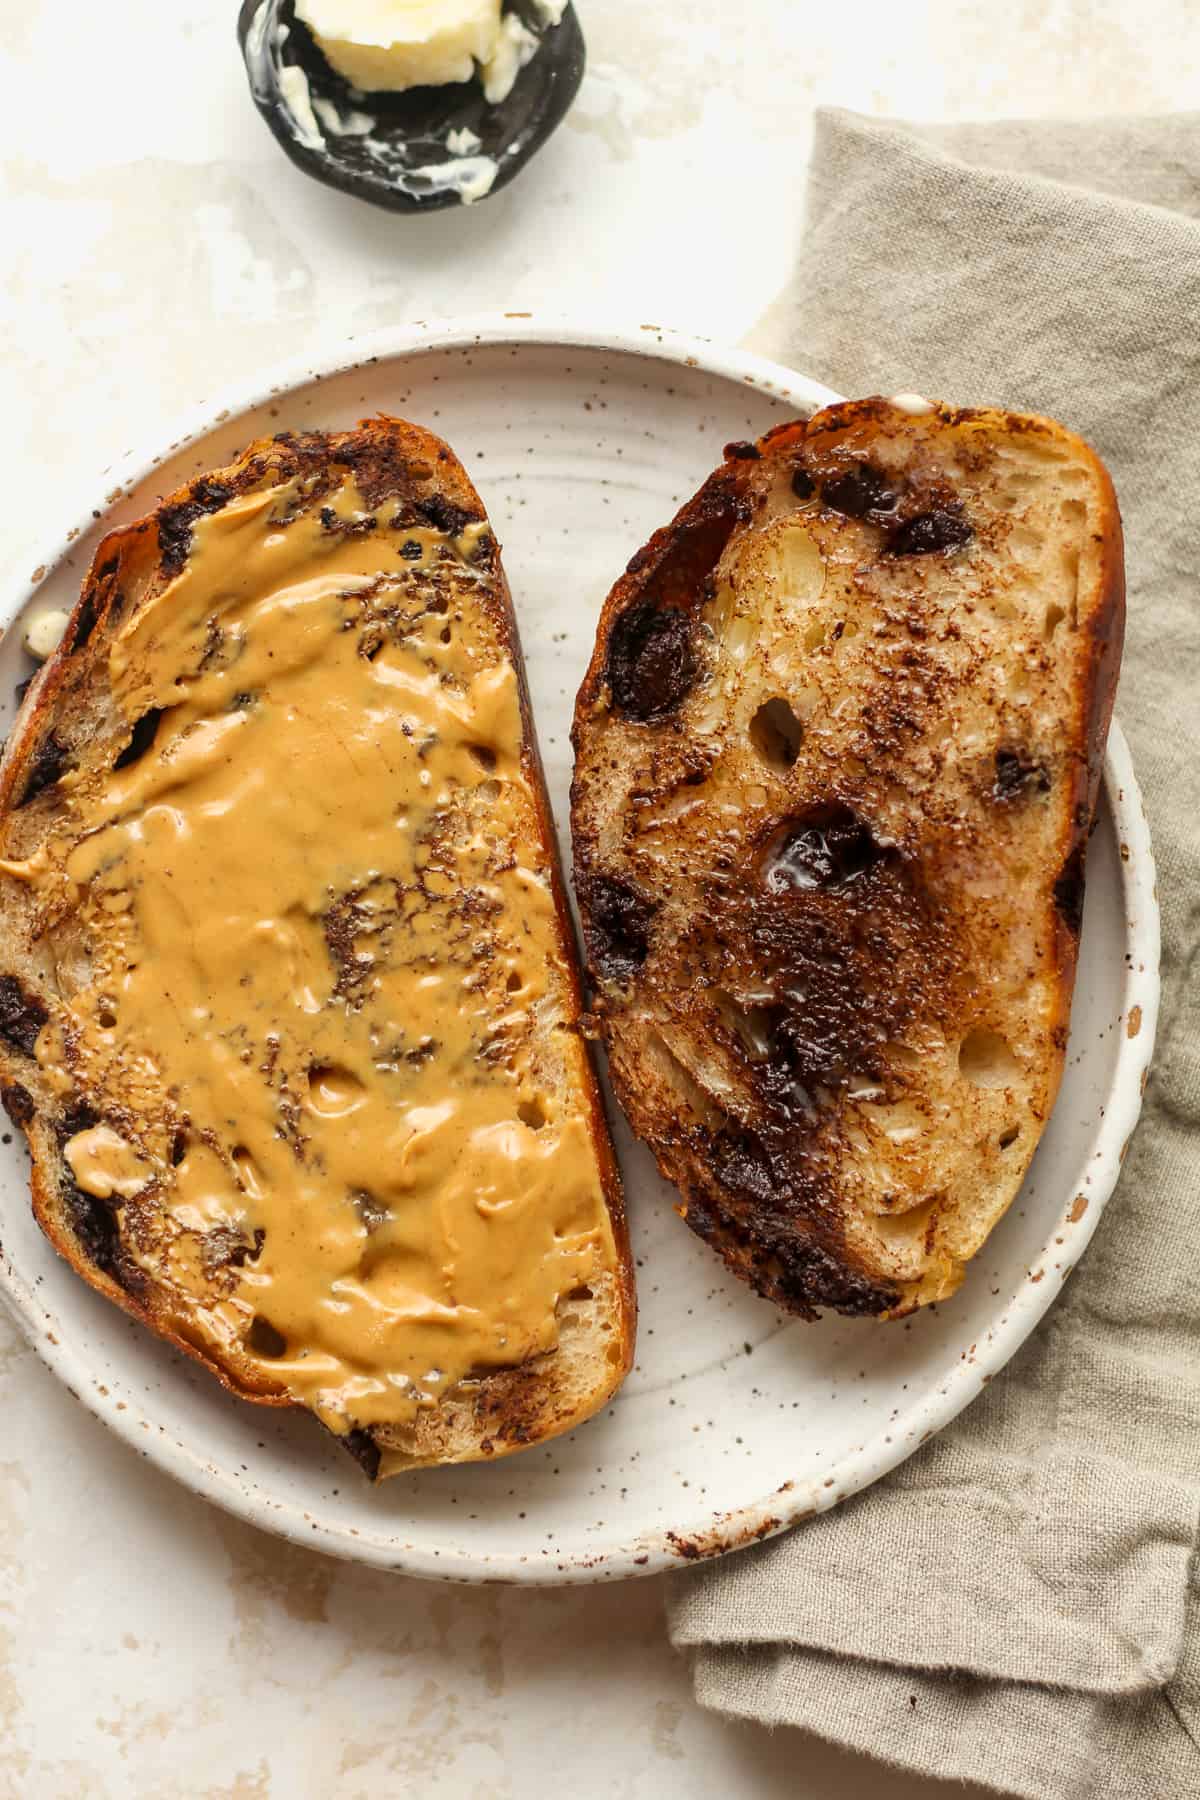
- Toast it and add a slathering of butter and/or peanut butter (pictured below).
- Make a panini with peanut butter and banana slices.
- Use it as a base for French Toast.
- Toast it and add butter, cinnamon and sugar.
Don’t toss your sourdough discard—it’s packed with flavor and can add a tangy depth to so many recipes. Use it in our Sourdough Discard Crackers, pancakes, muffins, pizza, and more! Not only does it cut down on waste, but it also makes everyday favorites even more delicious.
Other Delicious Sourdough Recipes:
xoxo ~Sue
Chocolate Sourdough Bread
Ingredients
- 75 grams bubbly, active sourdough starter
- 375 grams warm filtered water
- 500 grams bread flour
- 10 grams fine sea salt
- 160 grams dark chocolate chips
Instructions
- ** READ the entire blog post with photos before making this recipe!
- Carefully measure out the water and sourdough starter in a mixing bowl, and stir well with a fork. Add the flour and sea salt, and stir again.75 grams bubbly, active sourdough starter, 375 grams warm filtered water, 500 grams bread flour, 10 grams fine sea salt
- Then use your hands to bring the ingredients together. It will look shaggy. Cover with a damp towel and let it sit for 45 minutes. (Be sure to set a timer.) This is the AUTOLYSE.
- After 45 minutes, add the chocolate chips. Then start the stretch and folds. Use your hand and lift the dough up on one side, stretching it upward, and then punch into the center of the dough. Turn the dough and repeat. Continue this process for about 30 seconds. This is the STRETCH AND FOLDS.160 grams dark chocolate chips
- You’ll want to try to get most of the chocolate chips in the center of the dough during this process. Form the dough into a smooth’ish ball, and place towel back in the bowl.
- ADDITIONAL STRETCH AND FOLDS: I recommend doing additional stretch and folds if time permits. Do these every 30 minutes for 3-4 more times to further develop the gluten structure.
- Let the dough rise for 6-8 hours, or overnight. It should almost double in size and appear soft on top. Small air bubbles may appear as well. This is the BULK RISE.
- Note: I recommend placing a damp towel on the dough for the overnight rise. You might also add a bit of oil to the top to keep a crust from forming on the dough overnight.
- Add a light dusting of flour to a baking mat or clean surface. Remove the dough to the mat and gently form into your desired shape, usually round or oblong. Don’t punch the dough down because you don’t want to remove all the air. Let dough sit for five minutes.
- After five minutes, use your hands to pull the dough toward you, dragging it along the mat to tighten it up. Repeat in the other directions to tighten. (Make sure you don’t have too much flour on the surface when tightening the dough, so there is some needed friction necessary to tighten it.)
- Place the dough, seem side up, in a bowl lined with a towel or a prepared banneton basket (pictured below). Cover with a damp towel and let it sit for about an hour or two. For this bread, it does not need to double again in size. This is the SECOND RISE.
- NOTE: For both the bowl or banneton basket, you’ll need to prepare them. For a bowl, add a thin tea towel dusted with rice flour (or regular flour will work in a pinch). For the basket, add some rice flour as well. The rice flour will help prevent sticking while regular flour may not do this as well.
- Prepare for baking. Preheat oven to 450 degrees. Carefully remove the loaf to a piece of parchment paper, smooth side up. Then take a serrated edge knife or a bread lame (linked below), and score the bread a couple of times. Place the bread (including parchment paper) into a dutch oven.
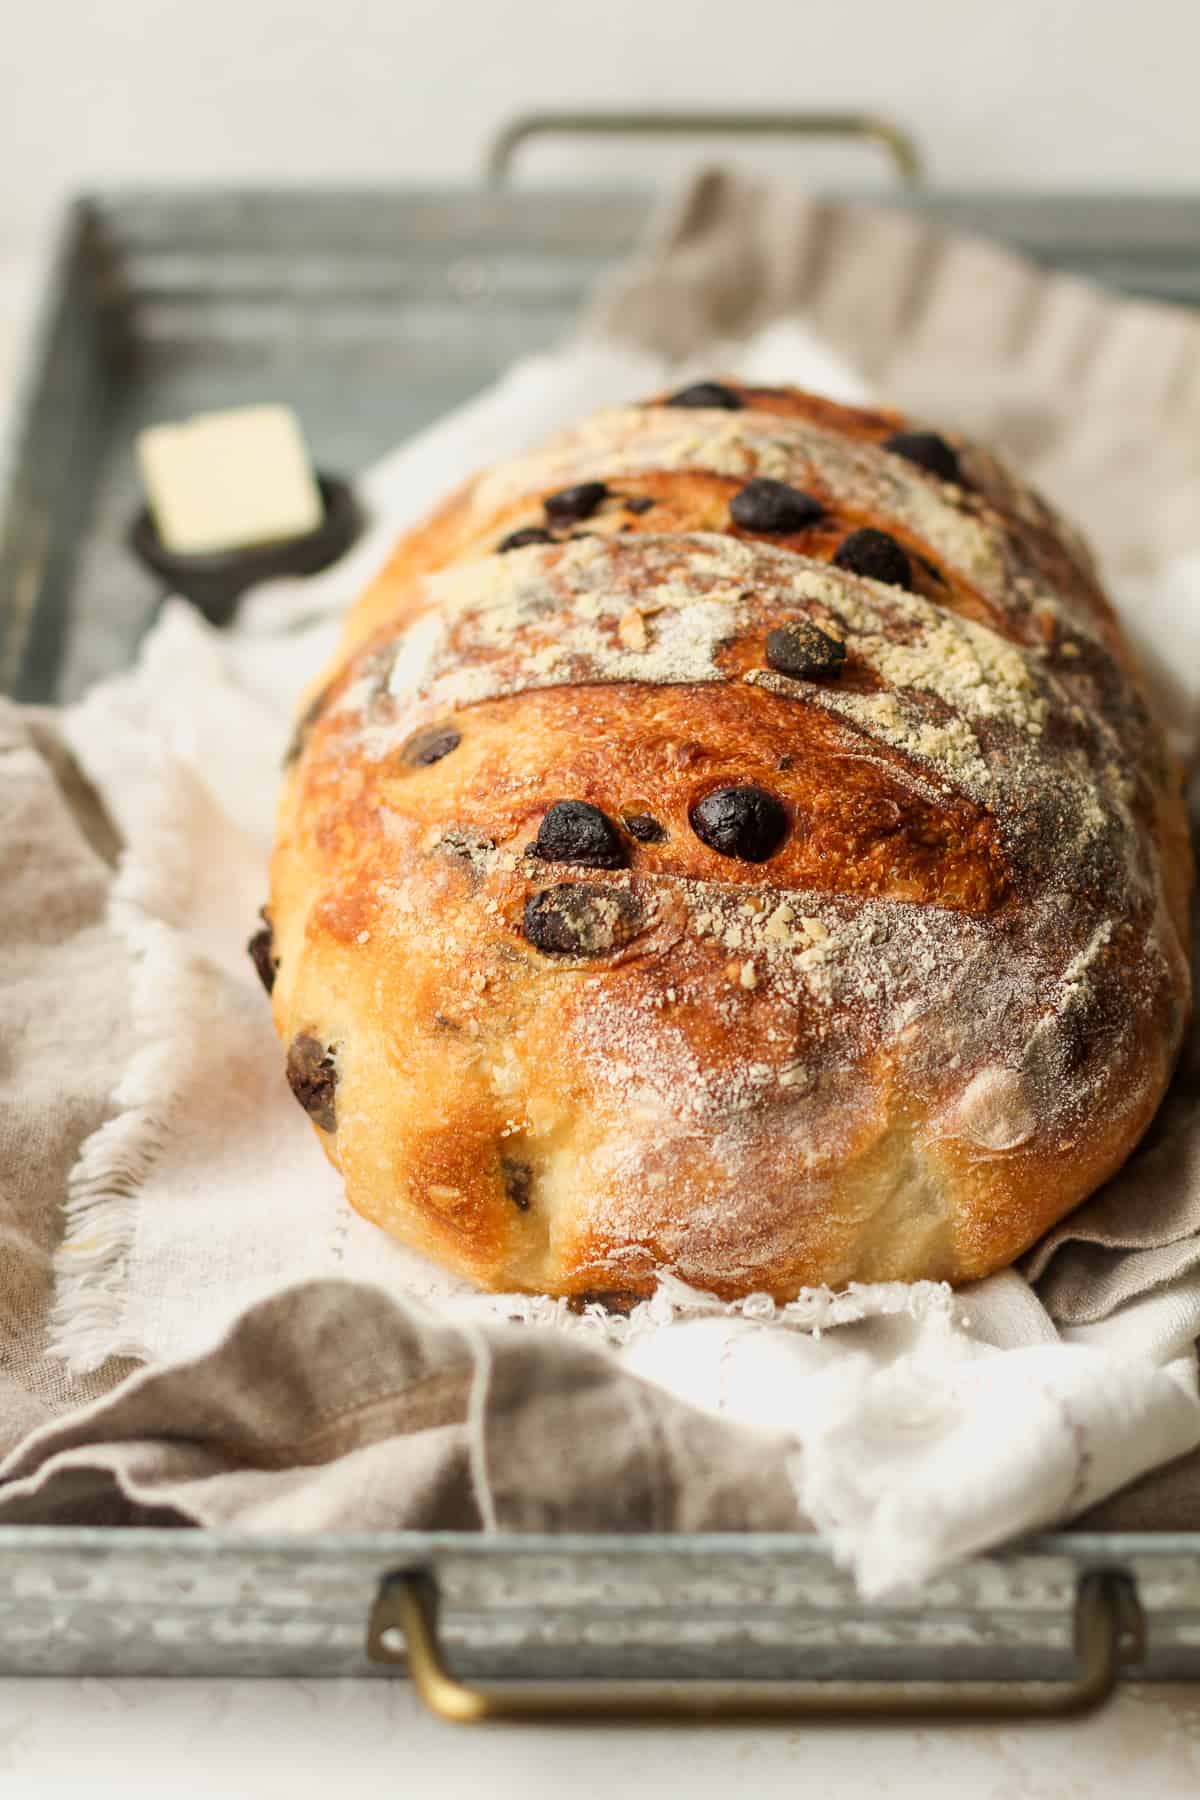
- Bake. Add the lid to the pan and bake for 20 minutes. Then remove the lid and bake an additional 30-35 minutes, or until bread is nice and golden on top and bottom.
- Cool. Remove pan and then use parchment paper as handles to lift the bread out of the pan. Place on a cooling rack. Let the bread COMPLETELY COOL before slicing.
Notes
How we enjoy our chocolate sourdough:
- Toast it and add a slathering of butter and/or peanut butter (pictured below).
- Make a panini with peanut butter and banana slices.
- Use it as a base for French Toast.
- Toast it and add butter, cinnamon and sugar.
Just made this recipe and oh my goodness! It is simply outstanding!
Thank you for the detailing instructions as well.
I love to hear this Valentina! Thank you!
This is amazing and so simple. I’ve made the chocolate chip loaf several times for my family now. It tastes similar to a Panera Bread Bagel. 🤤
Hi Maria! Thanks so much for letting me know! I love it!
Do you need to leave it in the fridge for the bulk ferment?
No, you can leave it on the counter for the bulk rise.
If i want to refrigerate it first to bake the next day do I do it during BULK RISE or SECOND RISE?
Refrigerate it during the bulk rise. Good luck!
Just made this and the cranberry walnut. My kitchen smells wonderful. However I have 2 oversized pancakes (I exaggerate a little, but each loaf is no taller than 2 inches tall). Not sure how to tell if I’m overproofing or underproofing. Will try again another day.
Hello RaeAnn. That is odd, but sourdough can be a little finicky, especially if your starter isn’t popping. Try again and let me know, please!
I think you should put the Dutch oven pot into the oven while it’s preheating so that the Dutch oven is also to temperature.
I love this recipe and Sourdough Bread…. you cannot have enough options! The french toast tip is legit!
AMEN!