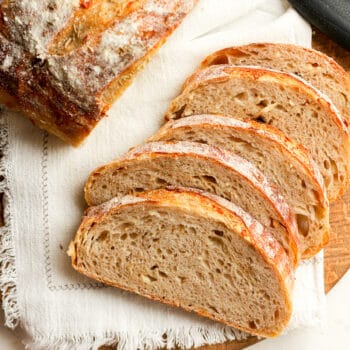
Garlic Sourdough Bread
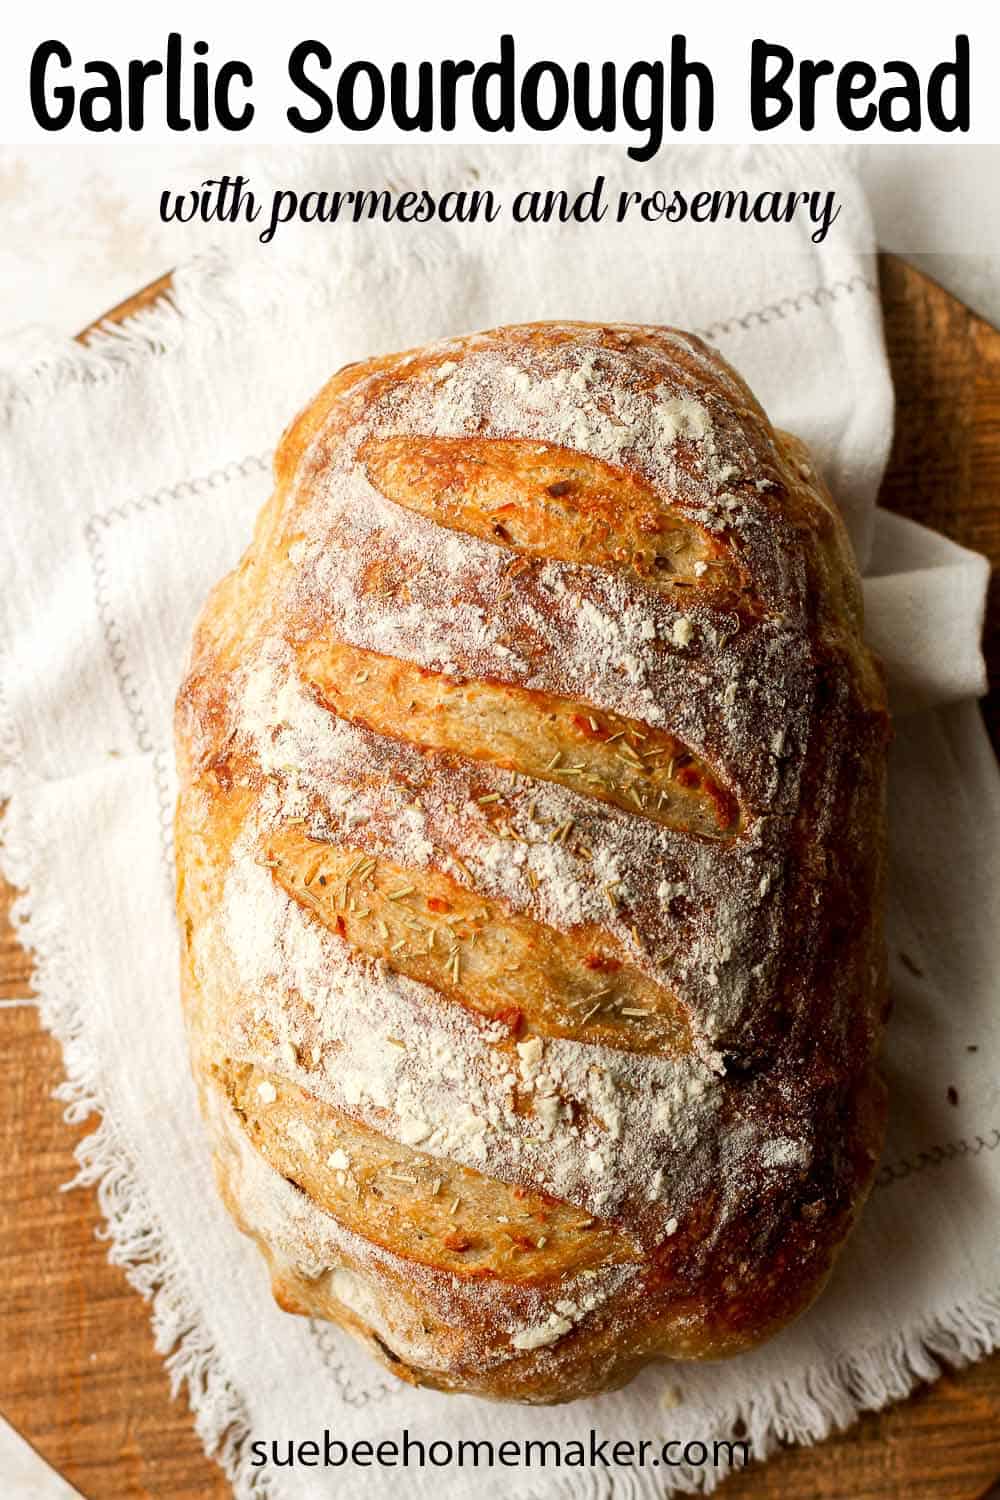
Garlic Sourdough Bread combines roasted garlic and freshly shredded parmesan with a delicious sourdough base. This savory bread also includes dried rosemary which packs an extra punch of flavor. Use this delicious bread to make avocado toast and the tastiest paninis!
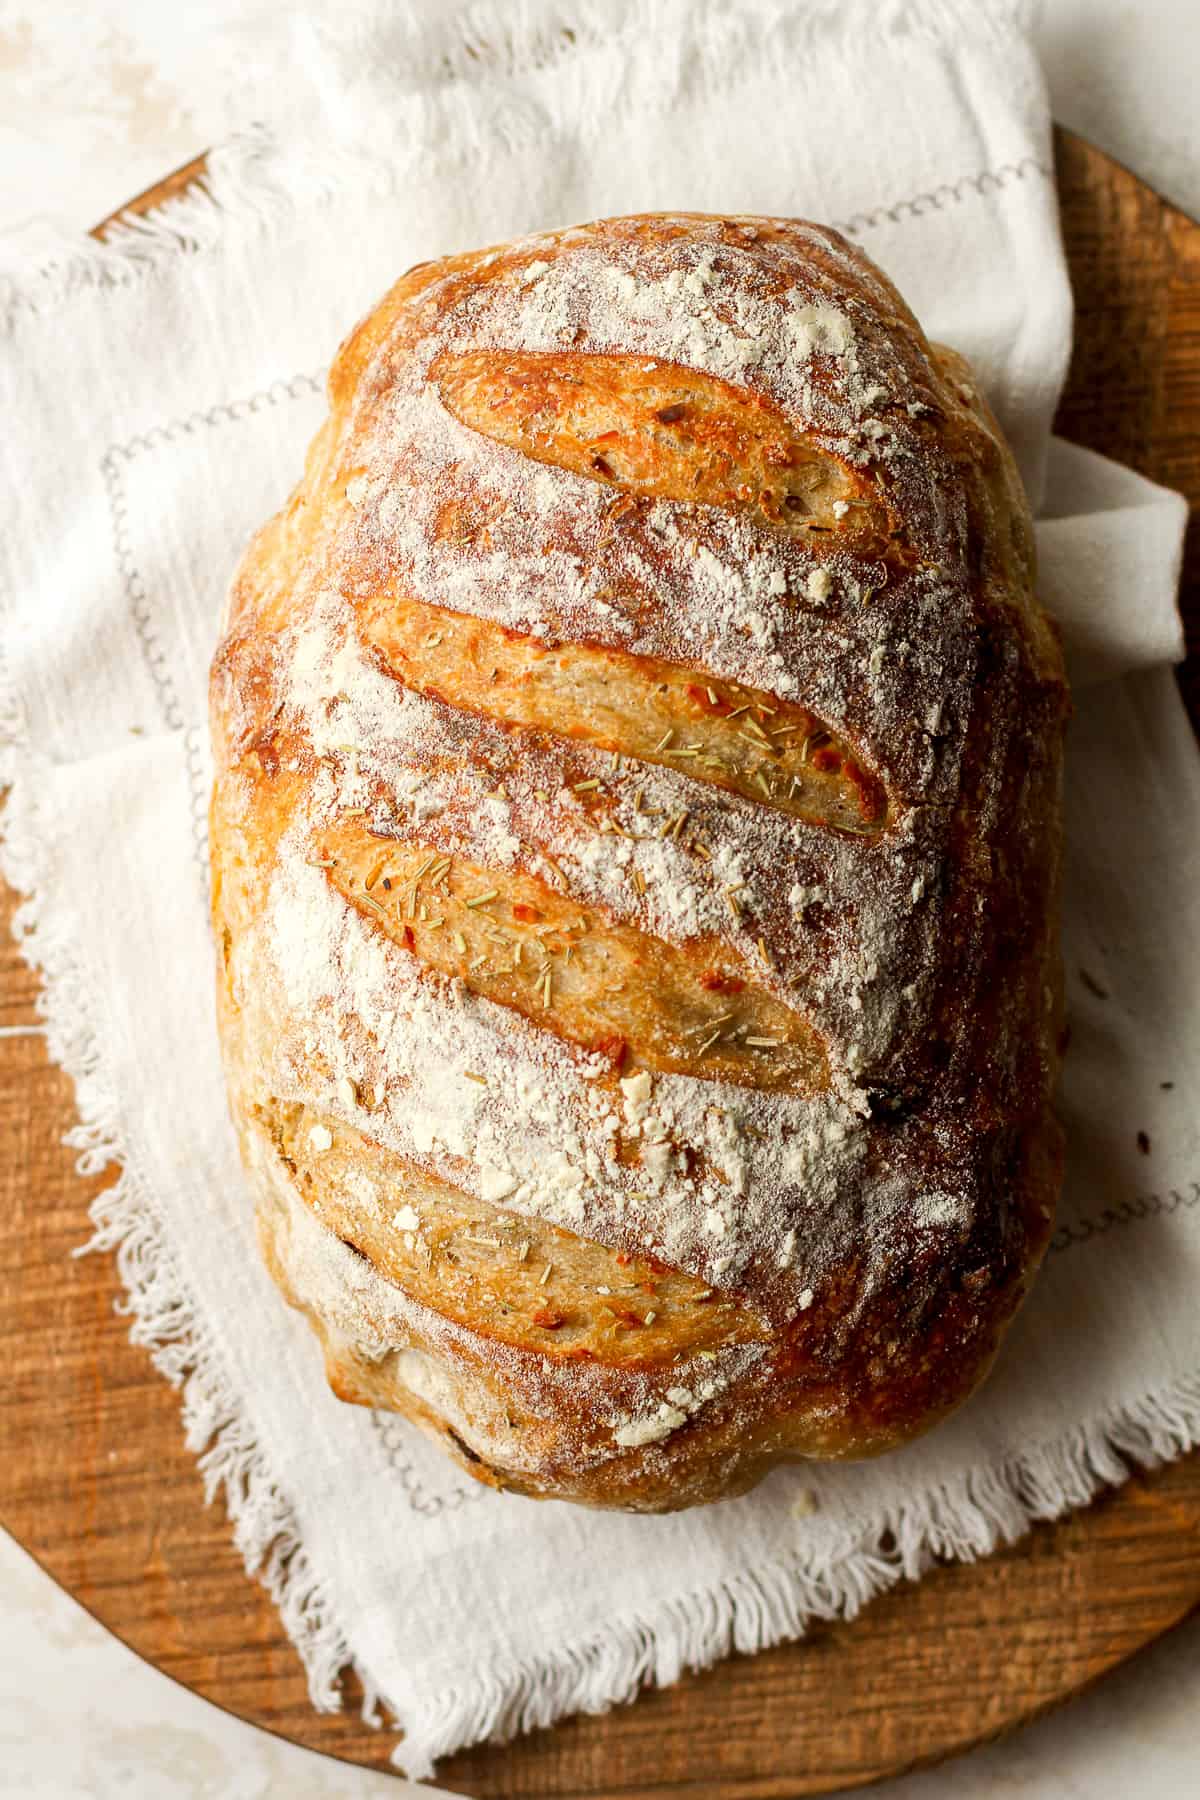
Roasted Garlic Sourdough
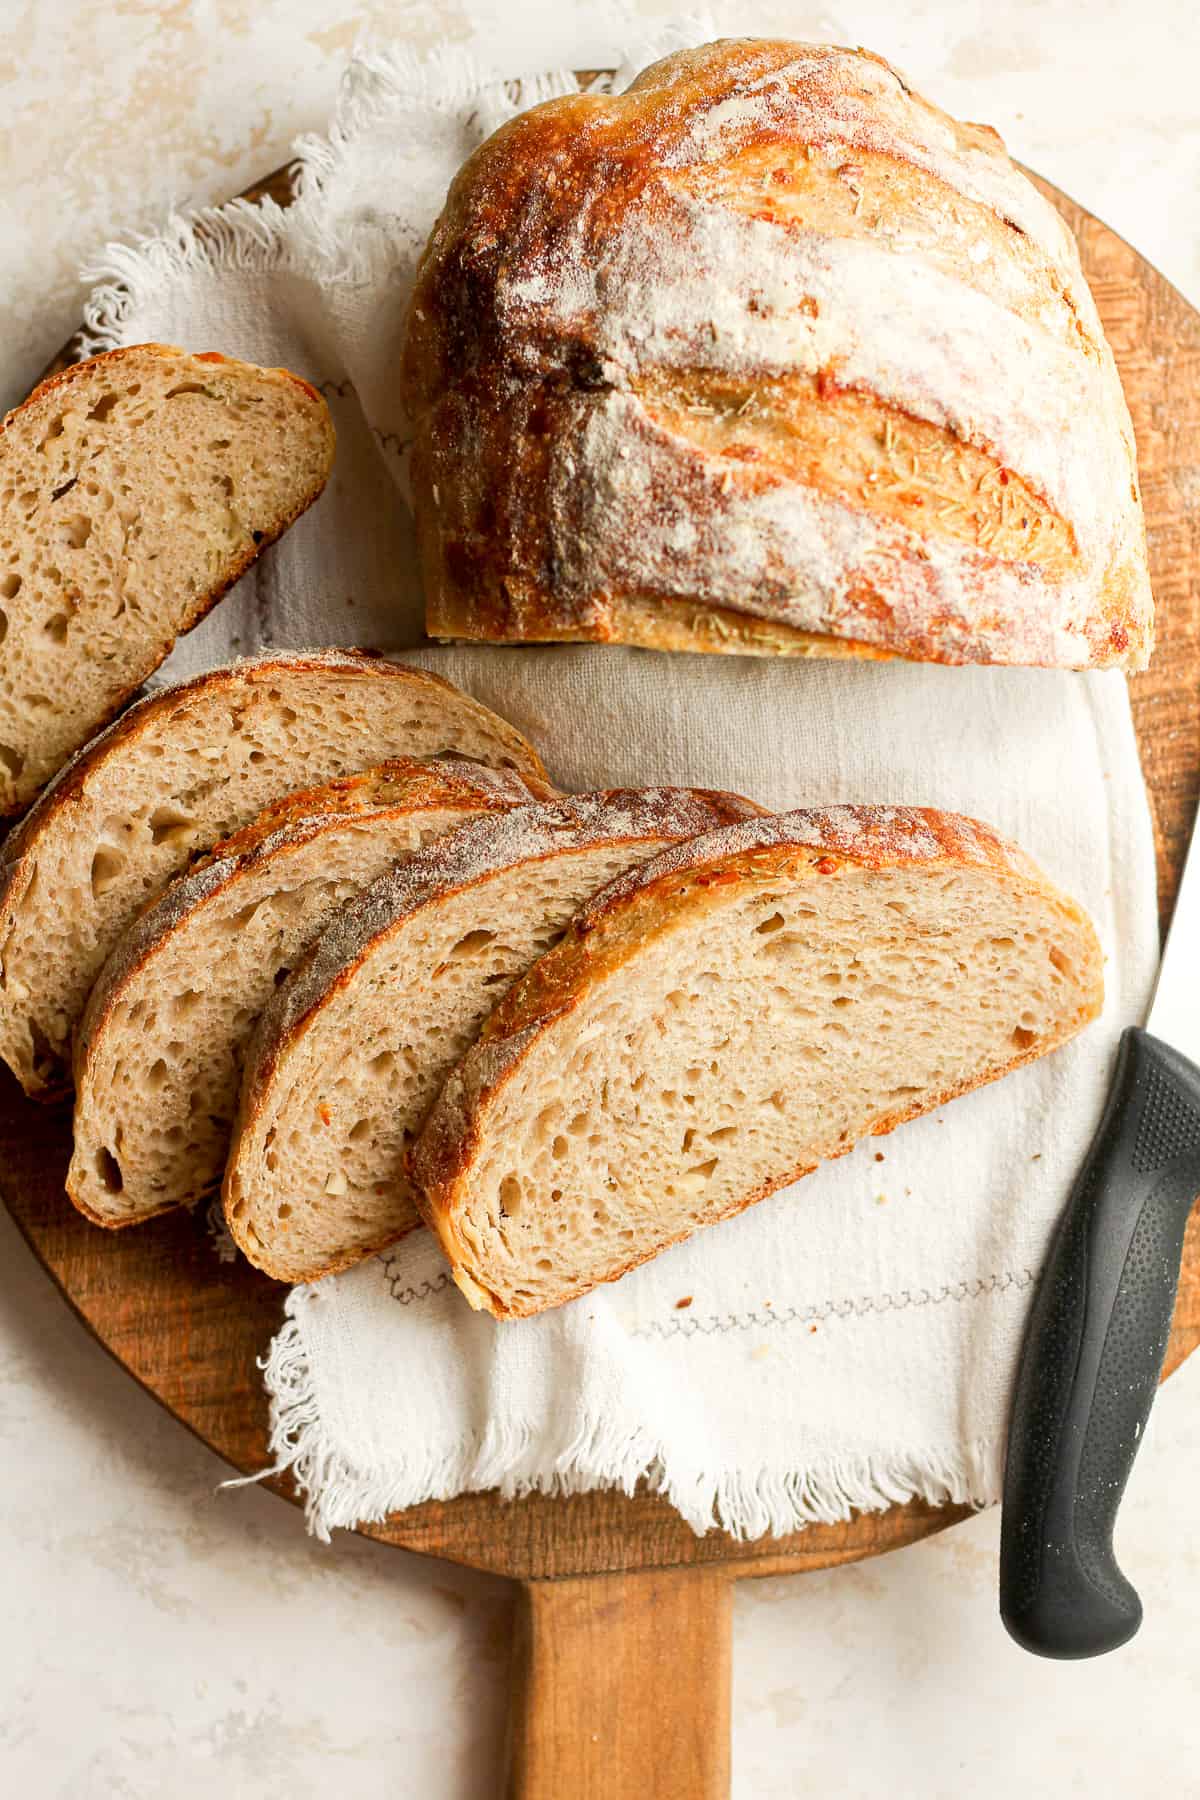
There is nothing better than a crusty loaf of sourdough bread. The best part is the smells coming from the oven and the worst part is waiting until the bread cools before slicing it!
Over the past couple of years, I’ve made numerous loafs of bread with the majority being sourdough. I’m slowly fine-tuning the art of the perfect loaf and it’s been so much fun continuing to learn about this process.
Why This Recipe Works:
- It’s simple. As mentioned, this recipe has only five base ingredients plus three add-ins.
- Gut healthy. Sourdough is a gut-healthy bread. Sourdough bread is NOT gluten-free, as it contains flour, but its long fermentation helps break down this gluten. It’s easier on the gut because it’s more digestible and easier for the body to absorb.
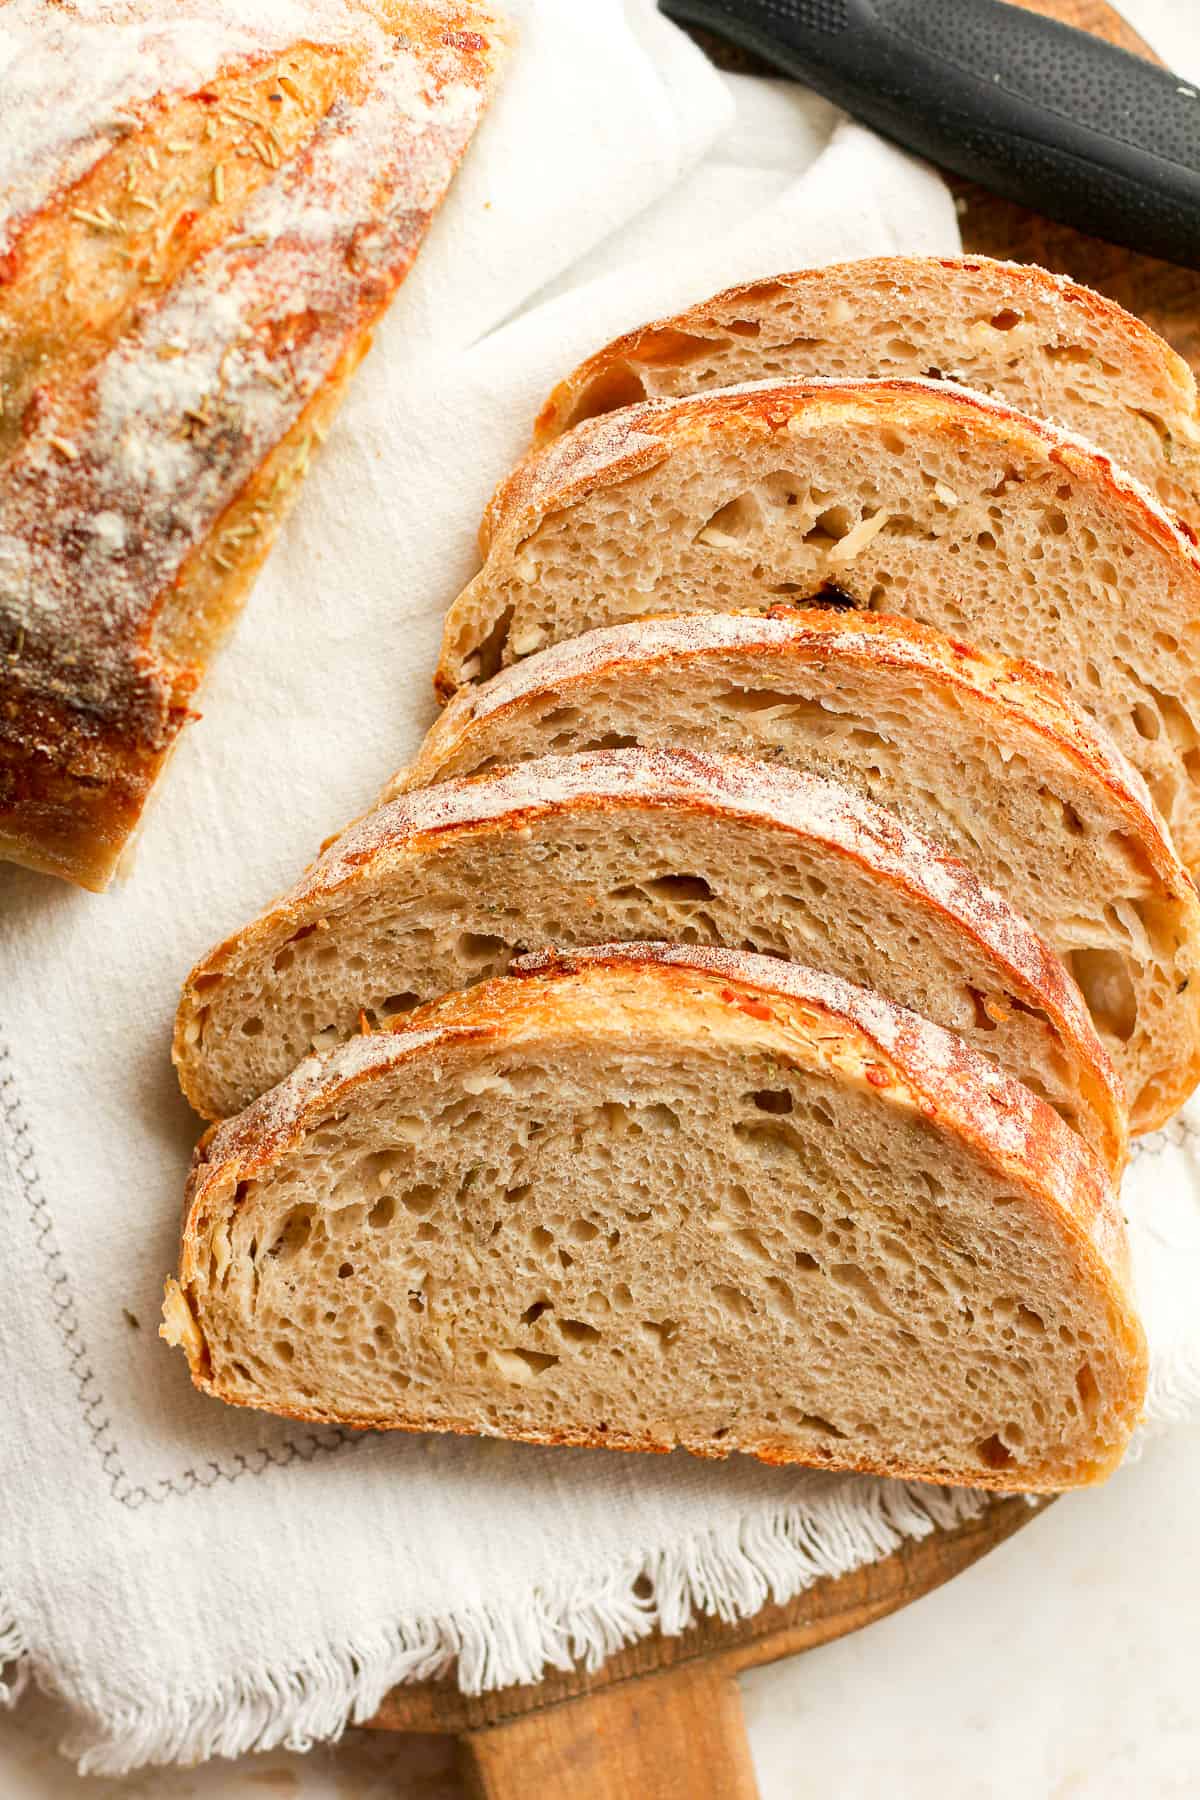
- Higher Hydration. This recipe is 70% hydration which means it’s softer and has a more open crumb. You’ll see more “holes” in this bread due to a higher water-to-flour ratio.
- Delicious! We love the strong flavor of the roasted garlic and the salty parmesan cheese!

Make your own sourdough starter at home with just a few simple ingredients using Sourdough Starter Basics. In just over a week’s time and a little bit of patience, you’ll be ready to use your active starter to make the best sourdough bread!
Ingredients Used:
Only four base ingredients plus three bonus ingredients (garlic, parmesan, and rosemary!) are required for this delicious bread! I use a combo of two types of flour for this recipe as well.
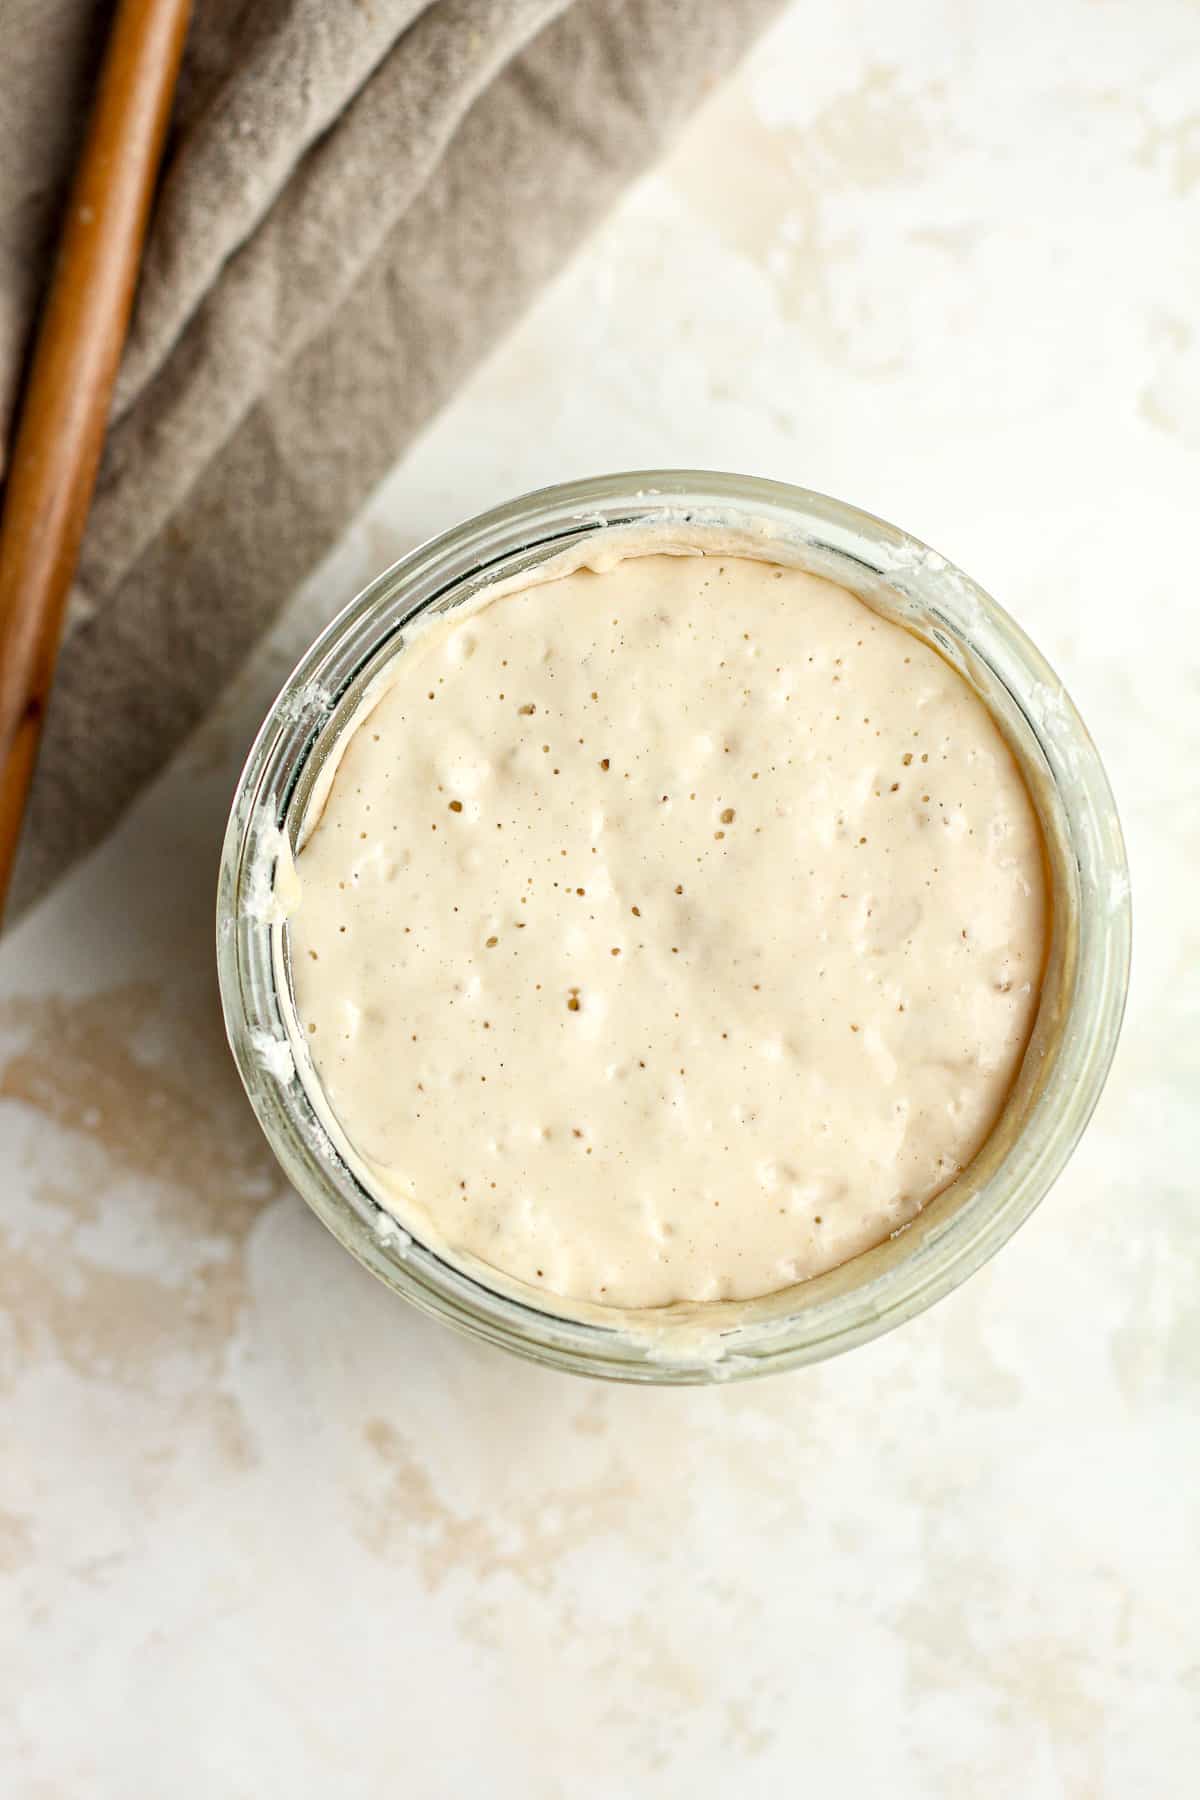
- Bubbly Starter – The starter is THE most important part of sourdough bread making. It takes a little time, but you will be rewarded over and over again.
- Filtered Water – Use filtered water, either out of your refrigerator filter system or use bottled water. The water should either be at room temperature or slightly warmed before adding it to the sourdough process.
- Flour – For this recipe, use a combo of unbleached bread flour and whole wheat flour. Organic is normally unbleached, btw.
- Sea Salt – I recommend using fine sea salt.
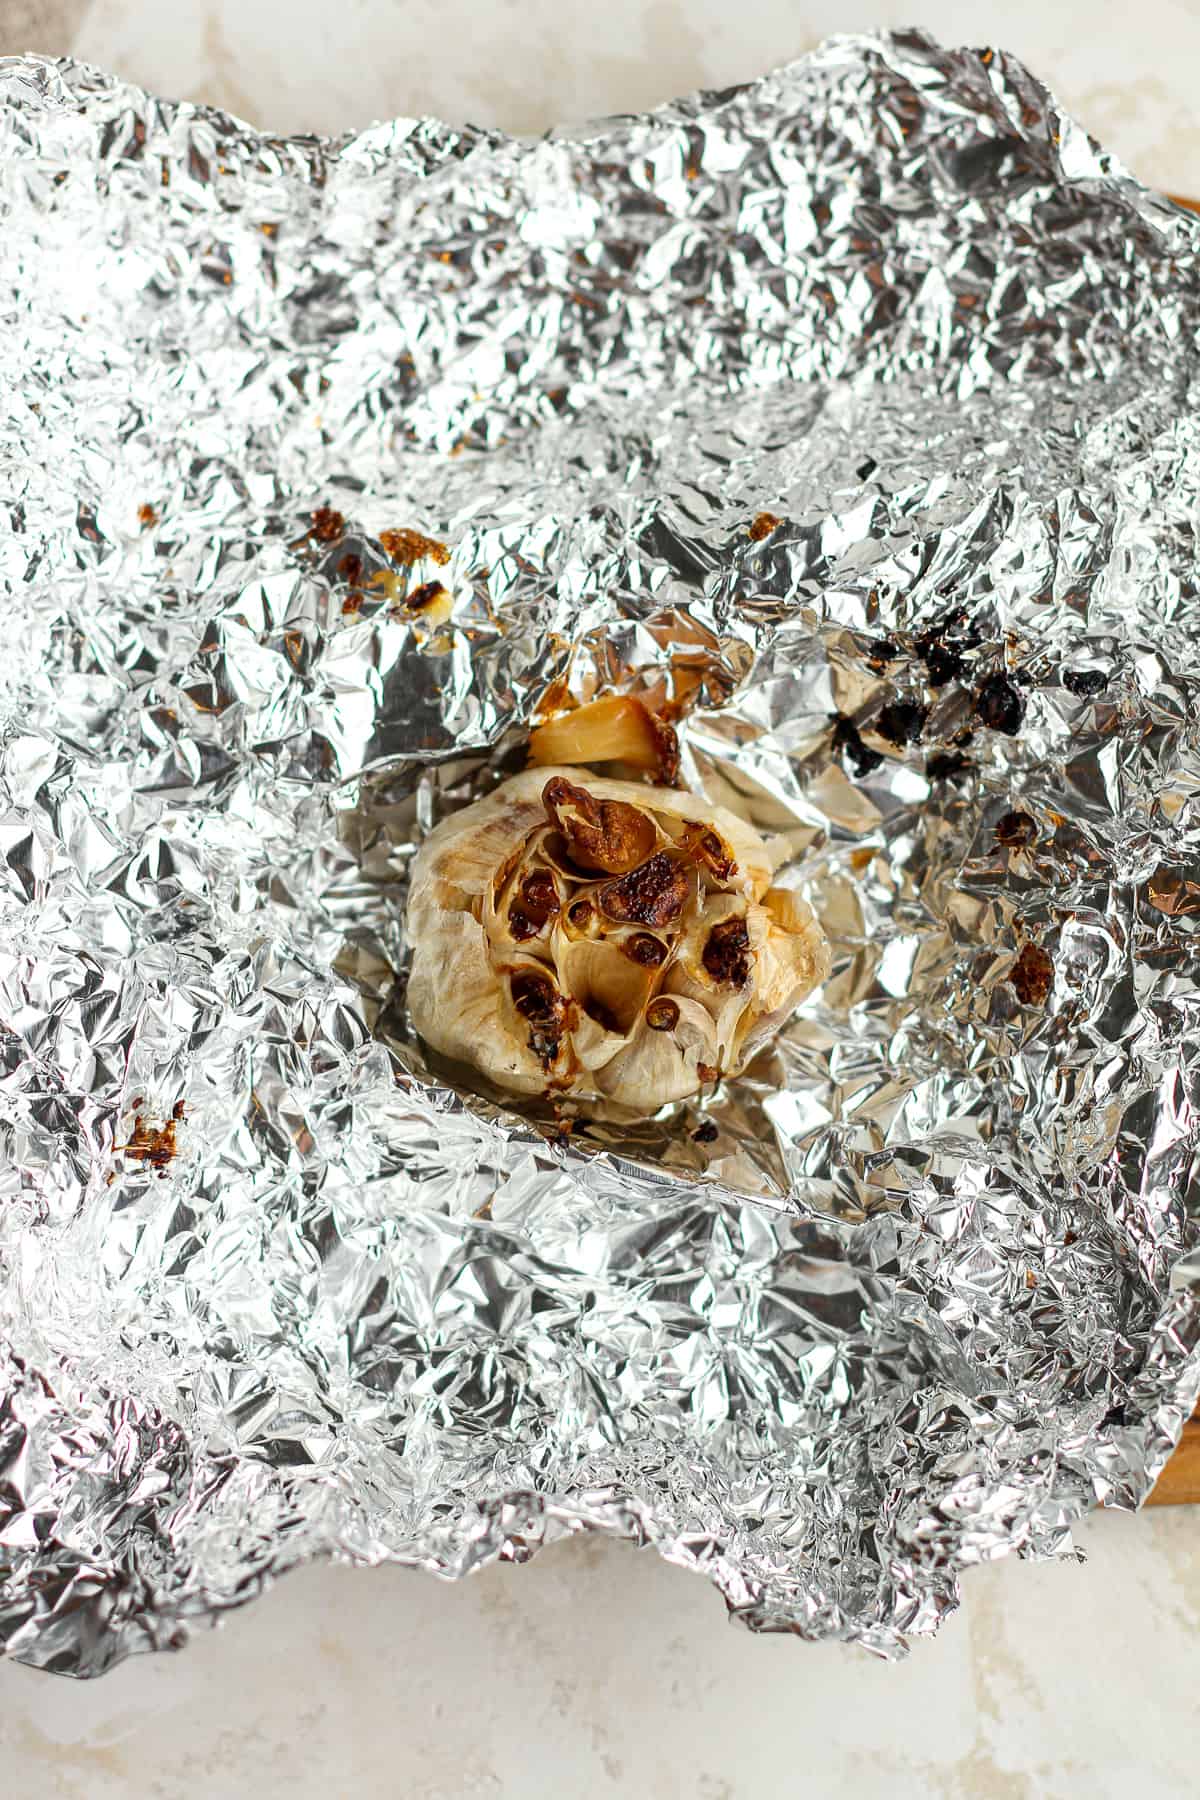
- Garlic – Roast two whole heads of garlic and then squeeze out the insides.
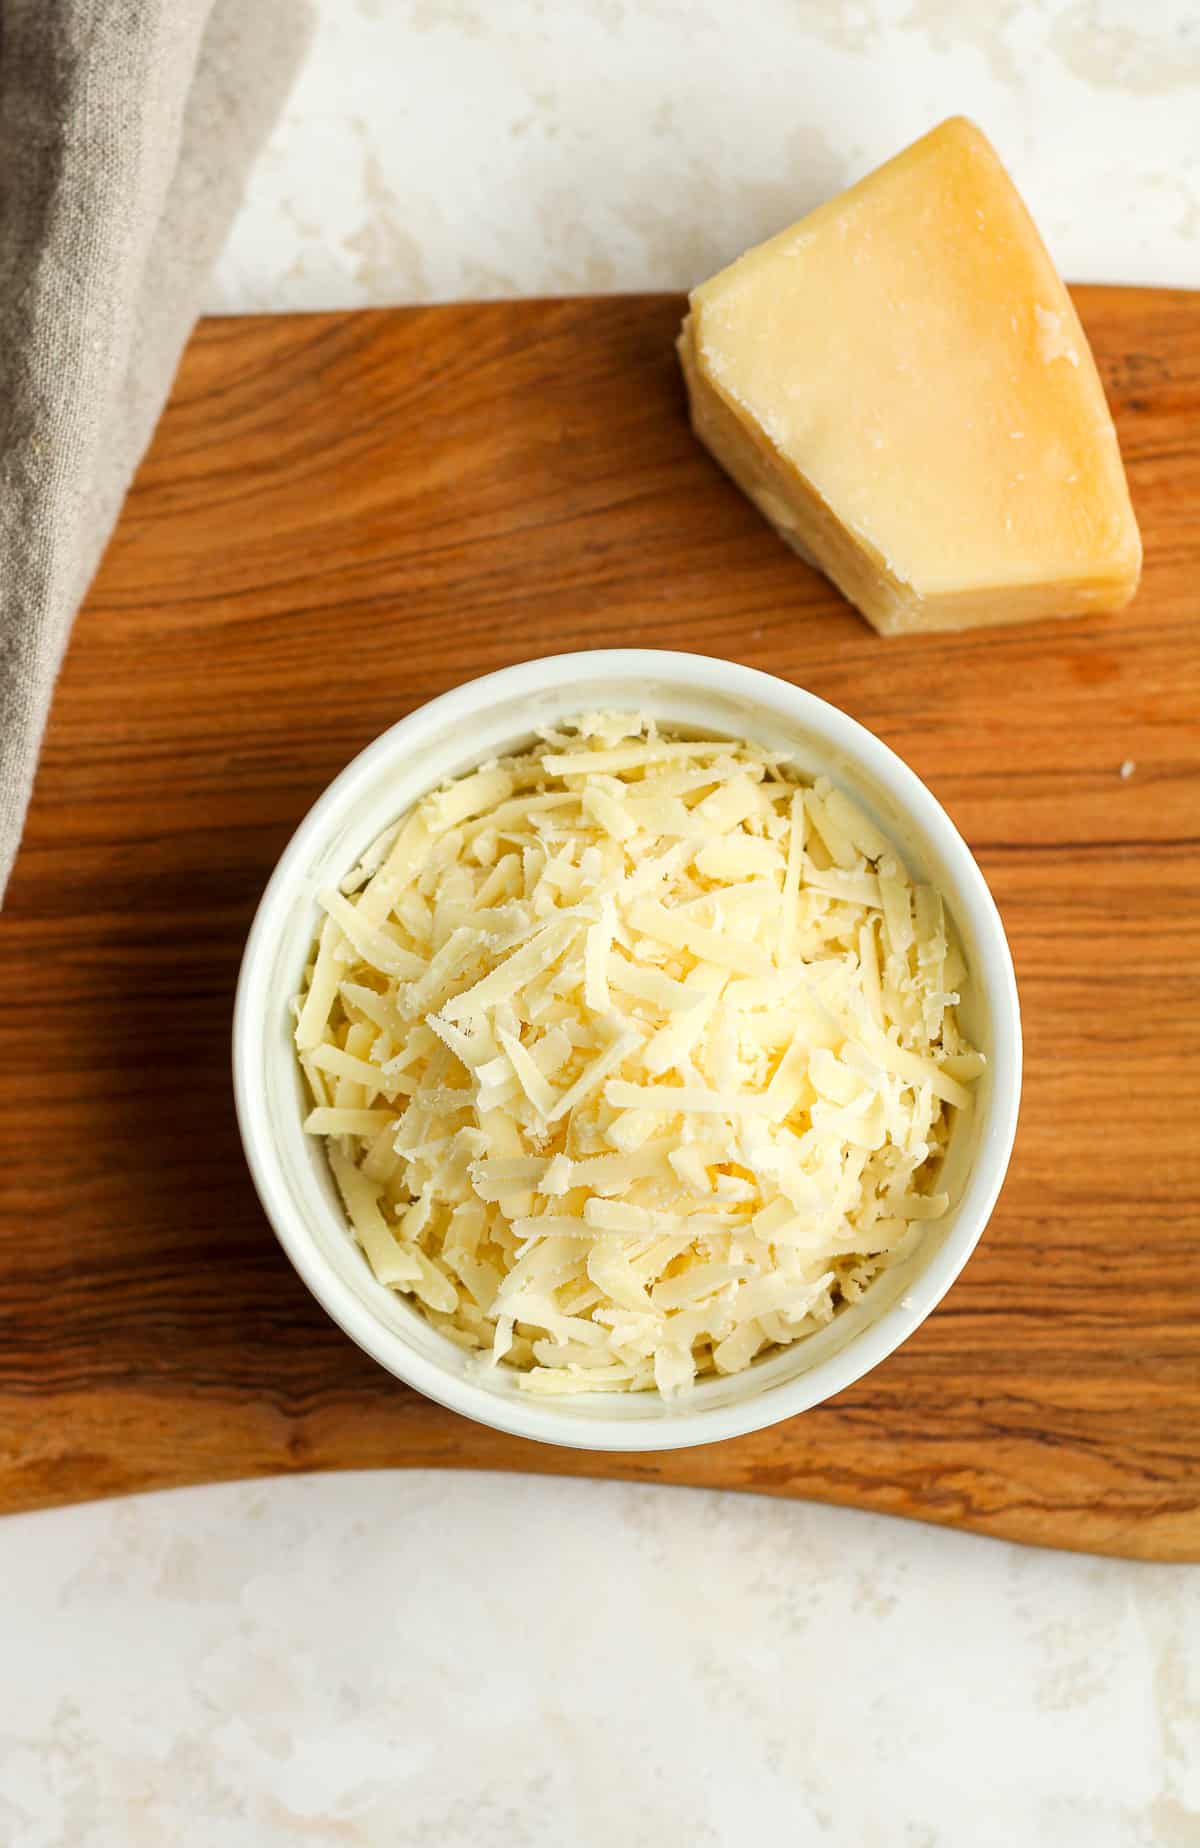
- Parmesan – Make sure you use a wedge of parmesan and shred it or cut into small cubes.
- Rosemary – One to two teaspoons of rosemary adds incredible flavor to this sourdough recipe. I also added a little bit to the top before baking.
How to prepare the starter for baking:
First of all, consider this:
- If your starter is rather large and you’ll know you have enough to bake with, then carry on. No need to adjust.
- If your starter is rather small, you’ll need to bulk it up so that you have enough to bake with and some to keep. (Because my rule of thumb is to NEVER RUN OUT OF STARTER!)
THEN:
- Feed the starter as normal up to the day before you bake, generally speaking.
- Adjust the starter the day before you bake OR the day you bake.
- If you need 75 grams of starter in your recipe, you’ll want to have roughly 100 grams of starter at the ready. Some to use and some to keep.
- So if you only have about 50 grams of starter and then 25 grams after discard, add 40 grams of water and 40 grams of flour to your starter to bulk it up for one loaf of garlic sourdough.
NOTE: I normally make two loaves of sourdough at a time which means I need 150 grams of bubbly starter plus some to keep for later. Remember – NEVER RUN OUT OF STARTER!
How to make Garlic Sourdough Bread:
Step 1
Roast the garlic. Chop off the tops of two heads of garlic. Add them to some foil and drizzle the tops with olive oil. Wrap them up tightly and roast in a preheated 400-degree oven until the garlic is soft, about 50 minutes or more. Remove and cool slightly. Then squeeze out the insides to use for the bread.
Step 2
Shred parmesan. Use a wedge of parmesan and shred. You can also use a knife to chop into small cubes.
Step 3
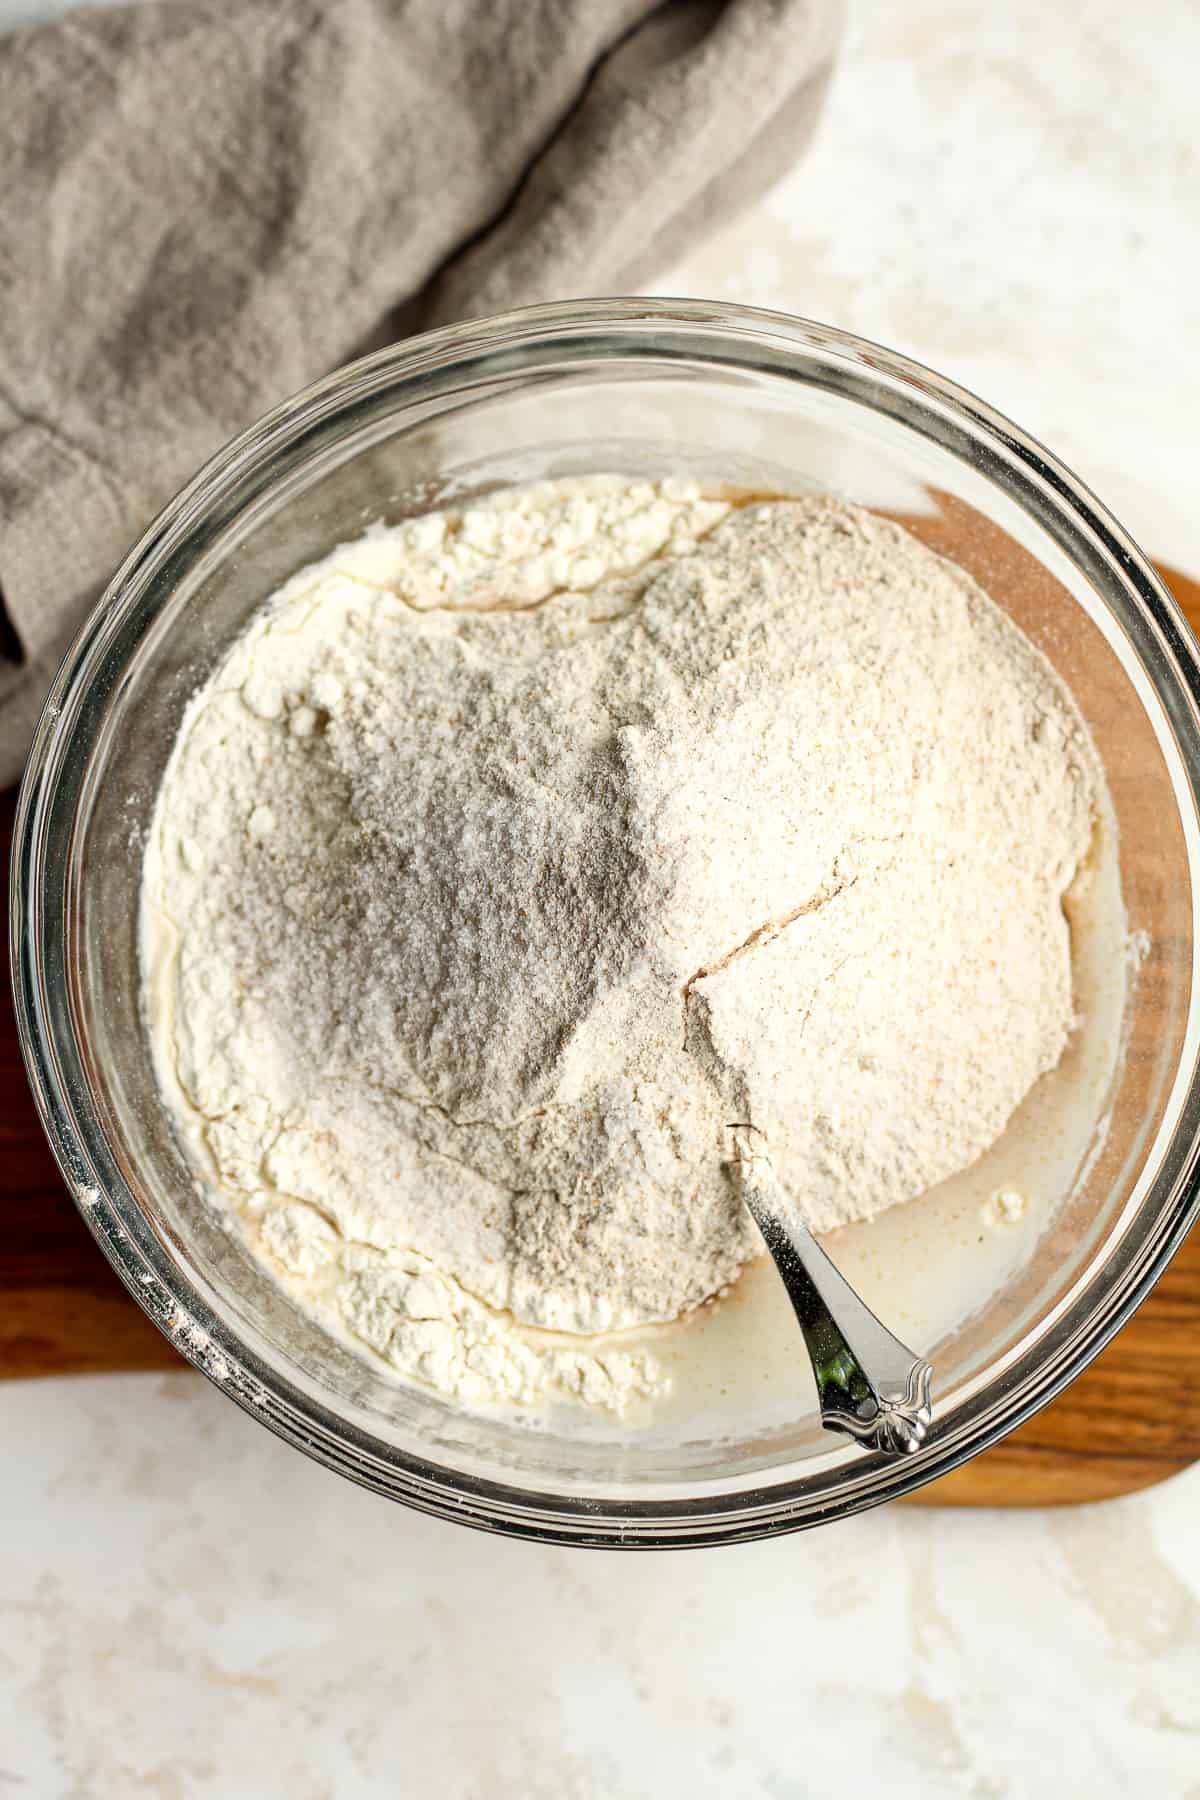
Carefully measure out the water and sourdough starter in a mixing bowl, and stir well with a fork. Add the flour and salt, and stir again.
Step 4
Then use your hands to bring the ingredients together. It will look shaggy. Cover with a damp towel and let it sit for 45 minutes. (Be sure to set a timer.) This is the AUTOLYSE.
Step 5
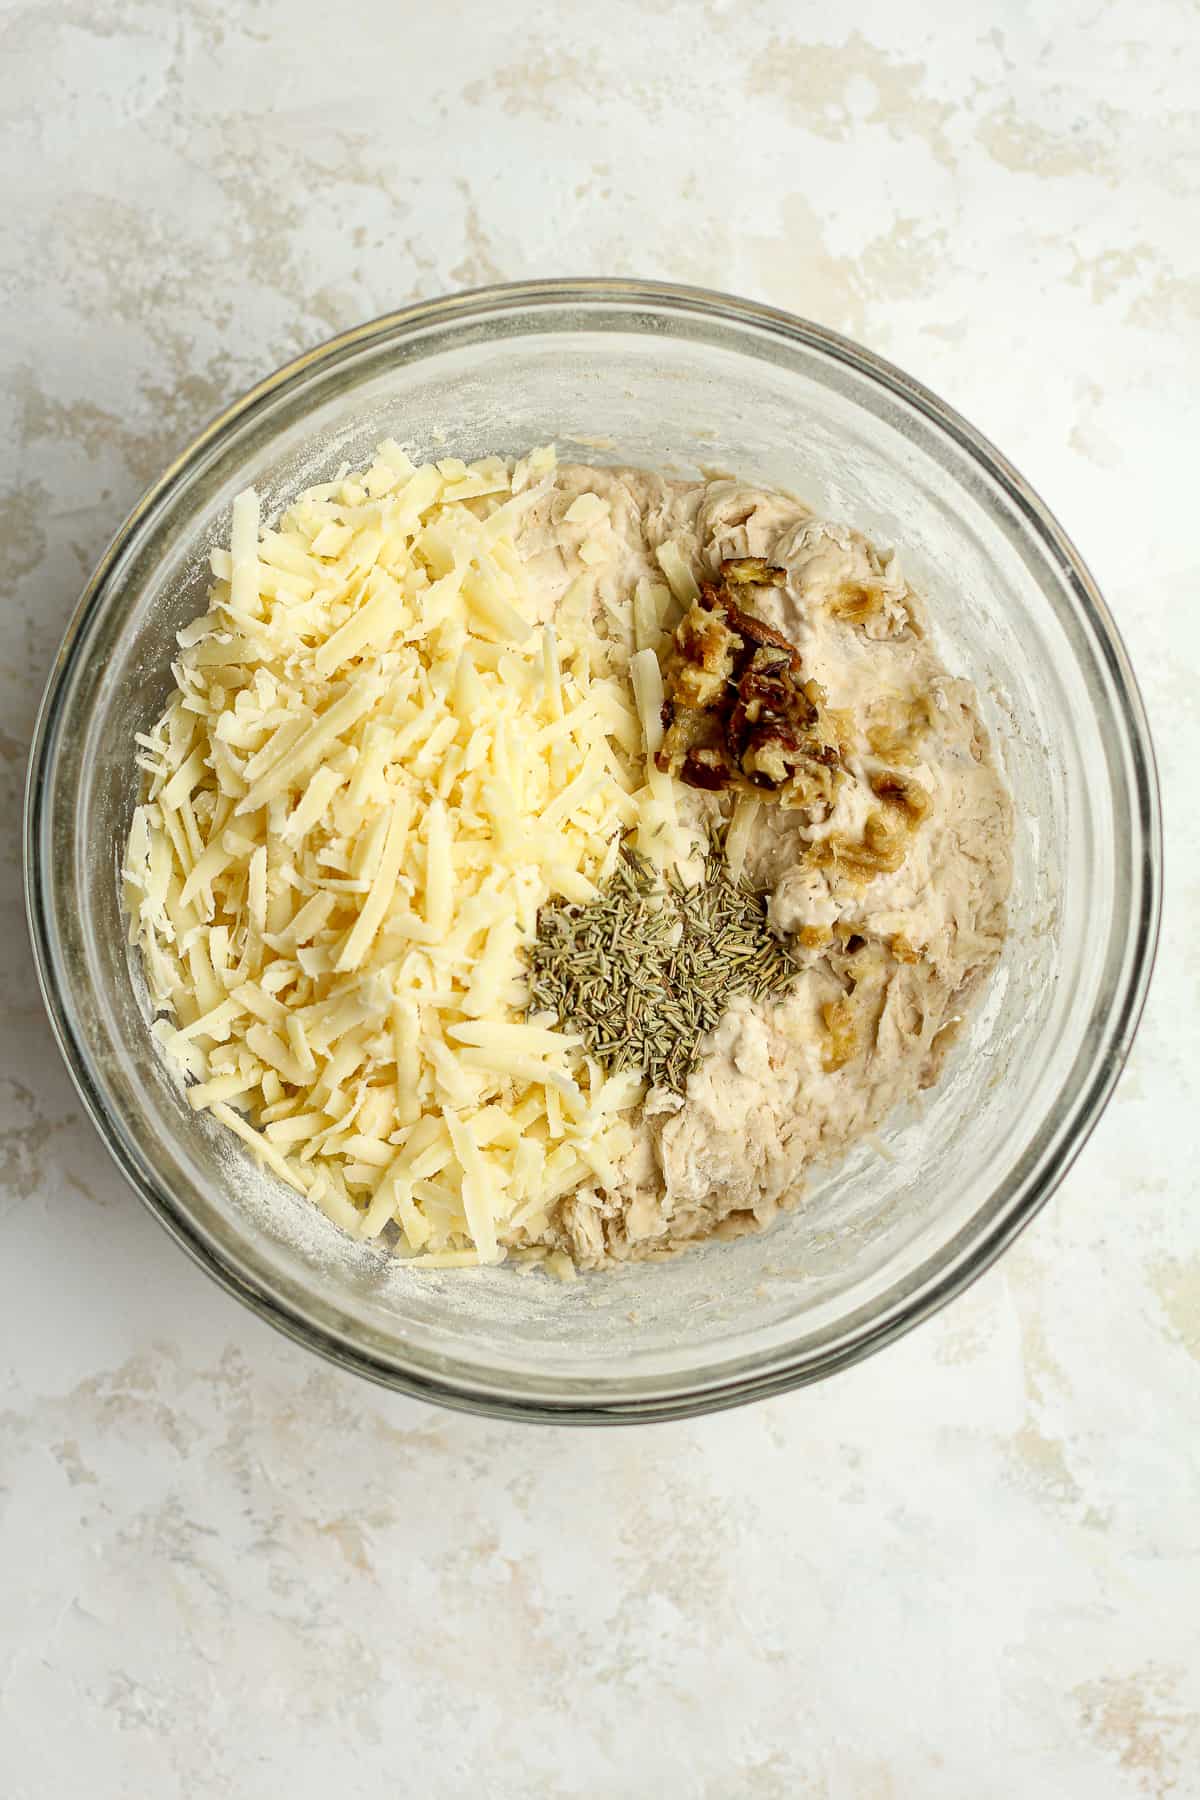
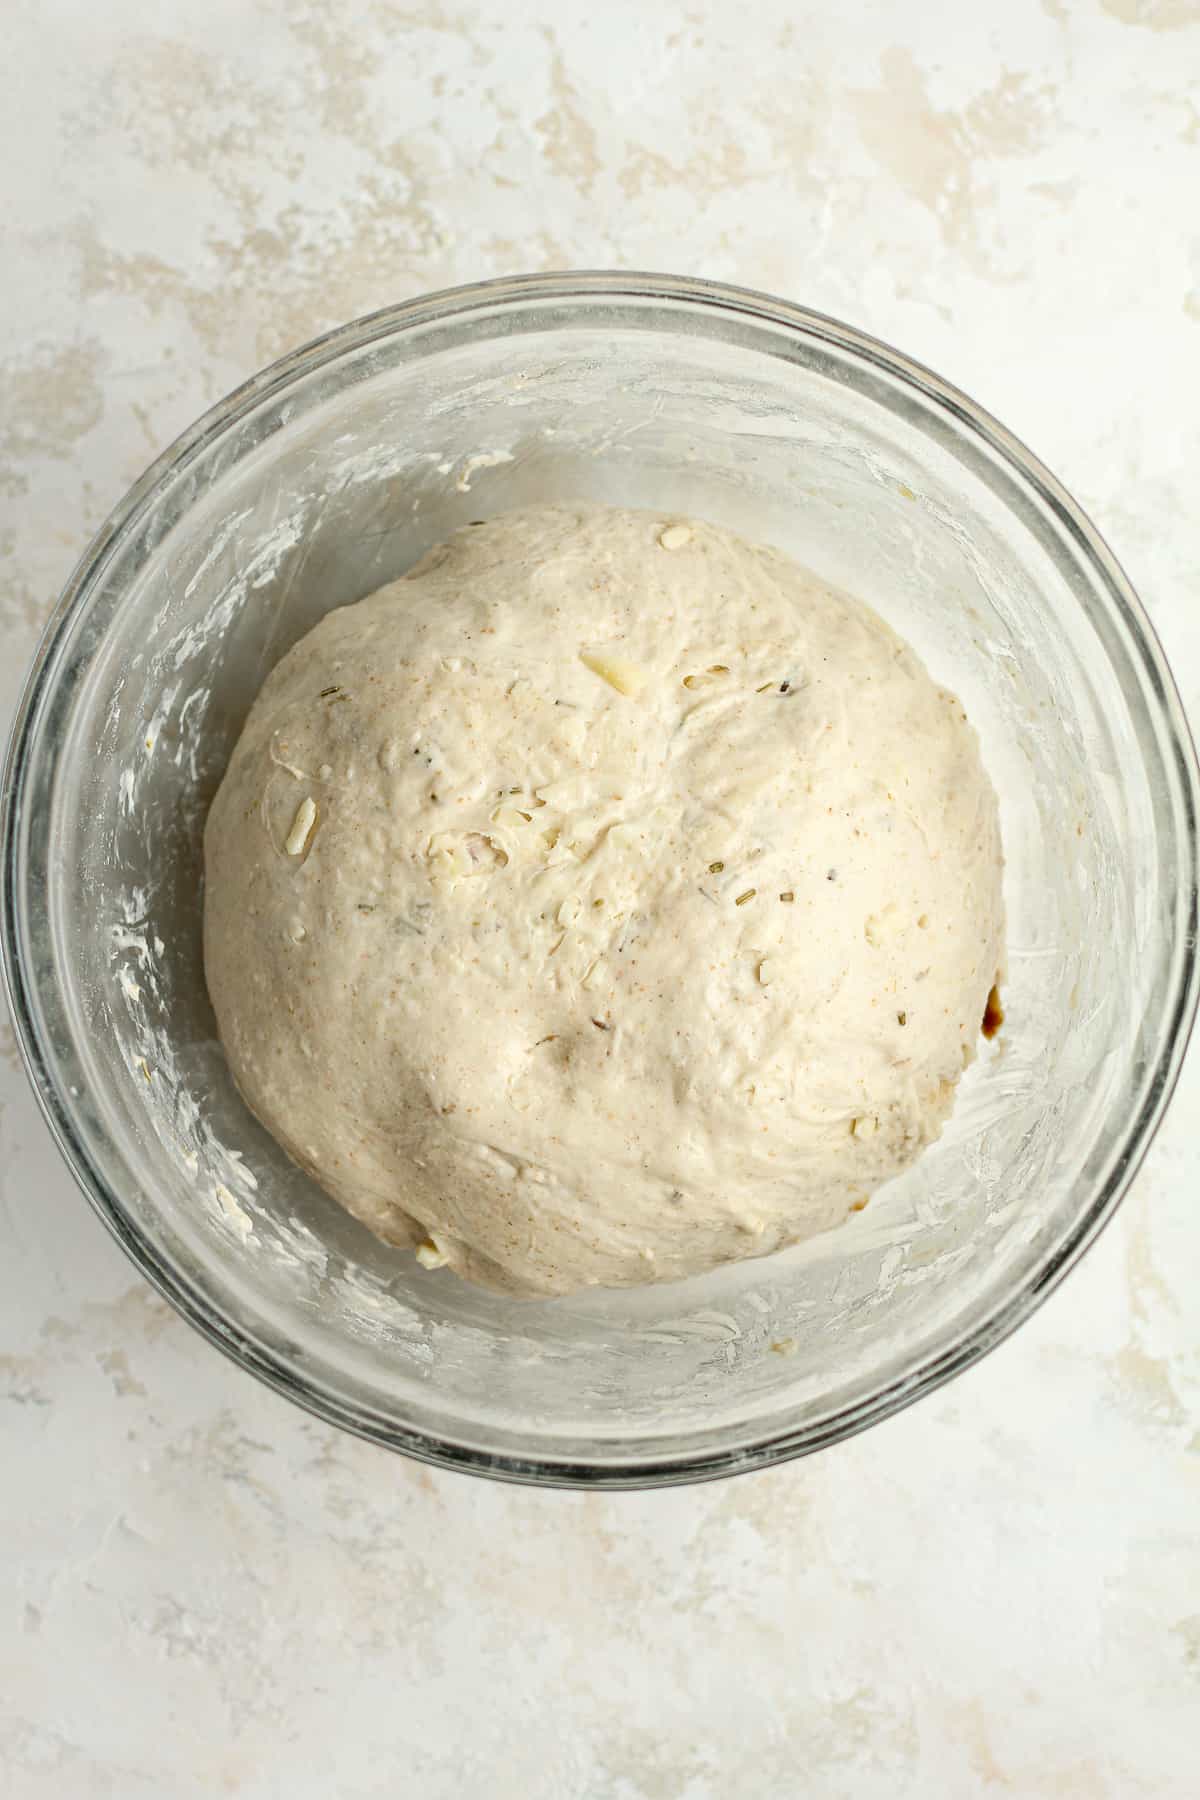
After 45 minutes, add the roasted garlic, parmesan cheese, and dried rosemary. Then start the stretch and folds. Use your hand and lift the dough up on one side, stretching it upward, and then punch into the center of the dough. Turn the dough and repeat. Continue this process for about 30 seconds. This is the STRETCH AND FOLDS.
You’ll want to try to get most of the garlic and parmesan in the center of the dough during this process. Form the dough into a smooth’ish ball, and place towel back in the bowl.
ADDITIONAL STRETCH AND FOLDS: I recommend doing additional stretch and folds if time permits. Do these every 30 minutes 3-4 more times to further develop the gluten structure.
Step 6
Let the dough rise for 6-8 hours, or overnight. It should almost double in size and appear soft on top. Small air bubbles may appear as well. This is the BULK RISE.
Note: I recommend placing a damp towel on the dough for the overnight rise. You might also add a bit of oil to the top to keep a crust from forming on the dough overnight.
Step 7
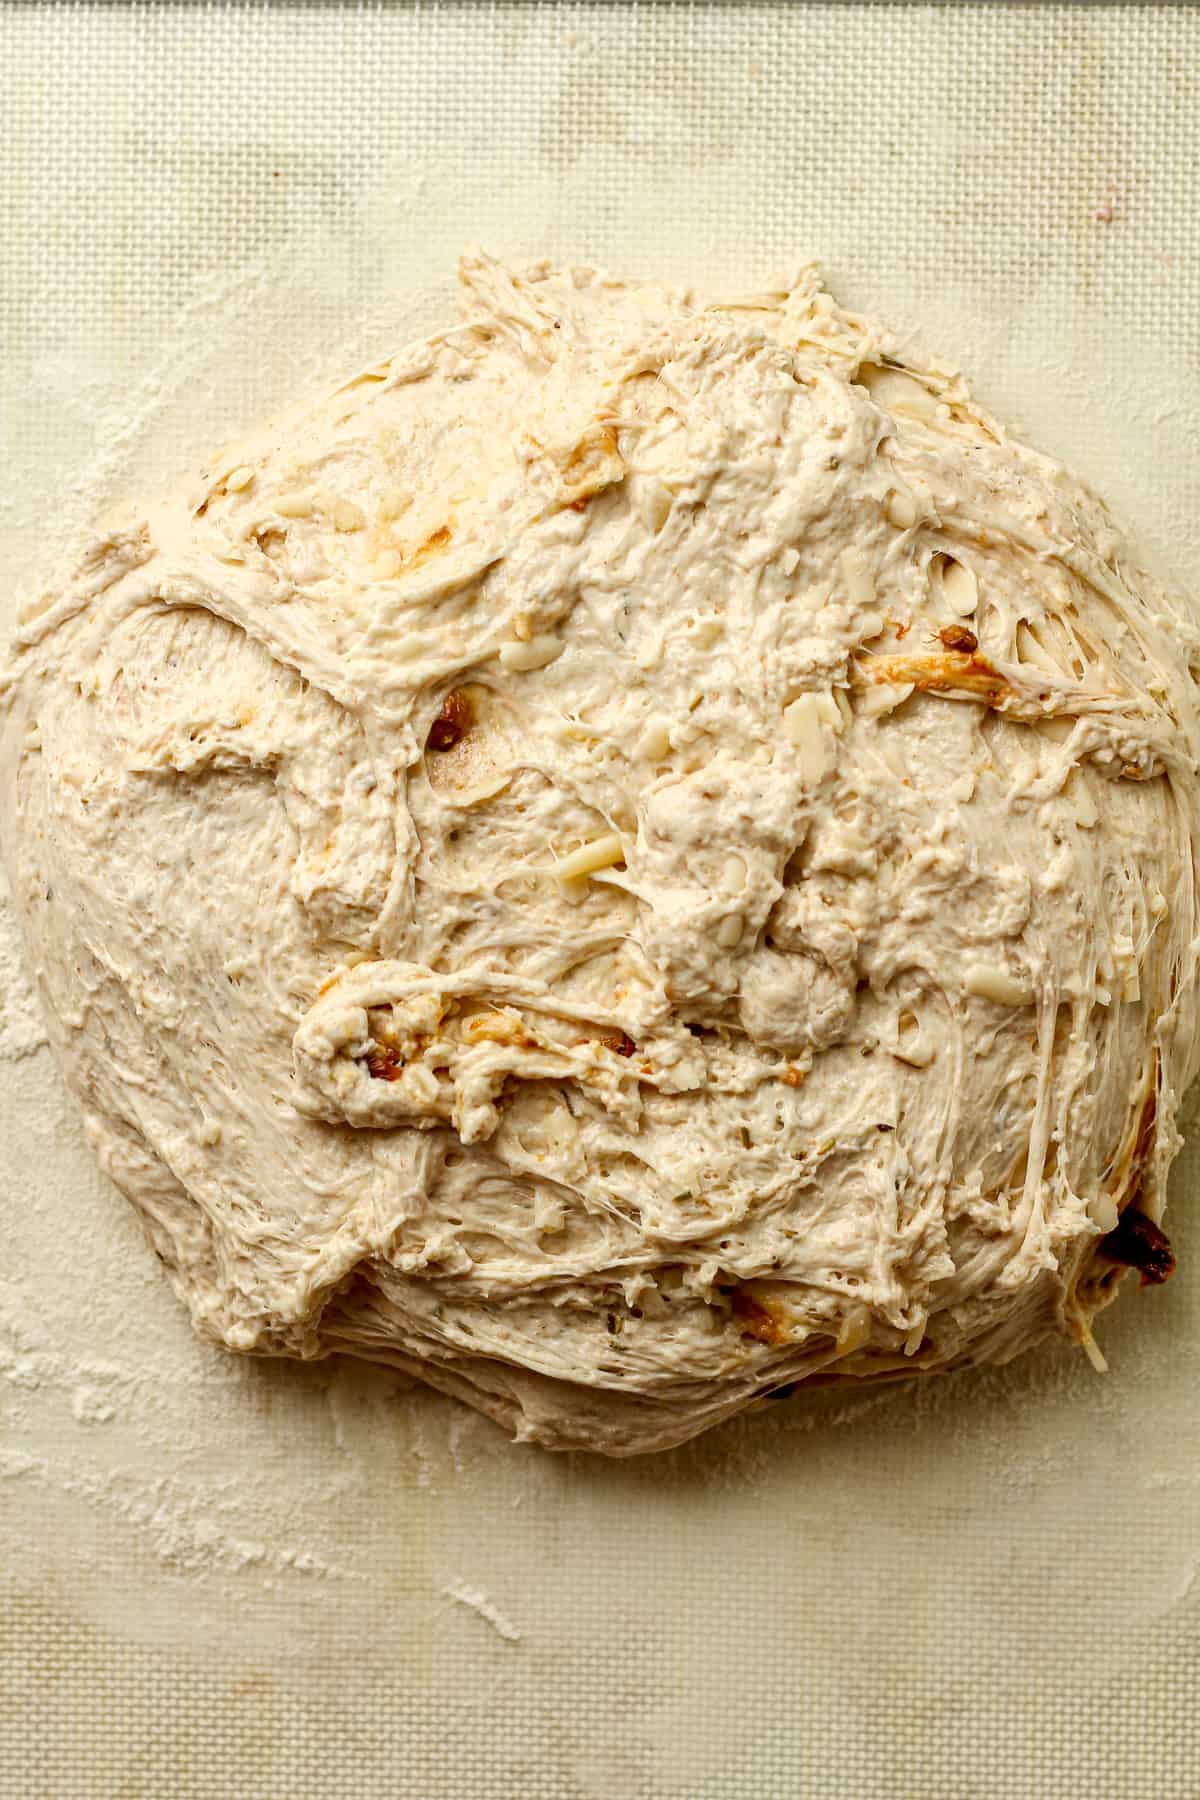
Add a light dusting of flour to a baking mat or clean surface. Remove the dough to the mat and gently form into your desired shape, usually round or oblong. Don’t punch the dough down because you don’t want to remove all the air. Let dough sit for five minutes.
Step 8
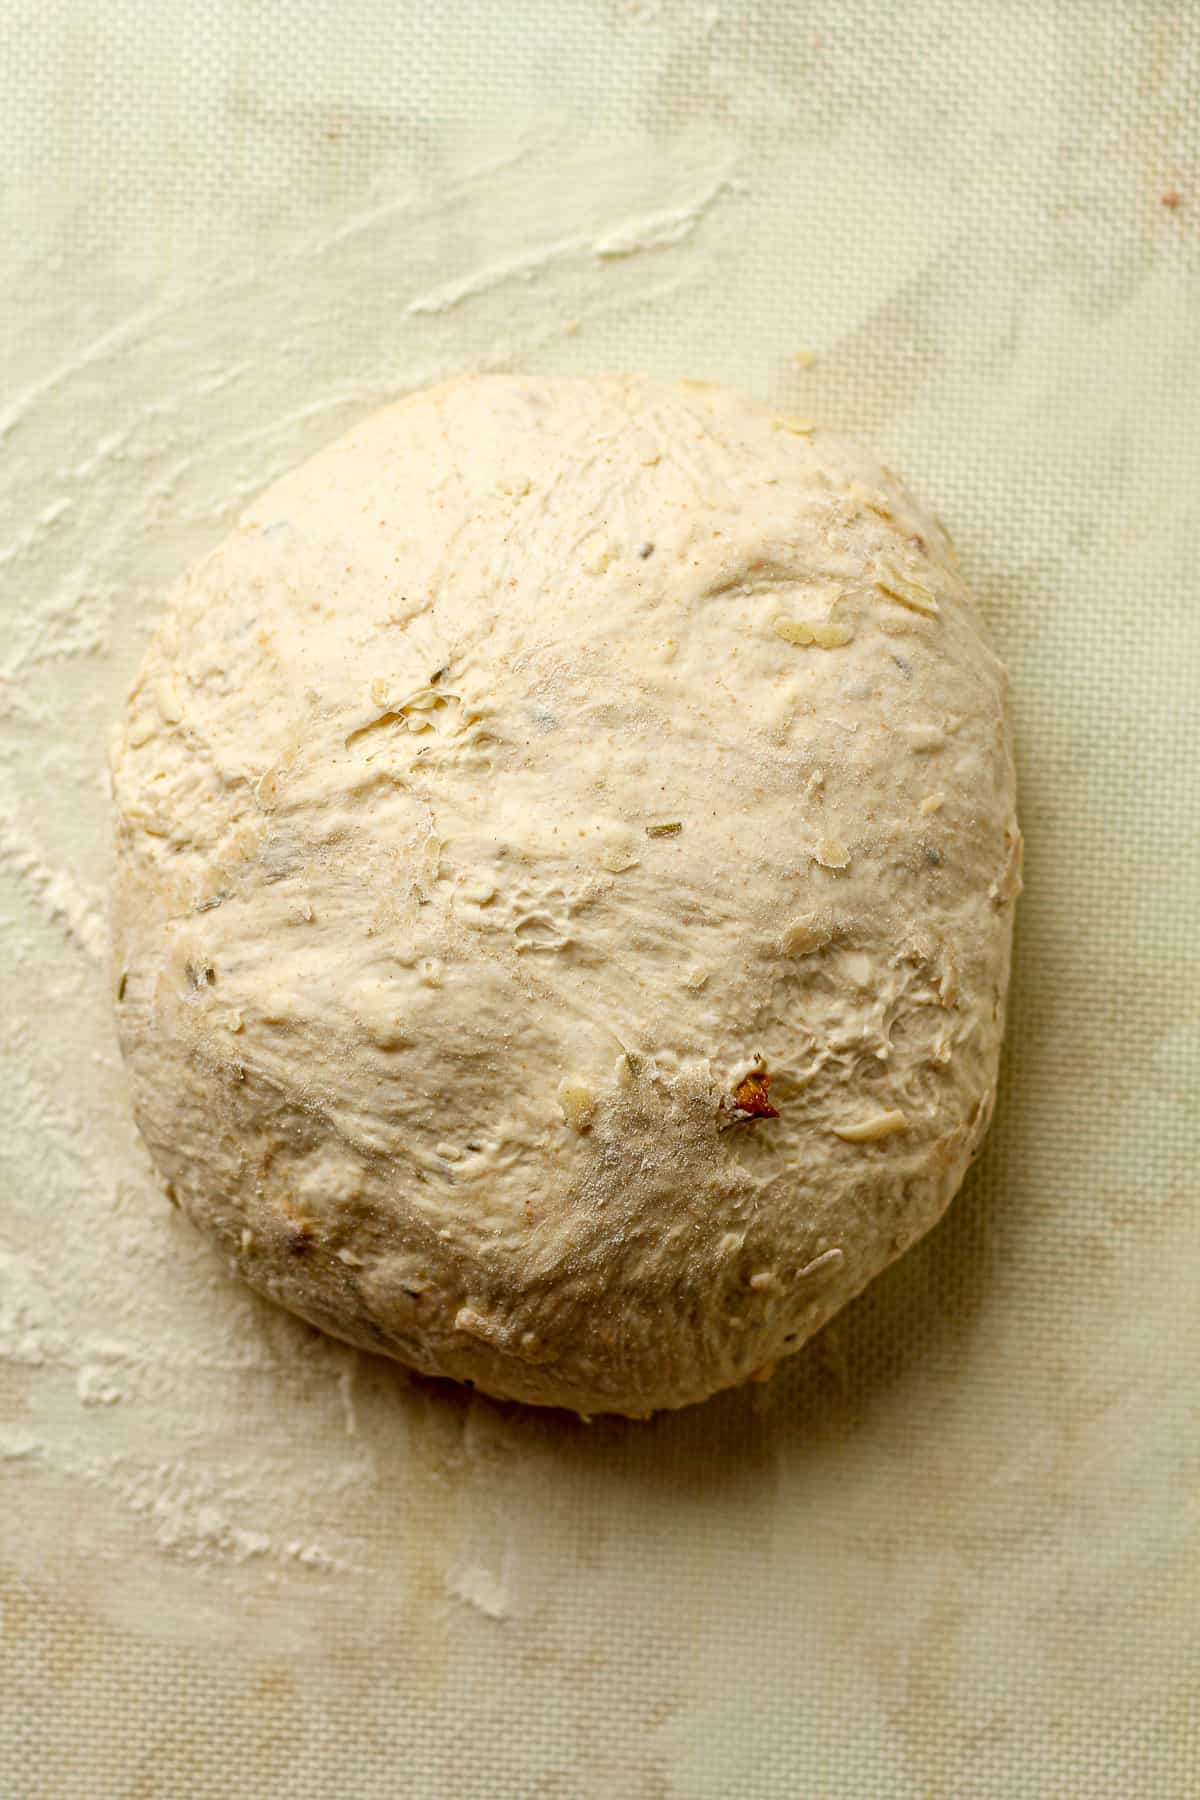
After five minutes, use your hands to pull the dough toward you, dragging it along the mat to tighten it up. Repeat in the other directions to tighten. (Make sure you don’t have too much flour on the surface when tightening the dough, so there is some needed friction necessary to tighten it.)
Step 9
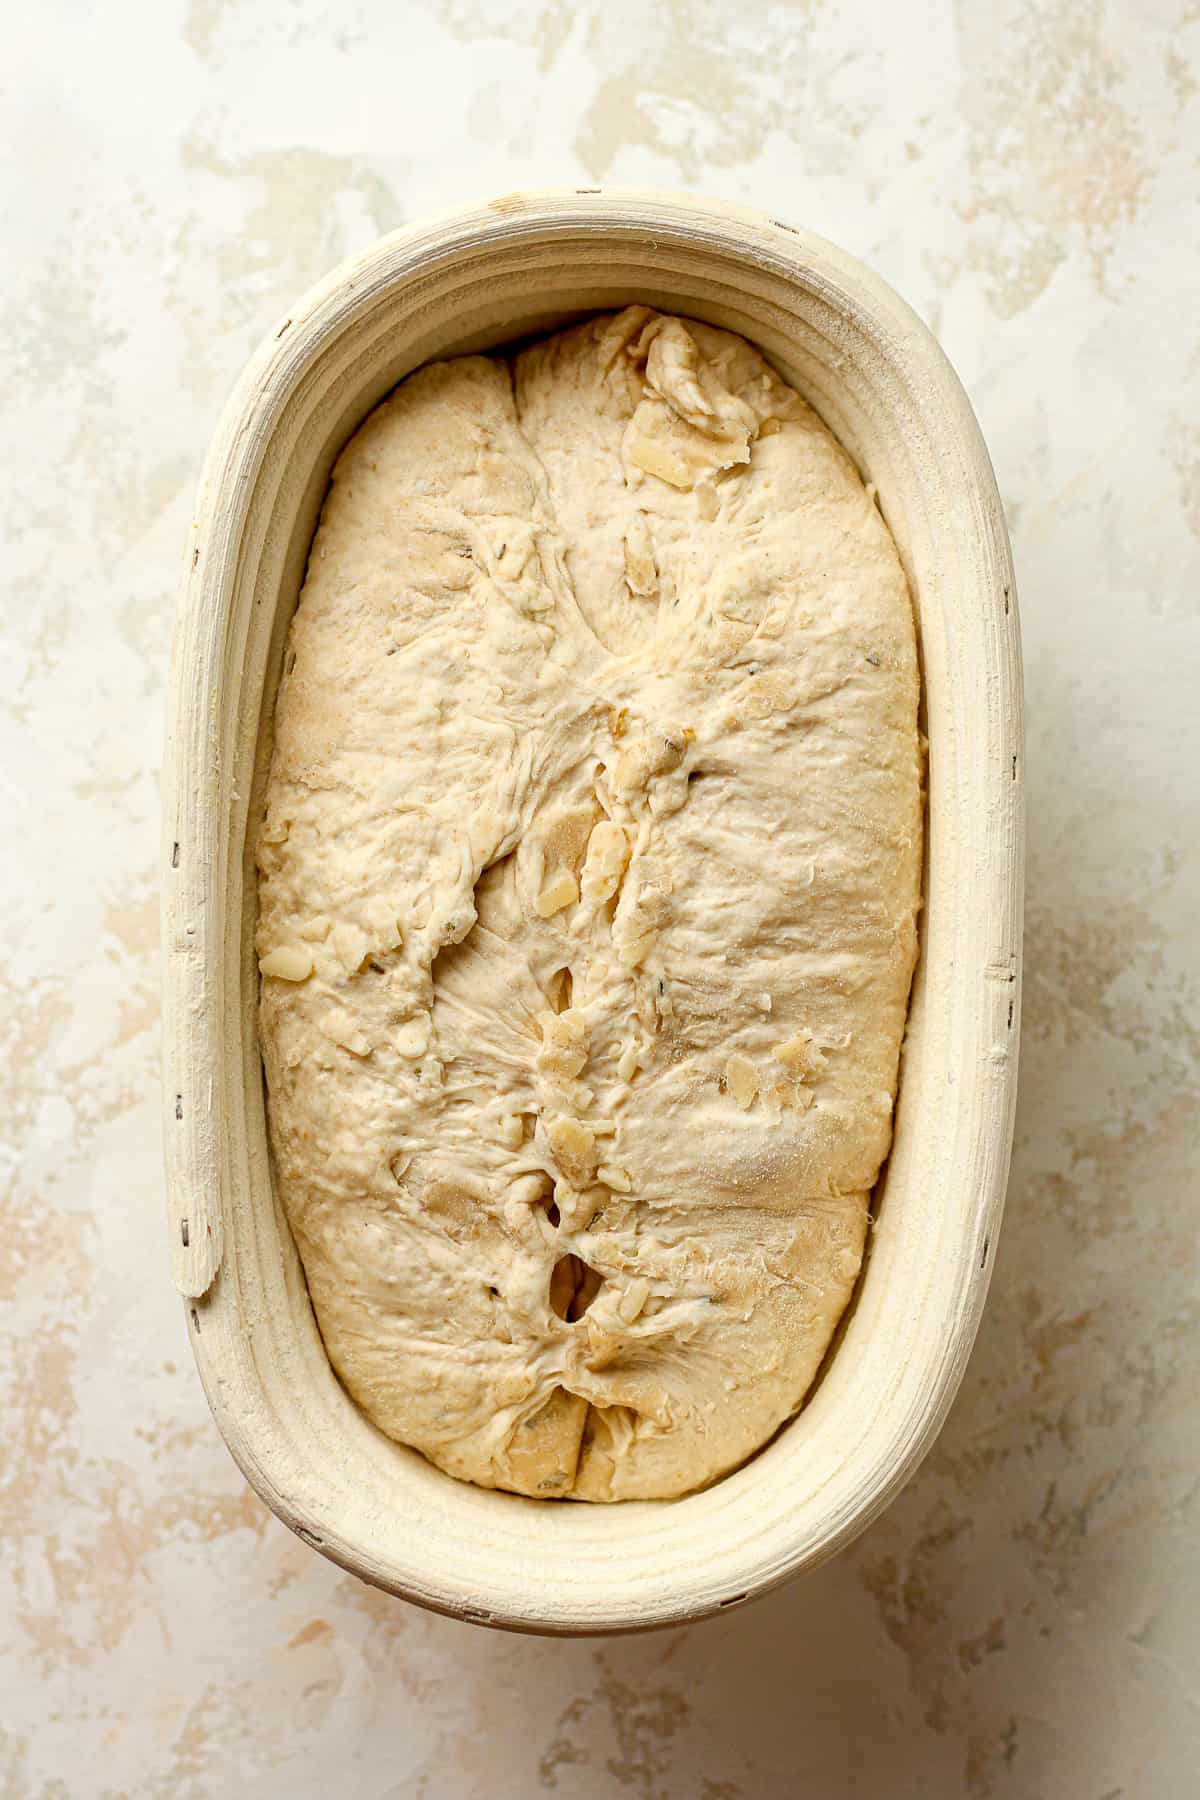
Place the dough, seam side up, in a bowl lined with a towel or a prepared banneton basket (pictured below). Cover with a damp towel and let it sit for about an hour or two. For this bread, it does not need to double again in size. This is the SECOND RISE.
NOTE: For both the bowl or banneton basket, you’ll need to prepare them. For a bowl, add a thin tea towel dusted with rice flour (or regular flour will work in a pinch). For the basket, add some rice flour as well. The rice flour will help prevent sticking while regular flour may not do this as well.
Step 10
Prepare for baking. Preheat oven to 450 degrees. Carefully remove the loaf to a piece of parchment paper, smooth side up. Then take a serrated edge knife or a bread lame (linked below), and score the bread a couple of times. Place the bread (including parchment paper) into a Dutch oven.
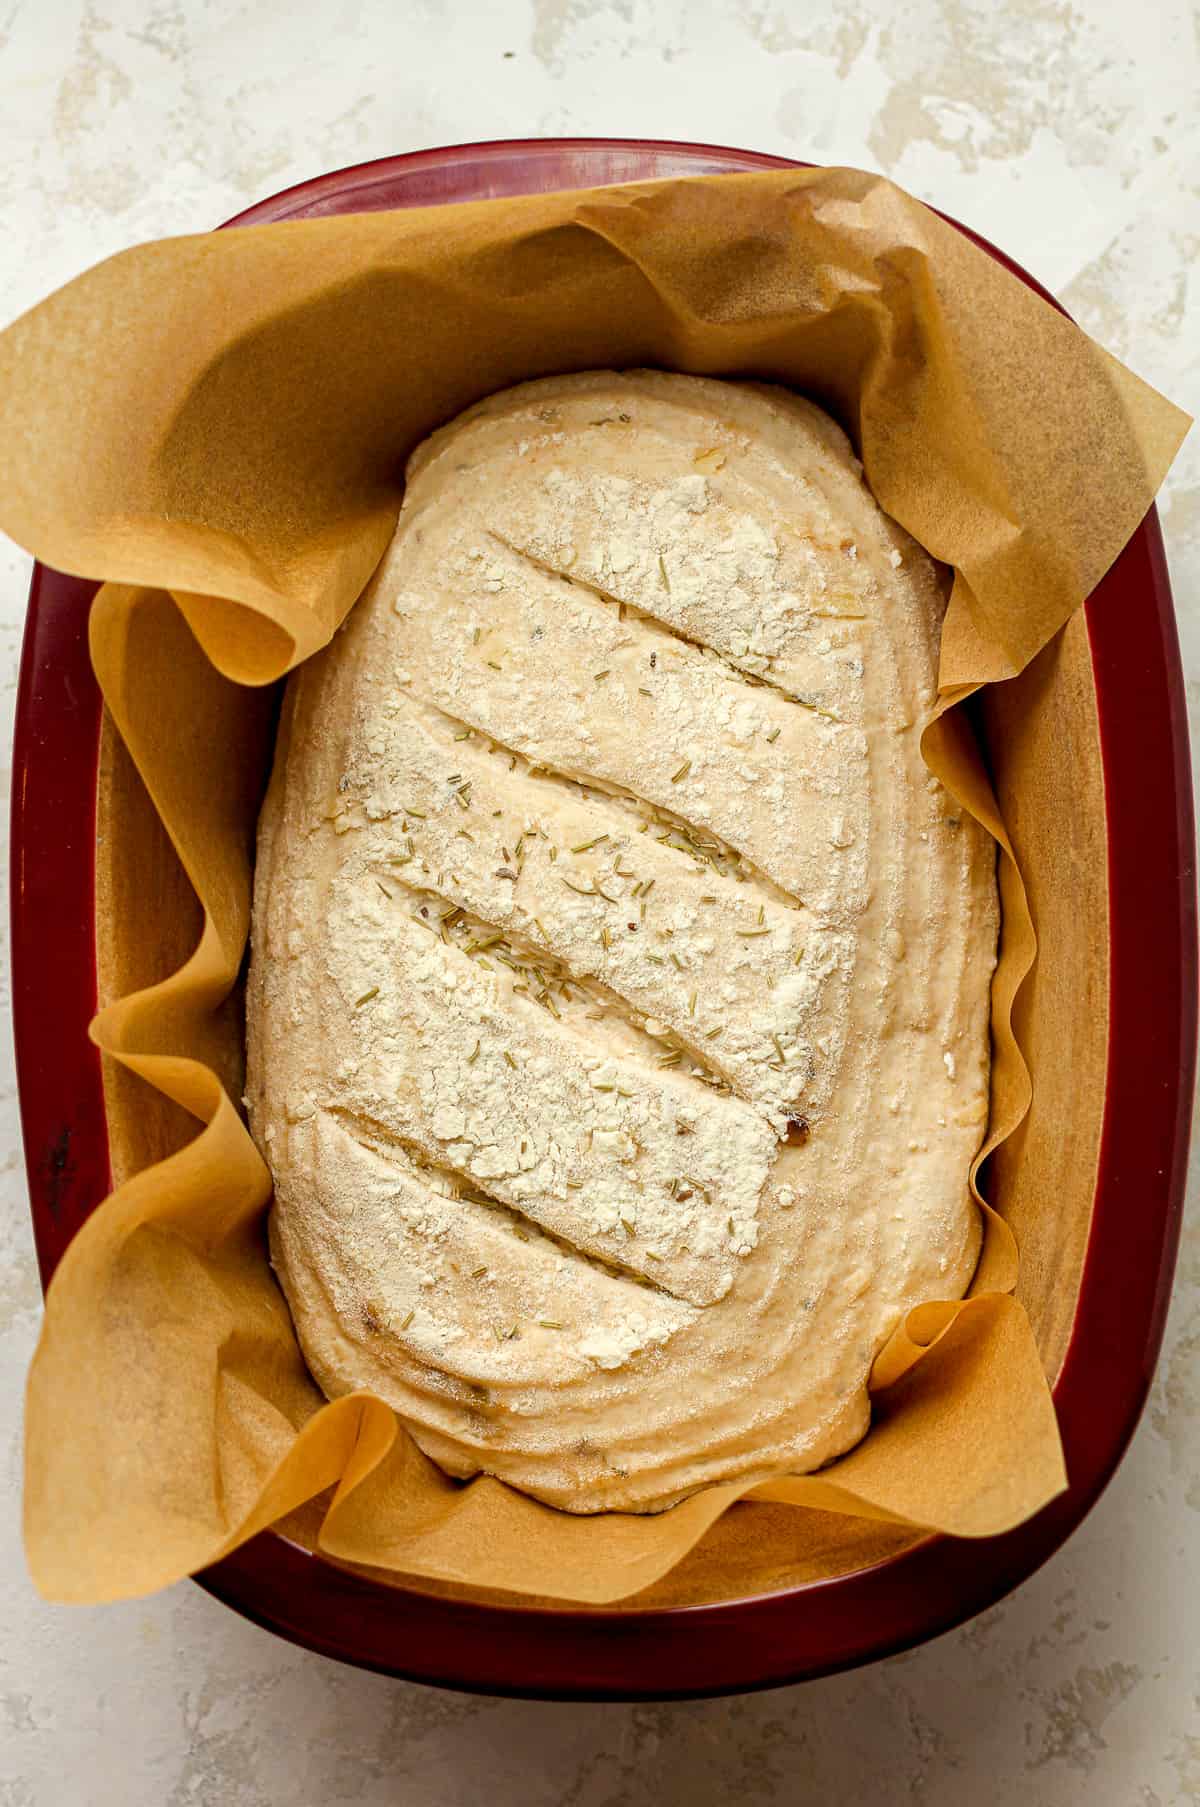
Step 11
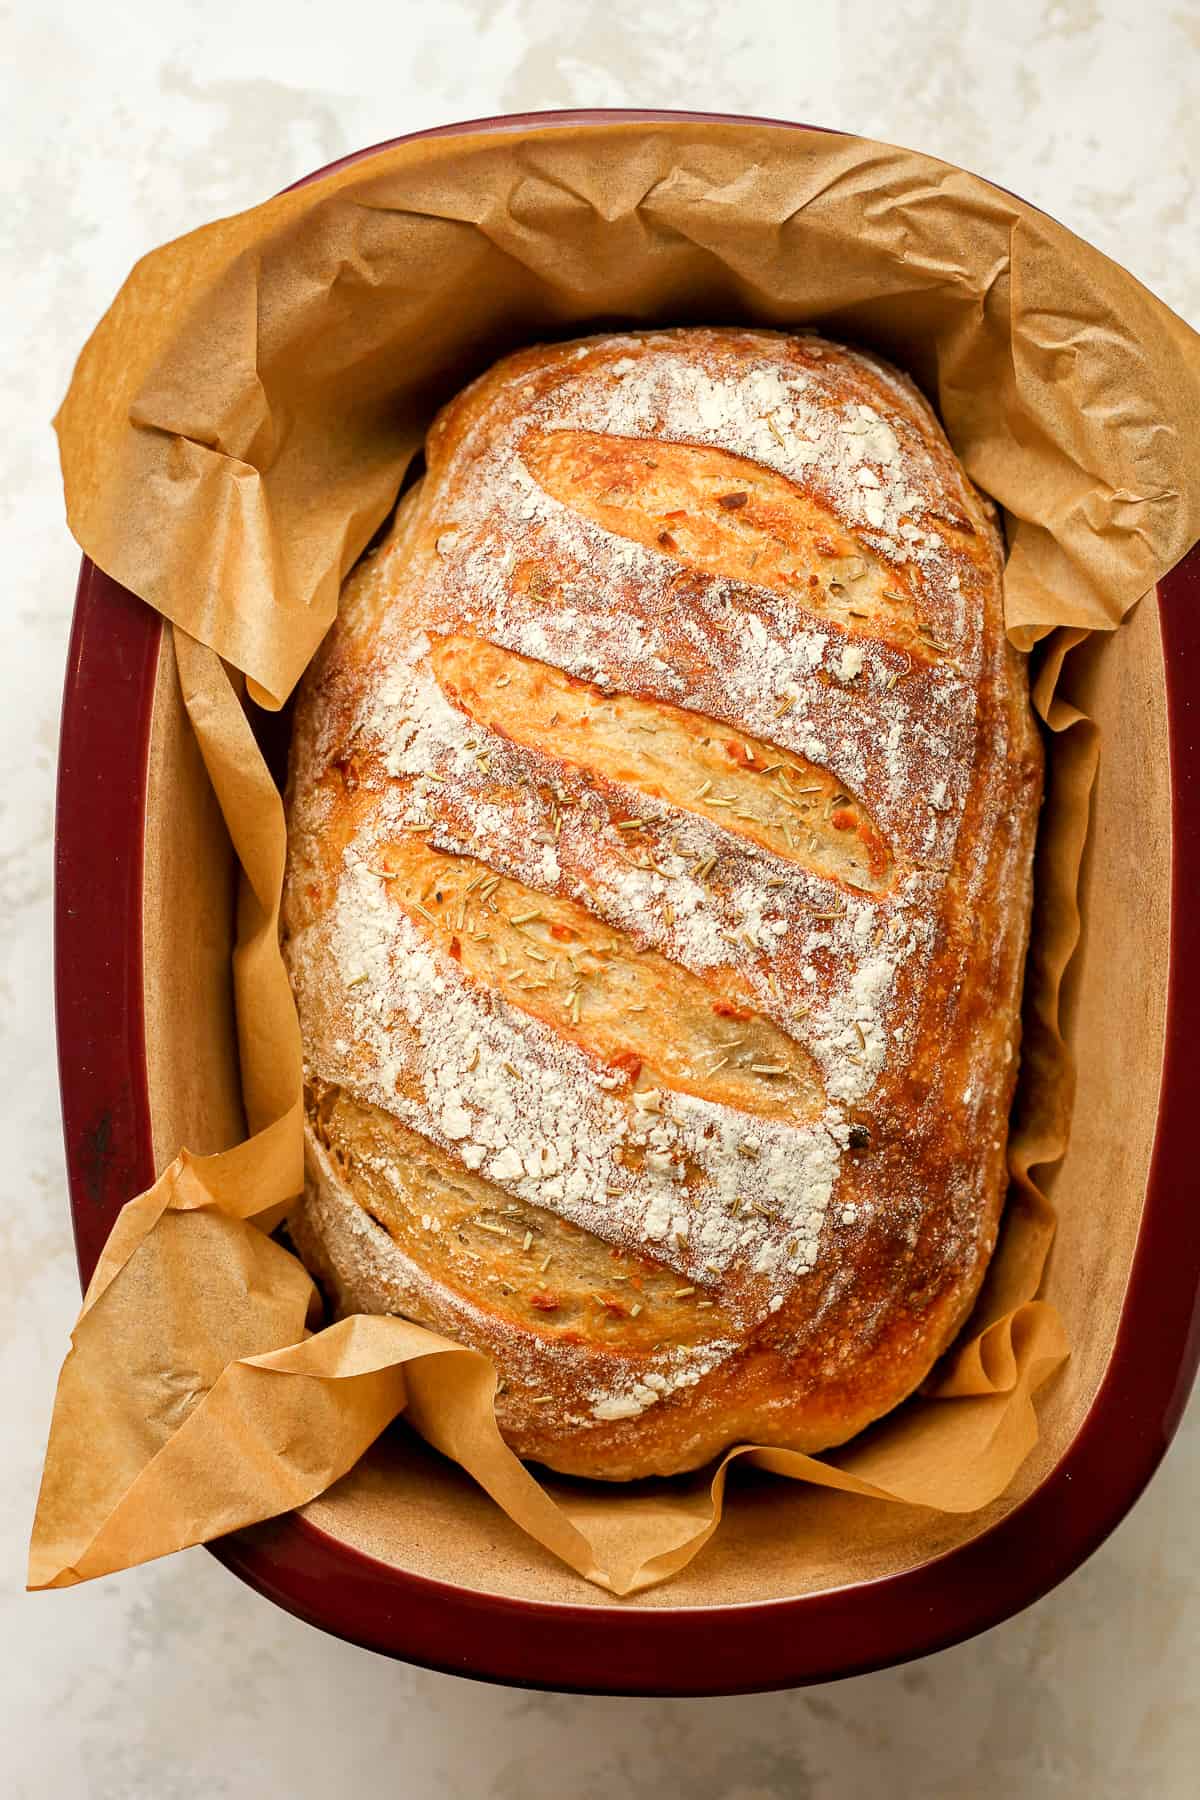
Bake. Add the lid to the pan and bake for 20 minutes. Then remove the lid and bake an additional 30-35 minutes, or until bread is nice and golden on top and bottom.
Step 12
Cool. Remove pan and then use parchment paper as handles to lift the bread out of the pan. Place on a cooling rack. Let the bread COMPLETELY COOL before slicing.
How we enjoy our sourdough bread:
There are so many tasty ways to enjoy garlic sourdough. In fact, we normally eat it for dinner at least once a week! It’s simple and makes dinnertime a breeze.
- Add different meats and cheese.
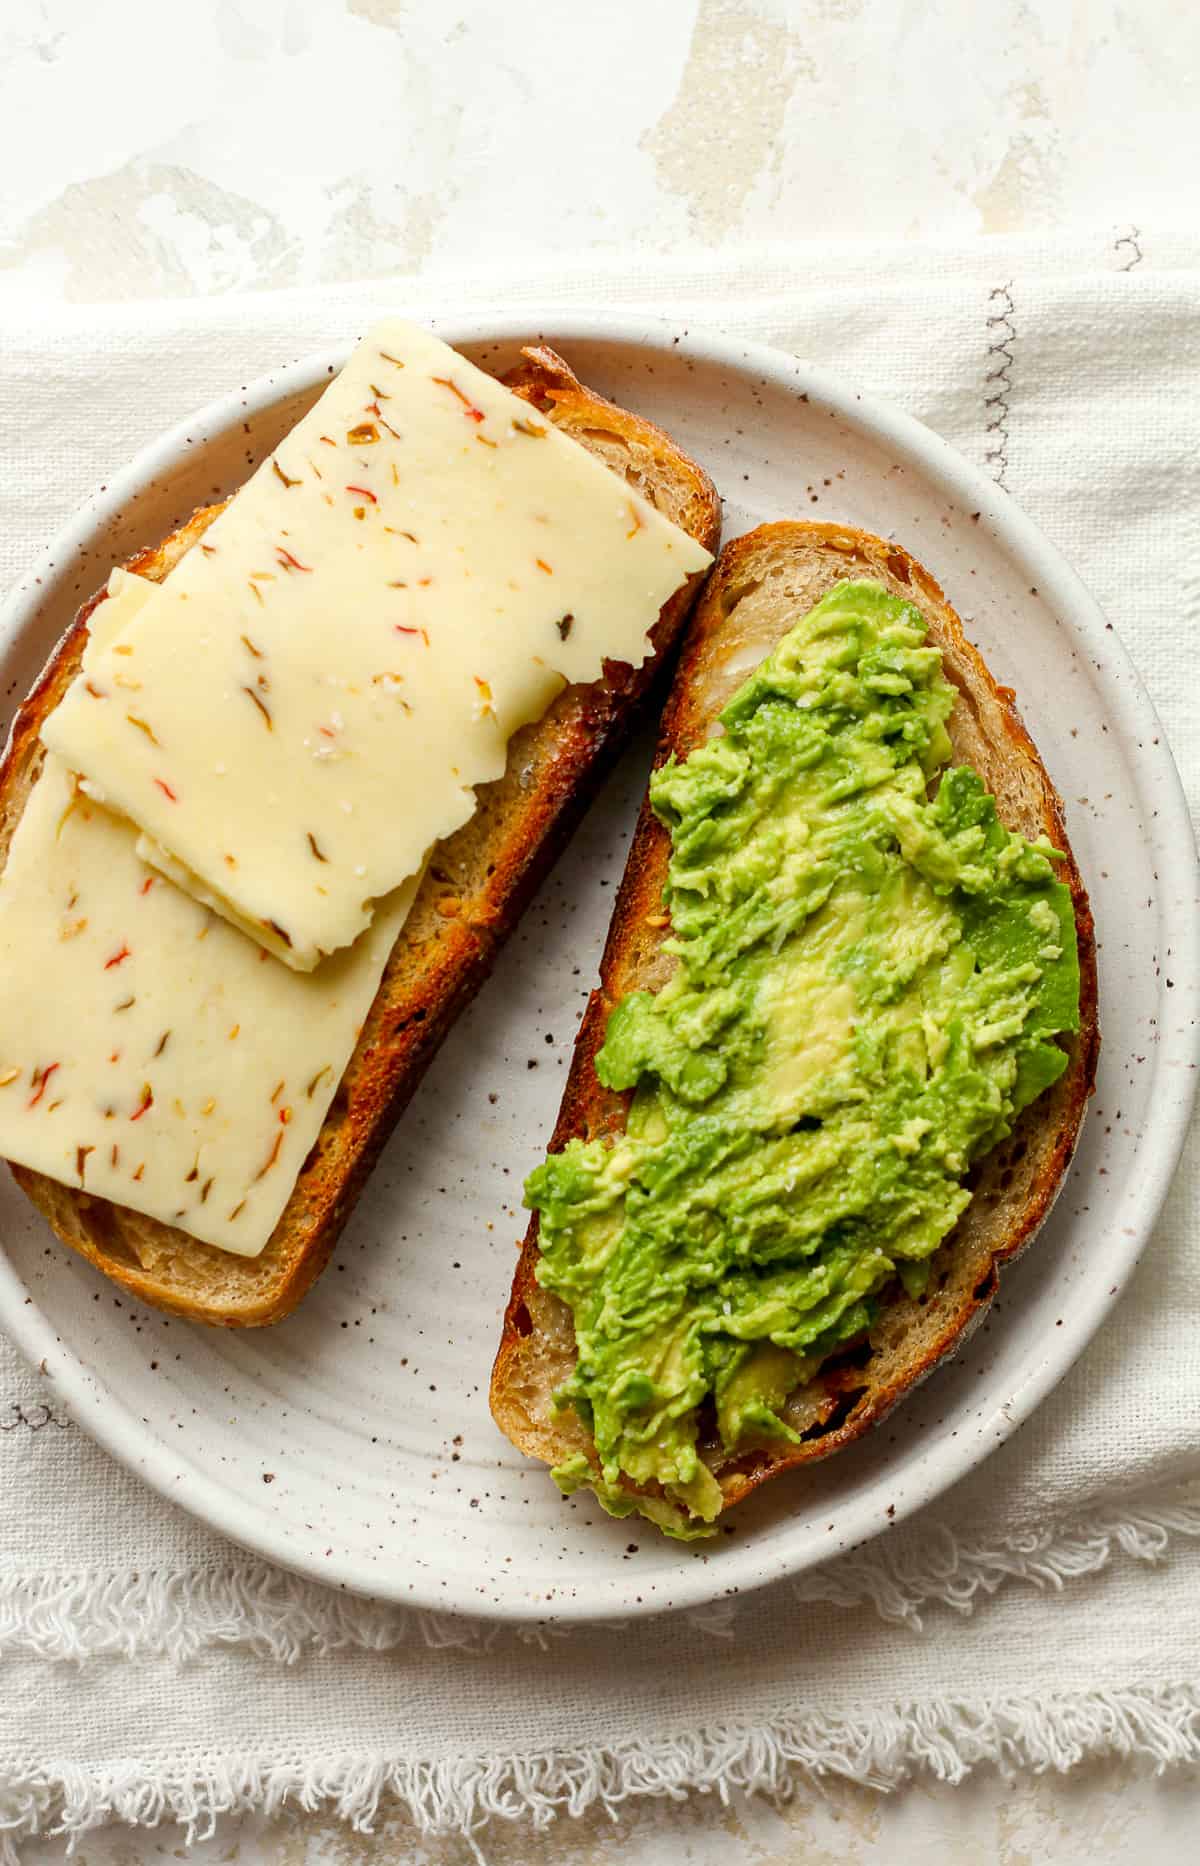
- Make avocado toast.
- Make grilled cheese using pimento cheese.
- Add over easy eggs (WITH avocado).
- Use it to make the best Roasted Vegetable Pesto Panini or a BLT Sandwich with Pesto Sauce.
See my post on how to store sourdough bread for maximum freshness! Let’s not let our hard work go to waste and savor every single morsel of sourdough.
Recipe FAQs:
Sourdough is a slow-fermented bread that doesn’t require store-bought yeast to make it rise. It’s a LIVE fermented culture that creates a natural leavening agent. A starter is required to make sourdough.
A starter can be created in less than a week with a simple combo of unbleached flour and filtered water. It’s a process of removing half of the starter and then “feeding” it every day, storing in a jar on your countertop, and getting it to a bubbly, sour point where it floats in water. More on this later.
Sourdough bread is NOT gluten-free, as it contains flour, but its long fermentation helps break down this gluten. It’s easier on the gut because it’s more digestible and easier for the body to absorb.
Other Delicious Sourdough Recipes:
The opportunities are endless with a sourdough starter. Try one (or two) of the following next.
xoxo ~Sue
Garlic Sourdough Bread
Ingredients
- 75 grams bubbly sourdough starter
- 365 grams warm, filtered water
- 480 grams bread flour
- 40 grams whole wheat flour
- 10 grams fine sea salt
- 1-2 heads garlic – roasted
- 100 grams parmesan cheese – cubed or shredded
- 2 teaspoons dried rosemary
Instructions
- ** READ the entire blog post with photos before making this recipe!
- Roast the garlic. Chop off the tops of two heads of garlic. Add them to some foil and drizzle the tops with olive oil. Wrap them up tightly and roast in a preheated 400 degree oven until the garlic is soft, about 50 minutes or more. Remove and cool slightly. Then squeeze out the insides to use for the bread.1-2 heads garlic, olive oil
- Shred parmesan. Use a wedge of parmesan and shred. You can also use a knife to chop into small cubes.
- Carefully measure out the water and sourdough starter in a mixing bowl, and stir well with a fork. Add the flour and salt, and stir again.75 grams bubbly sourdough starter, 365 grams warm, filtered water, 480 grams bread flour, 40 grams whole wheat flour, 10 grams fine sea salt
- Then use your hands to bring the ingredients together. It will look shaggy. Cover with a damp towel and let it sit for 45 minutes. (Be sure to set a timer.) This is the AUTOLYSE.
- After 45 minutes, add the roasted garlic, parmesan cheese, and dried rosemary. Then start the stretch and folds. Use your hand and lift the dough up on one side, stretching it upward, and then punch into the center of the dough. Turn the dough and repeat. Continue this process for about 30 seconds. This is the STRETCH AND FOLDS.roasted garlic, 100 grams parmesan cheese, 2 teaspoons dried rosemary
- You’ll want to try to get most of the garlic and parmesan in the center of the dough during this process. Form the dough into a smooth’ish ball, and place towel back in the bowl.
- ADDITIONAL STRETCH AND FOLDS: I recommend doing additional stretch and folds if time permits. Do these every 30 minutes for 3-4 more times to further develop the gluten structure.
- Let the dough rise for 6-8 hours, or overnight. It should almost double in size and appear soft on top. Small air bubbles may appear as well. This is the BULK RISE.
- Note: I recommend placing a damp towel on the dough for the overnight rise. You might also add a bit of oil to the top to keep a crust from forming on the dough overnight.
- Add a light dusting of flour to a baking mat or clean surface. Remove the dough to the mat and gently form into your desired shape, usually round or oblong. Don’t punch the dough down because you don’t want to remove all the air. Let dough sit for five minutes.
- After five minutes, use your hands to pull the dough toward you, dragging it along the mat to tighten it up. Repeat in the other directions to tighten.
- Place the dough, seam side up, in a bowl lined with a towel or a prepared banneton basket (pictured below). Cover with a damp towel and let it sit for about an hour or two. For this bread, it does not need to double again in size. This is the SECOND RISE.
- Prepare for baking. Preheat oven to 450 degrees. Carefully remove the loaf to a piece of parchment paper, smooth side up. Then take a serrated edge knife or a bread lame (linked in post), and score the bread a couple of times. Place the bread (including parchment paper) into a dutch oven.
- Bake. Add the lid to the pan and bake for 20 minutes. Then remove the lid and bake an additional 30-35 minutes, or until bread is nice and golden on top and bottom.
- Cool. Remove pan and then use parchment paper as handles to lift the bread out of the pan. Place on a cooling rack. Let the bread COMPLETELY COOL before slicing.
Hi! I’m wondering what your thoughts would be about putting additional Parmesan on top prior to baking? And if so, would I give it a wash with oil/water/egg white?
Hi Jill. I haven’t tried this but am wondering if the parmesan cheese would burn when you take the lid off? That’s my guess.
Am I able to cut the recipe in half and just make one loaf?
This recipe is for just one loaf.
I have made this recipe like 20 times in the last year. I always get compliments and my family always requests it to give as a gift to neighbors/friends. My sister even asked me to make a loaf to impress her new boyfriend’s sisters when she first met them. Excellent recipe, thank you!
Wow, this is amazing to hear, Helen! Thanks for letting me know!
We loved the garlic sourdough bread and the smells that filled our kitchen! Even if you don’t eat bread you should make a loaf of this just for the ambiance. Serve it with a batch of homemade soup and life is GOOOOD!!
Thanks for letting me know, Big Papa!
Can you leave it out for all that rising time since there’s cheese in it? I feel like the cheese would go bad if mixed in so early
I’ve made it many times with no issues. When you bake the sourdough bread, the heat should kill off any potential bacteria that might have formed during the fermentation process. Feel free to google it to be sure though, if you’re still concerned.
Is it two bulbs of garlic? Or heads? Seems like both are mentioned.
The entire heads of garlic! I’ll fix that in the post.
Sue, when you double this, other than the starter, do you change any of the other ingredients (or simply split the dough in two)?
No, I don’t change anything else. I simply split the dough in half!
When do you split the dough in half? Before you add garlic and Parmesan or after the process is finished?
After the process is finished!
Hmm this seems odd to me to not also double the flour, water, salt, garlic and herbs for two loaves??? Can you please clarify. Thanks, Suzanne
Hi Suzanne. This recipe is for one loaf. You would double everything for two loaves. Hope that helps.
Yes, thank you! looking forward to making a couple loaves!
Why do I burn my loaf every time! I eventook it out 5 min before. 😔
Also, why do we have to wait for it to completely cool?
This recipe is Amazing though!
Hi Ana! While the bread is cooling, the starches in the bread continue to set. Cutting into the bread while it’s still warm can cause it to compress, resulting in a gummy or doughy texture. Allowing it to cool ensures that the texture is properly set and gives you that desired chewiness. Good luck!
Can you use all whole wheat flour? I have whole wheat starter. Does that make a difference in the end result?
Hi Linda. I haven’t tried using all whole wheat flour but I feel like it would make a very heavy dense loaf of bread.
I want to start this bread today, but don’t have whole wheat flour! Could I use rye instead?
I have never used rye in this bread. I think I’d just use all bread flour instead.
Made this for a celebratory dinner for my husband. He said it tastes like something you’d get “at an upscale colonial restaurant in Old Town Alexandria” (Virginia). Wow, thank you for the great recipe!
This is amazing! Thank you!
Great and easy recipe! Thank you for a great loaf of bread!!
We love it too! Thanks for your feedback!
I’m new to this sourdough journey! When you add ingredients such as roasted garlic and grated cheese, do you put them on top of the loaf and they “mix in” as you fold?
Yes, just add the ingredients in and then do stretch and folds so they get mixed into the bread. Stop back and let me know how it turned out for you!
The bake time is way off, I followed instructions to an T and the bottom of my loaf was SCORCHED. The top is normal golden brown but the bottom is black. Very disappointed as there was $10 of parmesan cheese in this loaf.
I’m sorry your loaf burnt. I’ve made this recipe many times with success and have had several positive reviews. I think you may need to possibly 1) check your oven temperature (with a separate thermometer), adjust the shelf that you’re baking on, and/or make sure you are using a quality Dutch Oven.
Could you increase the amount of whole wheat flour and decrease the amount of bread flour? Also, what are your thoughts on adding ice cubes to a preheated dutch oven when you put the bread in the oven (to help form a crispier crust)?
Yes, you could change the ratio of flour. I haven’t tried the ice cube trick but let me know if you do!
when preheating oven for baking do you preheat pan also
I don’t normally preheat the pan but many do. Either way will work just fine.
Absolutely delish . I used Dubliner sharp Iris cheese and 2 heads of roasted garlic and fresh rosemary. After bulk ferment I did a 2 day cold retard. I gifted this bread and what a hit. So soft and flavorful. Made it 2 days ago and already making another one for myself. Great recipe, will make more of your bread recipes. Thank you
I haven’t made it yet but can you change the cheese? Like use cheddar or a different type?
Yes, I think you could use cheddar cheese instead. Good luck!
hi so step 4 says to add all the ingredients in order ,step 6 says to add garlic etc. To clarify we add garlic etc at step 6 ?
I just fixed it. Thanks for pointing it out!
Could I use finely grated parmesan cheese that comes in a can ?
I don’t recommend it. Freshly grated parmesan cheese will yield the best results.
I have made this recipe twice. I’m in love. It’s perfection and the flavors are amazing together. Appreciate the ease of the recipe.
Thanks so much for your feedback, Cathy!
Do you do anything to the garlic once it has been roasted, like chops, mash purée et cetera?
Yes, you squeeze it out of the bulb and mash it or just work it into the dough.
Can you do the overnight/bulk rise in the fridge? It’s going to be probably 18hrs before I can bake it.
I’d leave it out for at least half of that and then place it in the refrigerator.
I’ve made several loaves of the cinnamon raisin bread that is your recipe. Looking forward to having this with our 2022 Christmas 🎄 dinner. Nothing like garlic, parmeson and garlic to go with prime rib!!
I like how you think!
Great recipe! Easy to follow and the bread tastes amazing. We had this deliciousness with some authentic Italian Red Gravy, and the crunchy crust and soft center combined with the roasted garlic, Parmesan and rosemary was perfection.
I love hearing this, Traci! Thanks for your feedback!
This is such a great recipe! Thanks, it was delicious!!
Oh, I love hearing this Emily! Thanks for your feedback!
All of your bread recipes are incredible! I no longer eat store bread and I am not sorry!