Sourdough Starter Basics
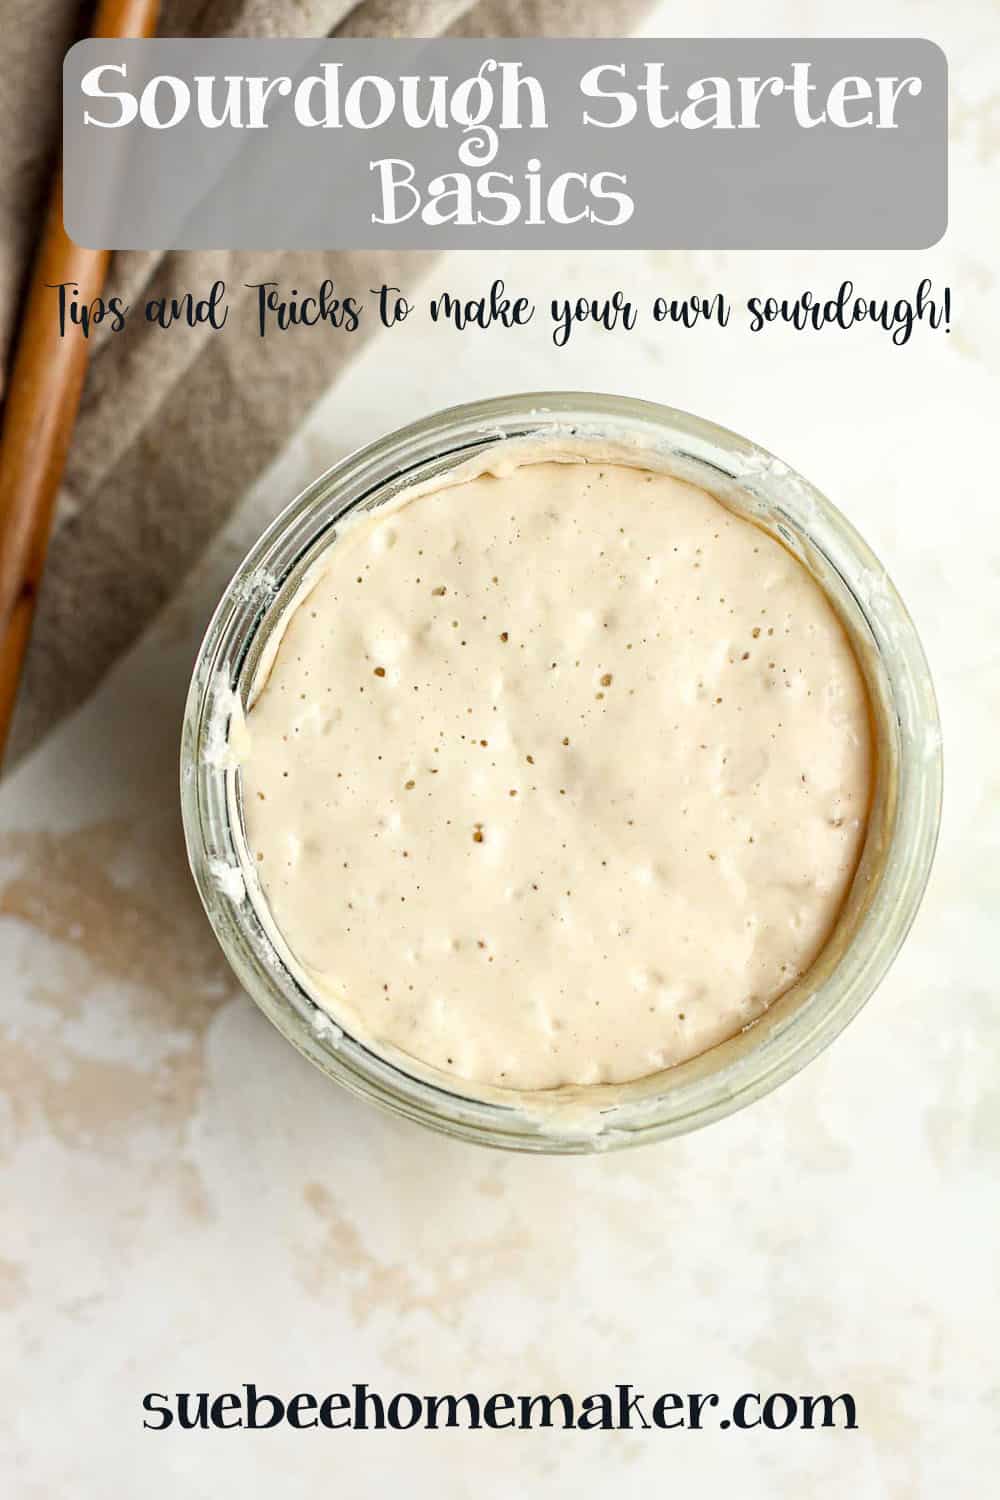
Make your own sourdough starter at home with just a few simple ingredients using Sourdough Starter Basics. In just over a week’s time and a little bit of patience, you’ll be ready to use your active starter to make the best sourdough bread!
This simple process creates a homemade starter and a real living thing you can and should give a name. Mine is named Justine after my beloved grandmother who loved making homemade bread as well as a variety of other delicious things!
Storing Your Starter
If you bake with sourdough a few times a month, keep your starter in the fridge and feed it every 7-10 days. If you bake with it every few days, store your starter at room temperature and feed it every day.
Supplies Needed to Make a Sourdough Starter:
- A clean glass jar. I use a wide-mouth, two-cup Weck jar. Glass jars are readily found on Amazon or World Market.
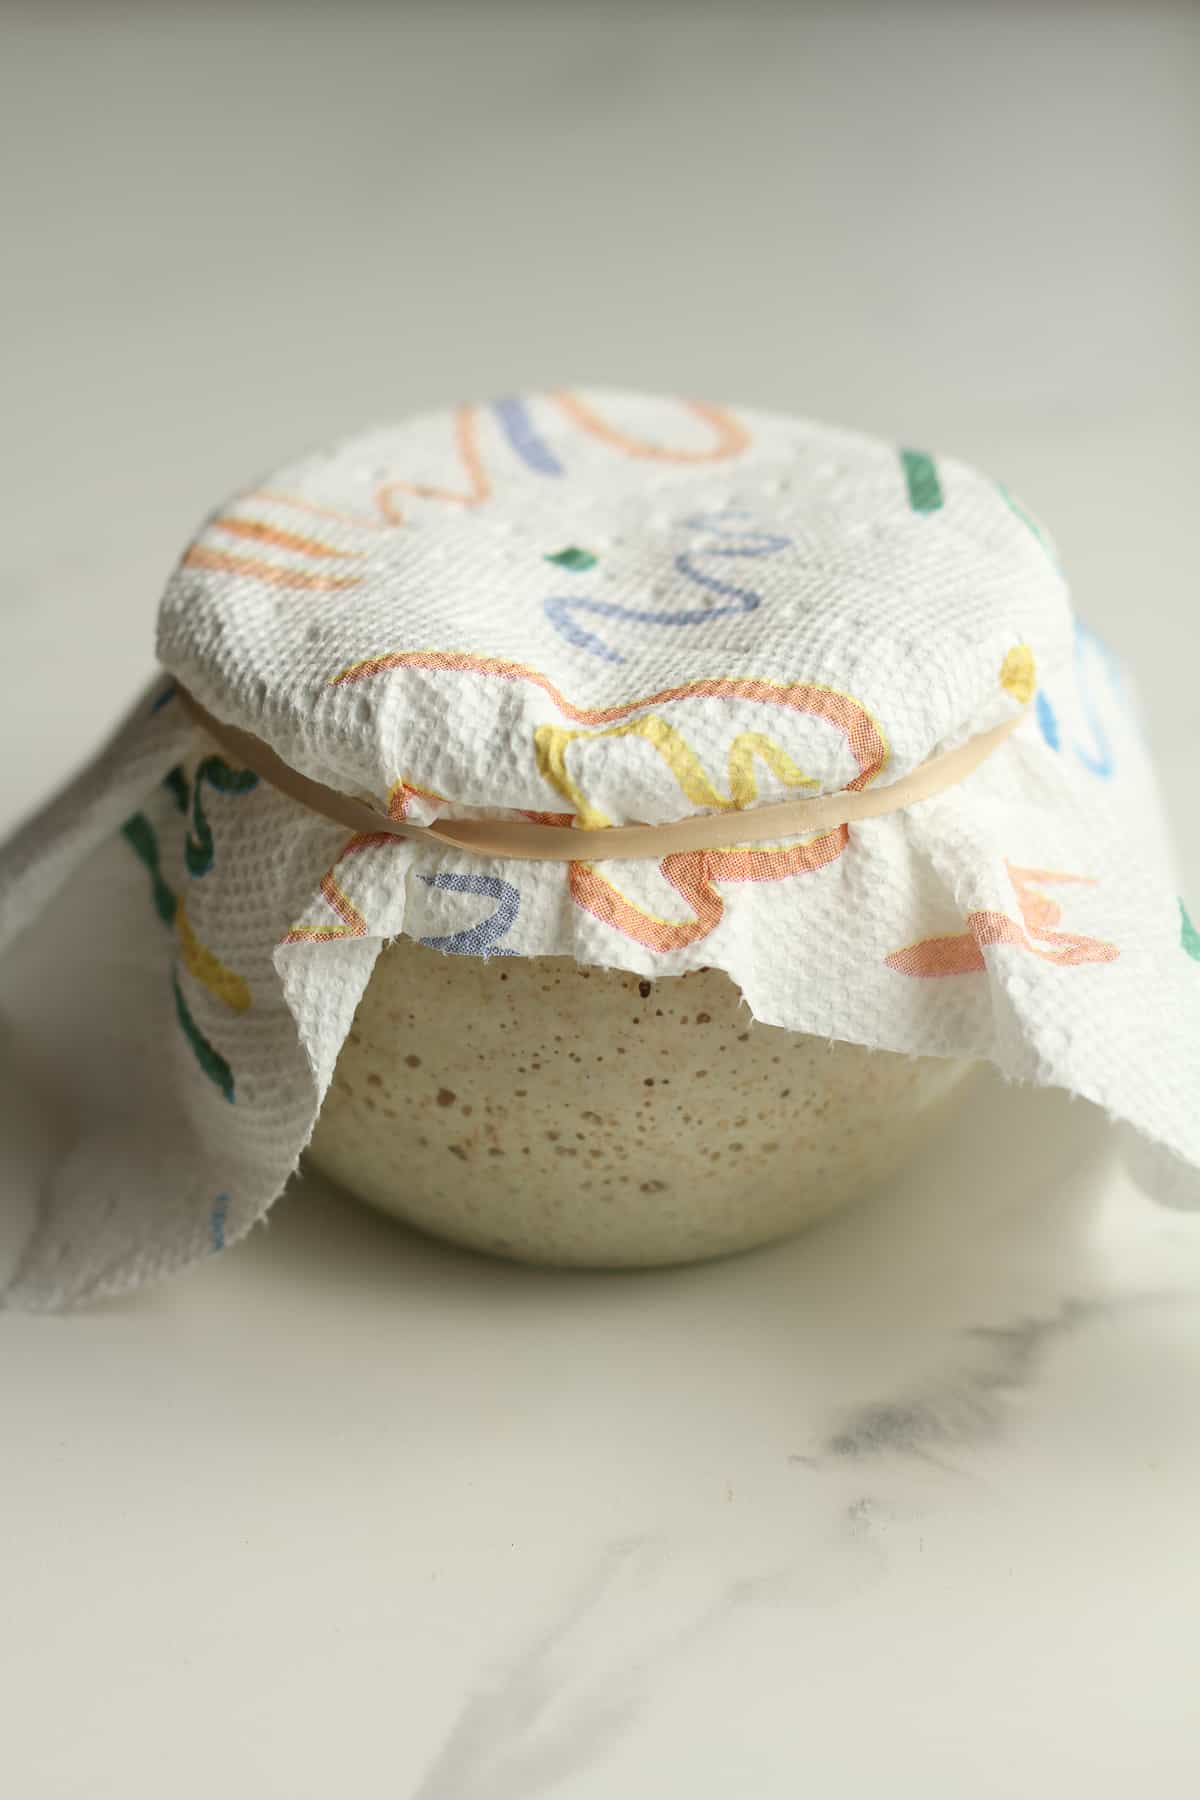
- Paper Towel plus rubber band – Loosely cover the jar with a paper towel and secure with a rubber band to allow air to flow in and out of the jar.
- Digital Scale. Mine is linked below.
- A small wooden spoon or small silicone spatula.
Note: You can also use a jar with a lid that you’ve poked holes in (instead of a paper towel). My brother uses this method and swears by it. 🙂
Ingredients Required for Sourdough Starter Basics:
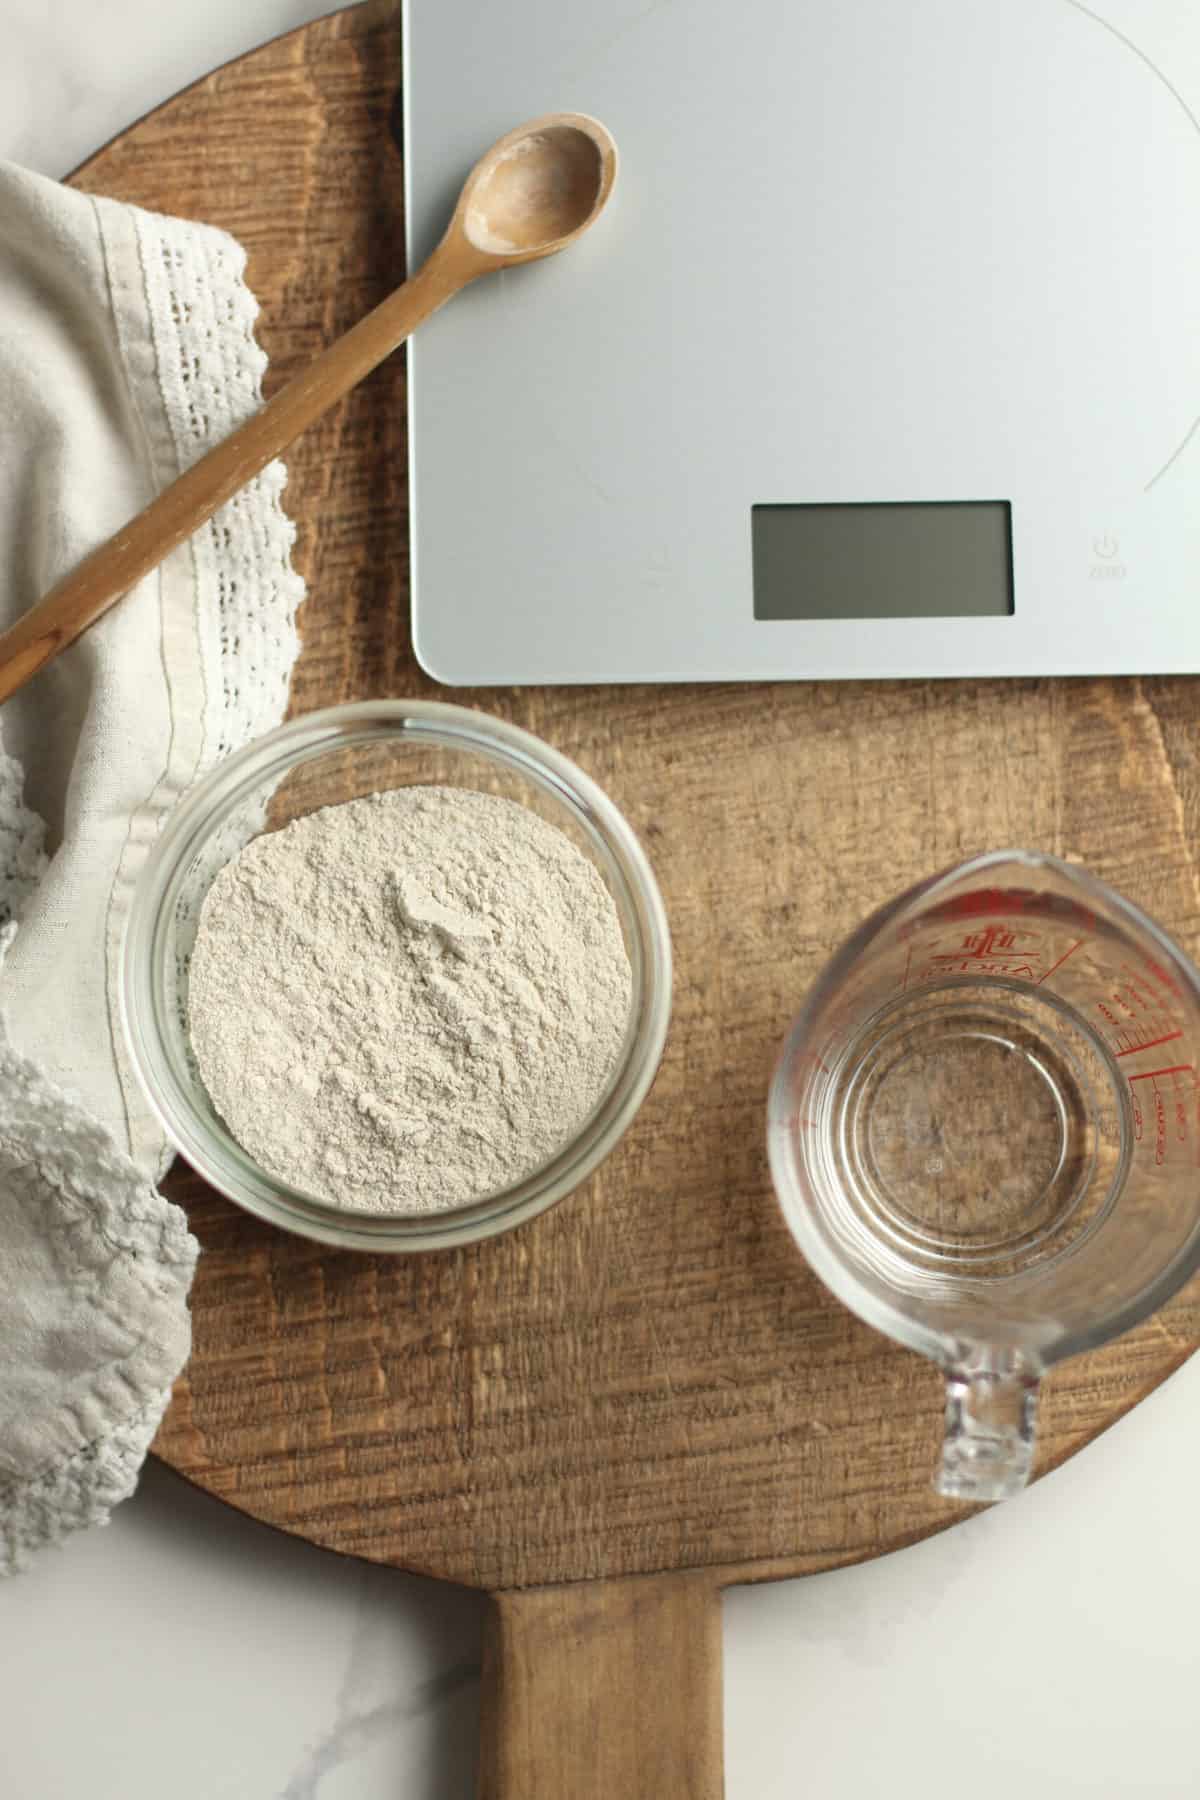
- Flour – You will need a mixture of unbleached all-purpose flour and whole wheat flour. Using whole wheat flour on the first day gives the starter a boost in the process but all-purpose flour should be used after that.
- Water – Use filtered or bottled water to create and feed your starter. Avoid tap water because the chlorine may cause the starter to die.
Day 1
- 50 grams of whole wheat flour
- 50 grams of filtered water (or bottled water)
Day 2 – 7 (or longer)
- 50 grams of all-purpose flour
- 50 grams of filtered water
How to make a Sourdough Starter:
I recommend feeding your starter at the same time each day, preferably first thing in the morning. The whole process should take approximately 7-10 days.
The environment of your kitchen is important to consider when growing a starter. Make sure it’s not too cold or too warm. The temperature should be between 68 – 76 degrees F for best results.
If you live in a cold climate, the starter should still grow but it will take a few days longer than average.
Day 1 – Make the initial starter.
In a clean jar, combine 50 grams of whole wheat flour with 50 grams of warm, filtered water. Use a wooden spoon to stir well. Cover the jar with a paper towel and fasten with a rubber band. Set the jar in a warm spot in your kitchen.
On the first day, the mixture will be thick and pasty. Don’t worry, that’s normal at this stage.
Day 2-7 (or longer) – Feed starter.
Each day, discard approximately half of the starter. Add 50 grams of unbleached flour and 50 grams of warm filtered water. Use a wooden spoon to stir well. Continue to cover the jar with a paper towel and place in a warm spot in your kitchen.
I personally eyeball the amount of starter to discard. If preferred, you can weigh the starter and discard exactly half each day.
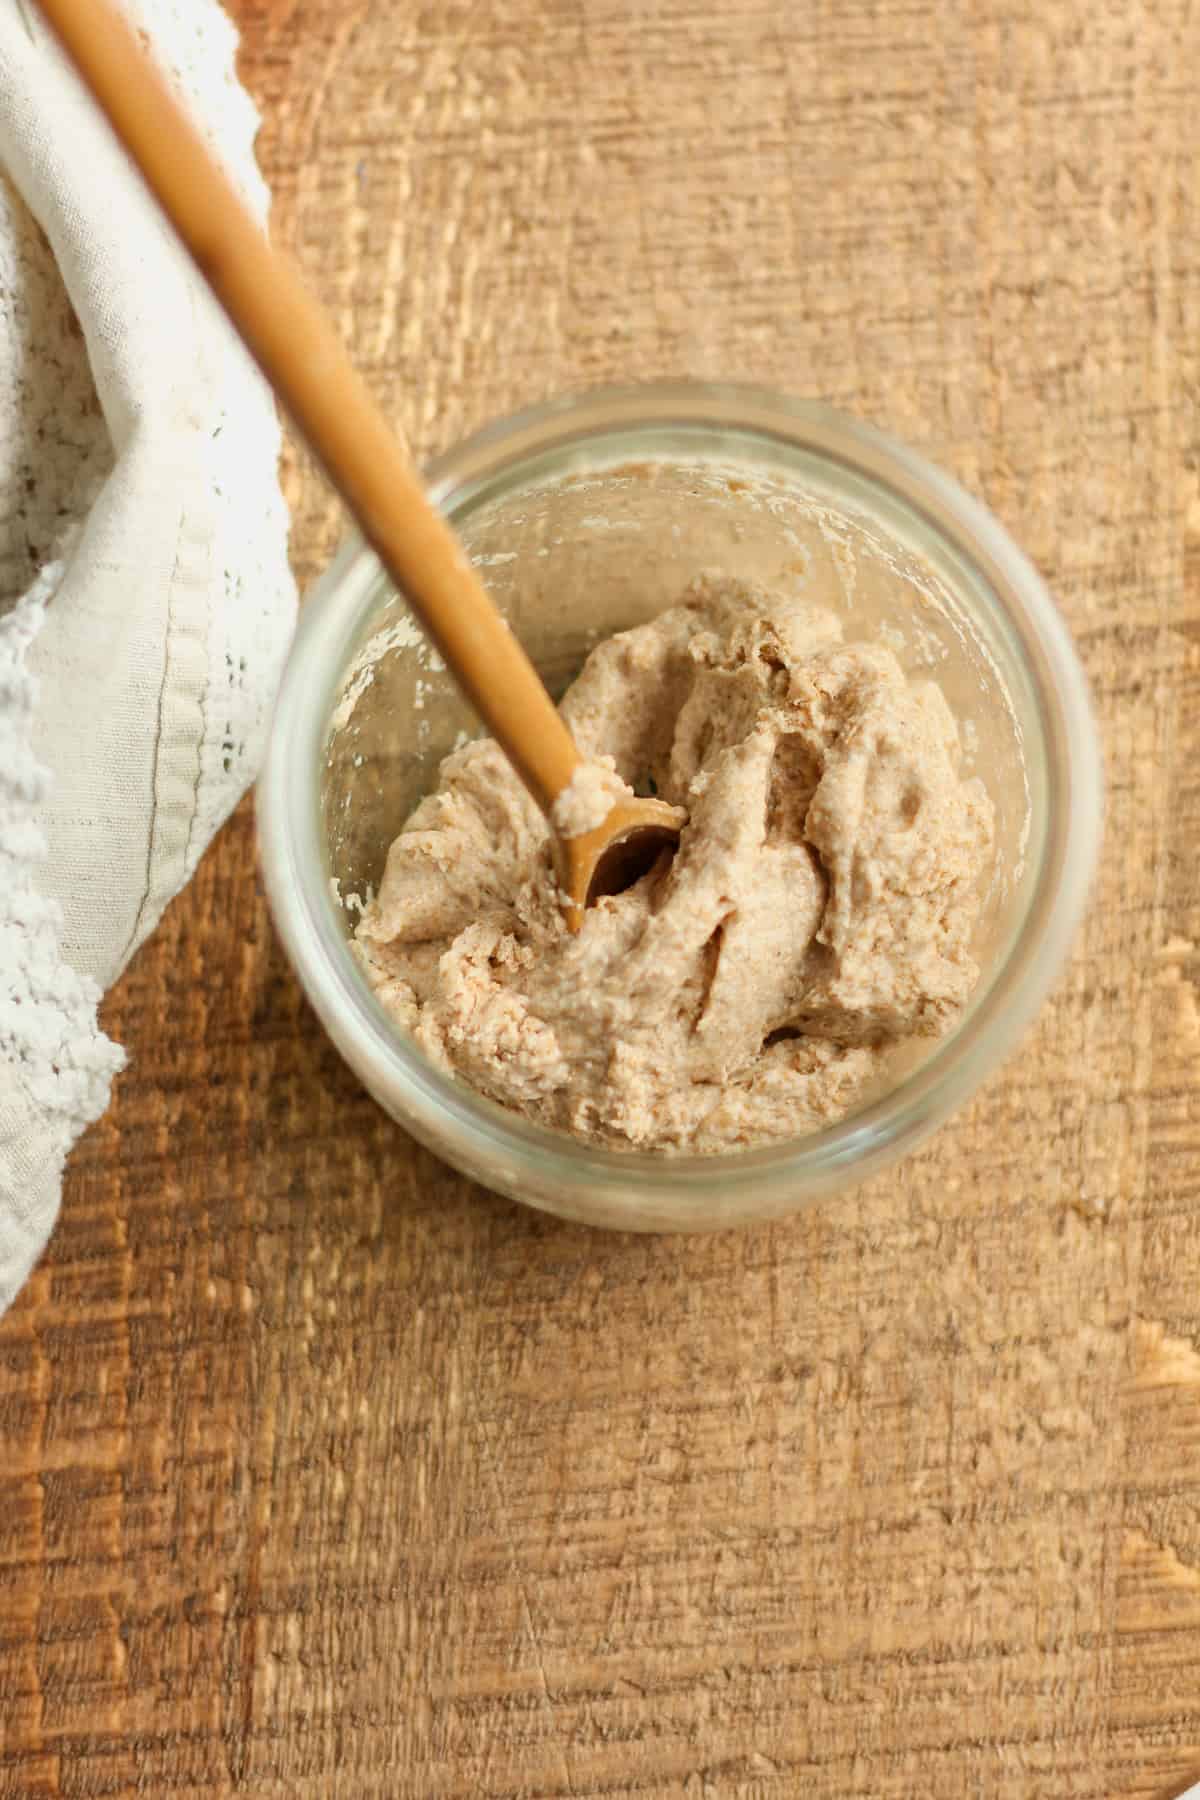
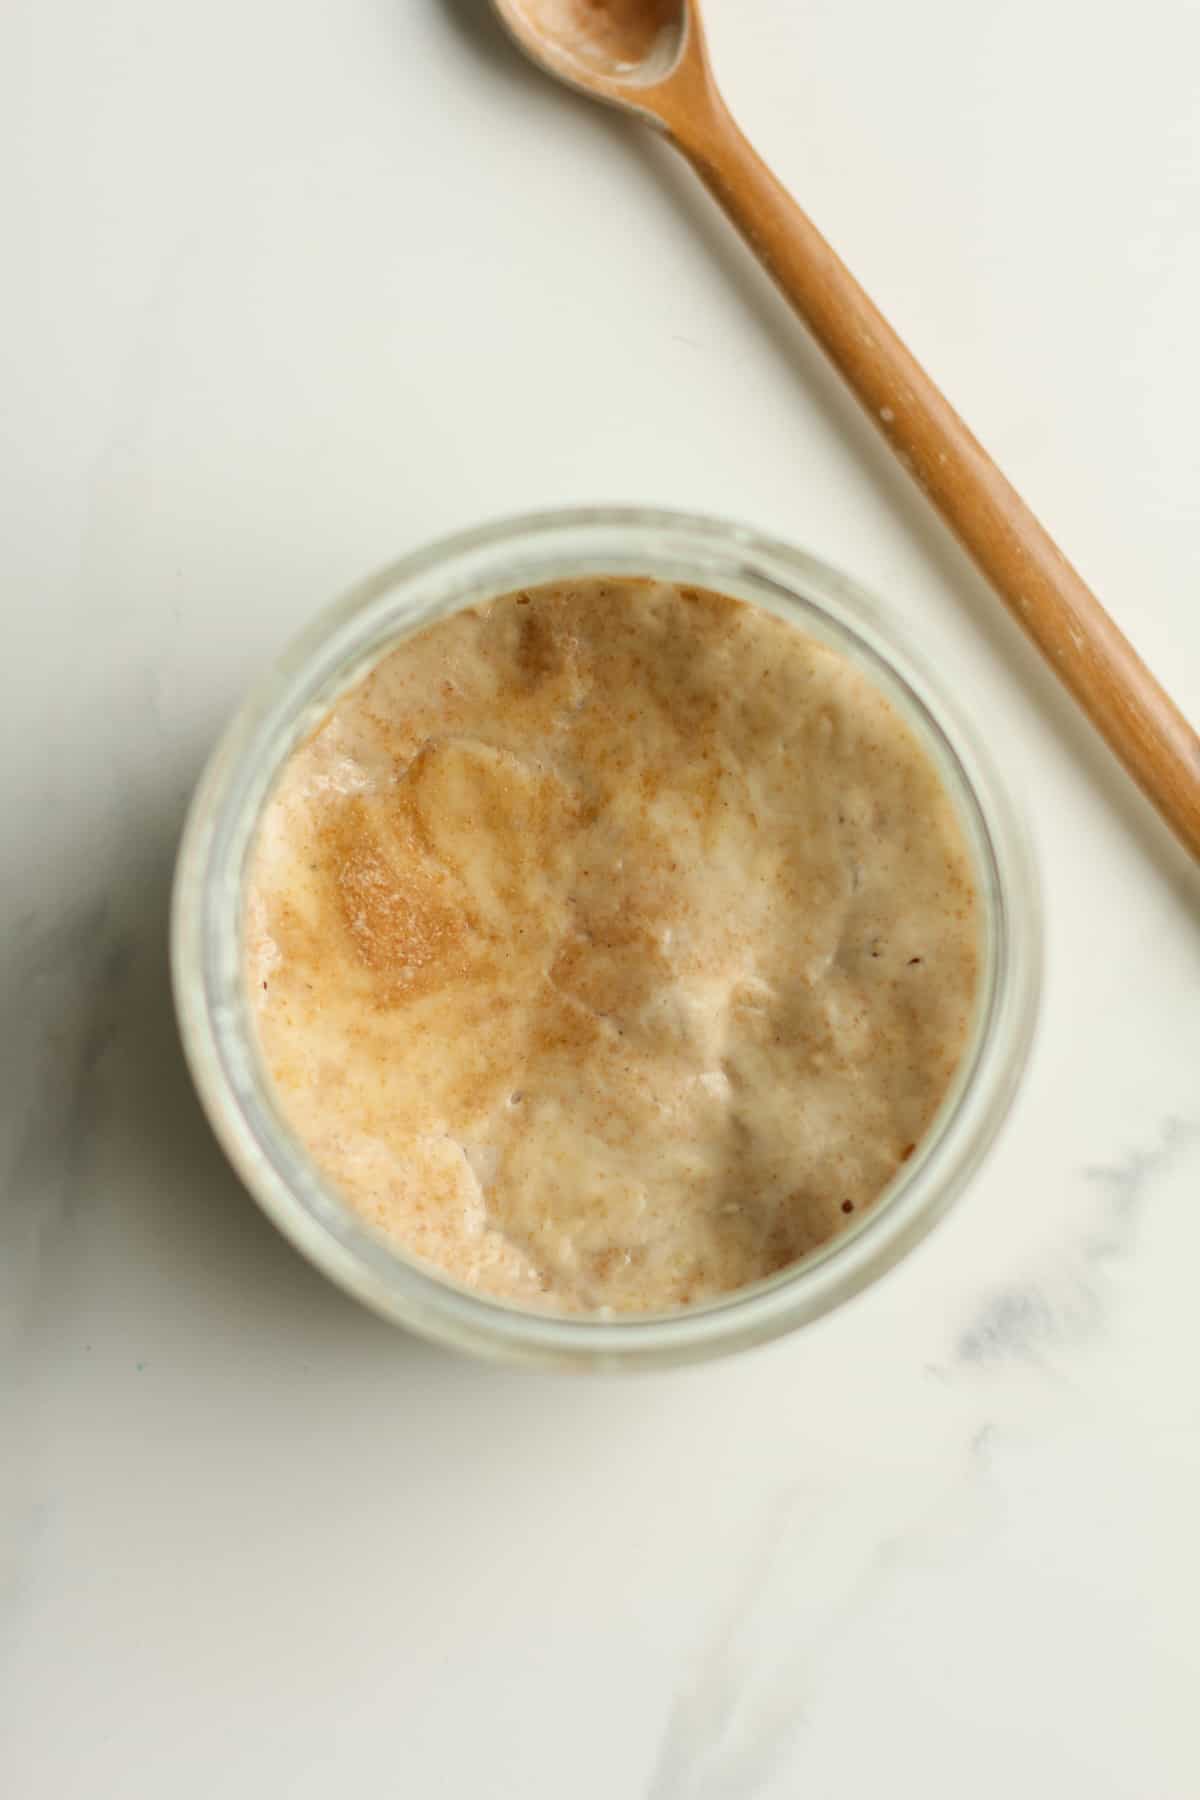
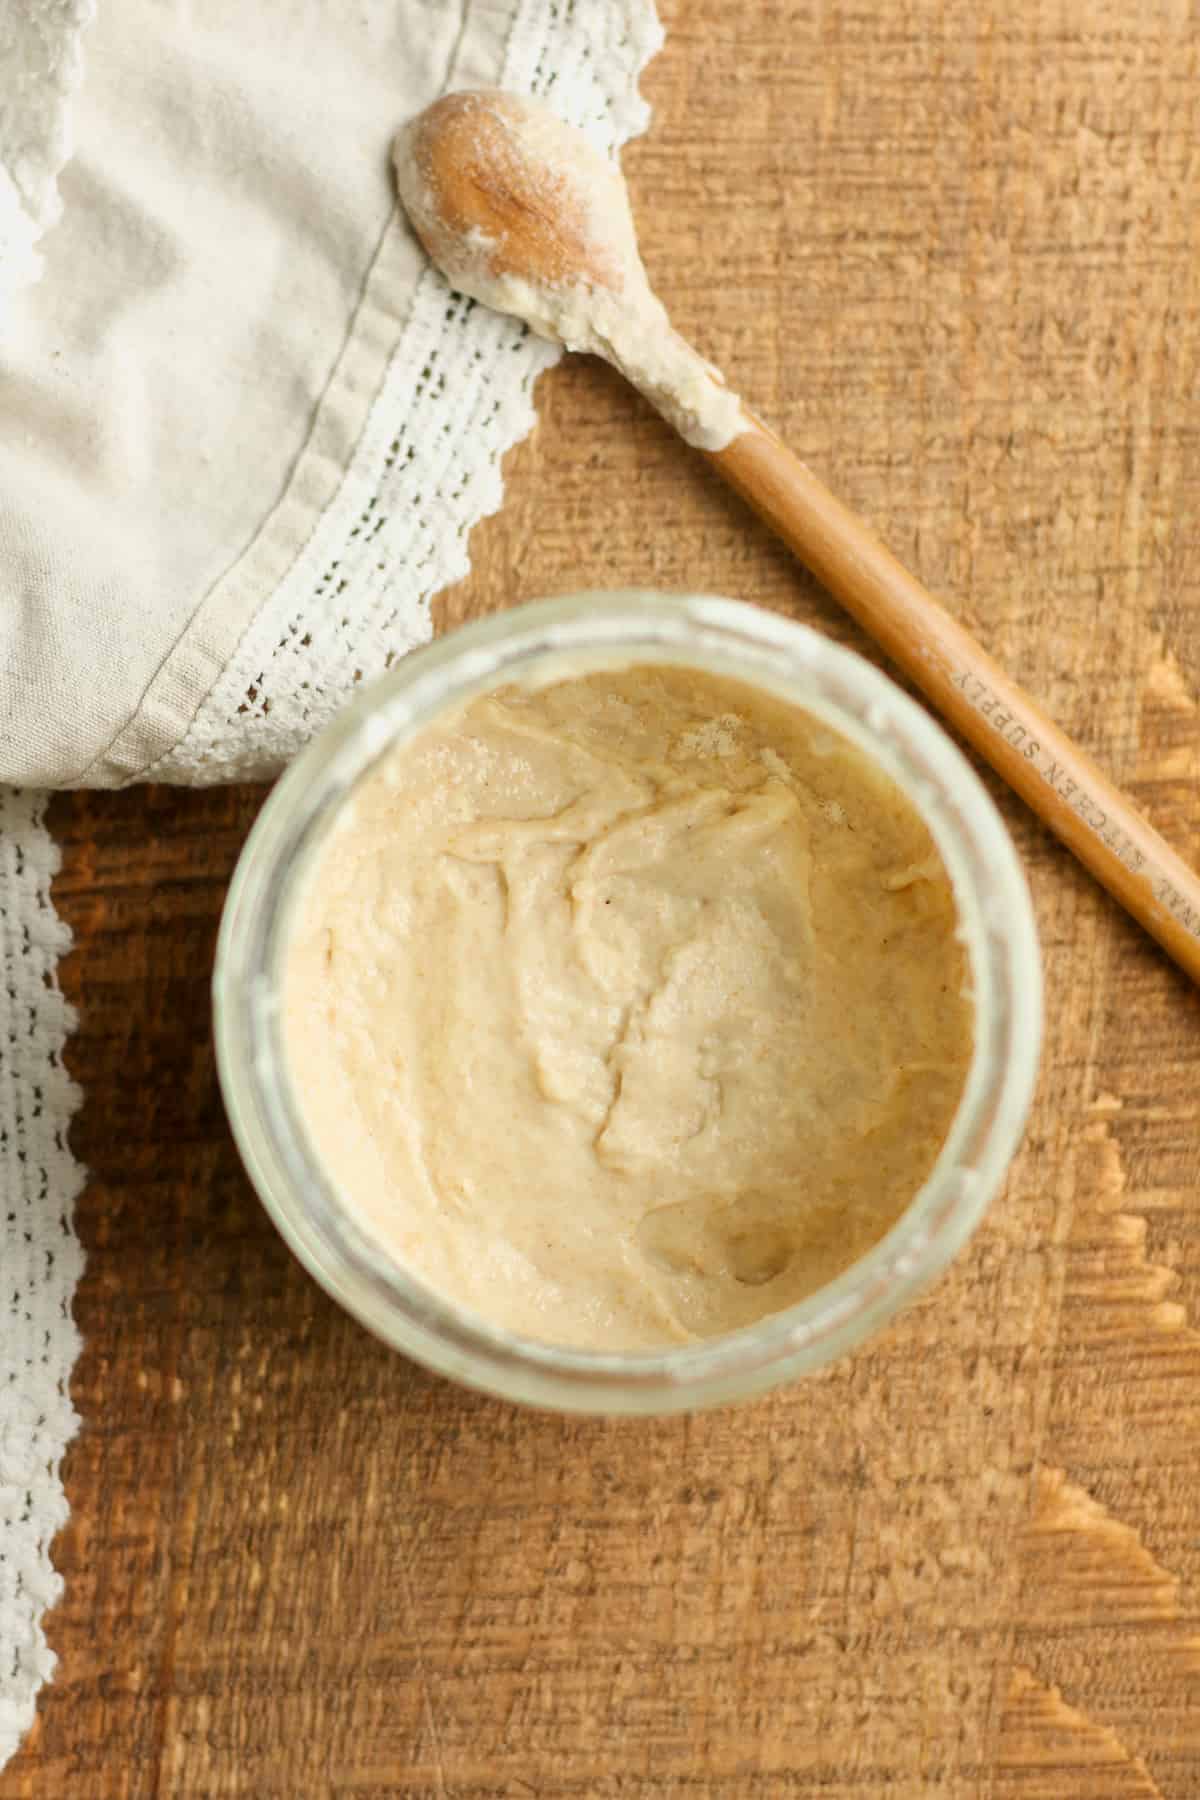
Below is what Justine (my starter) looked like 1) before feeding on day 3 and 2) after feeding on day 3.
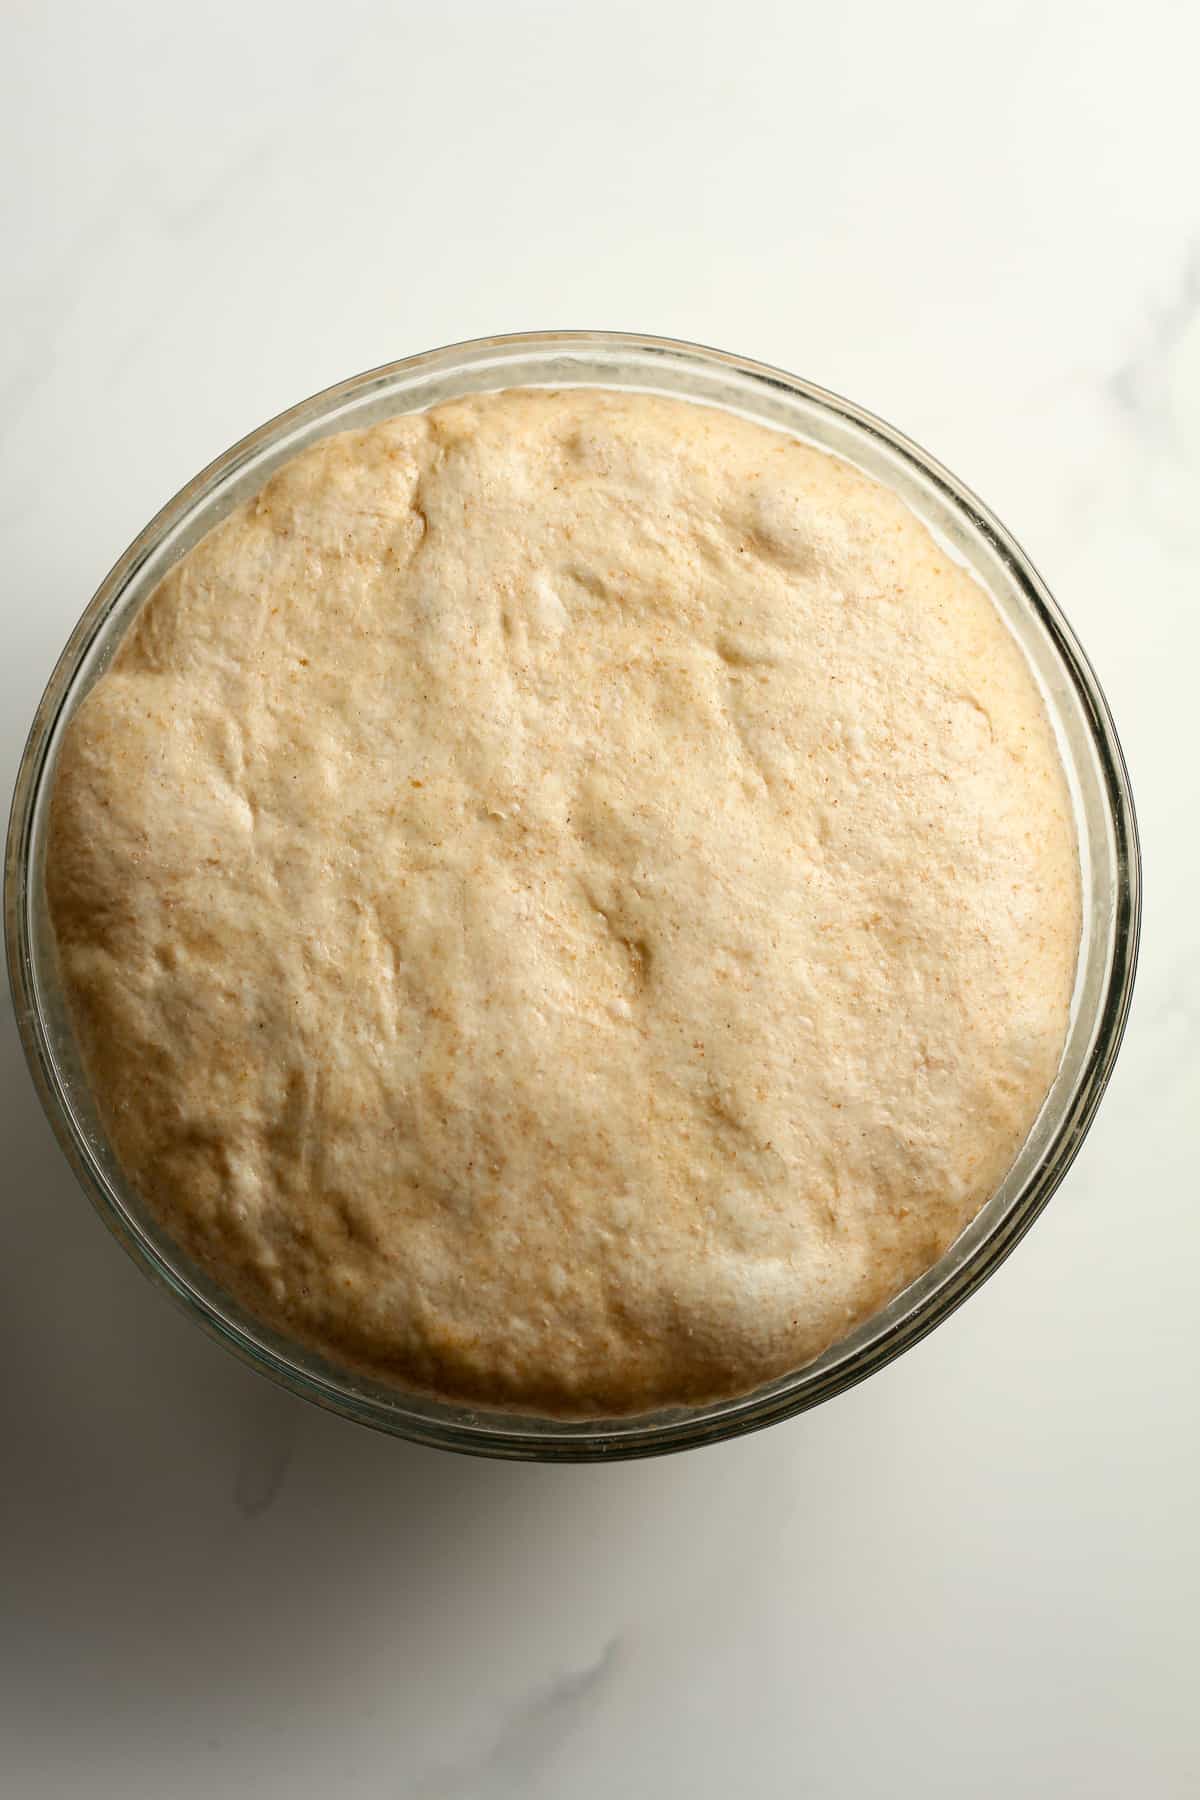
How do I know when my sourdough starter is ready?
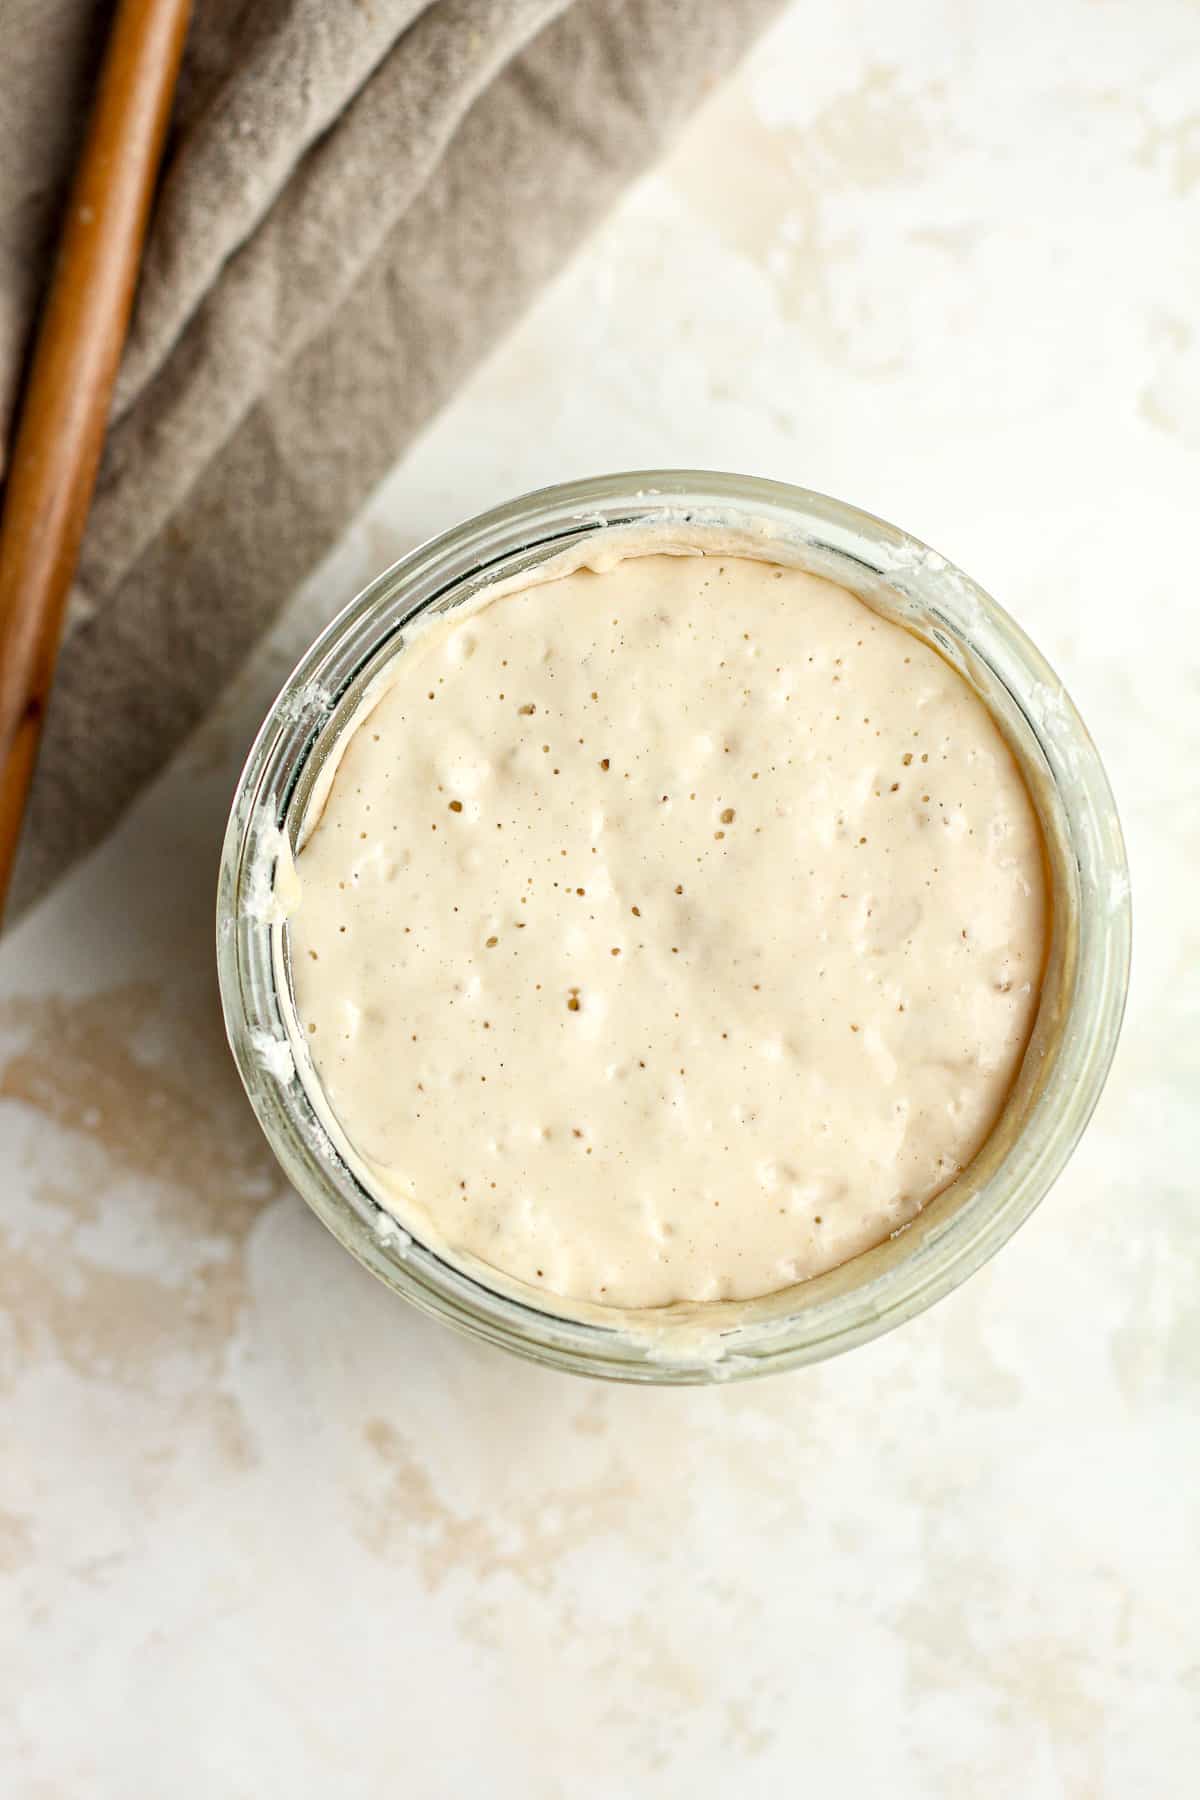
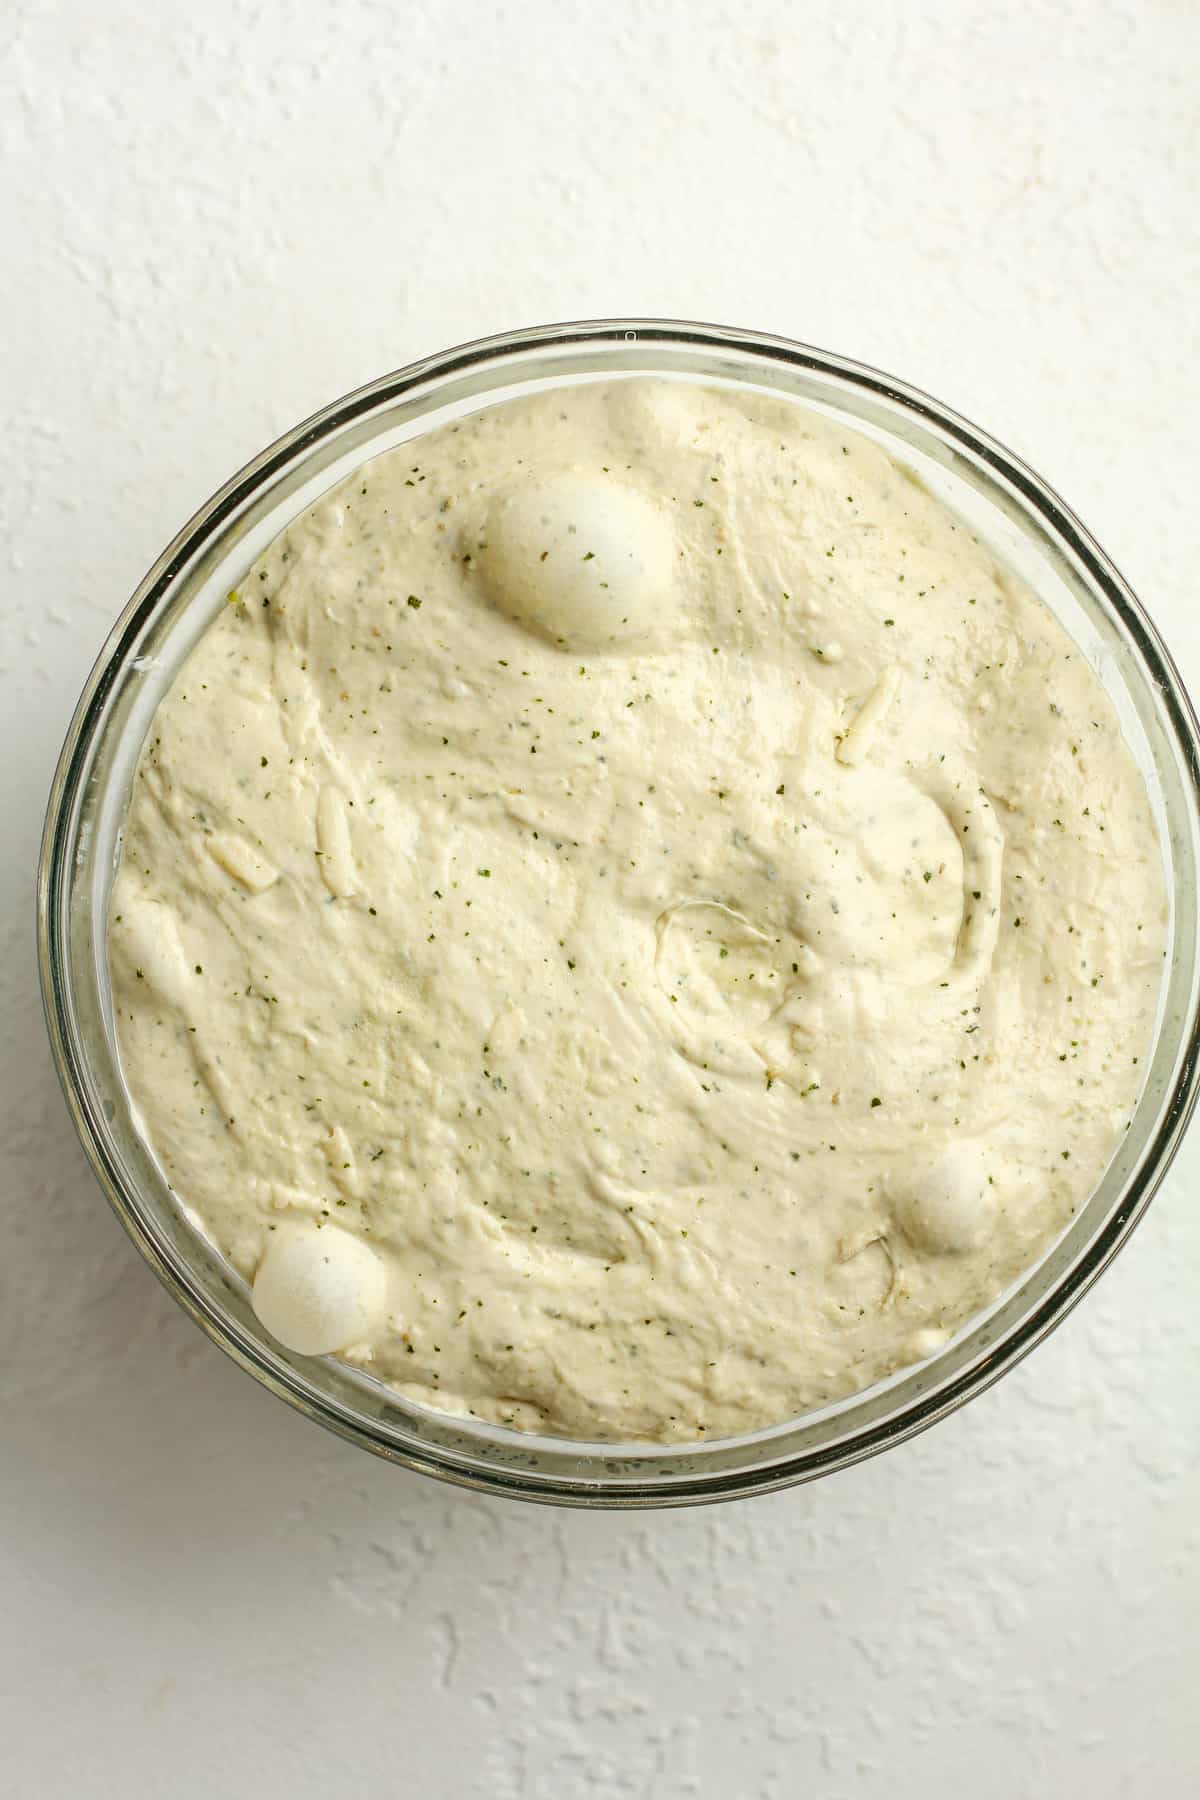
- Towards the end of the 7-10 days, you’ll see that the starter doubles in size each day a few hours after feeding. It will also appear to be very fluffy and bubbly.
- The starter floats. See below.
The Float Test
To determine if your starter is ready, you’ll need to do a float test. As you approach day 7 and notice that your starter is “growing” in the jar and becoming bubbly, gently remove a teaspoon of starter and place in a bowl of water. If it floats, you’ve got an active starter. You’re ready to put your starter to work!
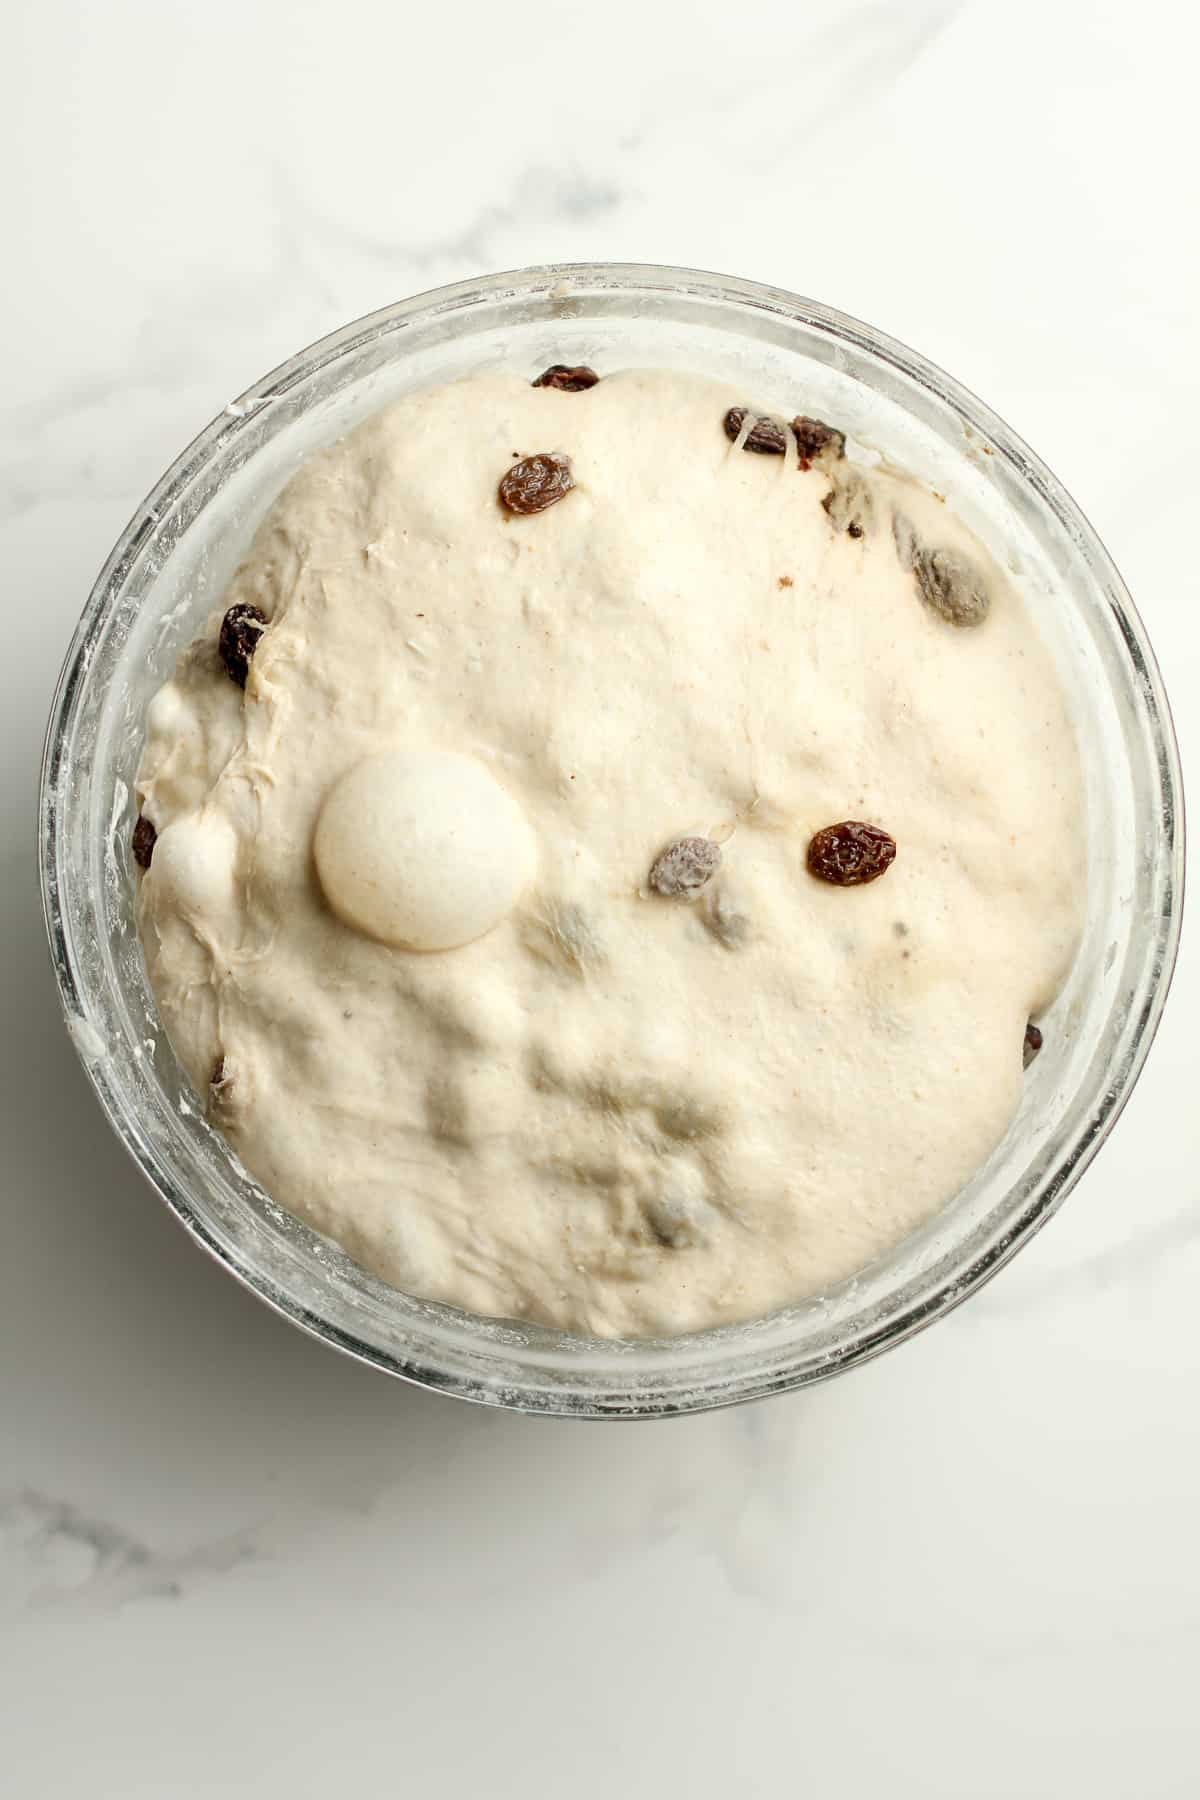
NOTE: Once you’ve created an active starter, the discarded starter can be collected in a separate container and stored in your refrigerator to use in sourdough discard recipes.
Sourdough FAQs:
What is sourdough? Sourdough is a slow-fermented bread that doesn’t require store-bought, commercial yeast to make it rise. It’s a LIVE fermented culture which creates a natural leavening agent. A starter is required to make sourdough.
Is sourdough bread healthy? Sourdough bread is NOT gluten-free, as it contains flour, but its long fermentation helps break down this gluten. It’s easier on the gut because it’s more digestible and easier for the body to absorb. It’s also DELISH!
Why do we discard and feed a sourdough starter? It’s necessary to discard and feed a starter to create the gasses it needs for bread baking. Your starter will become “hungry” when it has used up the food (the gasses) and starts to deflate in the jar. It rises and falls at different rates depending on many factors.
How do I know if my starter has gone bad? The starter is bad if the top is hard and discolored (not brown but colored spots) and/or has mold growing it. This should be thrown out immediately.
How often should I change the jar? This is up to you, but I normally change the jar after the sides get incredibly thick and crusty. Normally for me, that’s about once per month. However, if you keep the insides of your jar clean with a small spatula each time you feed it, you probably won’t need to change jars at all.
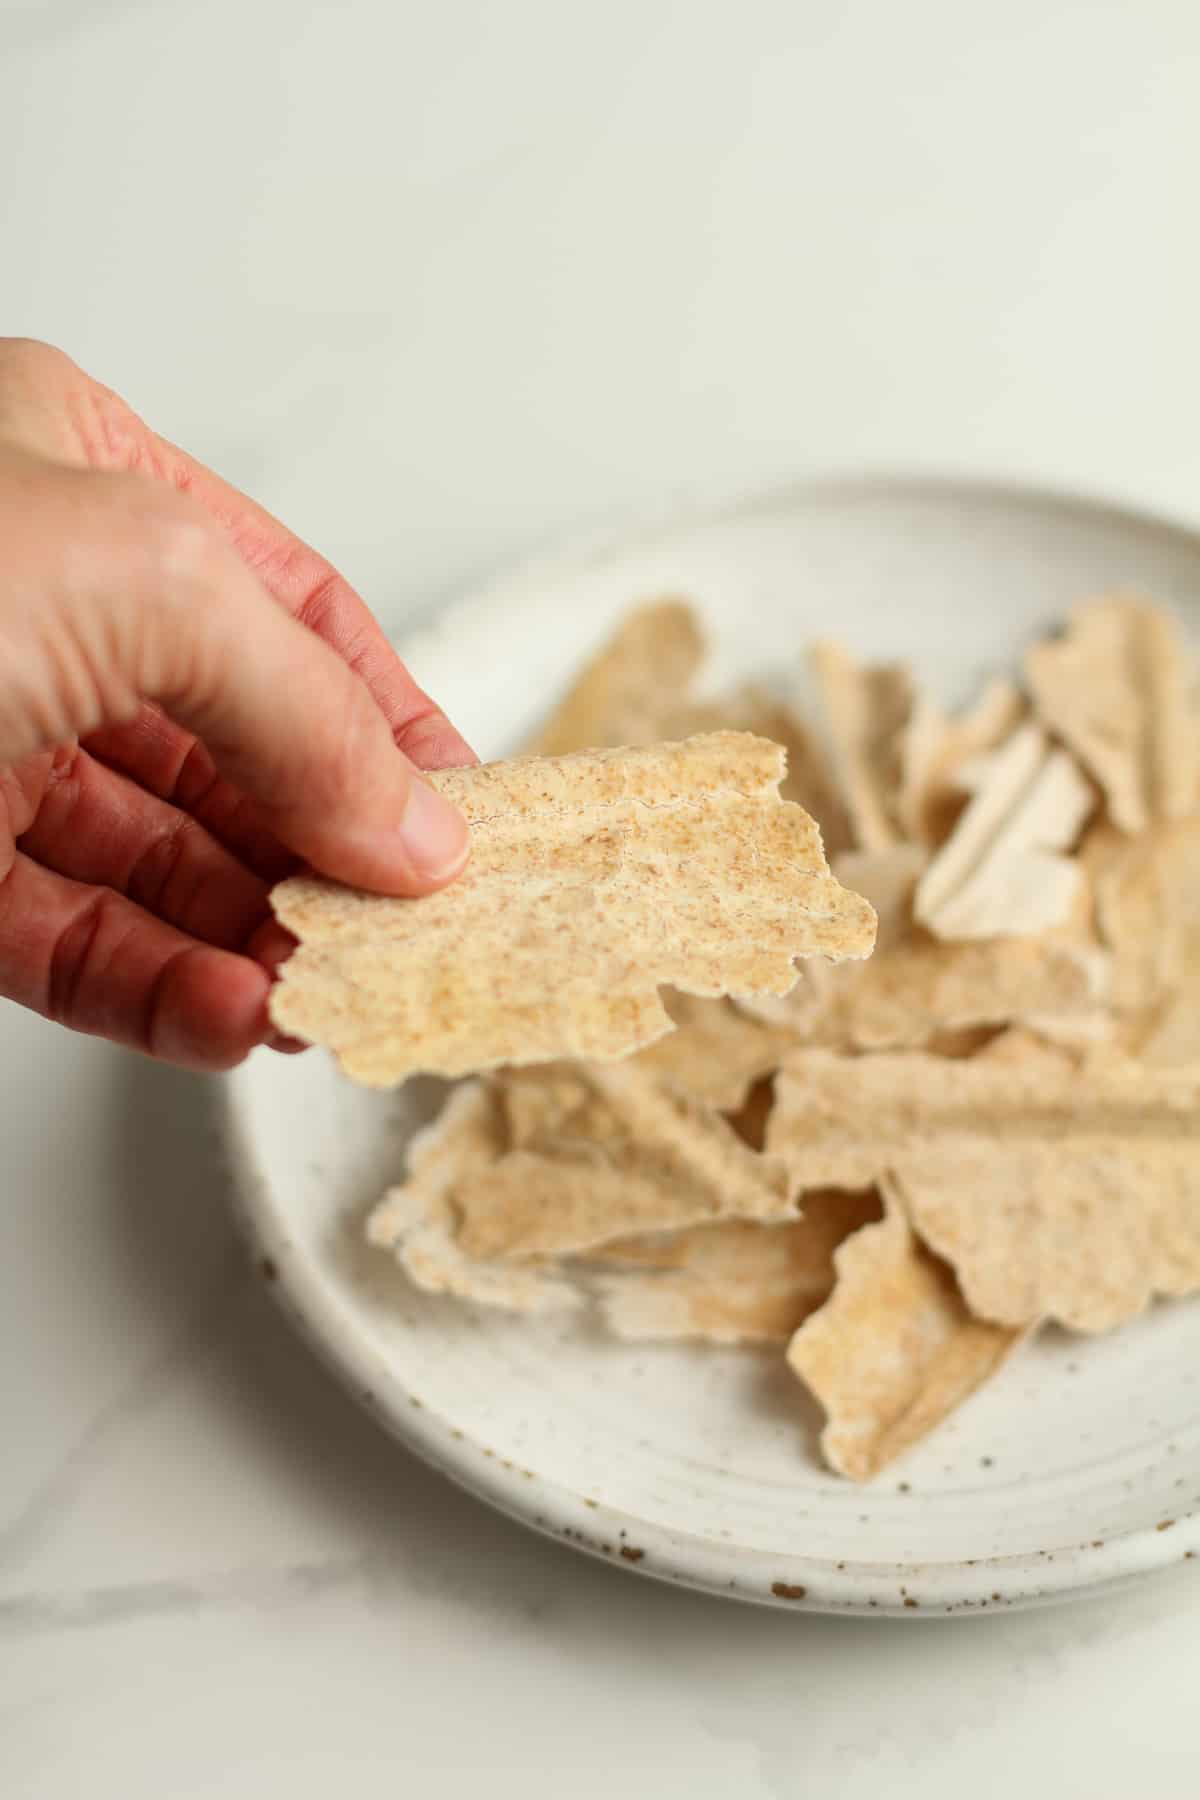
Don’t toss your sourdough discard—it’s packed with flavor and can add a tangy depth to so many recipes. Use it in our Sourdough Discard Crackers, pancakes, muffins, pizza, and more! Not only does it cut down on waste, but it also makes everyday favorites even more delicious.
Observations:
As you go through days one through seven (or longer if necessary), you’ll notice several things.
- Bubbles – When the starter is active, you’ll see lots of small bubbles on the top.
- Smell – If your starter smells like vinegar, you’re smelling the acids of the fermentation and that is ok. It usually means that it’s hungry and needs to be fed.
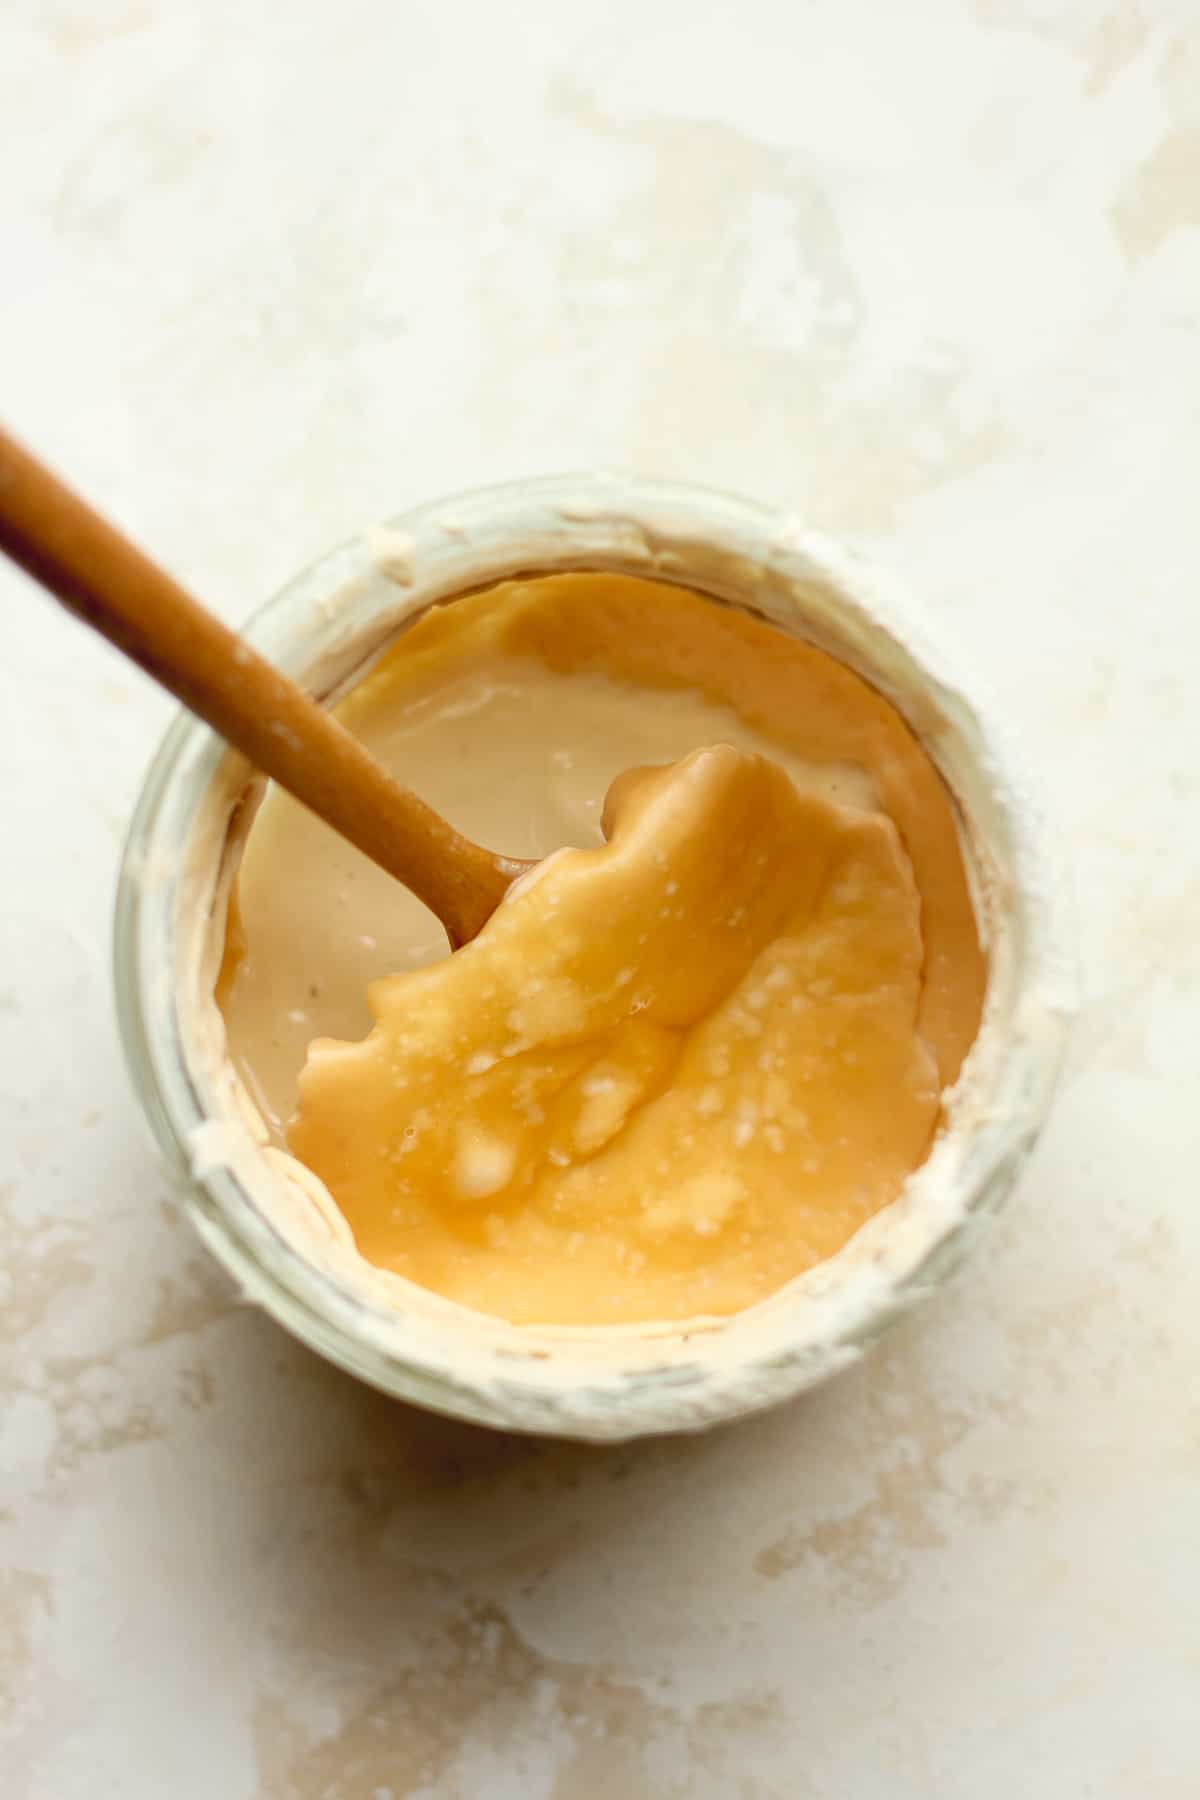
- Hooch – This is a brown liquid that pools to the top of the starter and hardens. Simply discard it and feed as usual. See photo below showing the spoon lifting the thick dark layer before discarding it.
- Consistency – Your active starter should be thick like pancake batter. Pourable but not too thin.
- Rise and Fall – Each day, you’ll see the starter rise and then fall.
Pro-Tip: Use an active sourdough starter when it is at peak height. It will rise after feeding and stay up for anywhere between one and several hours.
Sourdough Tips:
- For best results, keep your starter at room temperature (preferably in a warm spot in your kitchen) when getting ready to bake with it.
- Cooler temperatures will make it more difficult to get it bubbly and active.
- Use equal parts of warm filtered water and flour when feeding your starter.
- Avoid tap water in the sourdough process.
- For an extra sour flavor, use partial amounts of whole-grain flour along with regular white flour.
- When creating a starter, it’s best to keep a regular feeding schedule where you feed it at about the same time each day.
- The type of flour you use is important. Unbleached flour (or organic) are highly recommended.
A healthy starter will rise to the top of the jar, appear bubbly on top, and will smell a lot like vinegar.
How to prepare starter to have enough for your recipe:
First of all, consider this:
- If your starter is rather large and you’ll know you have enough to bake with, then carry on. No need to adjust.
- If your starter is rather small, you’ll need to bulk it up so that you have enough to bake with and some to keep. (Because my rule of thumb is to NEVER RUN OUT OF STARTER!)
Proceed, if necessary:
- Feed the starter as normal up to the day before you bake, generally speaking.
- Adjust the starter the day before you bake OR the day you bake.
- If you need 75 grams of starter in your recipe, you’ll want to have roughly 100 grams of starter at the ready. Some to use and some to keep.
- So if you only have about 50 grams of starter and then 25 grams after discard, add 35 grams of water and 35 grams of flour to your starter to bulk it up.
NOTE: If you are “resting” your starter in the refrigerator and not actively baking, you can keep a very small amount. I recommend keeping at least 30 grams.

How to Dry Your Starter:
There are a couple of reasons to dry some of your starter.
- If you want to make sure you never ruin your starter and want to have it as a back-up.
- If you are traveling and know you won’t be able to feed it in a timely manner.
- If you’d like to send it to someone to use for their own starter.
To dry your starter, do the following things:
- Prep a sheet pan with some parchment paper.
- Spread a thin amount of starter on the parchment.
- Let it sit at room temperature for several days until it hardens.
- Remove the dried starter in pieces.
- Store at room temperature.
To revive a dried starter,
- Crumble some of the starter (about 10 grams), place in a jar, and add twice as much warm filtered water. Let this sit for several hours.
- Then add 20 grams each of filtered water and unbleached flour. Let sit at room temp for 24 hours.
- Start the discard and feeding process until the starter is revived.

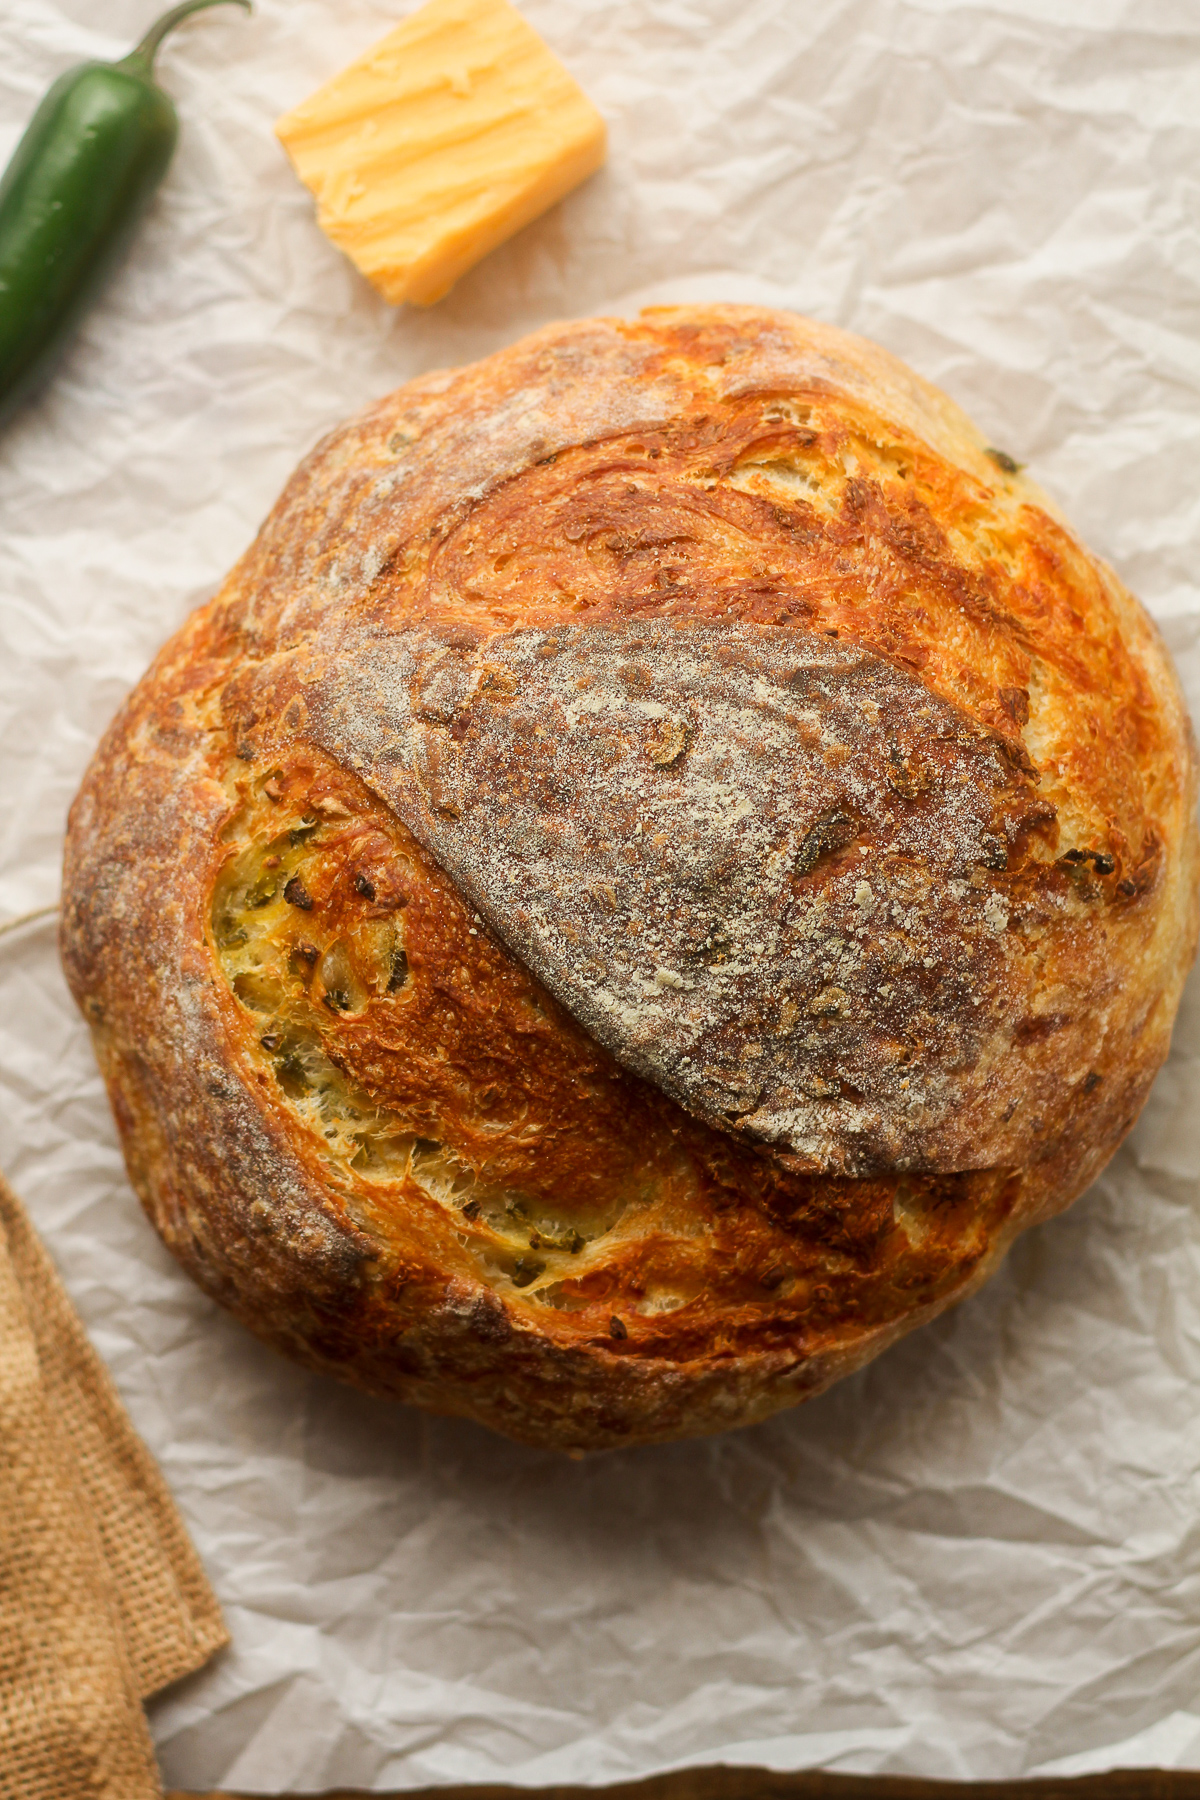
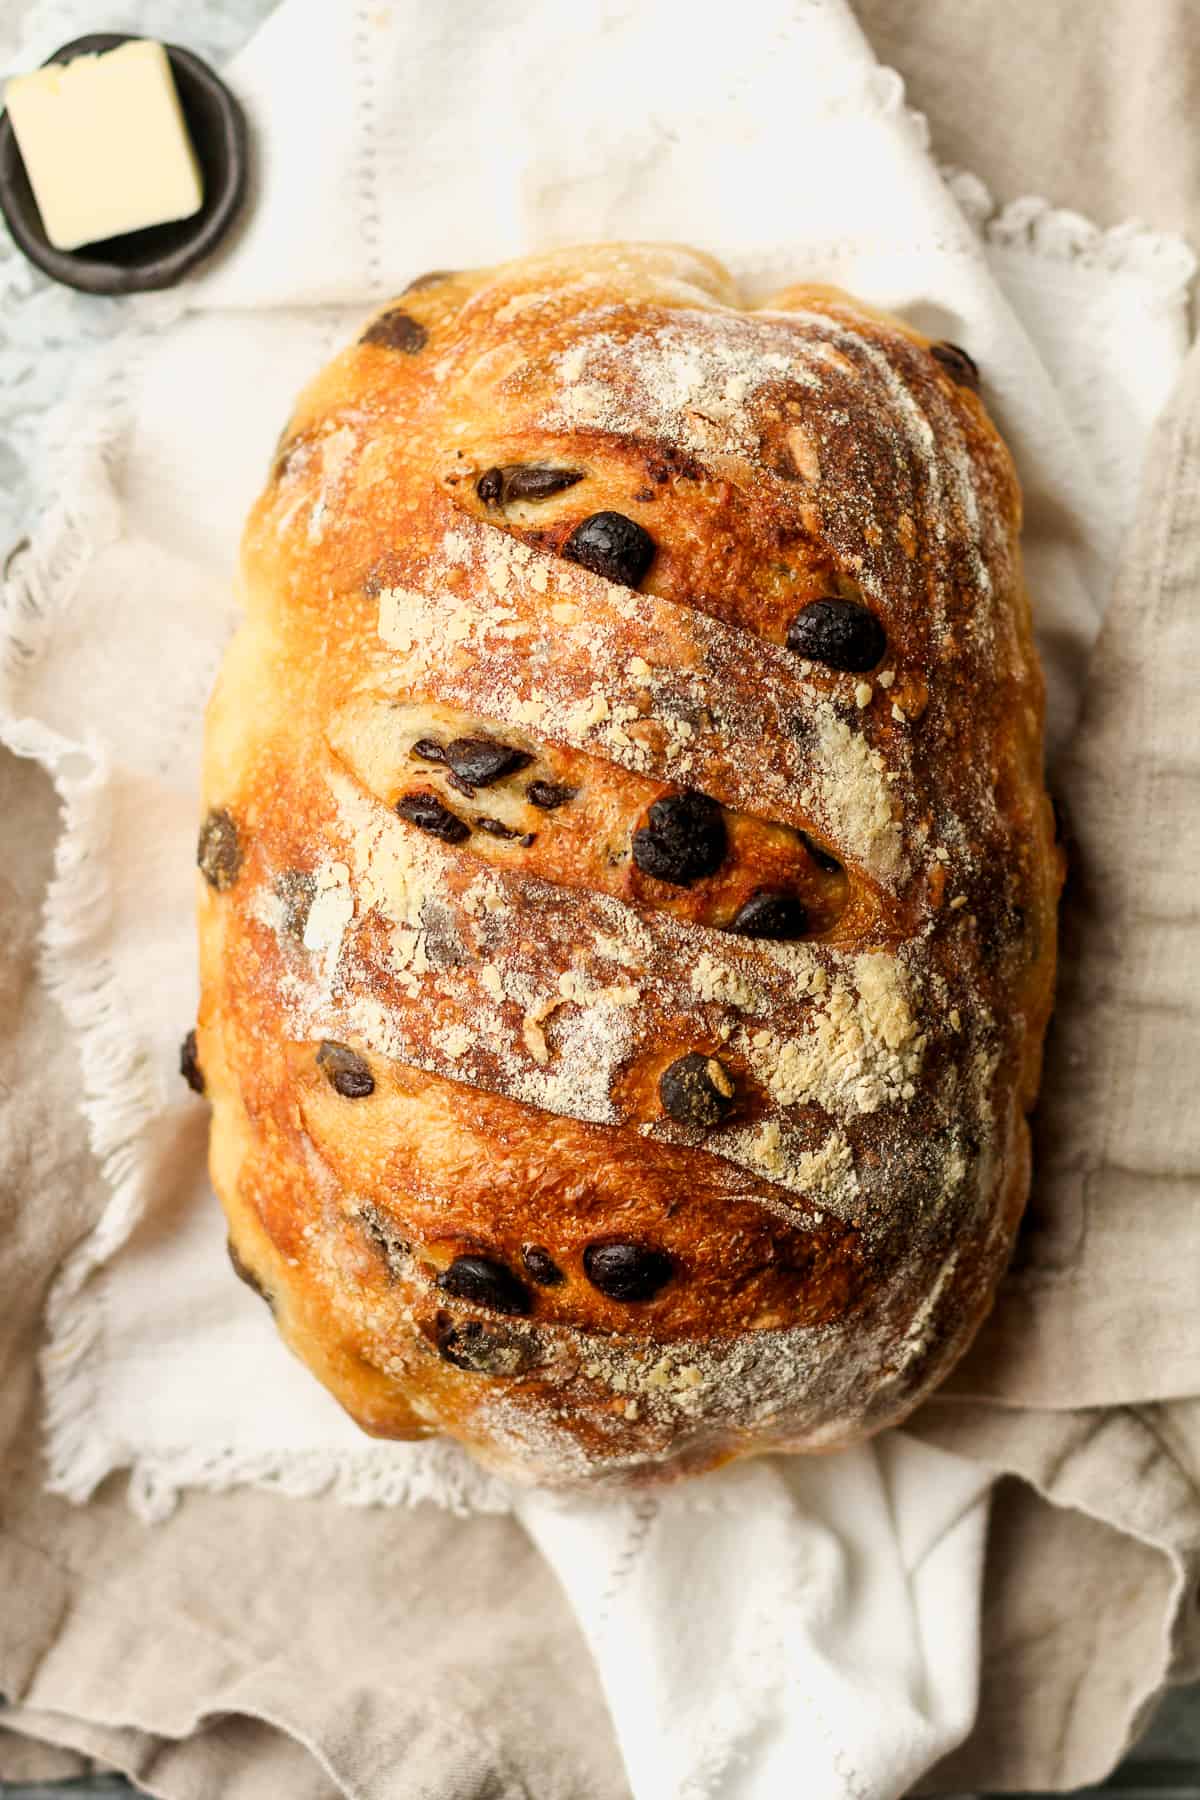
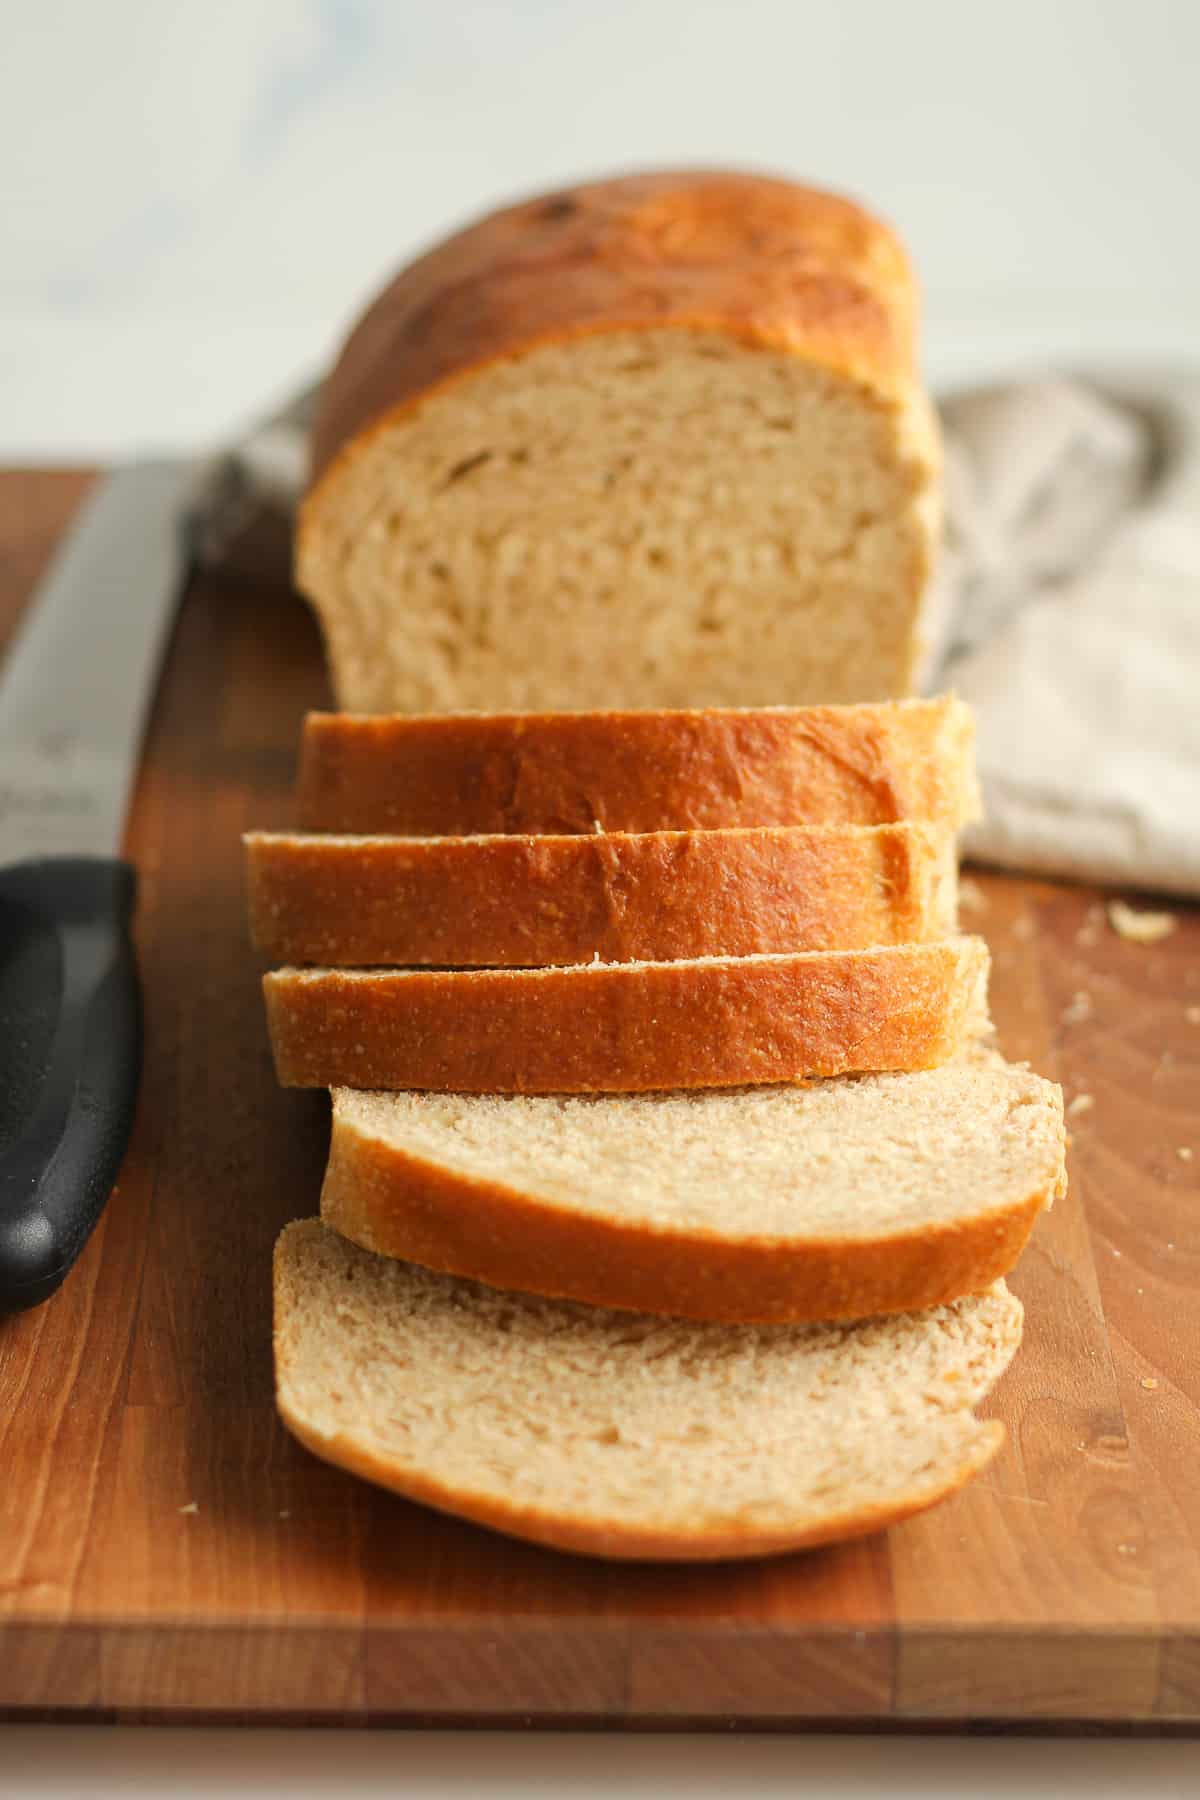
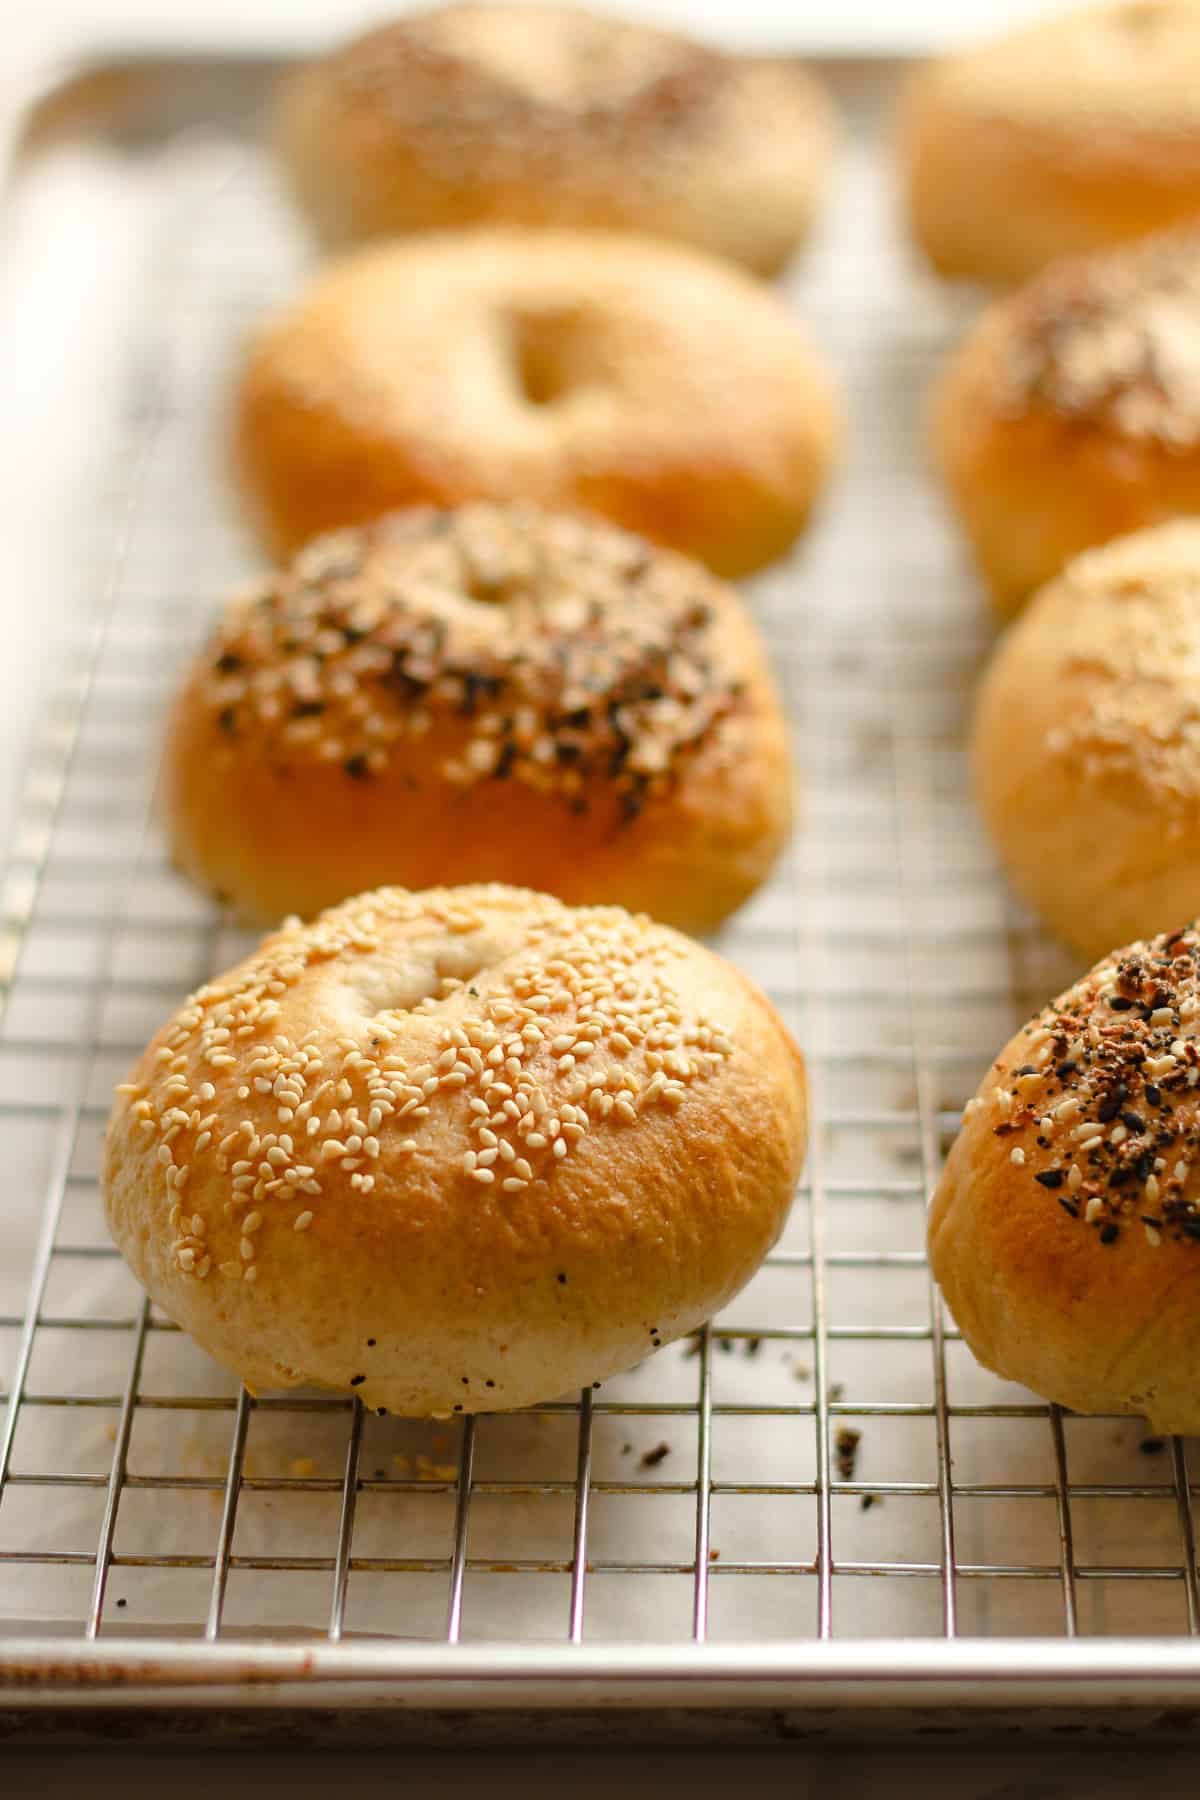
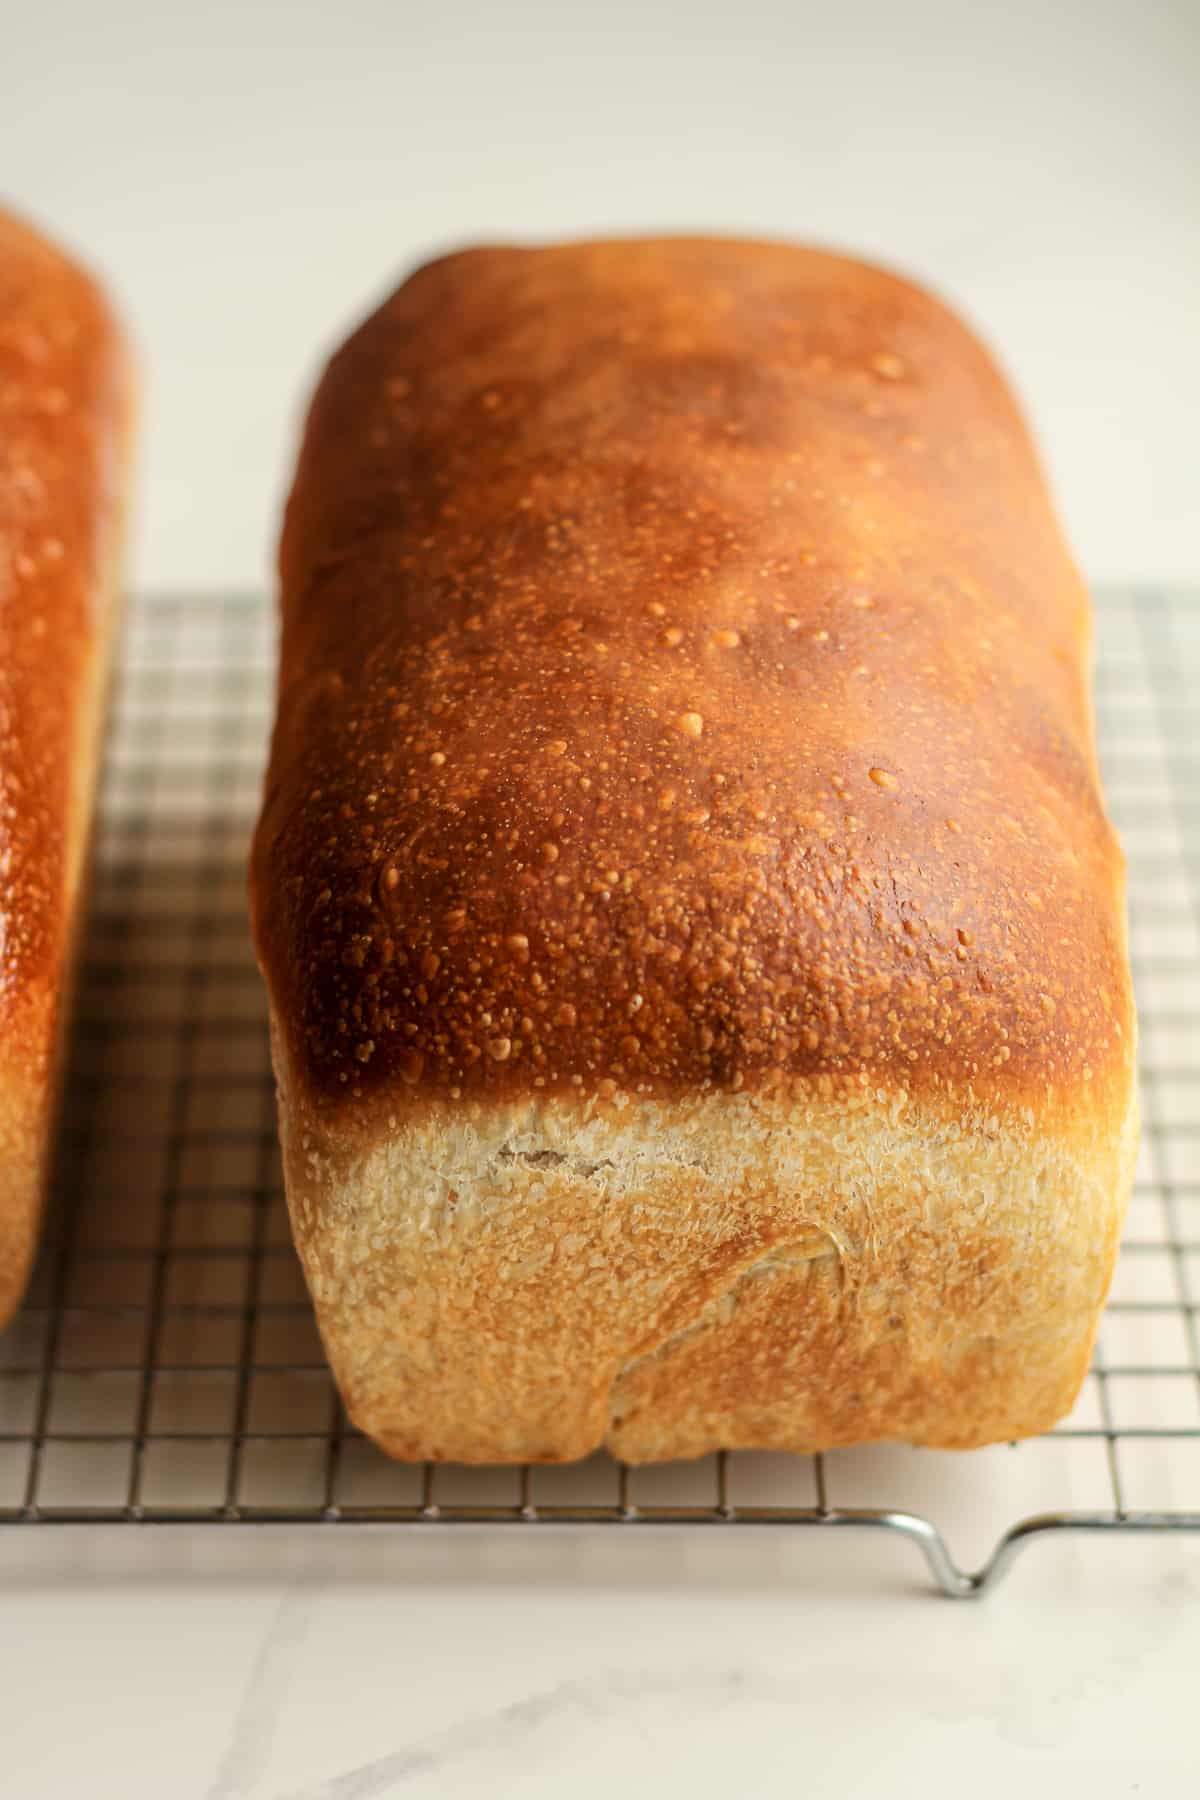
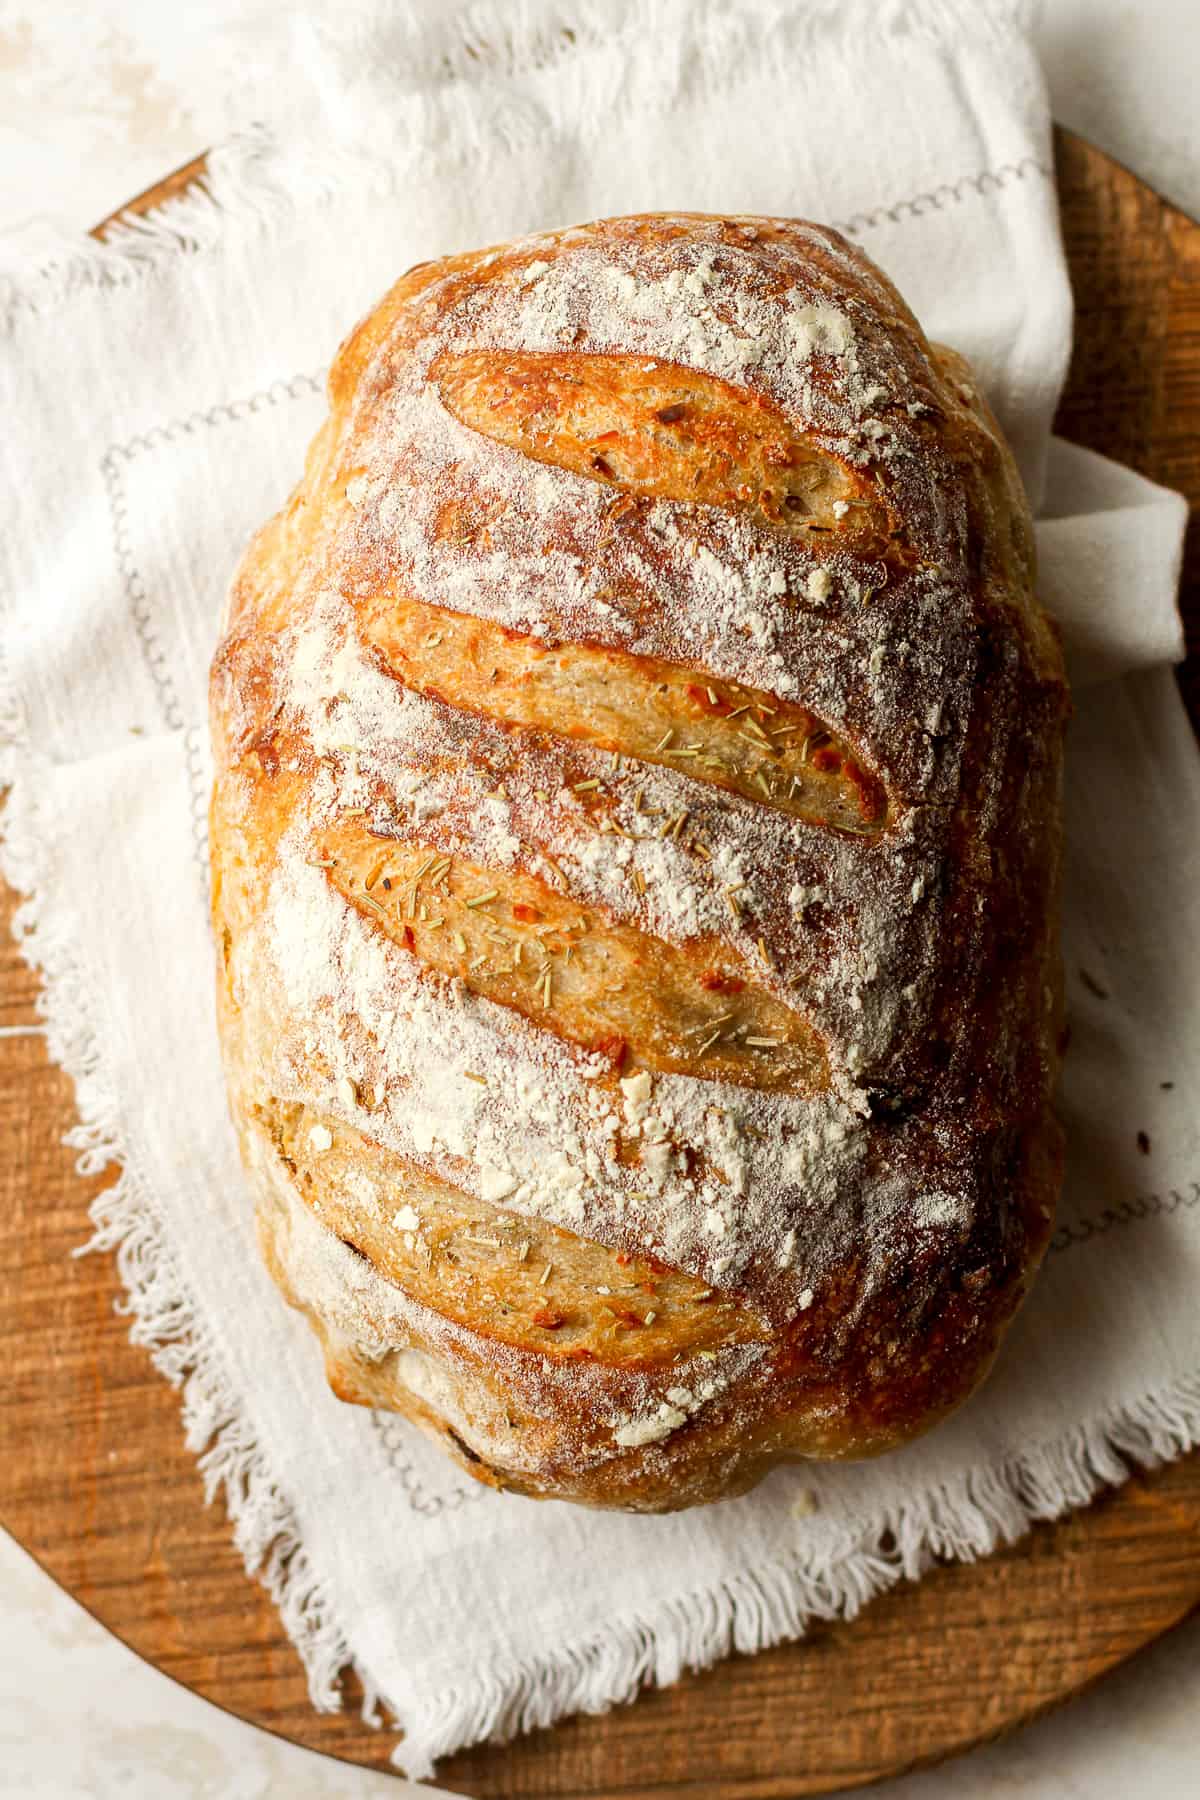
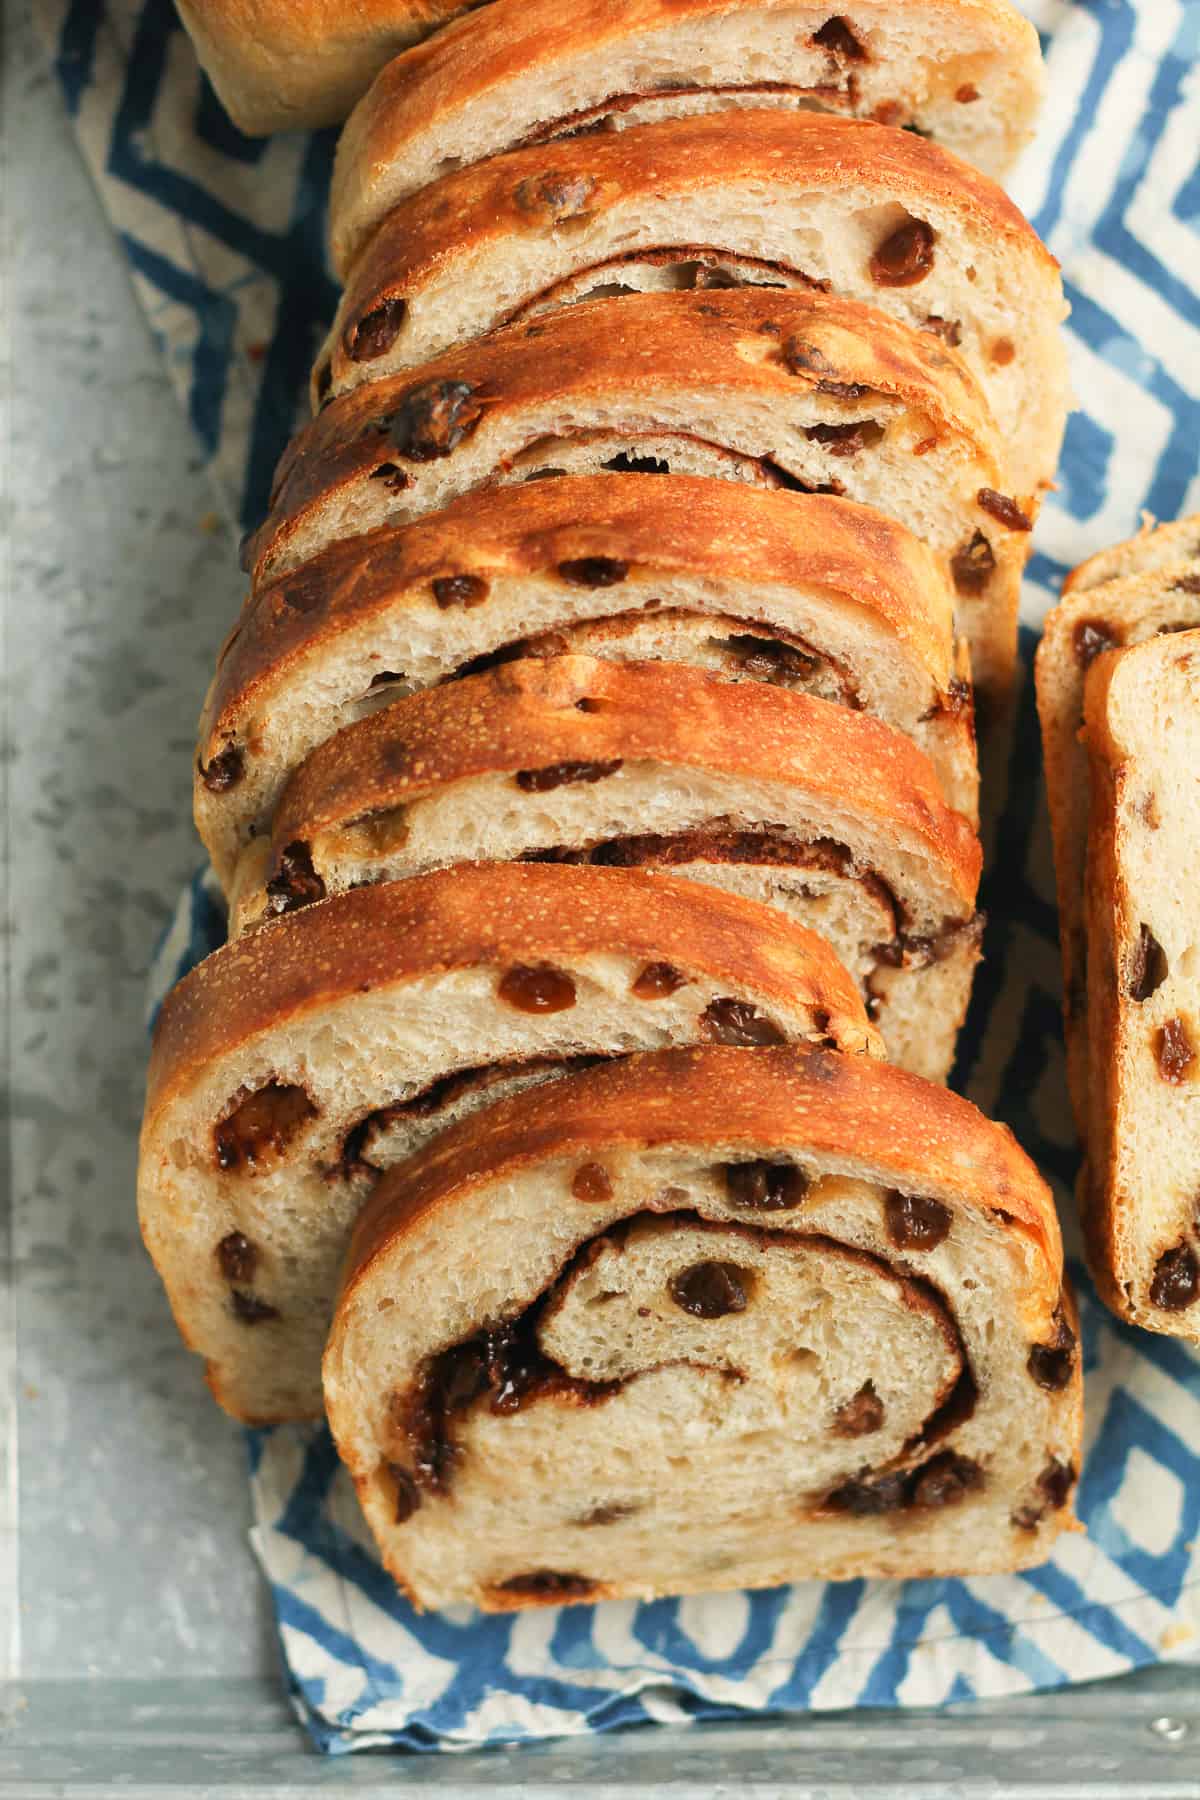
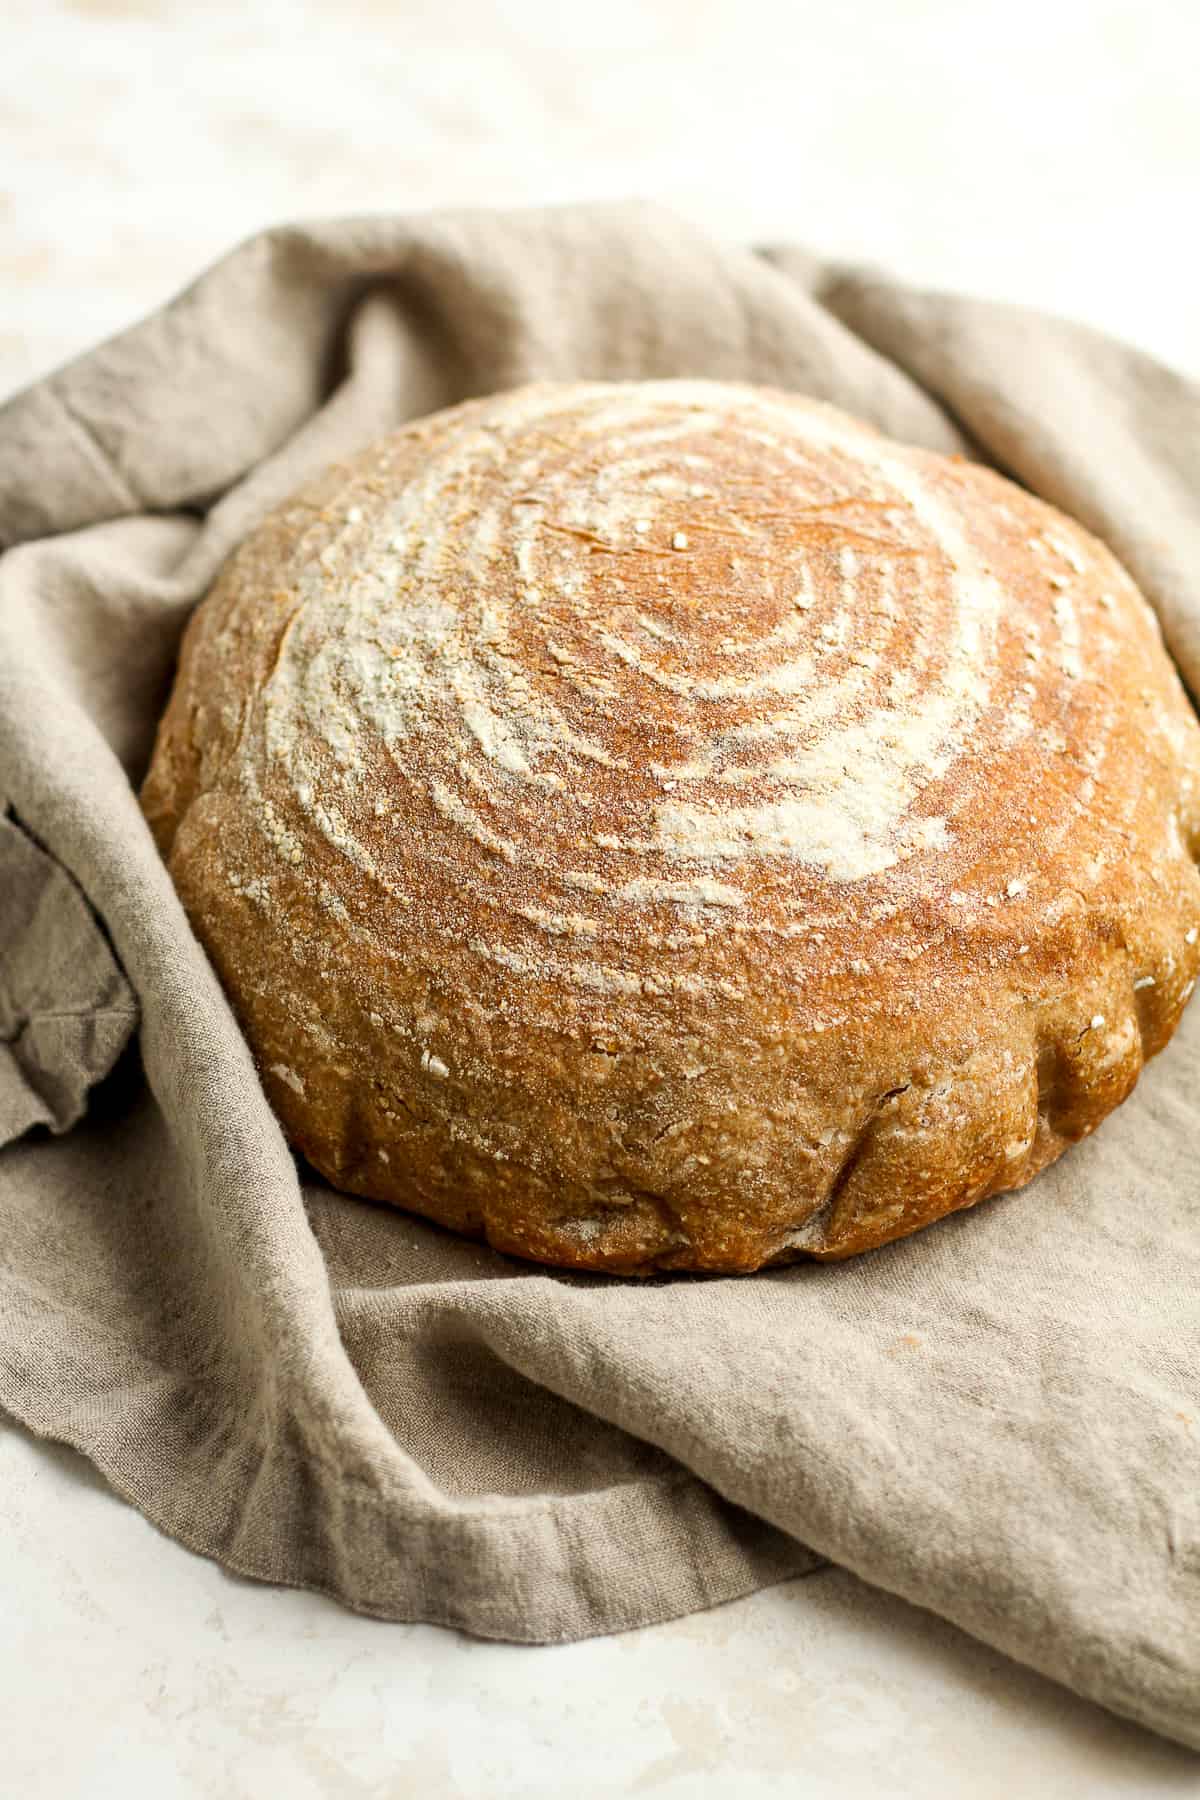
Sourdough Recipes:
I’ve got a bunch of sourdough recipes on the blog and more in progress. Try the following and let me know what you think!


Kitchen Tools Used: (affiliate links)
See the blog for all of my sourdough recipes!