Sourdough Bagels
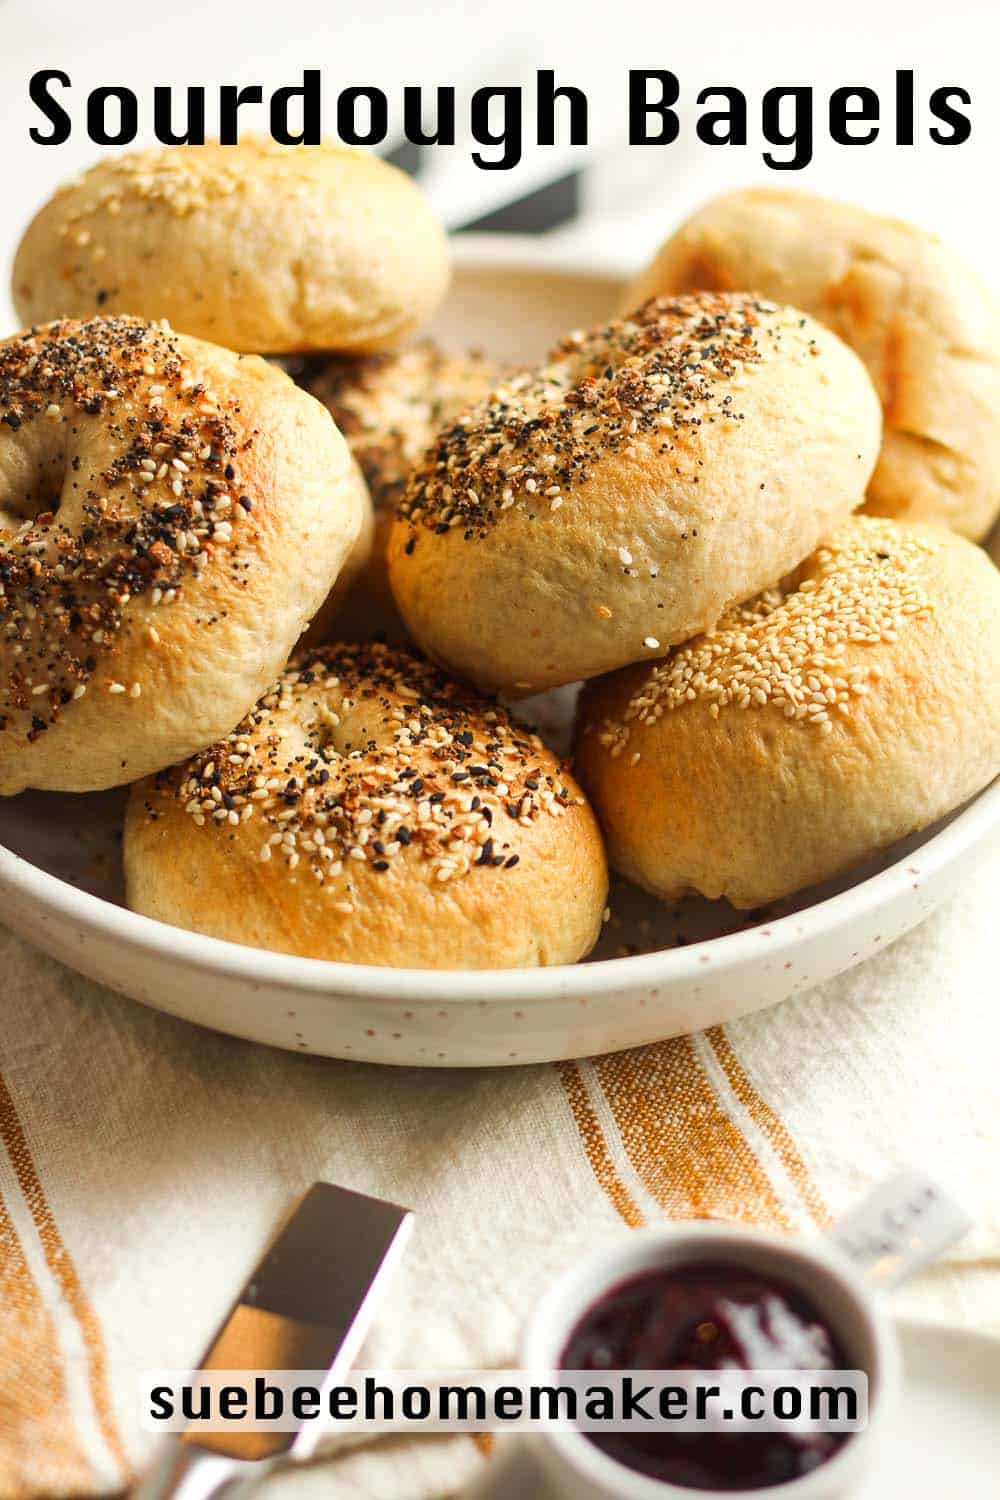
Use your sourdough starter to make the best Sourdough Bagels. These are soft on the inside and chewy on the outside, and are perfect for a bagel sammie of any kind!
My blog is bursting with sourdough. I started with an Overnight Sourdough Bread (aka the crusty loaf), followed with a simple Sandwich Sourdough Bread, and now these tasty bagels are live! Sourdough is hands down my favorite bread to make AND eat!
The BEST Sourdough Bagels
Yes, I know. Sourdough AGAIN! But y’all, I won’t stop until I make sourdough everything. When I say it’s good, it’s just REALLY REALLY good.
Not to be dramatic here, but my sourdough journey started in May 2020. It all began with my son who came home from college with his own starter. I quickly decided to join him in the adventure and started my own. When I began baking with mine, he let his go. And the rest is history!
UPDATE: I’ve shared my favorite sourdough recipe OF ALL TIME – Jalapeno Cheddar Sourdough Bread! Give it a try next!
AND my Cinnamon Raisin Sourdough Bread. Another winner!!
Why we love these bagels
- These bagels are simple to make. Sourdough takes time. But these take less time than the rest, in my case. You’ll need to let the sourdough sit overnight on the counter, and then you can make them fairly quickly the next morning. A fun and delicious breakfast for your family!
- The texture is perfection. Bagels are supposed to be chewy on the outside and soft in the inside. These check those boxes, y’all.
- They have amazing flavor. I love that sourdough flavor, so the taste is 10/10.
- Sourdough bagels store well. These bagels freeze very well. Just take one out when you get a craving, thaw it, and pop it in the toaster!
Make your own sourdough starter at home with just a few simple ingredients using Sourdough Starter Basics. In just over a week’s time and a little bit of patience, you’ll be ready to use your active starter to make the best sourdough bread!
Ingredients Used
- Bubbly Starter – The starter is THE most important part of sourdough bread making. It takes a little time, but you will be rewarded over and over again.
- Milk – Using some warm milk for these adds amazing flavor. I used 2% milk.
- Filtered Water – Use filtered water, either out of your refrigerator filter system or use bottled water. The water should either be at room temperature or slightly warmed before adding it to the sourdough process.
- Sugar – Use granulated sugar for a little sweetness.
- Bread Flour (Unbleached) – For this recipe, I used unbleached bread flour. Organic is normally unbleached, btw.
- Salt – I use fine sea salt.
- For boiling – You’ll need a pot of water plus a squeeze (about one tablespoon) of honey.
How to make Sourdough Bagels
Step 1
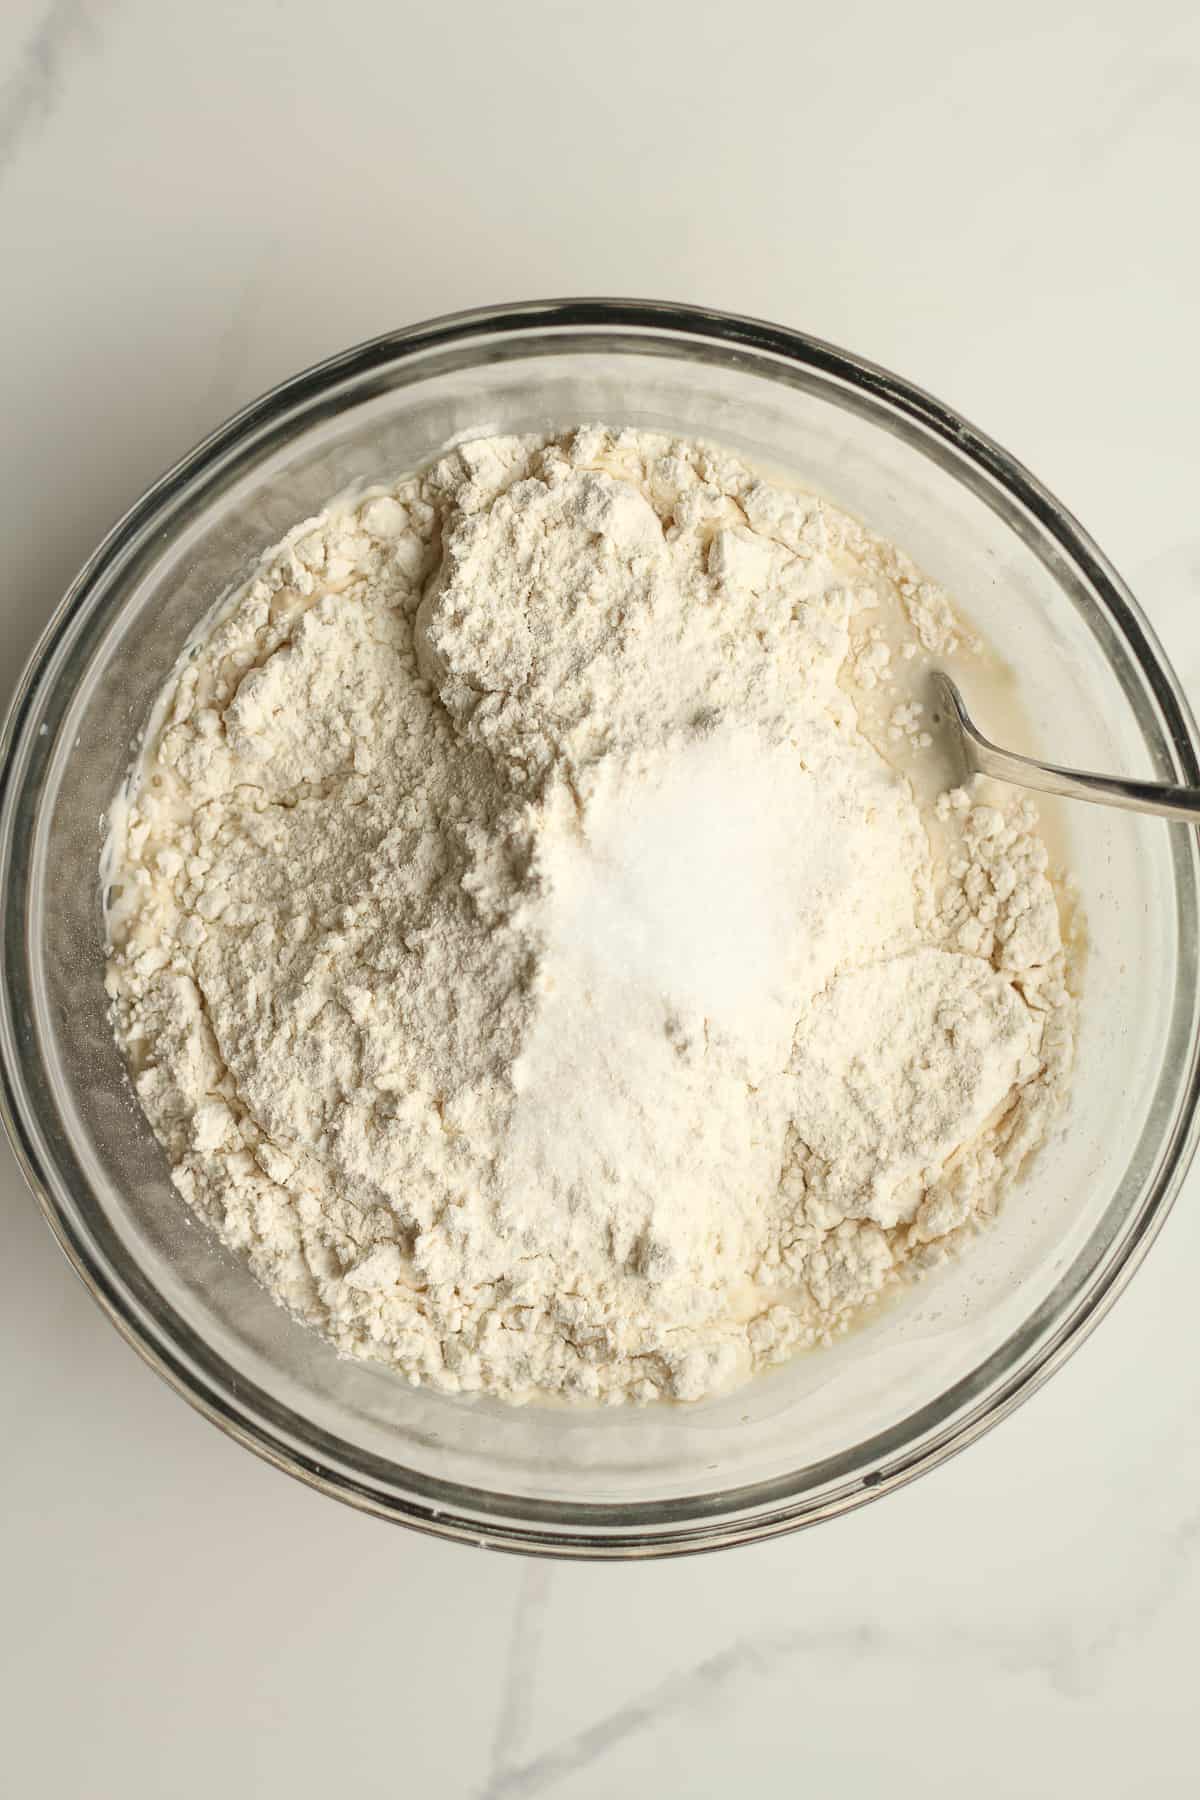
Carefully measure out all the ingredients and combine in a mixing bowl. Use a fork and stir.
Step 2
Then use your hands to bring the ingredients together. It will look shaggy. Cover with a damp towel and let it sit for 30 minutes. (Be sure to set a timer.) This is the AUTOLYSE.

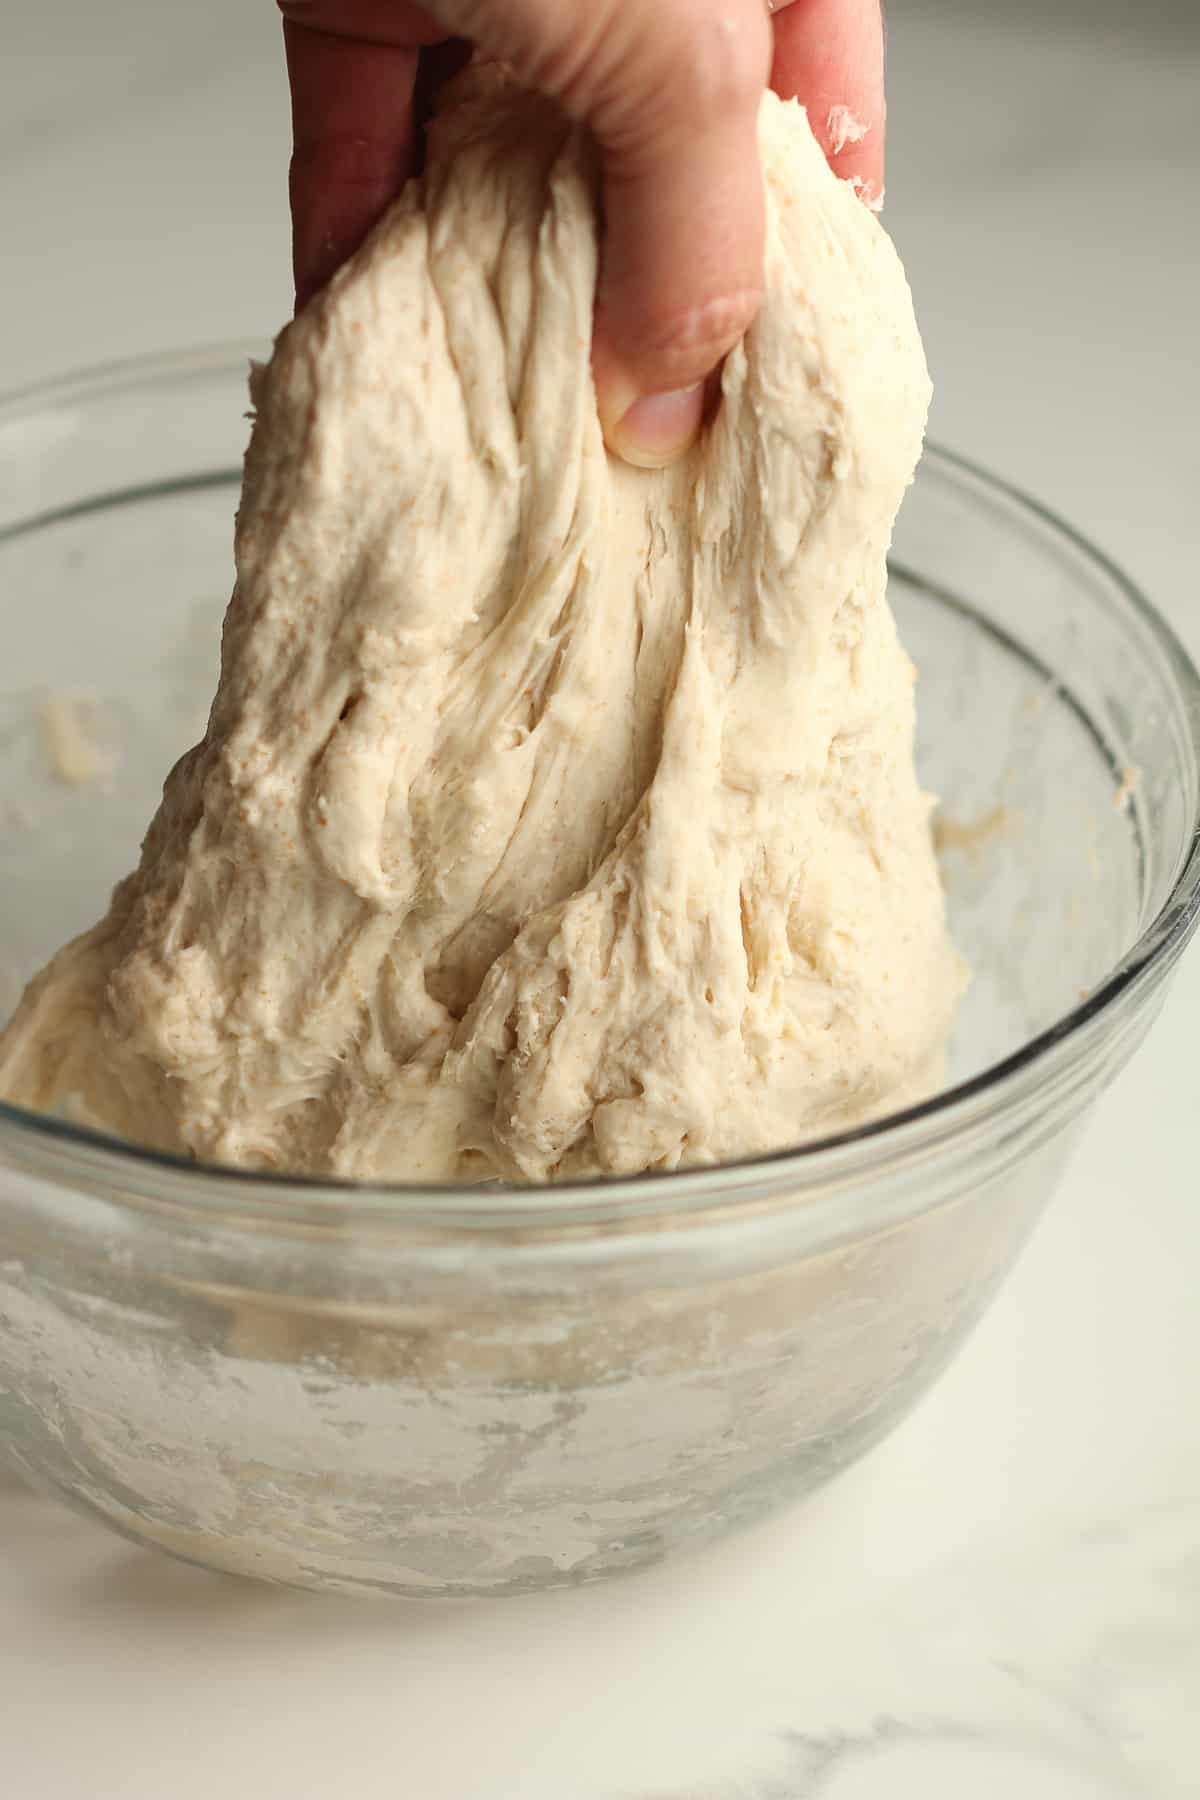
Step 3
After 30 minutes, start the stretch and folds. Use your hand and lift the dough up on one side, stretching it upward, and then punch into the center of the dough. Turn the dough and repeat. Continue this process for about one minute. This is the STRETCH AND FOLDS. Form the dough into a smooth ball, and place towel back on the bowl.
ADDITIONAL STRETCH AND FOLDS: I recommend doing additional stretch and folds if time permits. Do these every 30 minutes for 3-4 more times to further develop the gluten structure.
Step 4
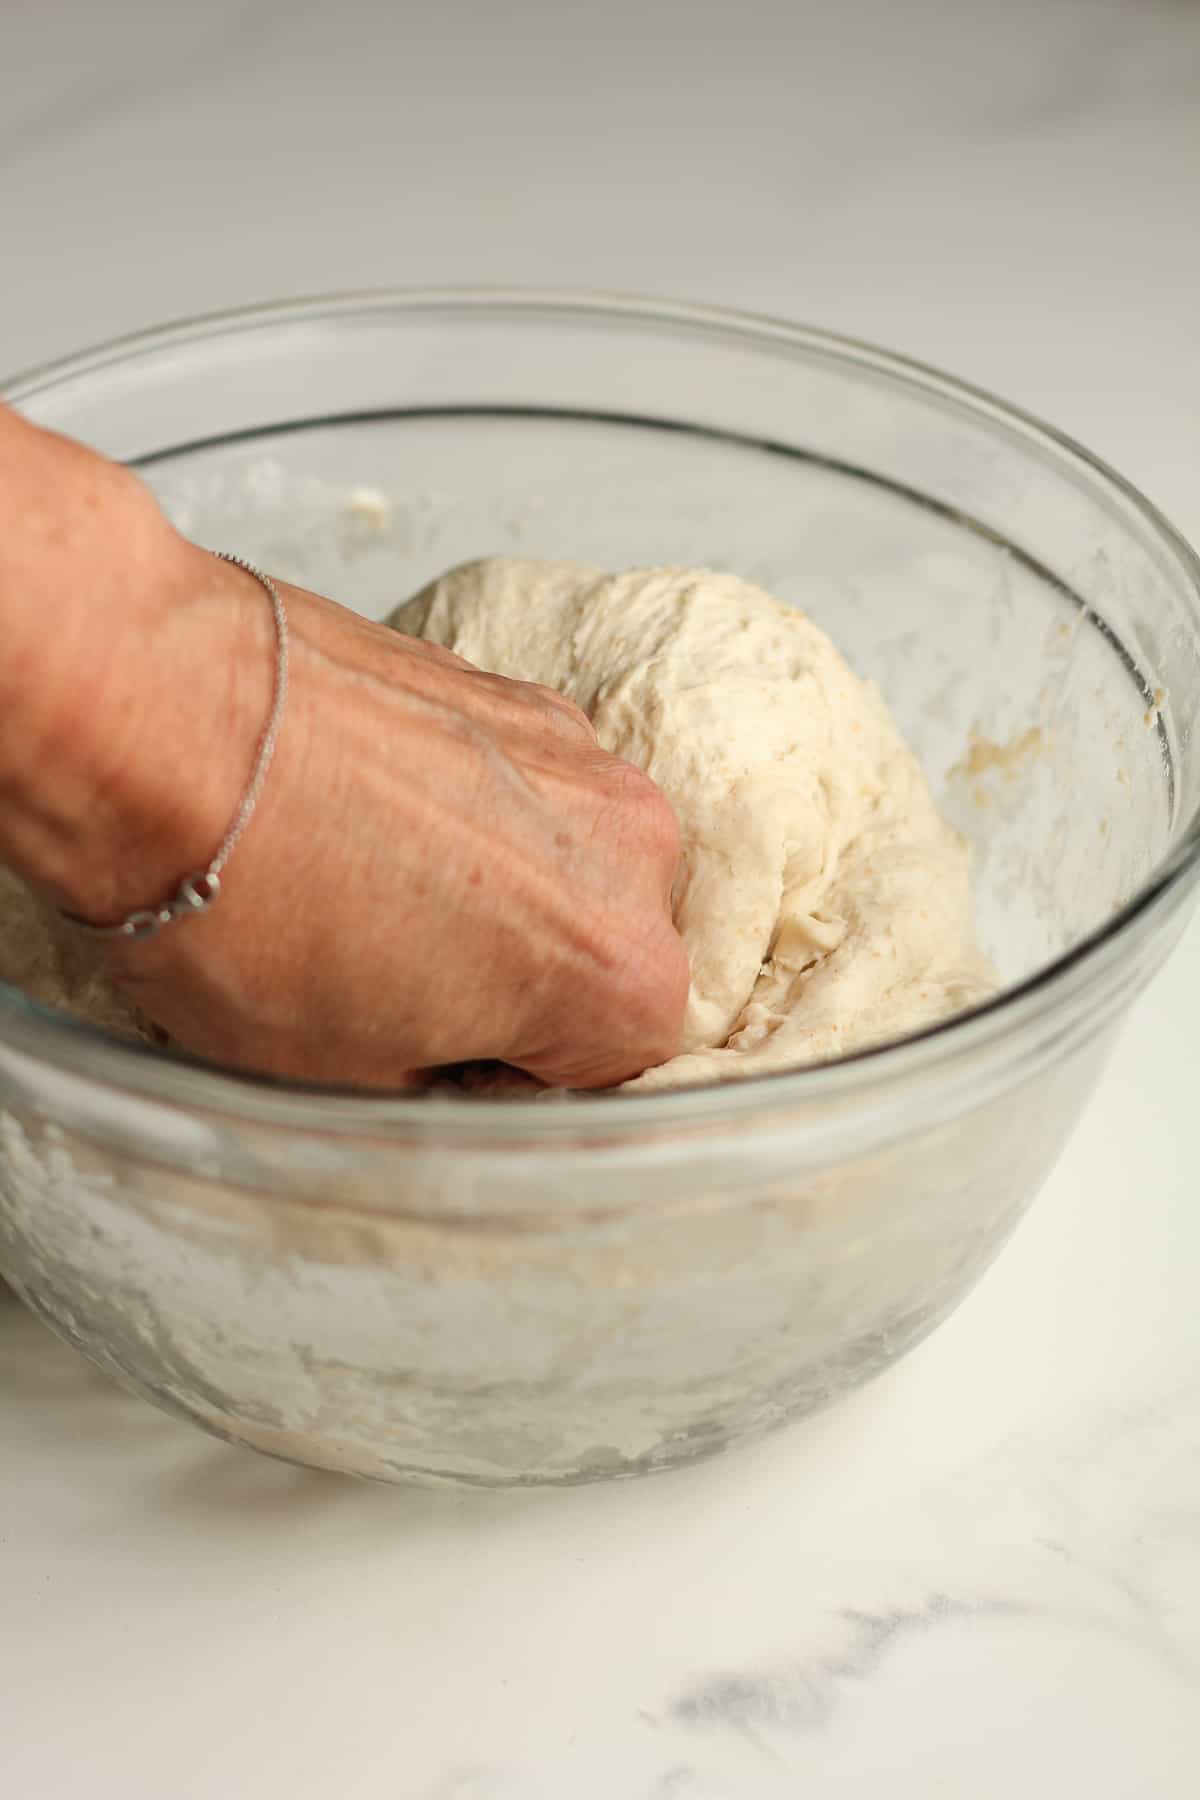
Let the dough rise for 6-8 hours. It should almost double in size and appear soft on top. Small air bubbles may appear as well. This is the BULK RISE.
Depending on the time of day, you can prepare the bread for baking. I normally place the dough into my refrigerator overnight, however. (The bulk rise is very flexible. You can adjust the time to work with YOUR schedule!)
TIP: To avoid getting a crusty layer on the dough during the bulk rise, make sure the bowl is large and the towel is damp. You can also add a light coating of oil over the top of the dough, especially if you are letting it sit out overnight.
Step 5
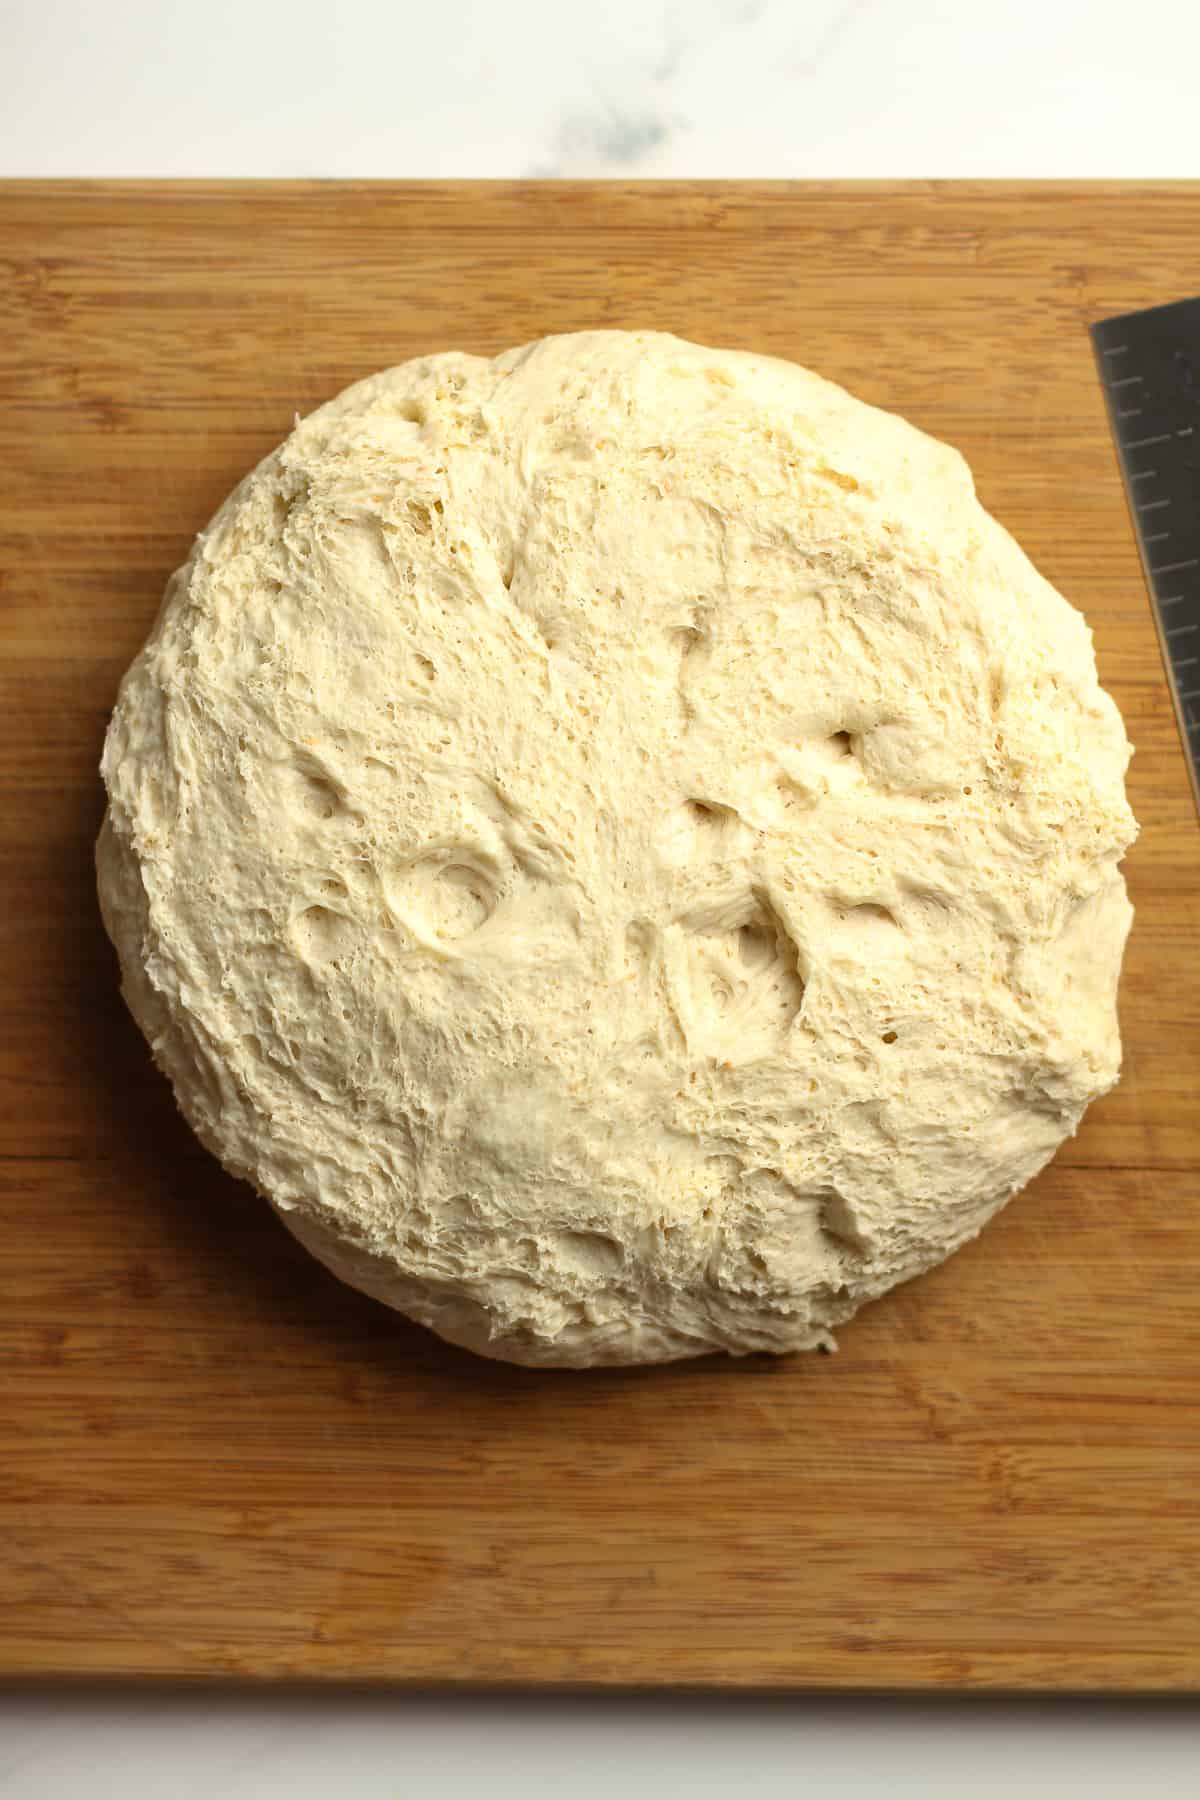
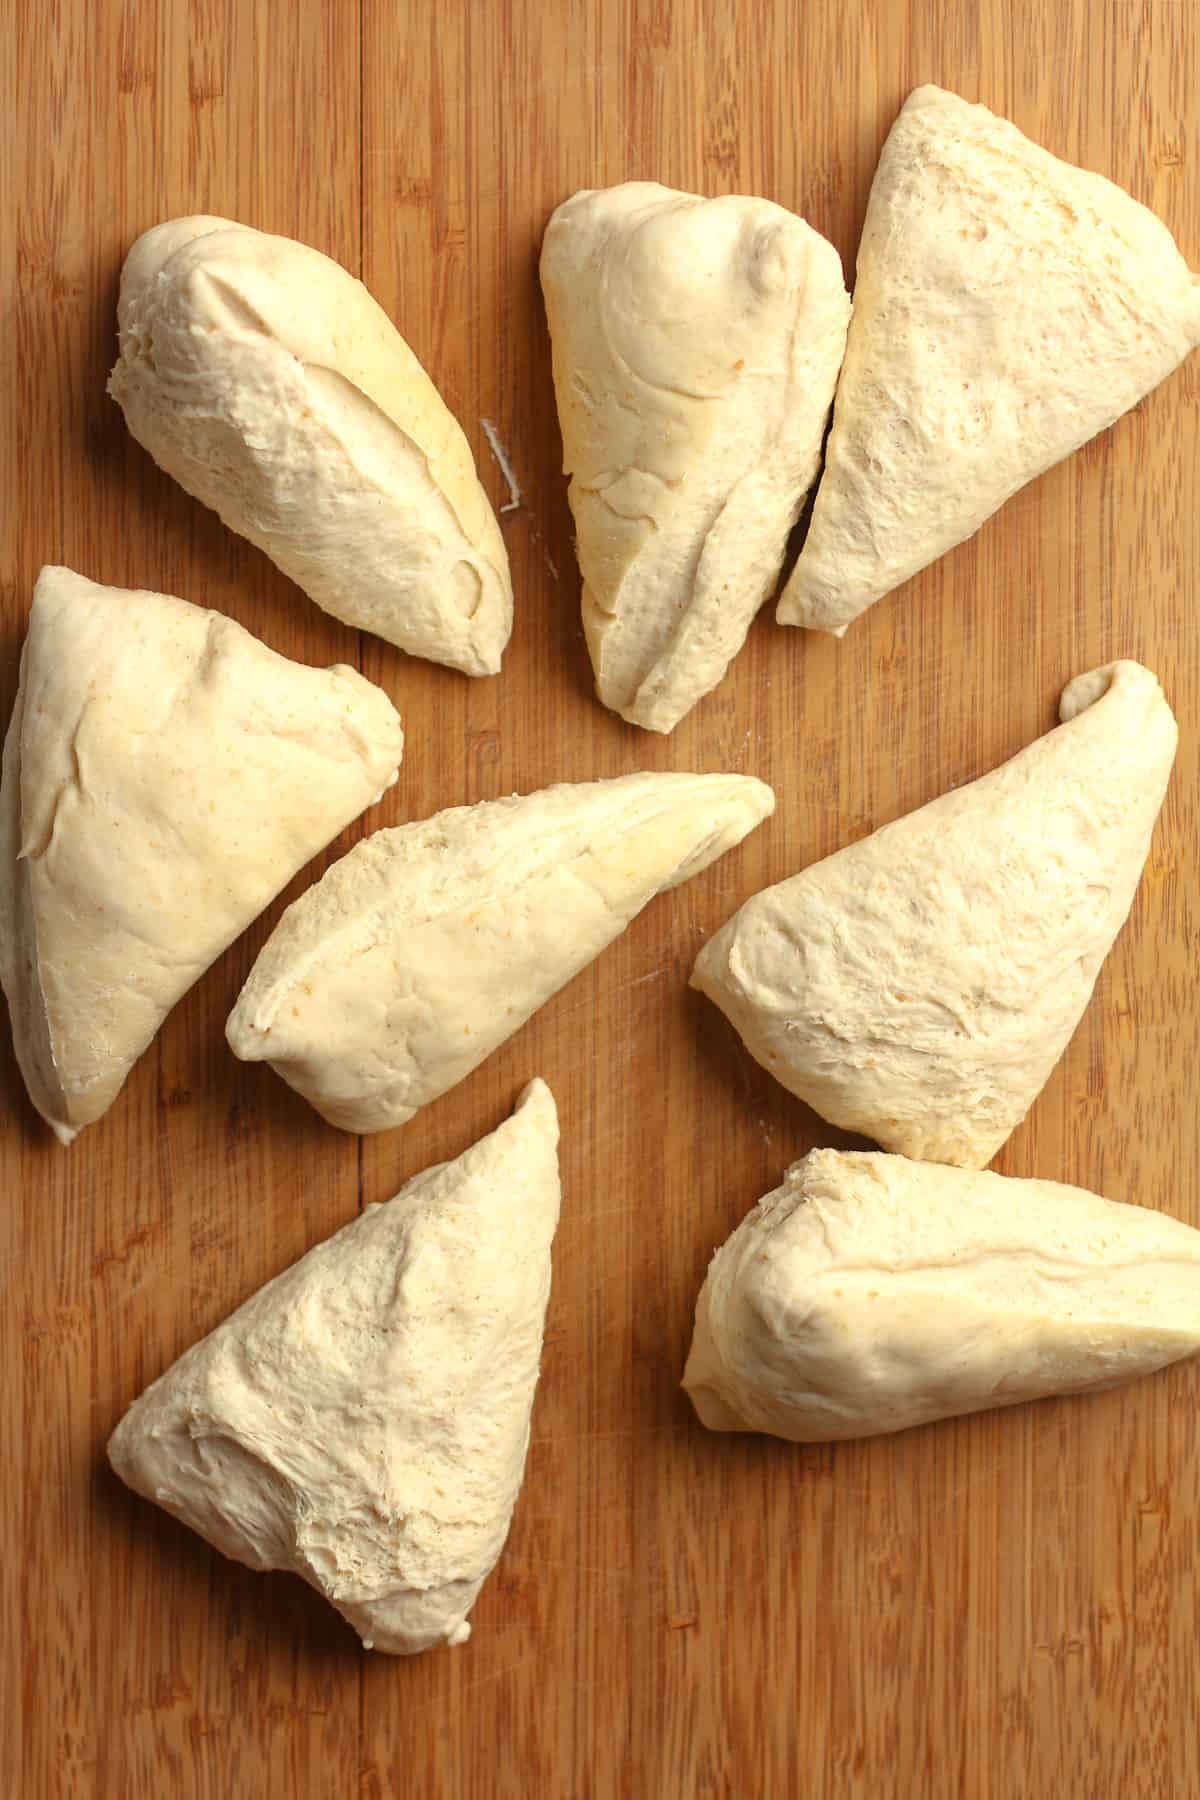
Remove the dough from the bowl to a NON-floured surface. Cut into 8 even shapes. Then take each shape and form into a flat ball, smooth on the top. Place on a lightly greased pan (I use parchment paper and spray that). Let sit for 20 minutes so that the gluten relaxes.
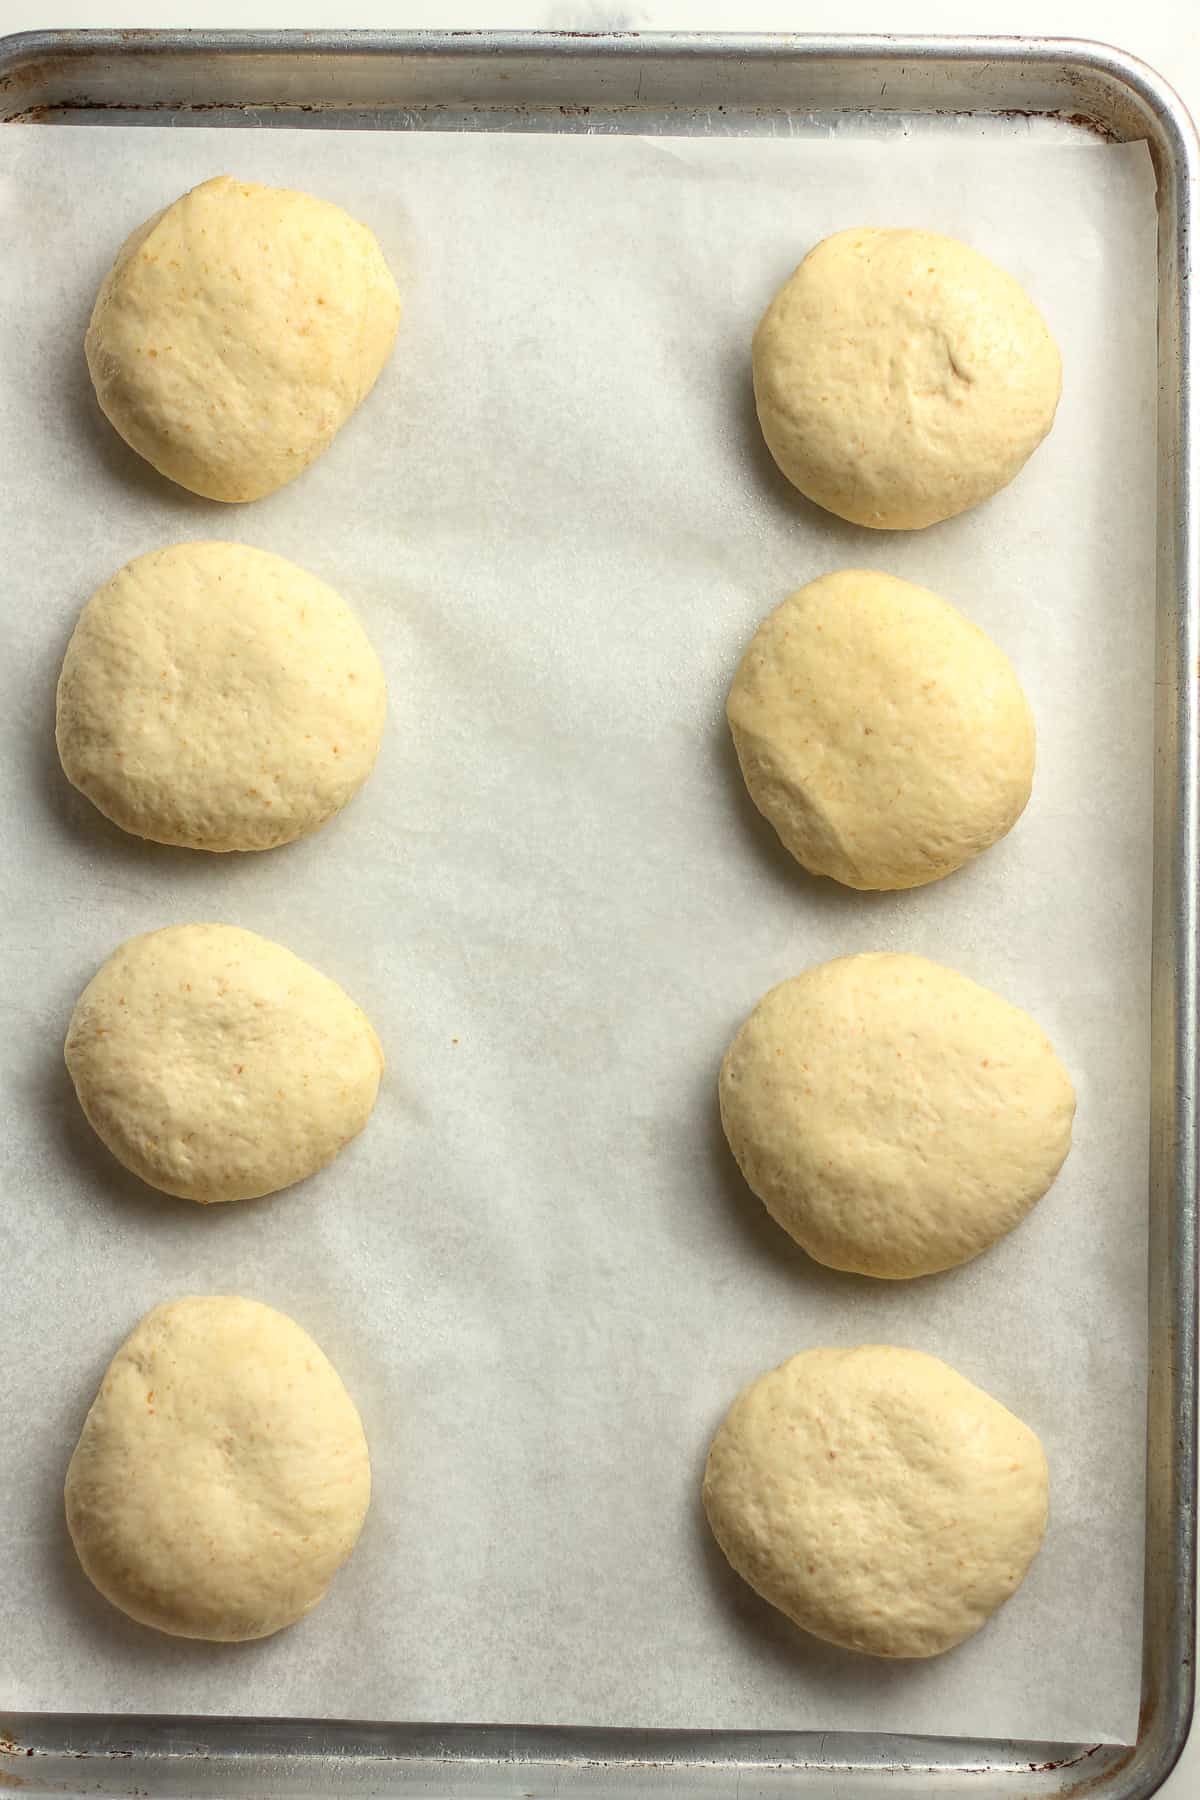
Step 6
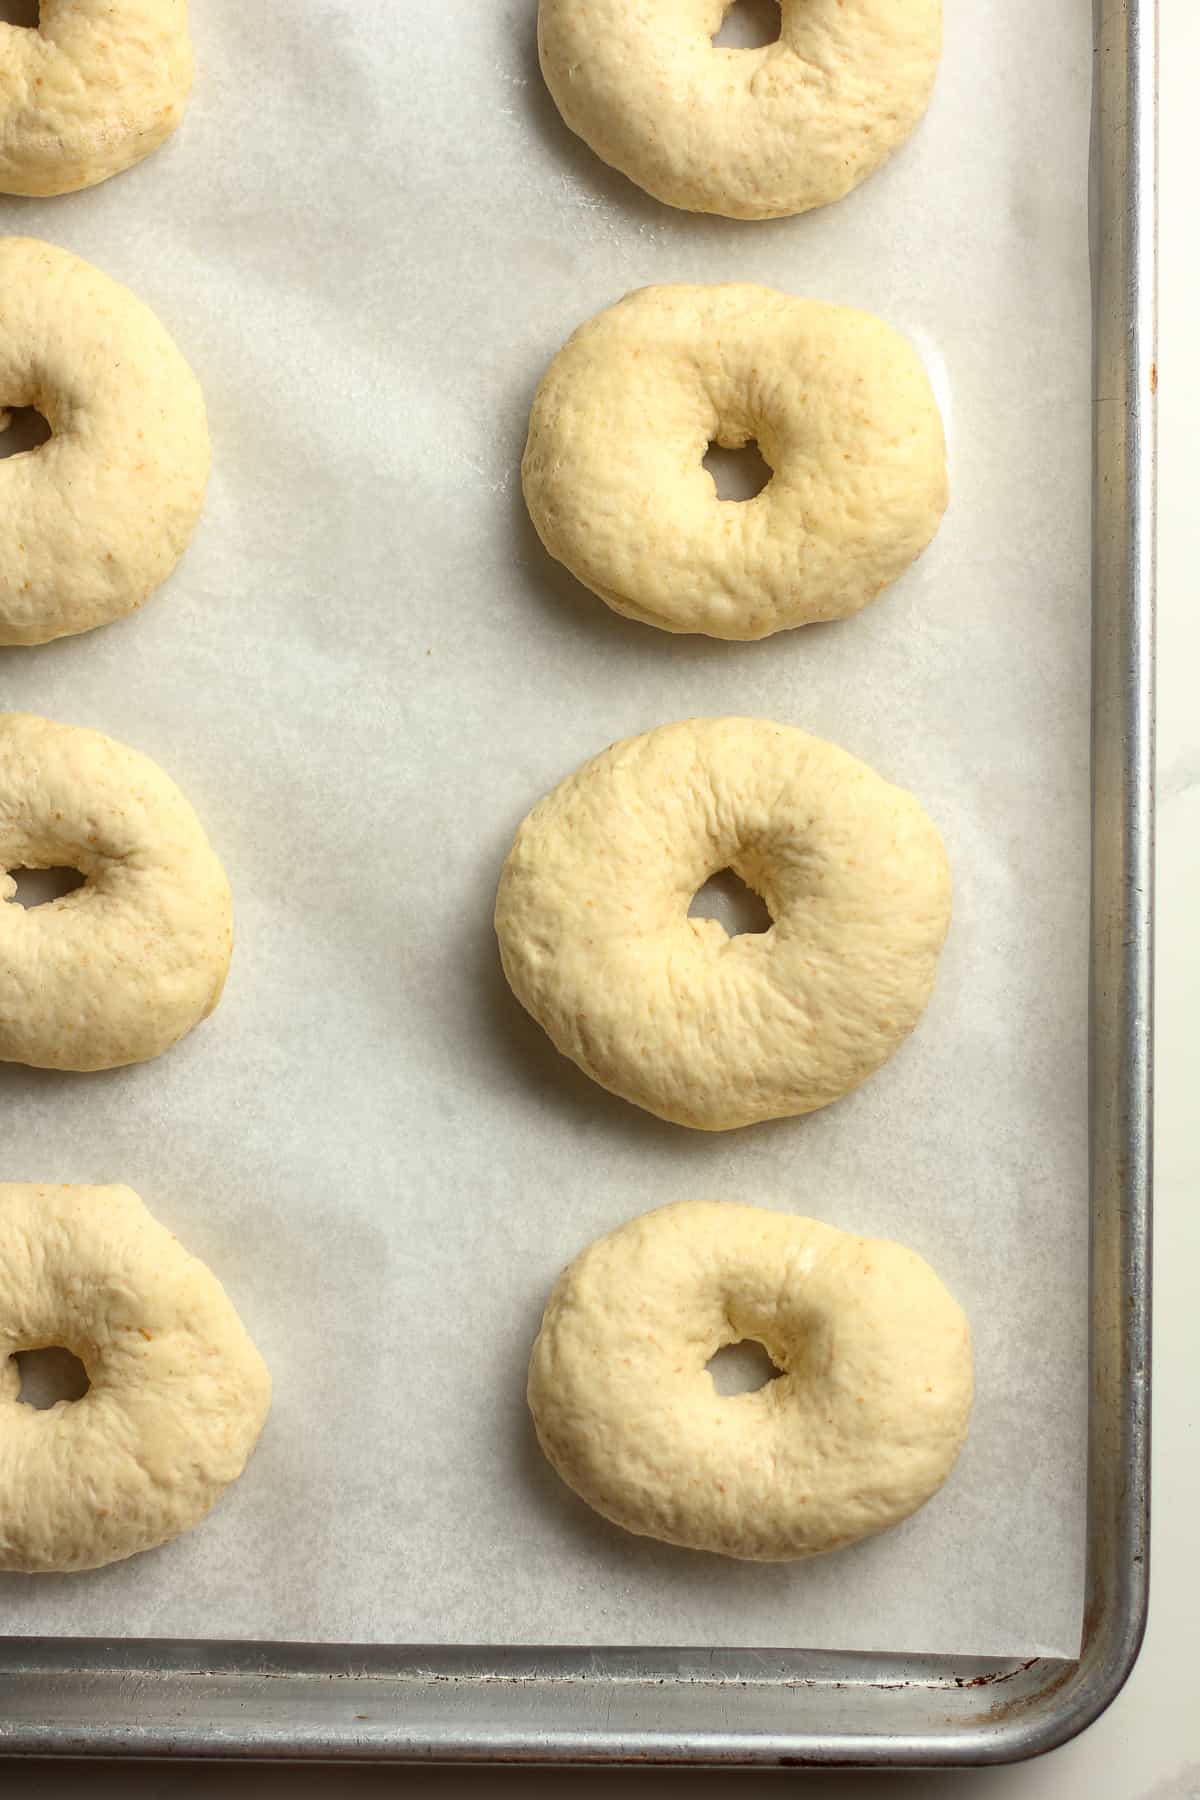
Shape the sourdough bagels by sticking finger through the middle of each shape. Then take it in your hands and gently “pull and roll” so that a larger circle forms. Place back on the pan and continue with remaining shapes. Cover with a damp towel and let the bagels rise again for about 30 minutes. This is the SECOND RISE. For bagels, you won’t need to let them rise for long or double in size.
NOTE: The hole in the middle will shrink as it sits and rises again. Don’t worry about that!
Step 7
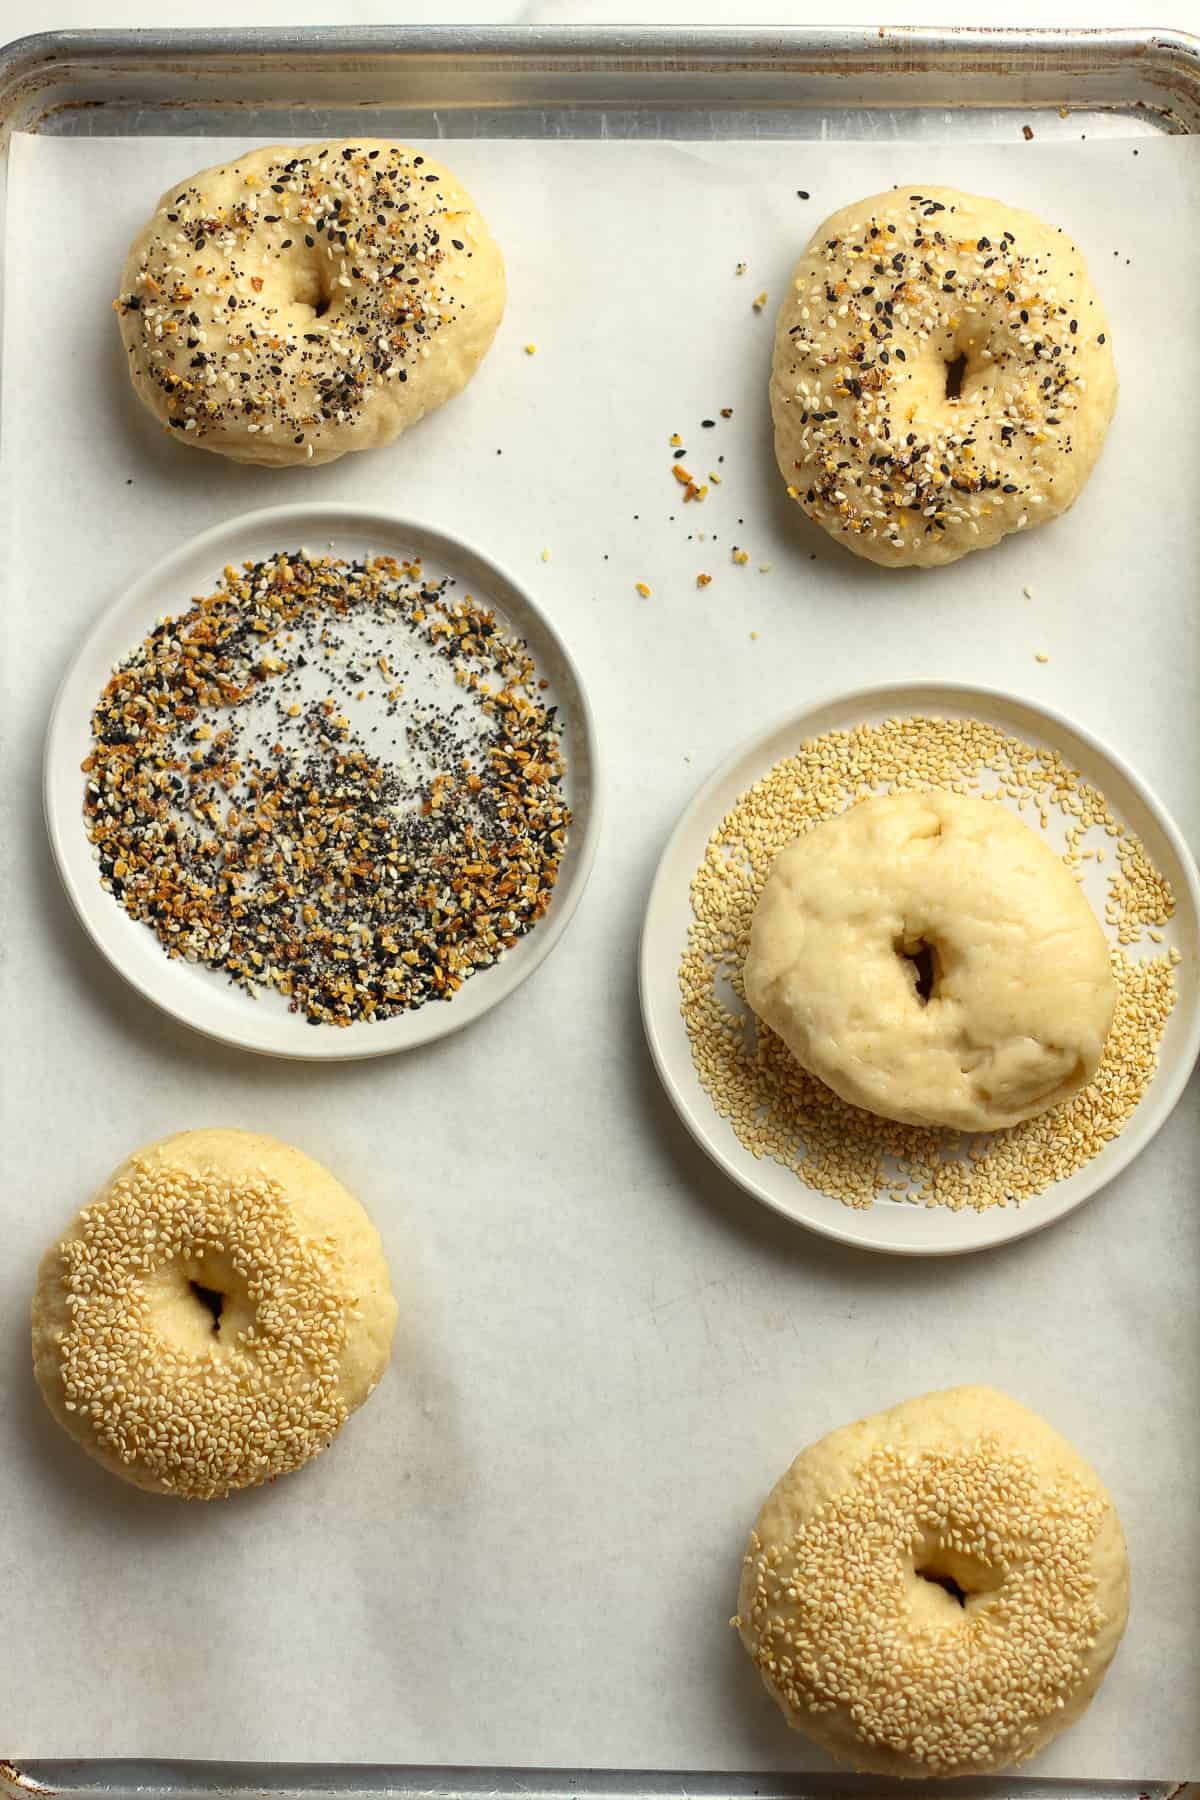
Preheat the oven to 425 degrees. Then start a pot of boiling water with about one tablespoon added in. When it’s a rolling boil, start adding bagel shapes to the water, just a couple at a time. Count to 30 seconds before removing. I normally turn them over about half way through while they are in the pot. Then remove them with a slotted spoon and let the water drip off as you do so. Set back on the pan and repeat with remaining shapes.
Step 8
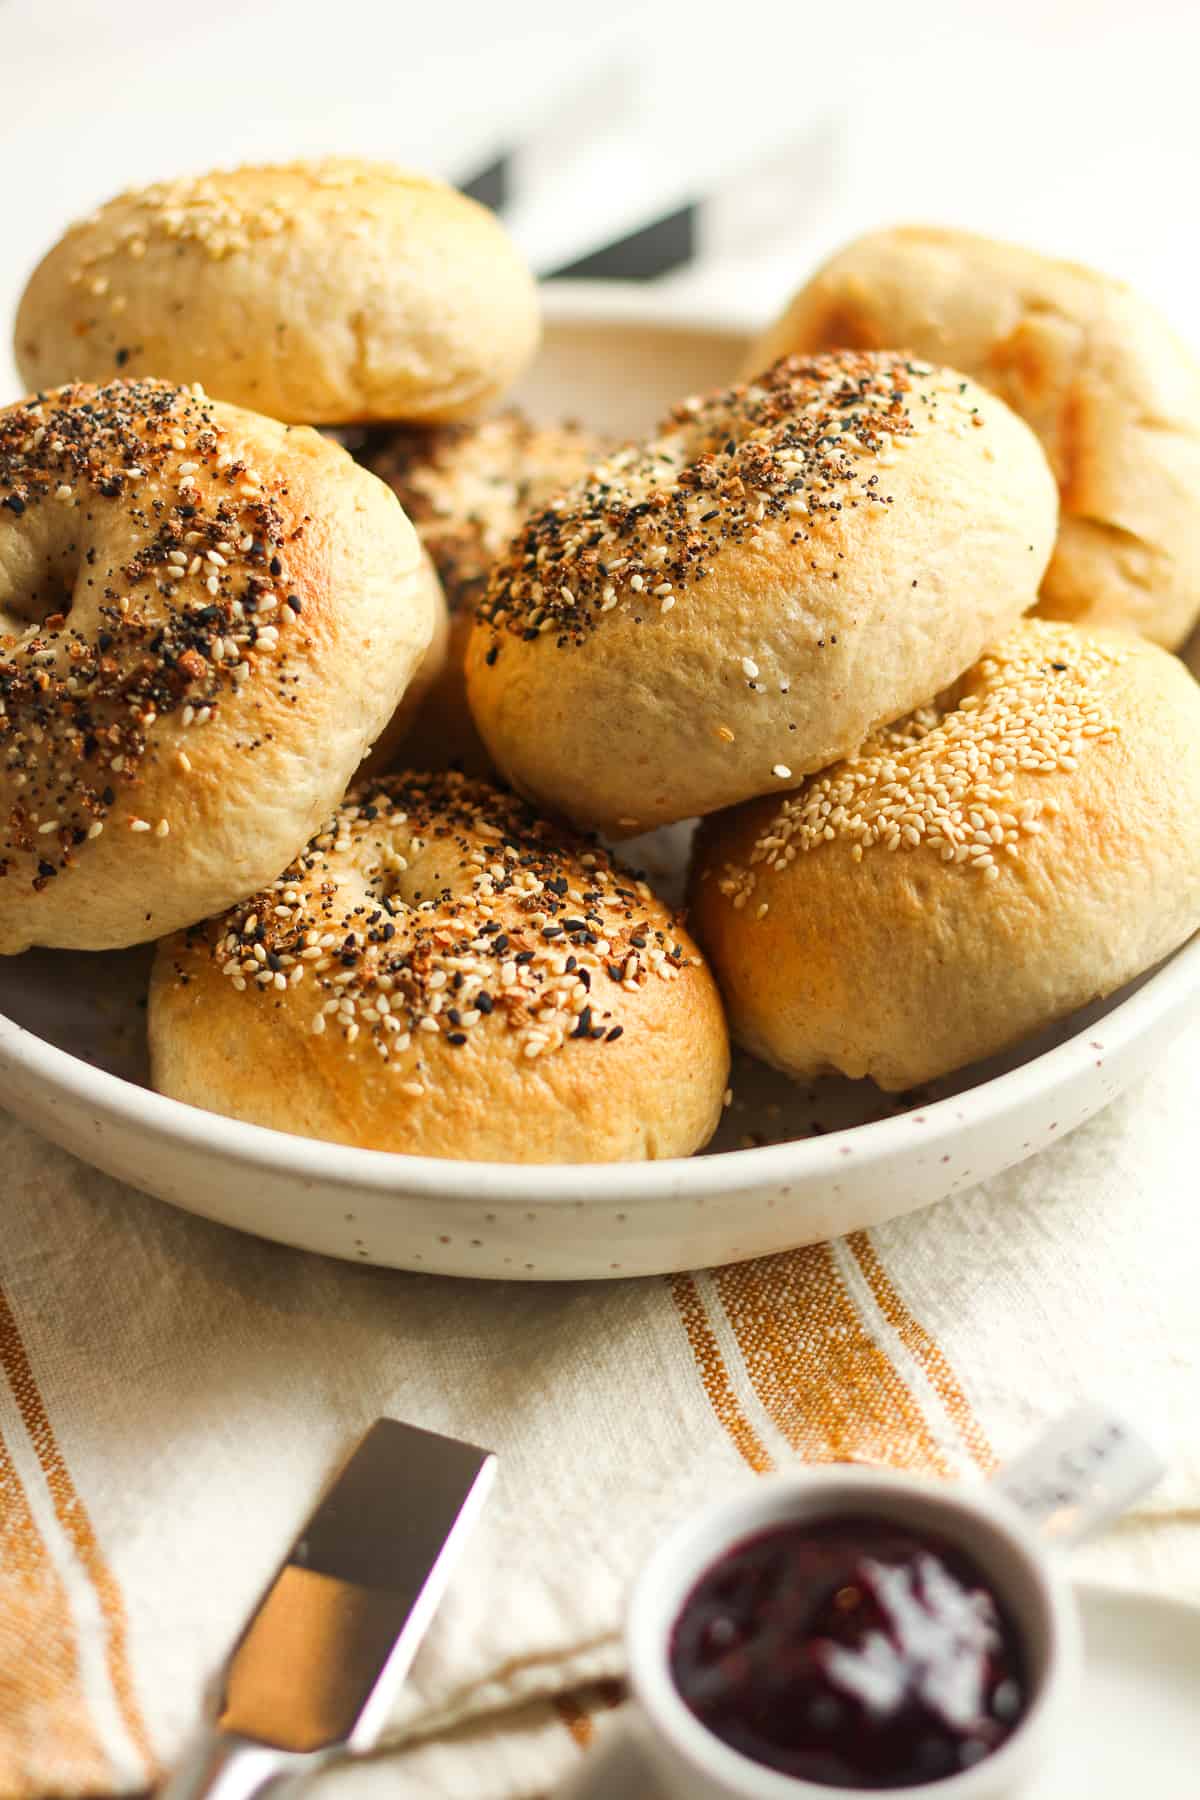
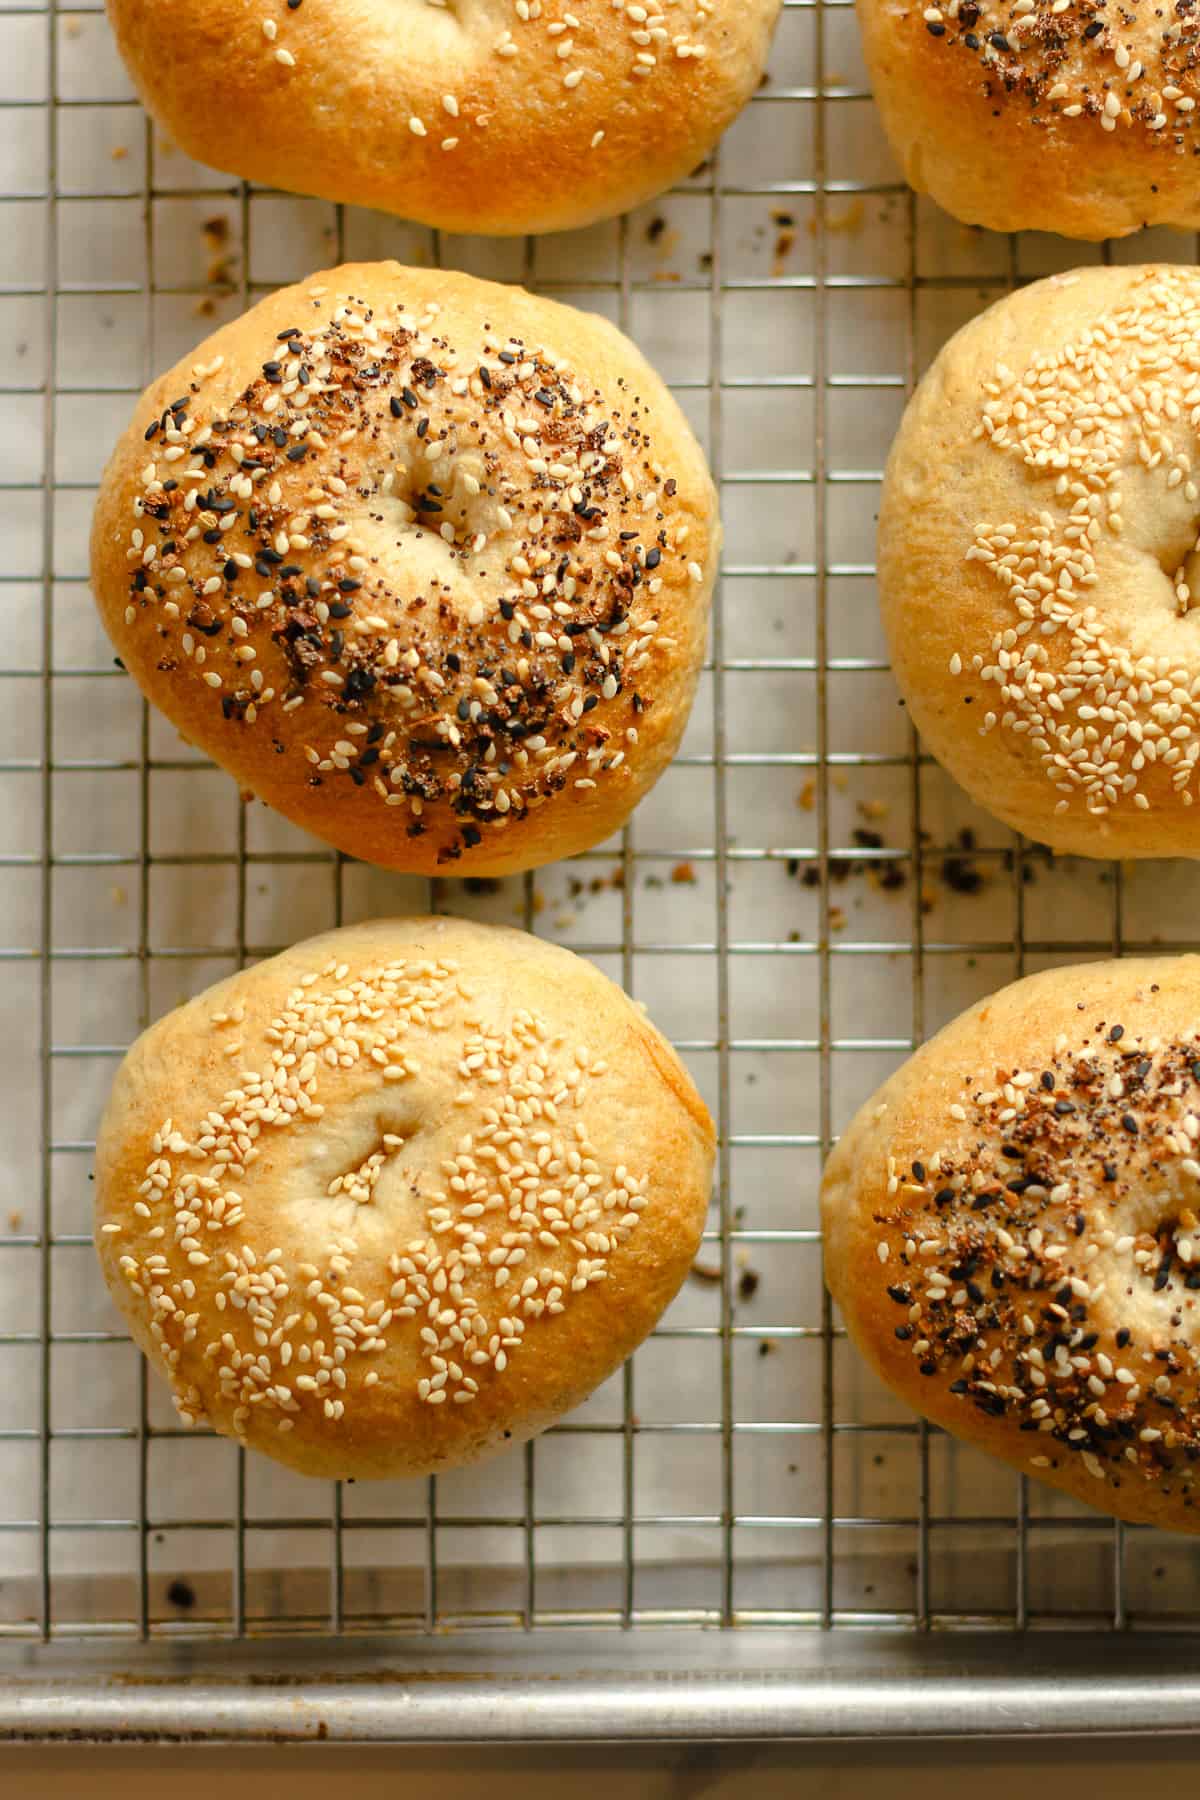
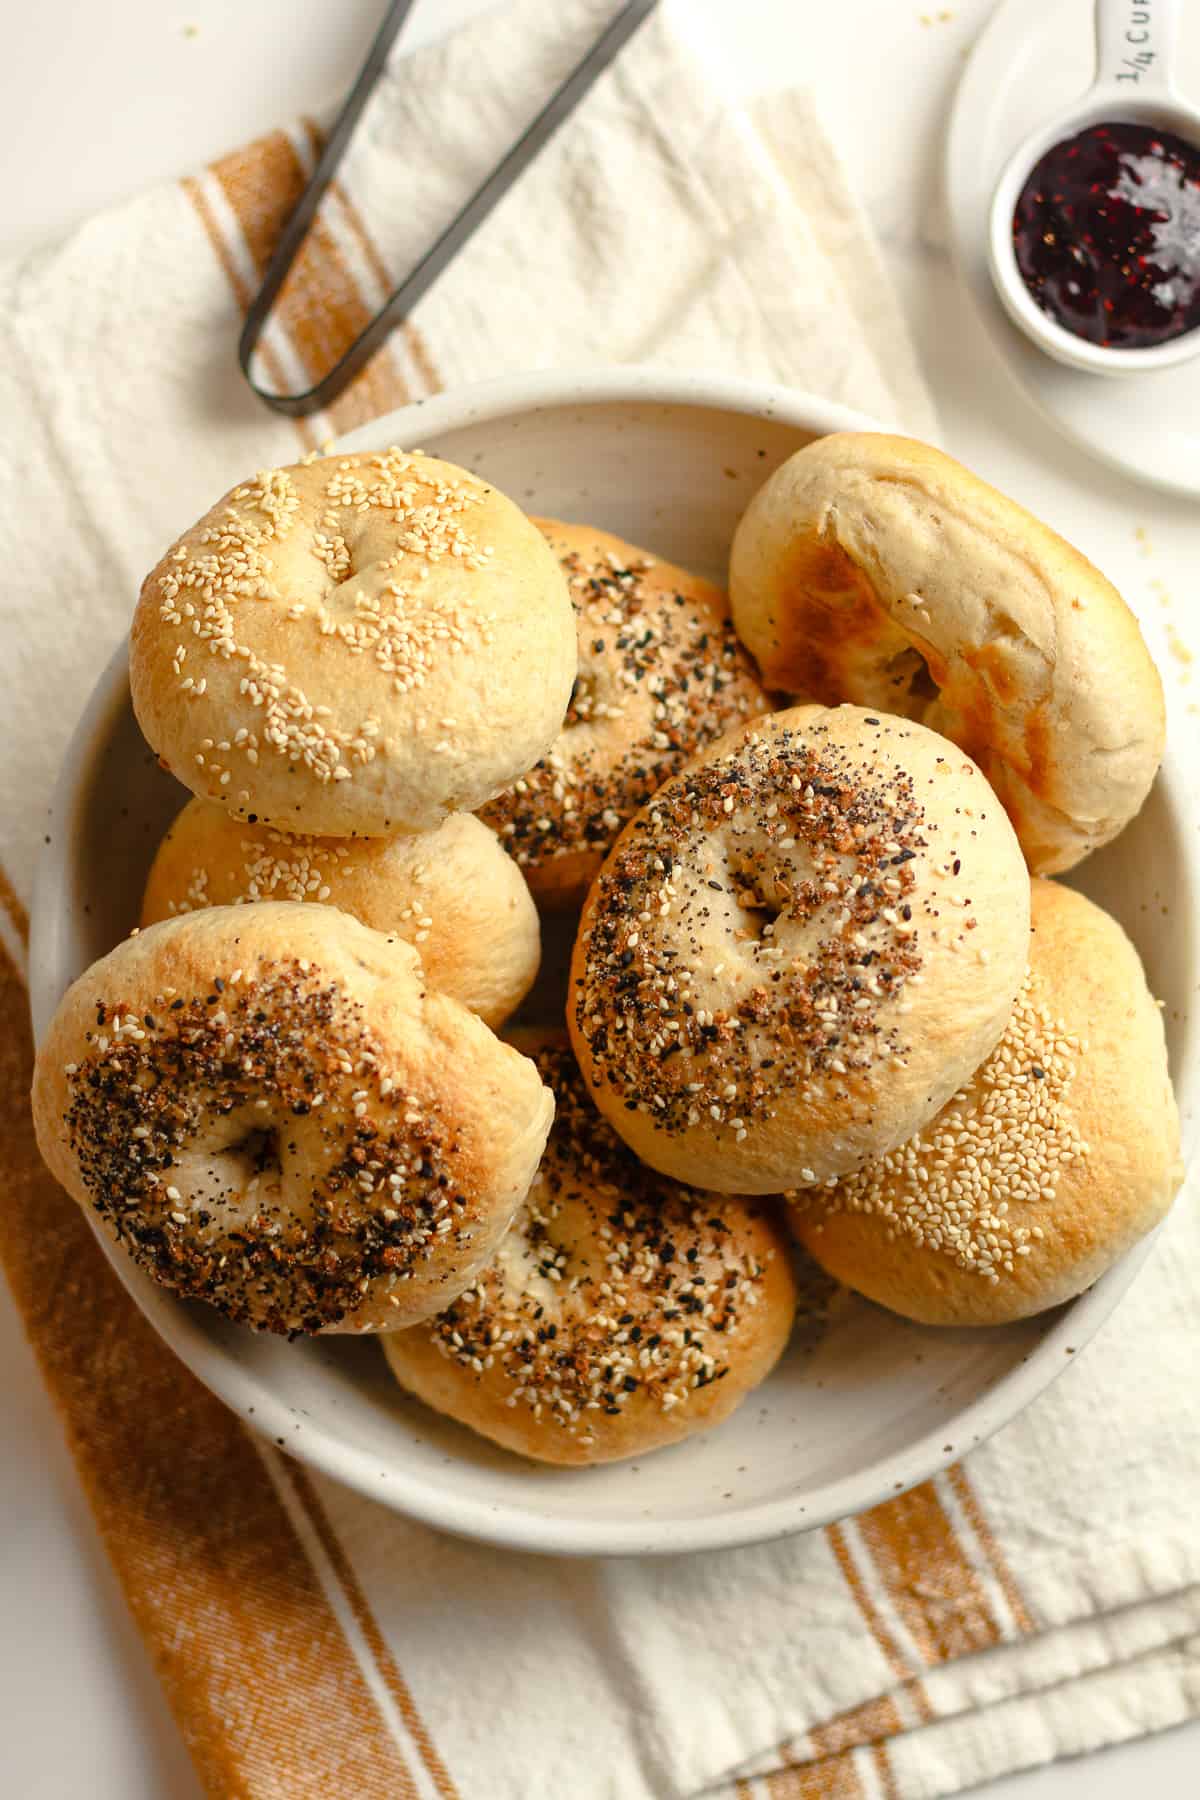
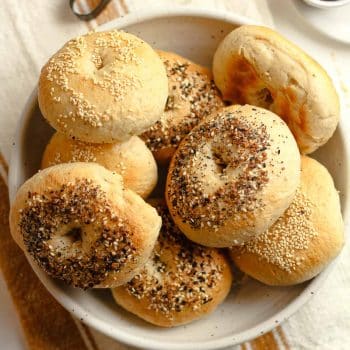
When the bagel shapes are cool enough to handle (but still wet), push the puffy side (tops of bagels) into any desired toppings (like Everything But the Bagel Seasoning, or toasted sesame seeds pictured), and place on a fresh pan sprayed with spray (or parchment). You can also make these plain, without any toppings.
Step 9
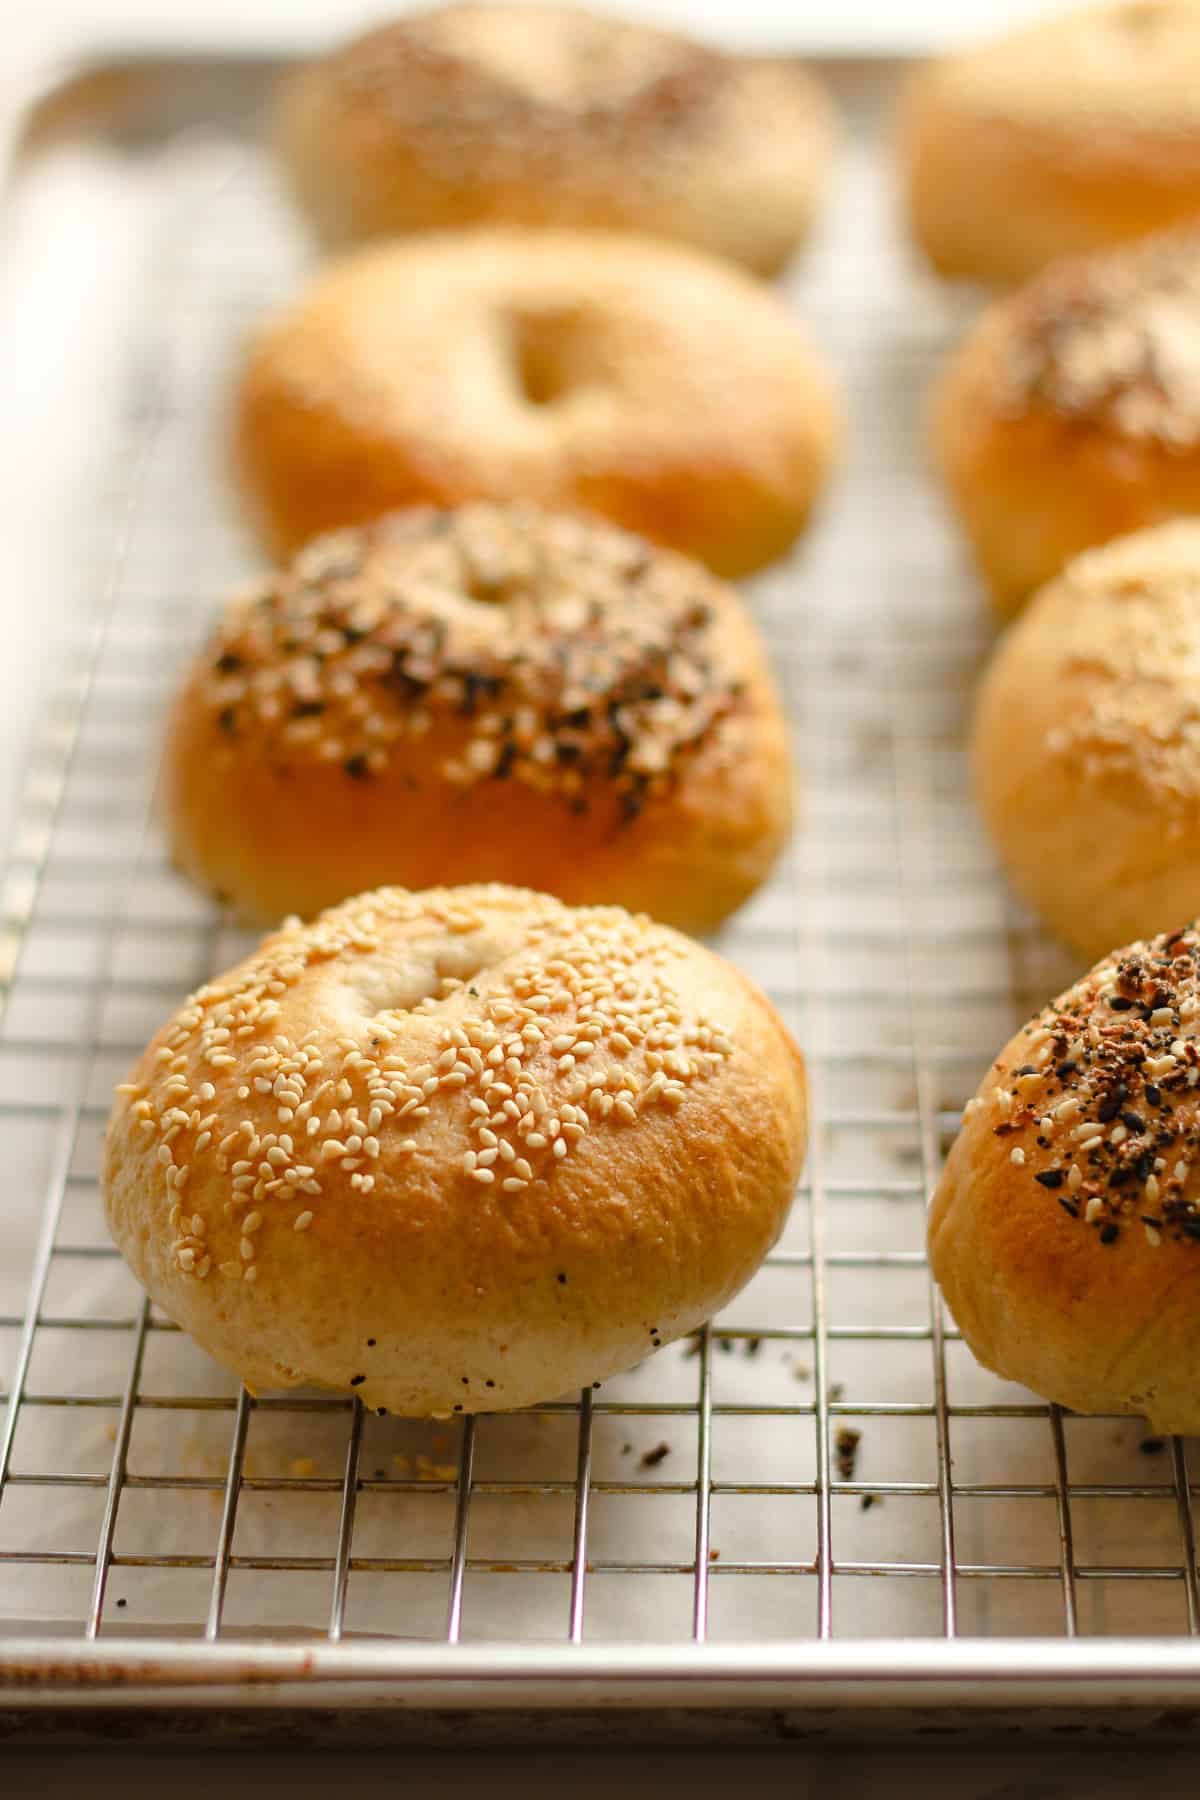
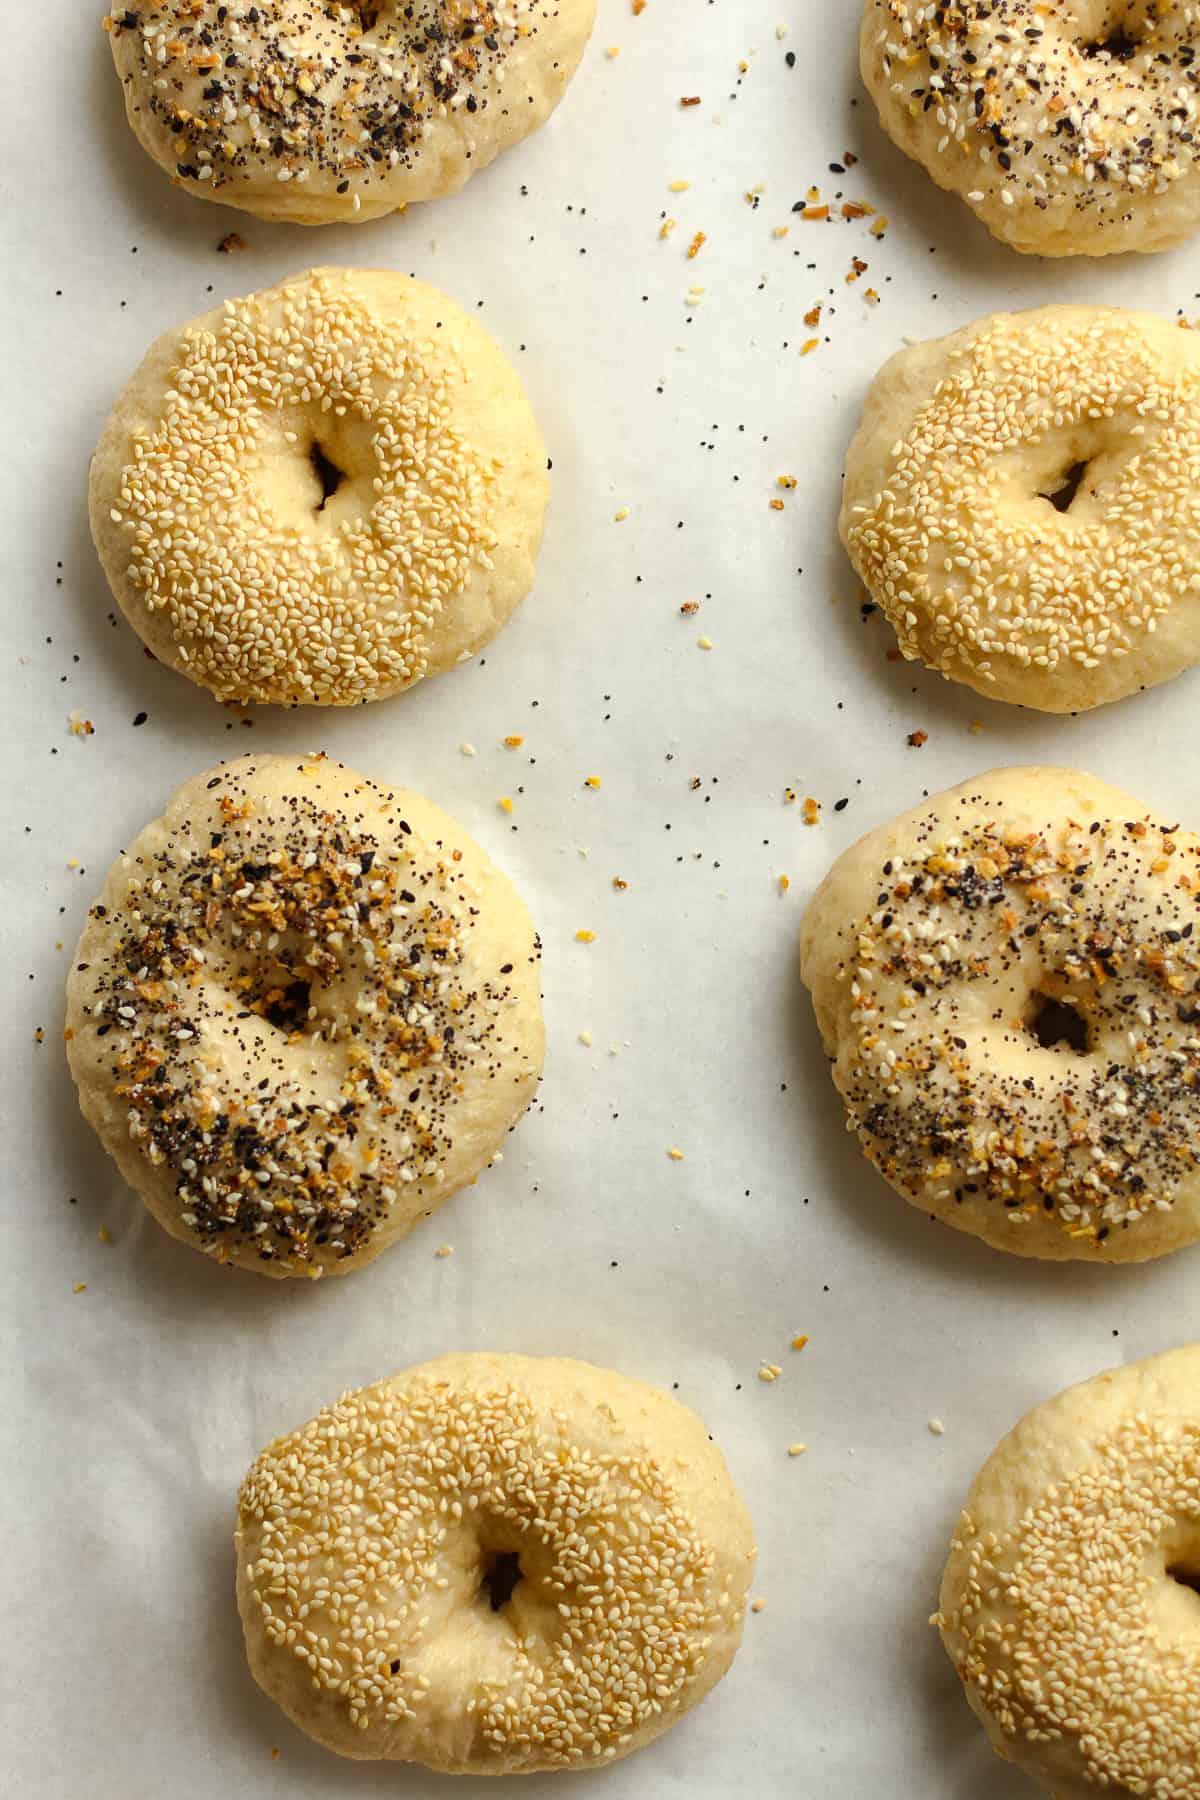
Bake for 20-25 minutes, or until golden brown on tops and bottoms. You will see the bagels have slightly puffed up (you often don’t see the holes anymore!).
Step 10 – the BEST step!
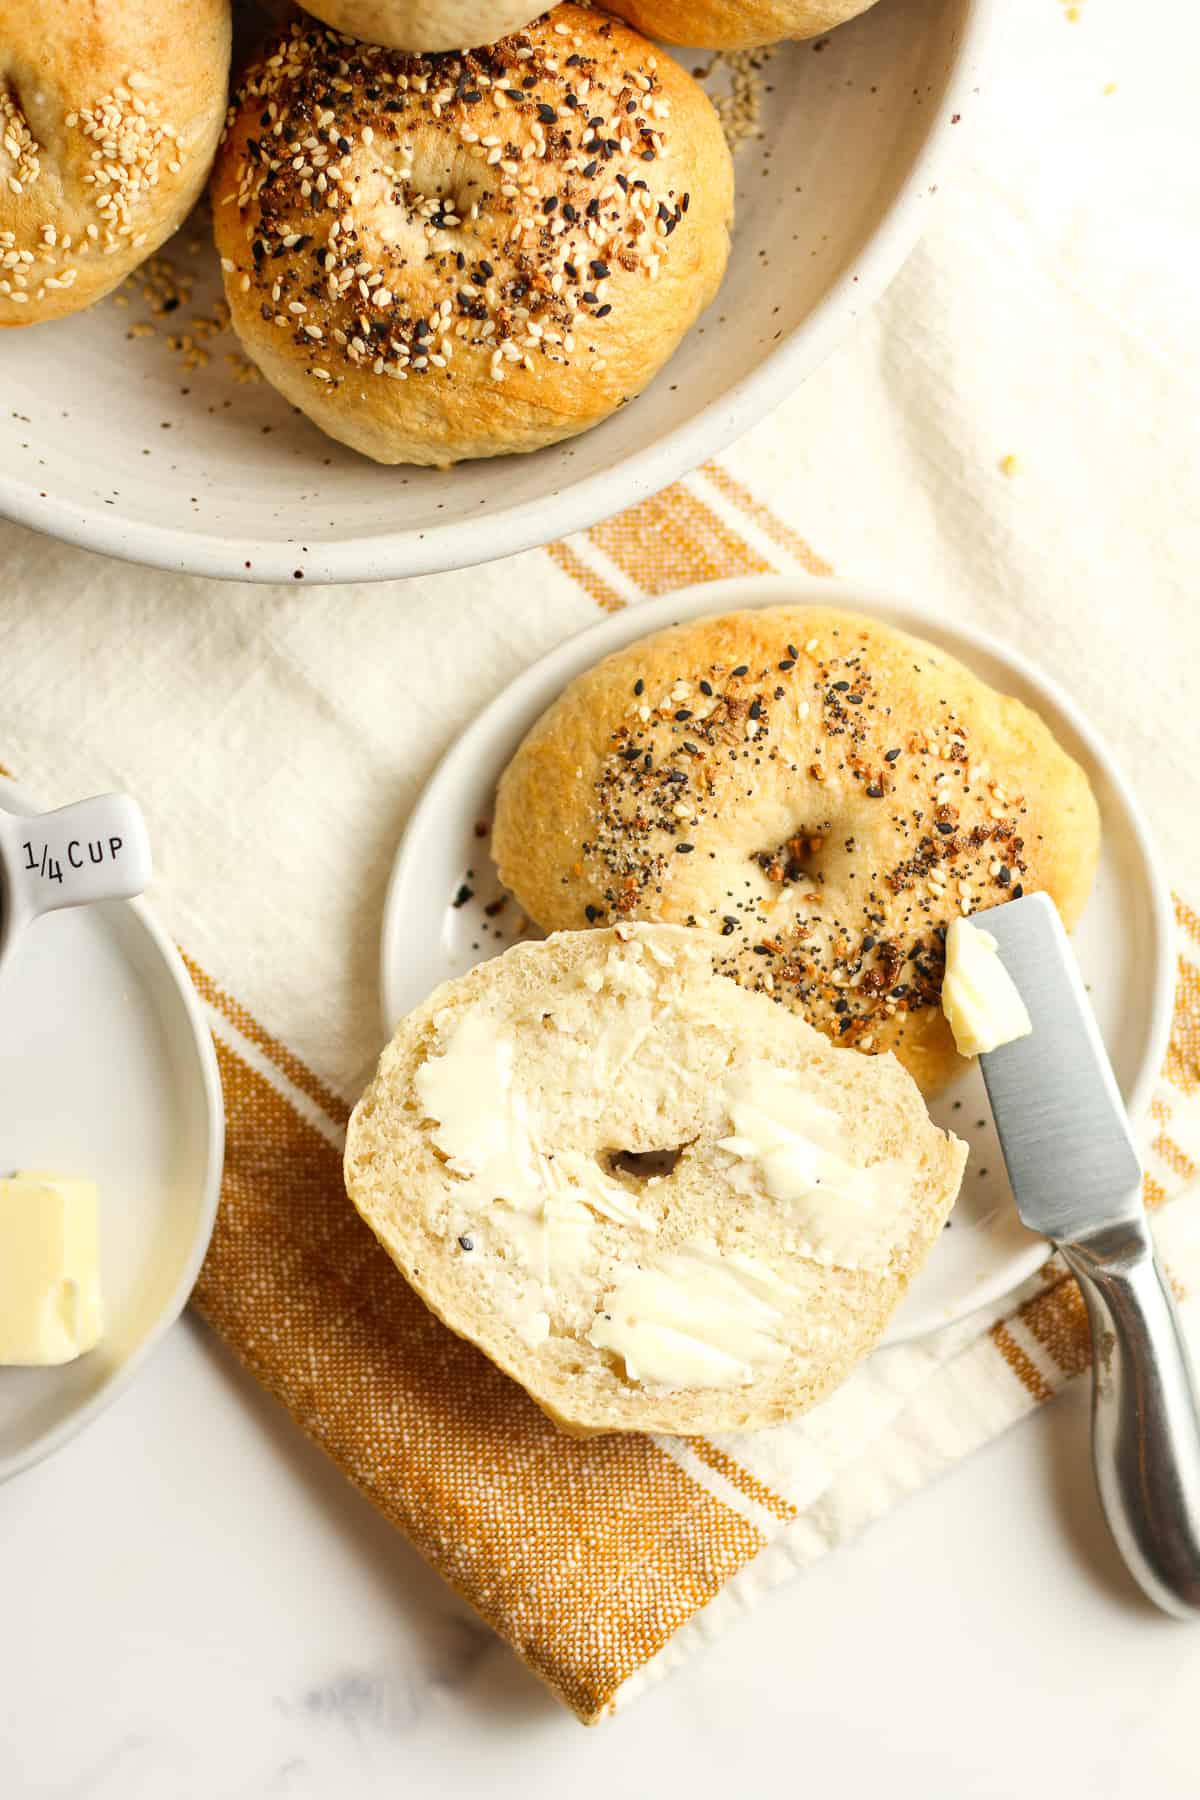
These are great eaten fresh out of the oven. Serve with cream cheese, pb&j, butter, or plain. These also make great sandwiches! The sky is the limit!
Storing and Freezing Sourdough Bagels
- Storing – You can store these on your counter, in a ziplock bag, for 1-2 days.
- Freezing – These bagels freeze well for up to three months. Keep them wrapped up and in a freezer bag.
Frequently Asked Questions
Sourdough is a slow-fermented bread that doesn’t require store-bought yeast to make it rise. It’s a LIVE fermented culture which creates a natural leavening agent. A starter is required to make sourdough.
Sourdough is a slow-fermented bread that doesn’t require store-bought yeast to make it rise. It’s a LIVE fermented culture which creates a natural leavening agent. A starter is required to make sourdough.
A starter can be created in less than a week with a simple combo of unbleached flour and filtered water. It’s a process of removing half of the starter and then “feeding” it every day, storing in a jar on your countertop, and getting it to a bubbly, sour point where it floats in water. More on this later.
Sourdough bread is NOT gluten-free, as it contains flour, but its long fermentation helps break down this gluten. It’s easier on the gut because it’s more digestible and easier for the body to absorb. It’s also DELISH!
Want to make bagels with a yeast-based dough? Try our New York Style Bagels or Blueberry Bagels!
Expert Tips
- Make sure your starter is ready. If you store your starter in the refrigerator between use, make sure it’s active and ready to go before baking with it. I often feed it 2-3 times before using it after resting (i.e. sleeping in the refrigerator). You can test this with a float test. (See definition below.)
- Be flexible. If you’re bulk rise is taking longer than normal, or the starter isn’t as bubbly as you’d like it, be flexible. You can add time to either of these, and still make delicious bread. Many factors will come in to play as to when your sourdough is ready. In the summer months, the humidity and heat will make the process shorter. In the winter months, the process may be longer.
- Measure carefully and then adjust as needed. Make sure you use a digital scale to measure your ingredients in grams. This is important. Even with measuring carefully, you MAY need to adjust slightly. When your hands are on the dough doing stretches and folds, you will come to feel if more water/more flour is needed to make the dough pliable and soft. This comes with practice.
- Practice. Like I said above, as you practice making these sourdough bagels and enjoying the bounties, you’ll learn all the little nuances to the sourdough process. Practice makes perfect!
See my post on how to store sourdough bread for maximum freshness! Let’s not let our hard work go to waste and savor every single morsel of sourdough.
Kitchen Tools Used: (affiliate links)
xoxo ~Sue
Sourdough Bagels
Ingredients
- 100 grams active bubbly sourdough starter
- 200 grams 2% milk – slightly warmed
- 105 grams warm filtered water
- 20 grams granulated sugar
- 500 grams bread flour
- 10 grams fine sea salt
- a pot of water plus a Tablespoon of honey – for boiling
Instructions
- Carefully measure out the sourdough starter, milk, and water – and add to a large bowl. Use a fork to stir well. Then add the sugar, bread flour, and sea salt. Stir again.100 grams active bubbly sourdough starter, 200 grams 2% milk, 105 grams warm filtered water, 20 grams granulated sugar, 500 grams bread flour, 10 grams fine sea salt
- Then use your hands to bring the ingredients together. It will look shaggy. Cover with a damp towel and let it sit for 30 minutes. (Be sure to set a timer.) This is the AUTOLYSE.
- After 30 minutes, start the stretch and folds. Use your hand and left the dough up on one side, stretching it upward, and then punch into the center of the dough. Turn the dough and repeat. Continue this process for about one minute. This is the STRETCH AND FOLDS. Form the dough into a smooth ball, and place towel back in the bowl.
- ADDITIONAL STRETCH AND FOLDS: I recommend doing additional stretch and folds if time permits. Do these every 30 minutes for 3-4 more times to further develop the gluten structure.
- Let the dough rise for 6-8 hours. It should almost double in size and appear soft on top. Small air bubbles may appear as well. This is the BULK RISE.
- Depending on the time of day, you can prepare the bread for baking. I normally place the dough into my refrigerator overnight, however. (The bulk rise is very flexible. You can adjust the time to work with YOUR schedule!)
- To avoid getting a crusty layer on the dough during the bulk rise, make sure the bowl is large and the towel is damp. You can also add a light coating of oil over the top of the dough, especially if you are letting it sit out overnight.
- Remove the dough from the bowl to a NON-floured surface. Cut into 8 even shapes. Then take each shape and form into a flat ball, smooth on the top. Place on a lightly greased pan (I use parchment paper and spray that). Let sit for 20 minutes so that the gluten relaxes.
- Shape the bagels by sticking finger through the middle of each shape. Then take it in your hands and gently “pull and roll” so that a larger circle forms. Place back on the pan and continue with remaining shapes. Cover with a damp towel and let the bagels rise again for about 30 minutes. This is the SECOND RISE. For bagels, you won’t need to let them rise for long or double in size.
- Preheat the oven to 425 degrees. Then start a pot of boiling water with about one tablespoon of honey added in. When it’s a rolling boil, start adding bagel shapes to the water, just a couple at a time. Count to 30 seconds before removing. I normally turn them over about half way through while they are in the pot. Then remove them with a slotted spoon and let the water drip off as you do so. Set back on the pan and repeat with remaining shapes.a pot of water plus a Tablespoon of honey
- When the bagel shapes are cool enough to handle (but still wet), push the puffy side (tops of bagels) into any desired toppings (like Everything But the Bagel Seasoning, or toasted sesame seeds pictured), and place on a fresh pan sprayed with spray (or parchment). You can also make these plain, without any toppings.
- Bake for 20-25 minutes, or until golden brown on tops and bottoms. You will see the bagels have slightly puffed up (you often don’t see the holes anymore!).
- These are great eaten fresh out of the oven. Serve with cream cheese, pb&j, butter, or plain. These also make great sandwiches! The sky is the limit!
Notes
- Storing – You can store these on your counter, in a ziplock bag, for 1-2 days.
- Freezing – These bagels freeze well for up to three months. Keep them wrapped up and in a freezer bag.
This recipe was so good! It was so delicious my husband and I finished off two bagels each about 20 minutes after they came out of the oven and now I’m you g to need to make more for the rest of the family. I did bulk ferment for the night in the fridge after the stretch and folds. Divided, shaped, second rise for an hour then boil and bake went very quickly from that. We had fresh bagels in time for breakfast with minimal effort. So soft inside and nice and chewy outside! Will def use this recipe from now on.
Thanks so much Amy!
These bagels have been the PERFECT way to start the day!!
Super easy to make and delicious!
We love them too! 🙂