Pumpkin Ice Cream
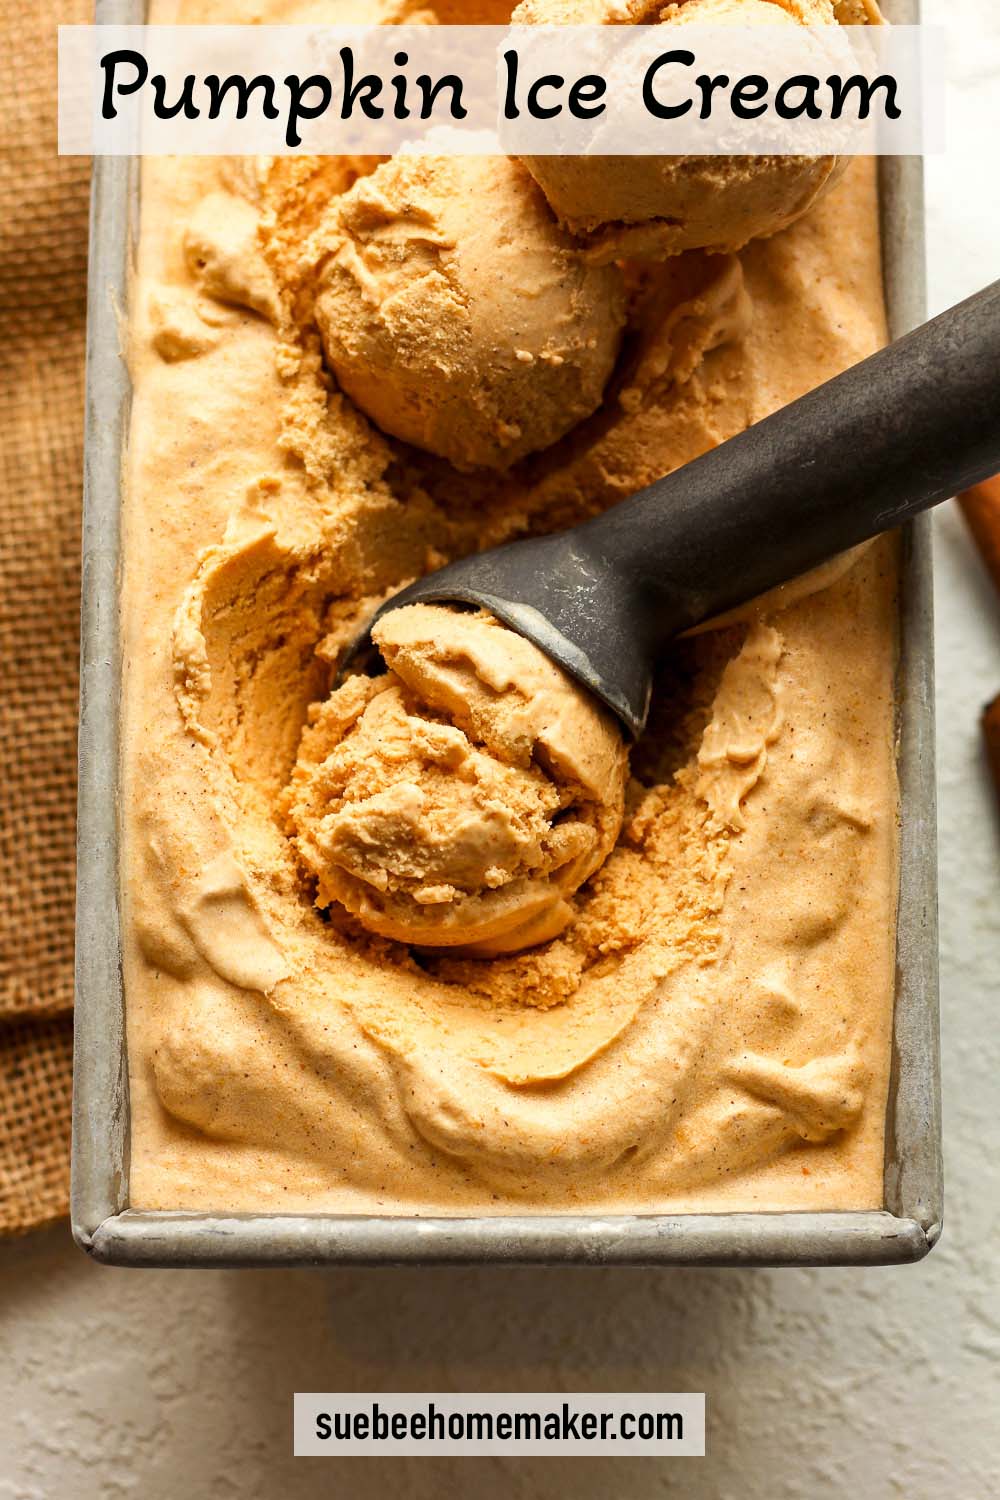
Pumpkin Ice Cream is a creamy, spiced treat that combines the rich flavors of pumpkin puree with warm notes of cinnamon and pumpkin pie spice. It’s a perfect autumn dessert, balancing sweet and earthy tastes with a smooth, velvety texture.
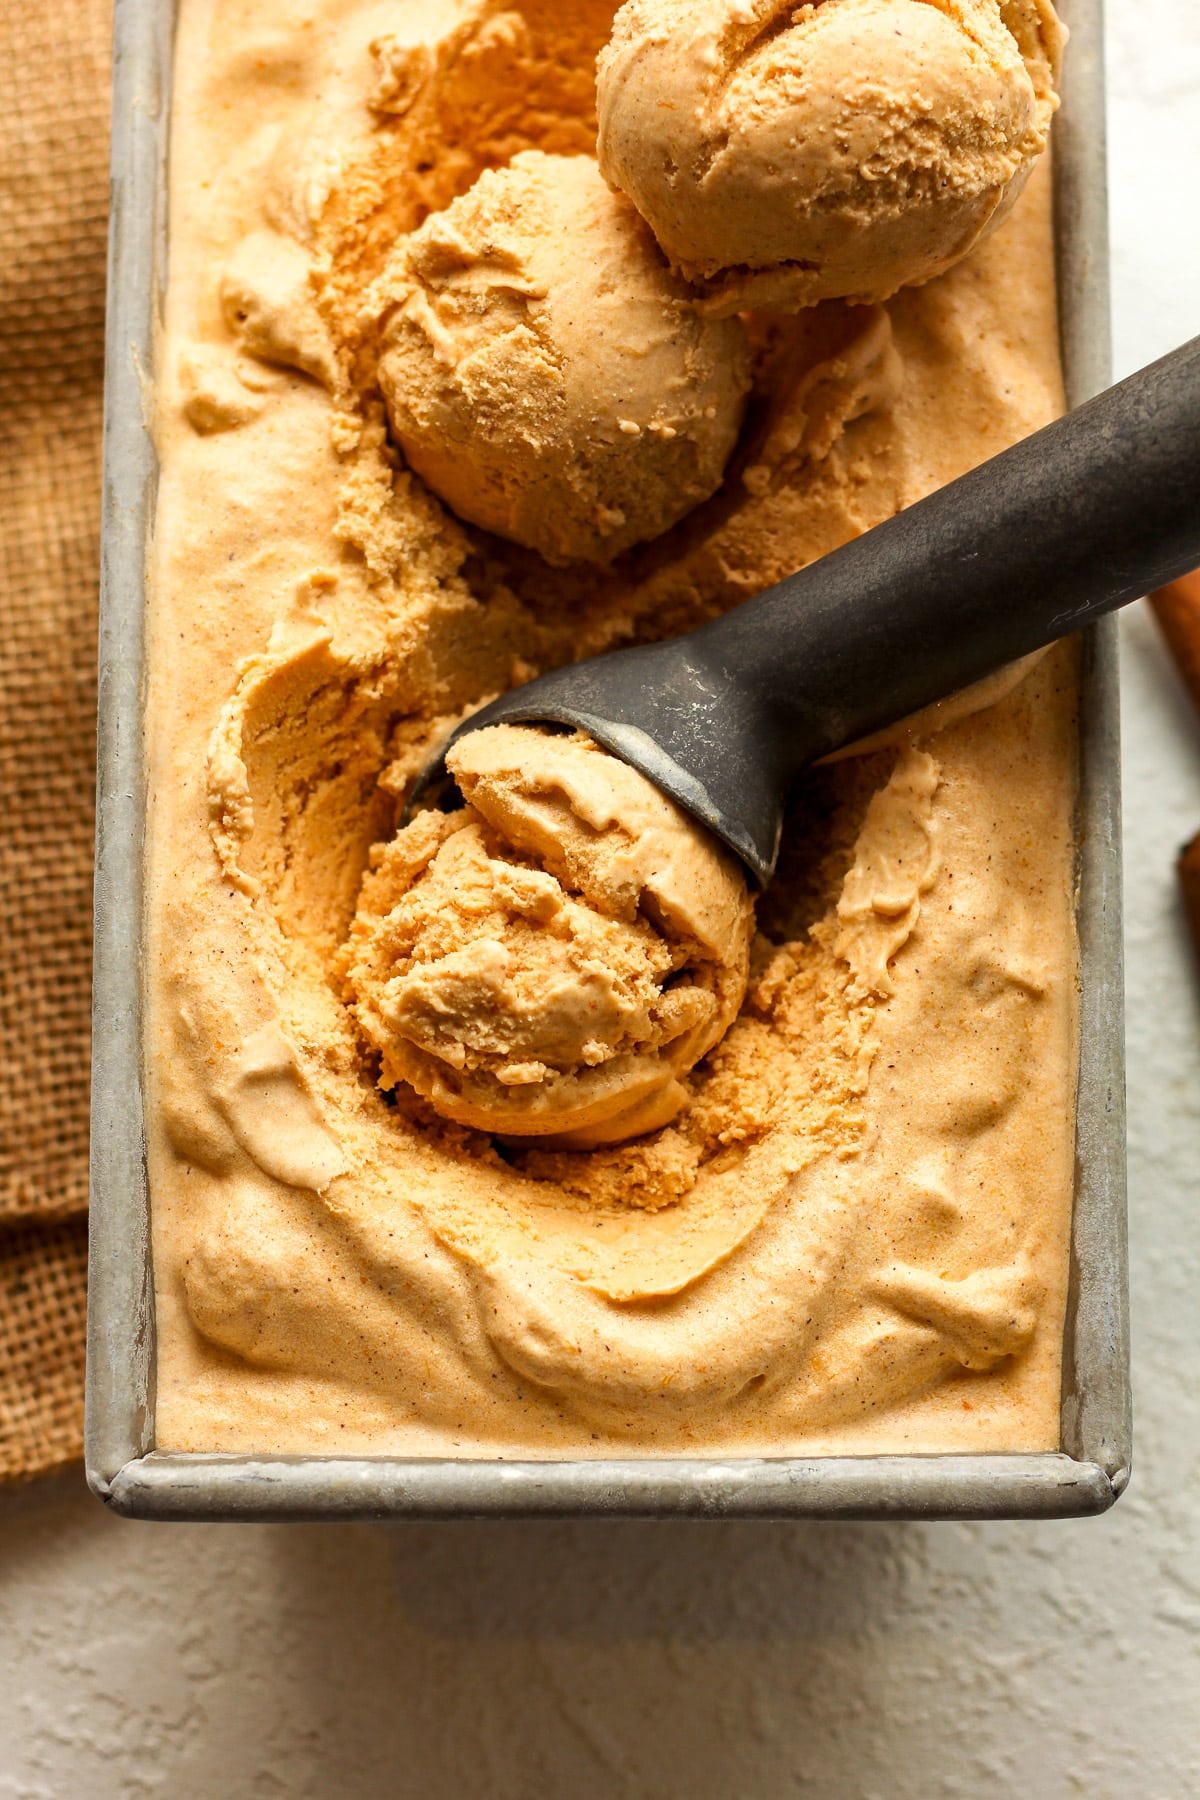
Homemade Pumpkin Ice Cream
I love trying new ice cream flavors and this one does not disappoint! While pumpkin is most popular during the fall, we love it all year round.
What’s really great is that you can take THIS pumpkin ice cream and use it in my Pumpkin Ice Cream Pie recipe. A dessert that my mother-in-law made back in the day, and I’m carrying on the tradition as my family asks for it every year.
Why We Love This Recipe:
- SIMPLE – This ice cream recipe combines nine simple ingredients that are easily found in most grocery stores.
- PERFECT FOR FALL – Pumpkin equals fall, and this ice cream is especially popular this time of year. It’s full of pumpkin puree, ground cinnamon, and pumpkin pie spice!
- DELICIOUS FLAVOR AND TEXTURE – We love both the flavor AND texture of this frozen dessert. Custard-based ice cream is the creamiest which is why I normally stick to basic ingredients, including egg yolks.
Other Delicious Ice Cream Flavors:
Here are some of our favorite flavors if you’re interested in trying others. Head to see all of our KitchenAid Ice Cream Recipes.
- FRUIT FLAVORED – Strawberry, Lemon Custard, Black Cherry, and Blueberry
- BASIC FLAVORS – Vanilla Bean, Oreo, Dark Chocolate, and Mint Chip
- SOMETHING FUN – S’mores, Coffee Toffee, Cinnamon, and Nutella
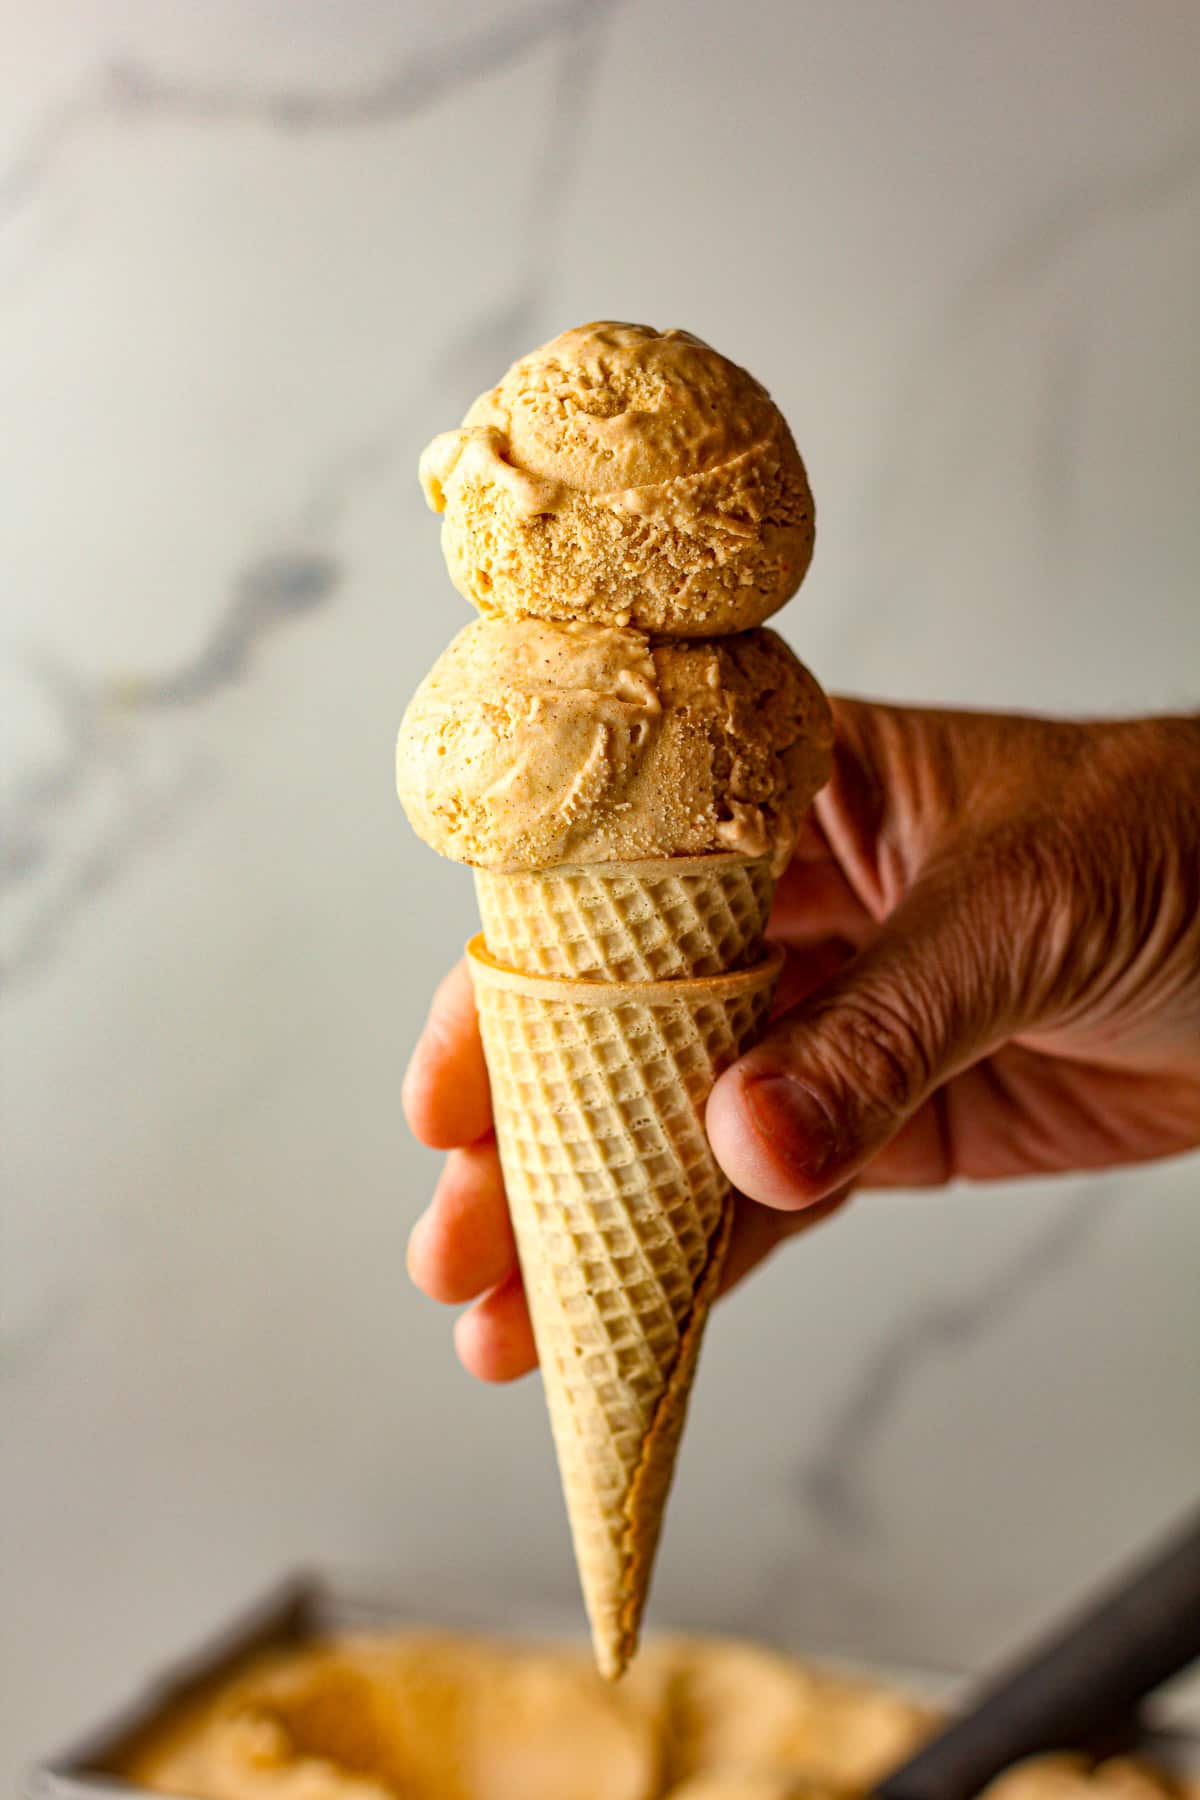
Ingredient Notes:
- Dairy – I used a slightly larger percentage of heavy cream to whole milk for this recipe.
- Fall Spices – I love using cinnamon and pumpkin pie spice for all things pumpkin!
- Pumpkin Puree – Make sure you use the pumpkin puree and not pumpkin pie filling.
- Sugars – For this recipe, I used mostly brown sugar with a tad bit of granulated sugar.
- Eggs – Five egg yolks adds to a nice creamy texture.
- Vanilla – I love using a generous dose of Watkin’s vanilla!
DIY Pumpkin Pie Spice – make your own with a simple combo of cinnamon (3T), ginger (2t), nutmeg (2t), allspice (1t), and cloves (1t).
Tempering is the process of slowly bringing two liquids to the same temperature before blending them together. With eggs, tempering prevents the proteins in the eggs from binding together so they won’t clump together and scramble.
How to Pumpkin Ice Cream:
NOTE: You’ll want to temper your eggs so that they are safe to eat. You can also use pasteurized eggs instead if you can find them in the grocery store.
Step 1
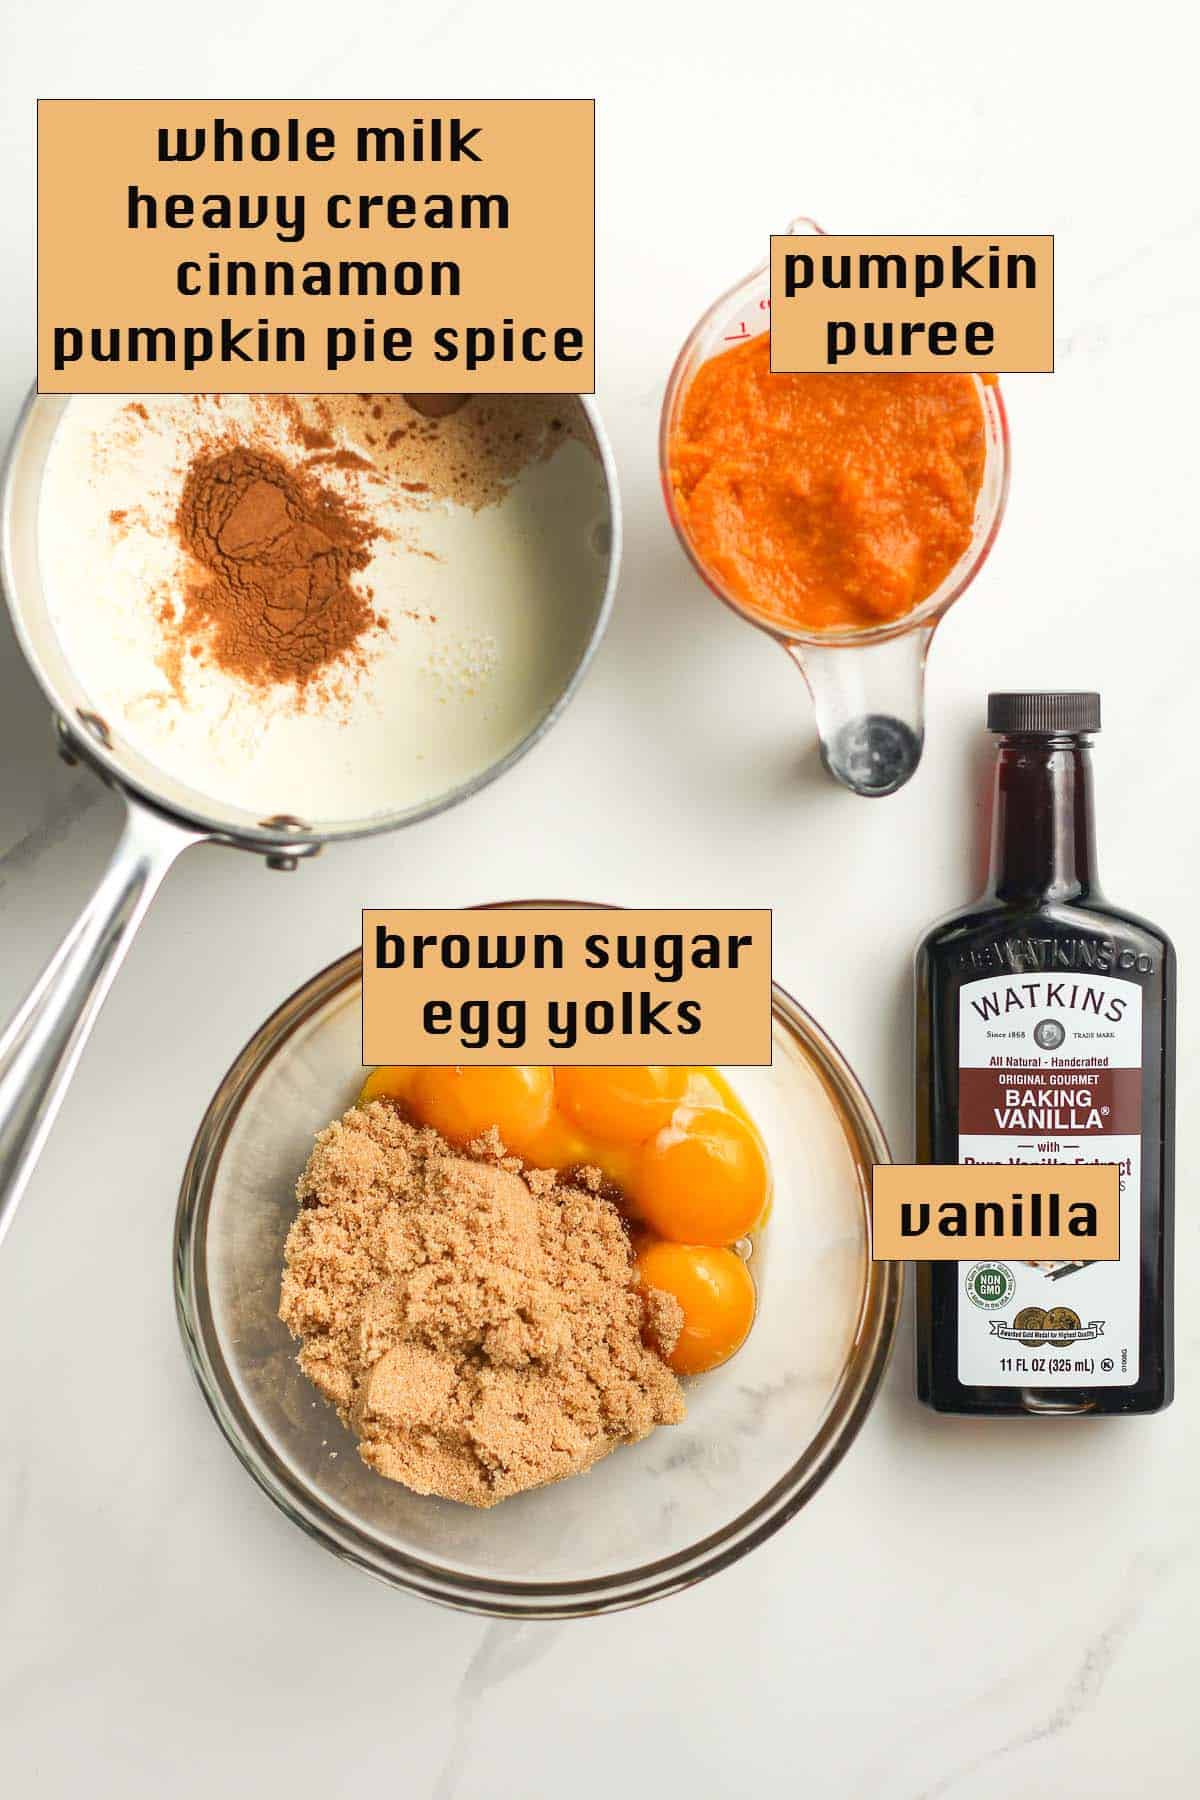
Heat liquid mixture. In a small saucepan, combine the whole milk, heavy cream, pumpkin, cinnamon, and pumpkin pie spice – and heat over medium heat. Heat until it reaches 165 degrees on a digital thermometer, whisking often. Do not boil.
Step 2
Combine egg yolks and sugar. In a small mixing bowl, combine the egg yolks and granulated sugar, and whisk well.
Step 3
Temper eggs. When the milk mixture reaches 165 degrees, take a small measuring cup and pour into the egg mixture, whisking vigorously as you pour it in. Do not stop whisking, and continue to pour about a cup of hot mixture into the eggs.
Then pour the contents of the bowl into the saucepan and place it back on the heat. Add the brown sugar, a pinch of salt, and continue whisking and heating until the mixture reaches 165 degrees.
Step 4
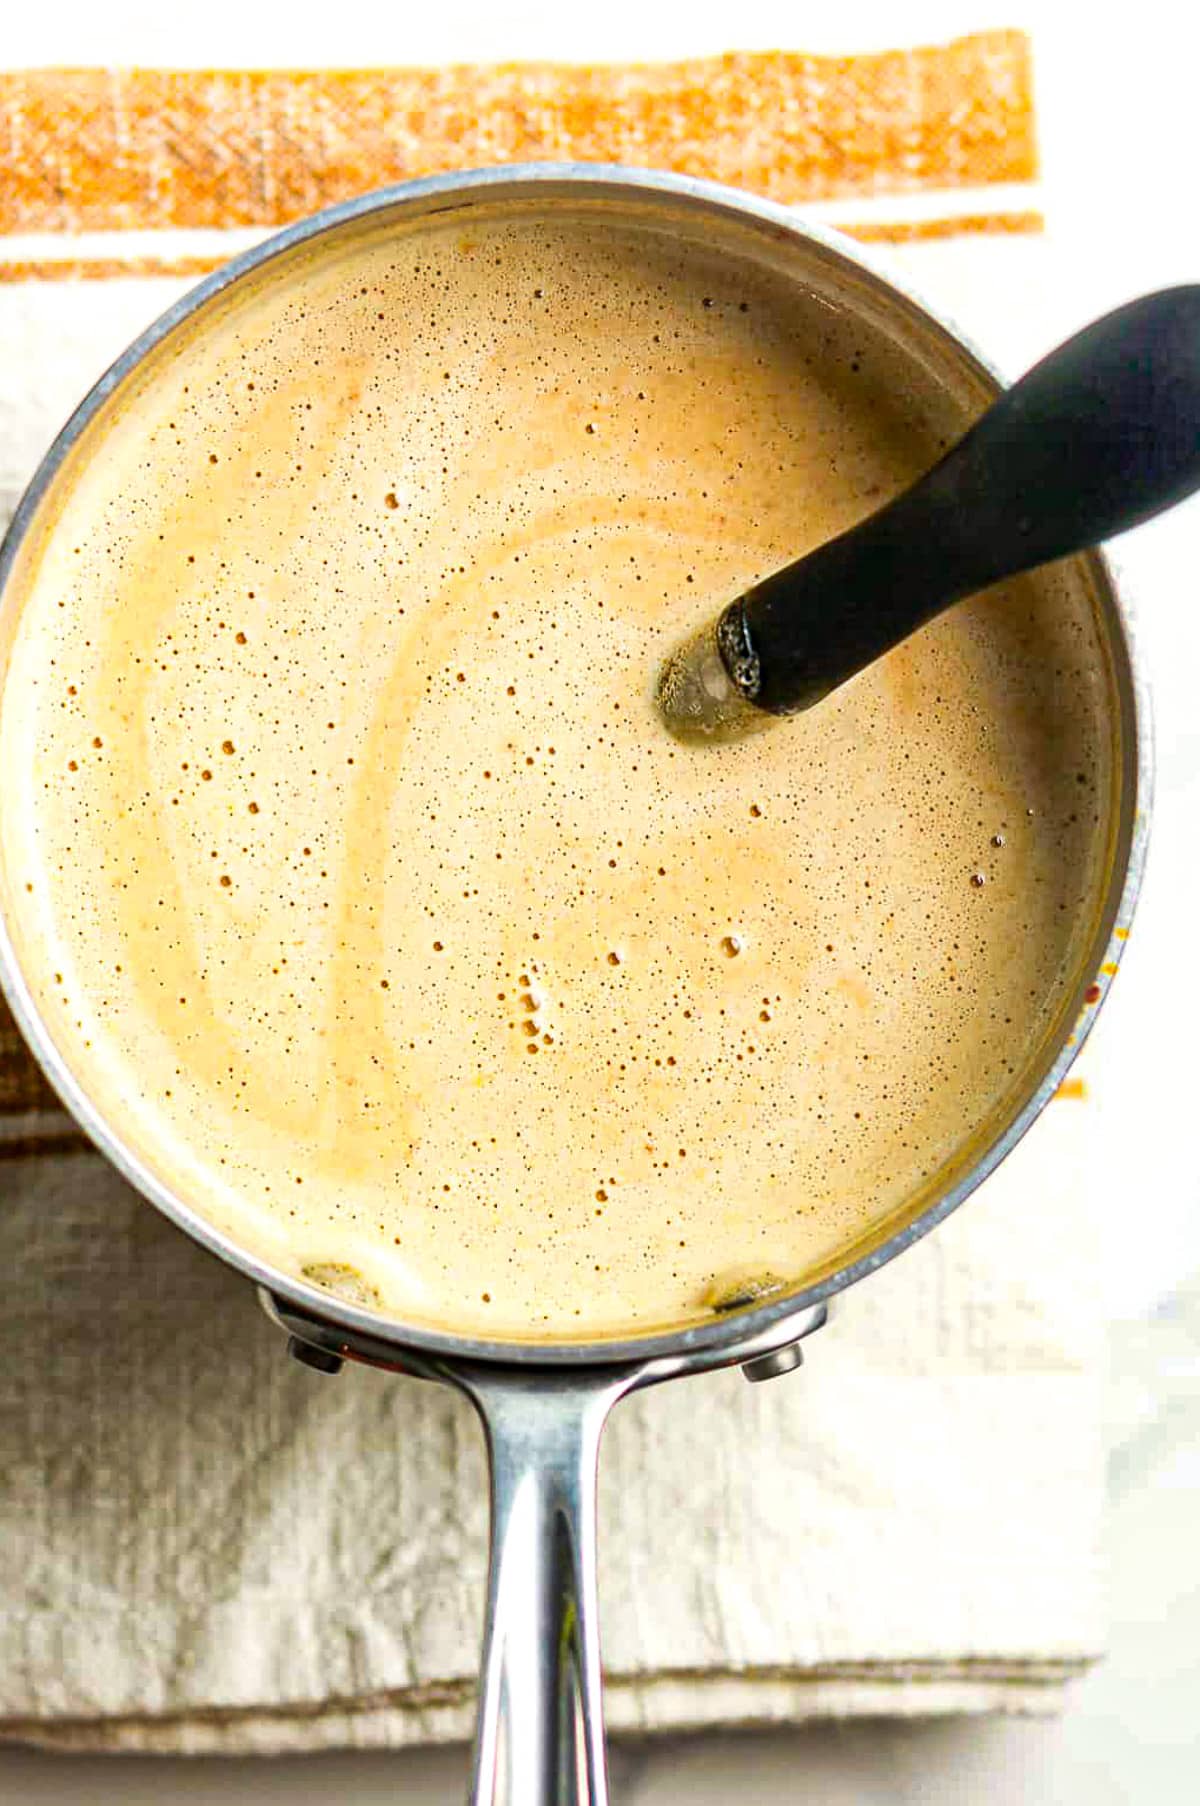
Add vanilla. Remove from heat and let cool slightly. Add vanilla extract. You can also strain the custard here if you’d like.
Step 5
Chill liquid ice cream. Mix well, cover with plastic wrap, and refrigerate for at least four hours before churning. The mixture should be VERY COLD!
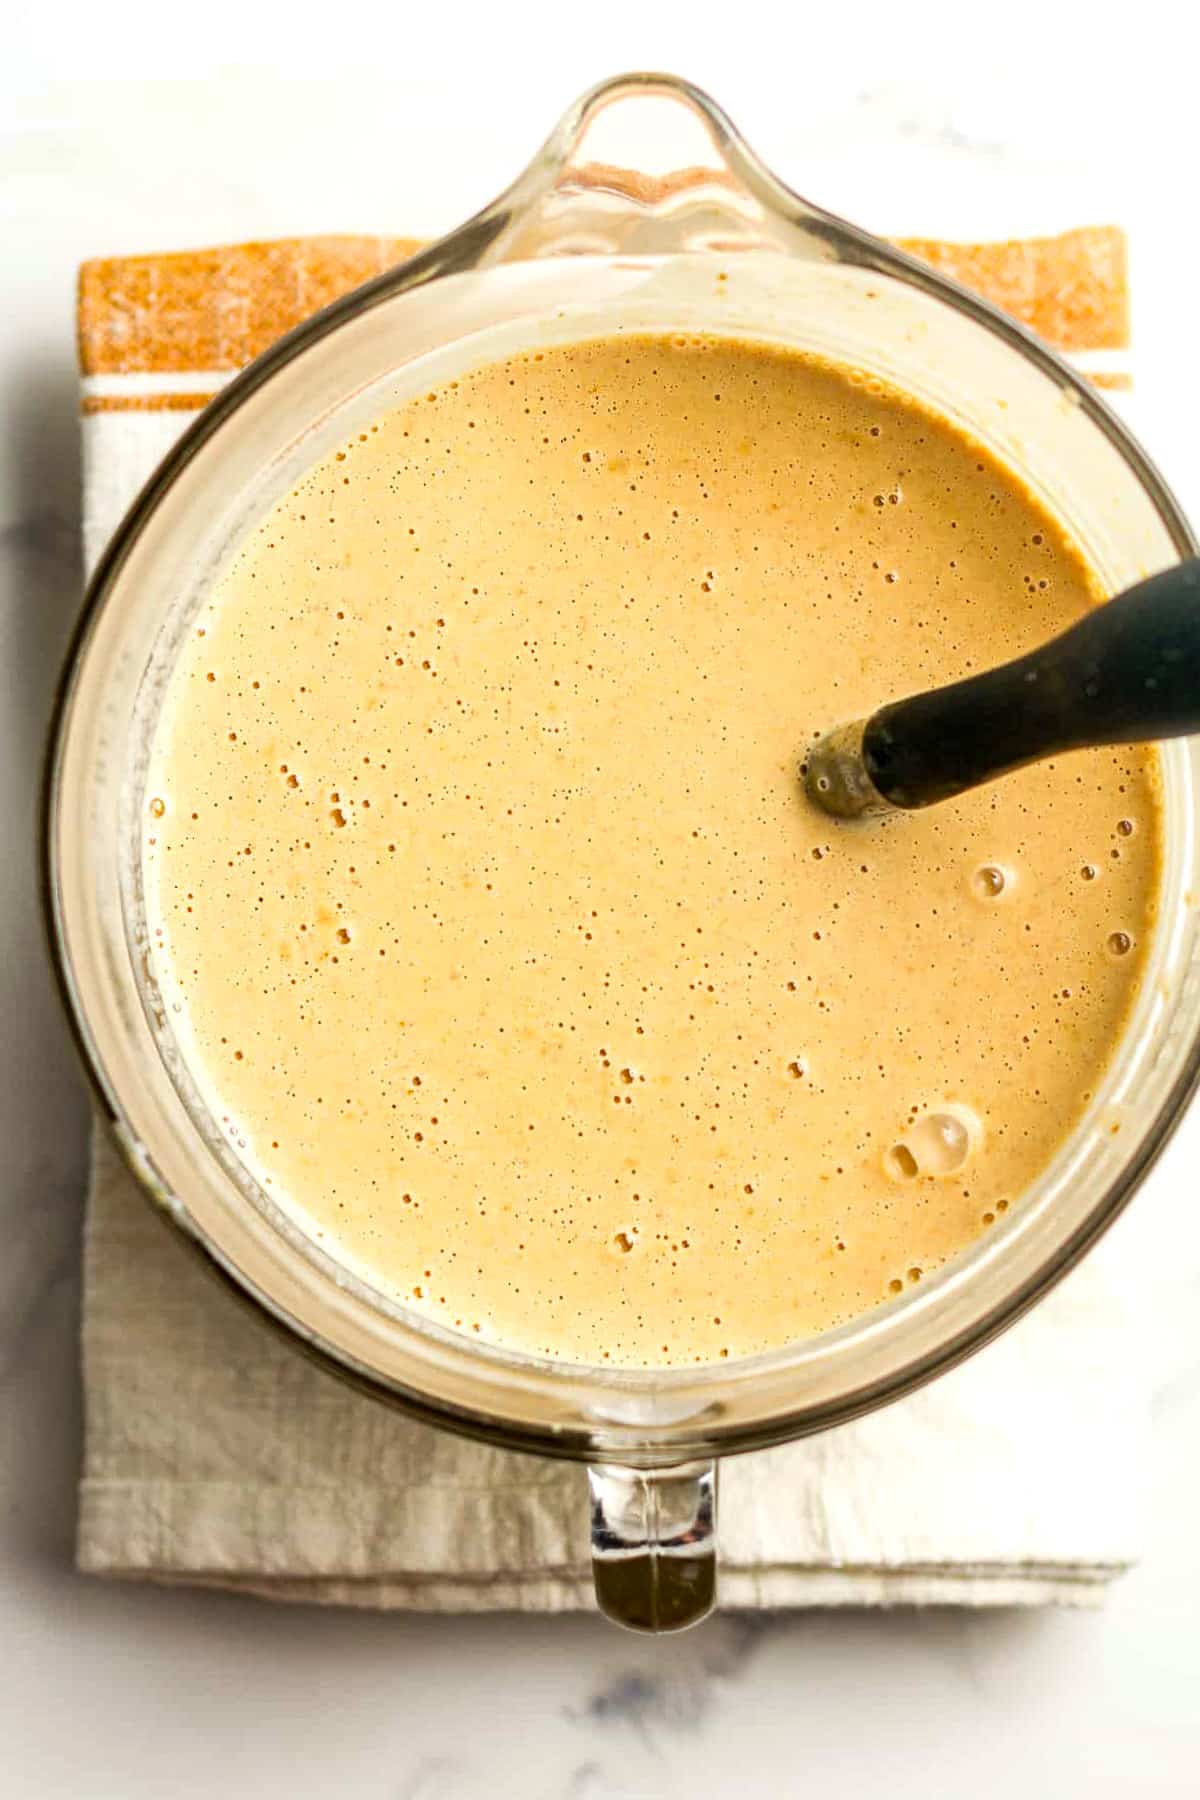
How to churn pumpkin ice cream:
NOTE: Make sure you freeze the KitchenAid attachment for at least 15 hours before using it to churn ice cream.
Step 1
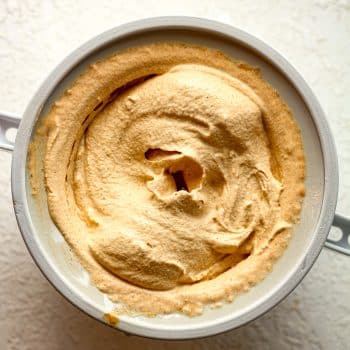
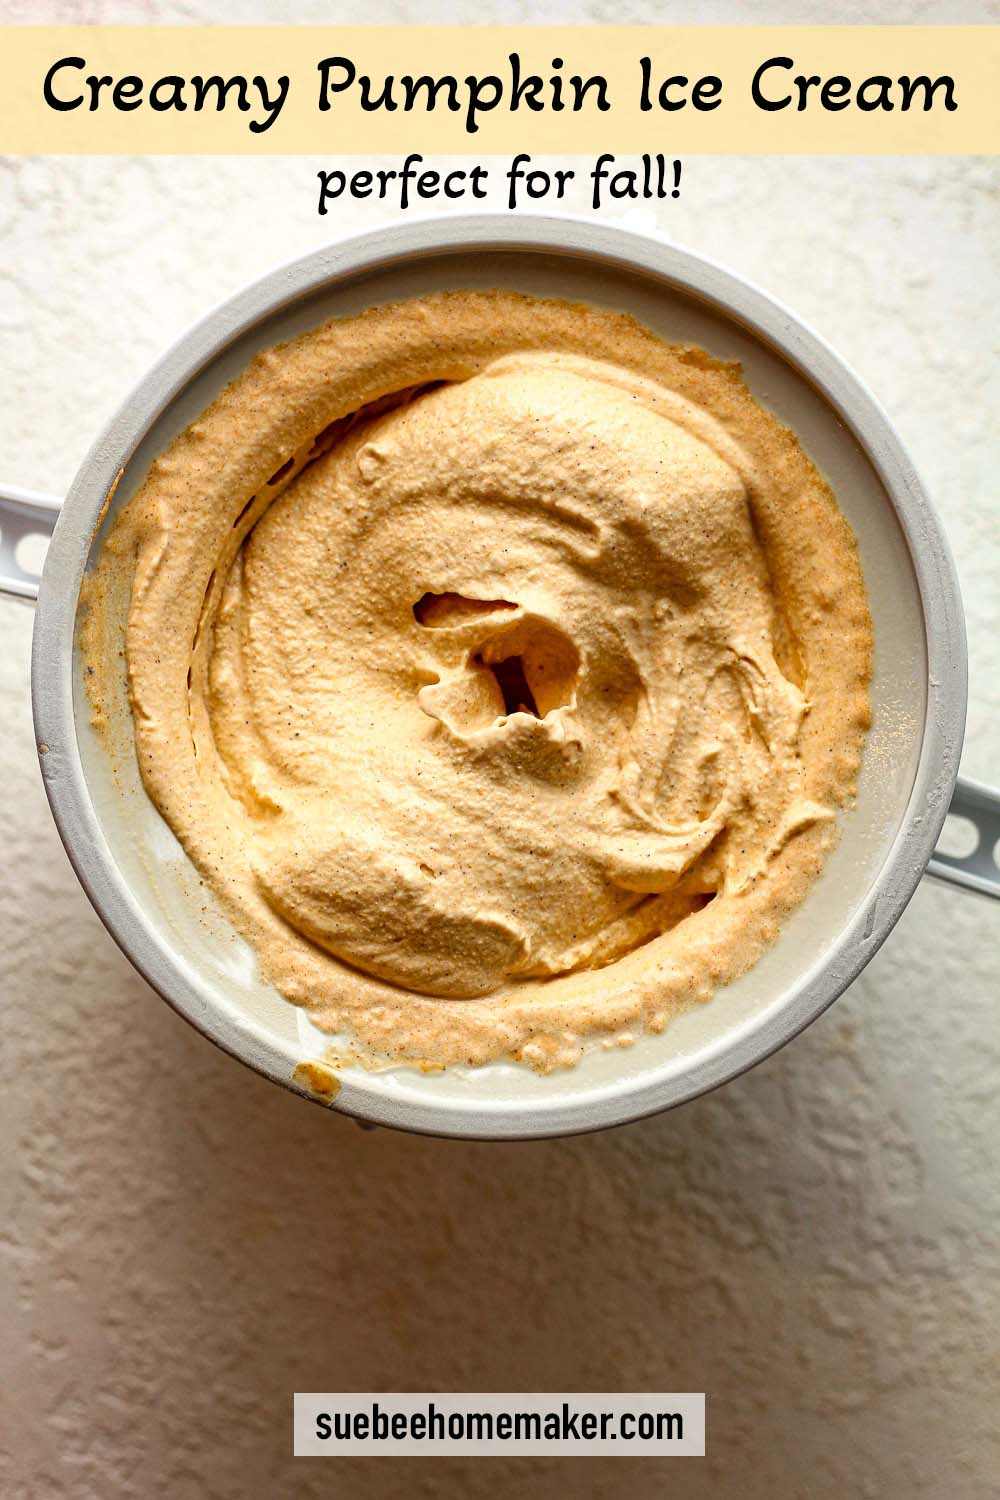
Churn. If using a KitchenAid attachment, start the mixer with the attachment so that it’s turning BEFORE you pour the liquid in. Then pour in COLD ingredients and let it churn until finished. You’ll know it’s done when the mixer starts slowing down and it rises to the top of the bowl, approximately 25-30 minutes.
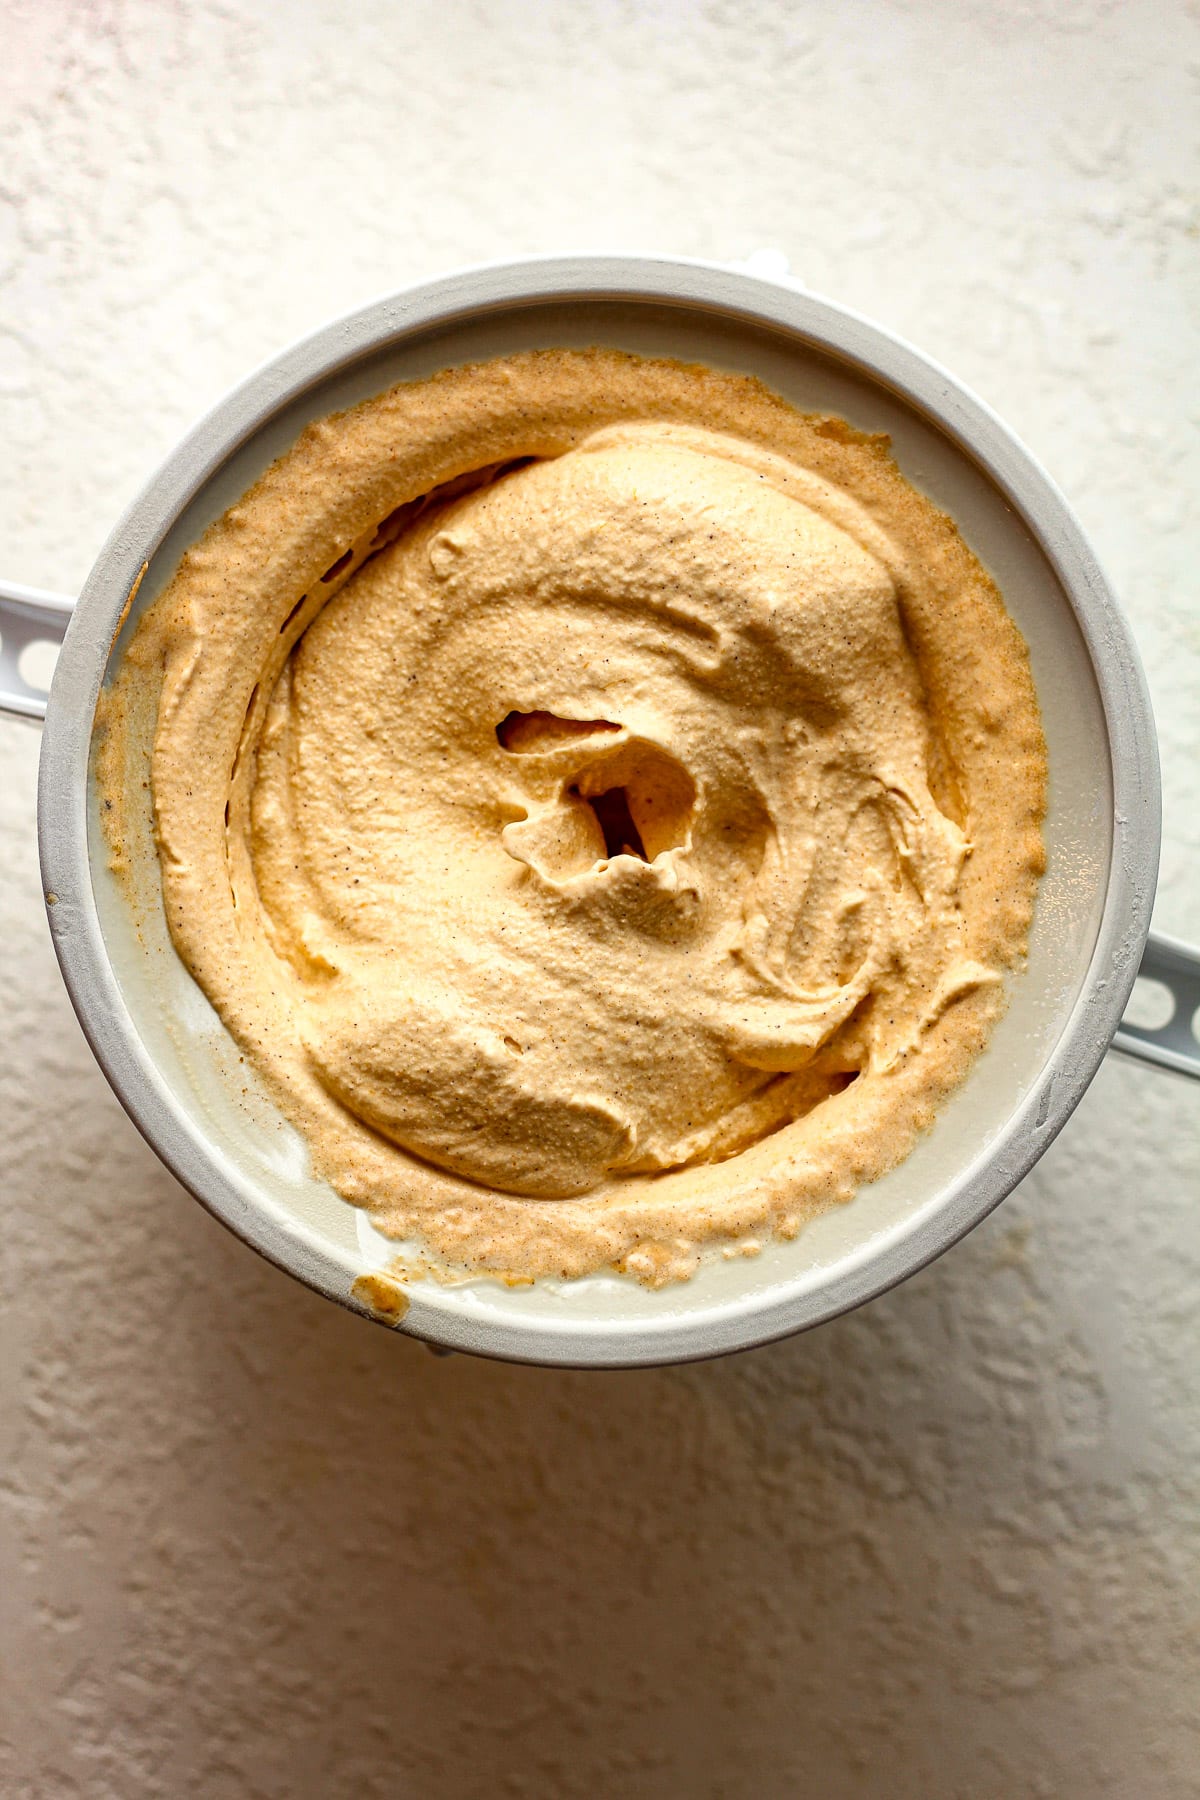
Step 2
Remove ice cream. Use a rubber scraper to pour the ice cream out of the bowl into a pan or freezer-safe container.
Step 3
Freeze. Freeze the ice cream until ready to serve. The ice cream will be a bit soft so it needs a couple of hours to firm up.
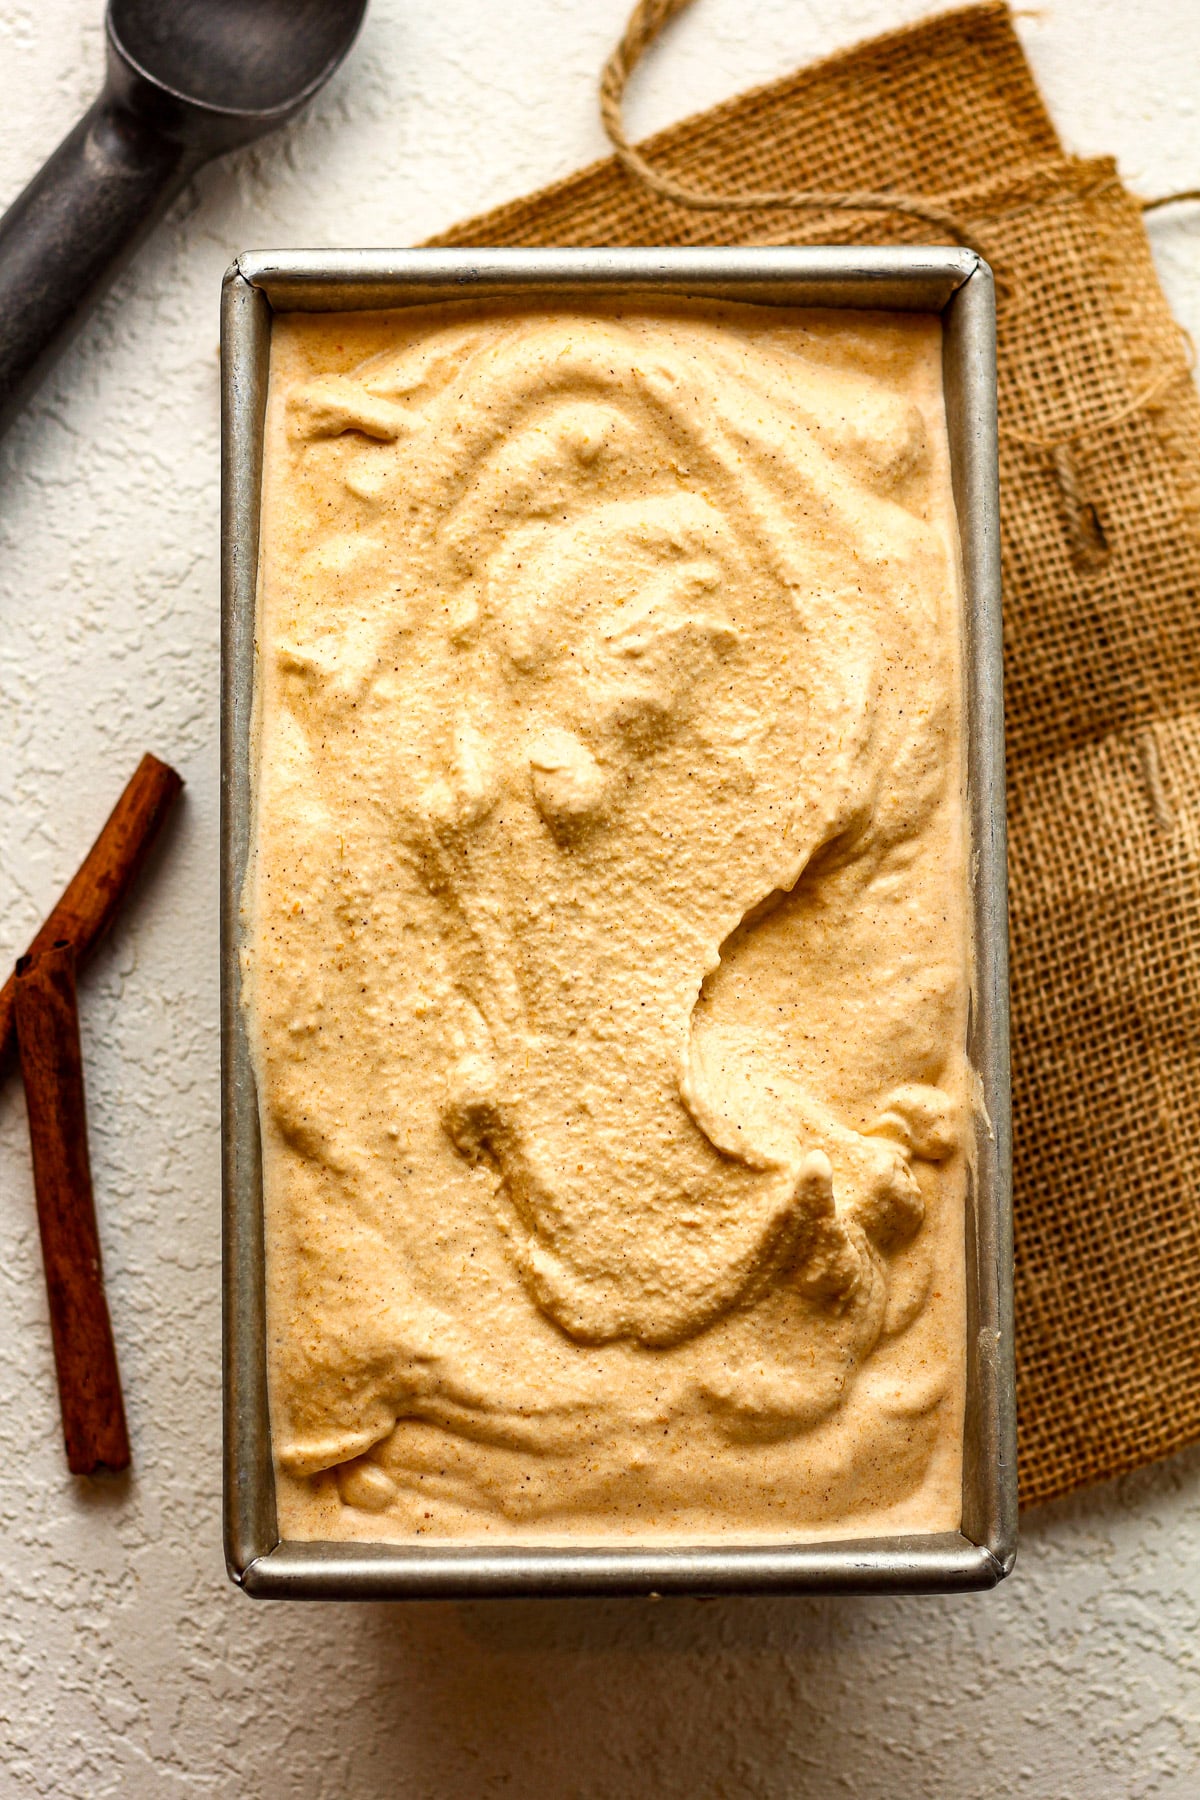
Pumpkin flavors are my favorite. Next, try my Pumpkin Spice Sugar Cookies, some Mini Pumpkin Cheesecakes, and the Best Pumpkin Cake!
Tips for using a KitchenAid Attachment:
- Place bowl attachment in freezer. You’ll want to be sure to store the bowl in the freezer for AT LEAST 15 hours before using. Since we have an extra freezer in our laundry room, I keep ours in there all the time. That way we can make ice cream on a whim!
- Run mixer in advance. Attach bowl to the KitchenAid mixer and add the attachments. Start mixer on the lowest setting BEFORE adding ice cream mixture. This will prevent the bowl from freezing up.
- Add liquid while mixer is running. Then carefully pour the liquid into the bowl attachment while it’s running.
- Let it slow down slightly. The ice cream is done when you see it expanding to the top of the bowl and the mixer starts to slow down.
If I’m being honest, we normally make pizza to go with ice cream – aka pizza and ice cream party! Try our Meatball Pizza Recipe, a delicious Godfather’s Taco Pizza, some Low Carb Cauliflower Pizza, and the best French Bread Pizza!
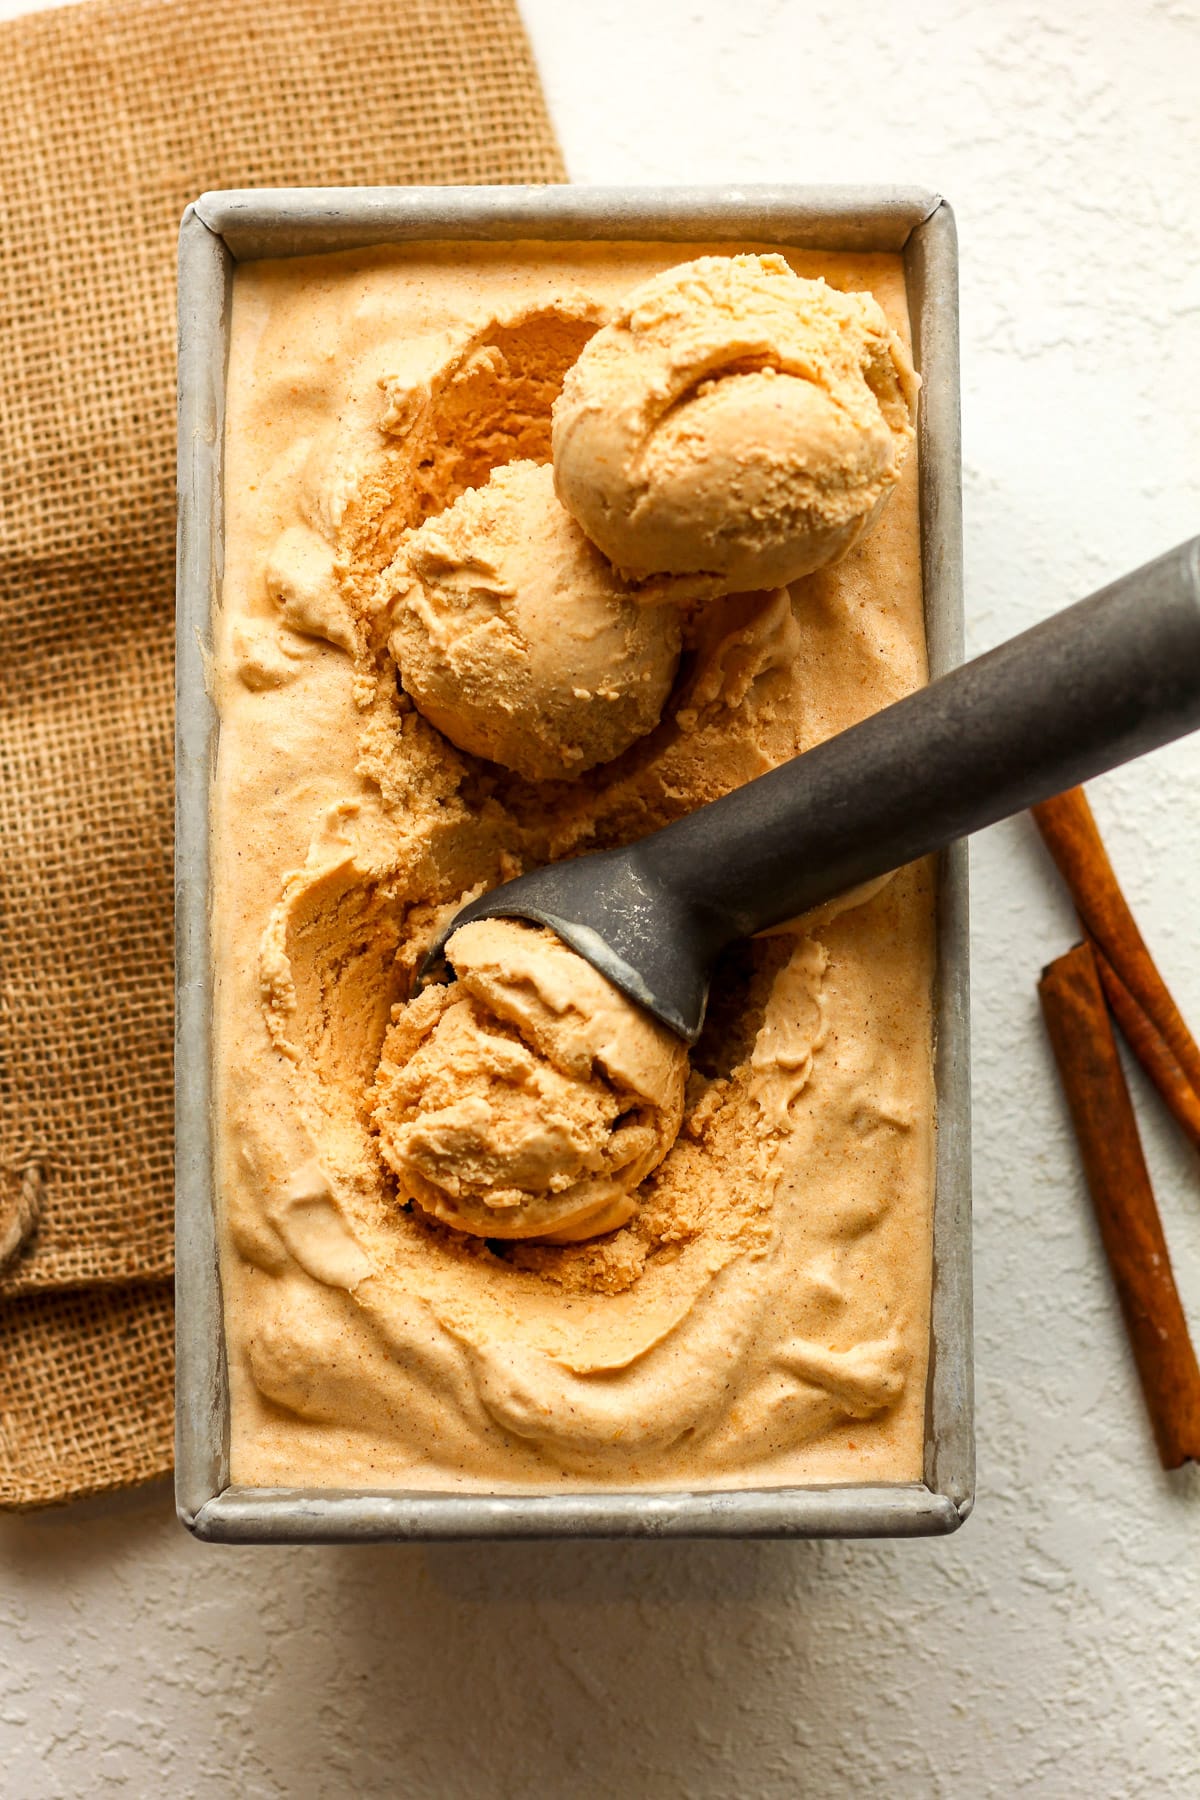
Kitchen Items Used: (affiliate links)
xoxo ~Sue
Pumpkin Ice Cream Recipe
Ingredients
- 2 ¼ cups heavy cream
- 1 ¾ cups whole milk
- 5 large egg yolks
- 1 cup brown sugar
- 1/4 cup granulated sugar
- 1 cup pumpkin (canned puree, not pumpkin pie filling)
- 1/2 teaspoon pumpkin pie spice
- 1 teaspoon cinnamon
- 1 Tablespoon vanilla extract
- pinch of salt
Instructions
Make the pumpkin ice cream mixture.
- NOTE: Make sure you freeze the KitchenAid attachment for at least 15 hours before using it to churn ice cream.
- Heat liquid mixture. In a small saucepan, combine the whole milk, heavy cream, pumpkin, cinnamon, and pumpkin pie spice – and heat over medium heat. Heat until it reaches 165 degrees on a digital thermometer, whisking often. Do not boil.1 ¾ cups whole milk, 2 ¼ cups heavy cream, 1 cup pumpkin (canned puree, not pumpkin pie filling), 1 teaspoon cinnamon, 1/2 teaspoon pumpkin pie spice
- Combine egg yolks and sugar. In a small mixing bowl, combine the egg yolks and granulated sugar, and whisk well.5 large egg yolks, 1/4 cup granulated sugar
- Temper eggs. When the milk mixture reaches 165 degrees, take a small measuring cup and pour into the egg mixture, whisking vigorously as you pour it in. Do not stop whisking, and continue to pour about a cup of hot mixture into the eggs.Then pour the contents of the bowl into the saucepan and place it back on the heat. Add the brown sugar, a pinch of salt, and continue whisking and heating until the mixture reaches 165 degrees.1 cup brown sugar, pinch of salt
- Add vanilla. Remove from heat and let cool slightly. Add vanilla extract. You can also strain the custard here if you’d like.1 Tablespoon vanilla extract
- Chill liquid ice cream. Mix well, cover with plastic wrap, and refrigerate for at least four hours before churning. The mixture should be VERY COLD!
Churn ice cream.
- Churn. If using a KitchenAid attachment, start the mixer with the attachment so that it’s turning BEFORE you pour the liquid in. Then pour in whisked ingredients and let it churn until finished. You’ll know it’s done when the mixer starts slowing down and it rises to the top of the bowl, approximately 25-30 minutes.
- Remove ice cream. Use a rubber scraper to pour the ice cream out of the bowl into a pan or container.
- Freeze. Freeze the ice cream until ready to serve. The ice cream will be a bit soft so it needs a couple of hours to firm up.

I made this recently – used canned pumpkin puree – followed the recipe exactly – tasty but very “rich” – might need to be tempered a little with perhaps somewhat less brown sugar or maybe one less egg yolk (used 5) – also, some might want to strain the ice cream batter before starting the churning process??? Several trail runs could be necessary to get this exactly right, but if you’re a big fan of pumpkin it’ll be worth it!
Thanks for your feedback, John!
Pumpkin Ice Cream for the win! Simple and fun… ❤️