
How to use a KitchenAid Ice Cream Maker
This post may contain affiliate links which won’t change your price but will share a commission.
You can make homemade ice cream all year long with the proper tools and recipes.In this post, I’m going to show you How to use a KitchenAid Ice Cream Maker, along with some delicious recipes for you to try! Let’s have an ice cream party!
In addition to using our KitchenAid for homemade ice cream, we use our four-quart electric mixer too. For more info on this, read this post regarding How to Make Homemade Ice Cream in an Electric Ice Cream Maker!
Homemade Ice Cream
Self-proclaimed ice cream enthusiasts here! How about you? There is really nothing as delicious as homemade ice cream, especially when it’s freshly made.
My recent obsession started after I purchased the KitchenAid Attachment. Churning it INSIDE my house (instead of outside using our 4-quart mixer) is pure genius. How did I not jump on the band-wagon when this first came out? It’s simple to use, and you can have freshly churned ice cream in 30 minutes!
What do I need to make homemade ice cream?
- KitchenAid 2 Quart Ice Cream Maker – For smaller batches.
- If you can’t find the KitchenAid attachment, you can also use a Cuisinart 2-Quart Frozen Ice Cream Maker in it’s place.
- OR use a 4-Quart Electric Ice Cream Maker – for larger batches, and is explained in my blog post linked above.
- Ice Cream Ingredients – usually dairy, eggs, vanilla, sugar, and other optional items, such as fruit, candy, chocolate, peanut butter, etc. (depending on the kind you choose to make). See below for all the recipes!
How to use a KitchenAid Ice Cream Maker
The following is one of the methods we use to make our ice cream. It’s a fairly easy process, especially since we don’t have to crank it by hand!
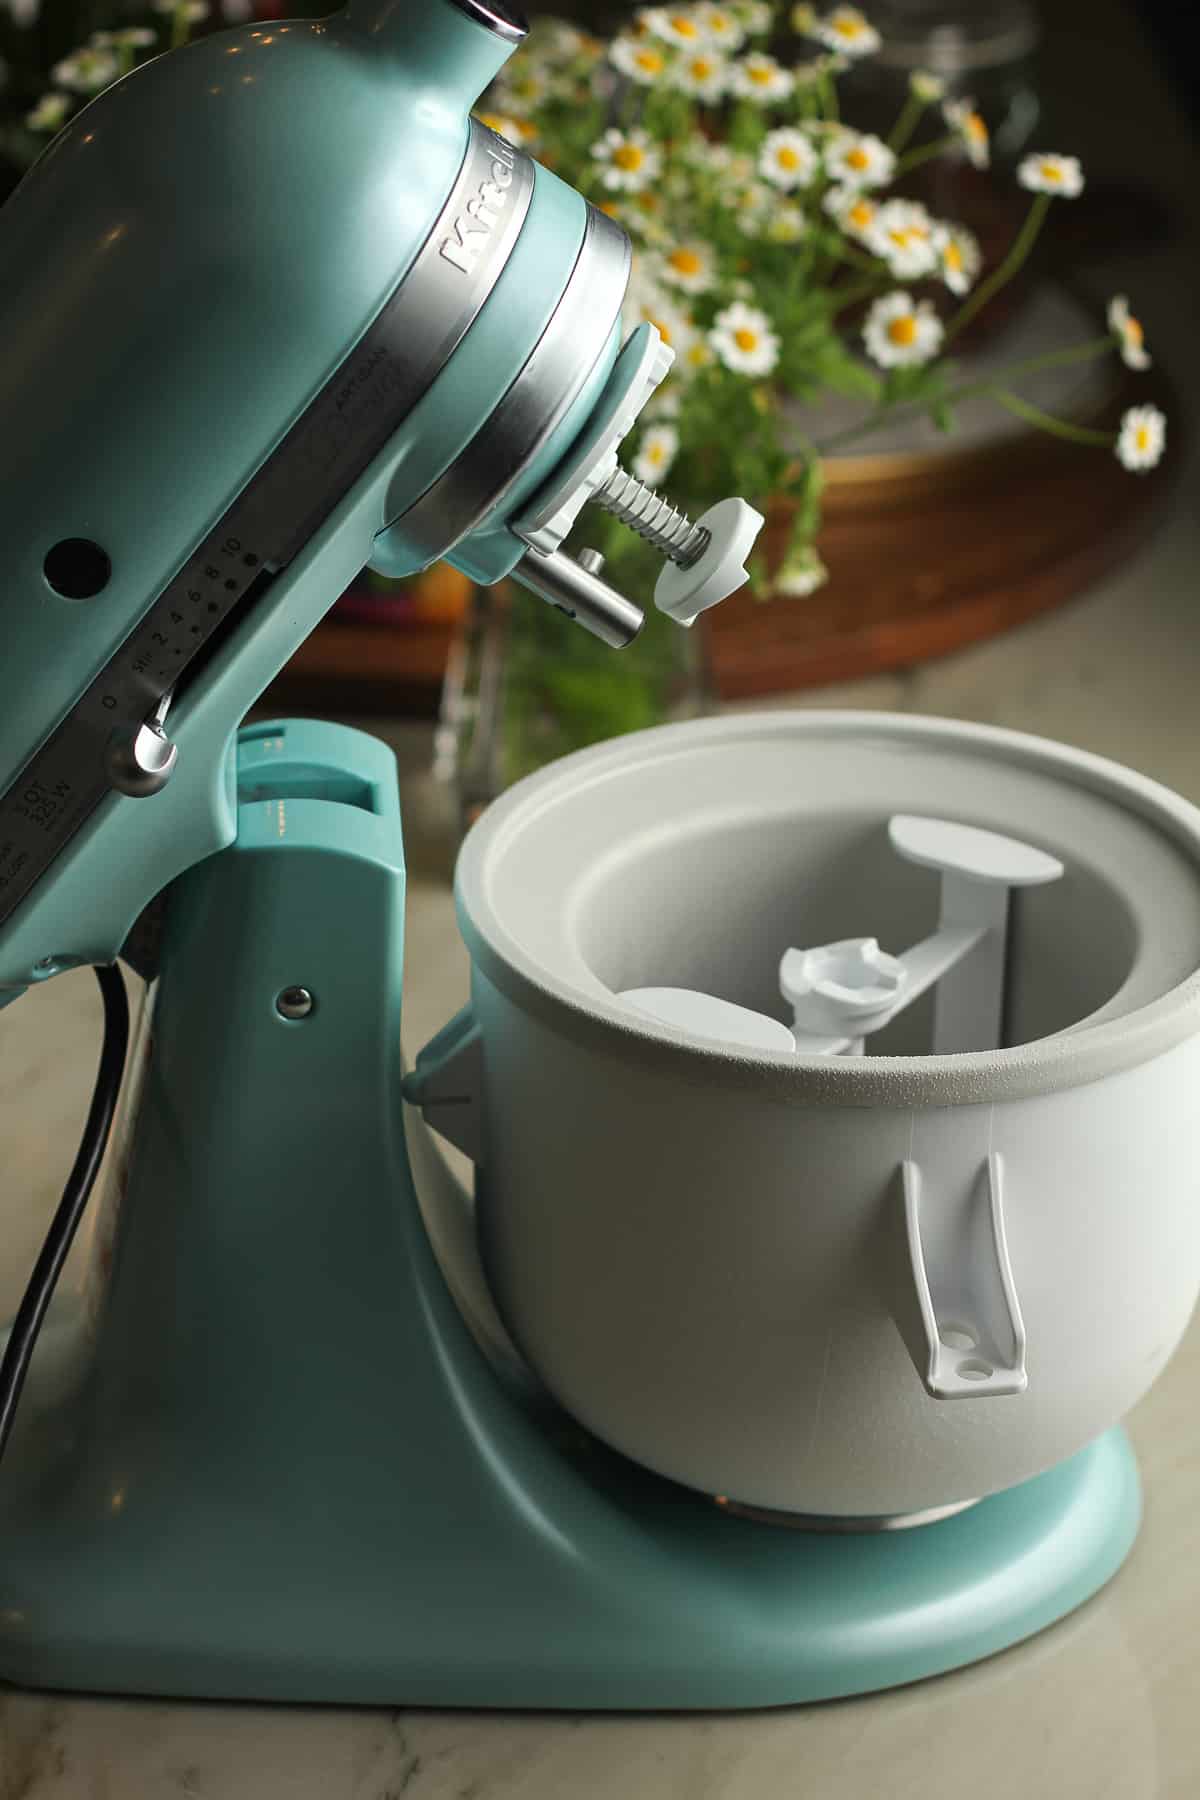
- Place bowl attachment in freezer. You’ll want to be sure to store the bowl in the freezer for AT LEAST 15 hours before using. Since we have an extra freezer in our laundry room, I keep ours in there all the time. That way we can make ice cream on a whim!
- Mix the ice cream ingredients together (lots of recipe ideas below!), and pour into cold canister. This is dependent on what kind you are making. Some versions require you to mix it the day before, and store in the refrigerator.
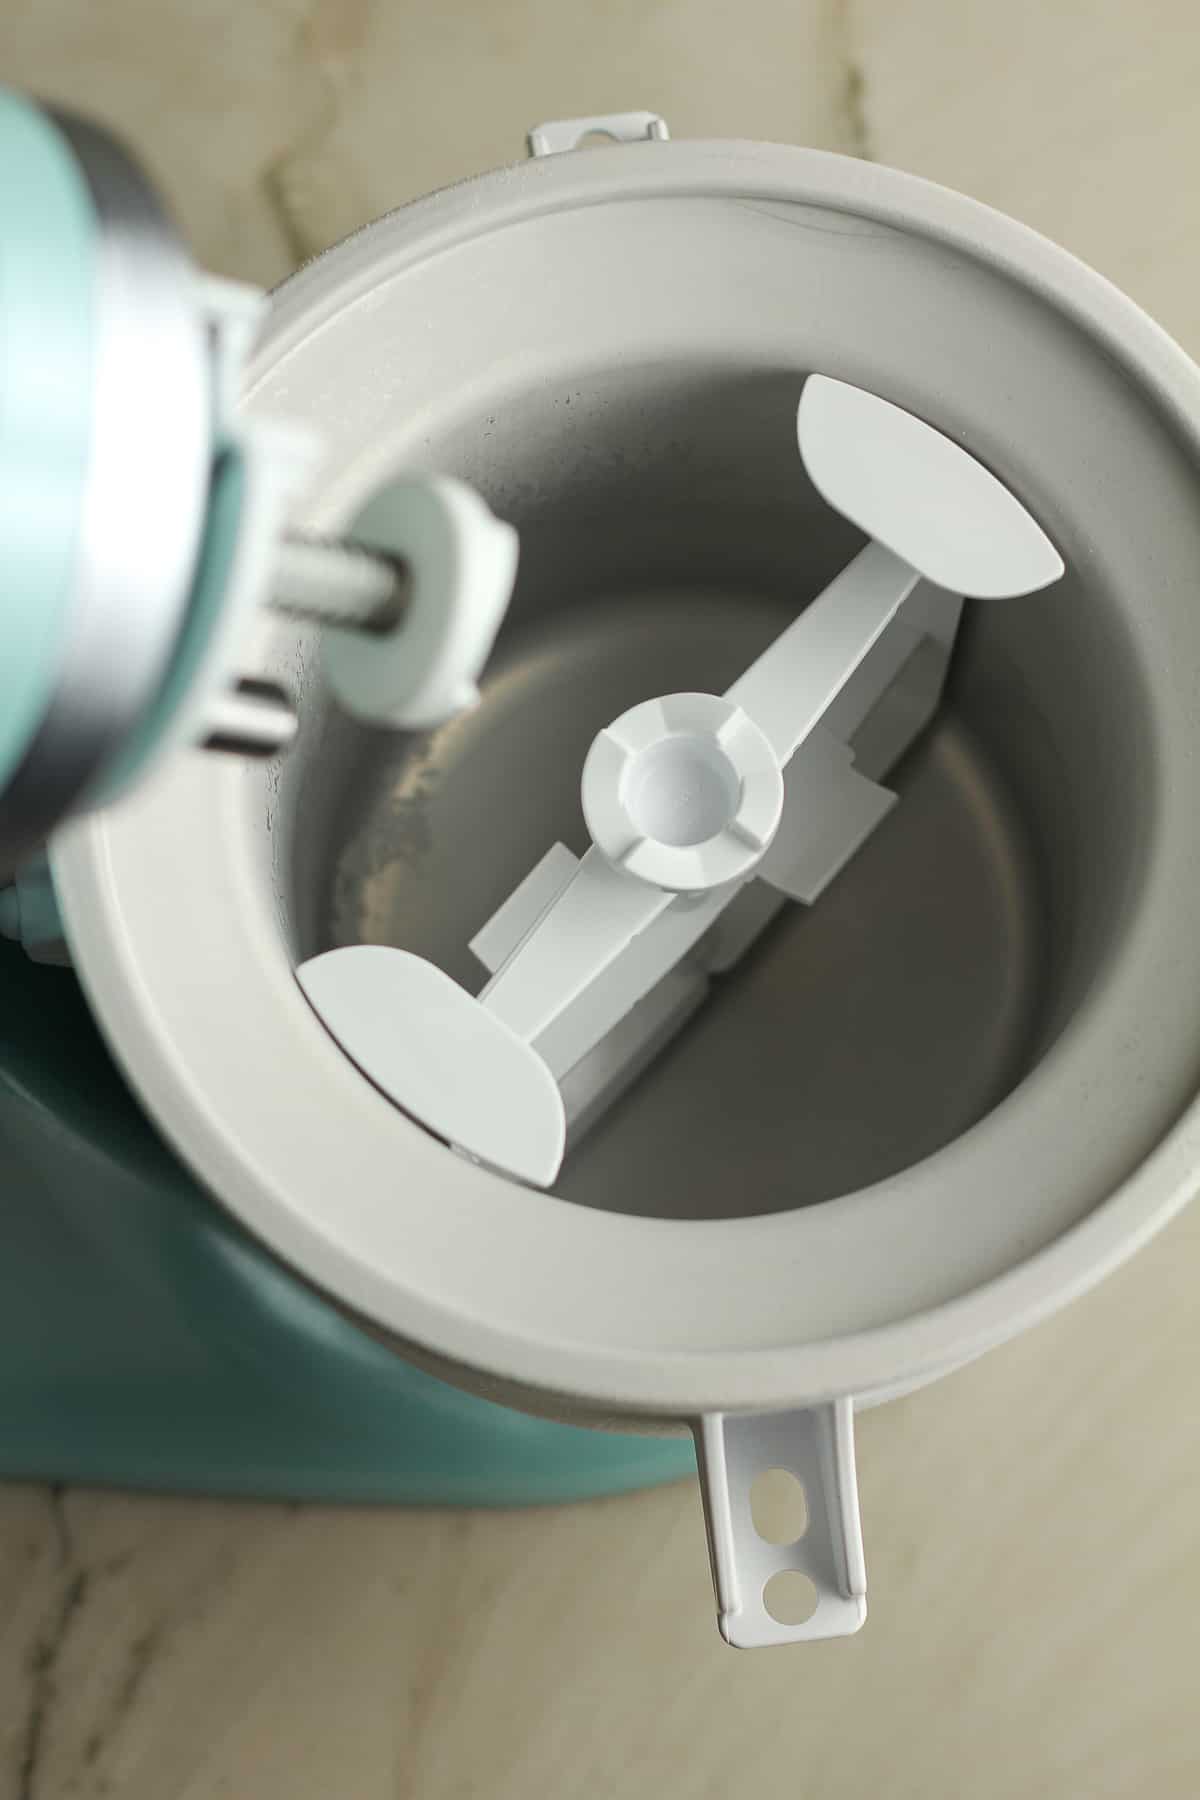
- Run mixer in advance. Attach bowl to the KitchenAid mixer and add the attachments (see photo above). Start mixer on the lowest setting BEFORE adding ice cream mixture. This will prevent the bowl from freezing up.
- Add liquid while mixer is running. Then carefully pour the liquid into the bowl attachment while it’s running. Leave the mixer on the lowest setting the entire time.
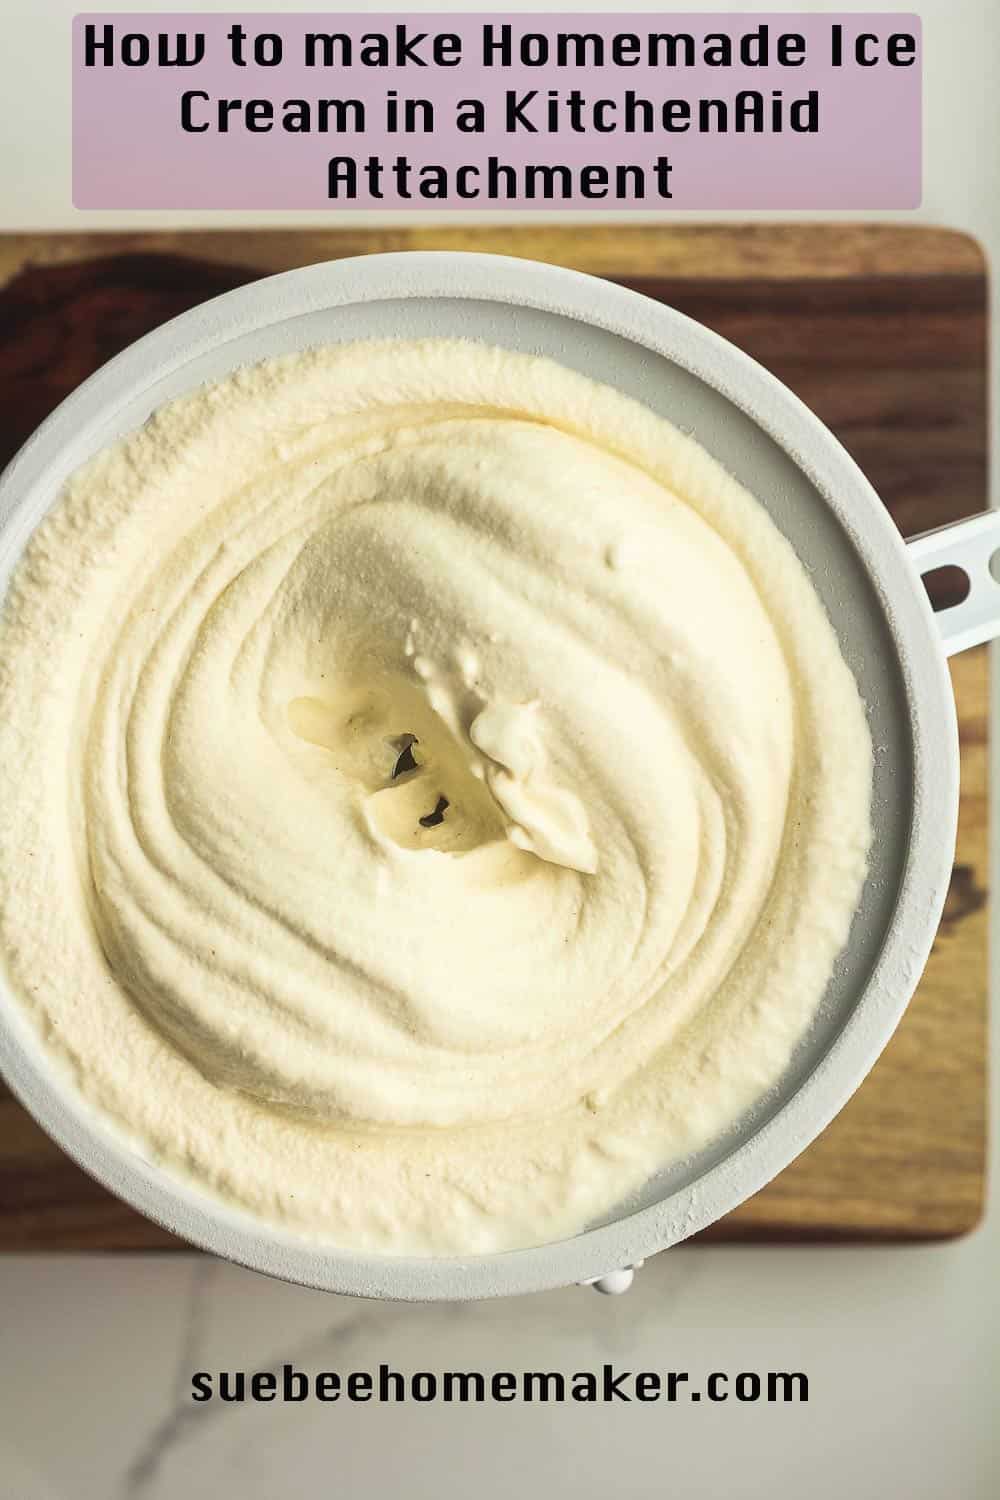
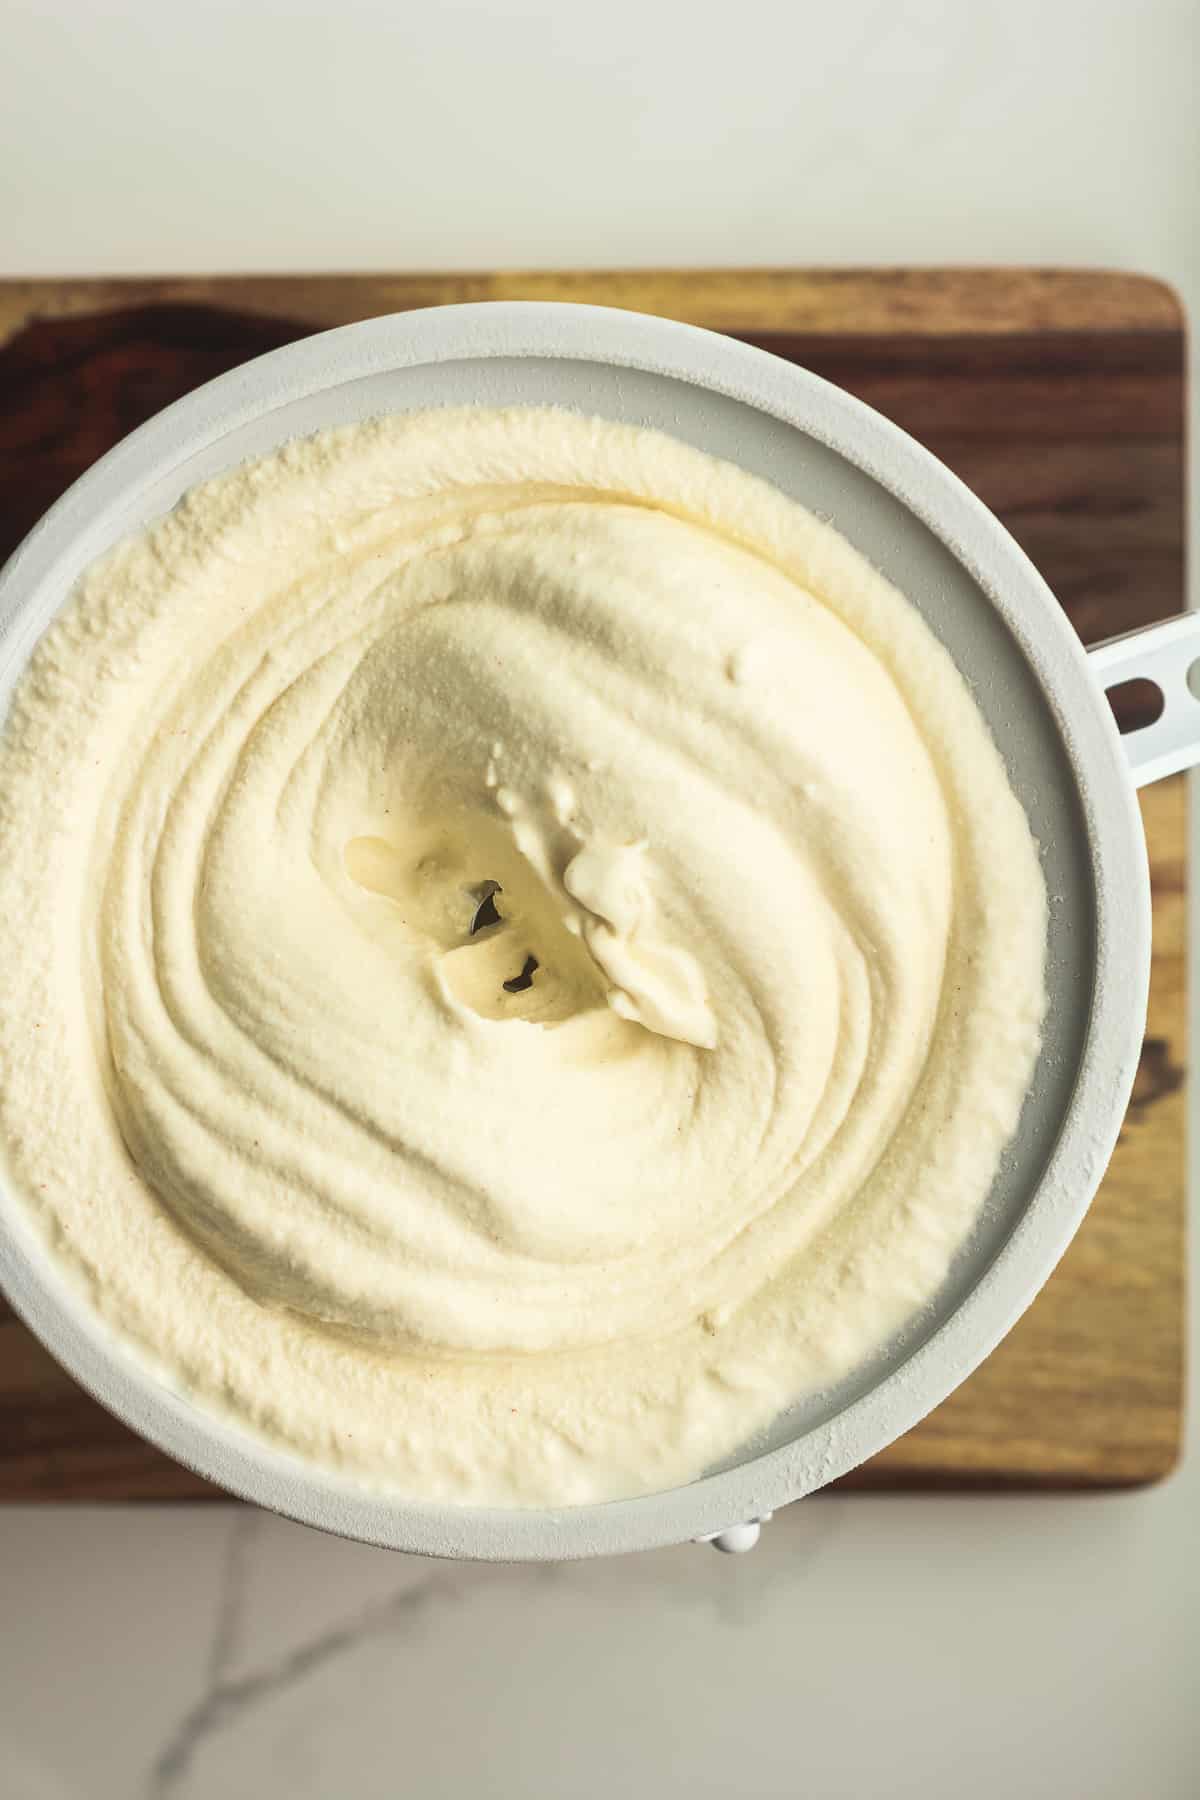
- Let it slow down slightly. The ice cream is done when you see it expanding to the top of the bowl and the mixer starts to slow down. This will usually take between 25-30 minutes.
- Store the ice cream. Scoop the ice cream into a Tupperware container with a lid, and place in the freezer. You’ll want to let it harden in the freezer for at least a couple of hours before serving. The consistency of homemade ice cream is usually best the day you make it. If serving it on a later date, just set it out in advance to soften some.
Best Ice Cream Recipes!
These all use the KitchenAid Attachment and will result in about two quarts of ice cream. You can use the 2-quart Cuisinart in its place as well.
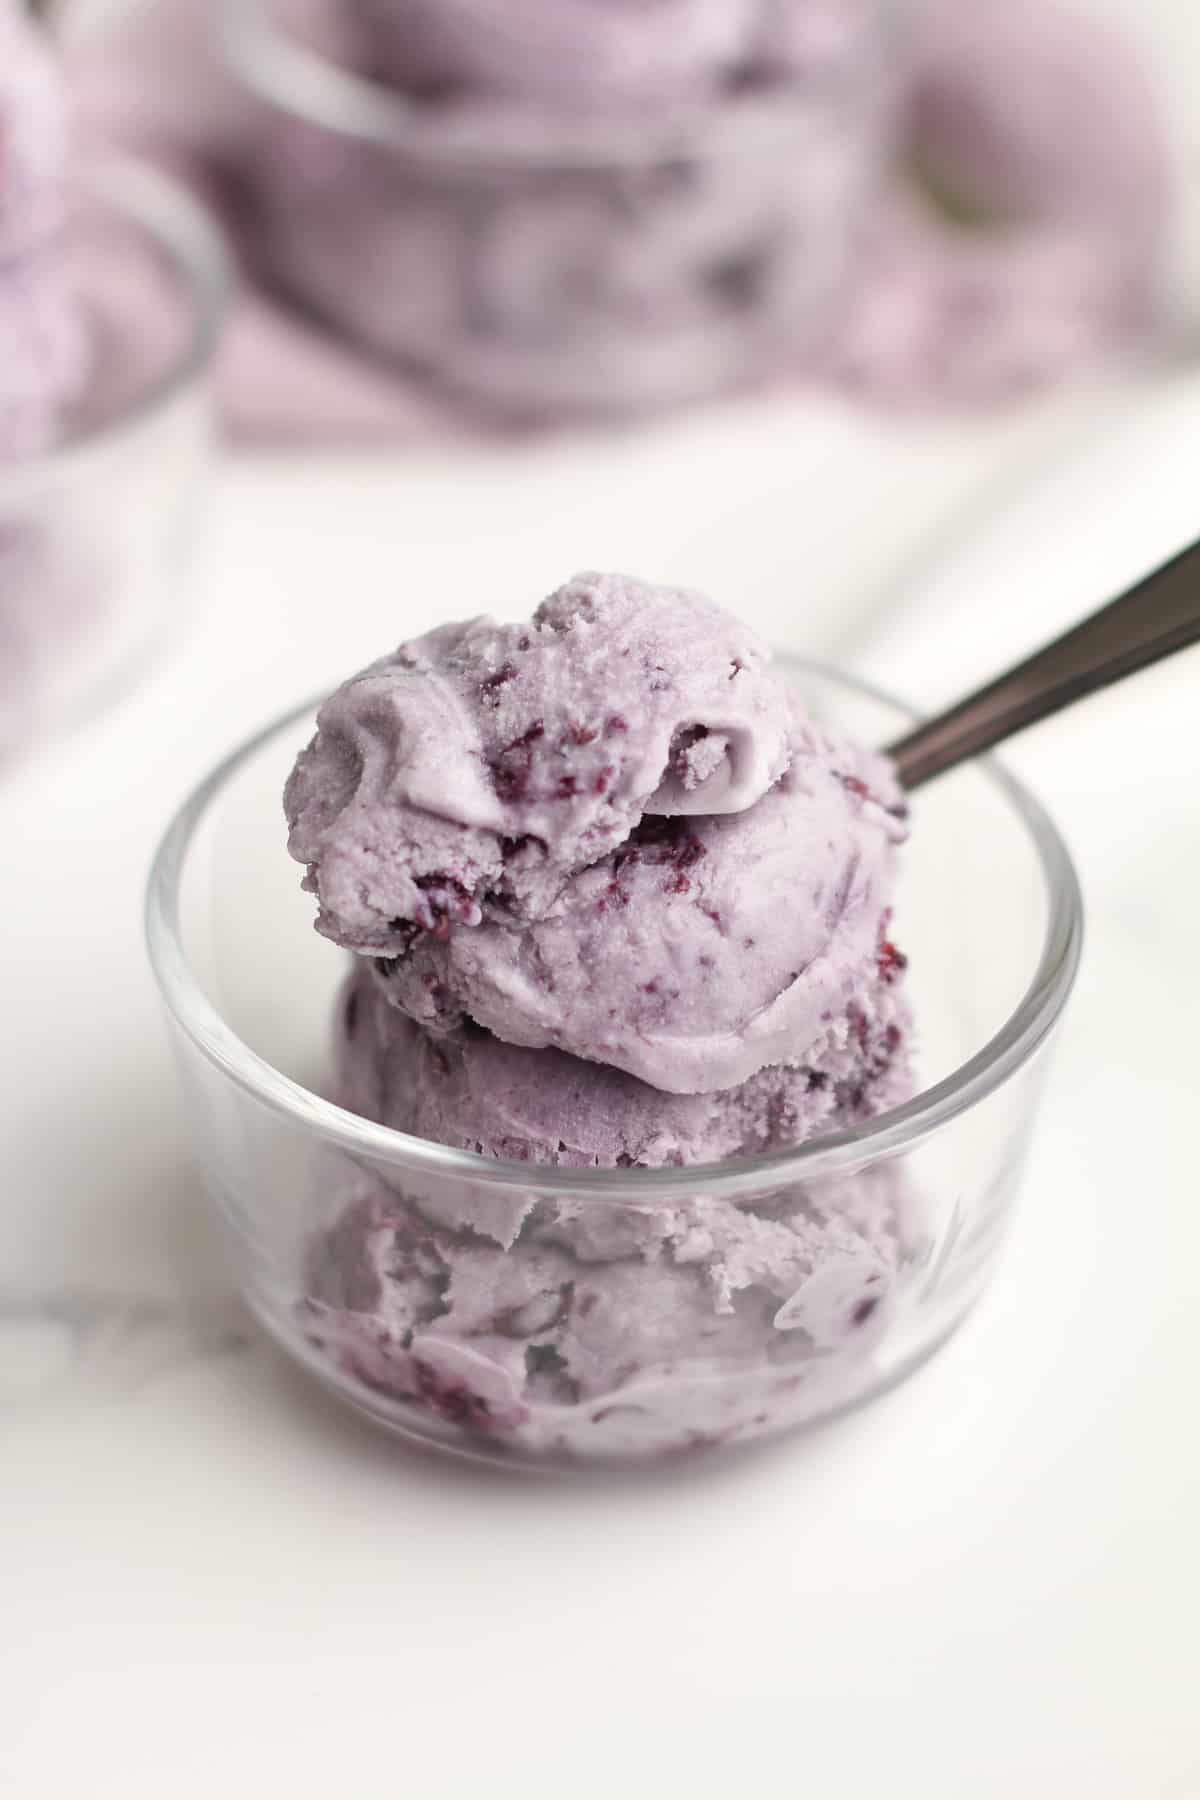
- Blueberry Ice Cream Recipe
- Mint Chip Ice Cream
- Coffee Toffee Ice Cream
- Chocolate Peanut Butter Ice Cream
- Homemade Peach Ice Cream
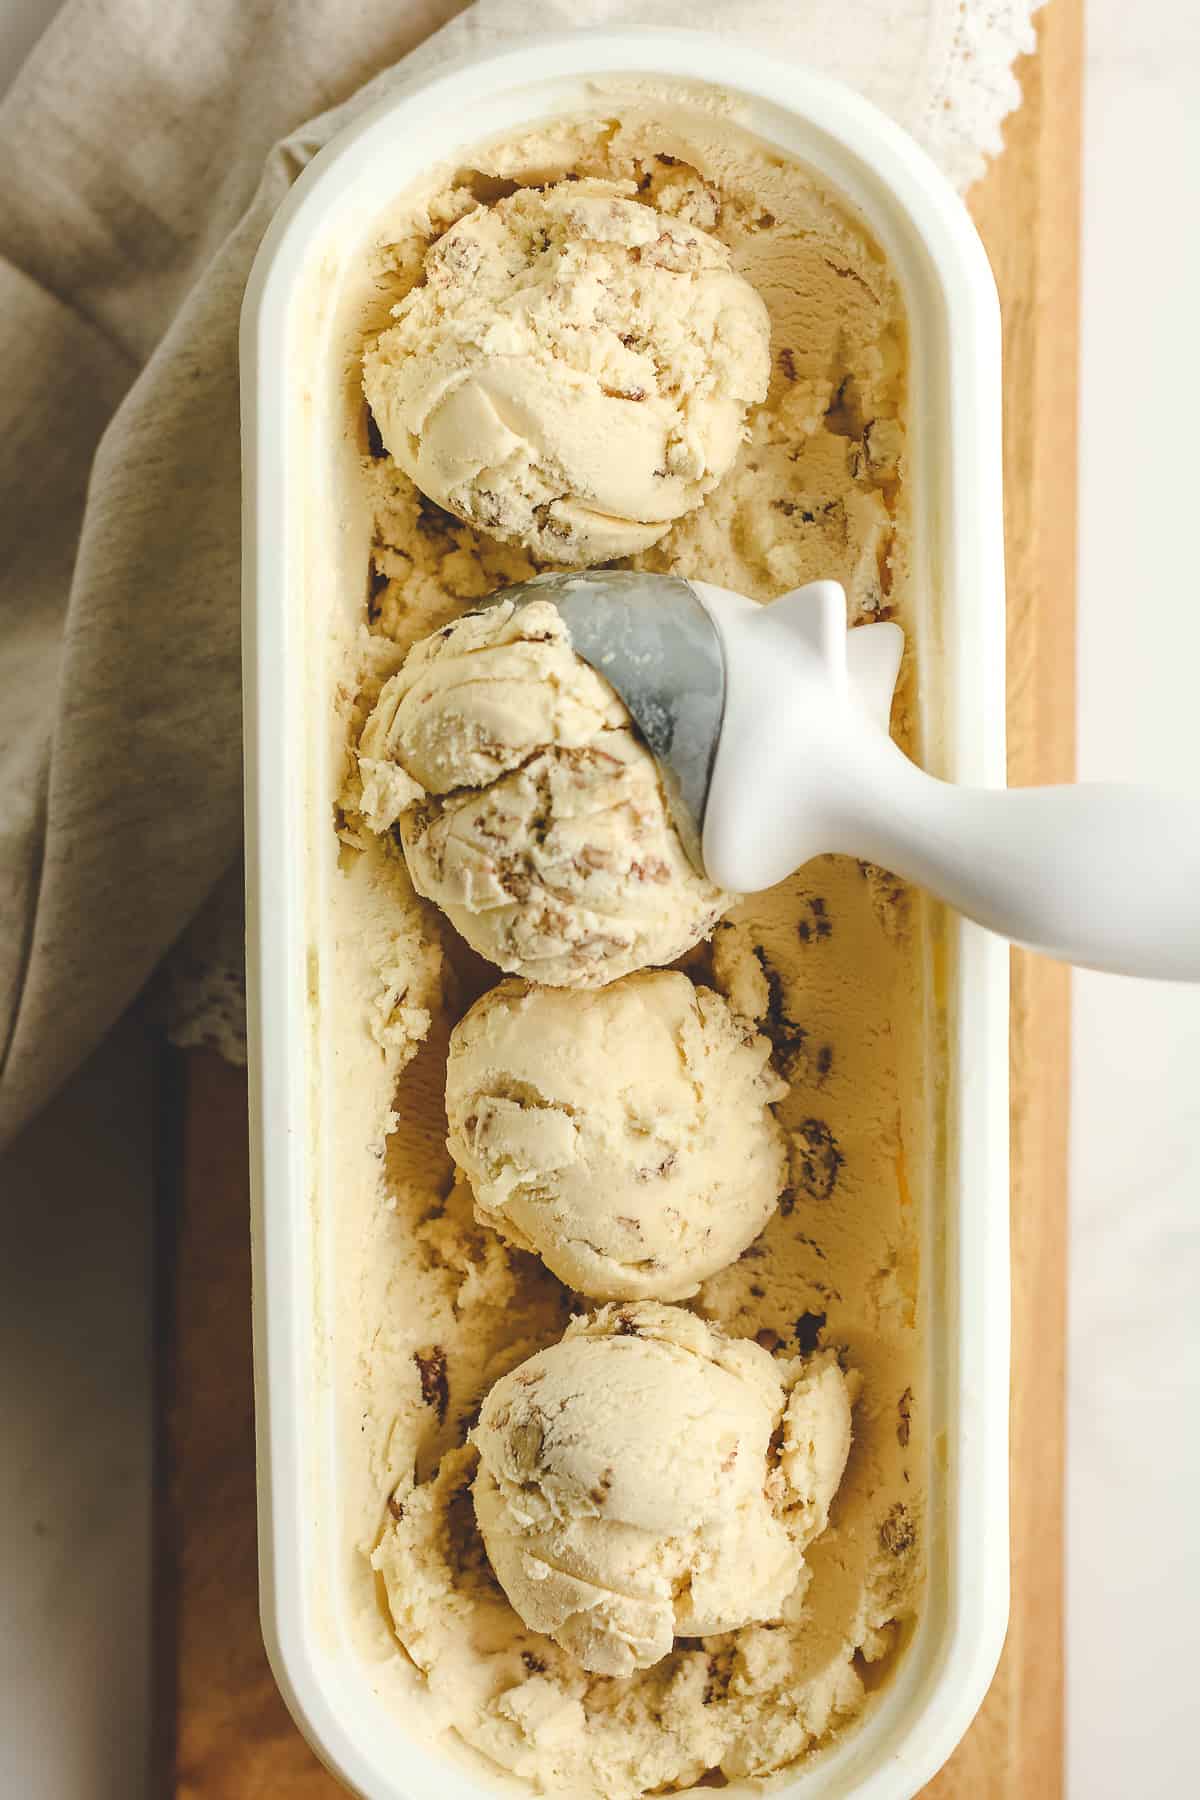
- Butter Pecan Ice Cream
- Homemade Vanilla Bean Ice Cream
- Peppermint Stick Ice Cream
- Reese’s Peanut Butter Ice Cream
- Pumpkin Ice Cream
- Oreo Ice Cream
Other recipes on the blog that can be adjusted to make in the KitchenAid include Double Chocolate Ice Cream, Homemade Strawberry Ice Cream, Cookies and Cream Ice Cream, Very Berry Ice Cream, and Creamy Peanut Butter Ice Cream.


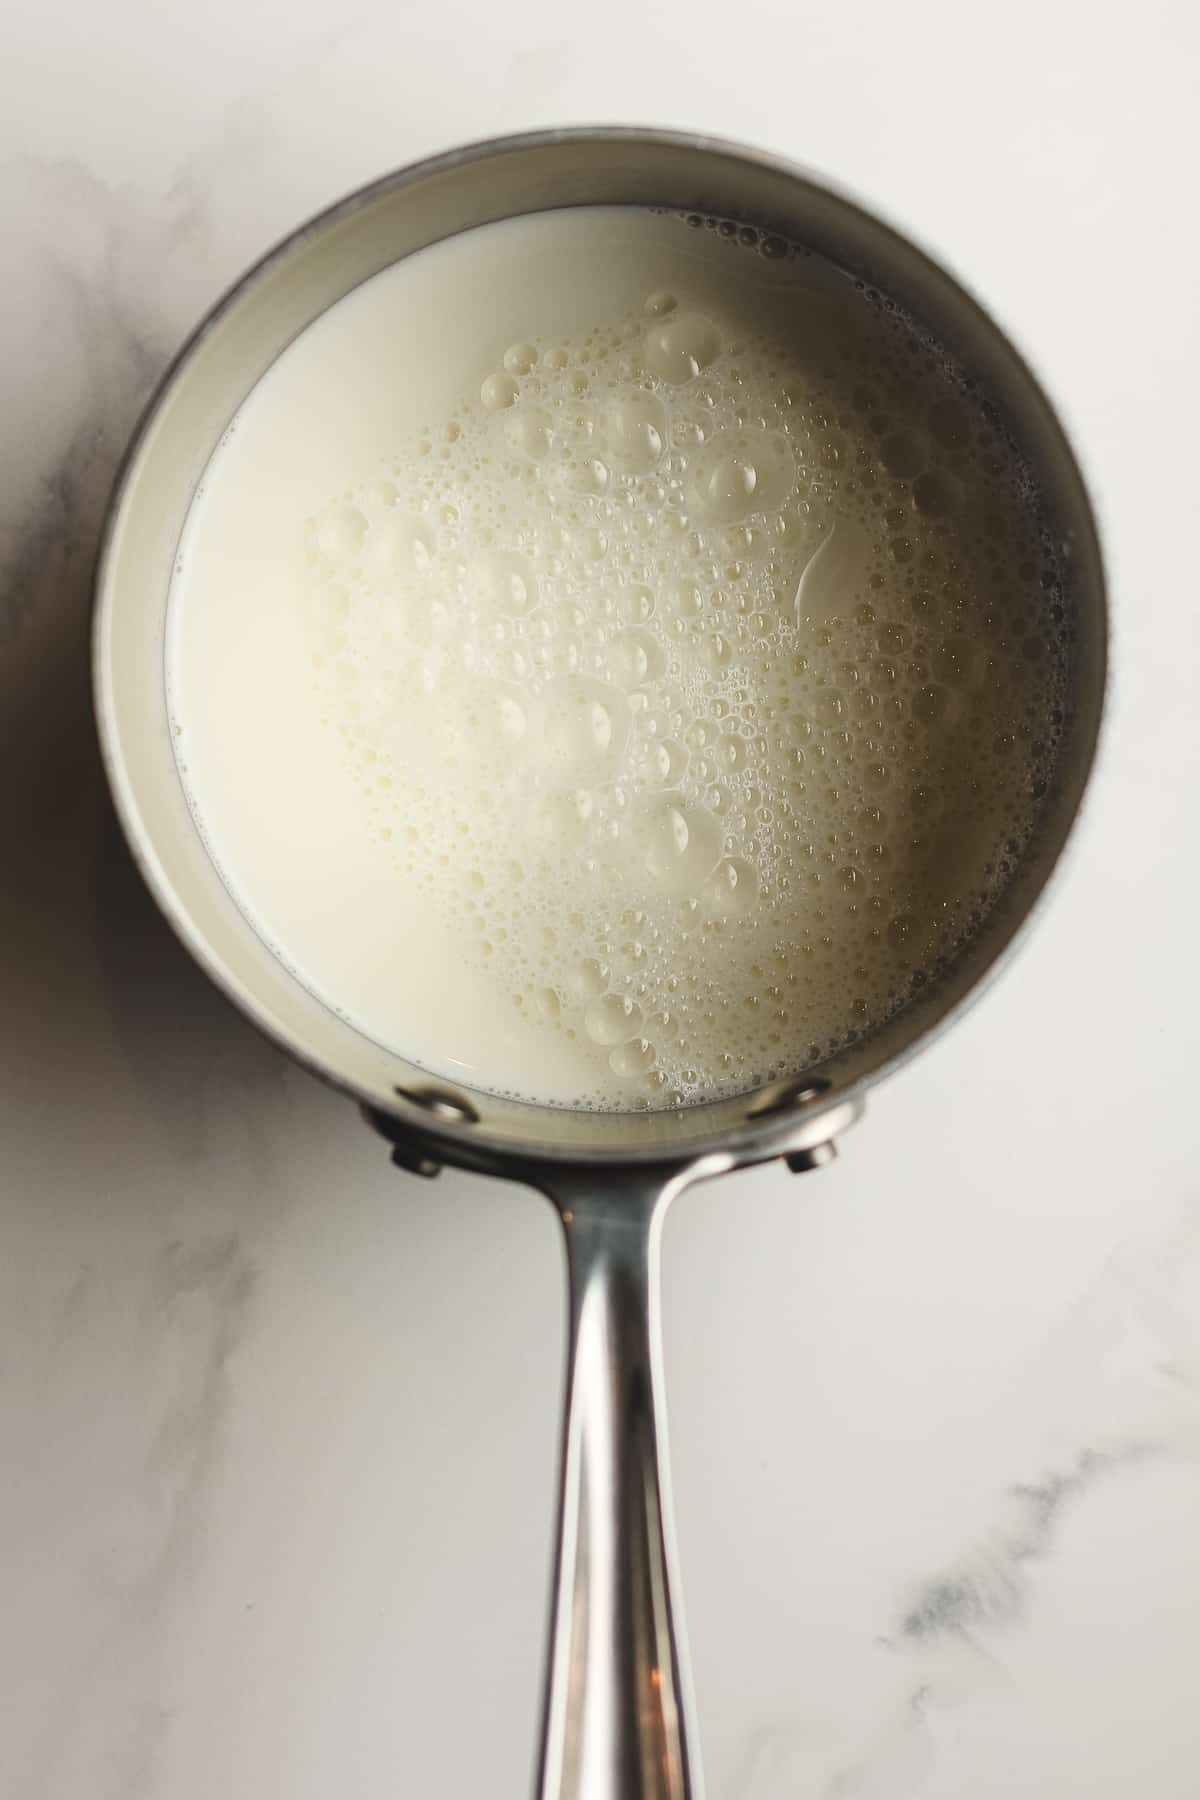
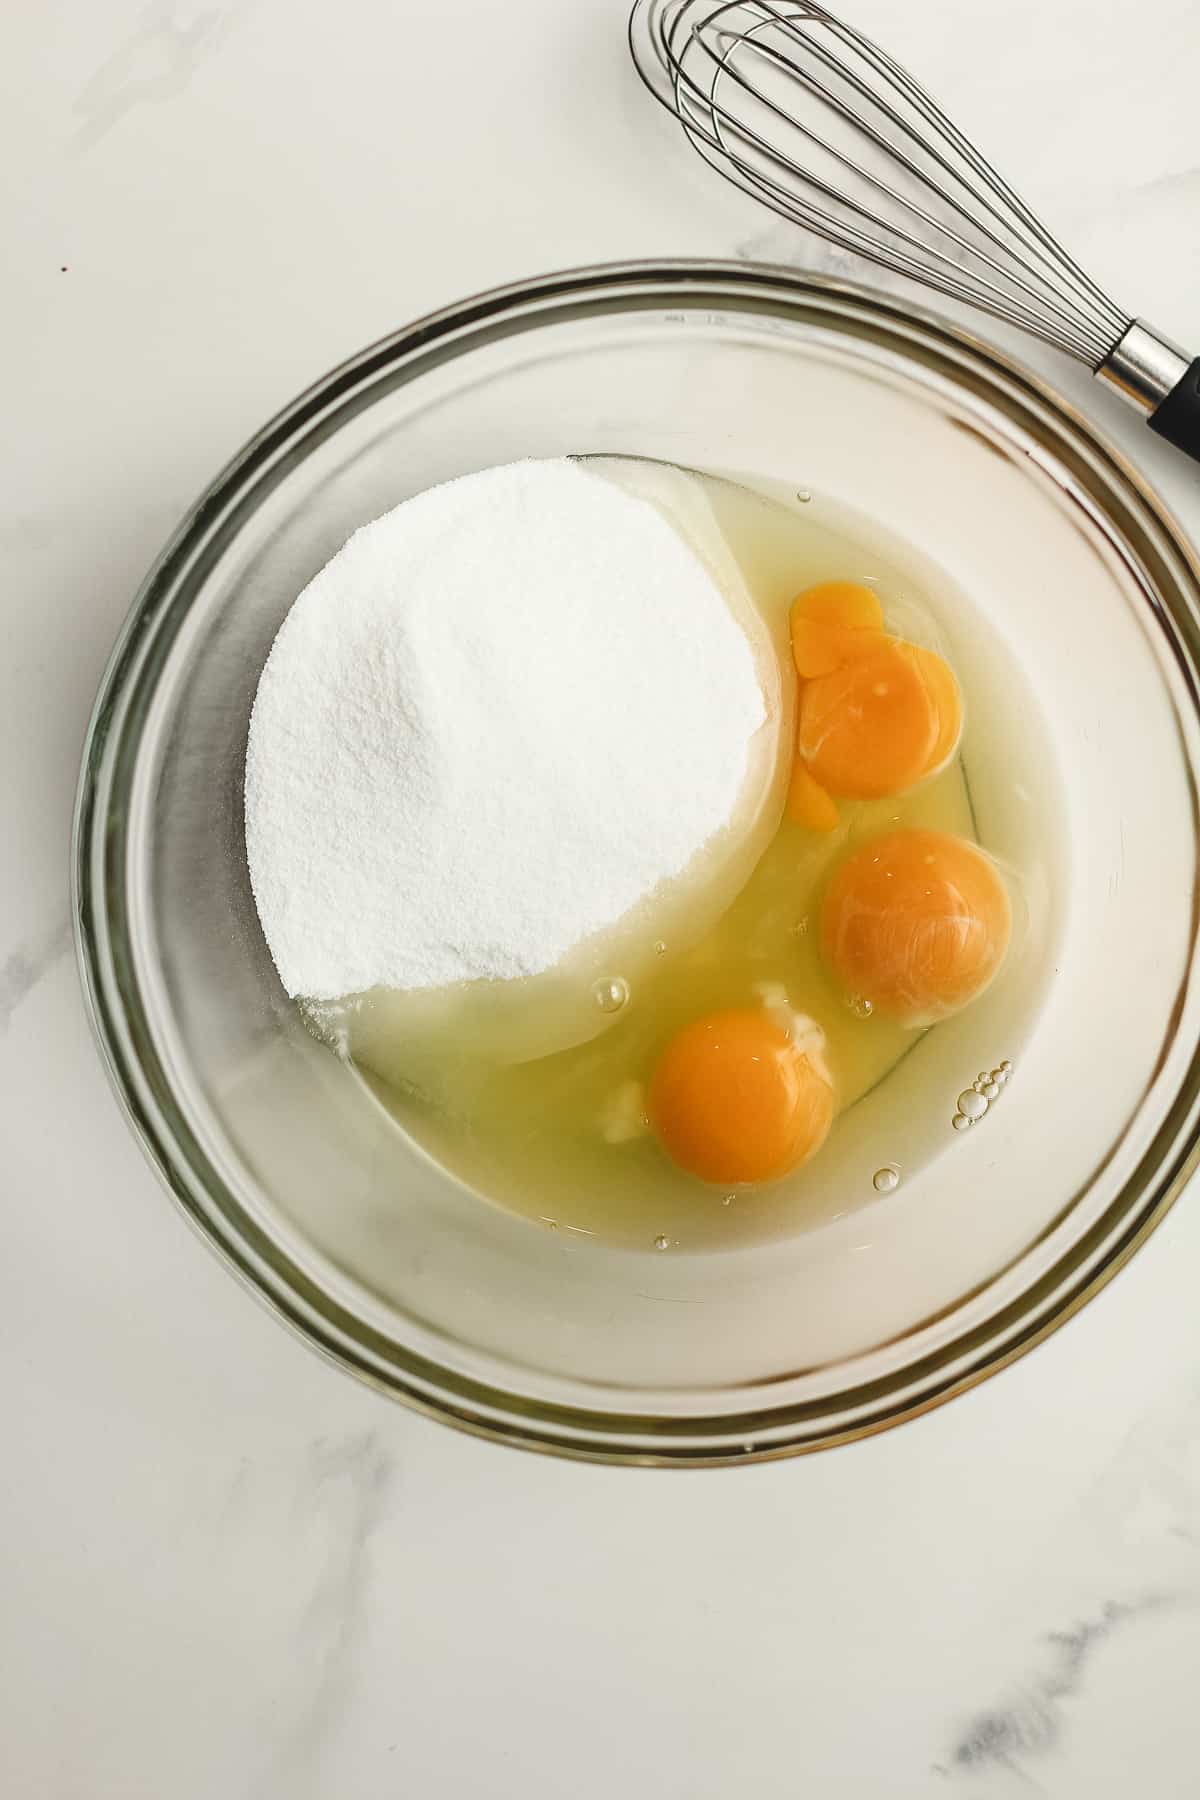
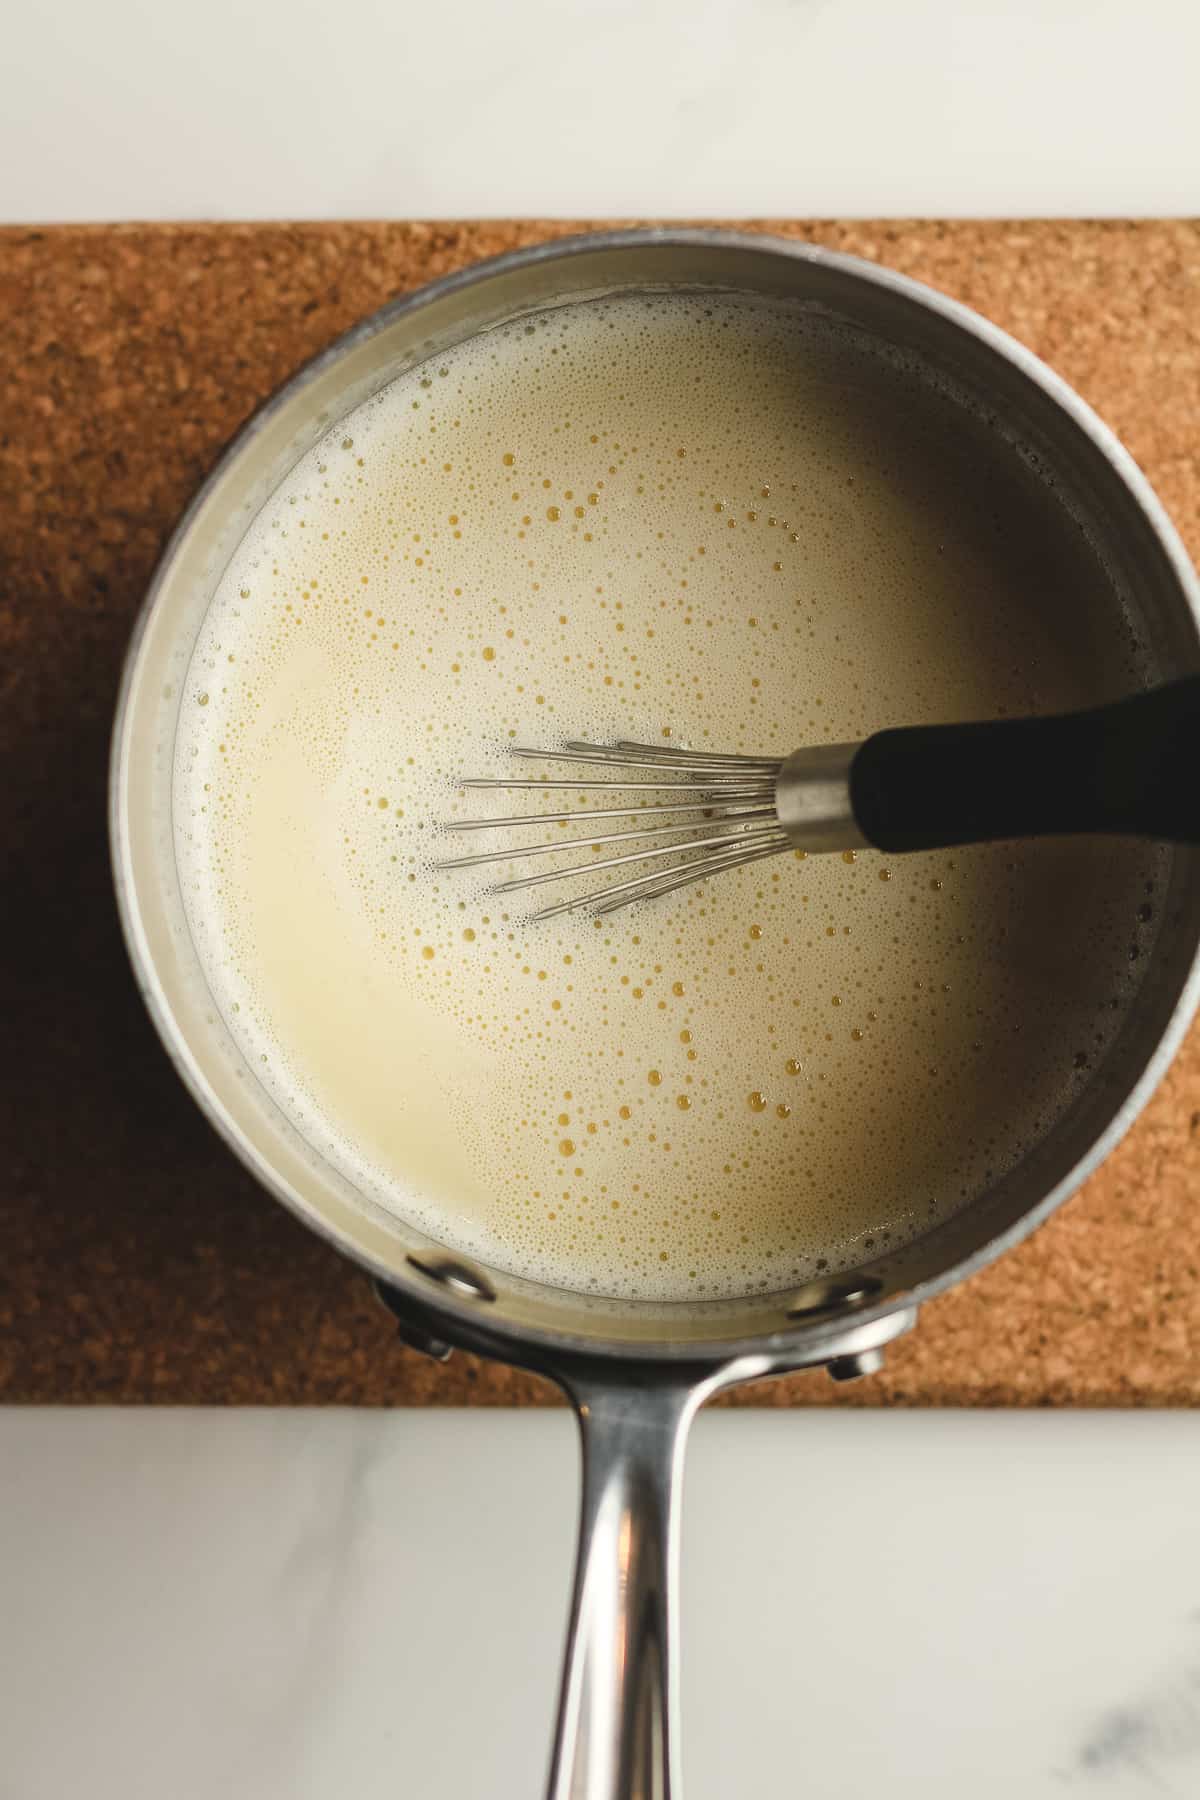
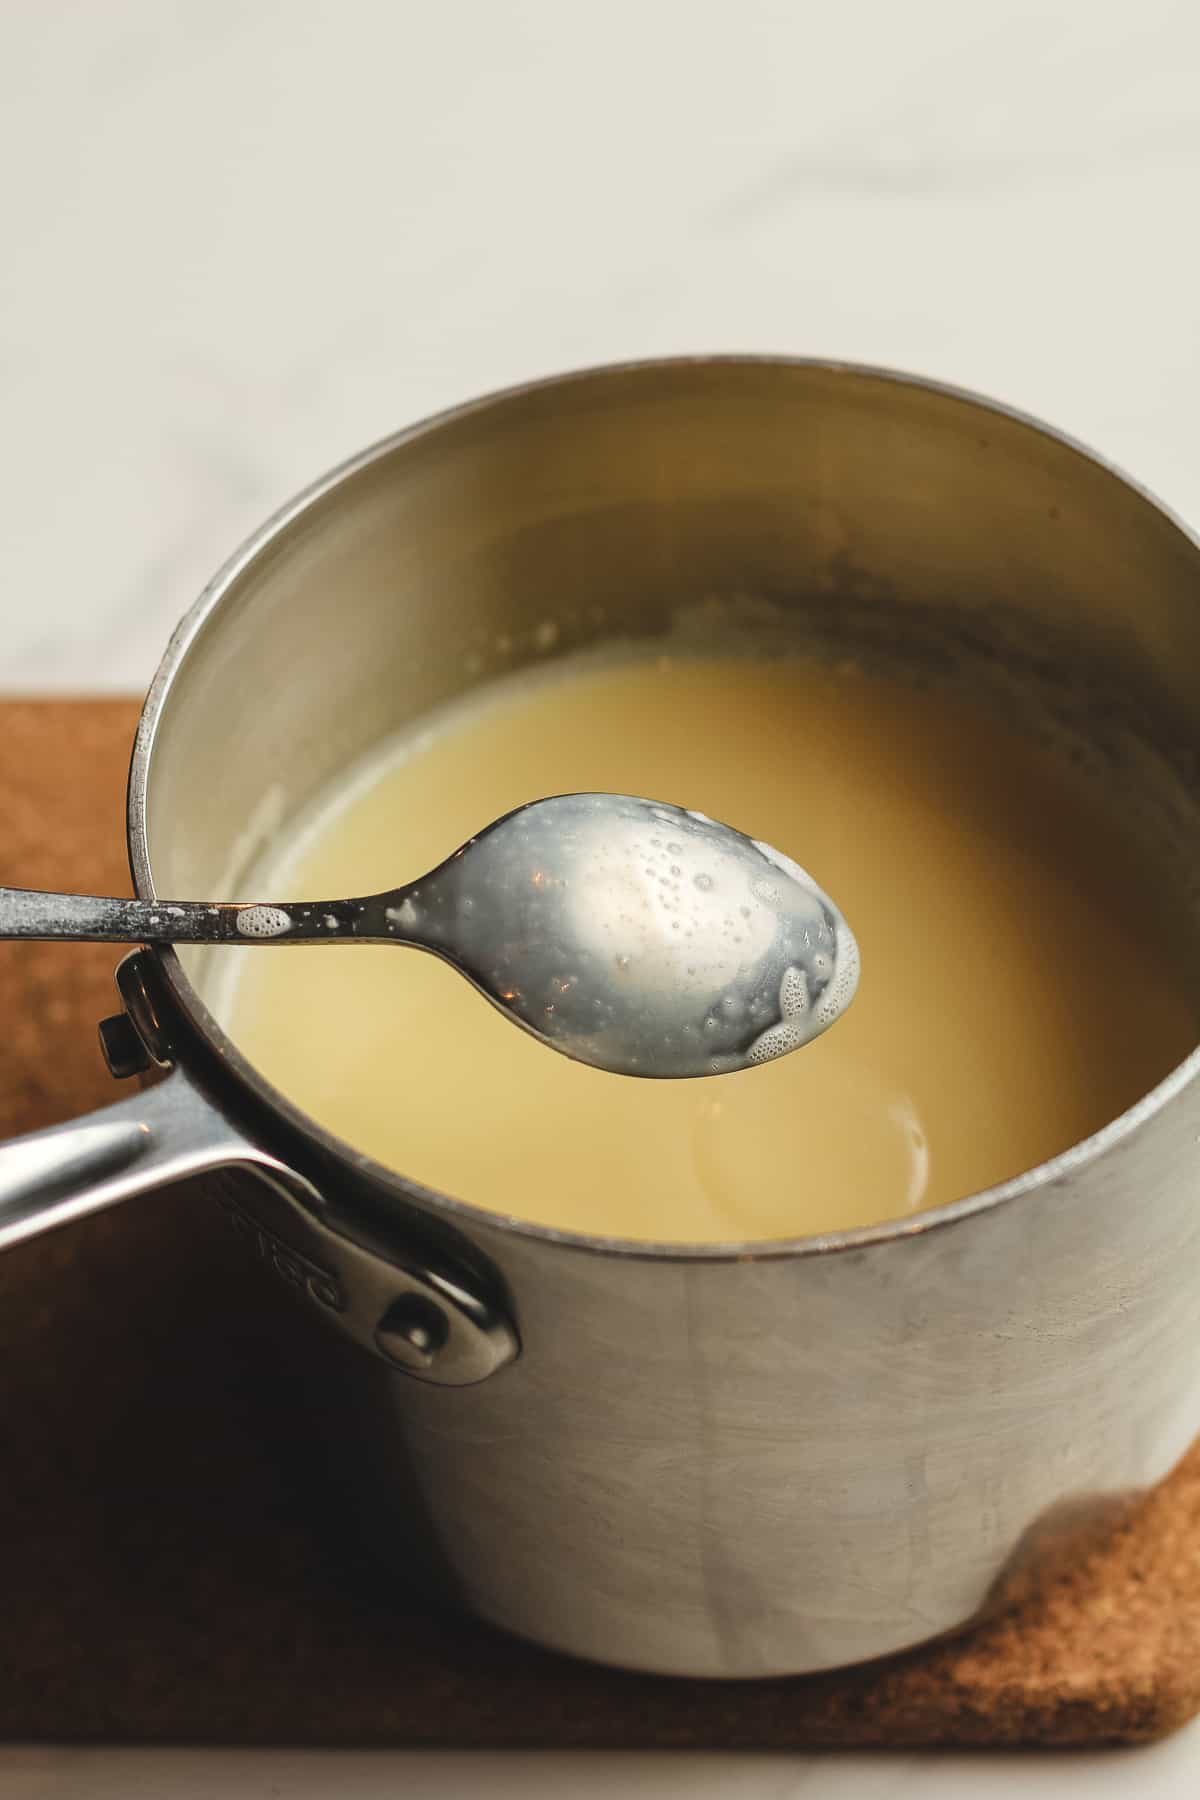
How to temper eggs:
All of my recipes include eggs in them because I like my ice cream extra creamy! You’ll want to temper your eggs so that they are safe to eat. You can also use pasteurized eggs instead if you can find them in the grocery store.
- Pour the whole milk into a small saucepan and heat over medium heat until it reaches 160 degrees. stirring often. Do not boil.
- In a small mixing bowl, combine the eggs and sugar and whisk well.
- When milk reaches 160 degrees, take a small measuring cup and pour into the egg mixture, whisking vigorously as you pour it in. Do not stop whisking, and continue to pour about a cup of hot milk into the eggs.
- Then pour the contents of the bowl into the saucepan and place back on heat. Continue whisking and heating until the mixture reaches 160 degrees.
- Remove from heat and let cool. Refrigerate.
Wanna join my Ice Cream of the Month Club? It’s FREE and I’d love to see you make something new and share your review with me! 😀

You scream I scream for ice cream!! I just bought the kitchen aide attachment from Amazon!
A little concern on the fit of it on my mixer. It kinda barely hangs on. It does however move the baffle though. That’s all that matters. Looking forward to using it!
Yay! Can’t wait to see what you make!