Gourmet Caramel Apples
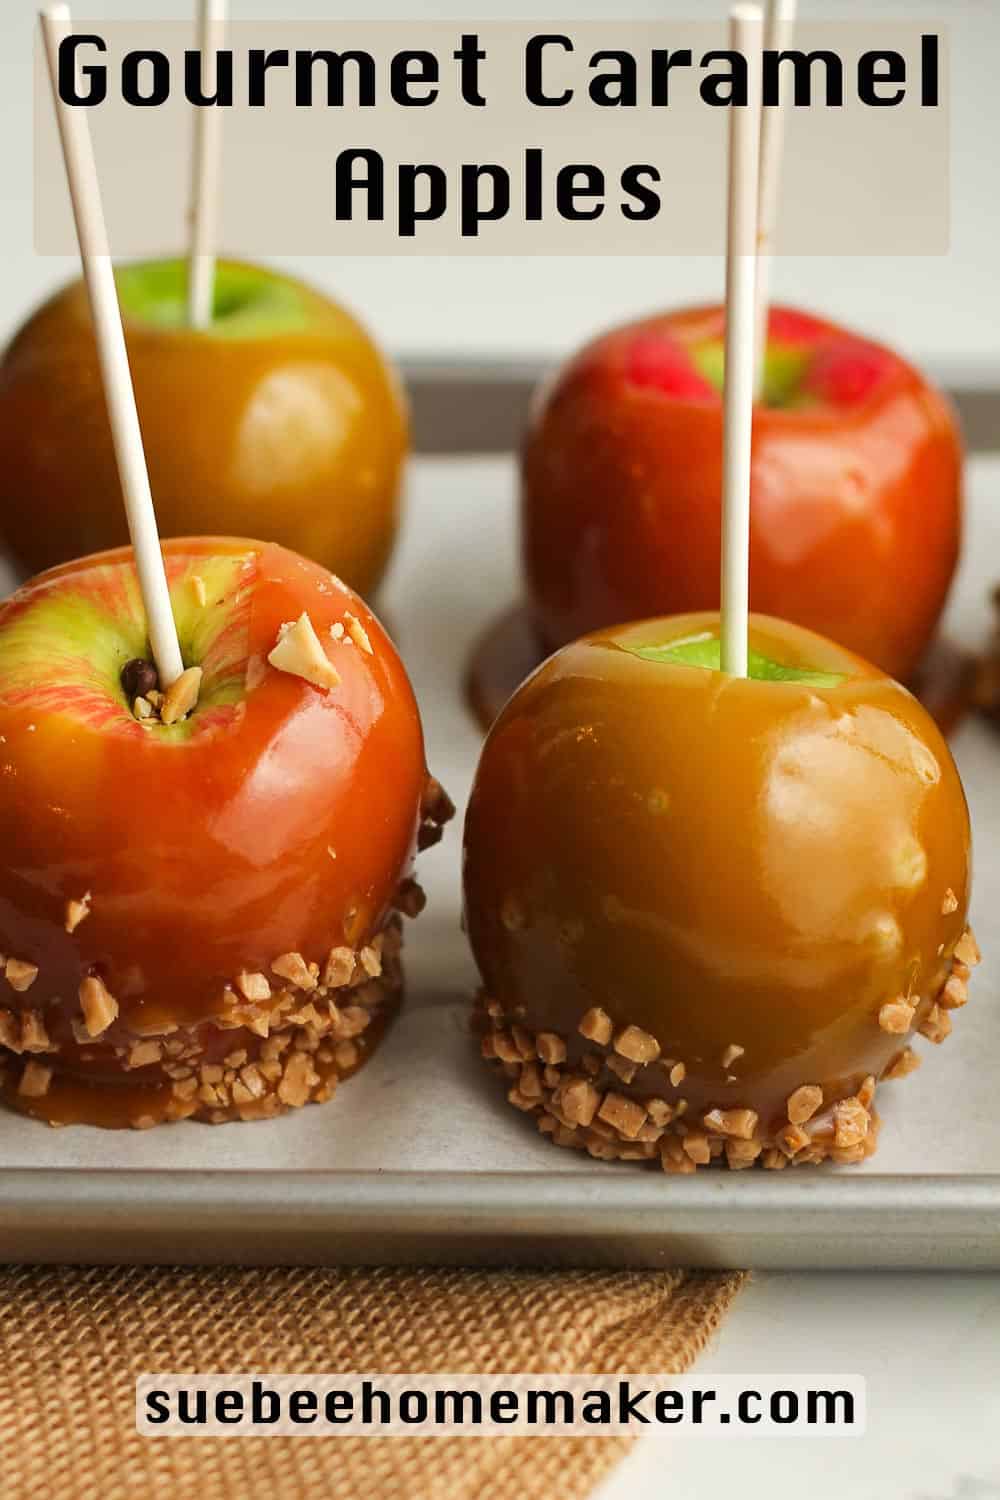
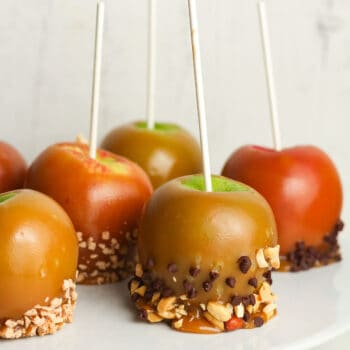
These Homemade Gourmet Caramel Apples remind me of fall. Crisp apples topped with a delicious layer of caramel plus toppings equals the most amazing treats. Spread some love and share them with friends!
Apple Season is so much fun. Bring on all the treats, like some Apple Pie Banana Bundt Cake, Apple Spice with Caramel Sauce, and some cute little Mini Caramel Apple Cheesecakes!
Homemade Caramel Apples
Apple Season brings back so many childhood memories. We loved going to apple orchards and spent time picking our own apples, all the while eating them as fast as we could. I remember leaving with stomach aches but also…lots of apples!
Mom made the best apple pies, apple crisps and yes, homemade caramel apples. If I remember correctly, she used the Kraft caramels to make hers, but I never could find her exact recipe. This one is an actual homemade caramel recipe. In fact, you could use this one to make just plain caramel as well!
While this caramel take a little more effort than melting caramels, it’s really simple. The most important part is watching your candy thermometer, because it literally does all the work. Just remove the caramel at 235 degrees F for the best tasting, homemade caramel. Soft, chewy, buttery, and creamy. You can’t get any better!
Ingredients Used
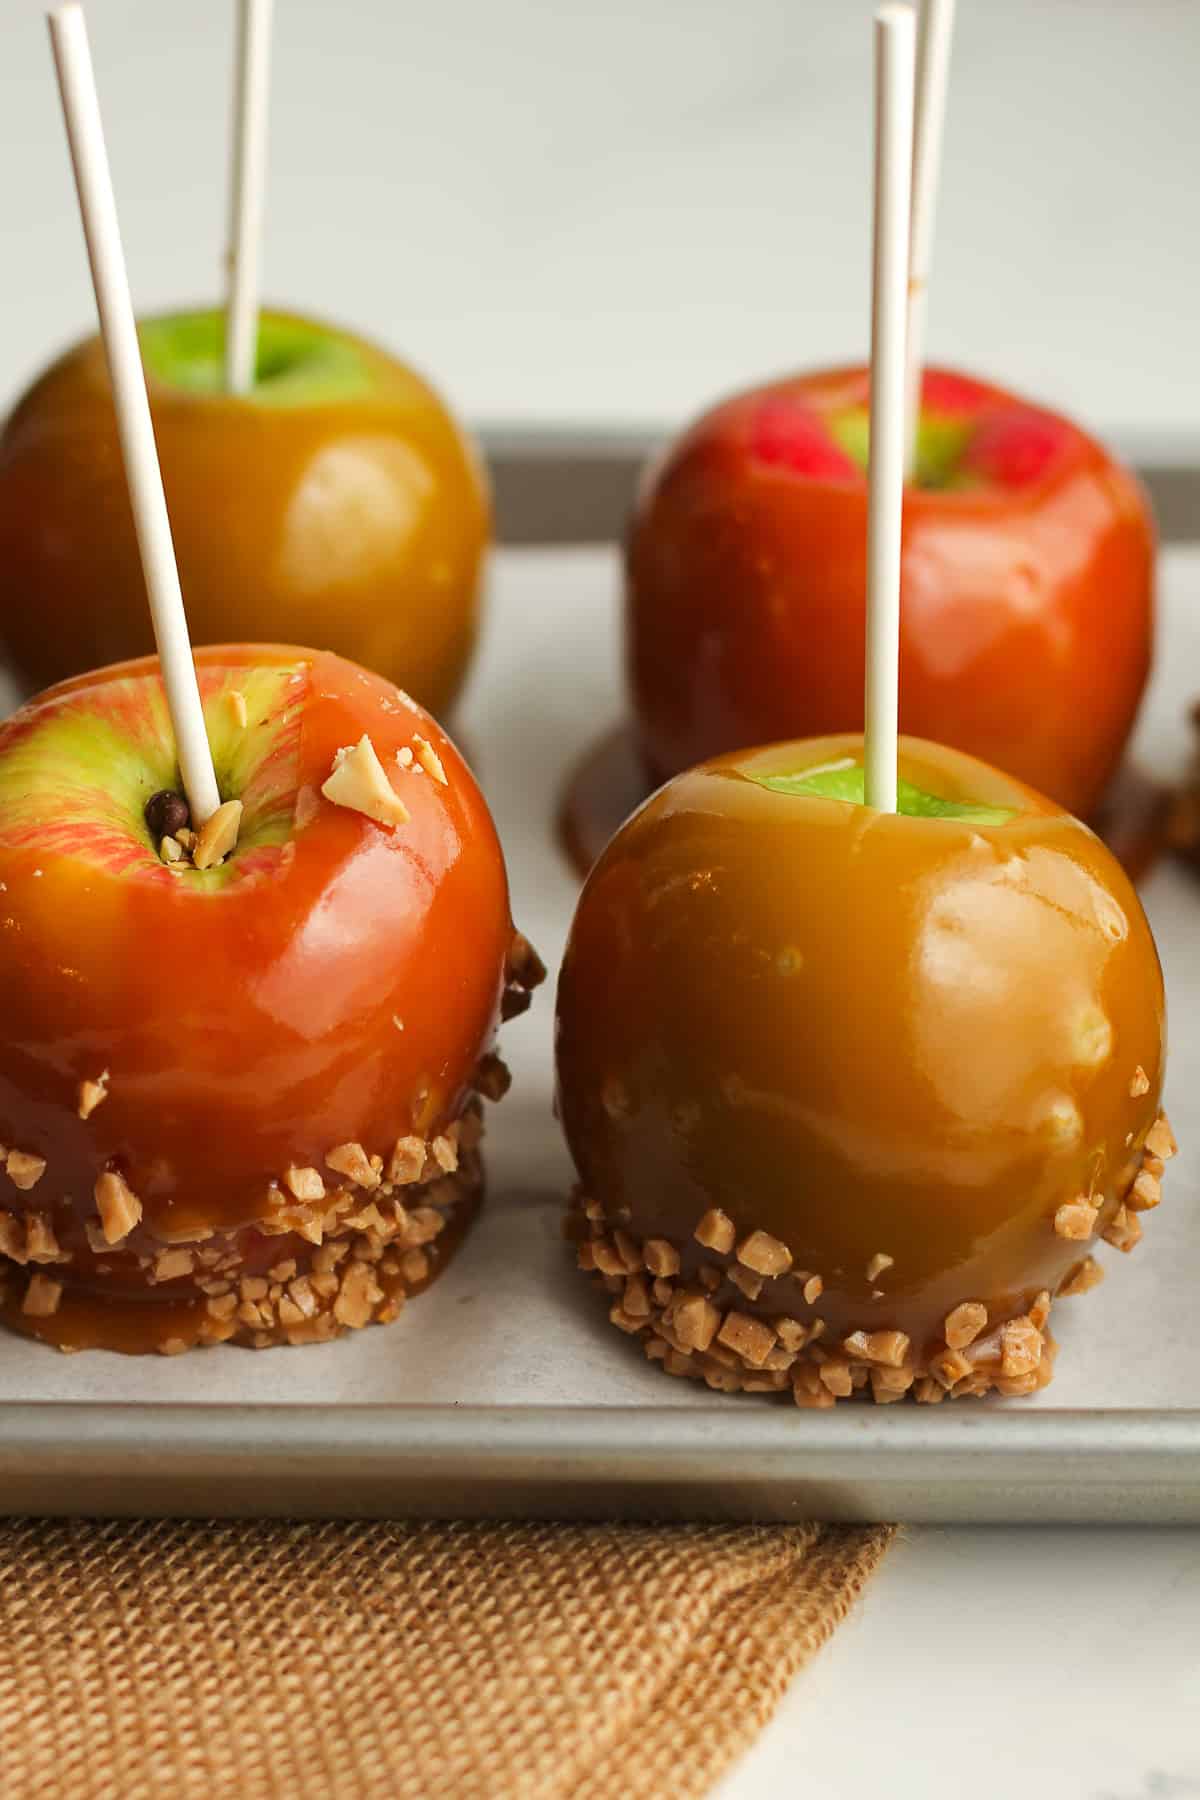
- Apples – Use small to medium COLD apples. I love using a combo of different types and used Granny Smith and Fuji in this recipe. You could definitely use anything you enjoy eating. I find the Granny Smith to be the “prettiest” after adding the caramel, as seen from my photos!
- Butter – I use unsalted butter, but the salted version is fine too.
- Brown Sugar – I always use light brown sugar in my recipes for the most part. Dark brown sugar would work well too.
- Heavy Cream – A good amount of cream helps to make the caramel nice and creamy.
- Light Corn Syrup – The corn syrup helps the caramel stick to the apples. Don’t skip it!
- Salt – You’ll need a pinch of salt, especially if you use unsalted butter.
- Vanilla – The vanilla is added at the very end after the caramel comes off the heat.
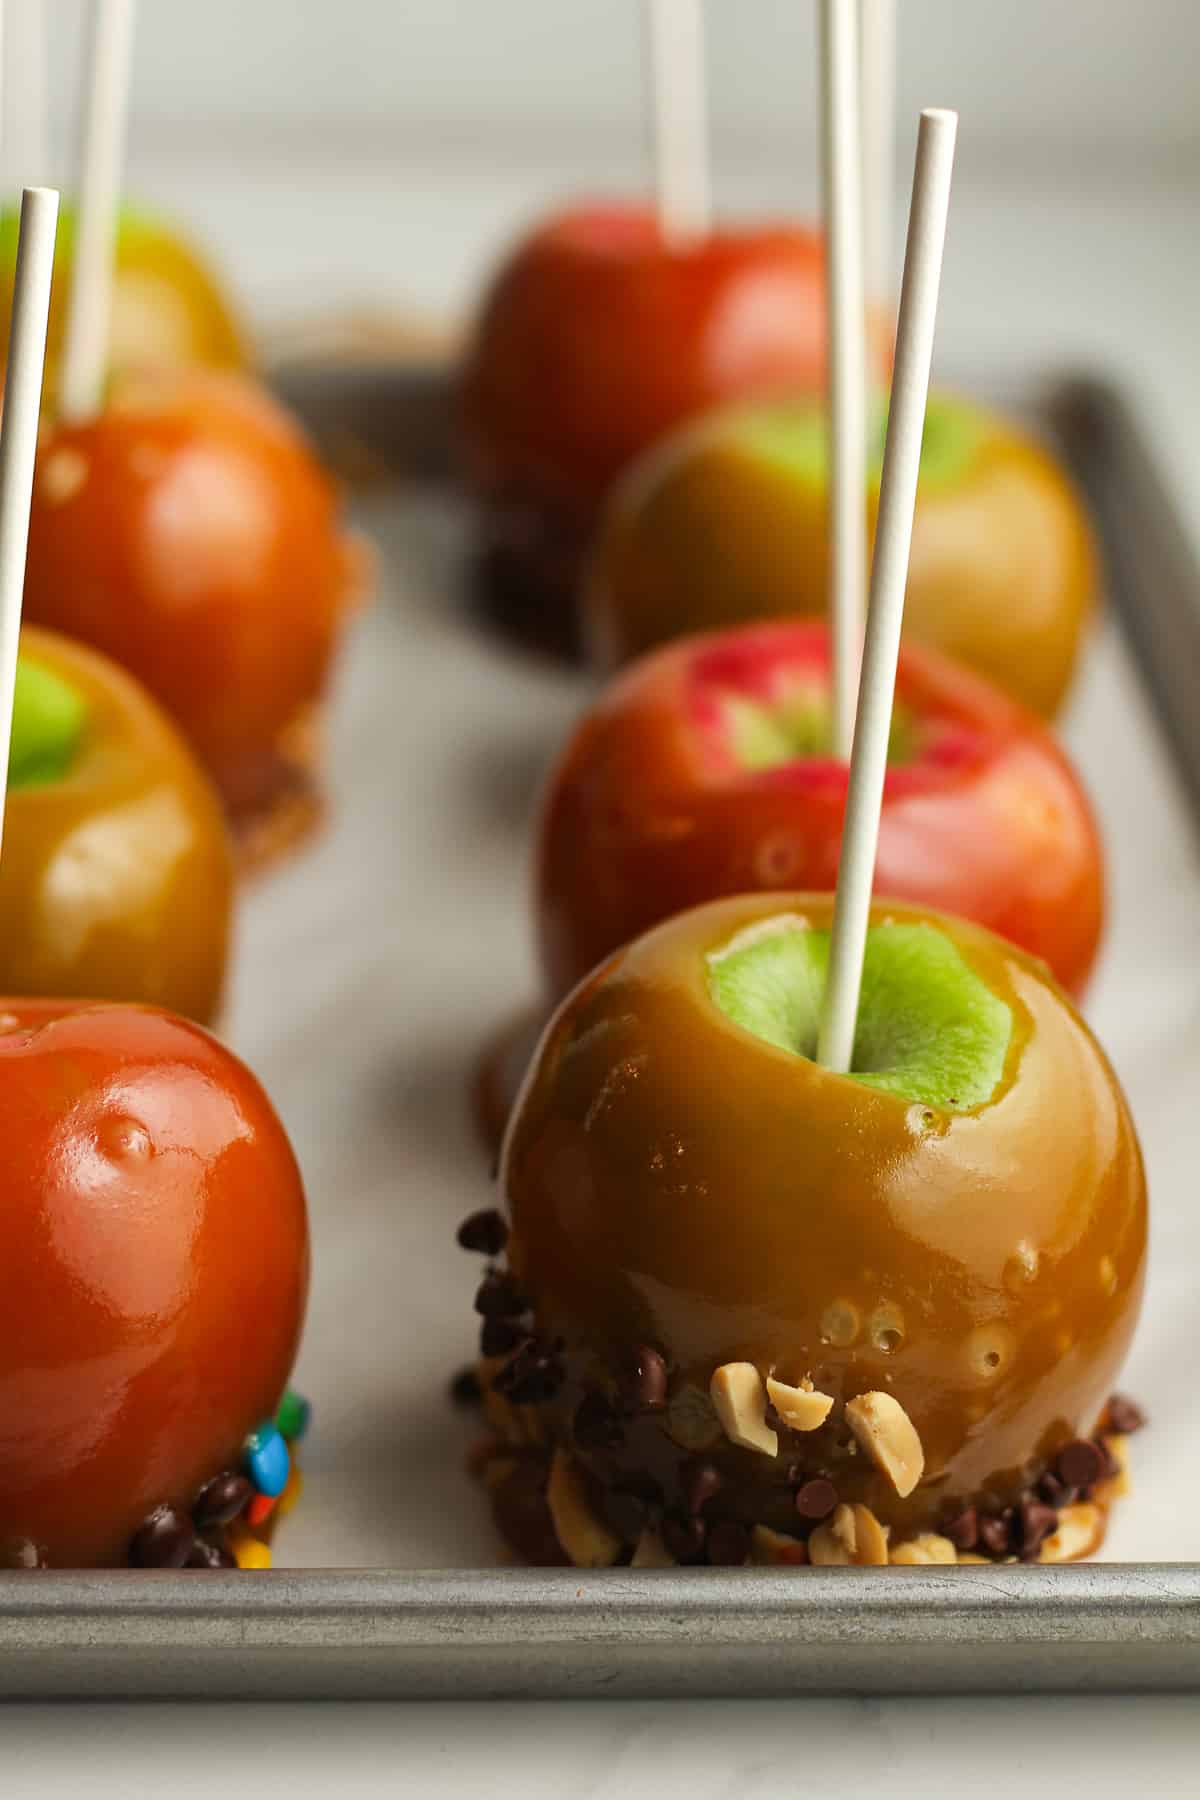
The Toppings – You can add toppings to the caramel apples if desired. The sky is the limit here, but some good choices are mini M&M’s, mini chocolate chips, chopped-up peanuts, toffee bits, melted chocolate or white chocolate, etc.
How to make the best caramel apples
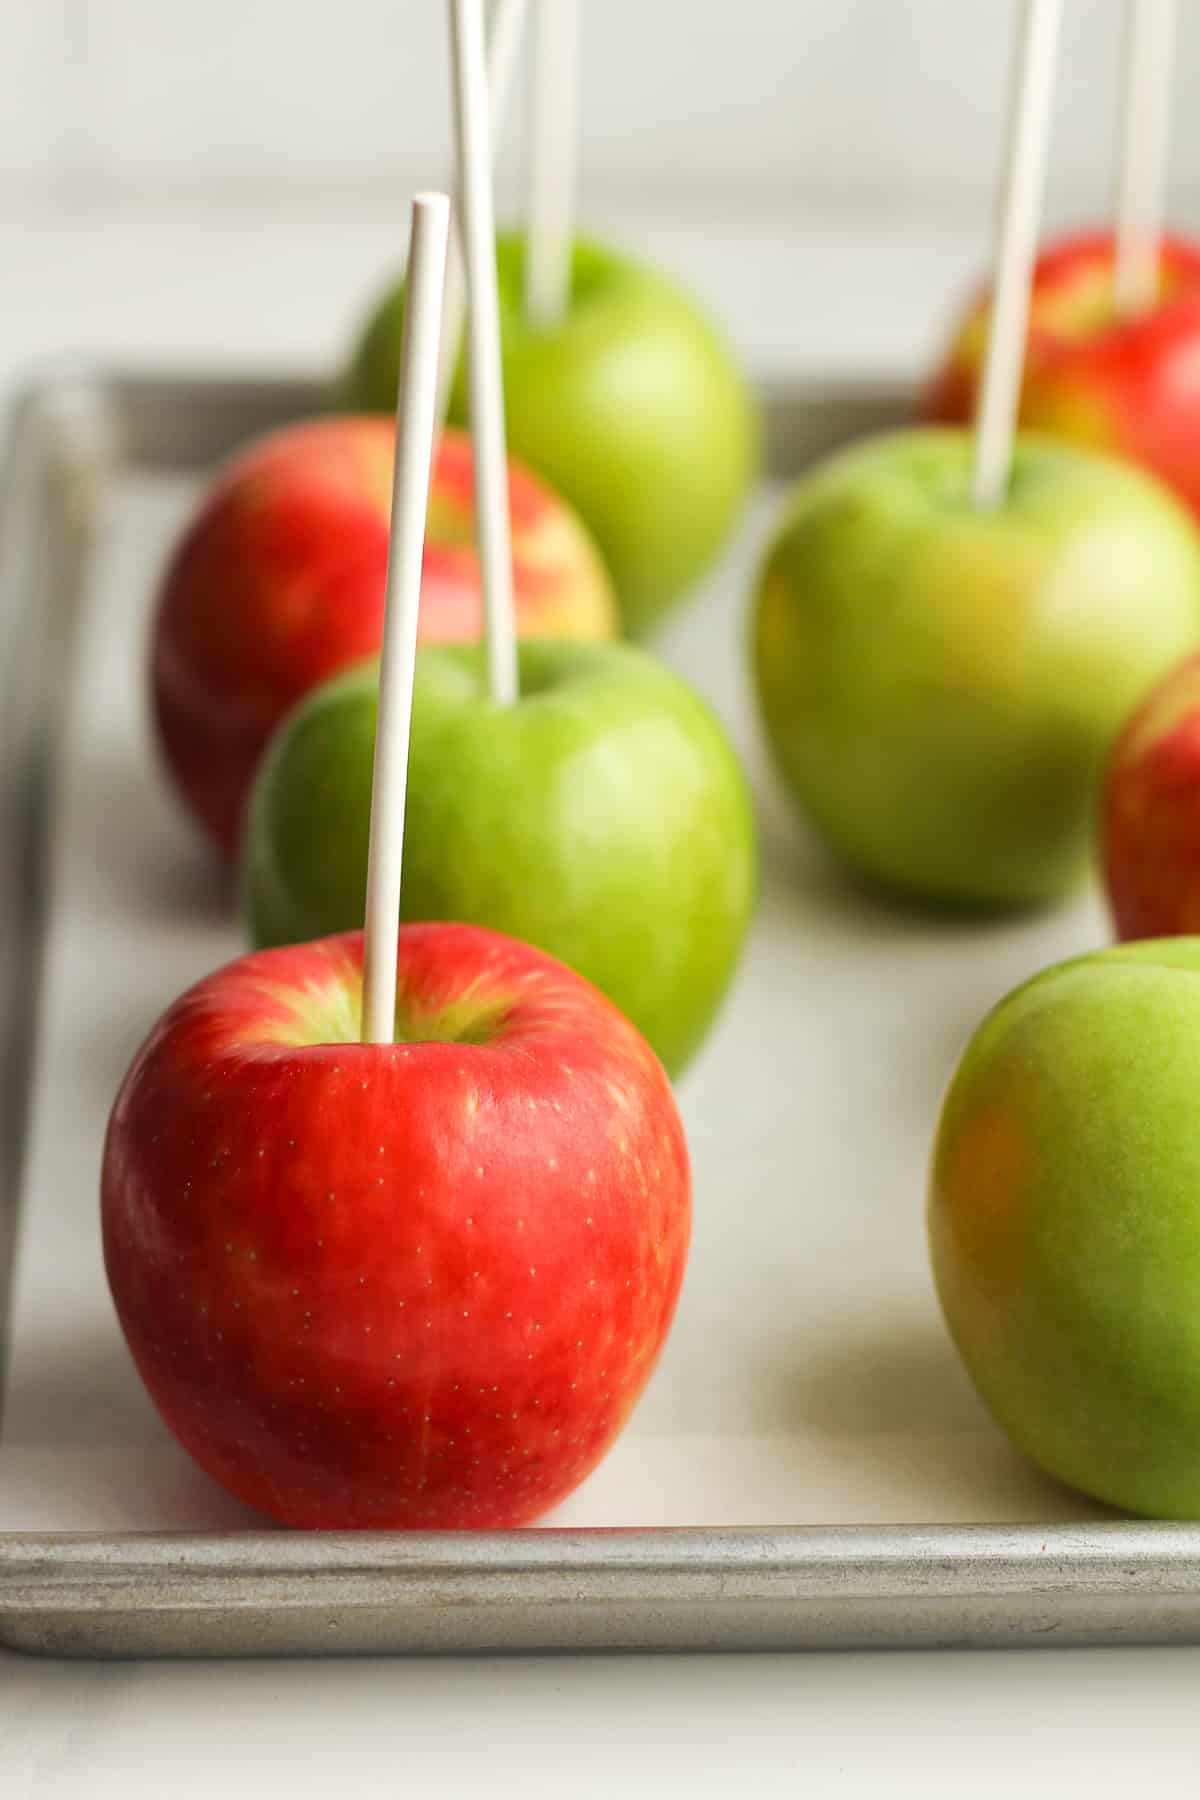
- Prep apples. Rinse apples with cold water and wipe them dry. Use a paper towel to remove any sticky coating on the apples. Then remove the stems (or try to) and insert the apple sticks into the apple about 3/4 of the way.
- Refrigerate. Make sure your apples are nice and cold. You can either place them in the refrigerator for a couple of hours or place in the freezer for 20-30 minutes. Keeping them cold prior to dipping them in caramel will help the caramel adhere nicely. This is IMPORTANT!
- Prepare a baking sheet. Line a baking sheet with parchment paper. You’ll want to have this handy for when the apples have been dipped because it will keep them from sticking to the pan.
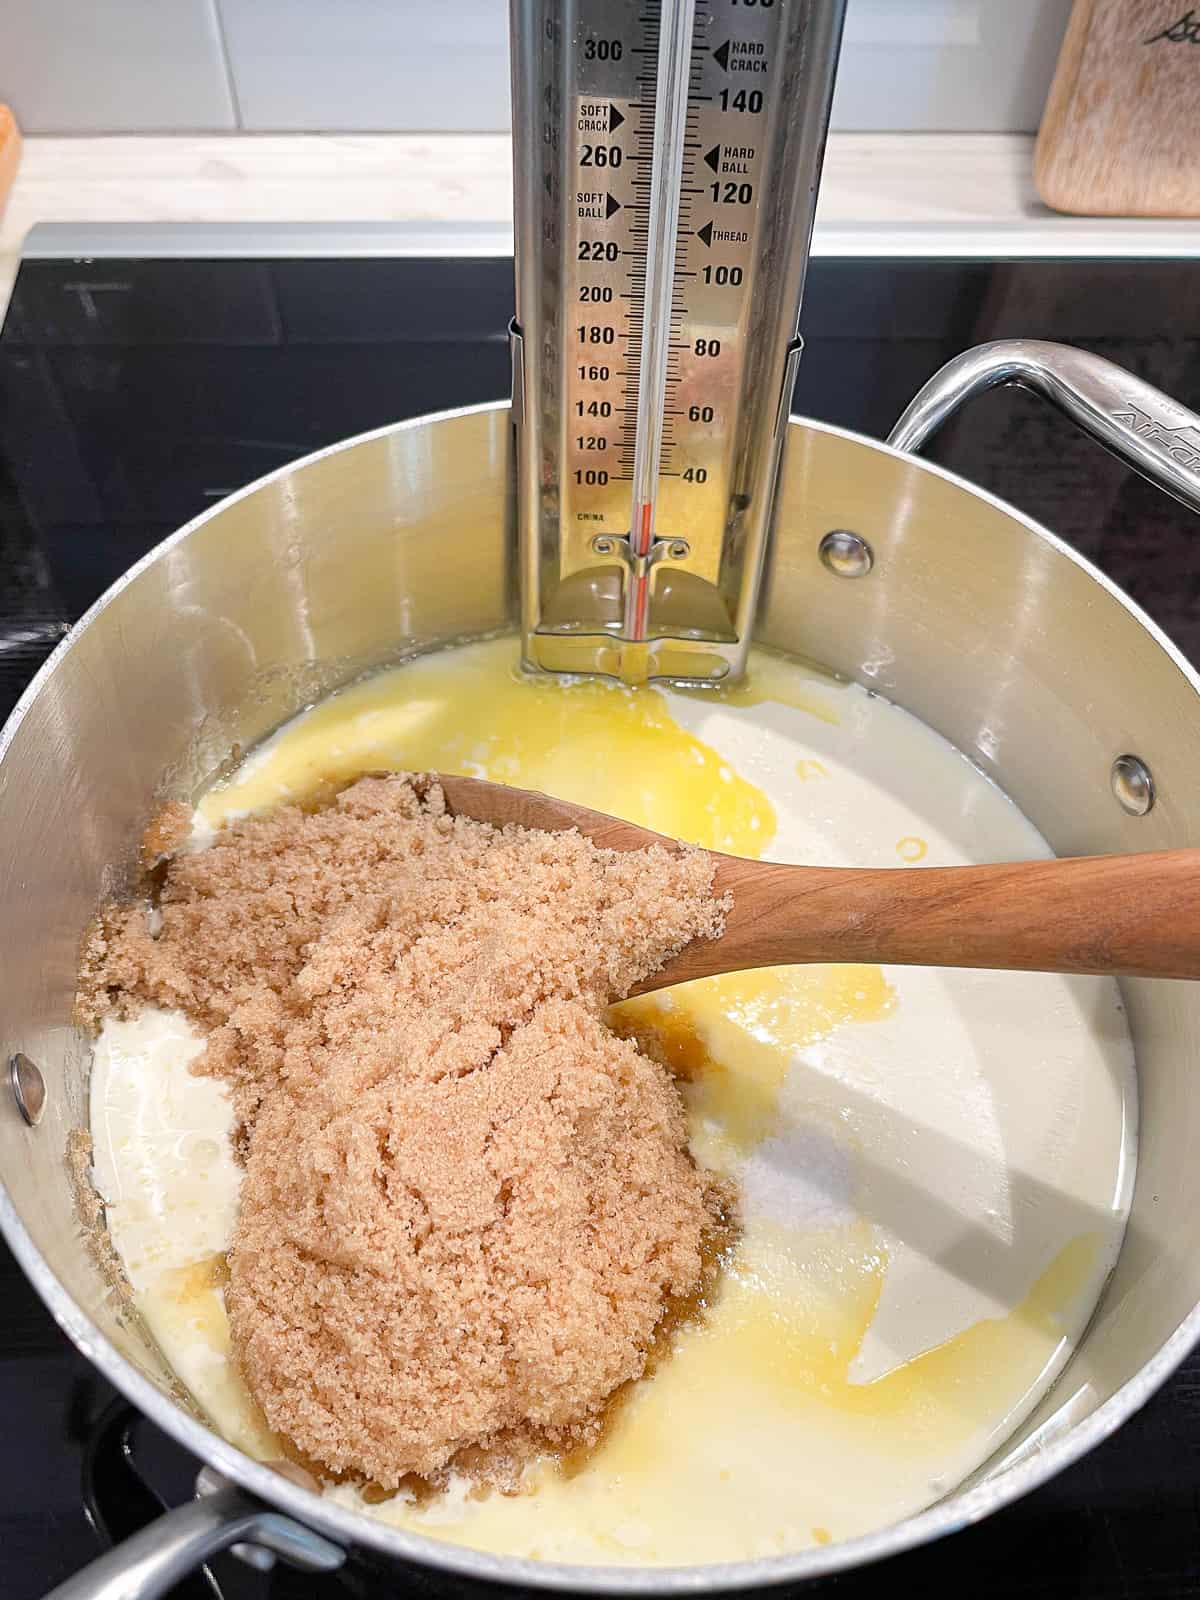
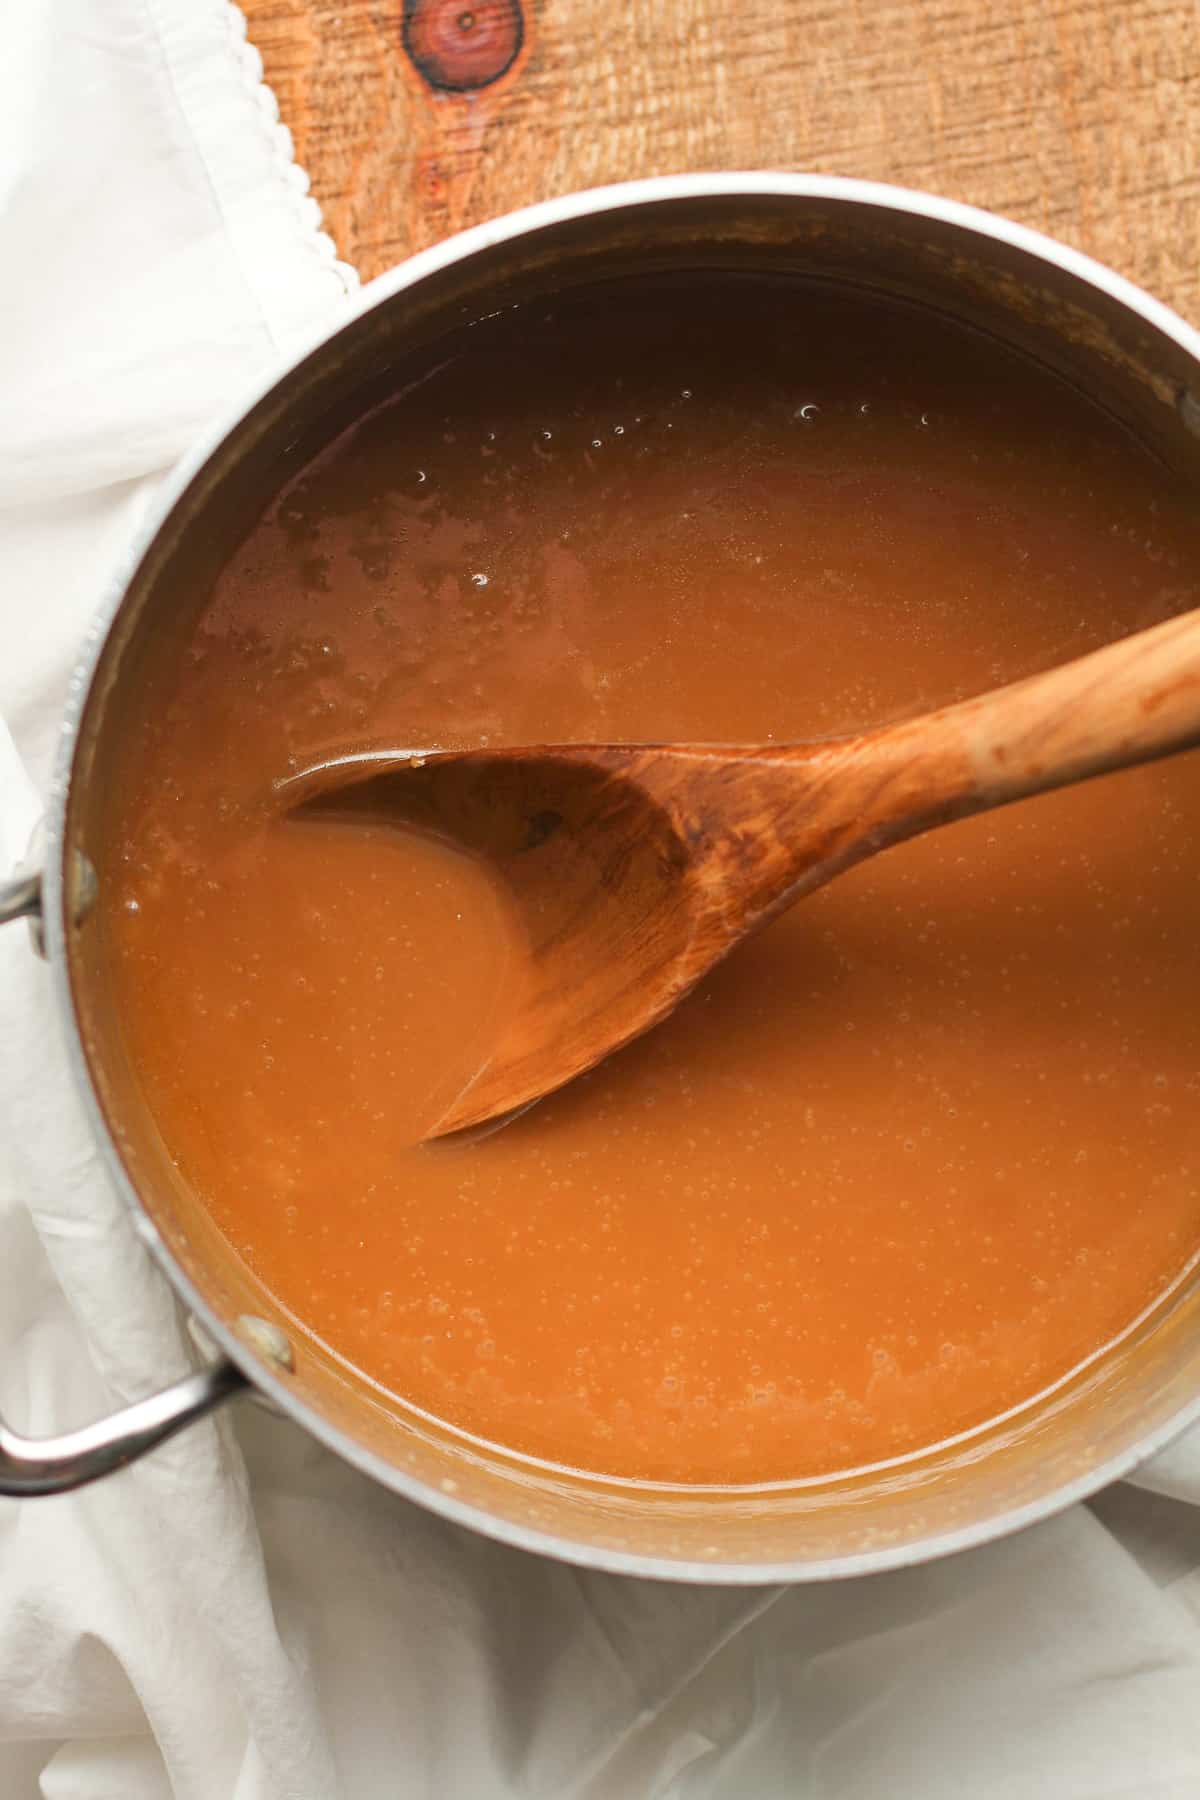
- Make the caramel. Use a heavy-duty saucepan, and melt butter over medium heat. Then add the brown sugar, heavy cream, light corn syrup, and salt. Stir well with a wooden spoon. Be sure to have that candy thermometer attached to the side of the pan, making sure the bottom of the thermometer is not touching the bottom of the pan.
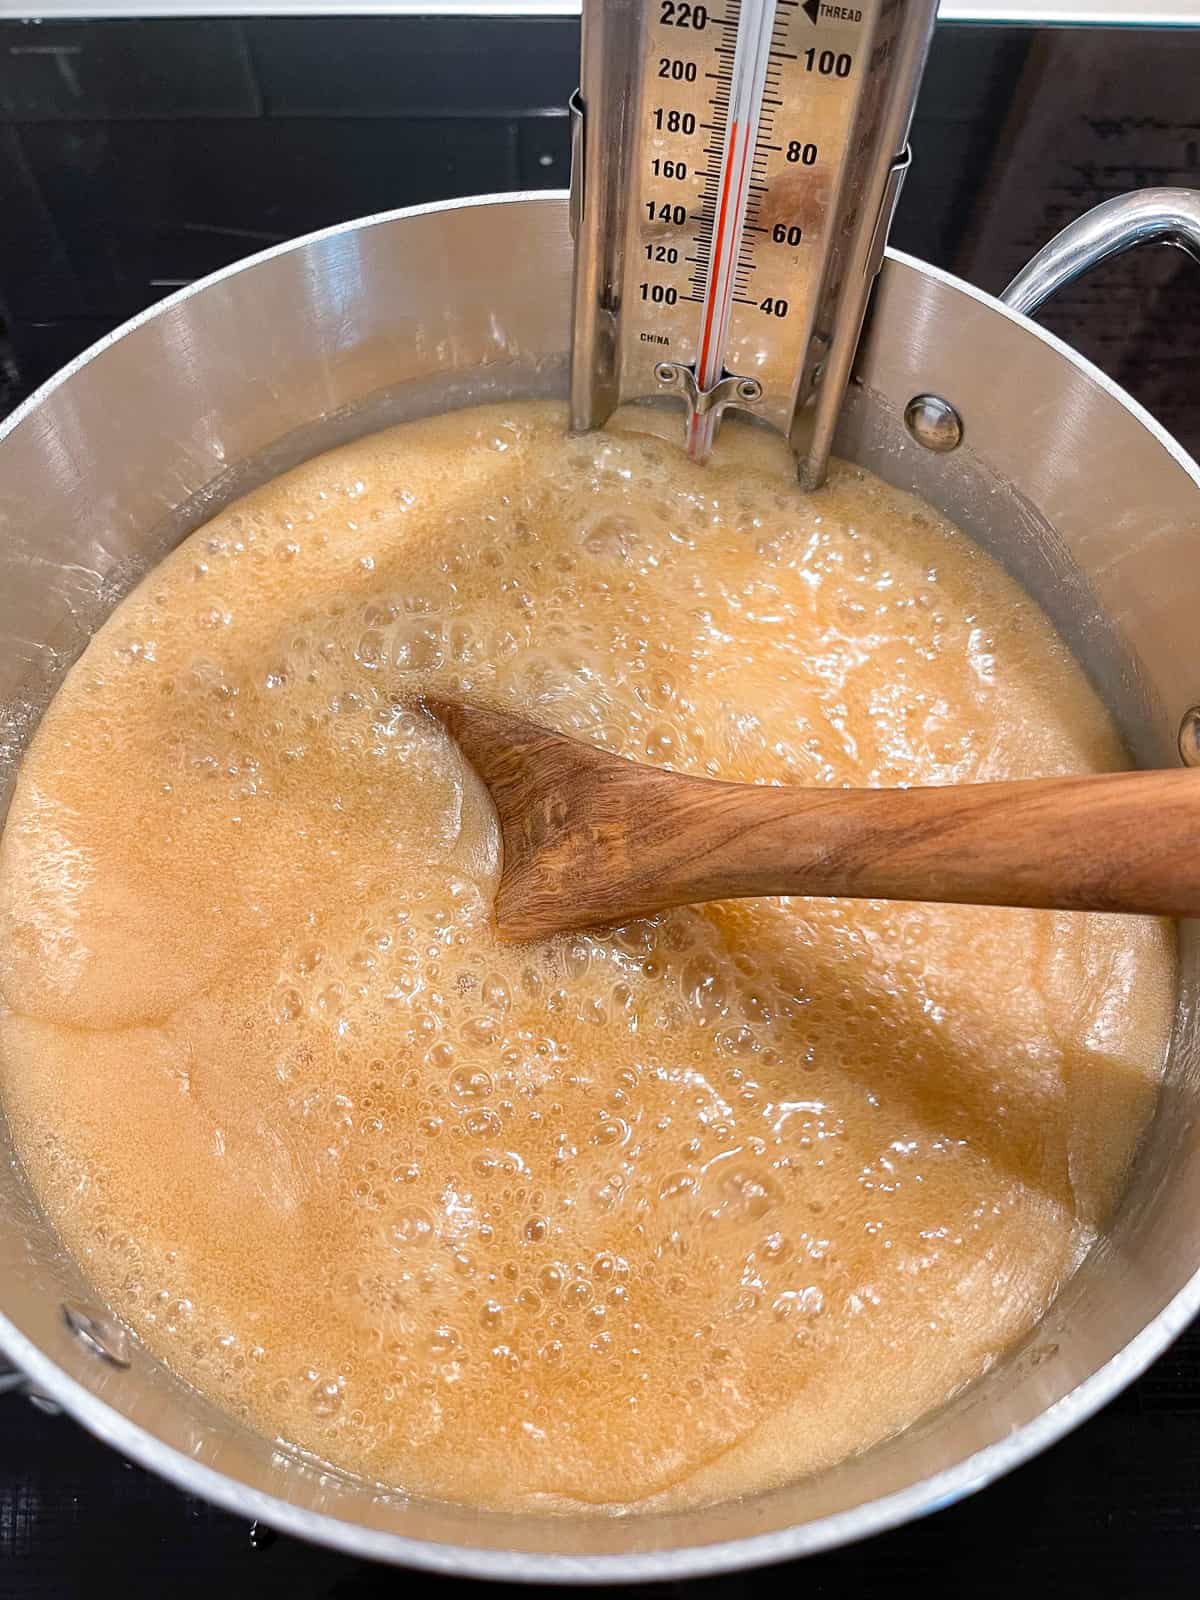
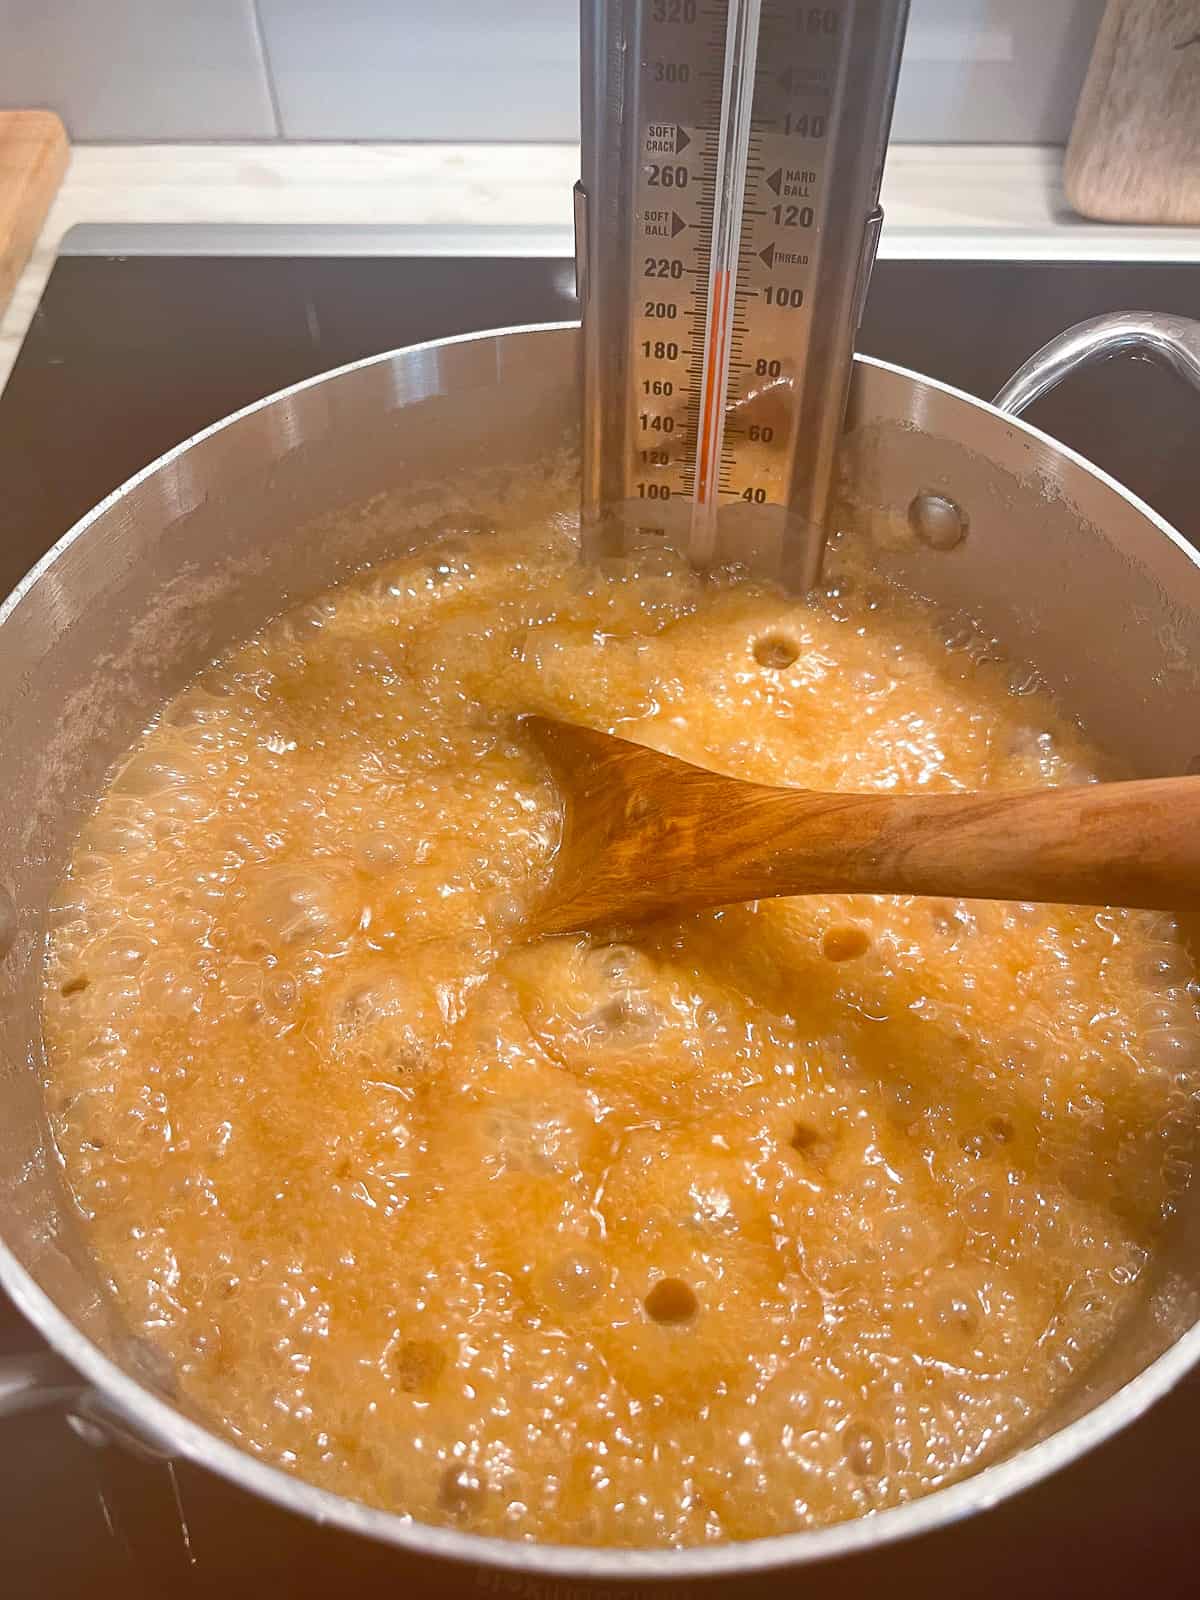
- Continue cooking. Leave the caramel cooking at medium heat and let it rise in temperature, avoiding over-stirring it. You will see the caramel change color as it cooks and rises in temperature. (See the photos below for step-by-step photos.)
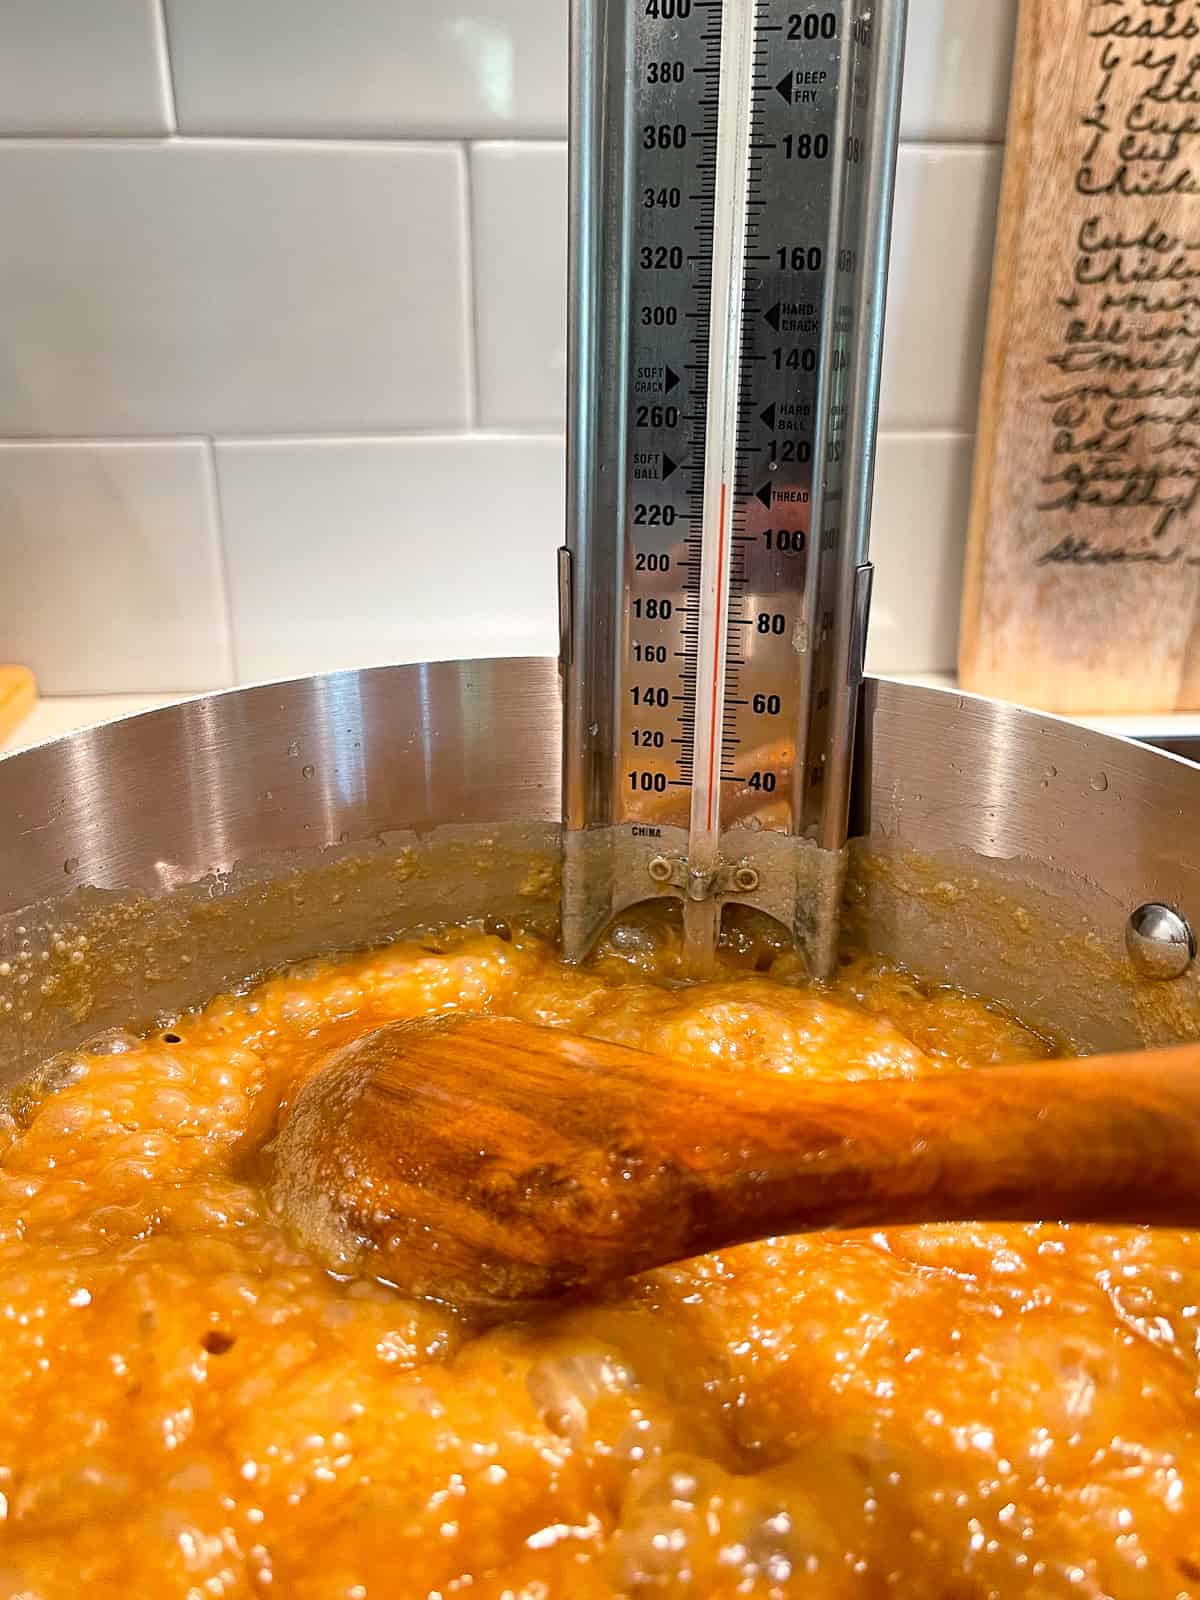
- Remove from heat. Once the caramel reaches 235 degrees F on the thermometer, promptly remove it from the heat. Add vanilla and stir. It will start to rapidly bubble. Remove the candy thermometer and place it in some water.
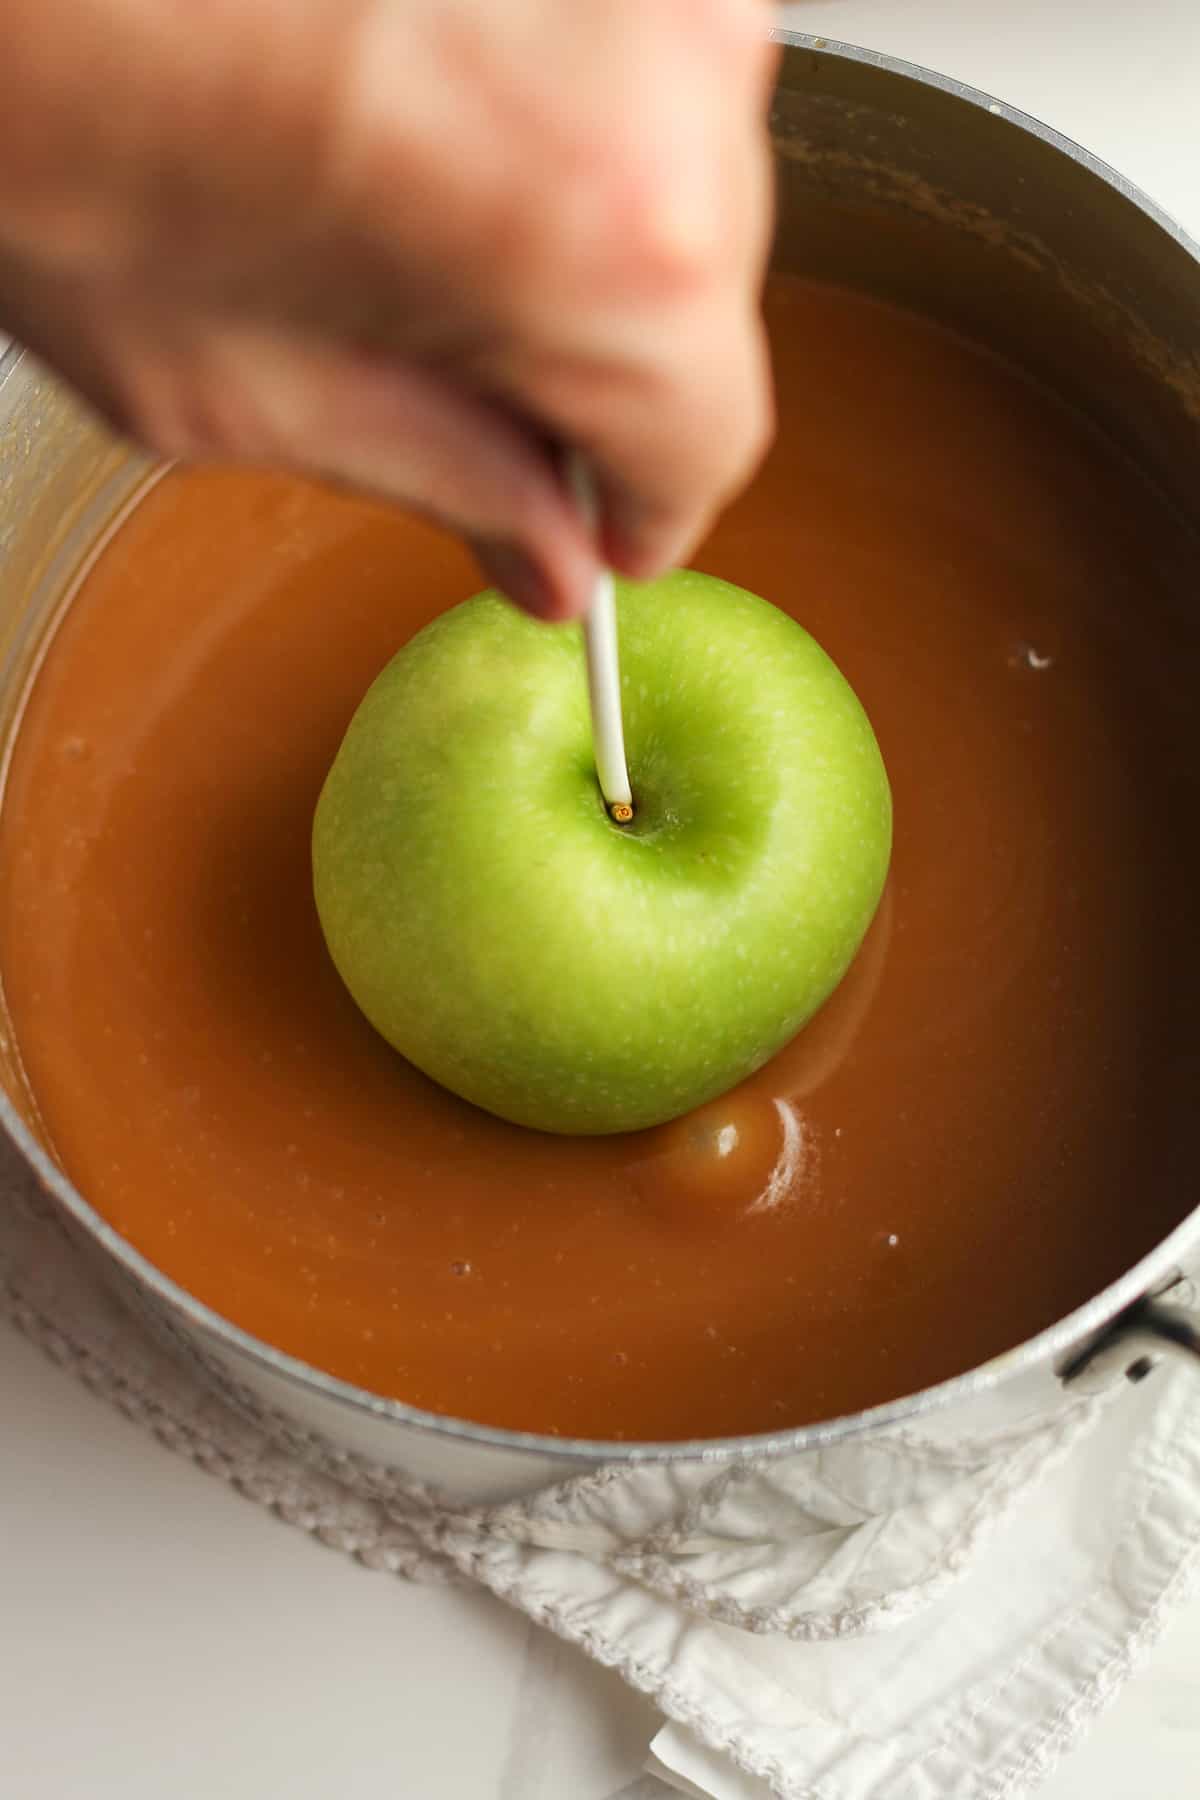
- Dip the apples. Grab an apple by the stick and dip it into the caramel mixture, tilting the pan and swirling it around in the caramel to get it nicely coated. Then tip it upside down so that the caramel starts coming to the top of the apple and rotate the apple as you do so. Repeat with remaining apples.
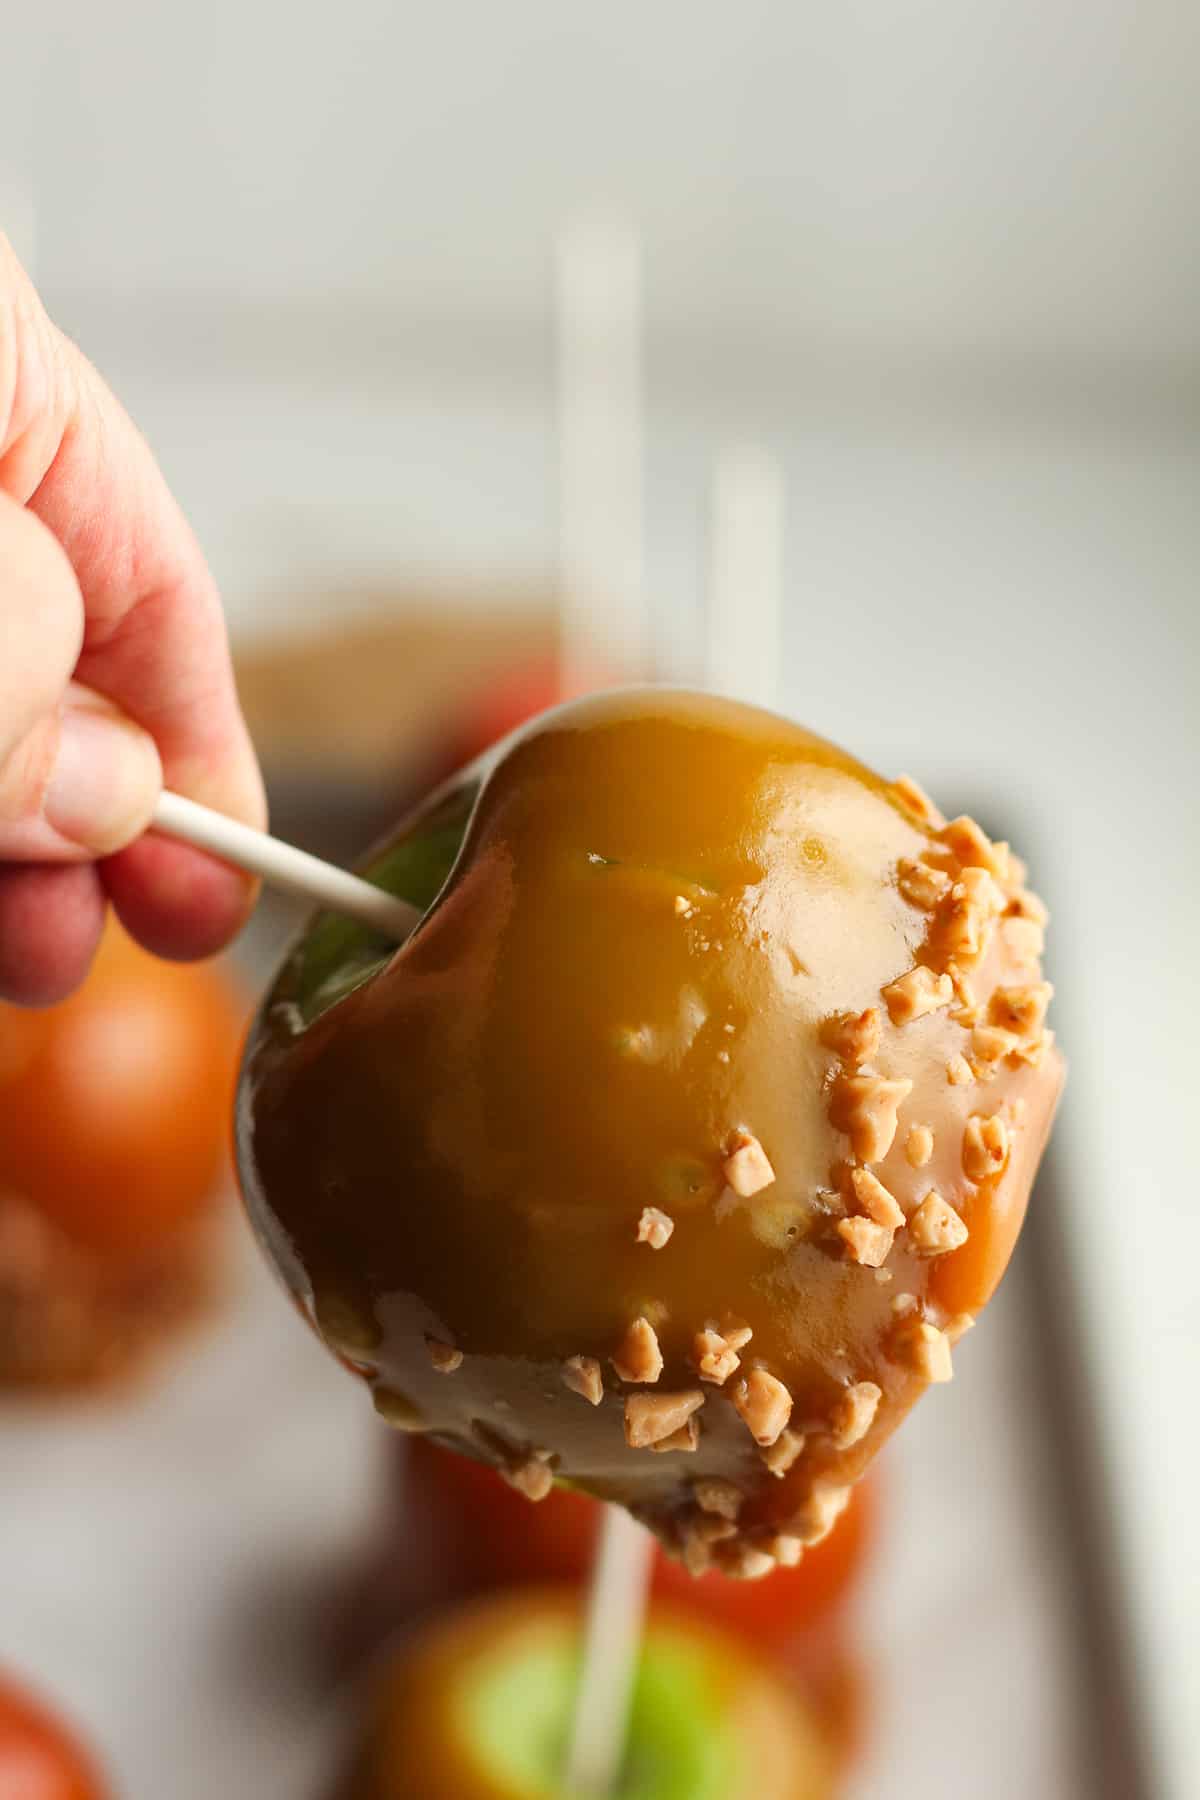
- Add toppings. After you dip each apple, you can add toppings if you’d like. You should dip it in toppings immediately though (as soon as you dip each apple), so they adhere to the caramel. These set up very quickly!
- Refrigerate. Store caramel apples in the refrigerator. You may want to set them out a few minutes before eating.
- Soak pan. It’s best to immediately soak your pan in water after all apples have been dipped.

Expert Tips
- Be careful when you add the thermometer to the pan. I’ve learned the hard way, and if you attach it too low (making it touch the bottom of the pan), the temp won’t be right and the caramel could burn. I like to add the thermometer before I put anything in the pan so I can see the bottom.
- Don’t over-stir. When the caramel mixture is cooking and bubbling, try to avoid stirring too often. I tend to just leave it alone for the most part. The more you stir, the more likely that you’ll have small bubbles on your apples. I also find that the caramel cooks faster if you stir less.
- Use cold apples. If the apples are too warm, the caramel tends to not coat the apples as well. Be sure they are very cold before dipping in the hot caramel.
- Work fast. When dipping the apples, work fast. The caramel sets up very quickly. And if you’re adding toppings, do so immediately after each apple is dipped.
- Share. Each time I make caramel apples, I do as my mother did. I share with friends and neighbors! Sharing is caring, y’all. 😀
Other apple recipes
- Applesauce – We grew up eating LOTS of homemade applesauce, and I’ve got a recipe called Chunky Cinnamon Applesauce where I leave the apples pretty large and use a minimum amount of sugar. It’s healthy and delicious and a fabulous way to use up extra apples (especially if you buy too many at the orchard)!
- Muffins – I love having muffins for a breakfast on the go, and my Applesauce Cinnamon Muffins are our go-to. Simple and healthy too.
- Misc – We also enjoy apples in salads, like in my Loaded Fall Harvest Salad, or in cocktails – as seen in my Apple Cider Martinis or these delicious Apple Cider Margaritas!
How to keep the caramel from pooling?
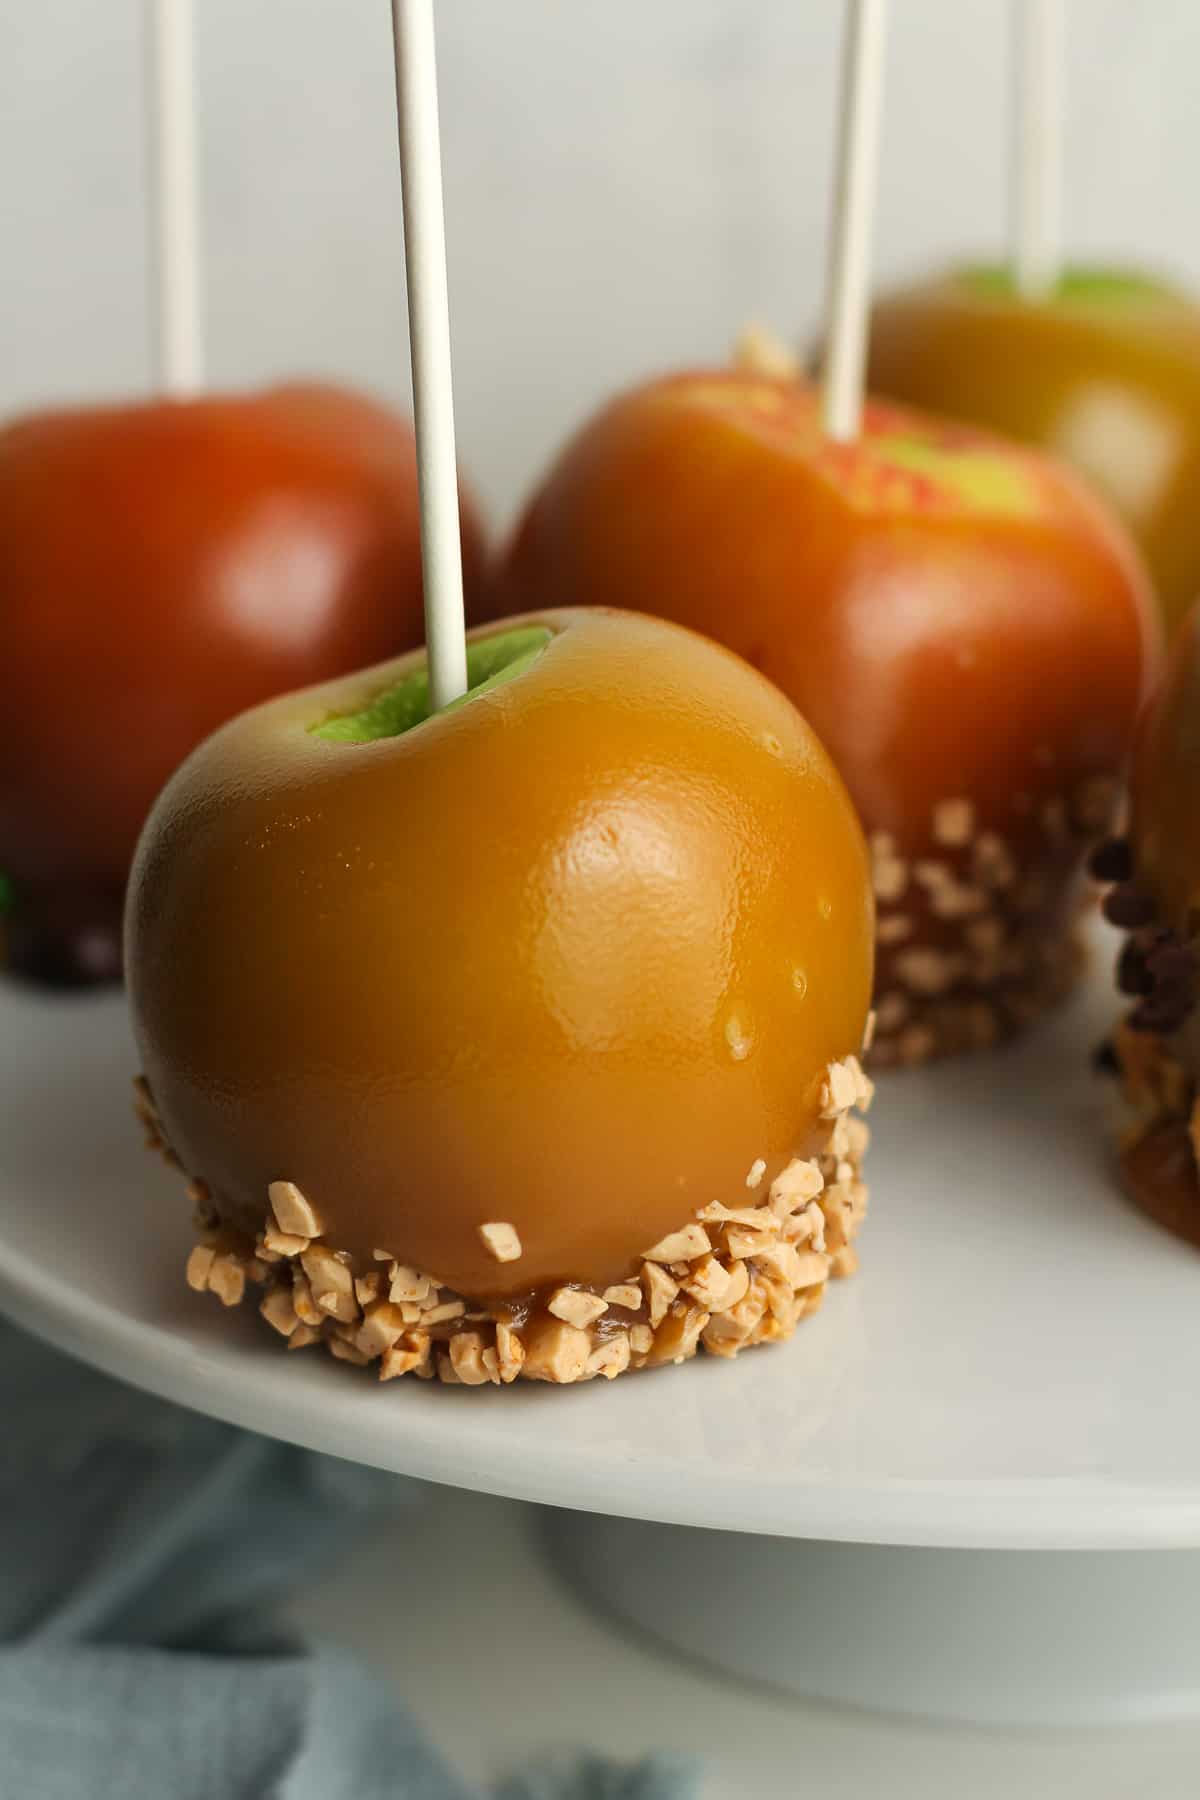
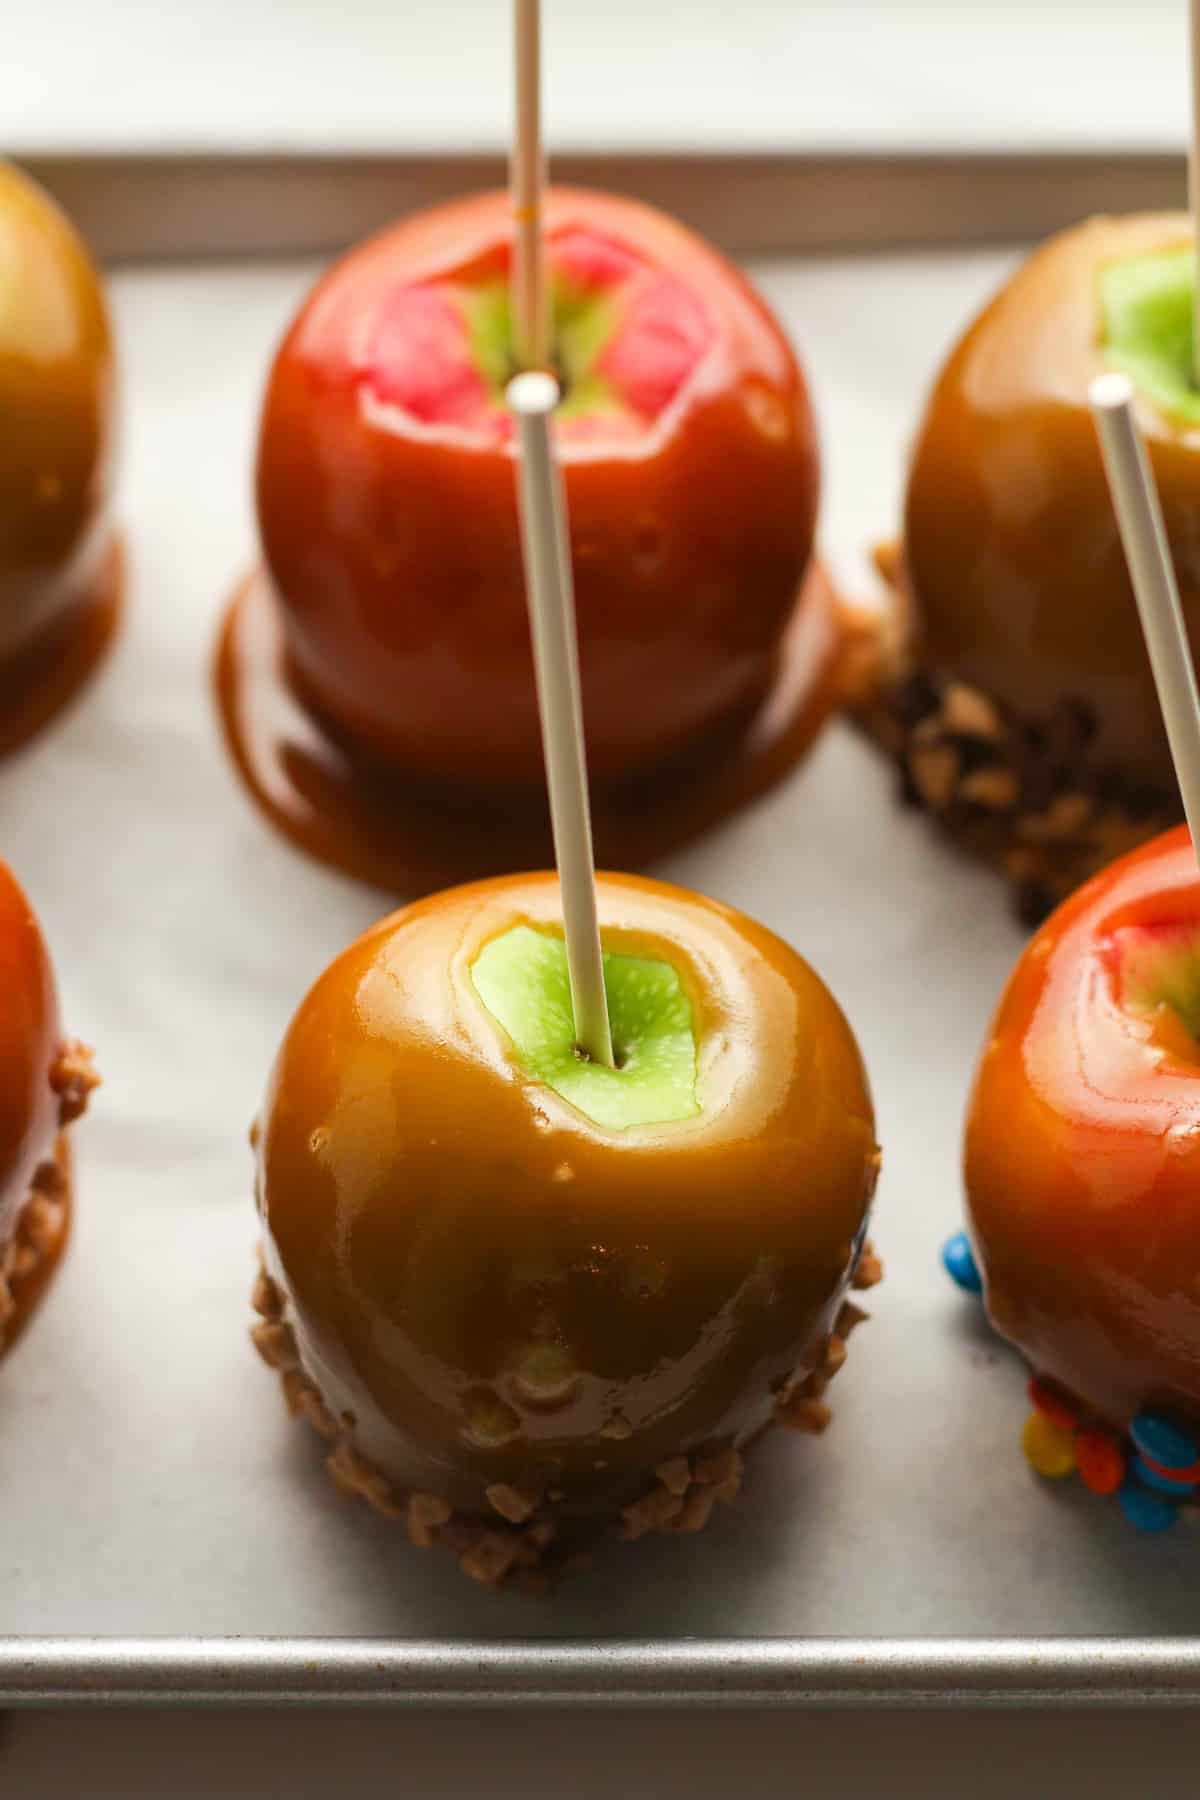
Well, as you can see from my photos, a couple of them pooled on the bottom. To keep that from happening, you have to dip and then rotate them around, even holding them almost upside down. As the caramel starts to roll around the outside of the apple, it will start to set. If you set them down on the pans too soon, the caramel will start to pool.
Is pooling bad? No, it’s not bad. It just doesn’t look as pretty. Mine aren’t perfect, and that’s ok with me!
What are the best apples to use for caramel apples?
- My first choice of apples for these would be tart Granny Smith apples. They balance out the sweetness of the caramel and they also look the prettiest too.
- My second choice is a firm Fuji or Honey Crisp. These are my favorite apples for eating, so it makes perfect sense to add caramel to them!
How do you eat a caramel apple?
I know, duh. Right? Read along…
- You CAN eat a caramel apple by just digging right in with your teeth. However, I fear for my teeth, so I don’t do this. That caramel might be a lot to handle! But again, do you.
- Instead, I recommend using a knife to slice the apple in thirds. Then just pick up a slice and EAT! So good.
Enjoy!
Kitchen Tools Used: (affiliate links)
xoxo ~Sue
Gourmet Caramel Apples
Ingredients
Caramel apples:
- 10 medium apples (I used Granny Smith and Fuji) – COLD
- 6 Tablespoons unsalted butter
- 2 cups light brown sugar – packed
- 12 oz. heavy cream
- 1 cup light corn syrup
- 1/2 teaspoon kosher salt
- 1 teaspoon vanilla extract
Topping Ideas:
- toffee bits
- chopped nuts
- mini M&M's
- graham cracker crumbs
- melted chocolate
Instructions
- Prep the apples. Rinse apples with cold water and wipe them dry. Use some paper towel to remove any sticky coating on the apples. Remove the stems and insert the apple stick into the apple about 3/4 of way. Place them in the refrigerator to chill (or you can place in freezer for a quick chill). This is IMPORTANT!10 medium apples (I used Granny Smith and Fuji)
- Line a baking sheet with parchment paper. Attach a candy thermometer to the sides of a heavy saucepan pan, making sure the bottom of the thermometer is not touching the bottom of the pan.
- Make the caramel. In the pan, melt the butter over medium heat. Then add the heavy cream, corn syrup, brown sugar, and salt, and stir well with a wooden spoon. 6 Tablespoons unsalted butter, 12 oz. heavy cream, 1 cup light corn syrup, 2 cups light brown sugar, 1/2 teaspoon kosher salt
- Cook the mixture until it reaches 235 F degrees on the candy thermometer. This should take about 15-20 minutes, but make sure you go according to the thermometer. Try not to stir too much during this process.
- Once the caramel reaches the right temp, remove the pan from heat and add the vanilla, stirring constantly. You'll see it bubbling as you do so. 1 teaspoon vanilla extract
- Dip the apples. Remove apples from the refrigerator. Grab each apple by the stick and dip into the caramel mixture, one at a time, tilting it and getting a nice caramel coating on each apple. Turn the apple upside down and rotate as you do so, letting the caramel drip to the top of the apple. Set down on the prepared sheet pan. Repeat quickly with remaining apples.
- Add toppings. If desired, you can roll apples in toppings of your choice after they are dipped in the caramel. Do this immediately after you dip each apple as they set up very quickly.toffee bits, chopped nuts, mini M&M's, graham cracker crumbs, melted chocolate
- Place dipped apples in the refrigerator to store. You may want to set them out a bit before eating.
- To eat these, I recommend slicing the apples in thirds.
Notes
Expert Tips
- Be careful when you add the thermometer to the pan. I’ve learned the hard way, and if you attach it too low (making it touch the bottom of the pan), the temp won’t be right and the caramel could burn. I like to add the thermometer before I put anything in the pan so I can see the bottom.
- Don’t over-stir. When the caramel mixture is cooking and bubbling, try to avoid stirring too often. I tend to just leave it alone for the most part. The more you stir, the more likely that you’ll have small bubbles on your apples. I also find that the caramel cooks faster if you stir less.
- Use cold apples. If the apples are too warm, the caramel tends to not coat the apples as well. Be sure they are very cold before dipping in the hot caramel.
- Work fast. When dipping the apples, work fast. The caramel sets up very quickly. And if you’re adding toppings, do so immediately after each apple is dipped.
- Share. Each time I make caramel apples, I do as my mother did. I share with friends and neighbors! Sharing is caring, y’all. 😀
Nutrition
Let’s go apple picking!
This recipe returned me to my youth and farm life. Thank you!
You’re welcome! 🙂