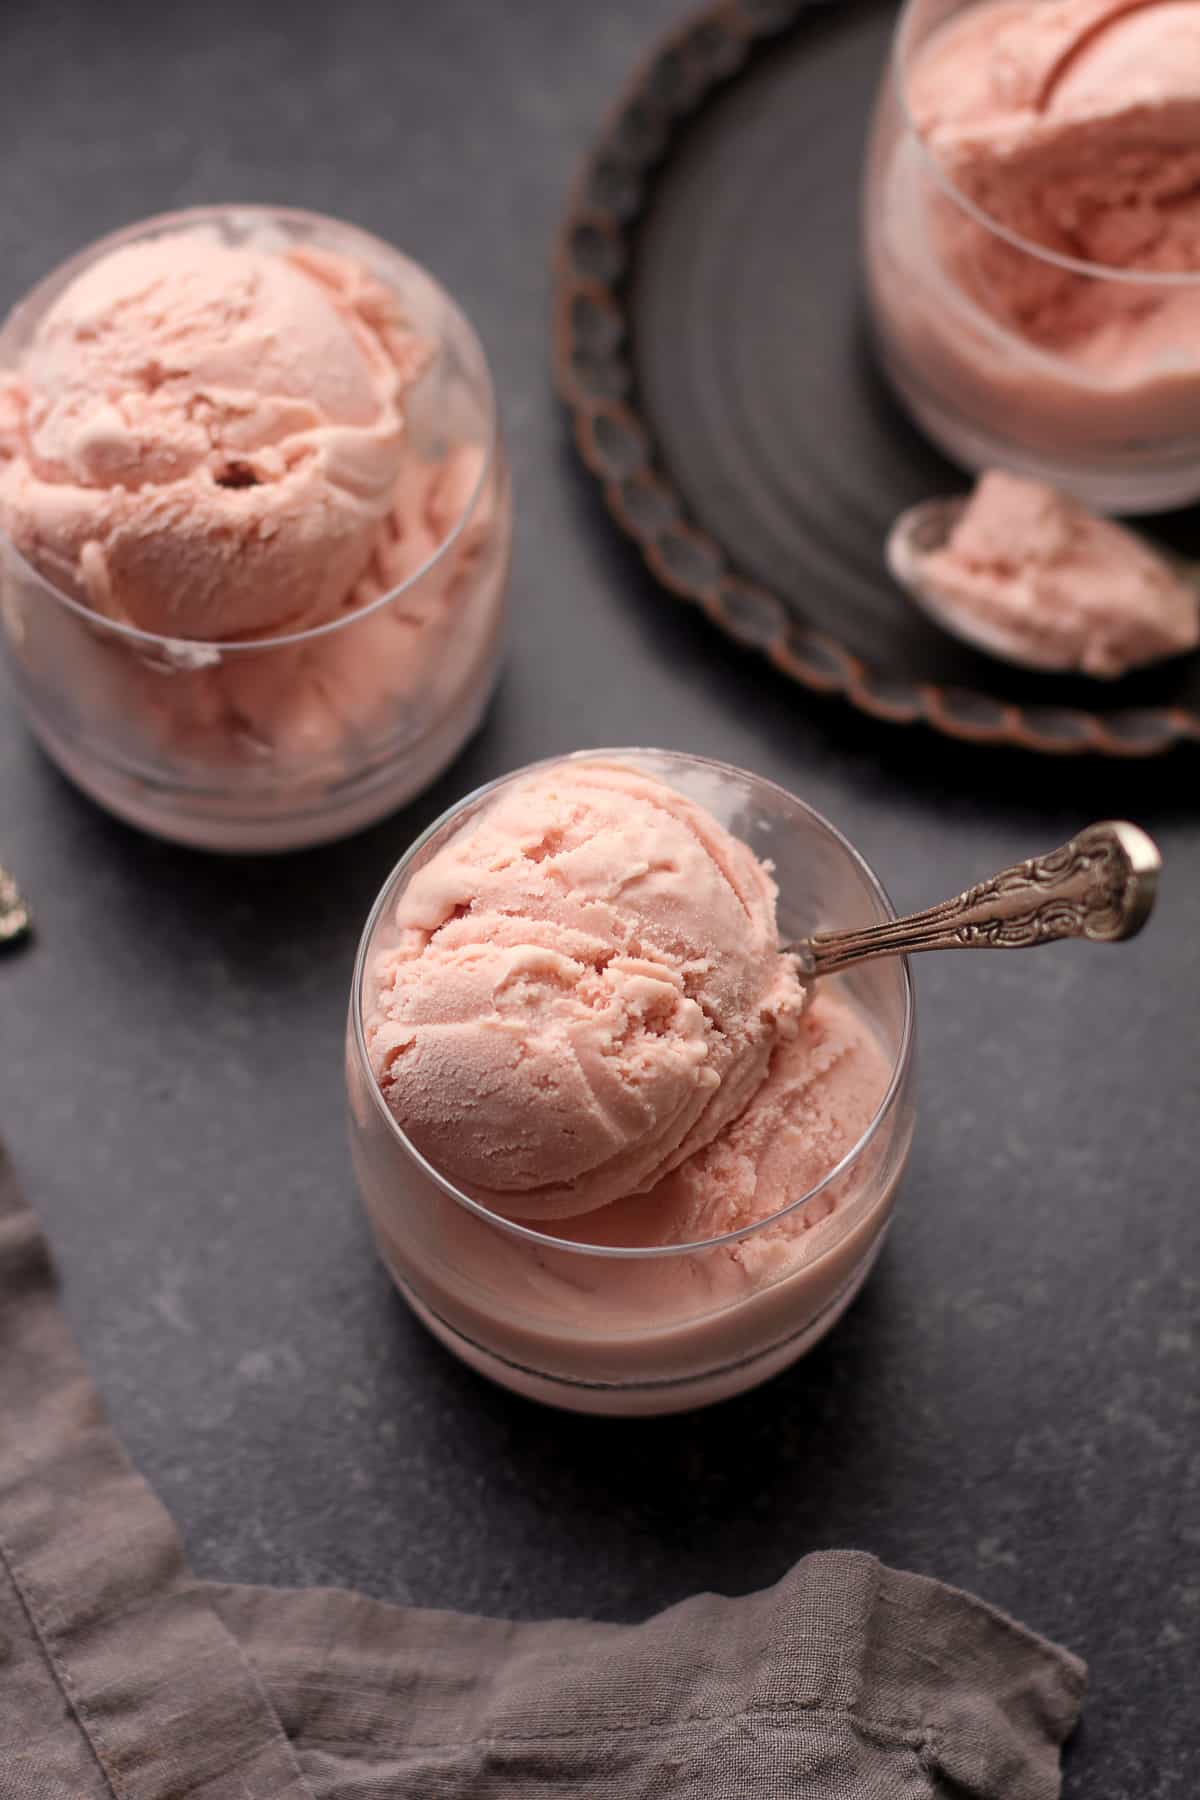
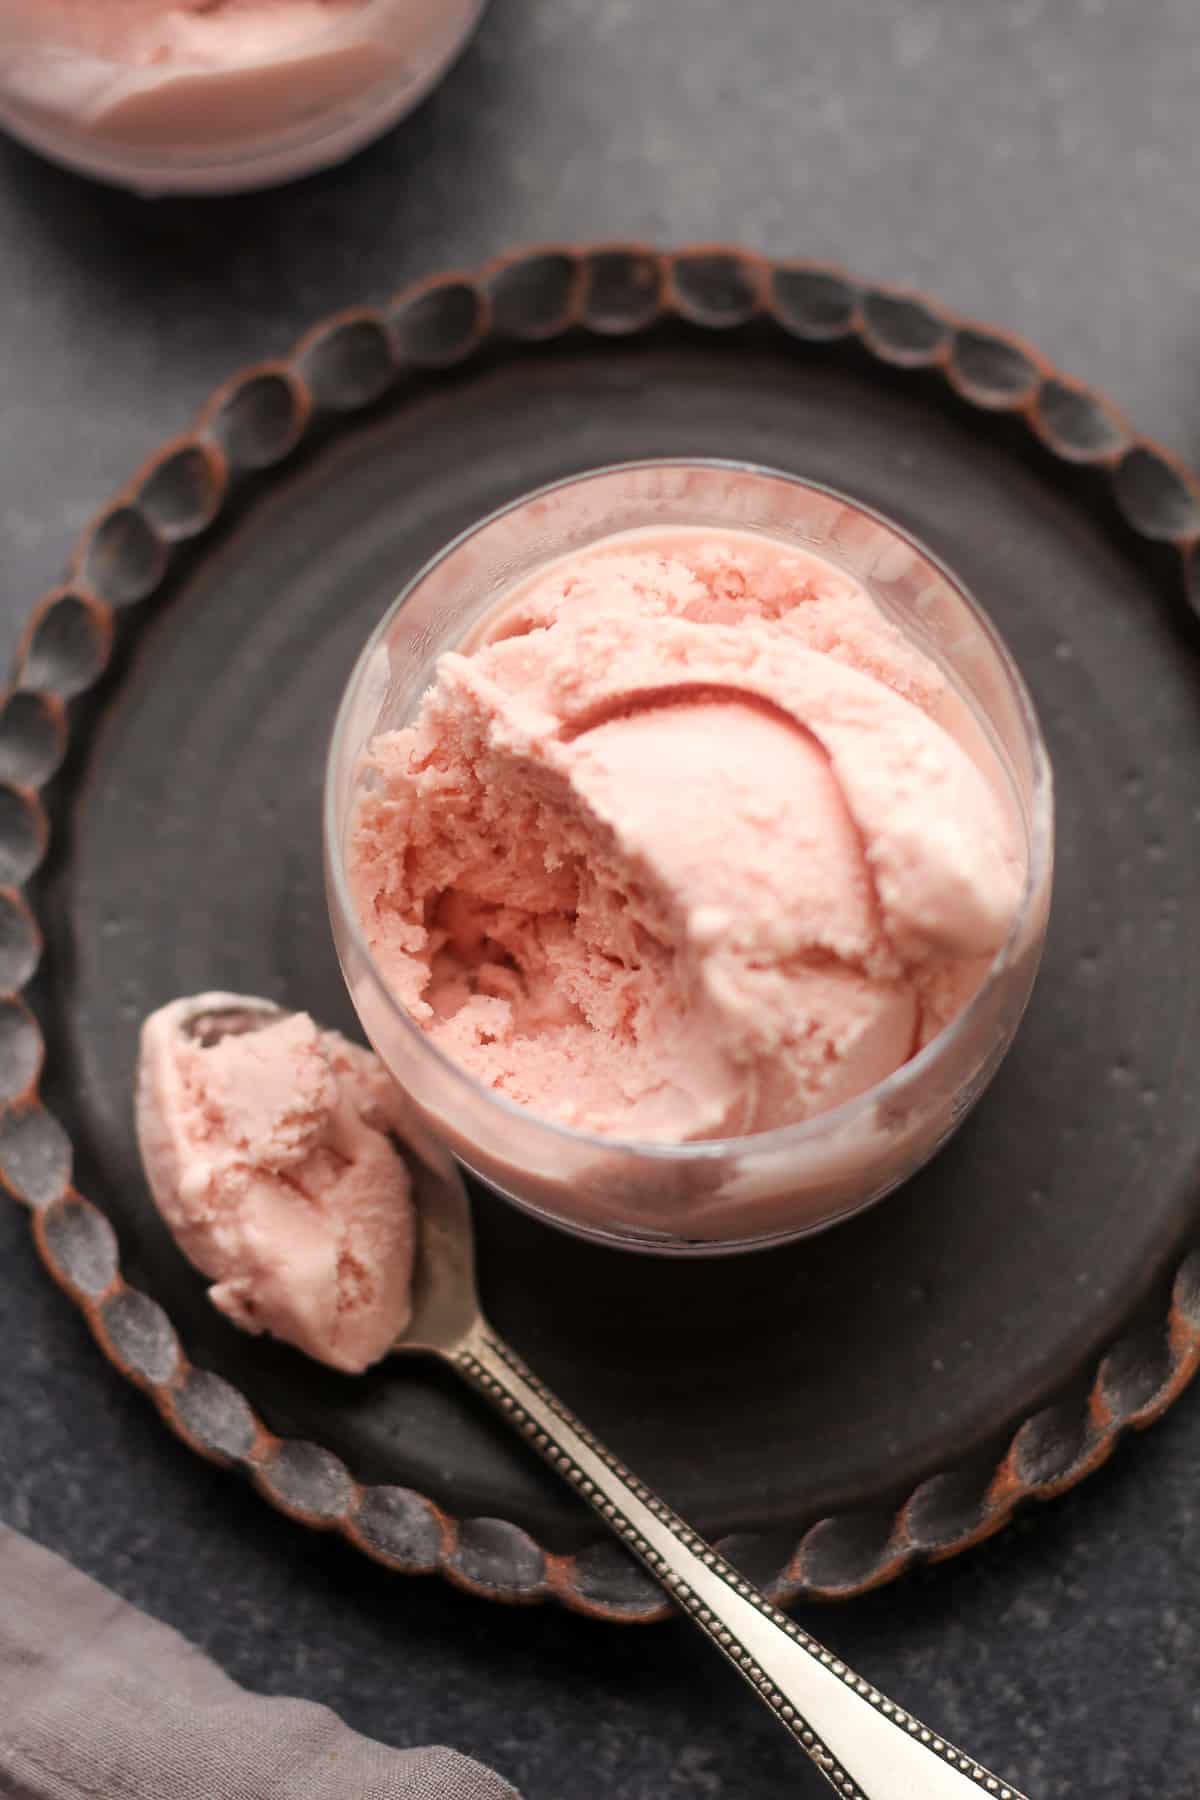
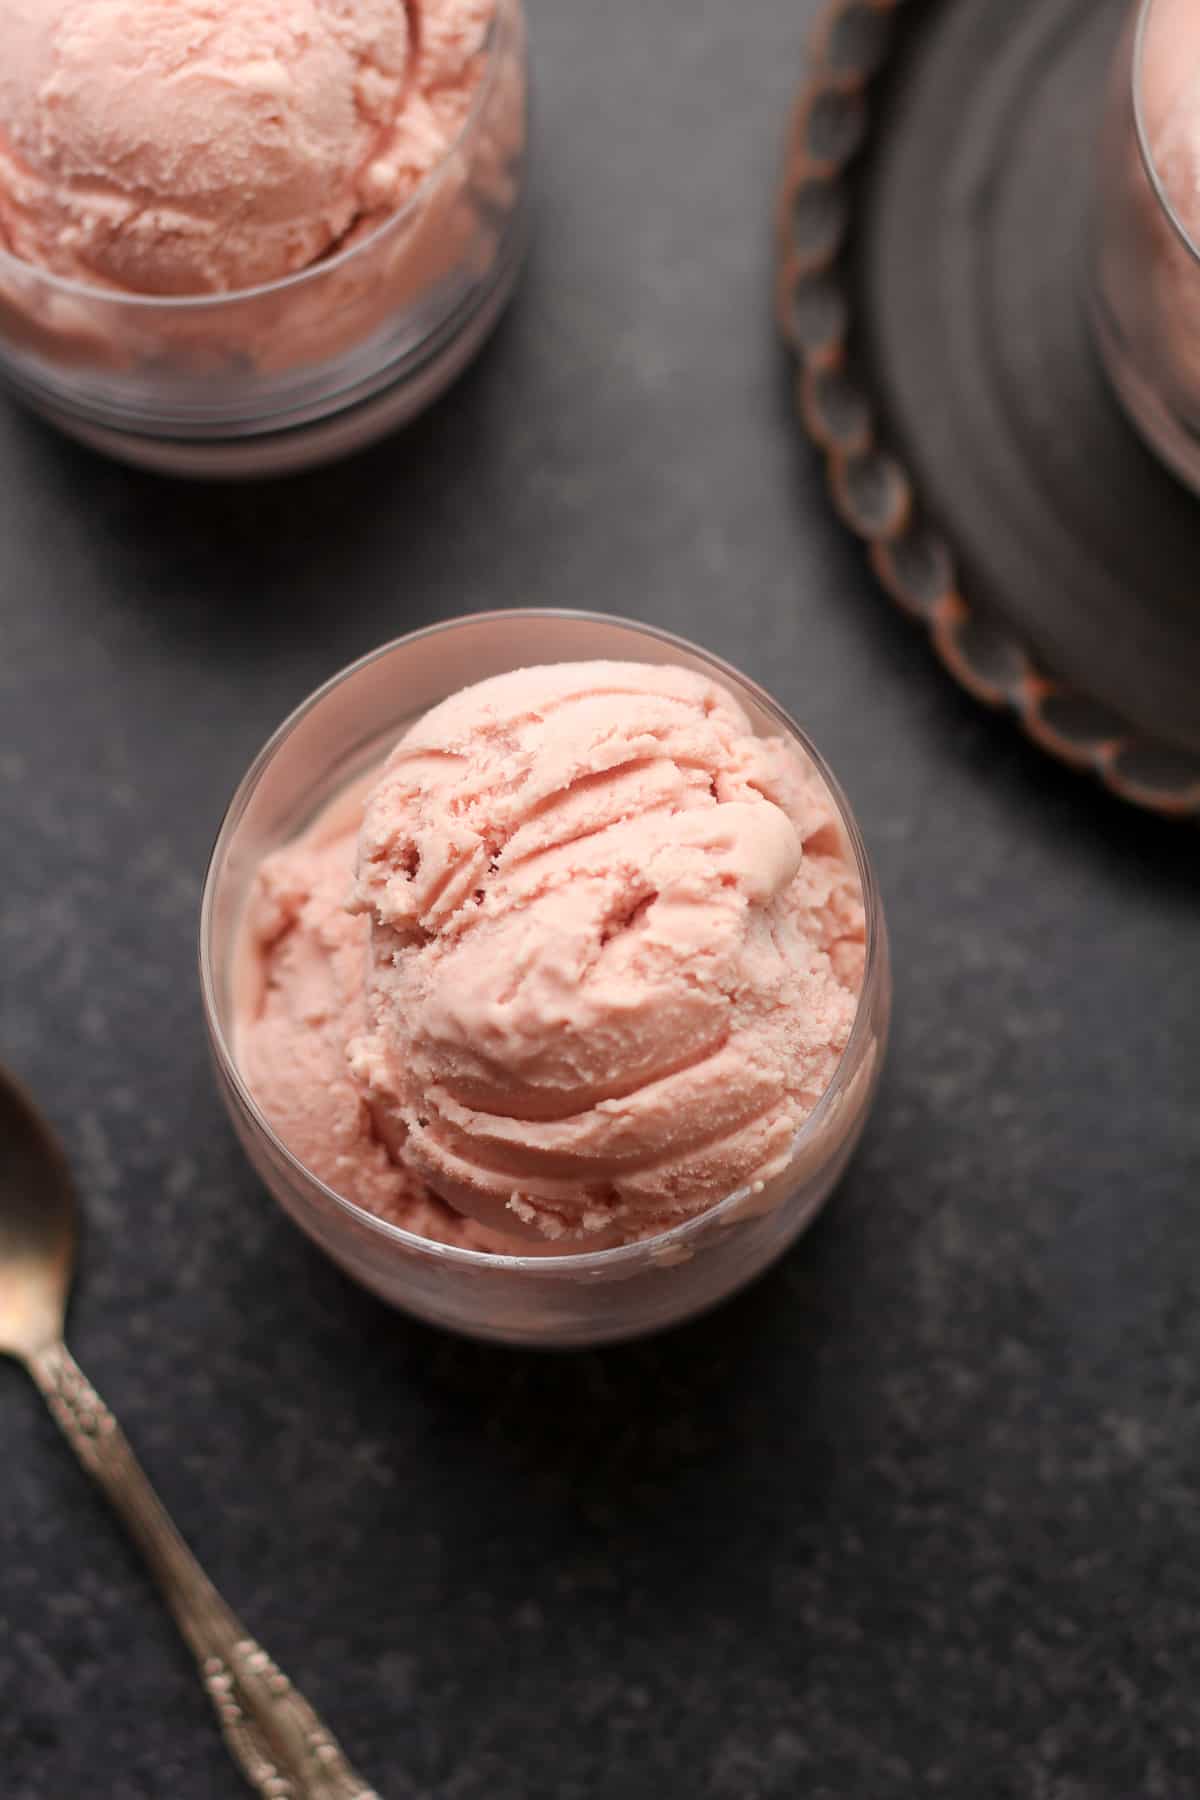
Raspberry Ice Cream
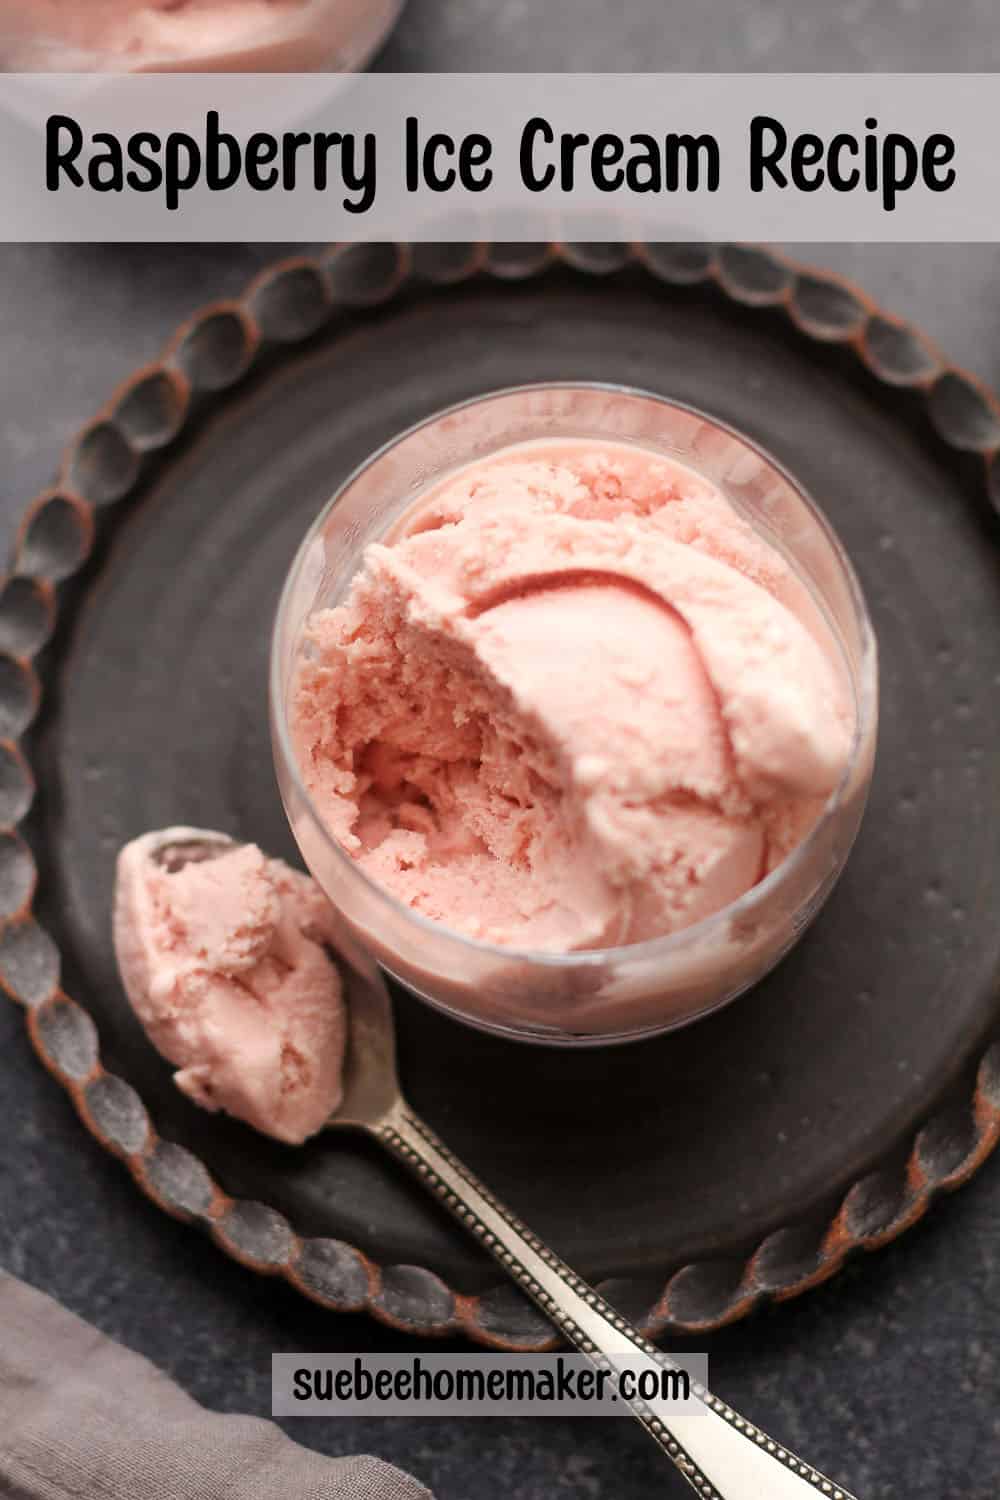
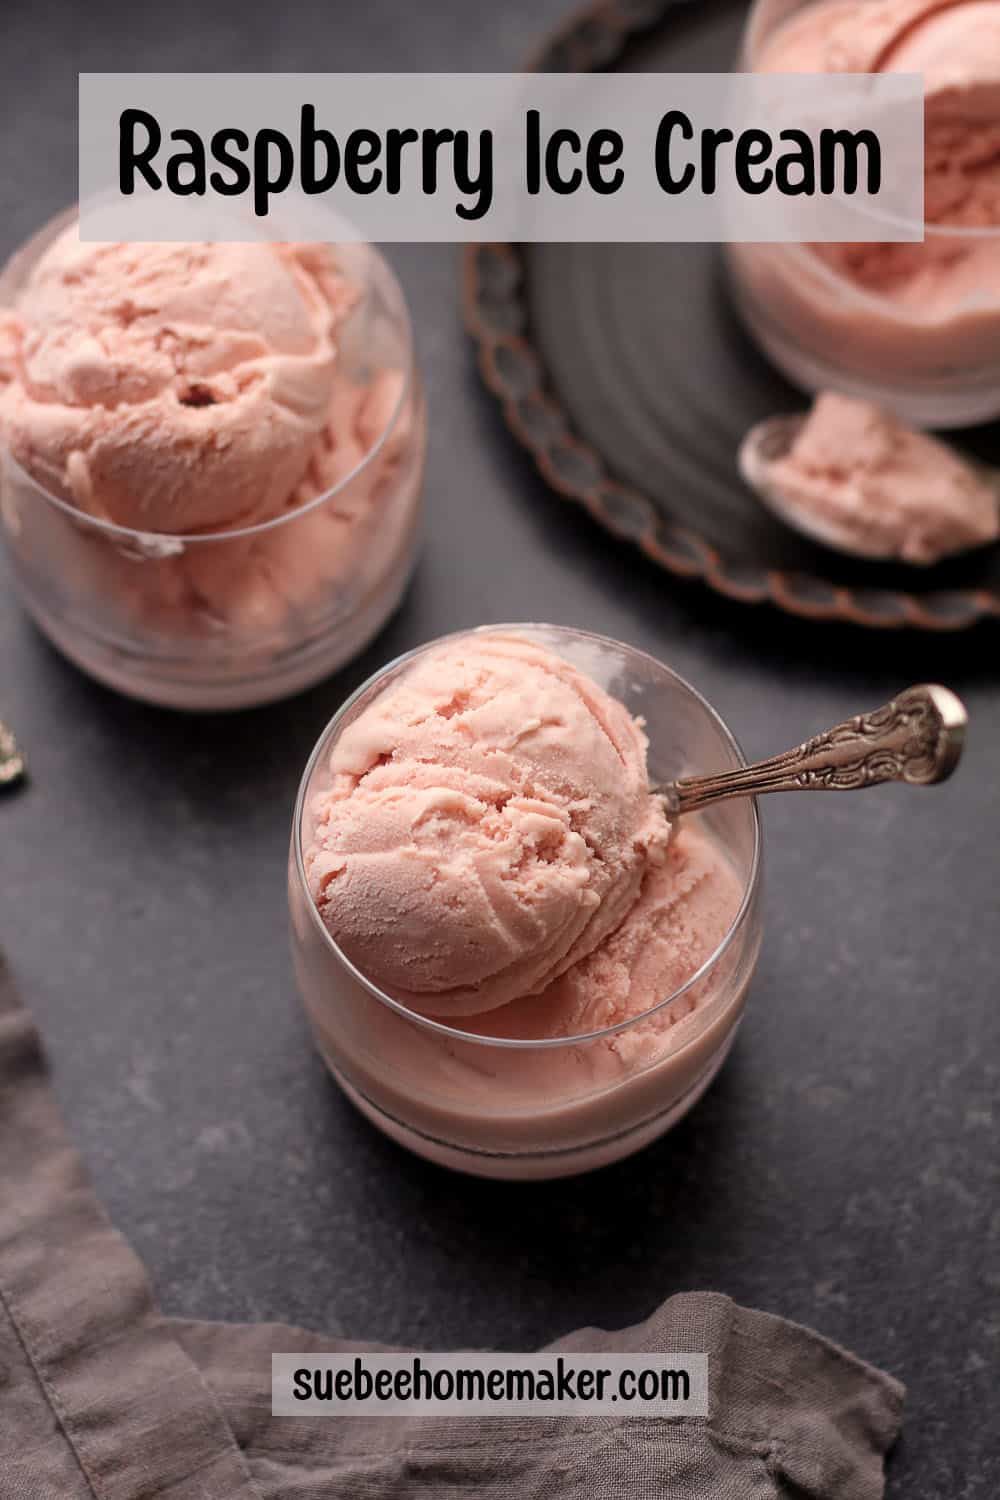
Raspberry Ice Cream combines a sweet cream base with bright and tangy raspberries. This fruity ice cream is a summertime staple during the warmer months and we highly recommend it!
Try our other KitchenAid Ice Cream Recipes next!
Creamy Raspberry Ice Cream
There is not much more to say about this ice cream flavor other than it’s UNBELIEVABLE! I’m a true fanatic and when I really love something, I want all of you to try it too.
Why This Recipe Works:
- CREAMY – Using a large percentage of heavy cream and straining the raspberry mixture makes a super creamy ice cream.
- FRUITY – We love the bright raspberry flavor of this sweet treat. Using fresh berries makes the best ice cream.
- IRRESISTIBLE – Having a container of delicious ice cream in the freezer is kinda irresistible, right? We love healthy eating PLUS a decadent dessert. Perfect match!
- SUMMERTIME STAPLE – You’ll be obsessed with this soft ice cream during summer. Pool plus barbecue plus this homemade raspberry ice cream recipe is 10/10! All are great options for memory-making.
** This recipe is for a 2-quart ice cream maker. If using a smaller size, you will need to adjust recipe quantities. Make sure your machine has enough room for the ice cream to expand as it freezes. If it doesn’t have room, it will stay in liquid form!
Ingredients needed to make the best raspberry ice cream:
These simple ingredients make the best fresh raspberry ice cream.
- Whole Raspberries – I used fresh raspberries but you could also use frozen. If using frozen, let them thaw out before using them.
- Egg Yolks – We’re using five egg yolks in this recipe.
- Granulated Sugar – Granulated sugar is needed for sweetness. You’ll add some to the tempered eggs, some to the raspberries, and then the remaining amount to the finished mixture.
- Dairy – Use both whole milk and heavy whipping cream for your ice cream base, with a greater percentage of cream for an extra creamy texture. (No skim milk please!)
- Vanilla Extract – We use Watkin’s vanilla.
- Salt – A pinch of kosher salt to balance the sweetness.
How to make Raspberry Ice Cream:
Follow our simple steps to make this ice cream recipe.
Step 1
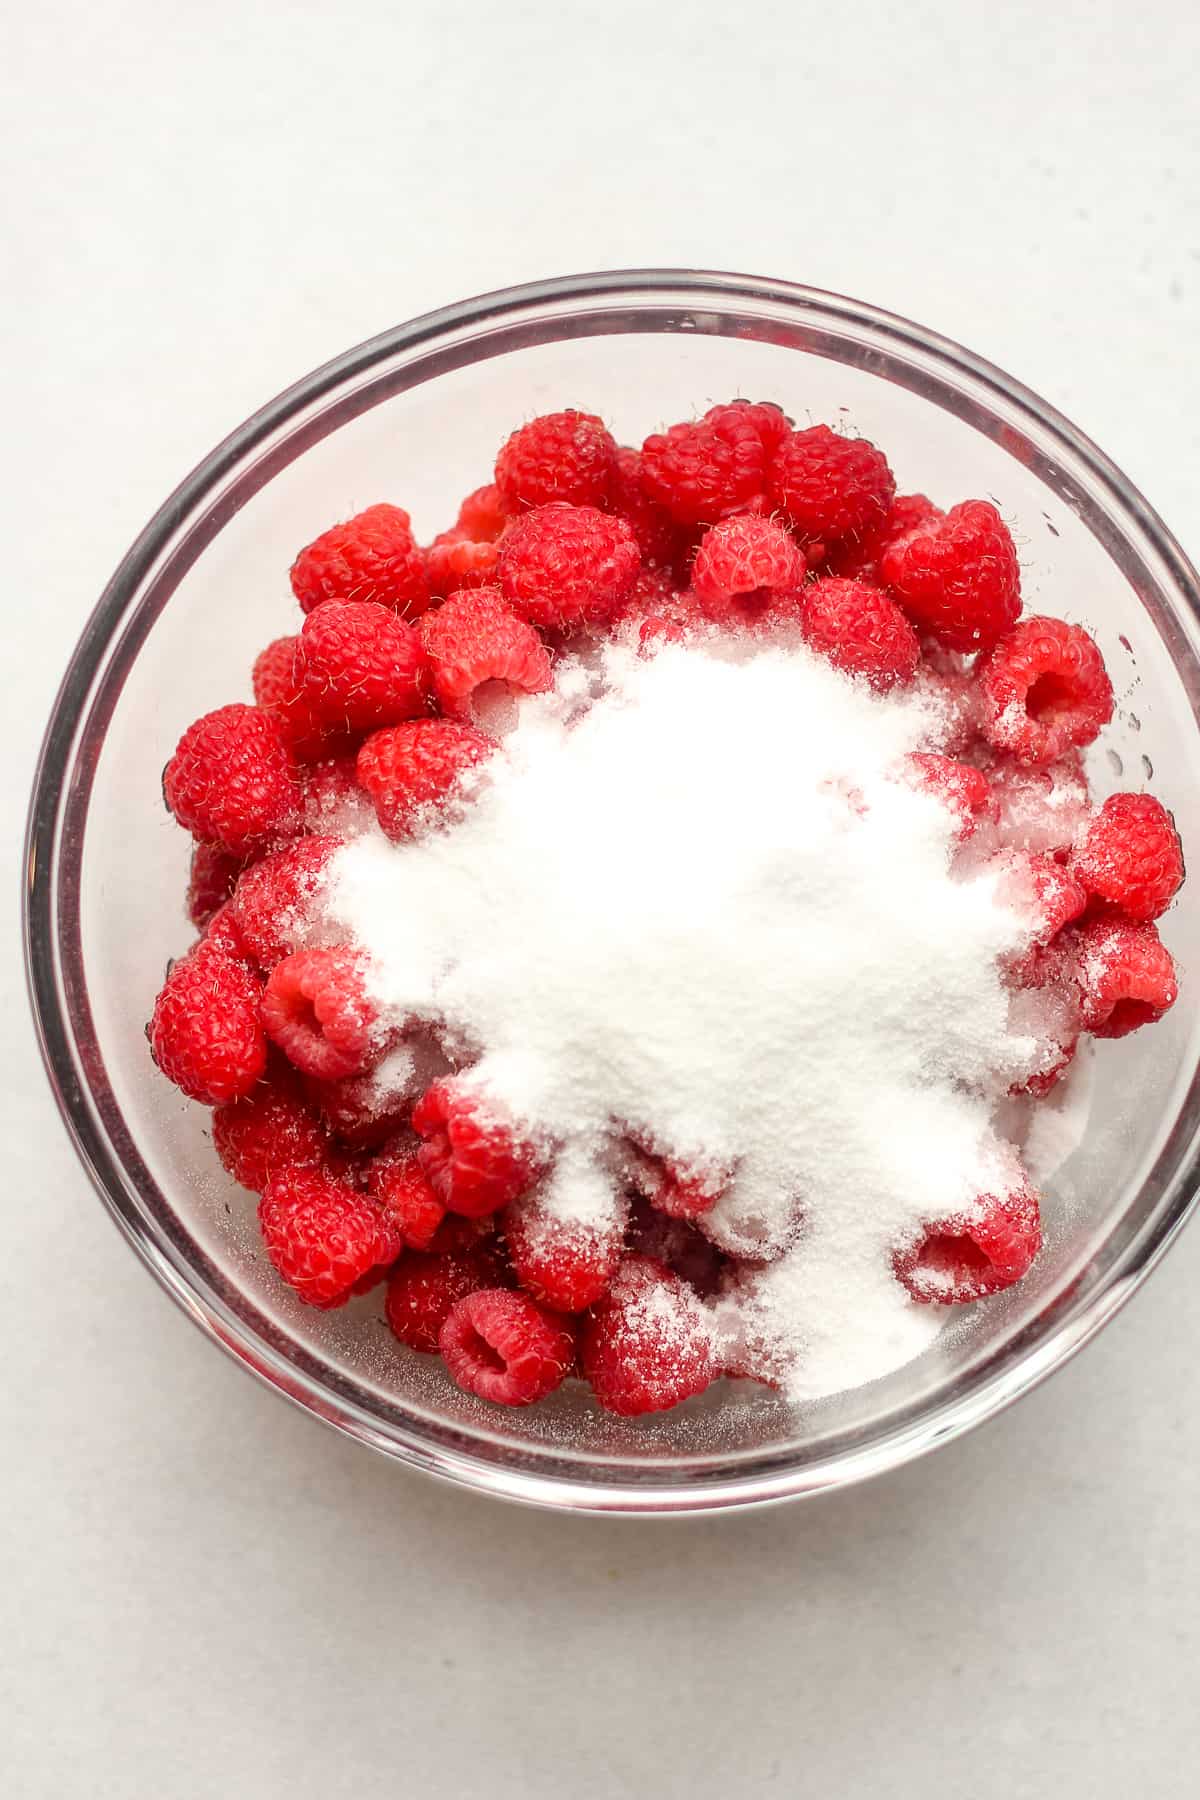
Prep raspberries. Rinse the raspberries in cold water. Strain and add to a medium bowl. Then add 1/2 cup of sugar and stir to combine. Let the raspberries sit on your countertop for about an hour, until juices form.
Step 2
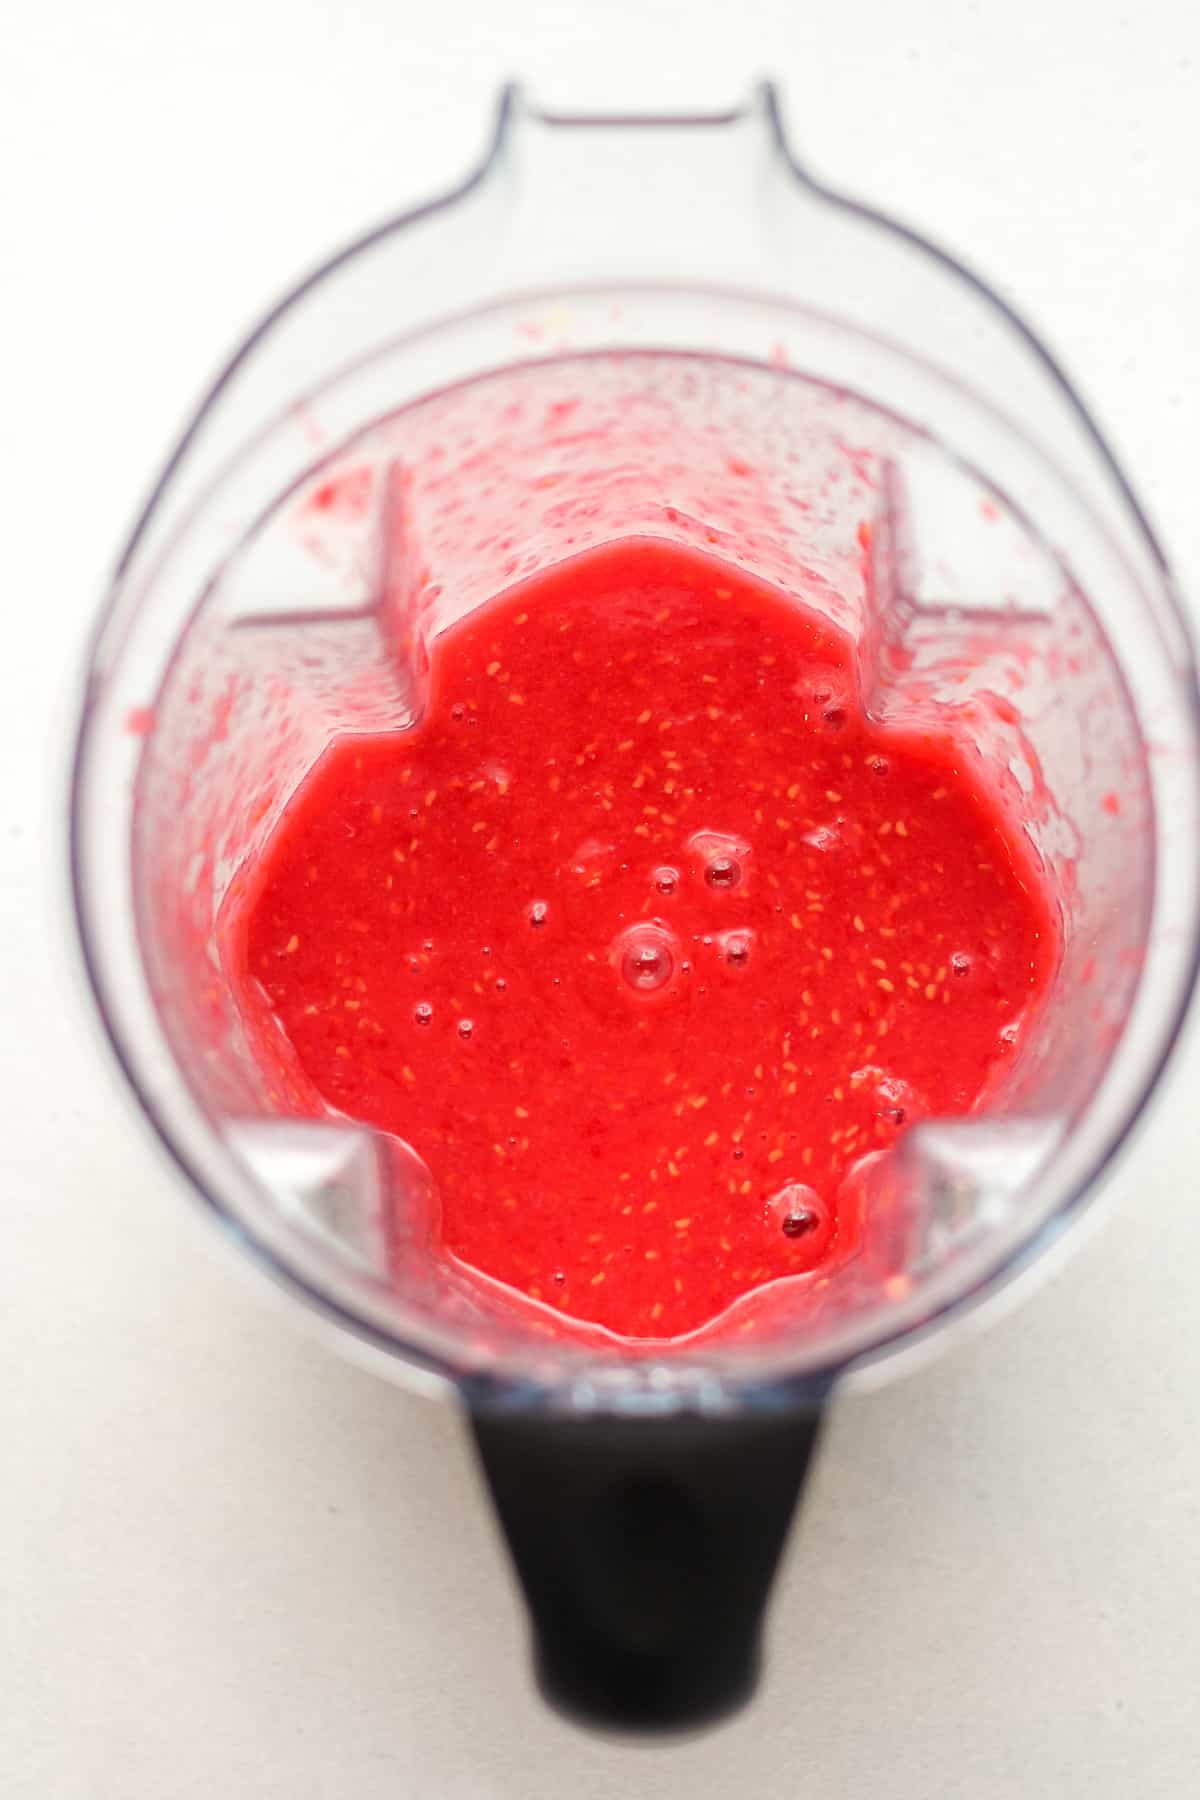
Puree raspberries. Pour the raspberries and juices into a blender. Pulse until very well pureed.

Step 3
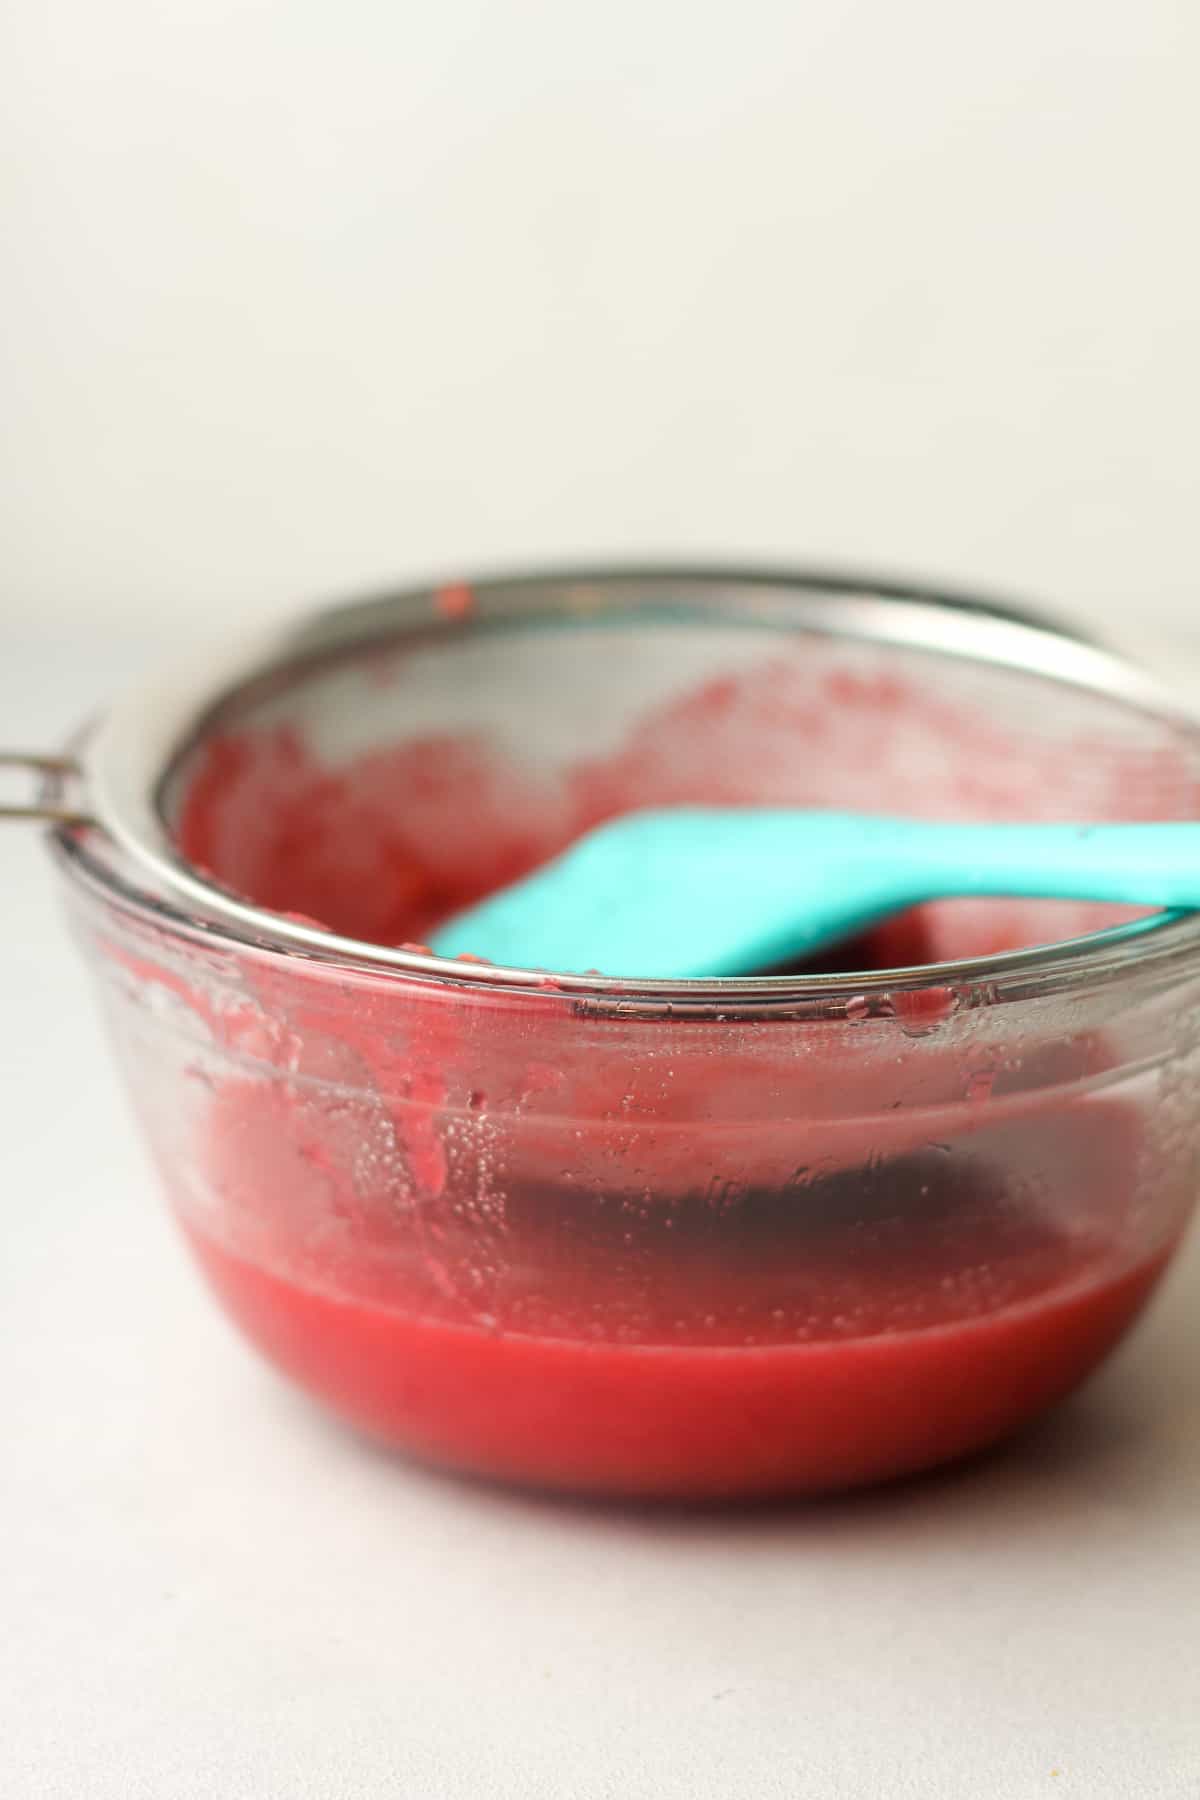
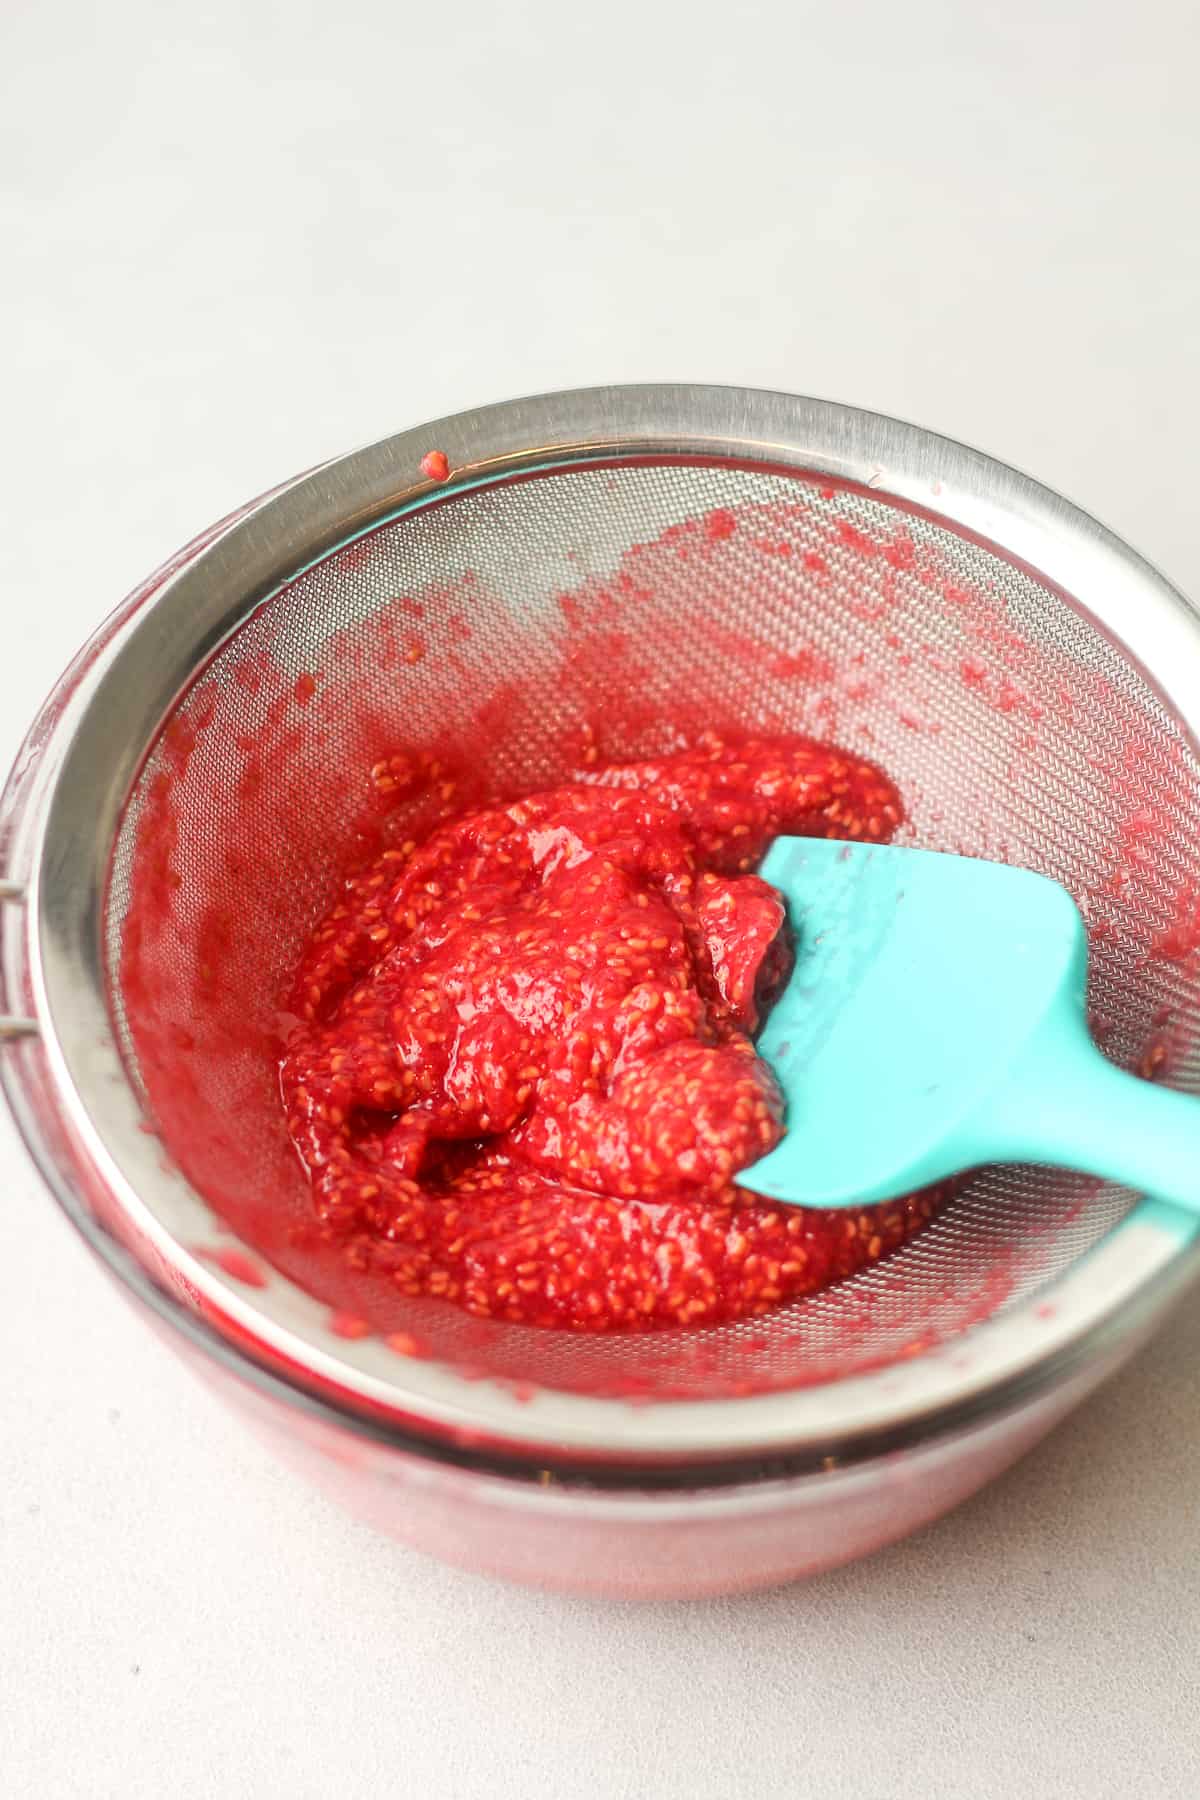
Strain raspberries. Pour the raspberry puree through a fine mesh sieve to remove the seeds. This will result in a smoother consistency (and you won’t be picking the seeds out of your teeth!)
Pro-Tip: It takes a little time to strain the raspberry juice. You’ll need to stir it around in the sieve in small increments to get it properly strained.
Step 4
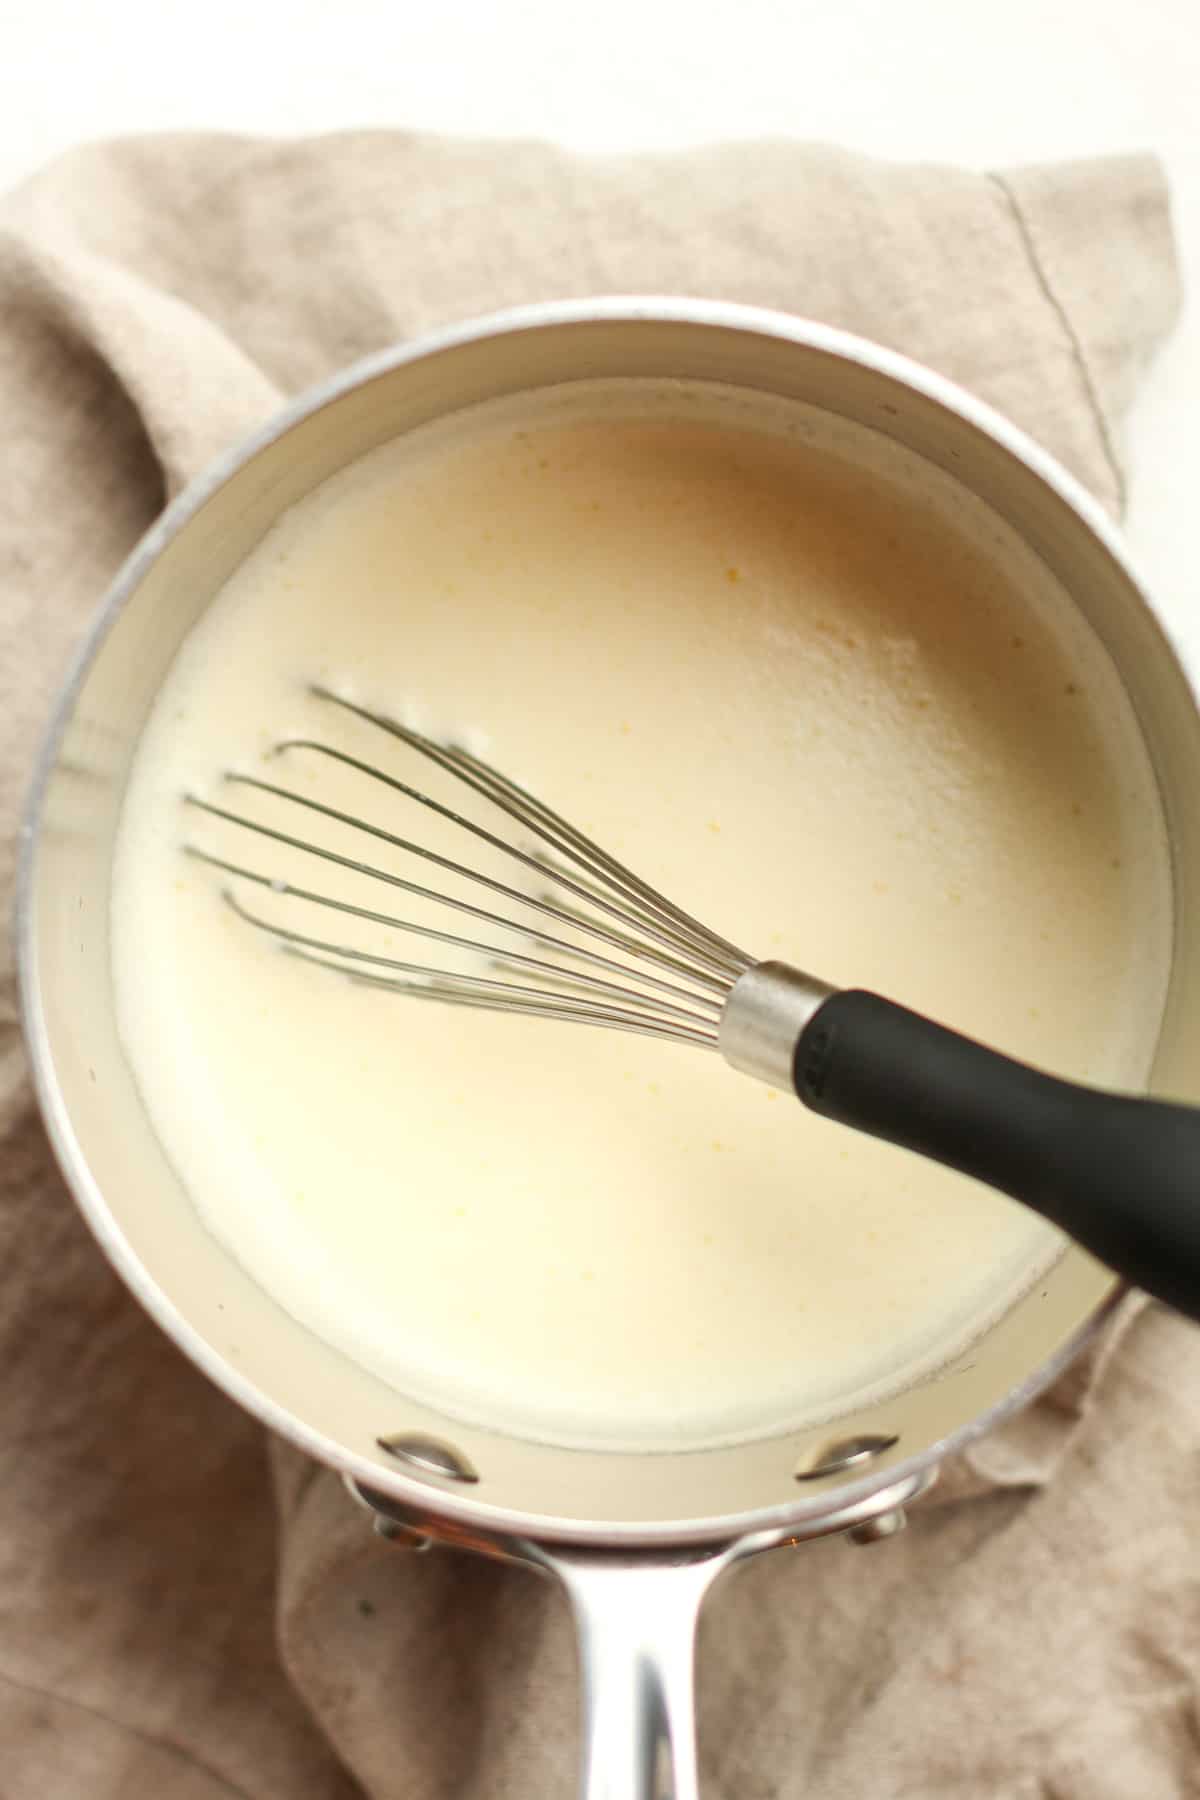
Temper eggs. Whisk egg yolks and 1/4 cup of sugar in a mixing bowl. Add the whole milk to a saucepan and heat over medium heat to a temperature of 165 degrees. (Do not boil.)
When the milk is hot, pour 1/4 cup at a time into the eggs/sugar mixture, whisking constantly. Then pour the egg mixture back into the pan and heat again to 165 degrees.
NOTE: It’s worth noting that the use of egg yolks in ice cream is not mandatory, and there are eggless ice cream recipes available. However, omitting egg yolks can result in a slightly different texture and flavor profile.

Step 5
Add remaining ingredients. Pour the hot mixture into an 8-cup measuring cup or large bowl. Let it cool slightly and then add the remaining 3/4 cup of sugar, the heavy cream, and vanilla extract. Whisk well.
Step 6
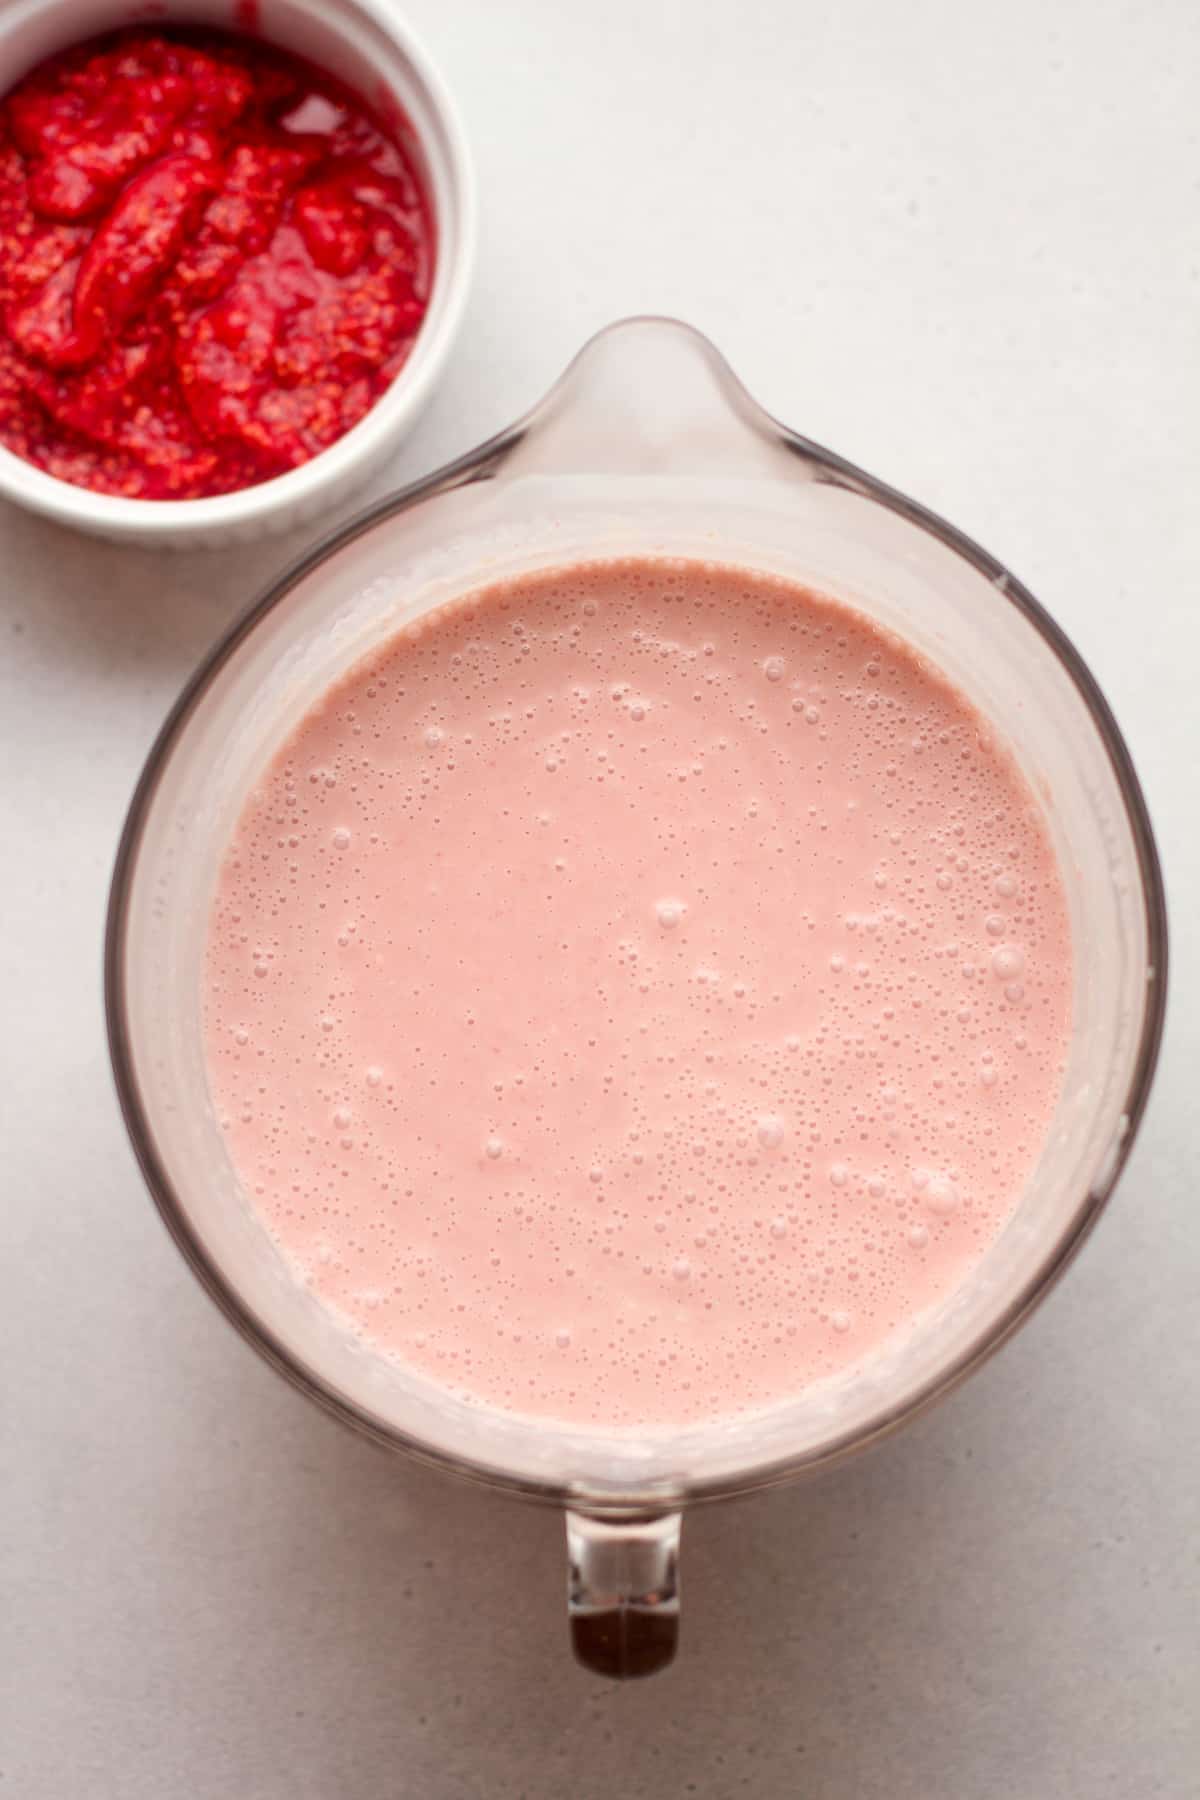
Chill. Pour the pureed raspberries into the ice cream mixture and whisk to combine. Cover the liquid mixture with plastic wrap, and refrigerate for at least four hours before churning. The mixture should be VERY COLD!
Step 7
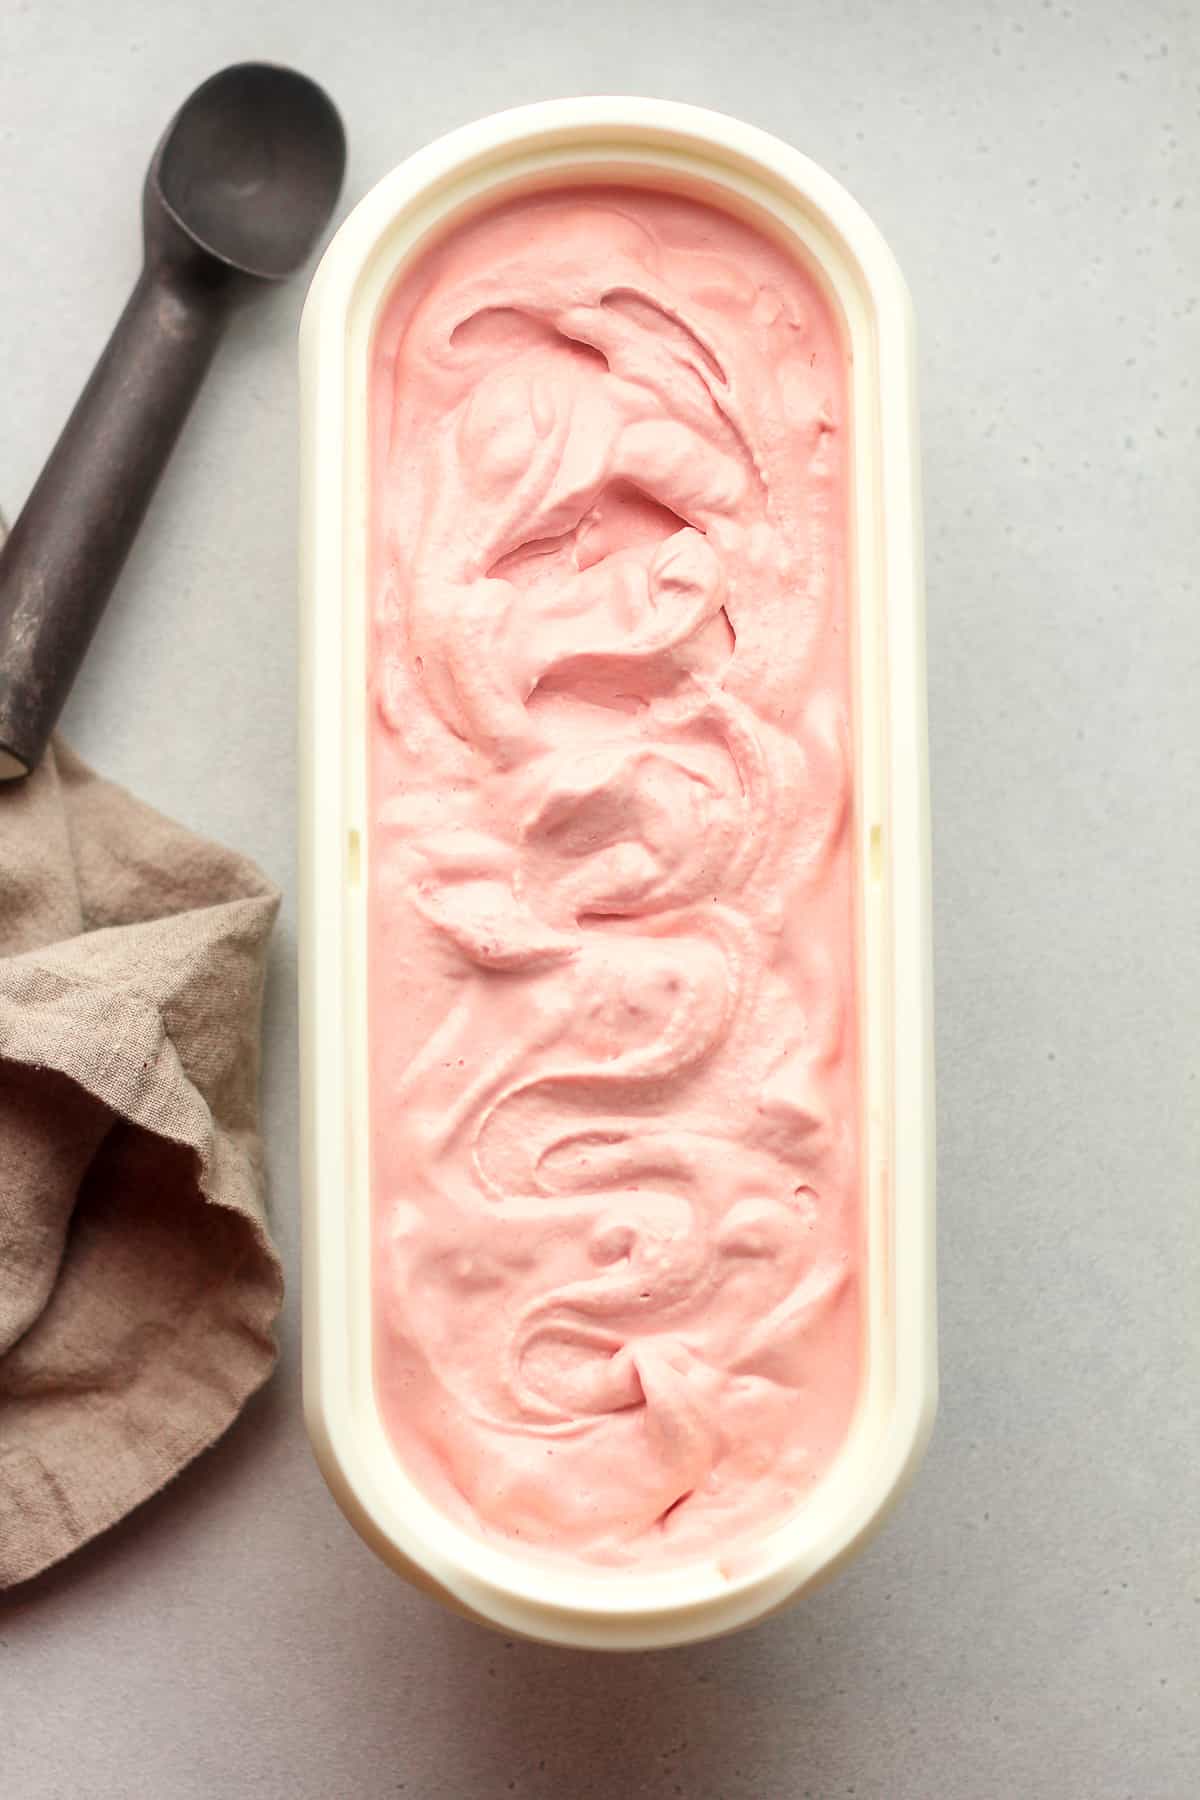
Churn ice cream. Start your 2-quart ice cream maker (I use a KitchenAid Attachment – linked below.) and pour the chilled ice cream mixture into the ice cream maker bowl (the attachment) while it’s running. Let the mixer churn until the ice cream sets.
You’ll see the ice cream start to thicken and rise toward the top of the bowl. The mixer may slow down slightly. (This should take 25-30 minutes or so.)
Step 8
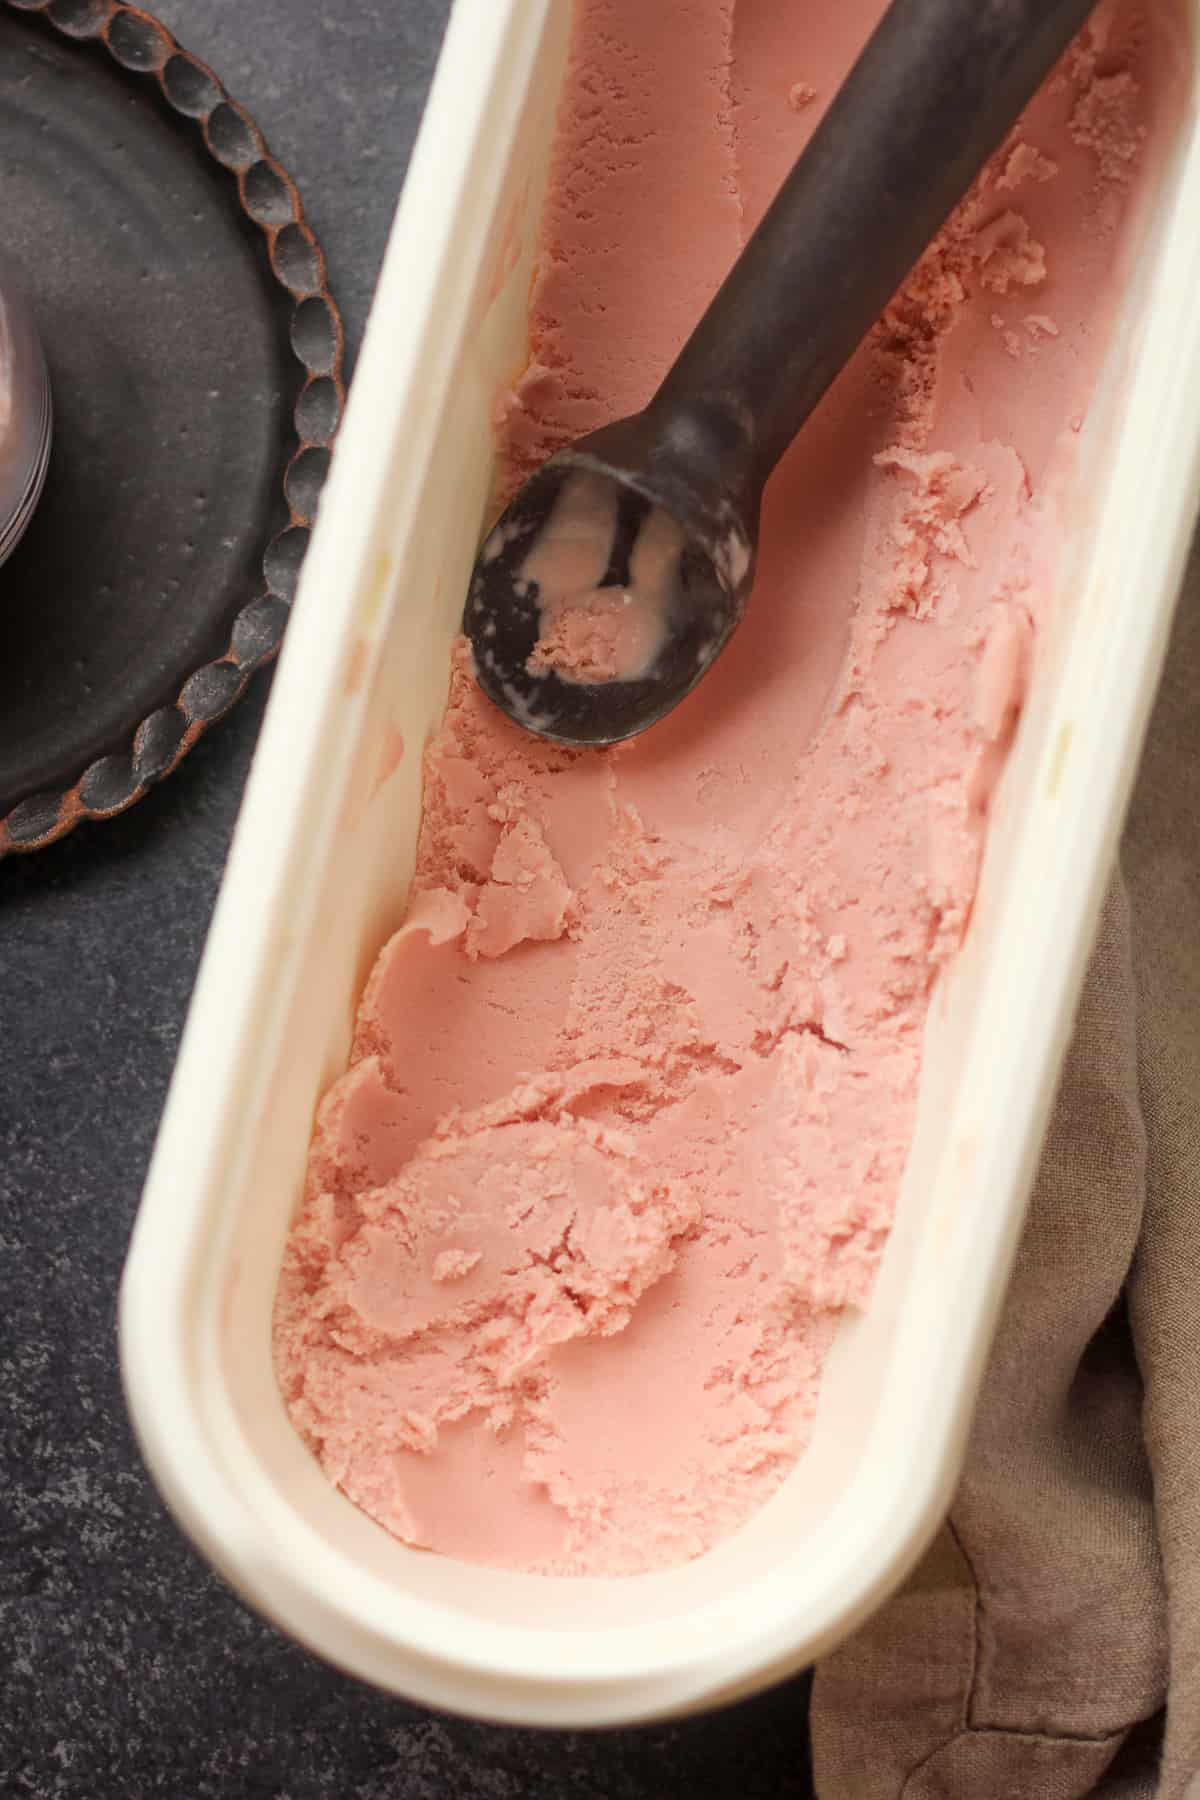
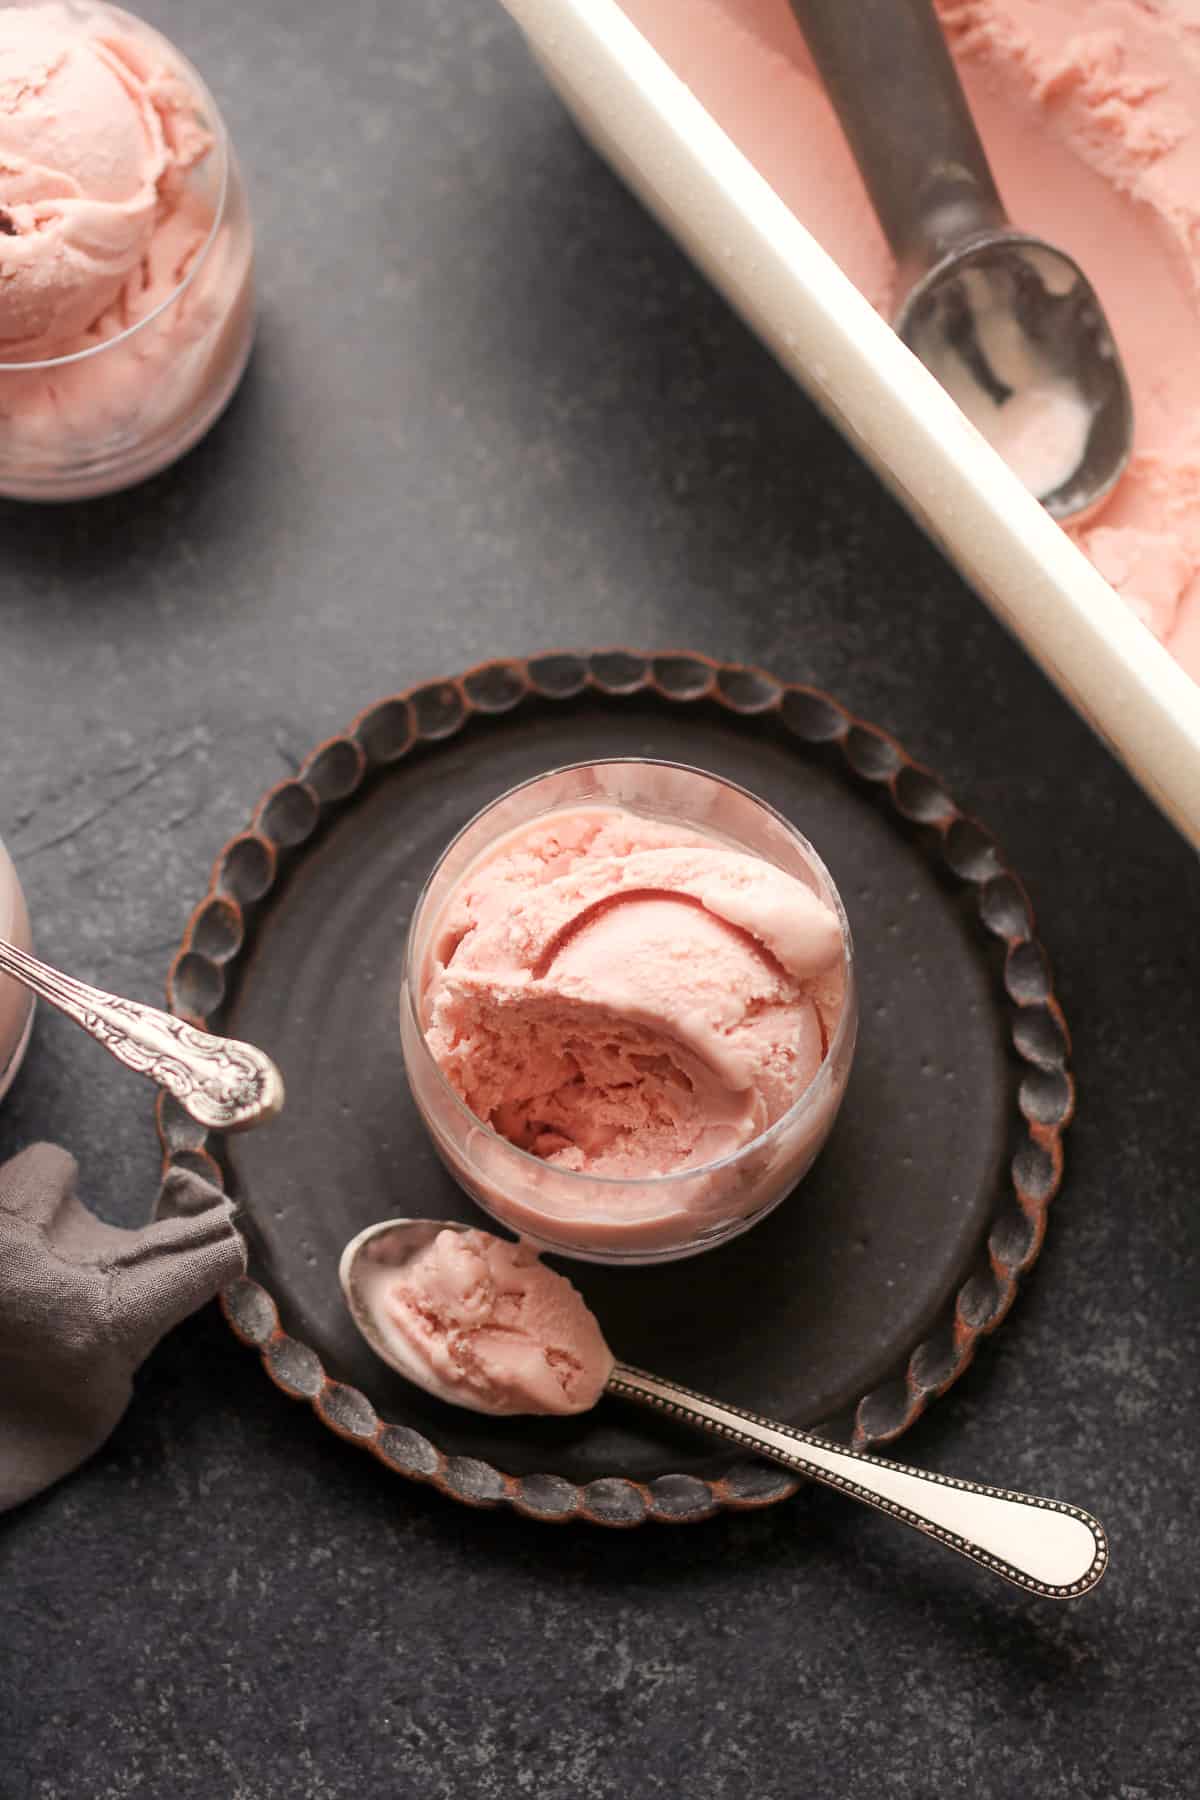
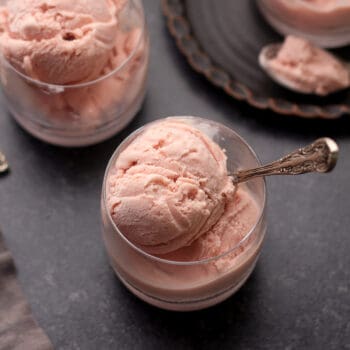
Freeze. Transfer churned ice cream to an airtight container (any shallow container works well). Place container in the freezer to set up further. Initially, the ice cream will have the consistency of soft-serve ice cream, so freezing it will firm it up.
Step 9
Serve. Serve the ice cream with some extra fresh raspberries, if desired!
Other Ice Cream Recipes:
We love using our KitchenAid Attachment to make all of the delicious recipes.
Recipe FAQs:
The egg yolks contain natural emulsifiers, such as lecithin, which help create a smooth and creamy texture in the ice cream. They also add richness and a luxurious mouthfeel to the final product, creating custard-based ice cream.
Raspberries contain small seeds that can add a slightly gritty texture to the ice cream if left unstrained. Some people enjoy the added texture and consider it part of the raspberry experience. However, if you prefer a smoother and more refined texture, straining the puree can help remove the seeds.
Tips for using a KitchenAid Ice Cream Attachment:
- Freeze the bowl ahead of time: The Kitchenaid ice cream maker attachment comes with a freezer bowl that needs to be frozen before use. Make sure to freeze it for at least 15 hours prior to making your ice cream.
- Chill your ingredients: Before making your ice cream mixture, make sure to chill all the ingredients, including the milk, cream, and any mix-ins you plan to use. This will help the mixture freeze faster and prevent ice crystals from forming.
- Don’t overfill the bowl: Make sure not to overfill the freezer bowl with the ice cream mixture, as this can prevent it from churning properly. Leave about 1-2 inches of space at the top.
- Start the mixer on a low speed: When you’re ready to start churning your ice cream, begin with the mixer on a low speed. You can gradually increase the speed as the mixture thickens.
- Be patient: Churning ice cream can take anywhere from 20 to 40 minutes, depending on the recipe and the consistency you’re looking for. Be patient and don’t be tempted to stop the mixer too early, as this can result in a soupy texture.
- Add mix-ins at the end: If you plan to add any mix-ins, such as chocolate chips or nuts, wait until the ice cream is almost fully churned before adding them in. This will ensure that they’re evenly distributed throughout the mixture.
- Transfer to a container and freeze: Once the ice cream is fully churned, transfer it to a freezer-safe container and freeze it for at least 4 hours, or until it’s firm enough to scoop. Enjoy your homemade ice cream!
xoxo ~Sue
Raspberry Ice Cream Recipe
Ingredients
- 1 pound fresh raspberries
- 1/2 cup granulated sugar
- 5 large egg yolks
- 1 cup granulated sugar – divided
- 1 ¼ cups whole milk
- 2 cups heavy cream
- 1-2 Tablespoons vanilla extract – we use Watkin's vanilla
- a pinch of salt
Instructions
- Prep raspberries. Rinse the raspberries in cold water. Strain and add to a medium bowl. Then add 1/2 cup of sugar and stir to combine. Let the raspberries sit on your countertop for about an hour, until juices form.1 pound fresh raspberries, 1/2 cup granulated sugar
- Puree raspberries. Pour the raspberries and juices into a blender. Pulse until very well pureed.
- Strain raspberries. Pour the raspberry puree through a fine mesh sieve to remove the seeds. This will result in a smoother consistency (and you won’t be picking the seeds out of your teeth!)
- Temper eggs. Whisk egg yolks and 1/4 cup of sugar in a mixing bowl. Add the whole milk to a saucepan and heat over medium heat to a temperature of 165 degrees. (Do not boil.) When the milk is hot, drizzle about one cup of it into the eggs/sugar mixture, whisking constantly. Then pour the egg mixture back into the pan plus the remaining 3/4 cup sugar, and heat again to 165 degrees.5 large egg yolks, 1 cup granulated sugar, 1 ¼ cups whole milk
- Add remaining ingredients. Pour the hot mixture into an 8-cup measuring cup or large bowl. Let it cool slightly and then add the heavy cream, vanilla extract, and a pinch of salt. Whisk well.2 cups heavy cream, 1-2 Tablespoons vanilla extract, a pinch of salt
- Chill. Pour the pureed raspberries into the ice cream mixture and whisk to combine. Cover the liquid mixture with plastic wrap, and refrigerate for at least four hours before churning. The mixture should be VERY COLD!
- Churn ice cream. Start your 2-quart ice cream maker (I use a KitchenAid Attachment – linked below.) and pour the chilled ice cream mixture into the ice cream maker bowl (the attachment) while it’s running. Let the mixer churn until the ice cream sets. You’ll see the ice cream start to thicken and rise toward the top of the bowl. The mixer may slow down slightly. (This should take 25-30 minutes or so.)
- Freeze. Transfer churned ice cream to an airtight container (any shallow container works well). Place container in the freezer to set up further. Initially, the ice cream will have the consistency of soft-serve ice cream, so freezing it will firm it up.
- Serve. Serve the ice cream with some extra fresh raspberries, if desired!
This ice cream is a was pain-staking to make, but tastes FANTASTIC. In Step 1, I would replace the word “strain” with “drain”, as I thought that was the stage I was supposed to be trying to remove the seeds = very time-consuming! In Step 3, the sieve needs to be VERY fine to catch the seeds. I used frozen raspberries, and it turned out fine. i wonder what a squirt of lemon would taste like in it.
I’m glad you enjoyed, Karen!
My oldest daughter and I made this for Valentine’s Day and had so much fun with it, we added some heart sprinkles too!
I love this Josh! 😍
Hello! So is it chill time of 2 hours or 4 hours? At the top, you have 2 hours, but in the instructions, you say, “at least four hours”.
Chill for about four hours OR until very cold.
I just made this recipe and it is amazing. It’s very creamy and delicious.
So glad to hear this Felicia!
All of your ice cream recipes are on brand! Love them! The Watkins vanilla is next level – thanks for the tip.