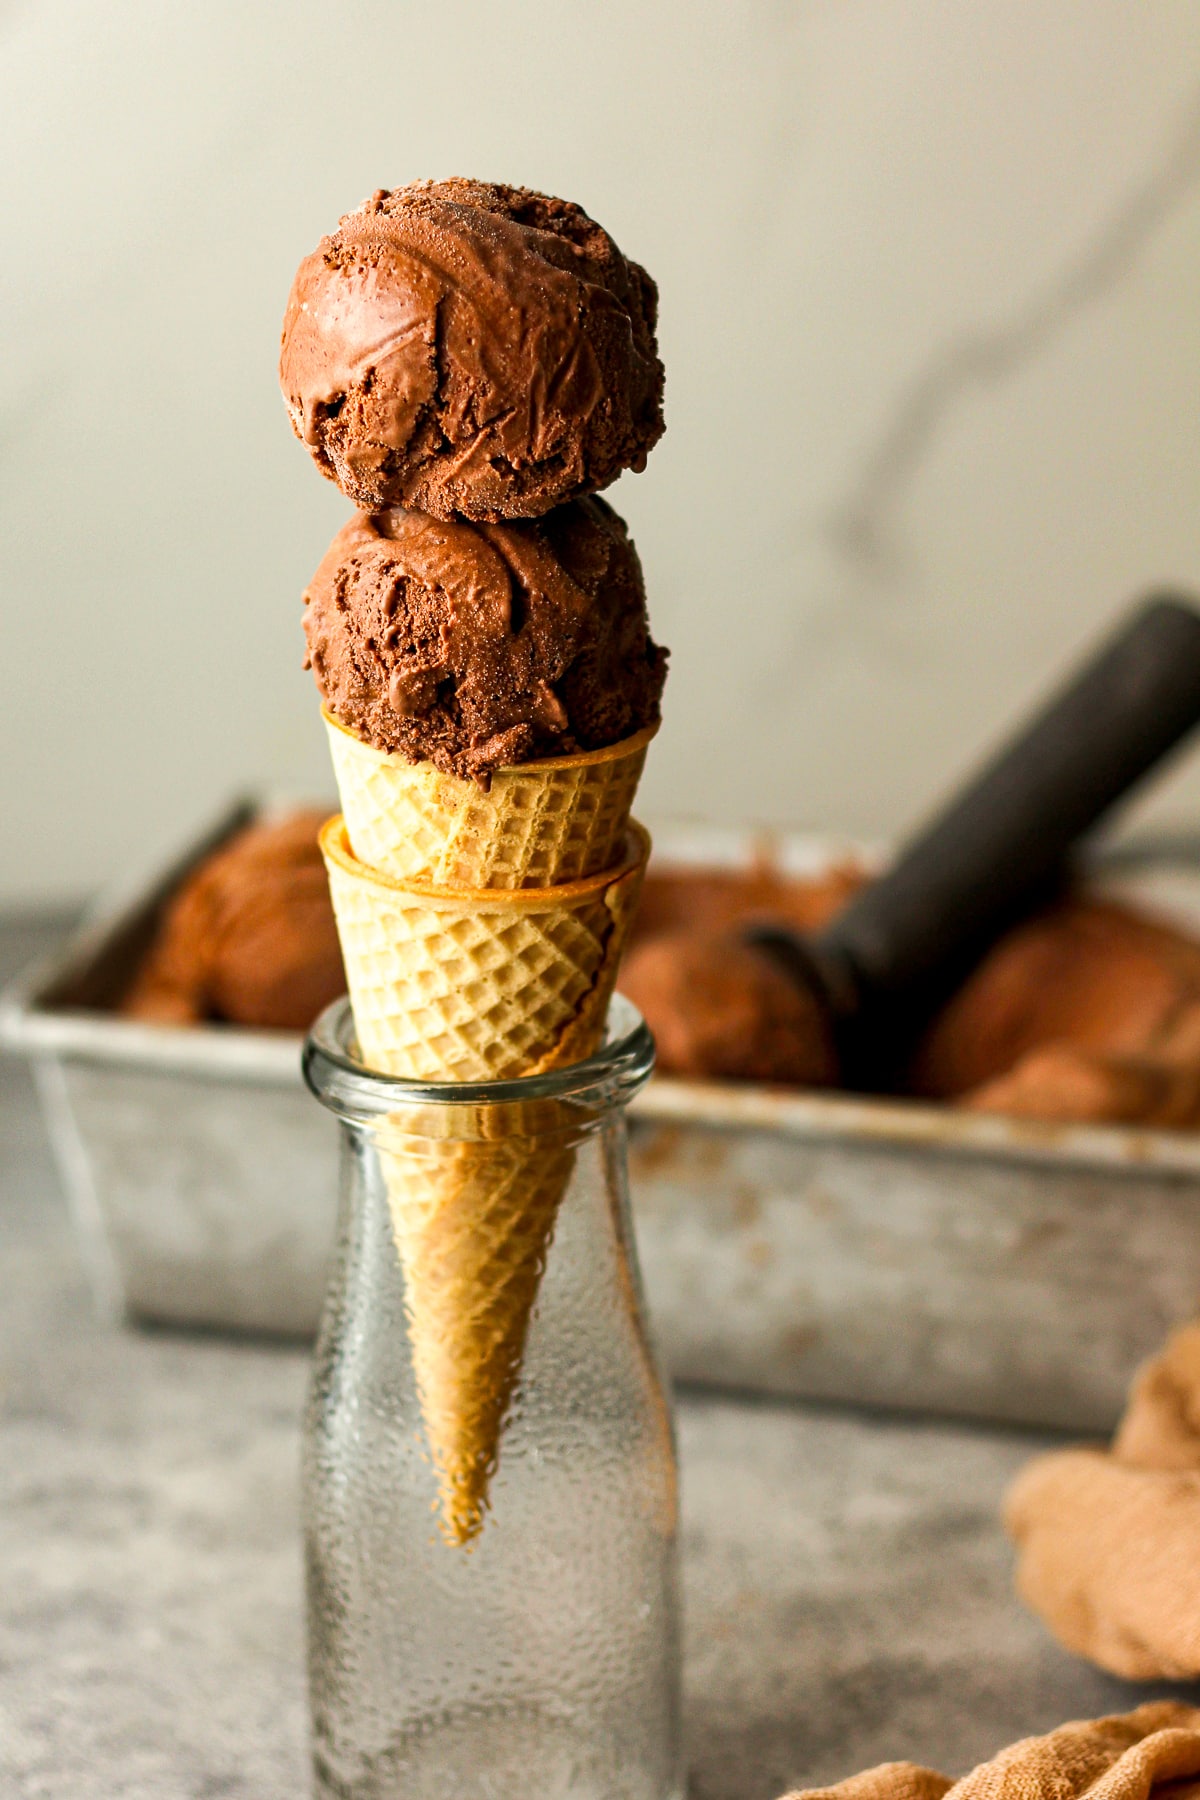
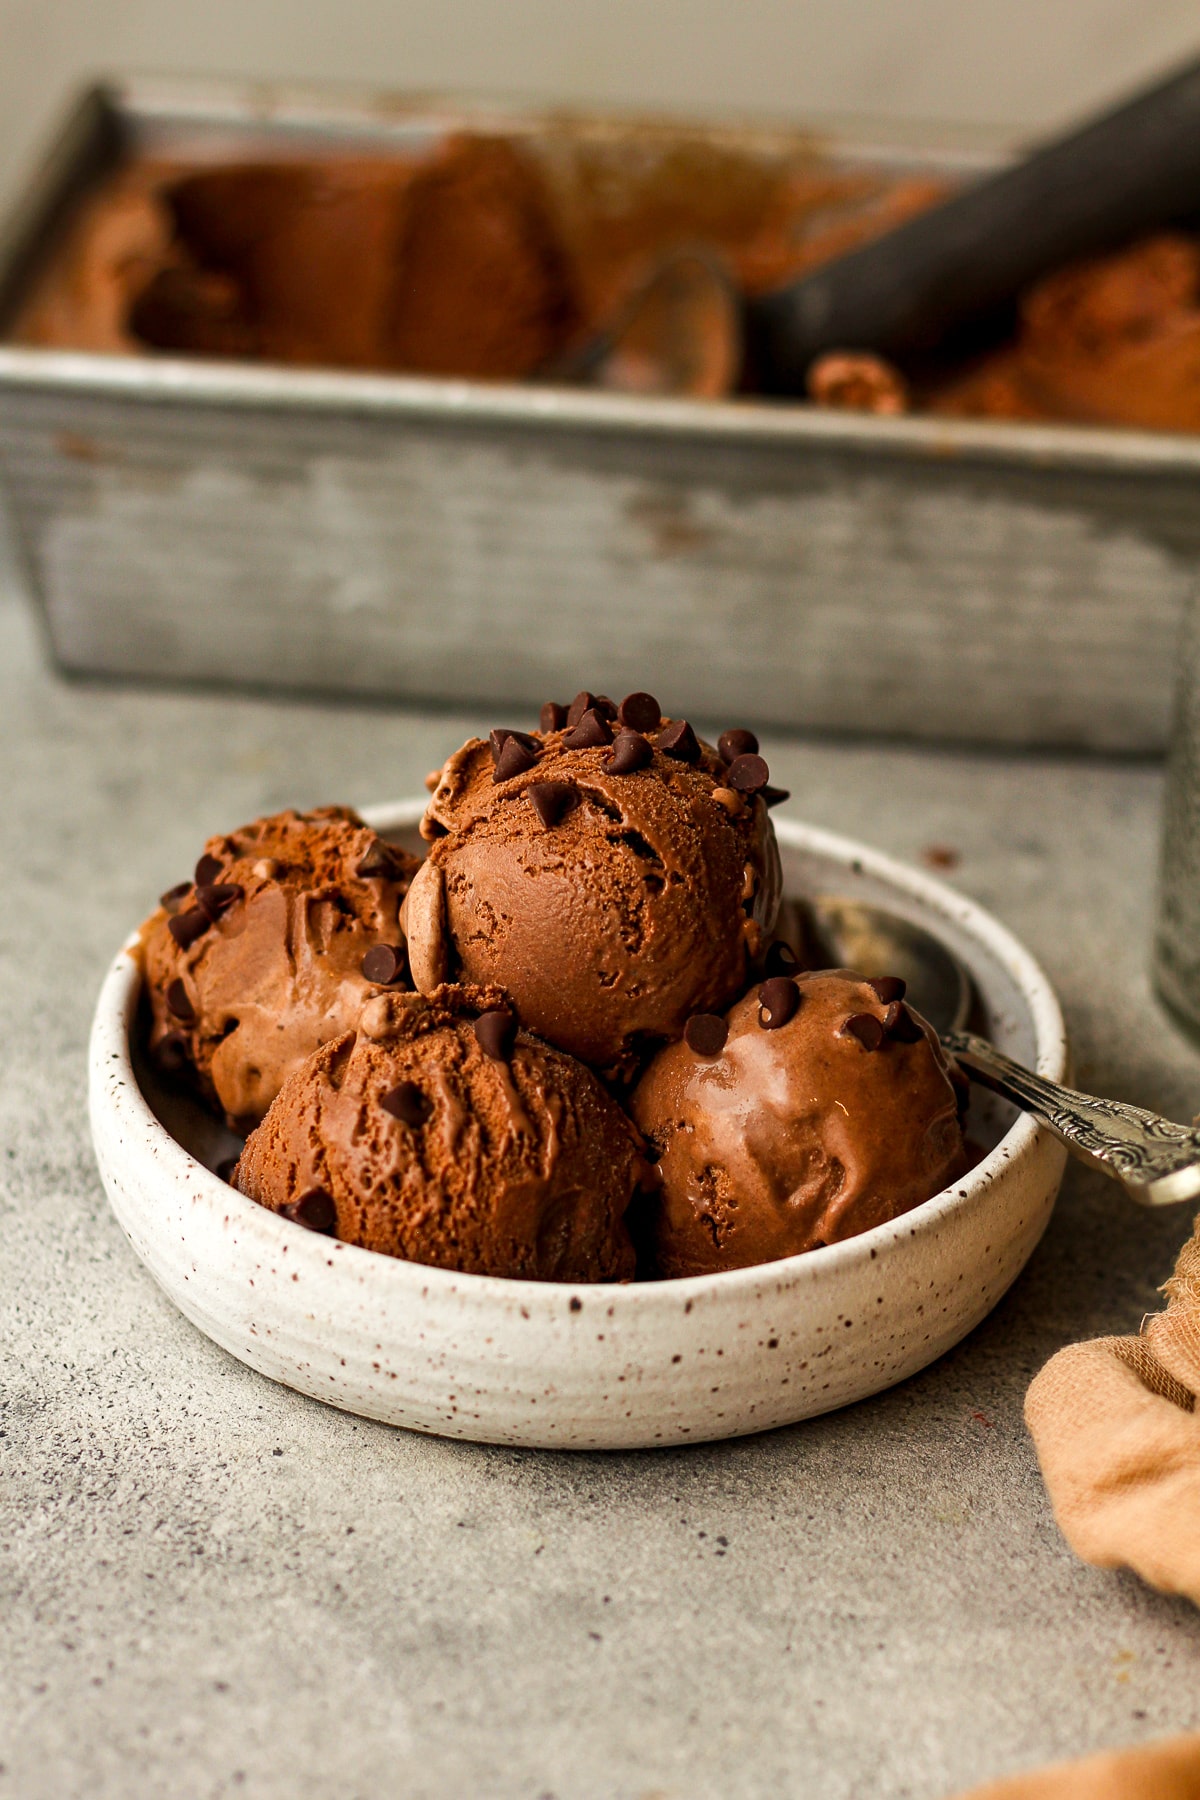
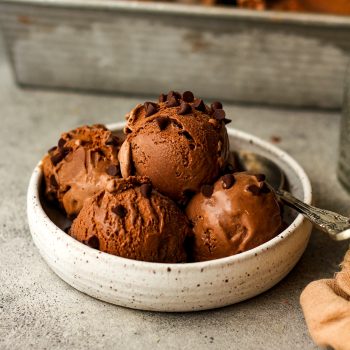
Dark Chocolate Ice Cream
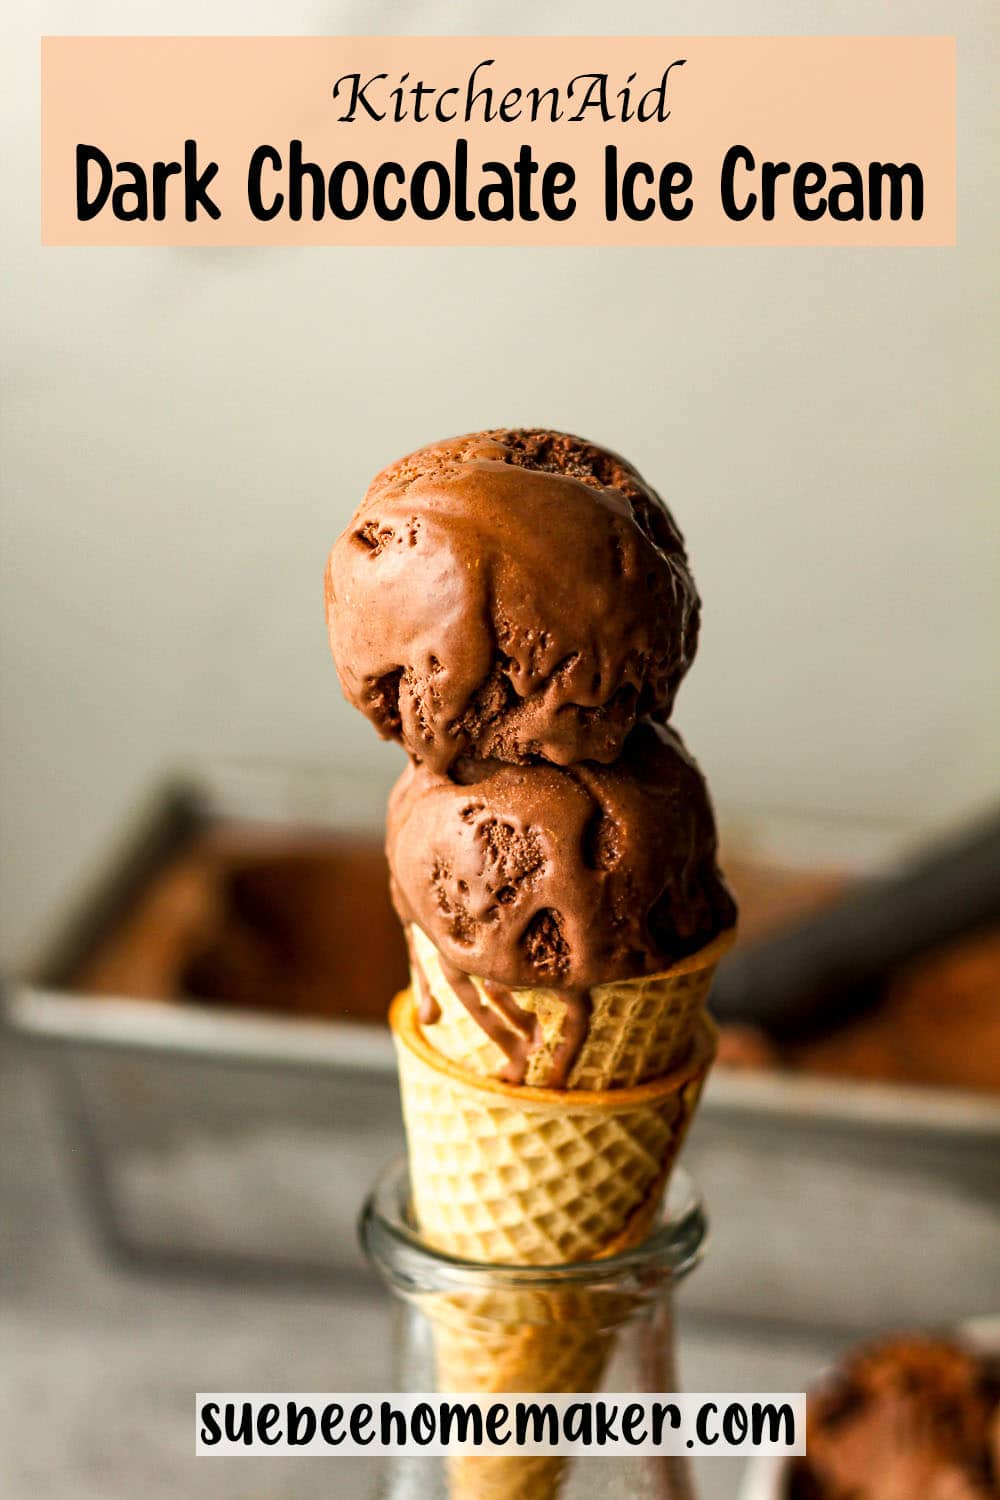
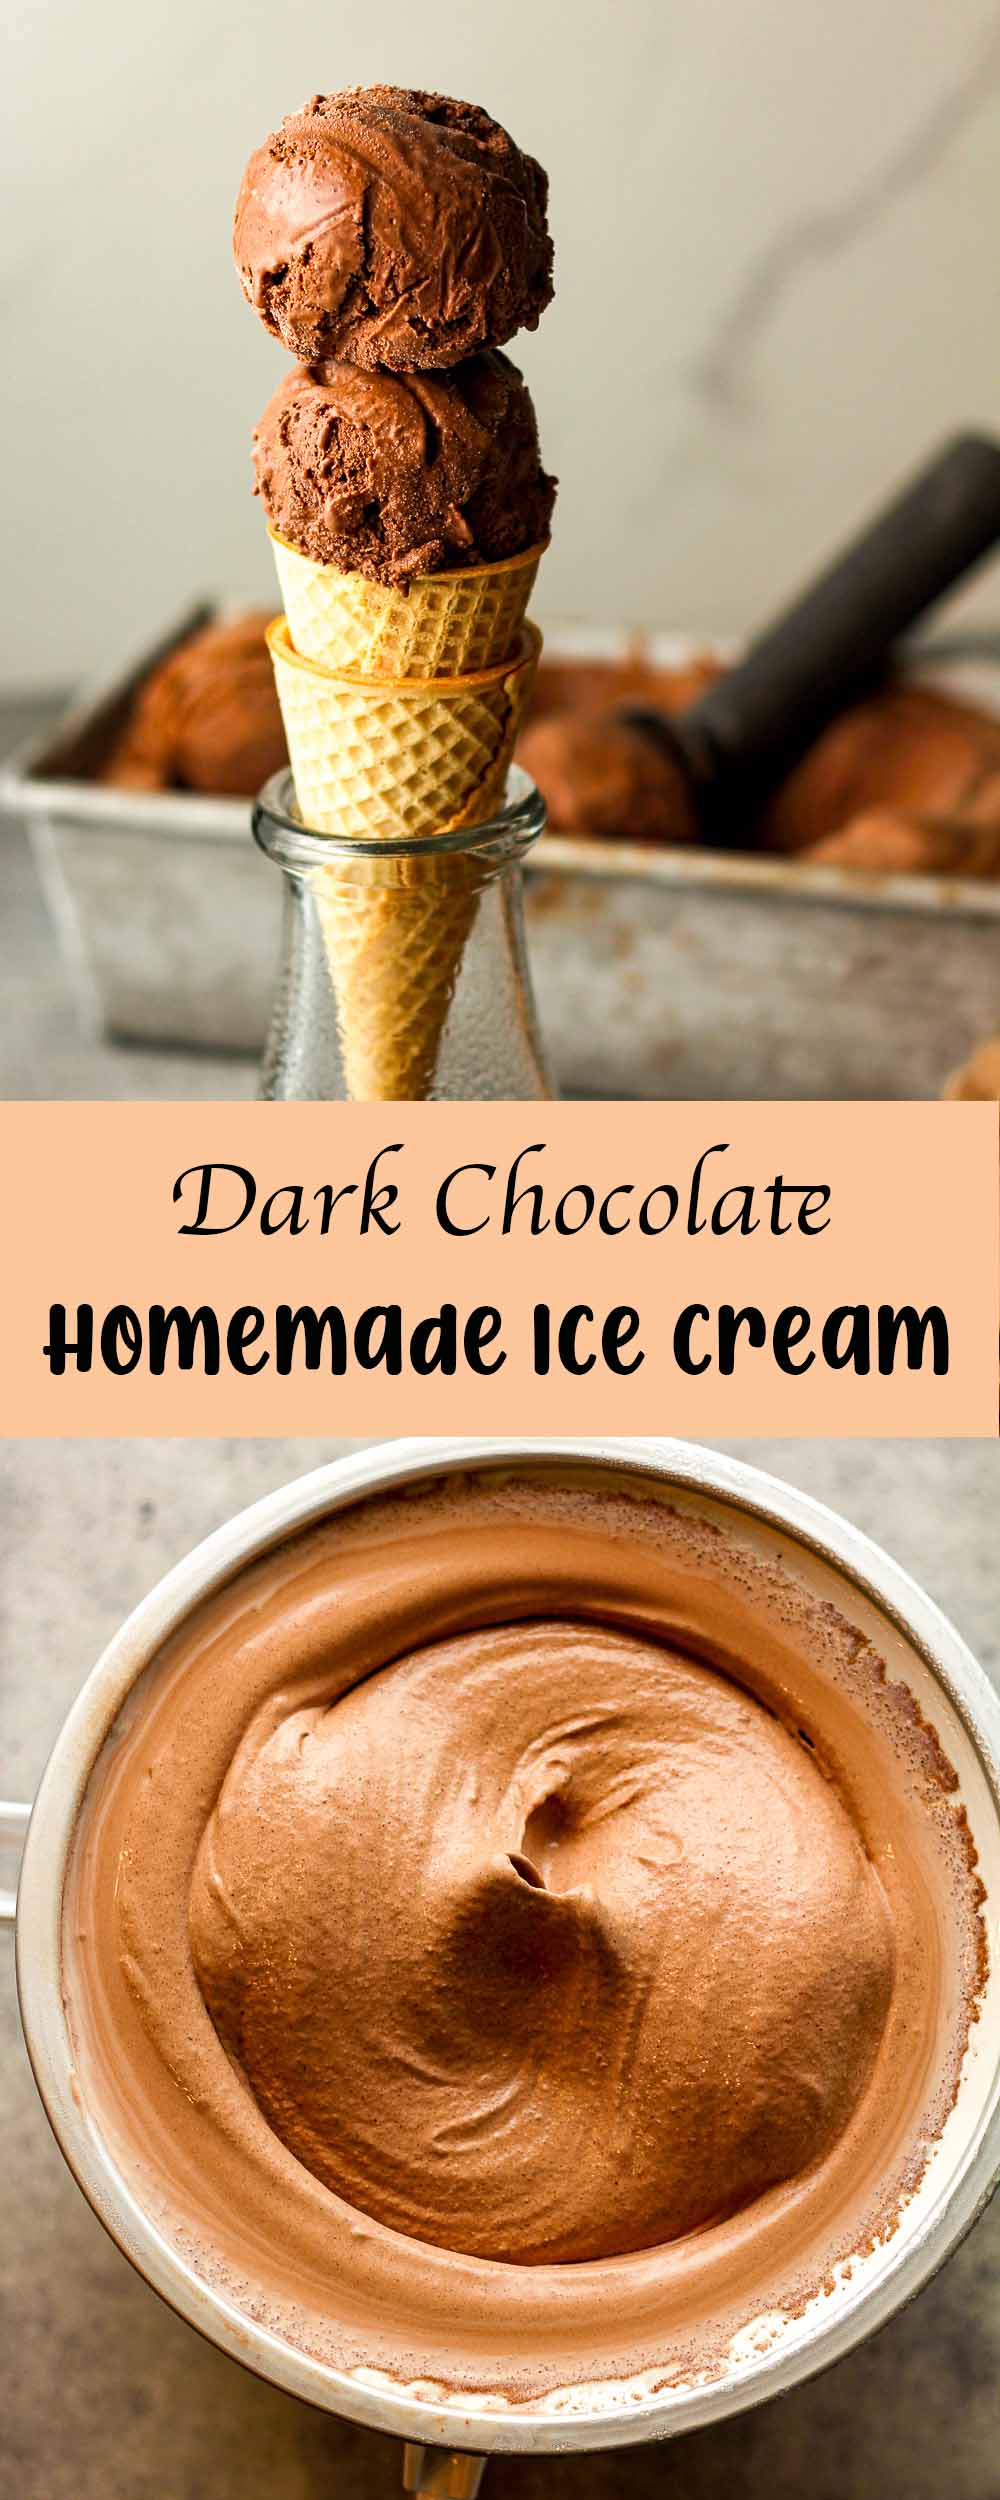
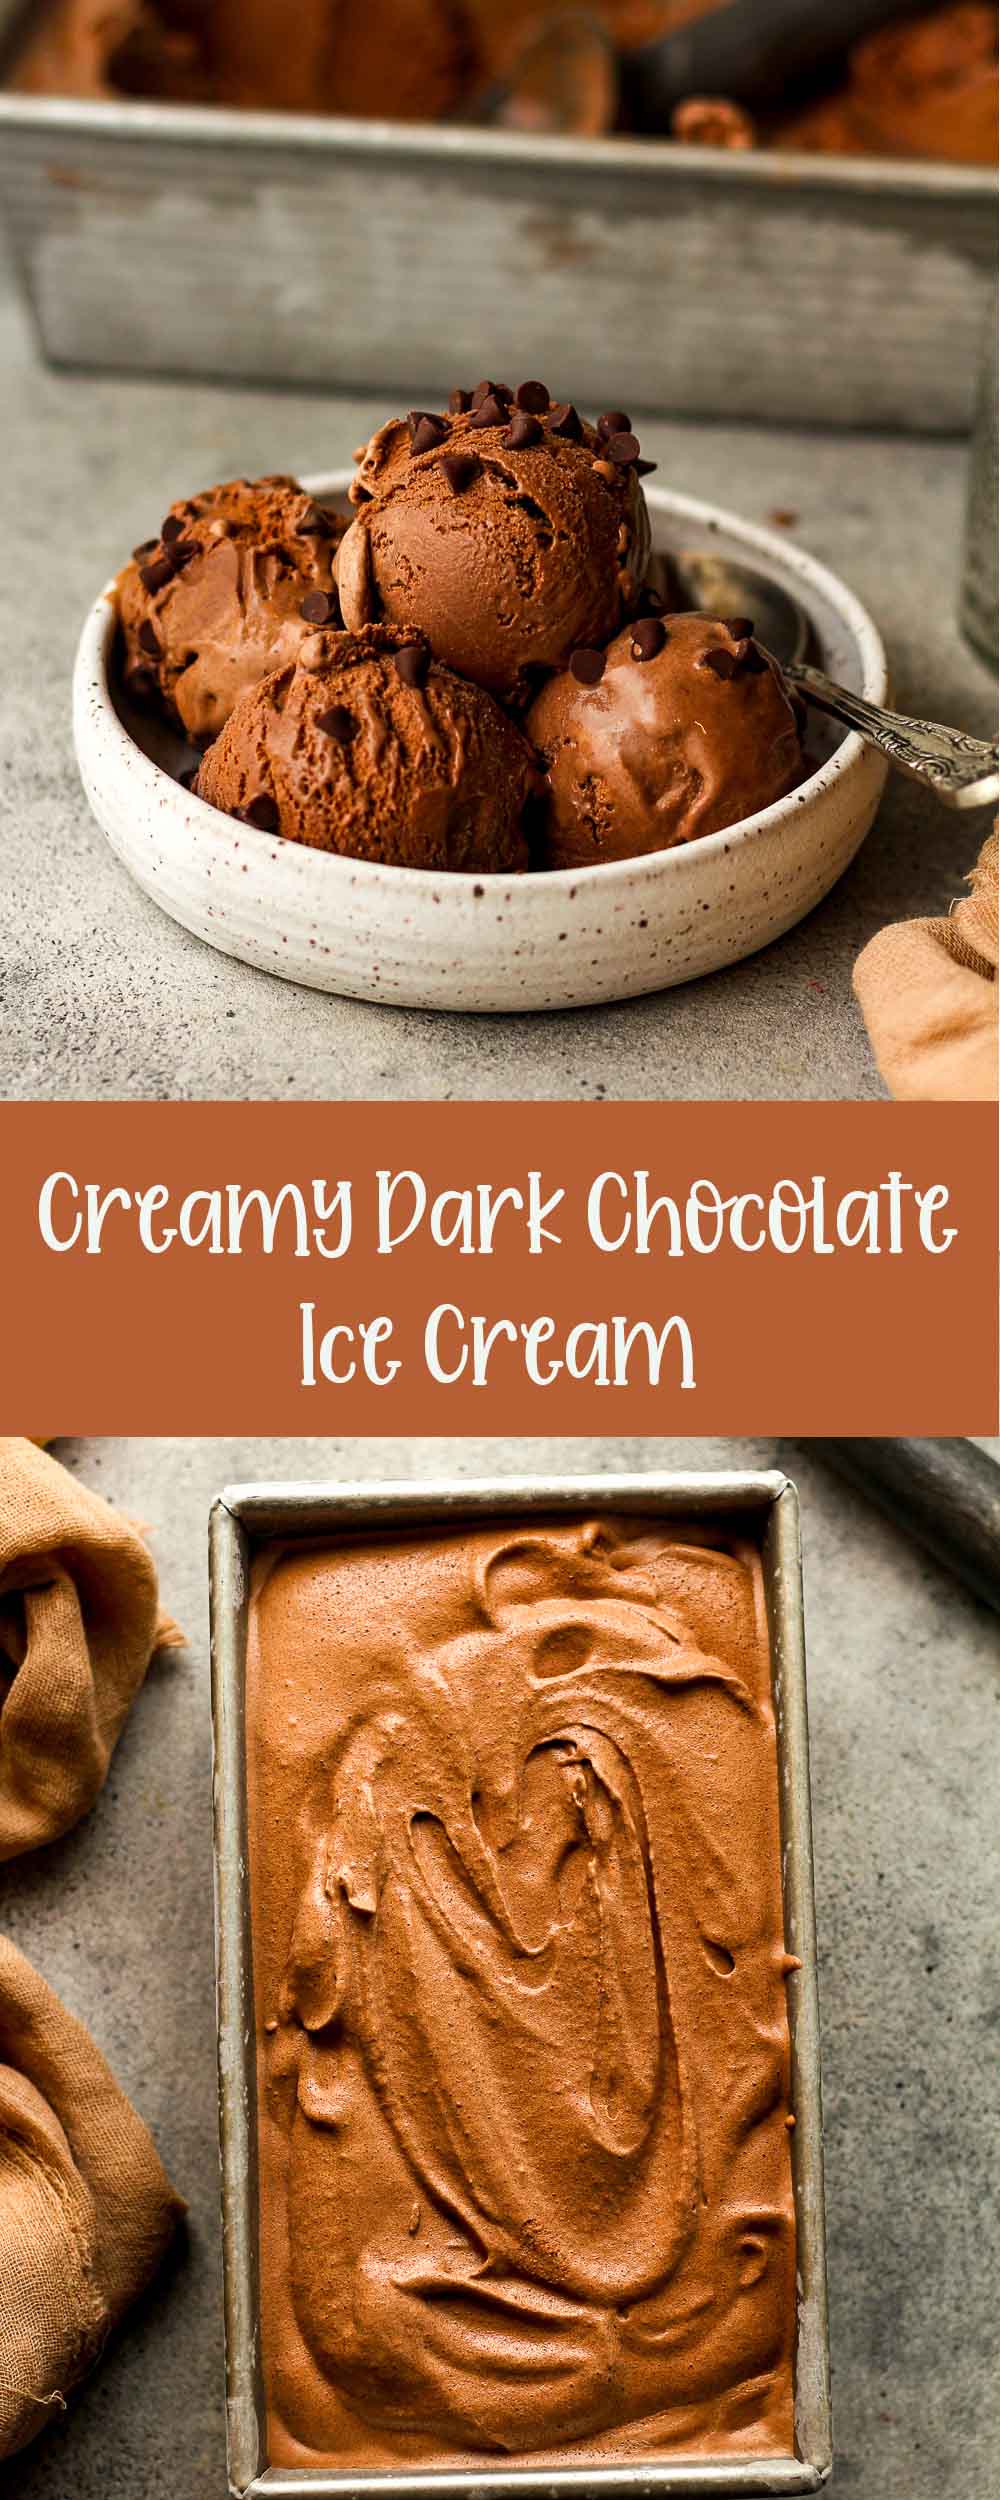

Dark Chocolate Ice Cream is a rich, custard-based dessert made with high-quality cocoa, offering an intense chocolate flavor. Its deep, bittersweet taste is complemented by a smooth, velvety texture, making it a decadent treat for chocolate lovers.
Best Chocolate Ice Cream
While we love our Chocolate Fudge Brownie Ice Cream and Chocolate Peanut Butter Ice Cream, this dark chocolate recipe is extra delicious. It’s ultra chocolatey, creamy, and super easy to make.
We’ve been using our KitchenAid ice cream attachment on repeat lately, testing new recipes and sharing with family and friends. On any given day, you’ll find multiple flavors of ice cream in our freezer. We store it in small containers and bring out multiple flavors when we have guests over – which is fun!
Other Ice Cream Flavors:
Here are some of our favorite flavors if you’re interested in trying others. Head to see all of our KitchenAid Ice Cream Recipes.
- FRUIT FLAVORED – Strawberry, Lemon Custard, and Blueberry
- BASIC FLAVORS – Vanilla Bean, Oreo, and Mint Chip
- SOMETHING FUN – S’mores, Coffee Toffee, Cinnamon Ice Cream, and Nutella
Why This Recipe Works:
- A SIMPLE RECIPE – We’re starting with a sweet cream custard-style base and adding two kinds of chocolate. Only eight simple ingredients for this ice cream recipe!
- CREAMY AND DELICIOUS – This custard-based ice cream is creamy and extra delicious.
- FOR CHOCOLATE LOVERS – Two kinds of dark chocolate make this recipe perfect for chocolate lovers!
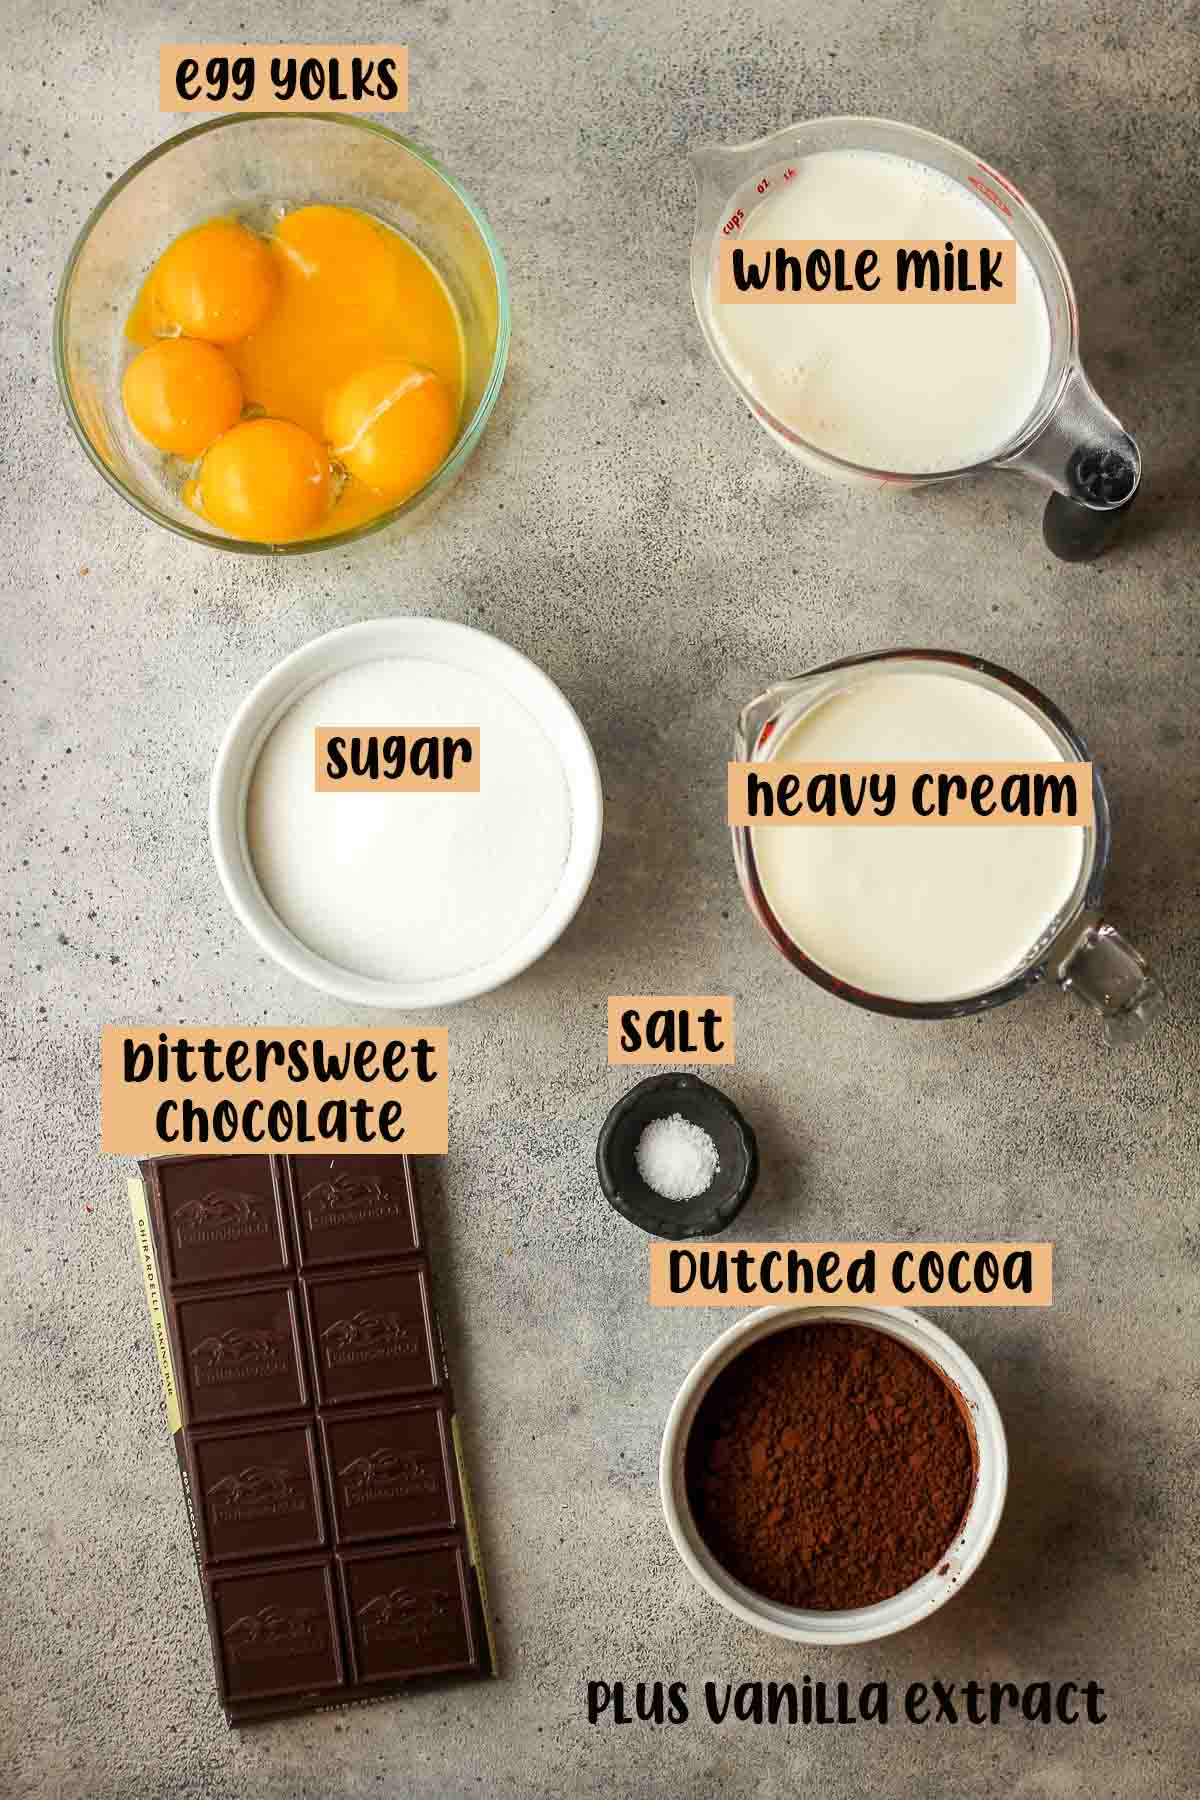
Ingredients Used:
- Egg Yolks
- Granulated Sugar
- Whole Milk
- Heavy Cream
- Dutch Cocoa
- Dark Chocolate Baking Bar
- Vanilla Extract
- Kosher Salt
NOTE: I use the leftover egg whites for a simple egg white omelet. Don’t throw them out!
How to make Dark Chocolate Ice Cream:
NOTE: Make sure the bowl of your ice cream maker has been frozen for at least 15 hours before using it to make ice cream. We store ours in our extra freezer so we can make ice cream on a whim!
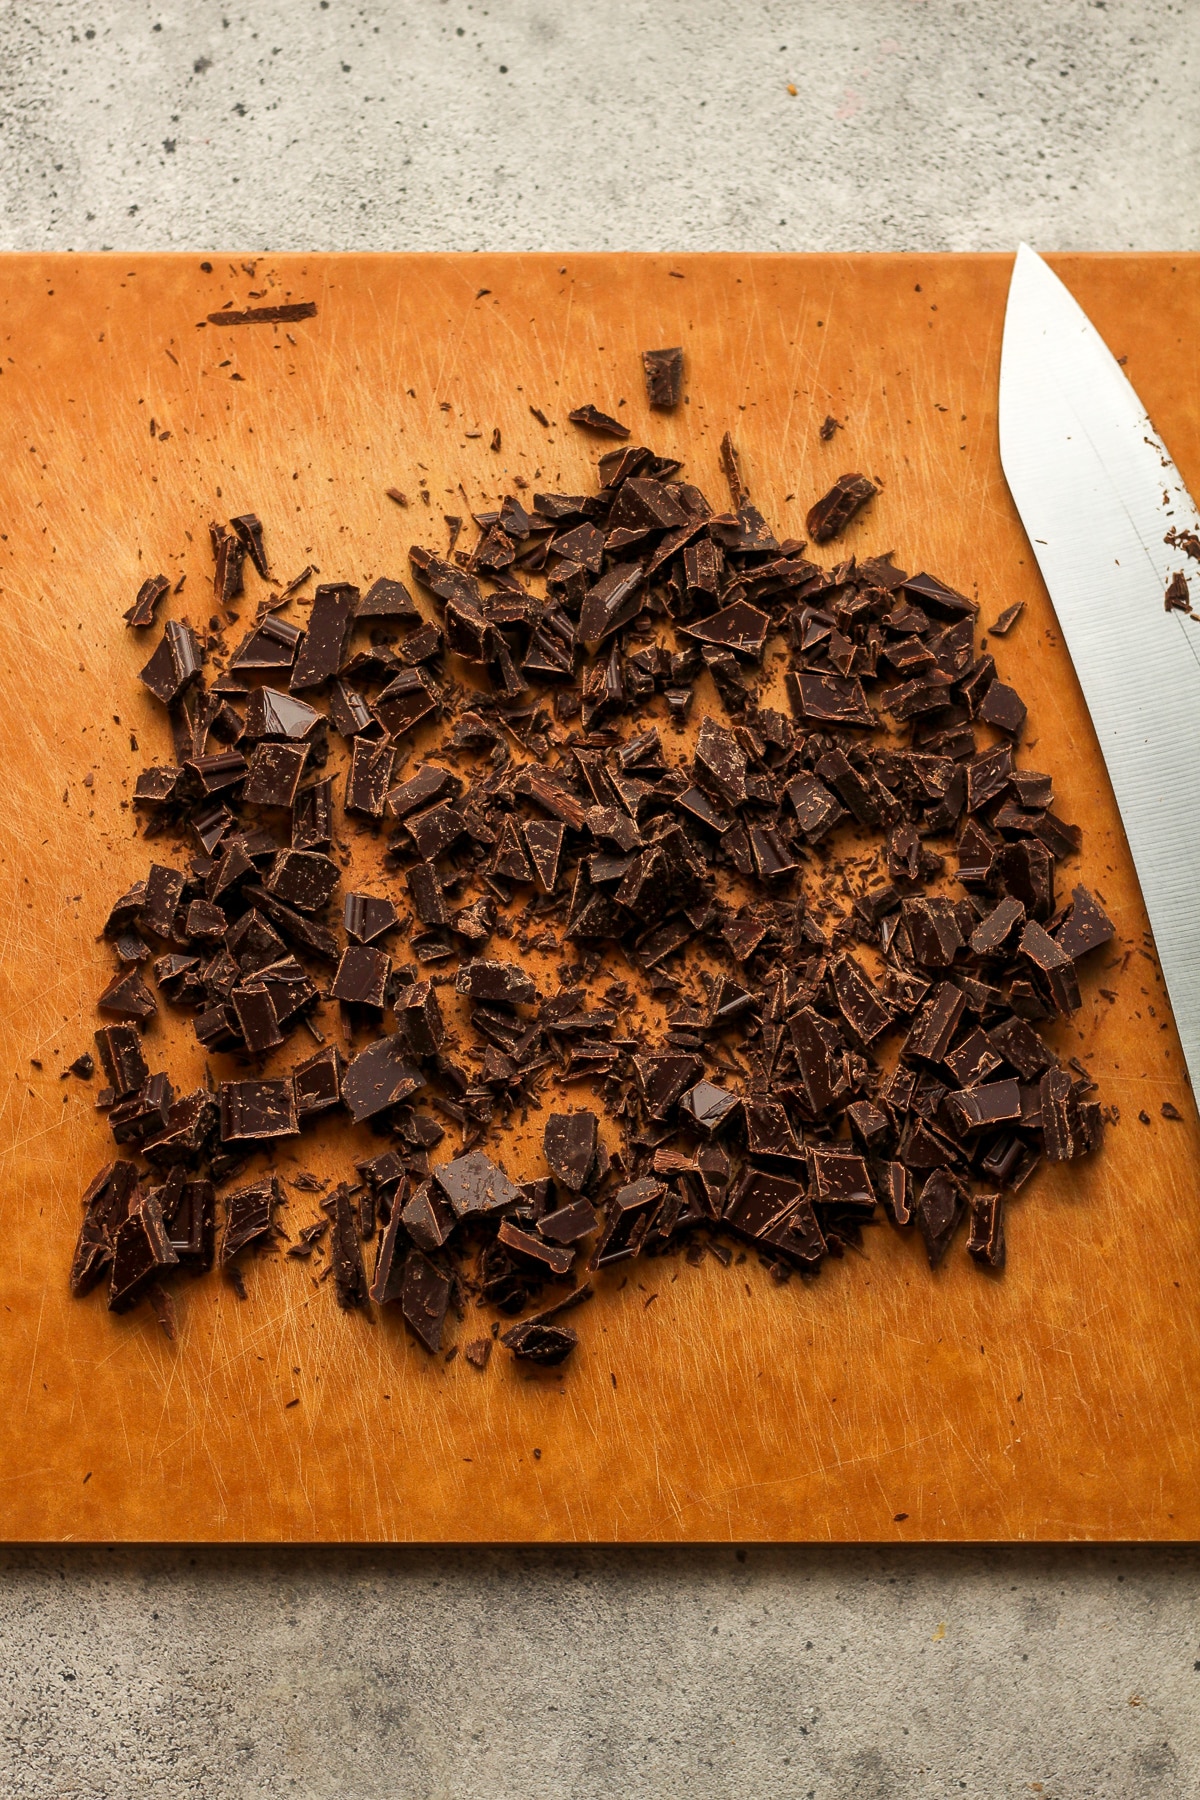
Step 1
Chop the chocolate. Chop the bittersweet chocolate bar into small pieces.
Step 2
Temper the eggs. Combine the egg yolks and 1/4 cup of sugar in a mixing bowl. Add the whole milk to a saucepan and heat over medium heat to a temperature of 165 degrees. (Do not boil.)
When the milk is hot, drizzle one cup of it into the eggs/sugar mixture, whisking constantly. Then pour the egg mixture back into the pan, the remaining sugar, and heat to 165 degrees. The mixture should be thick and easily coat the back of a spoon.

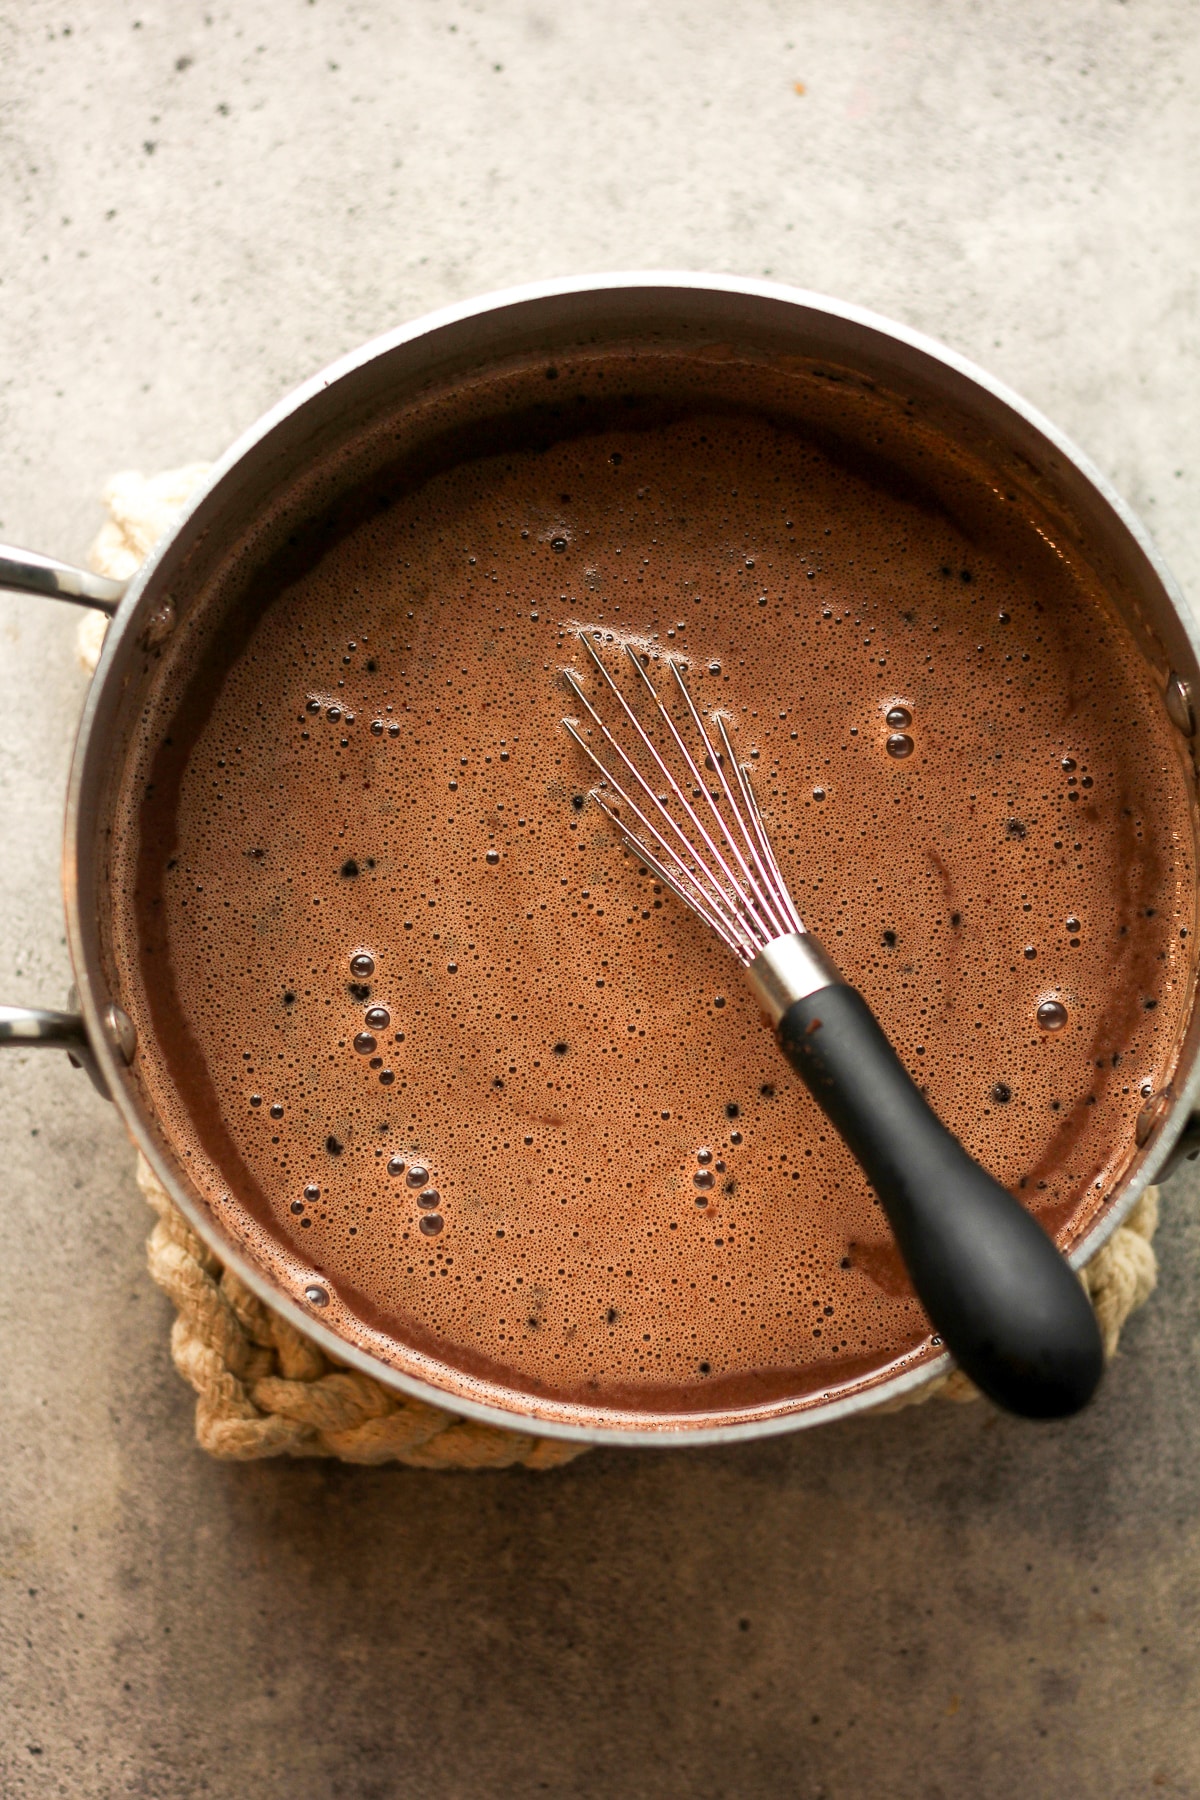
Step 3
Add other ingredients. Then add the Dutch cocoa and chopped bittersweet chocolate and stir until melted and well combined. Then add the heavy cream and salt – and stir again. Simmer for a couple more minutes.
Remove mixture from the heat and add the vanilla extract.
Step 4
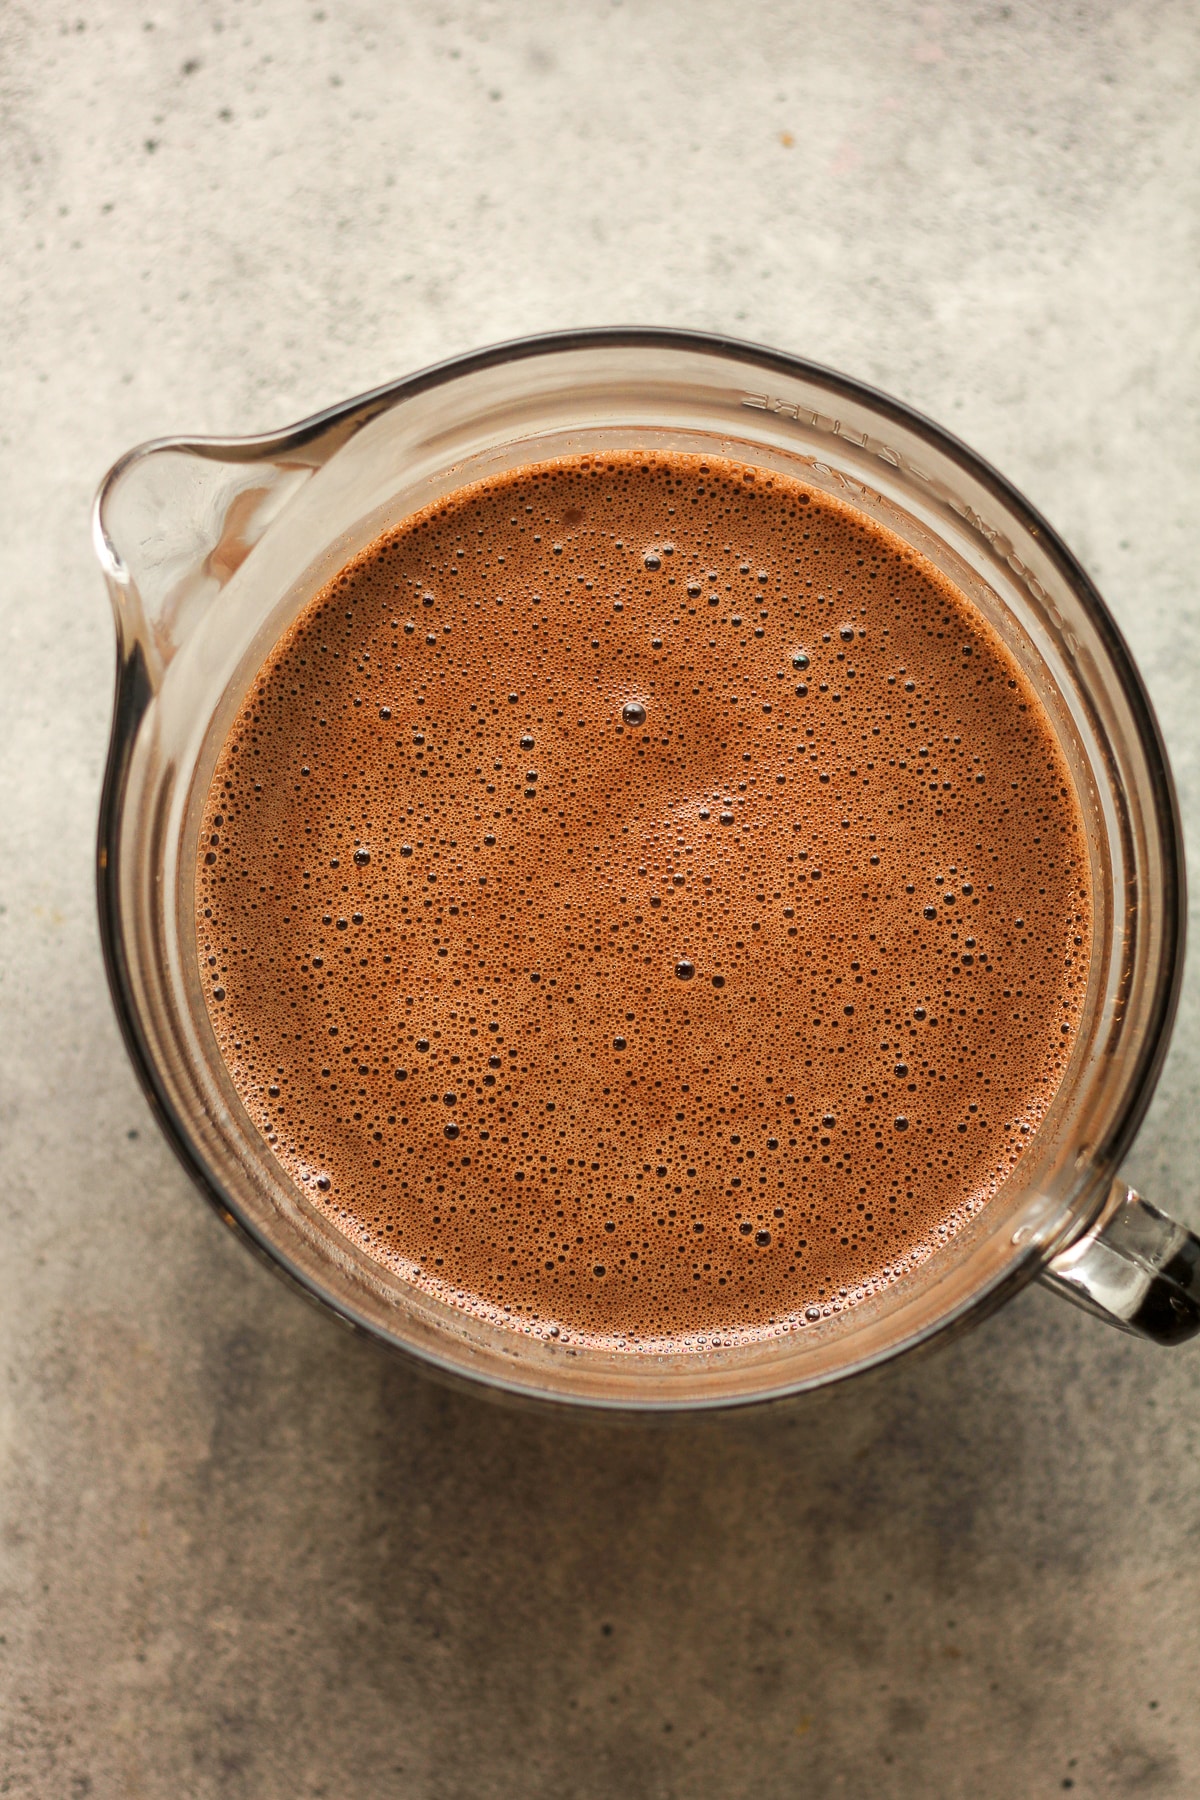
Strain. Place a fine mesh sieve over a large bowl and then pour the liquid ice cream into it. Discard any bits that are caught in the sieve.
Step 5
Chill. Place the large bowl of the liquid ice cream ingredients into the refrigerator and chill for at least four hours, or until VERY COLD.
Step 6
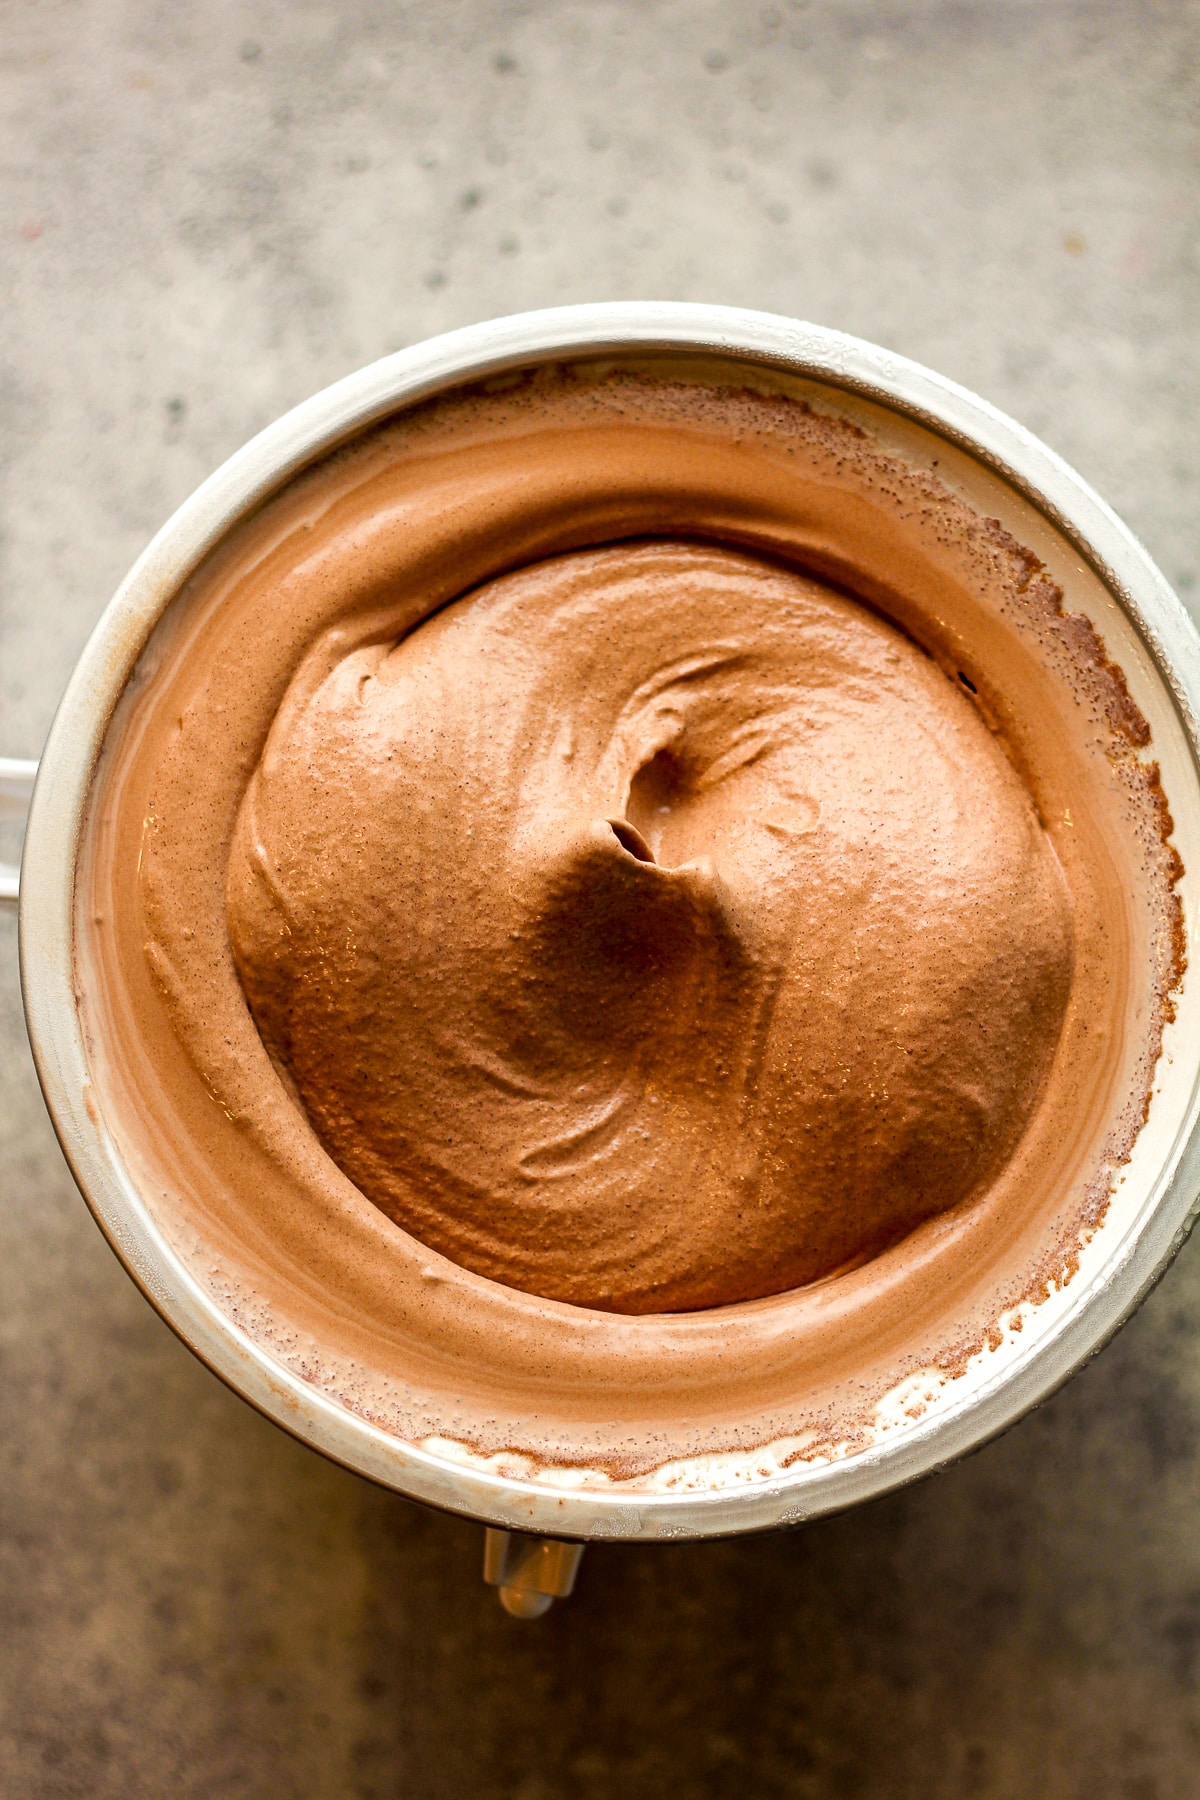
Churn ice cream. Start your 2-quart ice cream churner (I use a KitchenAid Attachment with a stand mixer – linked below.) and pour the chilled ice cream mixture into the bowl (the attachment) while it’s running. Let the ice cream churn until done. You’ll know it’s done when the mixer starts slowing down and it rises to the top of the bowl (or over it slightly), approximately 25-30 minutes.
Step 7
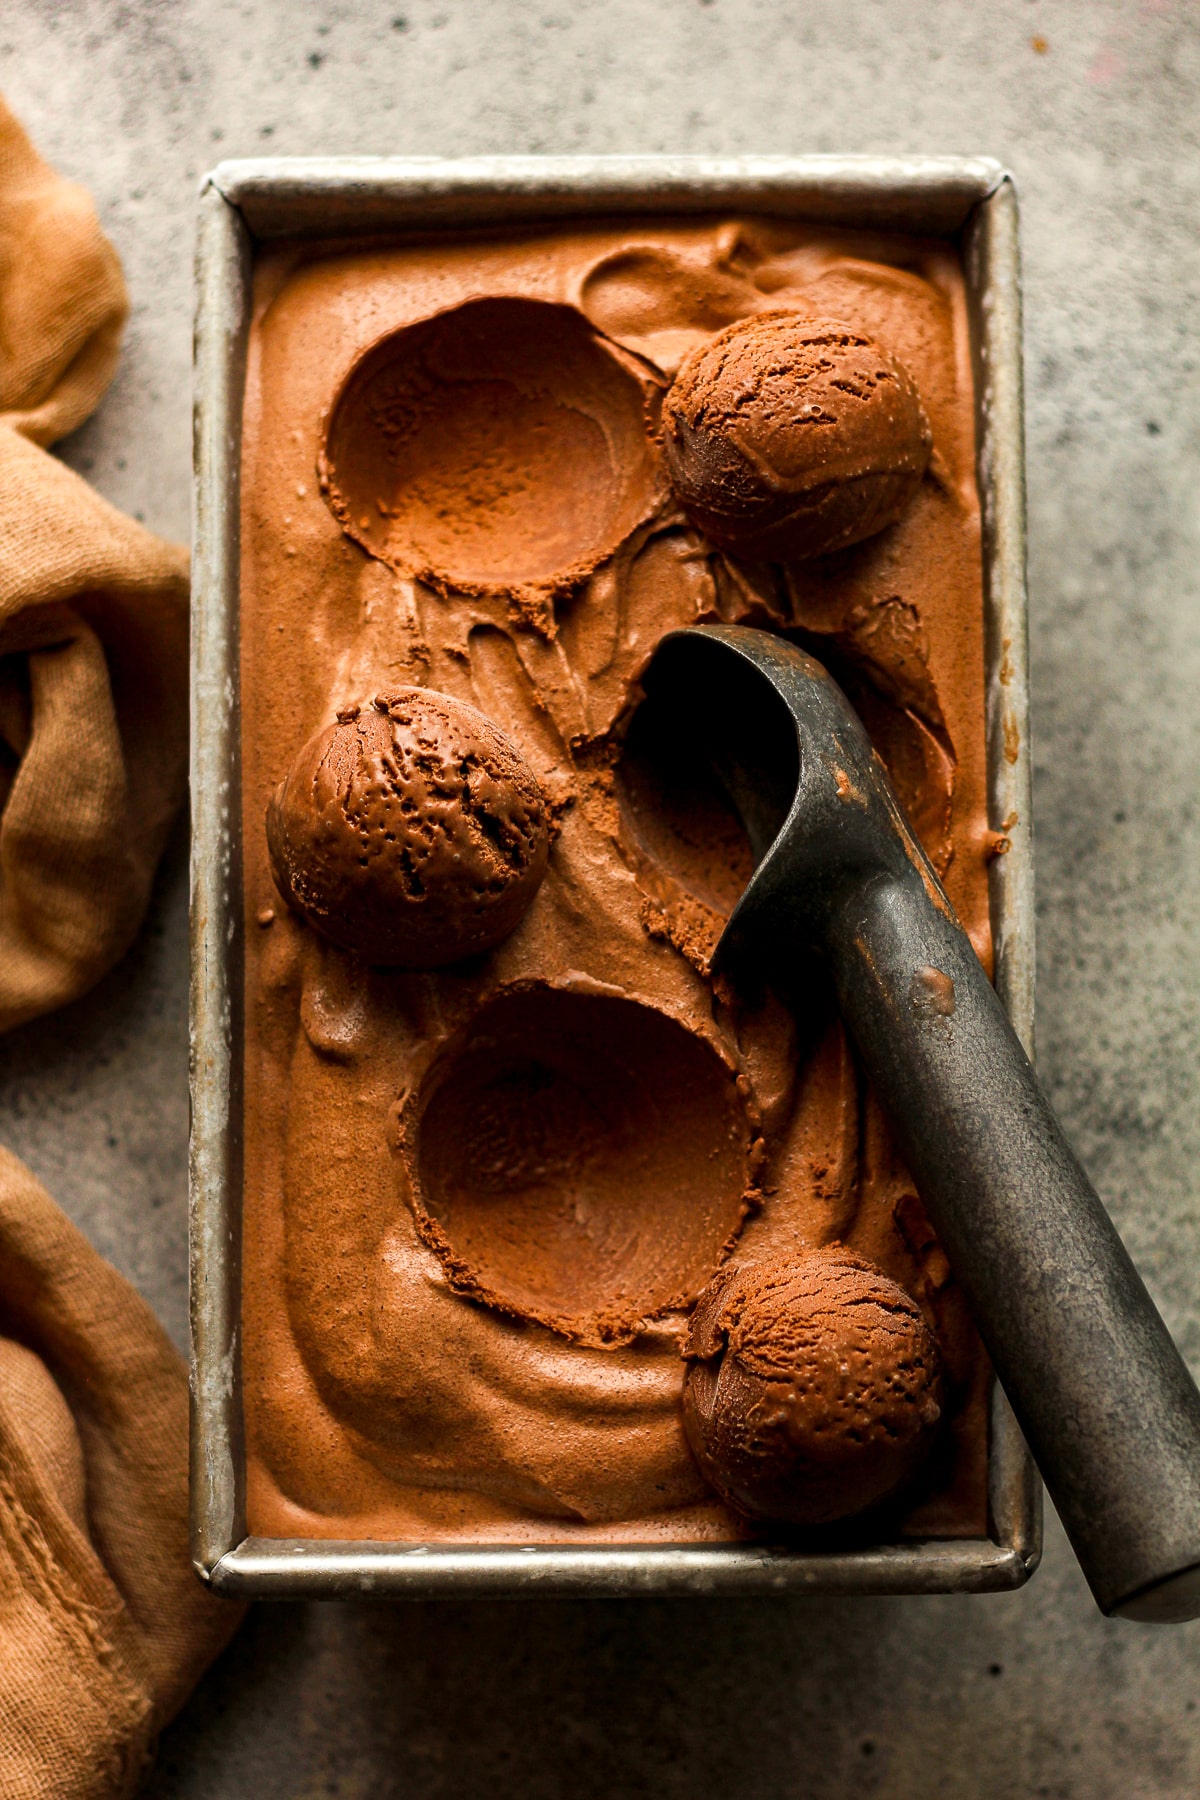
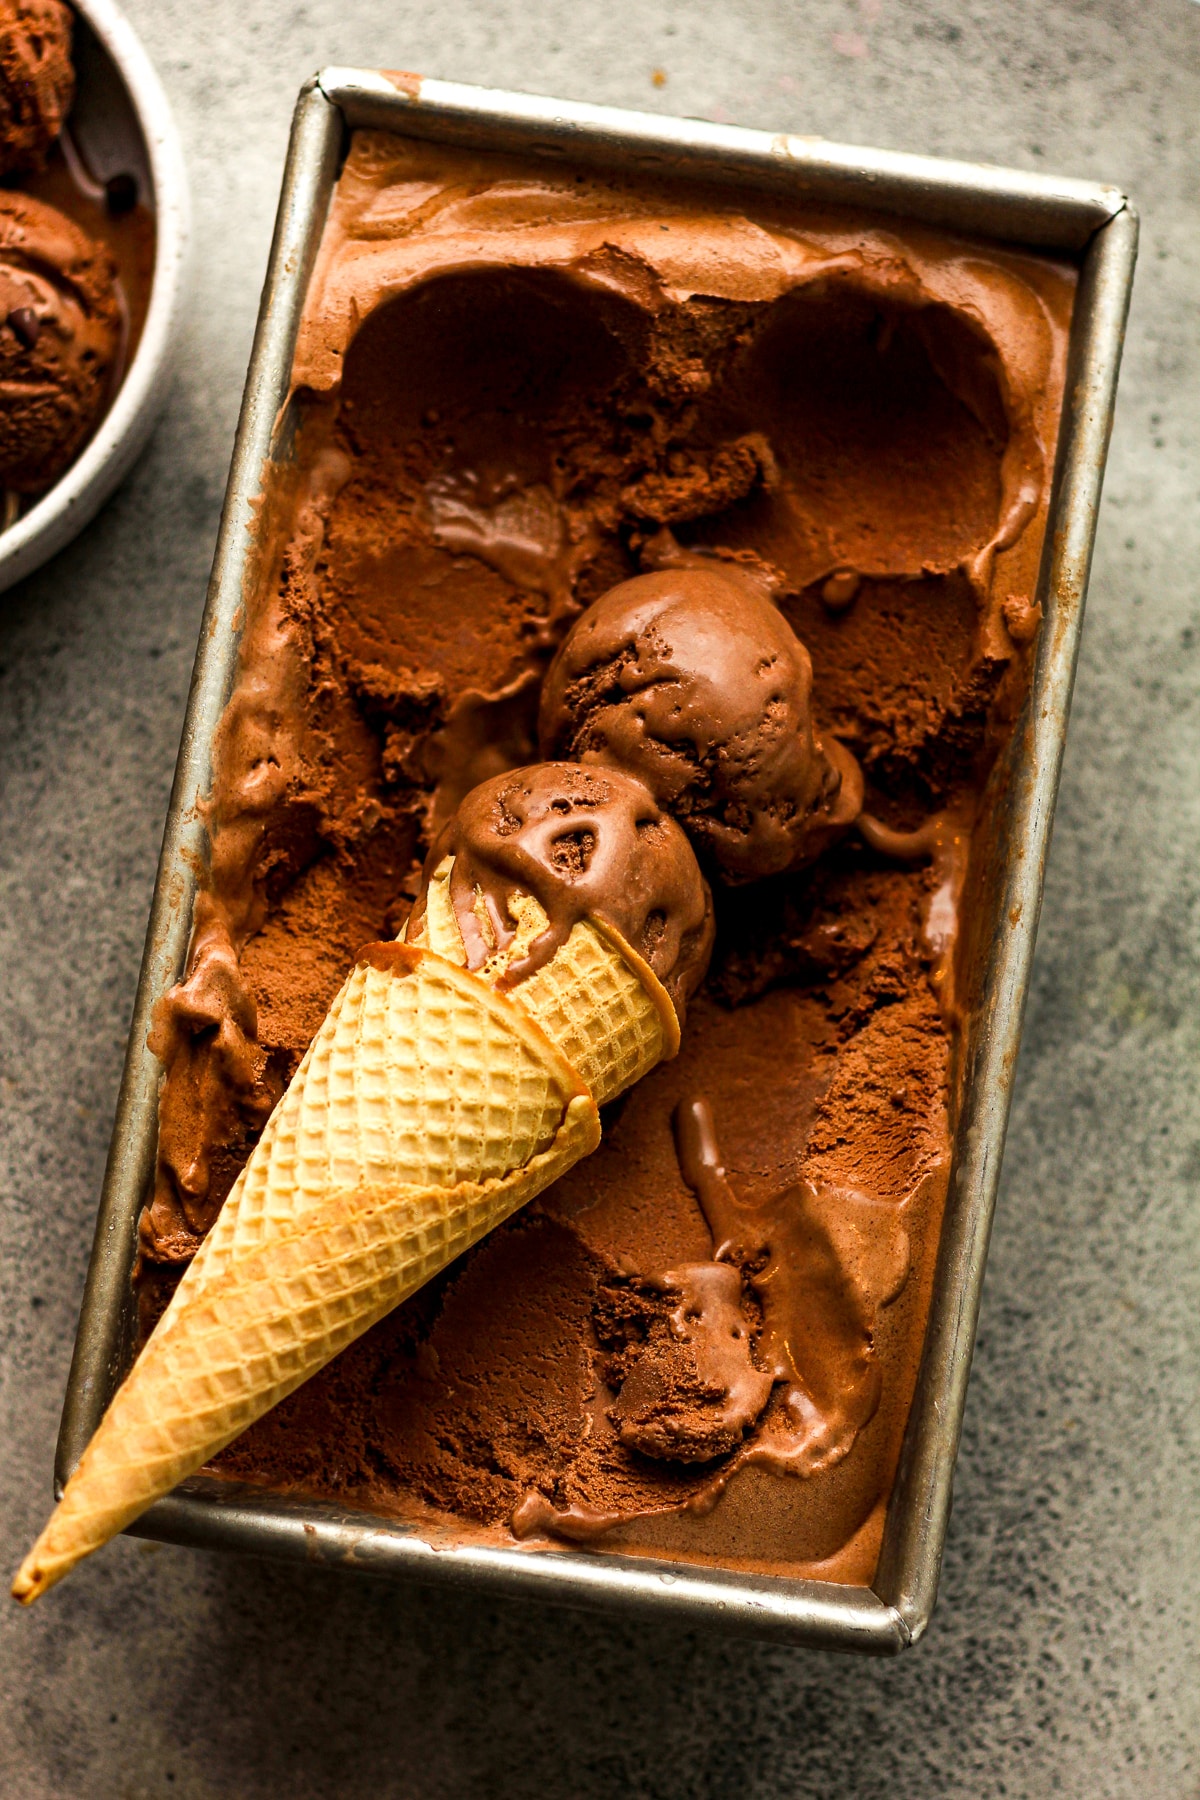
Transfer ice cream to an airtight container. After the ice cream is churned, use a rubber spatula to transfer the ice cream to an airtight container. (I occasionally use a pan for photography purposes.) Smooth it evenly to all sides of the container.
Step 8
Freeze. Freeze the ice cream until ready to serve. The ice cream will be a bit soft so it needs a couple of hours to firm up.
Step 9
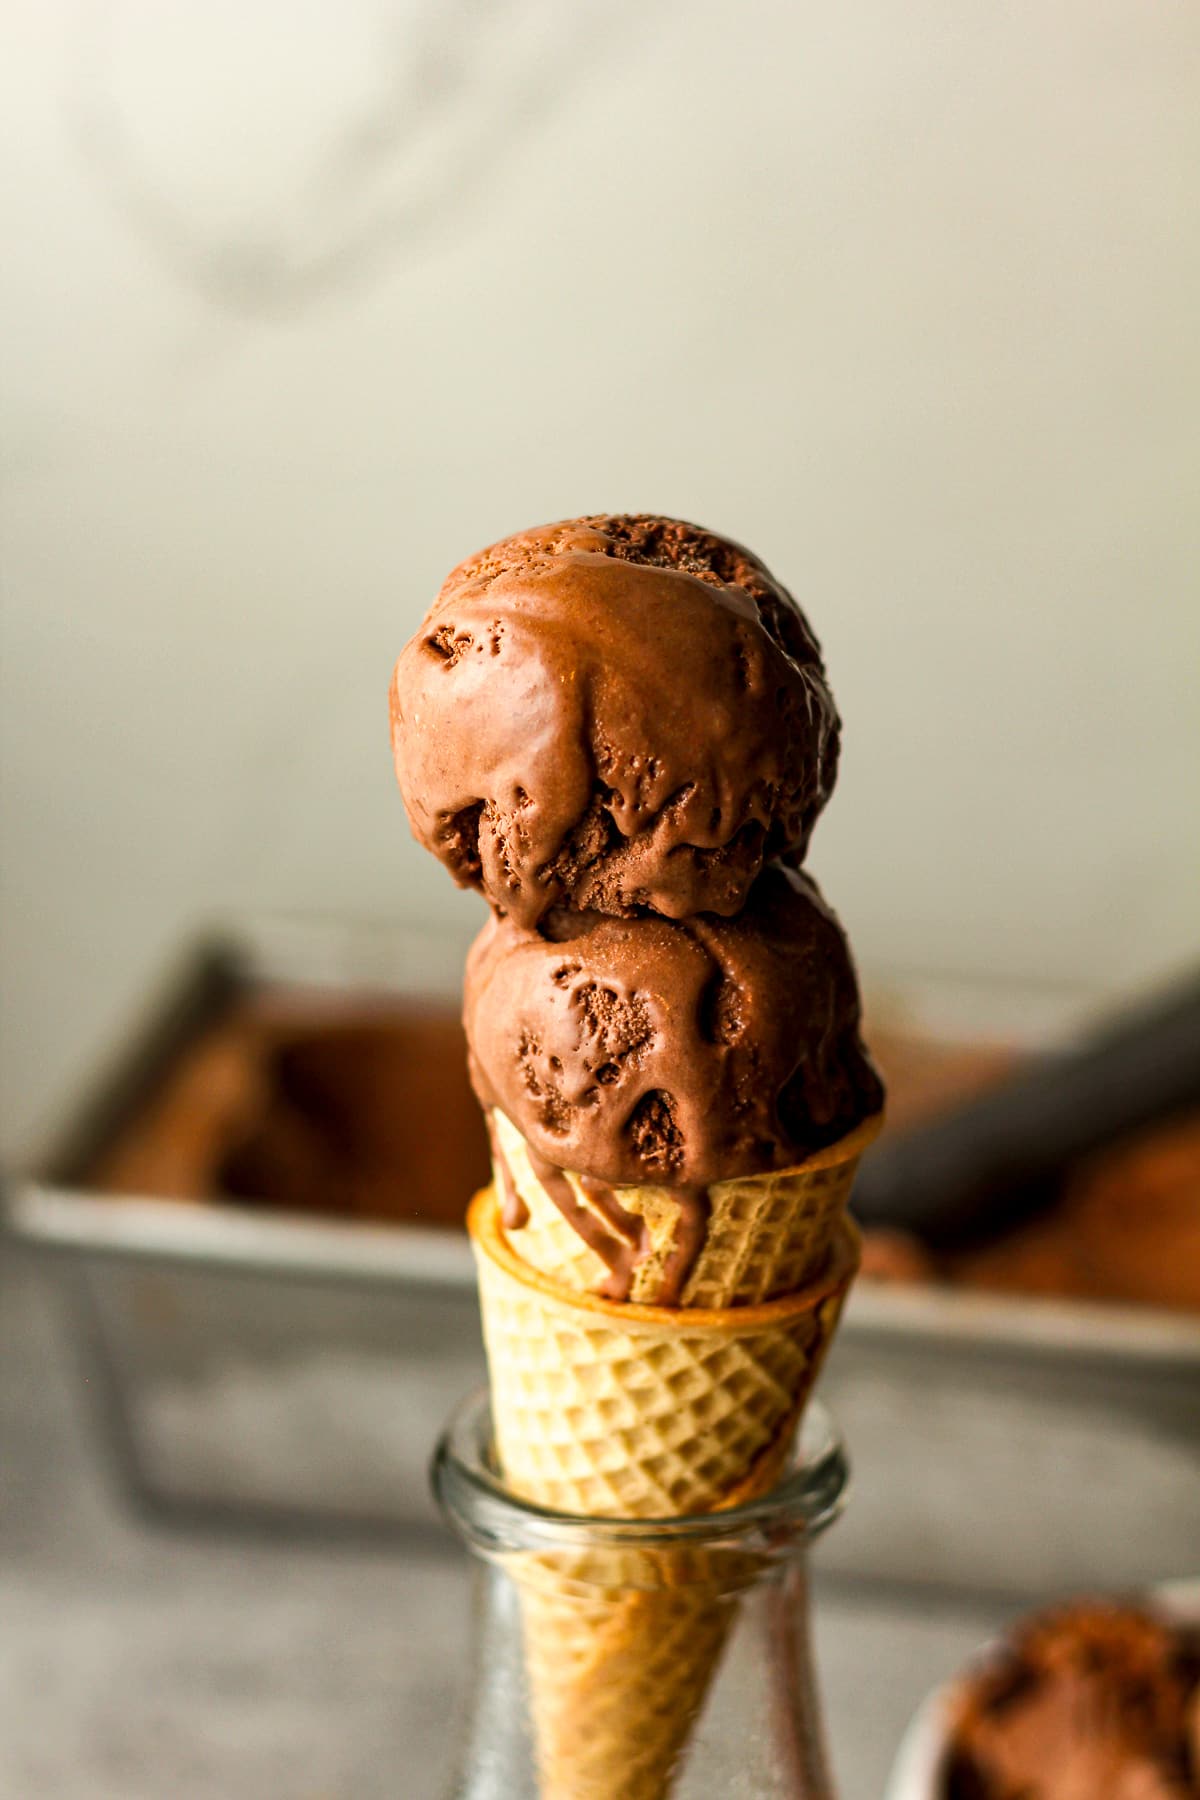
Serve ice cream. Serve dark chocolate ice cream in small serving bowls or pile it high on top of sugar cones or waffle cones. You can also sprinkle toppings over the ice cream like mini chocolate chips or chopped nuts.
** This recipe is for a 2-quart ice cream maker. If using a smaller size, you will need to adjust recipe quantities. Make sure your ice cream machine has enough room for the ice cream to expand as it freezes. If it doesn’t have room, it will stay in liquid form!
Recipe Tips:
- Freeze the bowl ahead of time: The Kitchenaid ice cream maker attachment comes with a freezer bowl that needs to be frozen before use. Make sure to freeze it for at least 15 hours before making your ice cream.
- Chill your ingredients: Before making your ice cream mixture, make sure to chill all the ingredients, including the milk, cream, and any mix-ins you plan to use. This will help the mixture freeze faster and prevent ice crystals from forming.
- Temper the eggs or use pasteurized eggs. If you don’t want to take the time to temper your eggs, you can buy pasteurized eggs in the store (if you can find them).
- Transfer to an airtight container and freeze: Once the ice cream is fully churned, transfer it to a freezer-safe container and freeze it for at least 4 hours, or until it’s firm enough to scoop. Enjoy your homemade ice cream!
Recipe FAQs:
Tempering helps ensure that the eggs reach a temperature high enough to kill any harmful bacteria, such as Salmonella, which can be present in raw eggs. Properly tempered and cooked eggs reduce the risk of foodborne illness.
Yes, you can add mix-ins like chocolate chips, nuts, or fruit. Add them during the last few minutes of churning or fold them in by hand after churning.
A custard-based ice cream, often referred to as French-style or Philadelphia-style ice cream, is made by creating a custard as the base for the ice cream. The custard typically consists of egg yolks, sugar, and a combination of milk and cream. This style of ice cream is known for its rich and creamy texture.
Kitchen Tools Used: (affiliate links)
xoxo ~Sue
Dark Chocolate Ice Cream
Ingredients
- 5 large egg yolks
- 1 cup granulated sugar – divided
- 1 3/4 cups whole milk
- 1/2 cup Dutch-processed cocoa powder
- 4 oz. bittersweet chocolate bar – chopped
- 2 1/4 cups heavy cream
- 2 Tablespoons vanilla extract
- pinch of salt
Instructions
- NOTE: Make sure the bowl of your ice cream maker has been frozen for at least 15 hours before using it to make ice cream. We store ours in our extra freezer so we can make ice cream on a whim!
- Chop the chocolate. Chop the bittersweet chocolate bar into small pieces.
- Temper the eggs. Combine the egg yolks and 1/4 cup of sugar in a mixing bowl. Add the whole milk to a saucepan and heat over medium heat to a temperature of 165 degrees. (Do not boil.) When the milk is hot, drizzle about one cup of it into the eggs/sugar mixture, whisking constantly. Then pour the egg mixture back into the pan, add remaining sugar, and heat to 165 degrees. The mixture should be thick and easily coat the back of a spoon.5 large egg yolks, 1 cup granulated sugar, 1 3/4 cups whole milk
- Add other ingredients. Then add the Dutch cocoa and chopped bittersweet chocolate and stir until melted and well combined. Then add the heavy cream and salt – and stir again. Simmer for a couple more minutes.Remove mixture from the heat and add the vanilla extract.1/2 cup Dutch-processed cocoa powder, 4 oz. bittersweet chocolate bar, 2 1/4 cups heavy cream, pinch of salt, 2 Tablespoons vanilla extract
- Strain. Place a fine mesh sieve over a large bowl and then pour the liquid ice cream into it. Discard any bits that are caught in the sieve.
- Chill. Place the large bowl of the liquid ice cream ingredients into the refrigerator and chill for at least four hours, or until VERY COLD.
- Churn ice cream. Start your 2-quart ice cream churner (I use a KitchenAid Attachment with a stand mixer – linked below.) and pour the chilled ice cream mixture into the bowl (the attachment) while it’s running. Let the ice cream churn until done. You’ll know it’s done when the mixer starts slowing down and it rises to the top of the bowl (or over it slightly), approximately 25-30 minutes.
- Transfer ice cream to an airtight container. After the ice cream is churned, use a rubber spatula to transfer the ice cream to an airtight container. (I occasionally use a pan for photography purposes.) Smooth it evenly to all sides of the container.
- Freeze. Freeze the ice cream until ready to serve. The ice cream will be a bit soft so it needs a couple of hours to firm up.
- Serve ice cream. Serve dark chocolate ice cream in small serving bowls or pile it high on top of sugar cones or waffle cones.
Notes
Recipe Tips:
-
- Freeze the bowl ahead of time: The Kitchenaid ice cream maker attachment comes with a freezer bowl that needs to be frozen before use. Make sure to freeze it for at least 15 hours before making your ice cream.
- Chill your ingredients: Before making your ice cream mixture, make sure to chill all the ingredients, including the milk, cream, and any mix-ins you plan to use. This will help the mixture freeze faster and prevent ice crystals from forming.
- Temper the eggs or use pasteurized eggs. If you don’t want the take the time to temper your eggs, you can buy pasteurized eggs in the store (if you can find them).
- Transfer to an airtight container and freeze: Once the ice cream is fully churned, transfer it to a freezer-safe container and freeze it for at least 4 hours, or until it’s firm enough to scoop. Enjoy your homemade ice cream!
Here’s tip. You can cook all ingredients including eggs altogether on low heat to begin with. Whisk continually until begins to get warm. Slowly increase heat after that whisking continuously. Follow rest of instructions. I have made custard ice cream like this for years. After first try no need to strain. I had egg pieces first time after my southern aunt taught me this tip. Patience is key. I have worse luck tempering eggs! Love this recipe! So chocolate yummy!
Put me in coach…. this recipe was amazing and supports all of your great ice cream recipes.