Italian Herb Bread
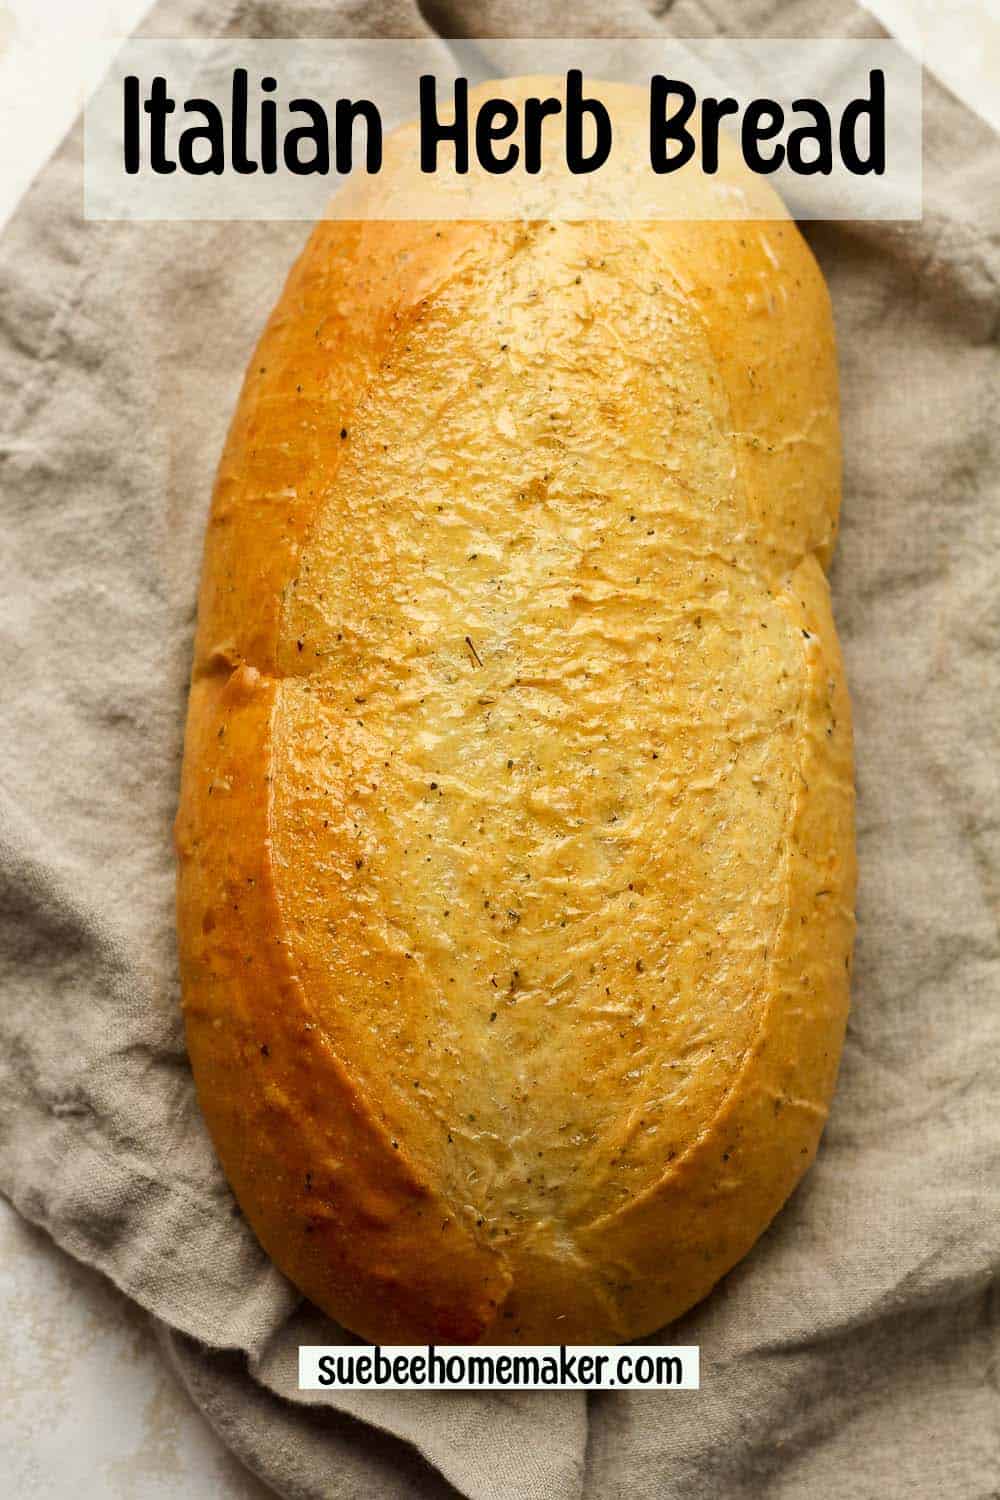
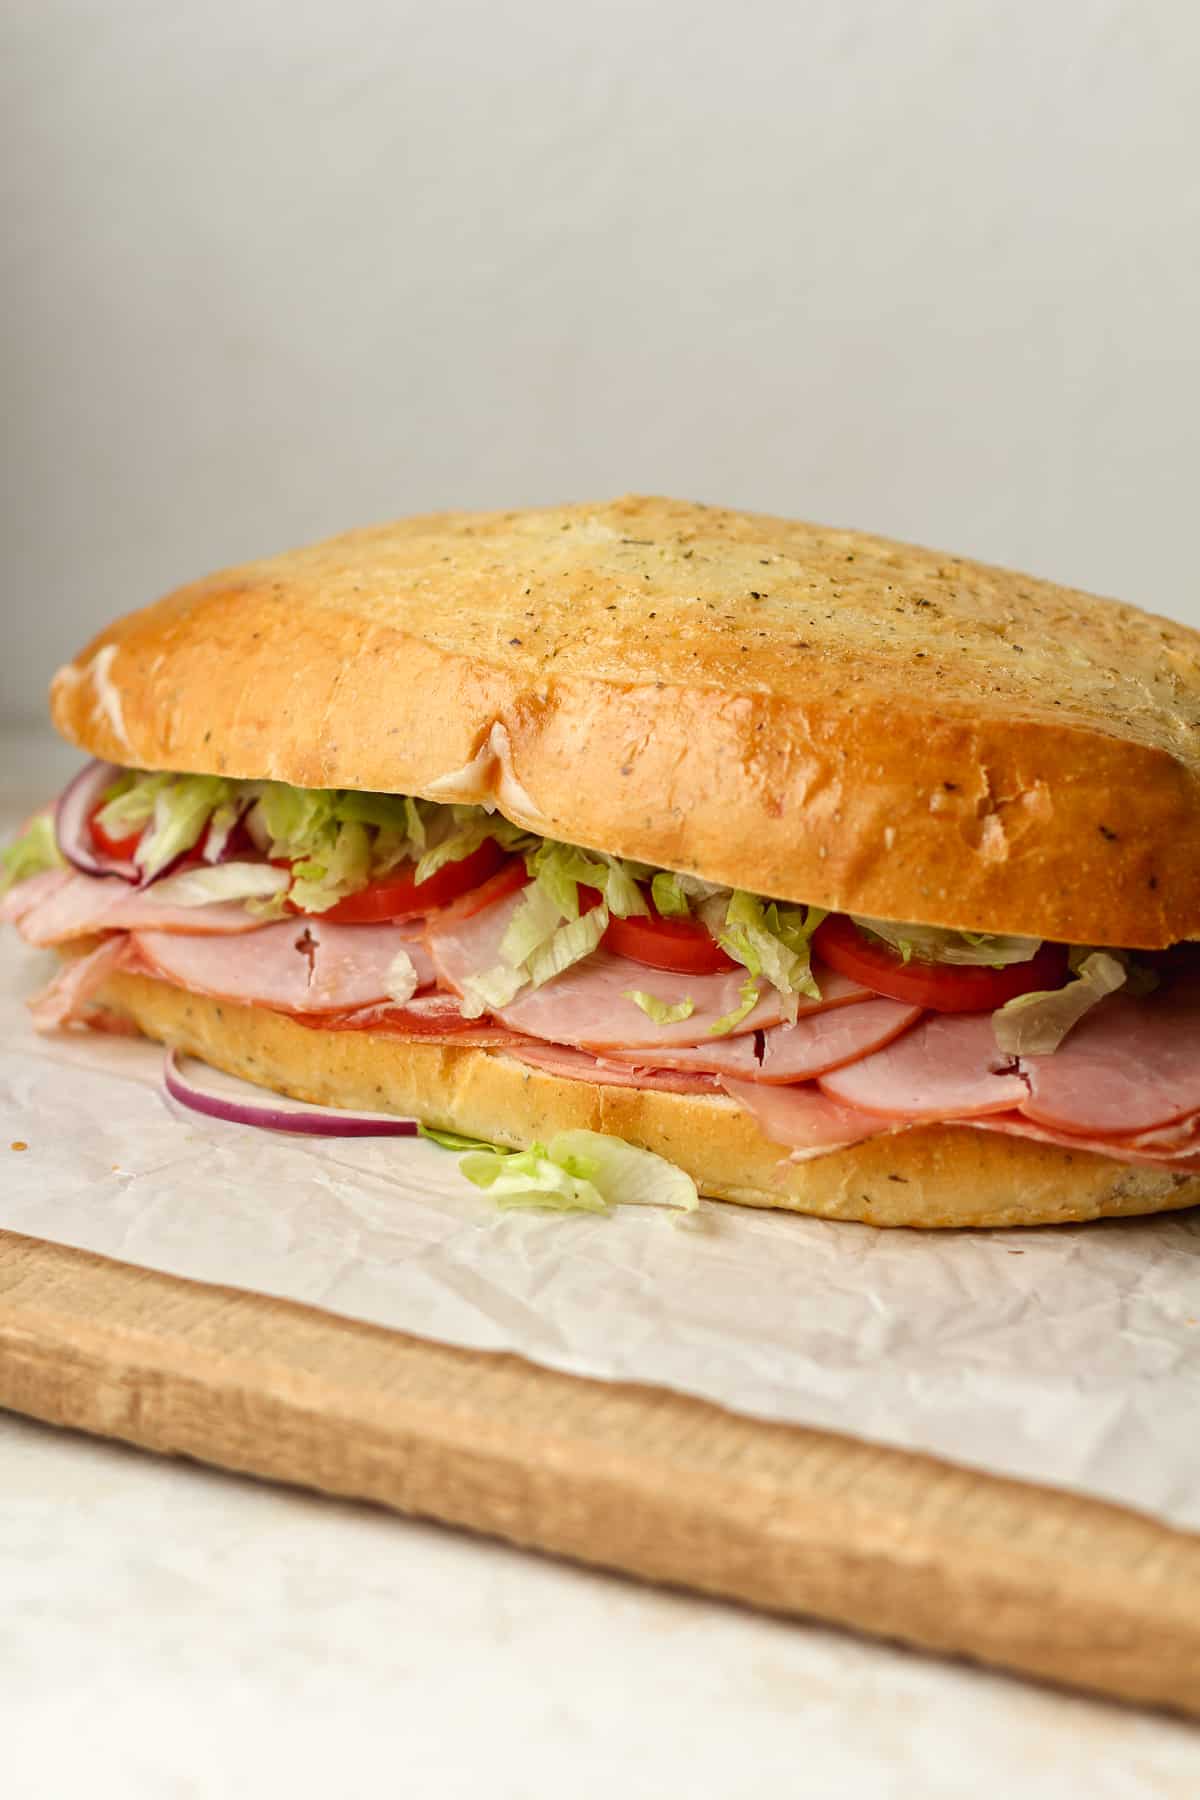
Italian Herb Bread is a soft, dense bread that is simple to make and delicious too. This bread makes an excellent Italian Grinder Sandwich and simple crostini appetizers.
Soft Italian Bread
I used my blog favorite bread recipe – Mom’s Chewy French Bread as a base to create this Italian Bread recipe. Instead of using 100% all-purpose flour, I added in some bread flour too. I also added some olive oil and Italian Seasoning to achieve a denser, softer bread with a nice Italian flavor.
Why This Recipe Works:
- Simple Ingredients – Just a handful of ingredients results in a delicious bread with great texture.
- Perfect accompaniment to any Italian Meal – This recipe makes the best garlic bread. Eat it as is or add butter, garlic, and parmesan cheese to slices and broil in the oven.
- WAY better than the Subway Italian Herb bread! – I think you’ll agree that this bread is so much better than the Subway bread recipe you most likely have tasted. This savory bread is worth making at home for no extra cost.
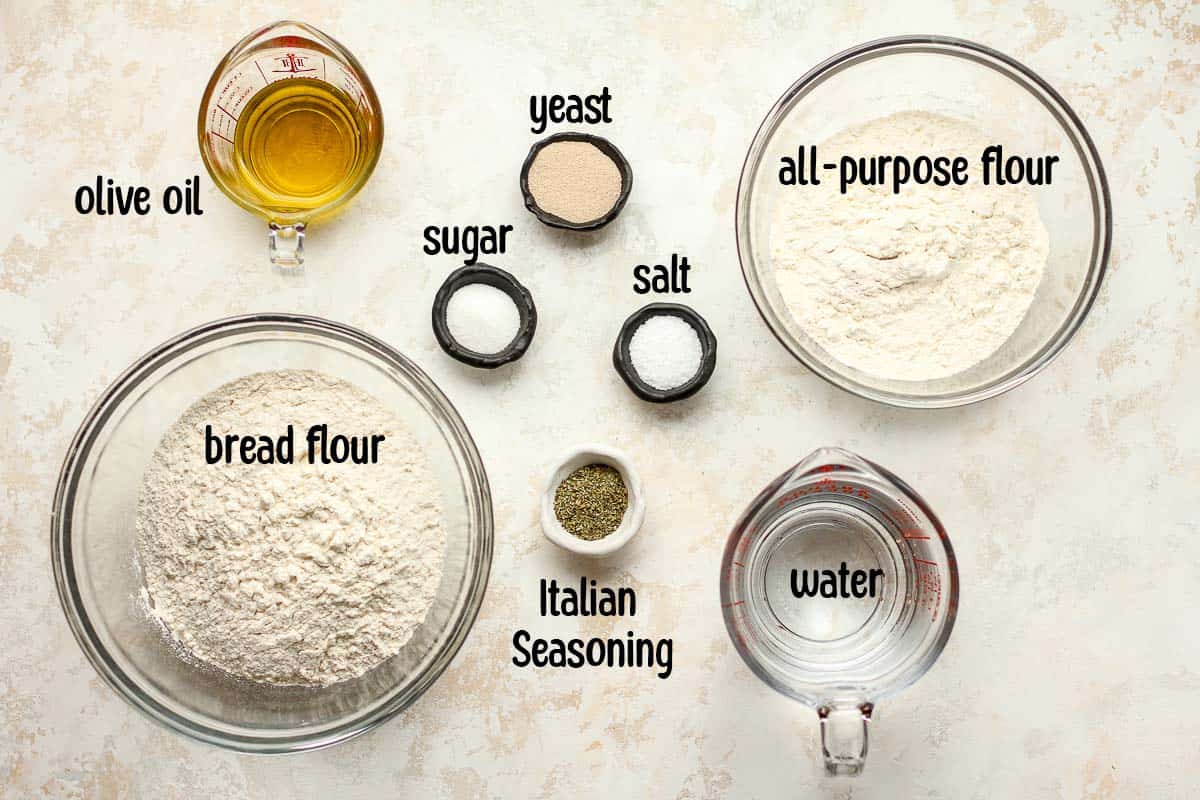
What You’ll Need:
There is a good chance that you have all of these baking staples, except maybe the yeast. If you are at all afraid of making yeast bread, DON’T BE! You can do it. Just follow my steps and don’t be afraid to experiment a little.
- Yeast – I use Red Star Active Dry Yeast.**
- Sugar – Just a little bit of sugar is needed to help activate the yeast.
- Water – It’s very important to use warm water, not hot. If using a digital thermometer, it should be between 100 – 110 degrees F.
- Olive Oil – I prefer using extra-virgin olive oil.
- Salt – I like kosher salt, but you can use regular salt (but less of it) as well.
- Italian Seasoning – You’ll need a couple of teaspoons for this recipe.
- Flour – Use a combo of bread flour and all-purpose flour.
Active Dry Yeast vs Instant Yeast:
As a rule, I only use Active Dry Yeast in my bread baking. You can use Instant Yeast as well, but will need just a little bit less. Instant Yeast also requires less time to rise, but since I live in a fairly warm, humid climate (Texas), I’ve never had a problem with my bread rise.
- Active Dry Yeast – A type of dry yeast that’s granular, similar to cornmeal. This yeast is a living organism that’s dormant until proofed, requiring a small amount of lukewarm water and a pinch of sugar to activate.
- Instant Yeast – Also known as quick-rise, rapid rise yeast, or even bread machine yeast. This yeast is milled into smaller particles so it doesn’t need to be dissolved into water. The dough rises faster with this yeast because enzymes and other additives are included to make this happen. You don’t ever need to do more than one rise with this yeast.
How to make Italian Herb Bread:
Note: You can definitely make this recipe by hand instead of using a stand mixer. It will take a little bit more time and some arm strength, but it can be done.
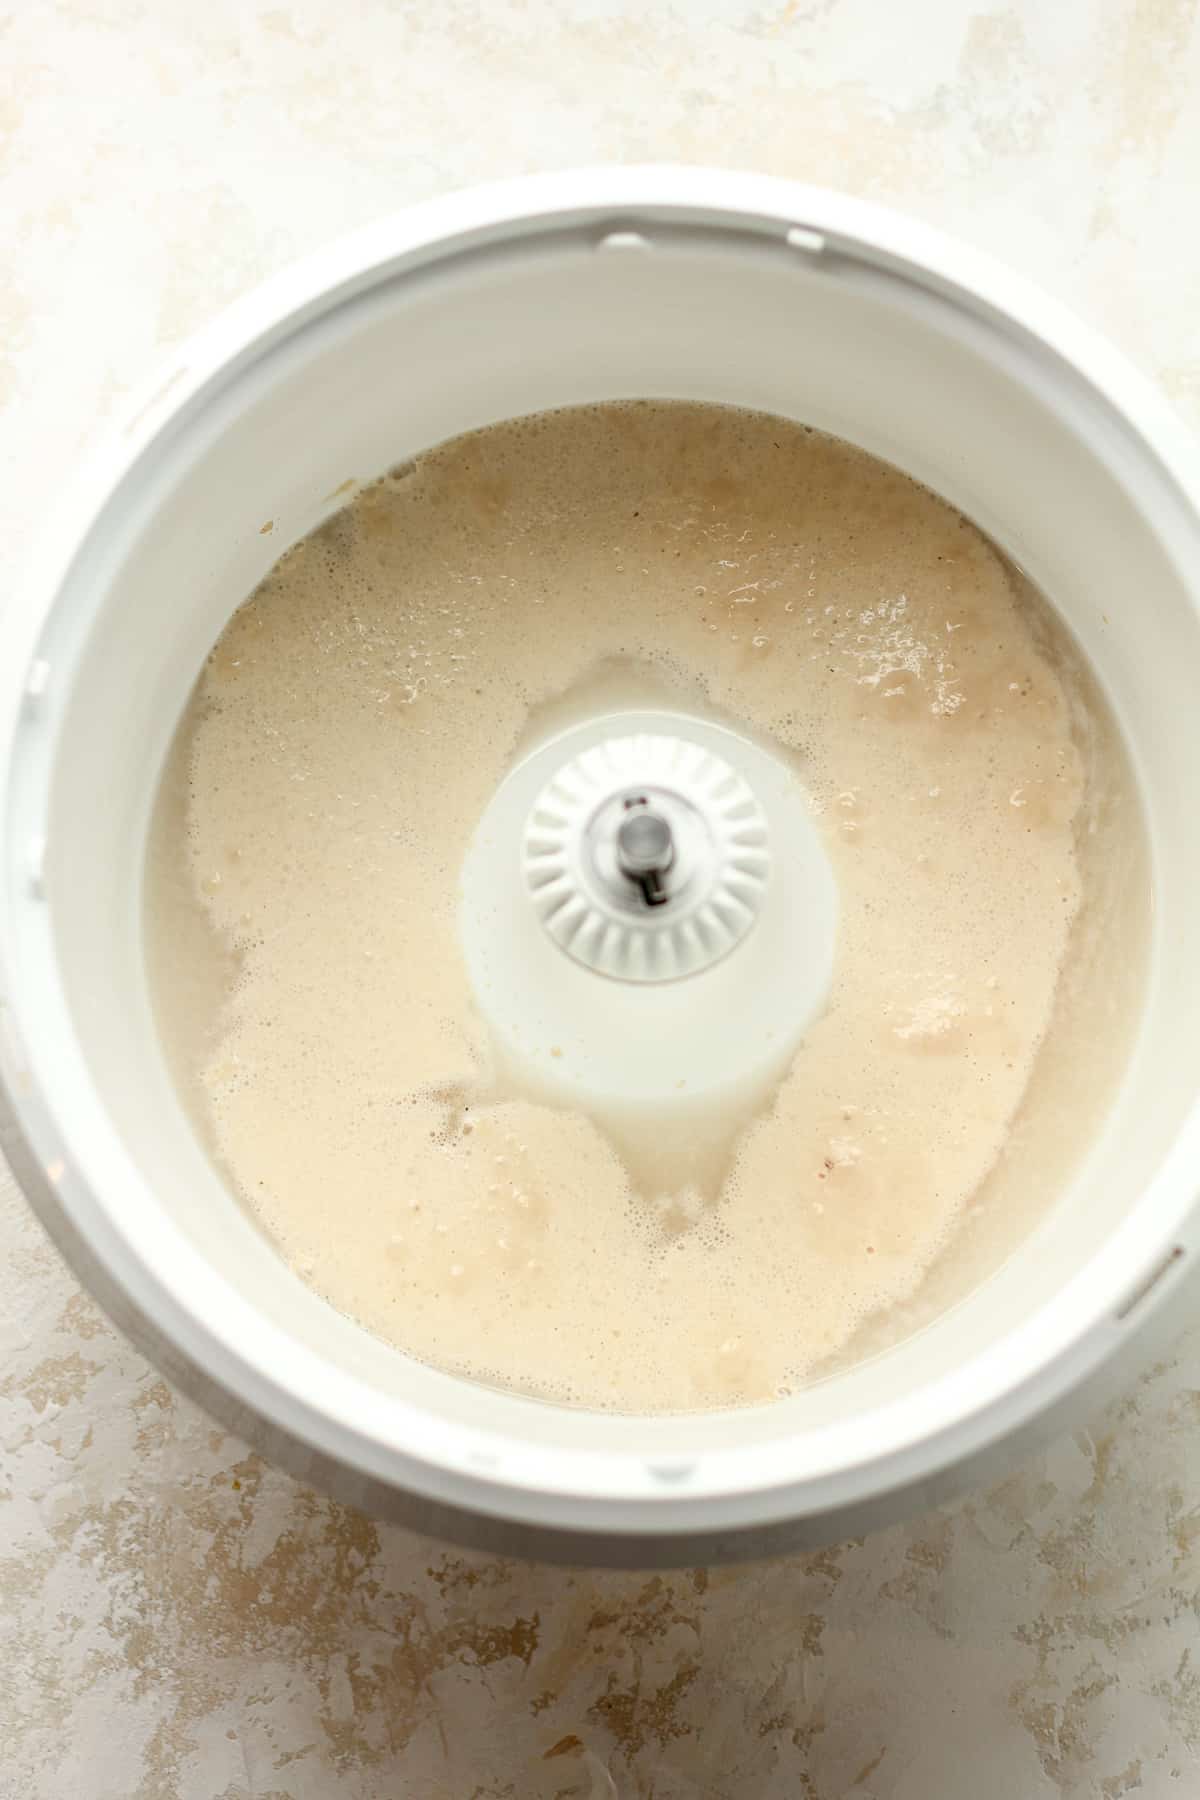
Step 1
Activate the yeast. Using a large standing mixer, combine the yeast, sugar, and warm water. Take a spatula, and stir it around a couple of times. Then let it sit for about 15 minutes so that the yeast activates. You should see a bubbly yeast mixture when it’s ready. See below.
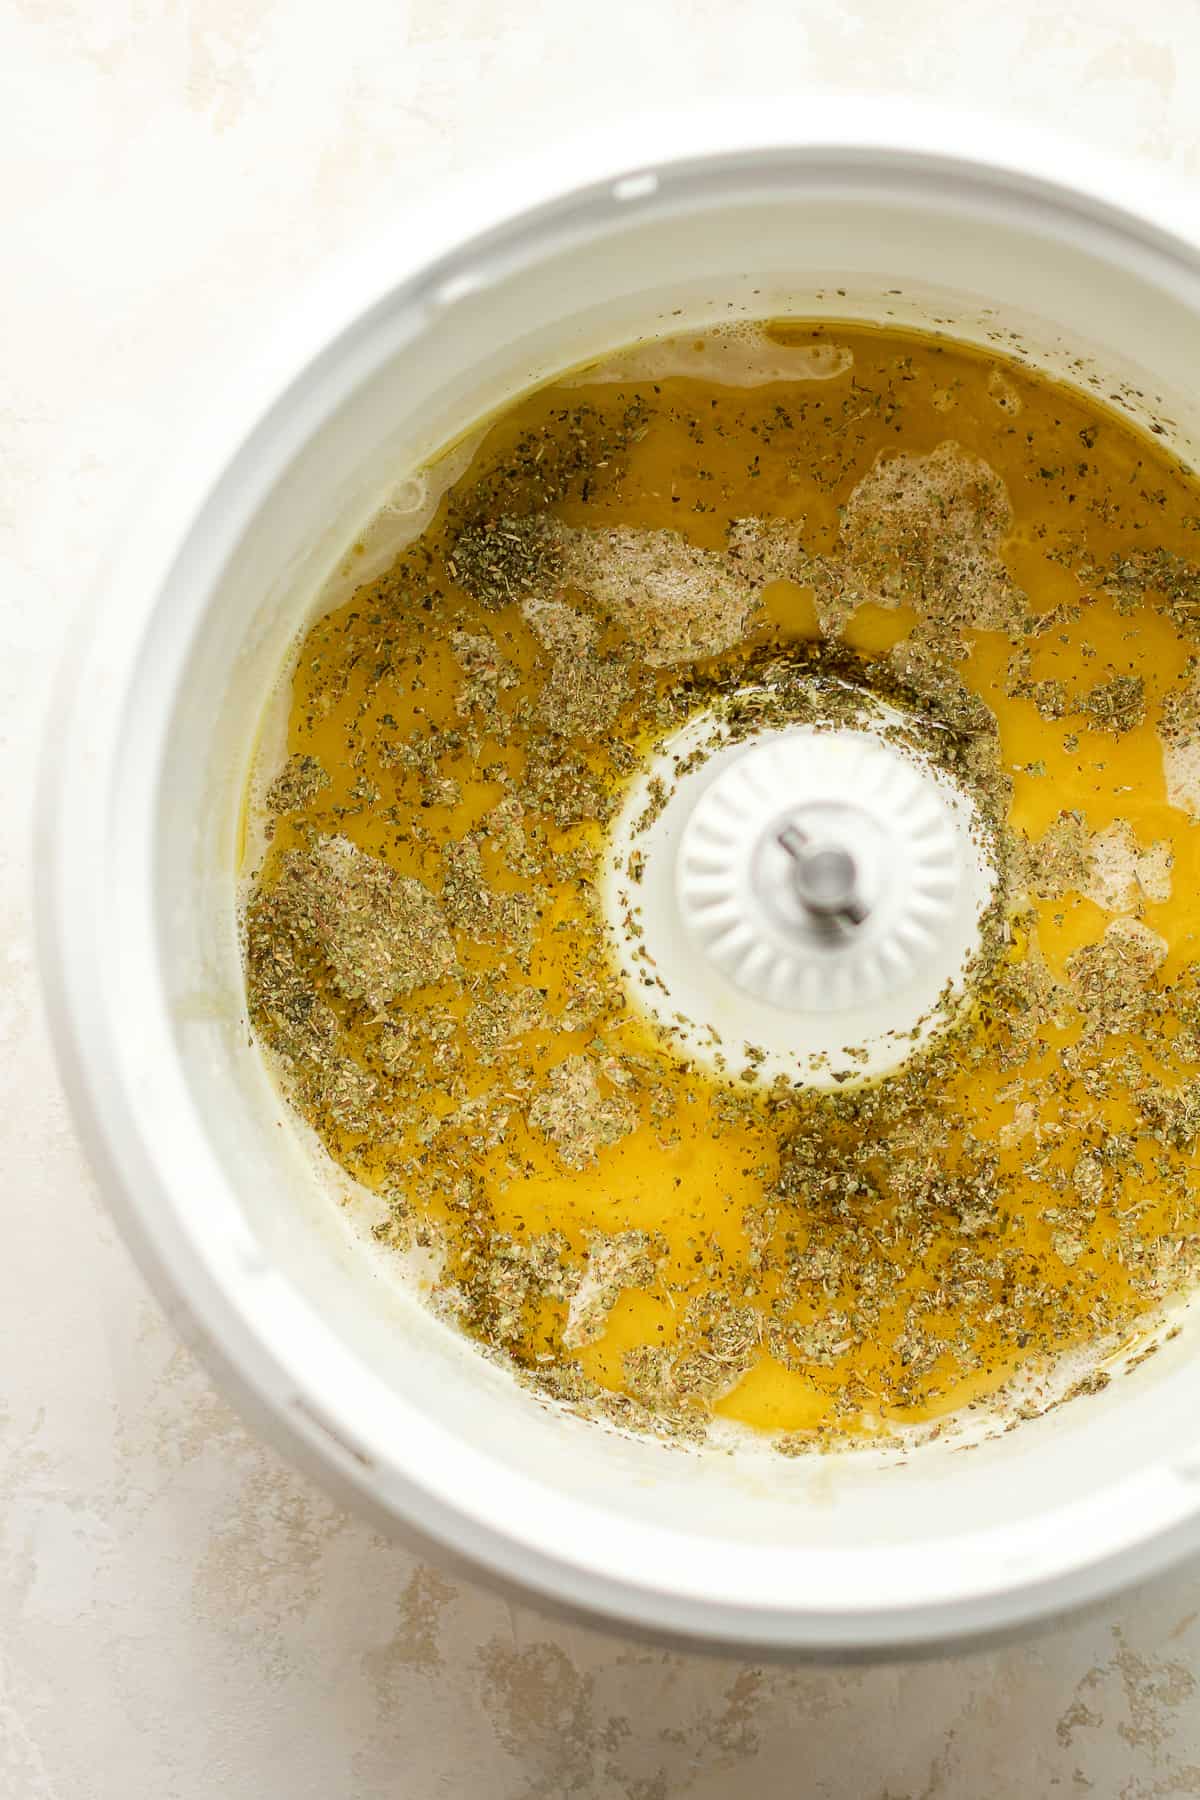
Step 2
Add oil and seasonings. Then add the olive oil, kosher salt, and Italian Seasoning. Stir again.
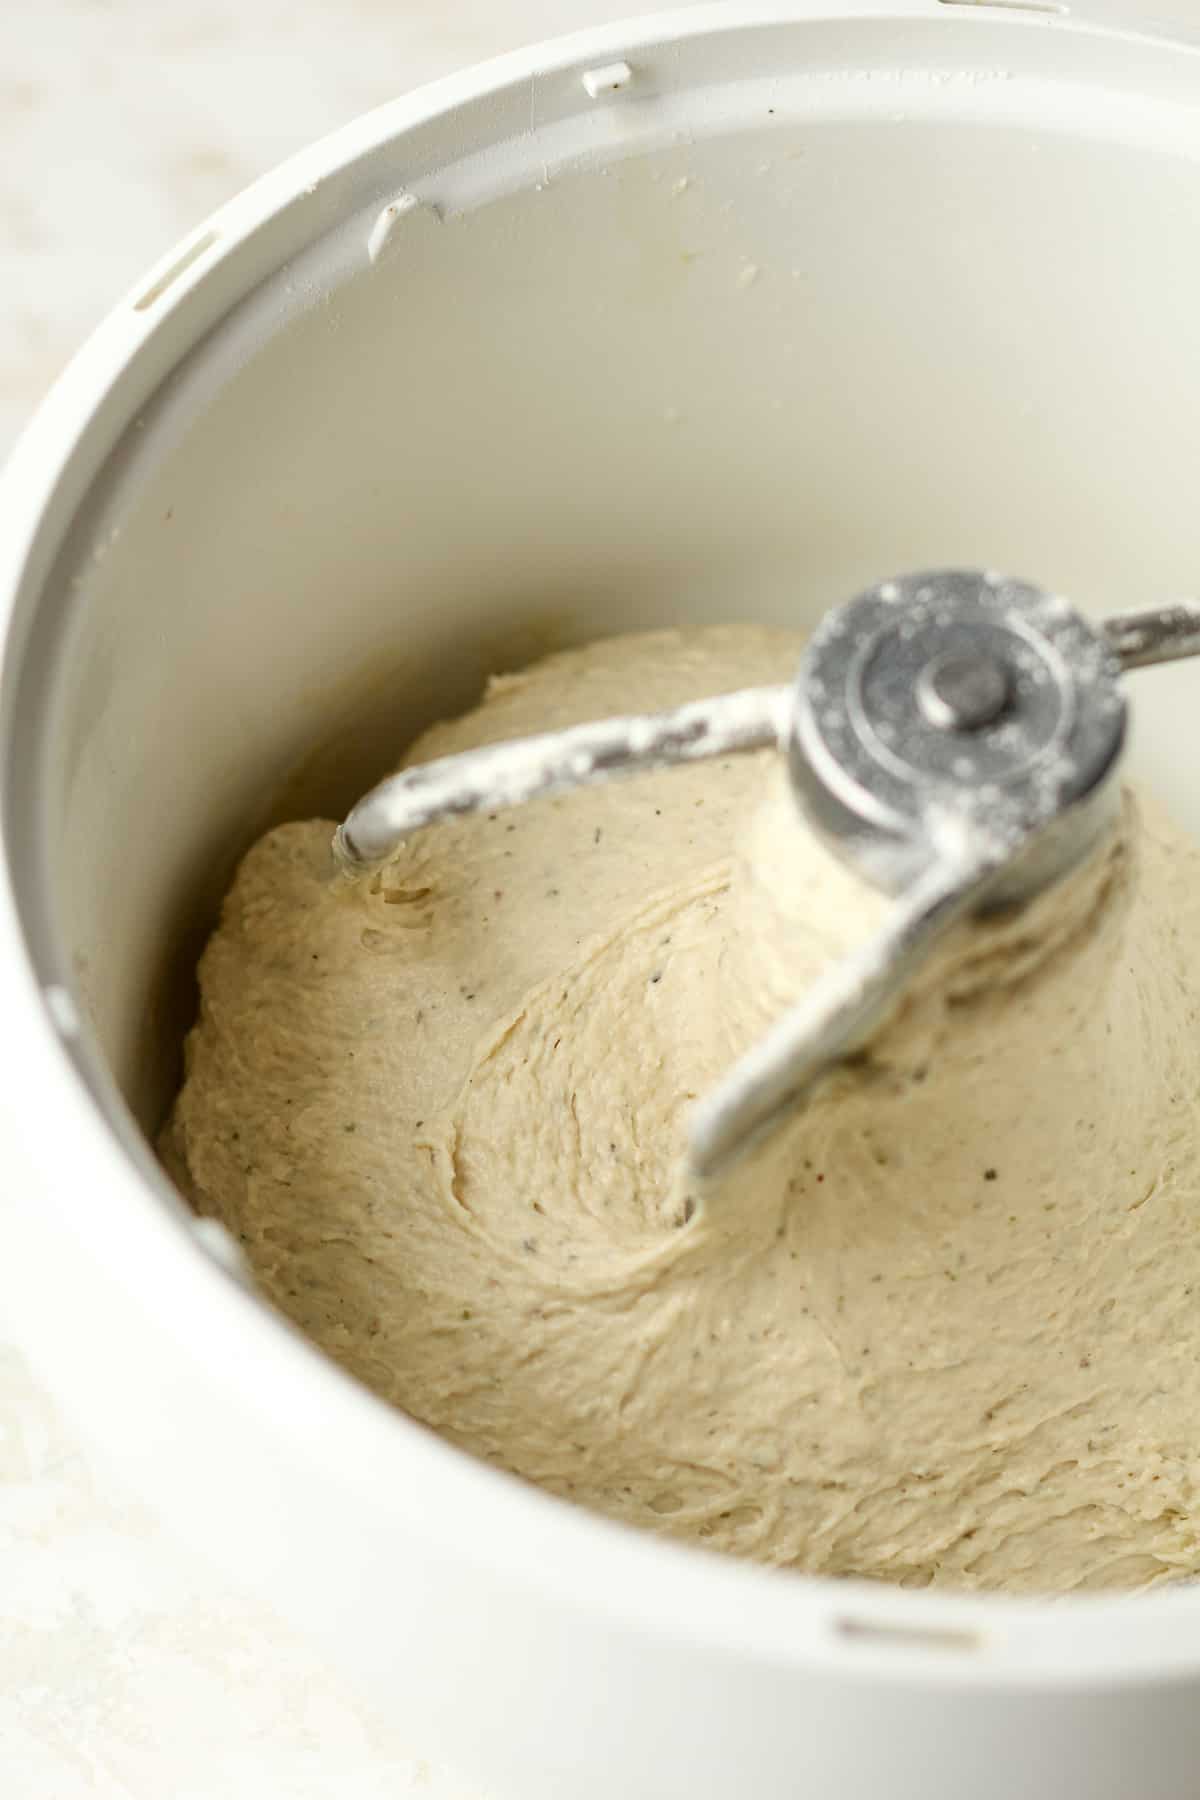
Step 3
Add flour to desired consistency. Add a dough hook attachment to the mixer and add the bread flour. Turn the mixer on medium speed and occasionally scrape down the sides of the bowl with a spatula. Gradually add the all-purpose flour until you get a nice dough consistency. It should be slightly sticky, but easy to handle.
** If you weigh the ingredients in grams, you will be able to get a more consistent dough. When I weighed the ingredients, I used about 695 grams of flour (or just under 6 cups). Precise measurements are a HUGE factor, but it’s not a requirement.
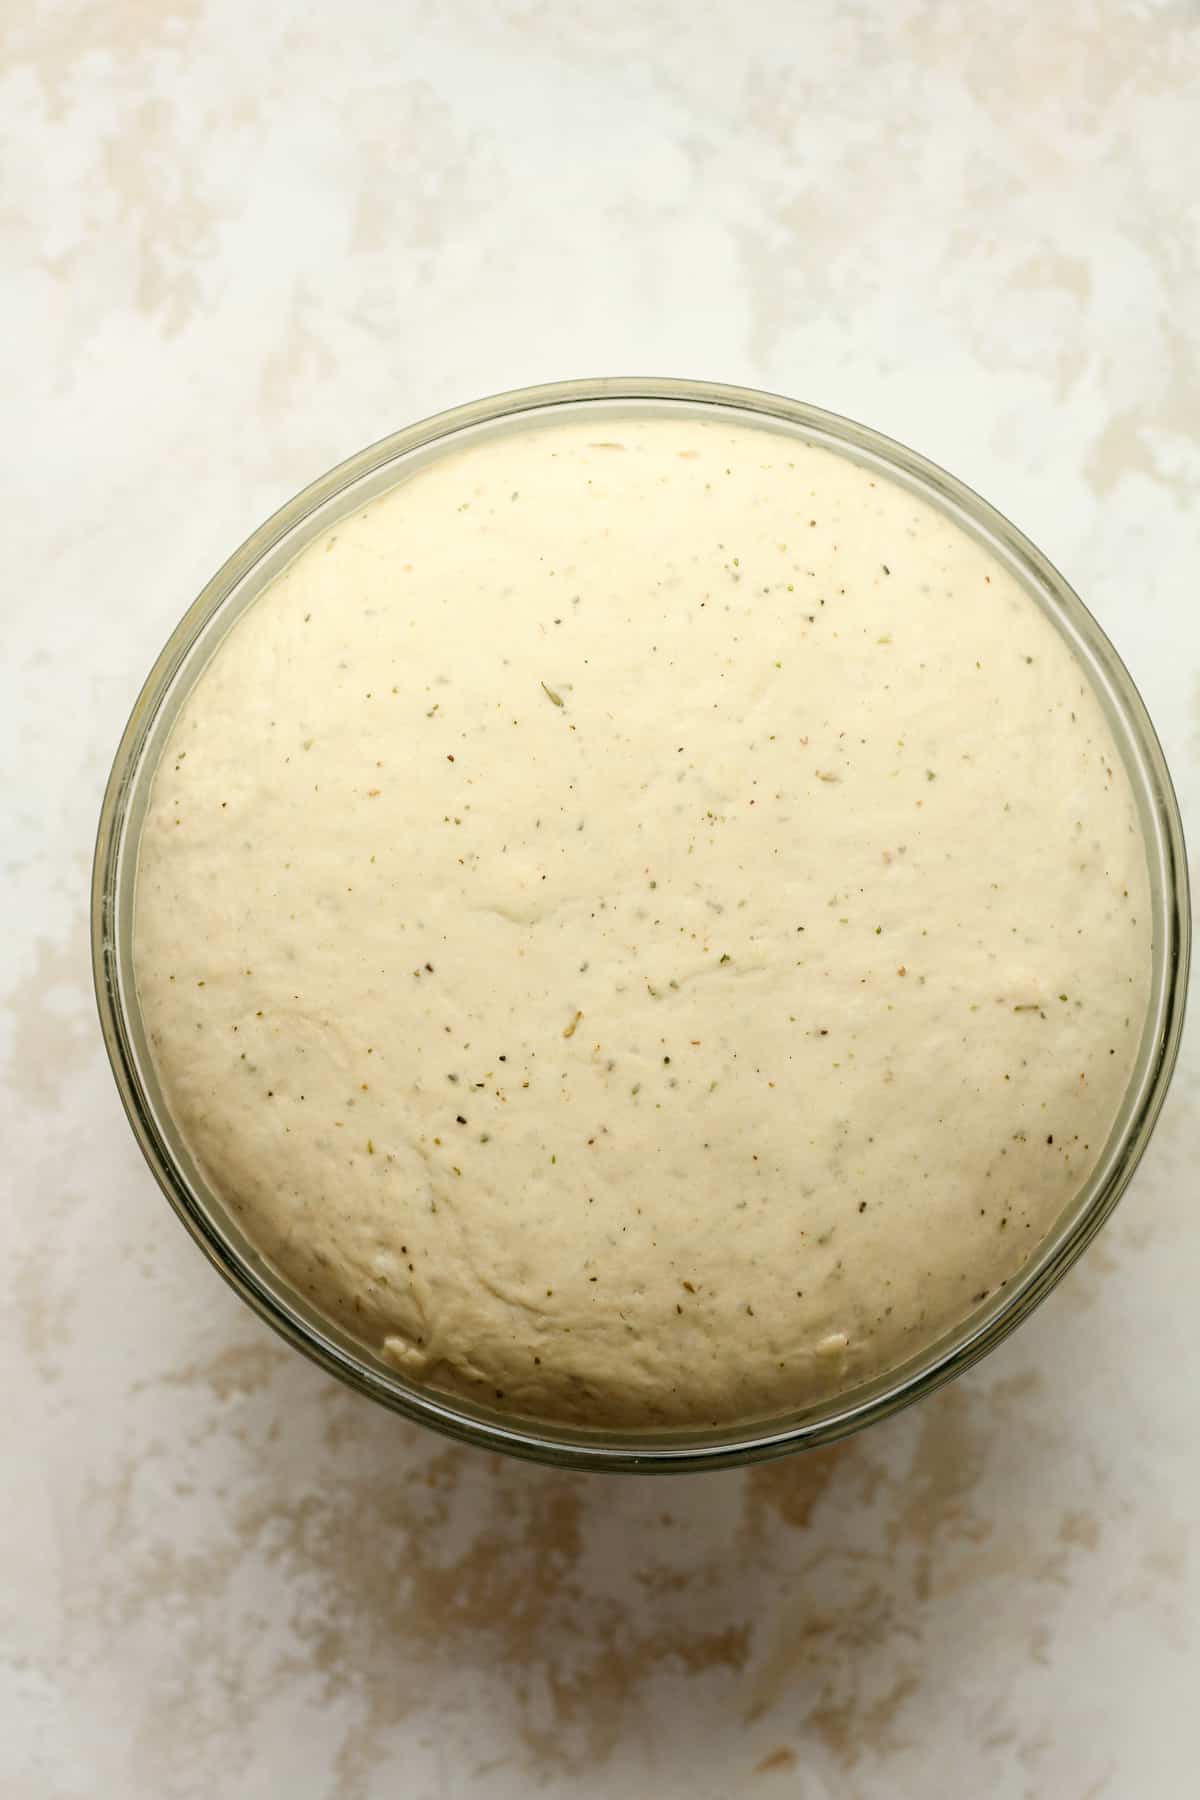
Step 4
Let the dough rise. Grease a large bowl with olive oil. Remove the dough from the mixer, and form it into a ball. Then place it in the oiled bowl, and cover it with a clean kitchen towel.
Place the bowl in a warm place in your kitchen and let rise until approximately doubled in size. The rise may be different each time, and will vary depending on several factors – the climate you live in, the temperature of your home, the season of the year, and the quality of your ingredients.
Step 5
Form loaves of bread. Once the bread rises, it’s time to form the dough into desired shapes. Prepare two jelly roll pans with baking spray or parchment paper. (See below for my favorite pans.) Add a little oil to a pastry mat or a large flat surface (a cutting board works too), and form sections of dough into two oblong shapes for large loaves (or you can make hoagie rolls too). Gently place dough shapes on the pans.

Step 6
Let rise again. Cover pans with clean dish towels, and let it rise again, until almost doubled in size.
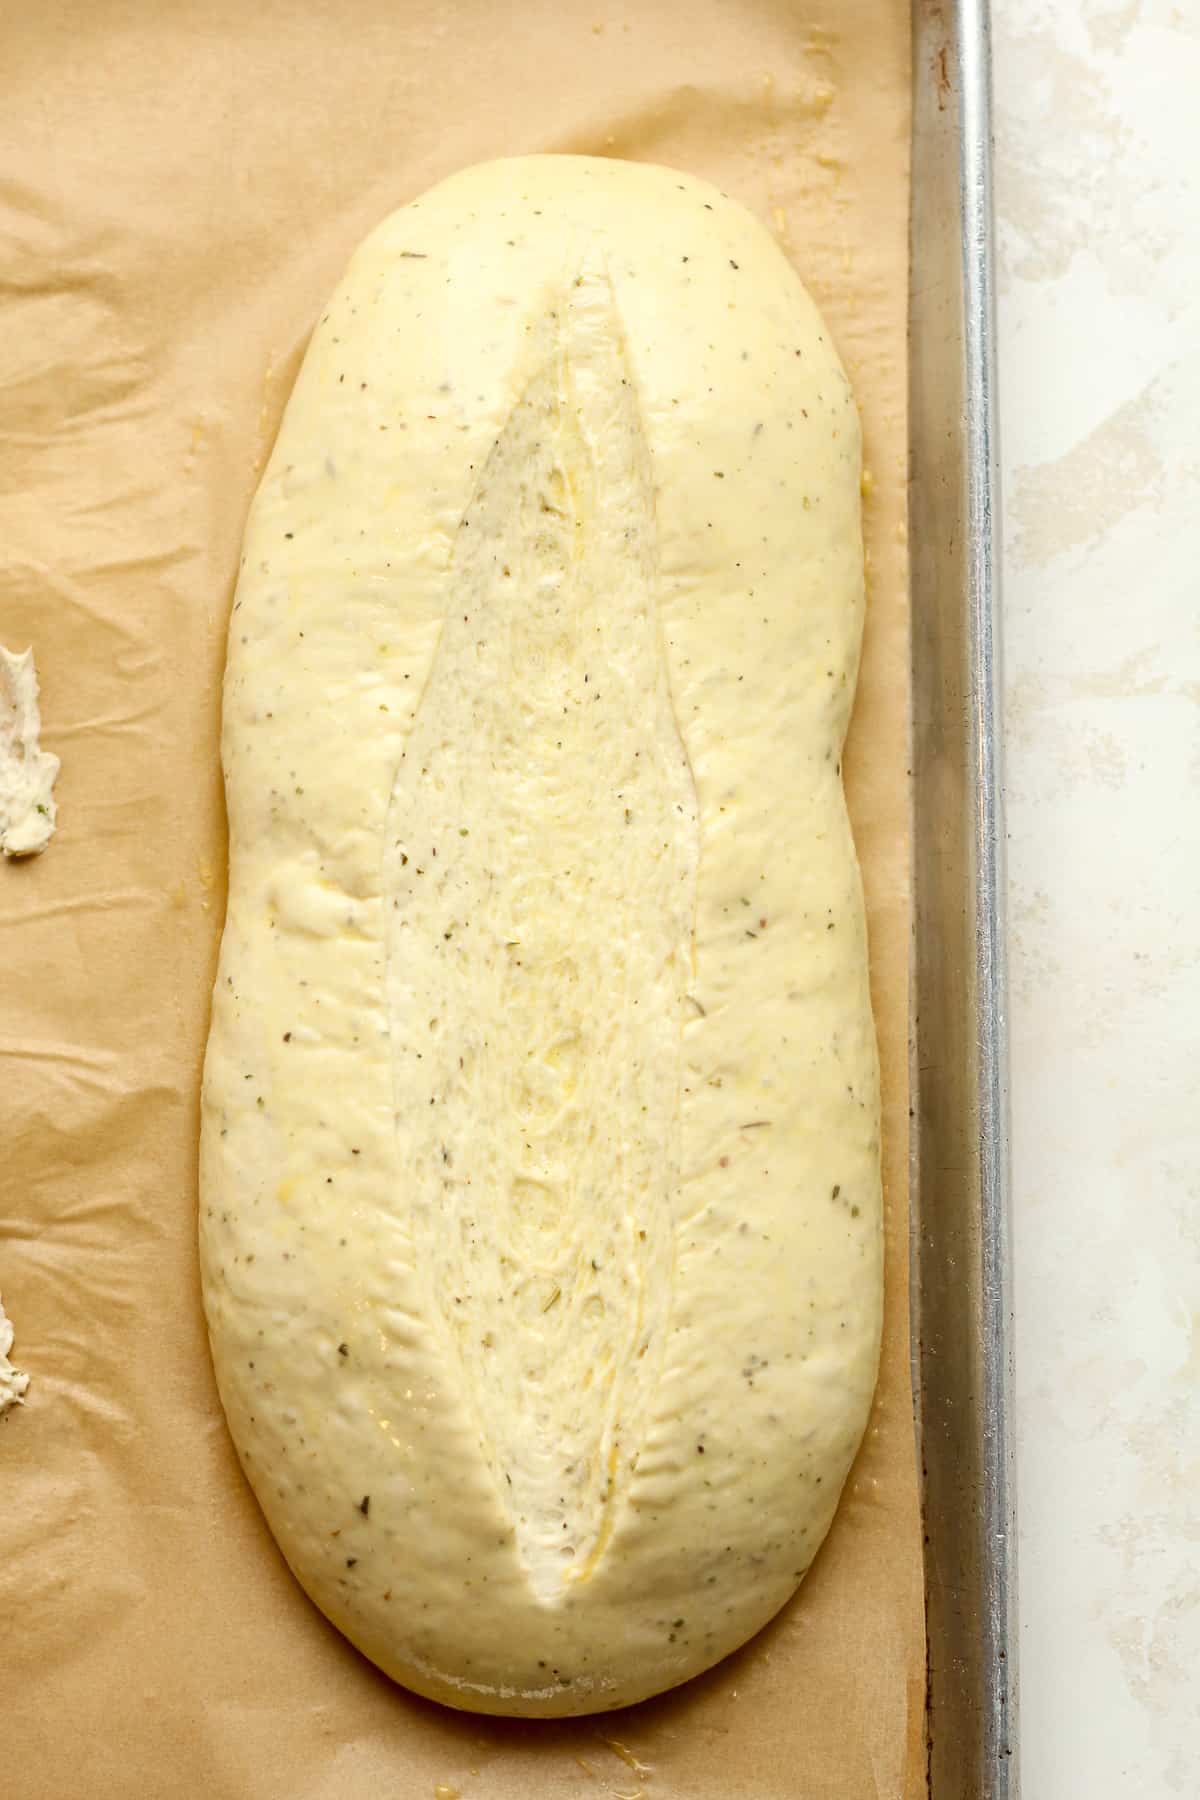
Step 7
Prepare for baking. Use a sharp serrated edge knife to gently cut one large slit along the tops of each dough. Beat one large egg (with a splash of water), and using a pastry brush, spread a thin layer over the tops of the dough. Add a sprinkle of Italian Seasoning to the tops.
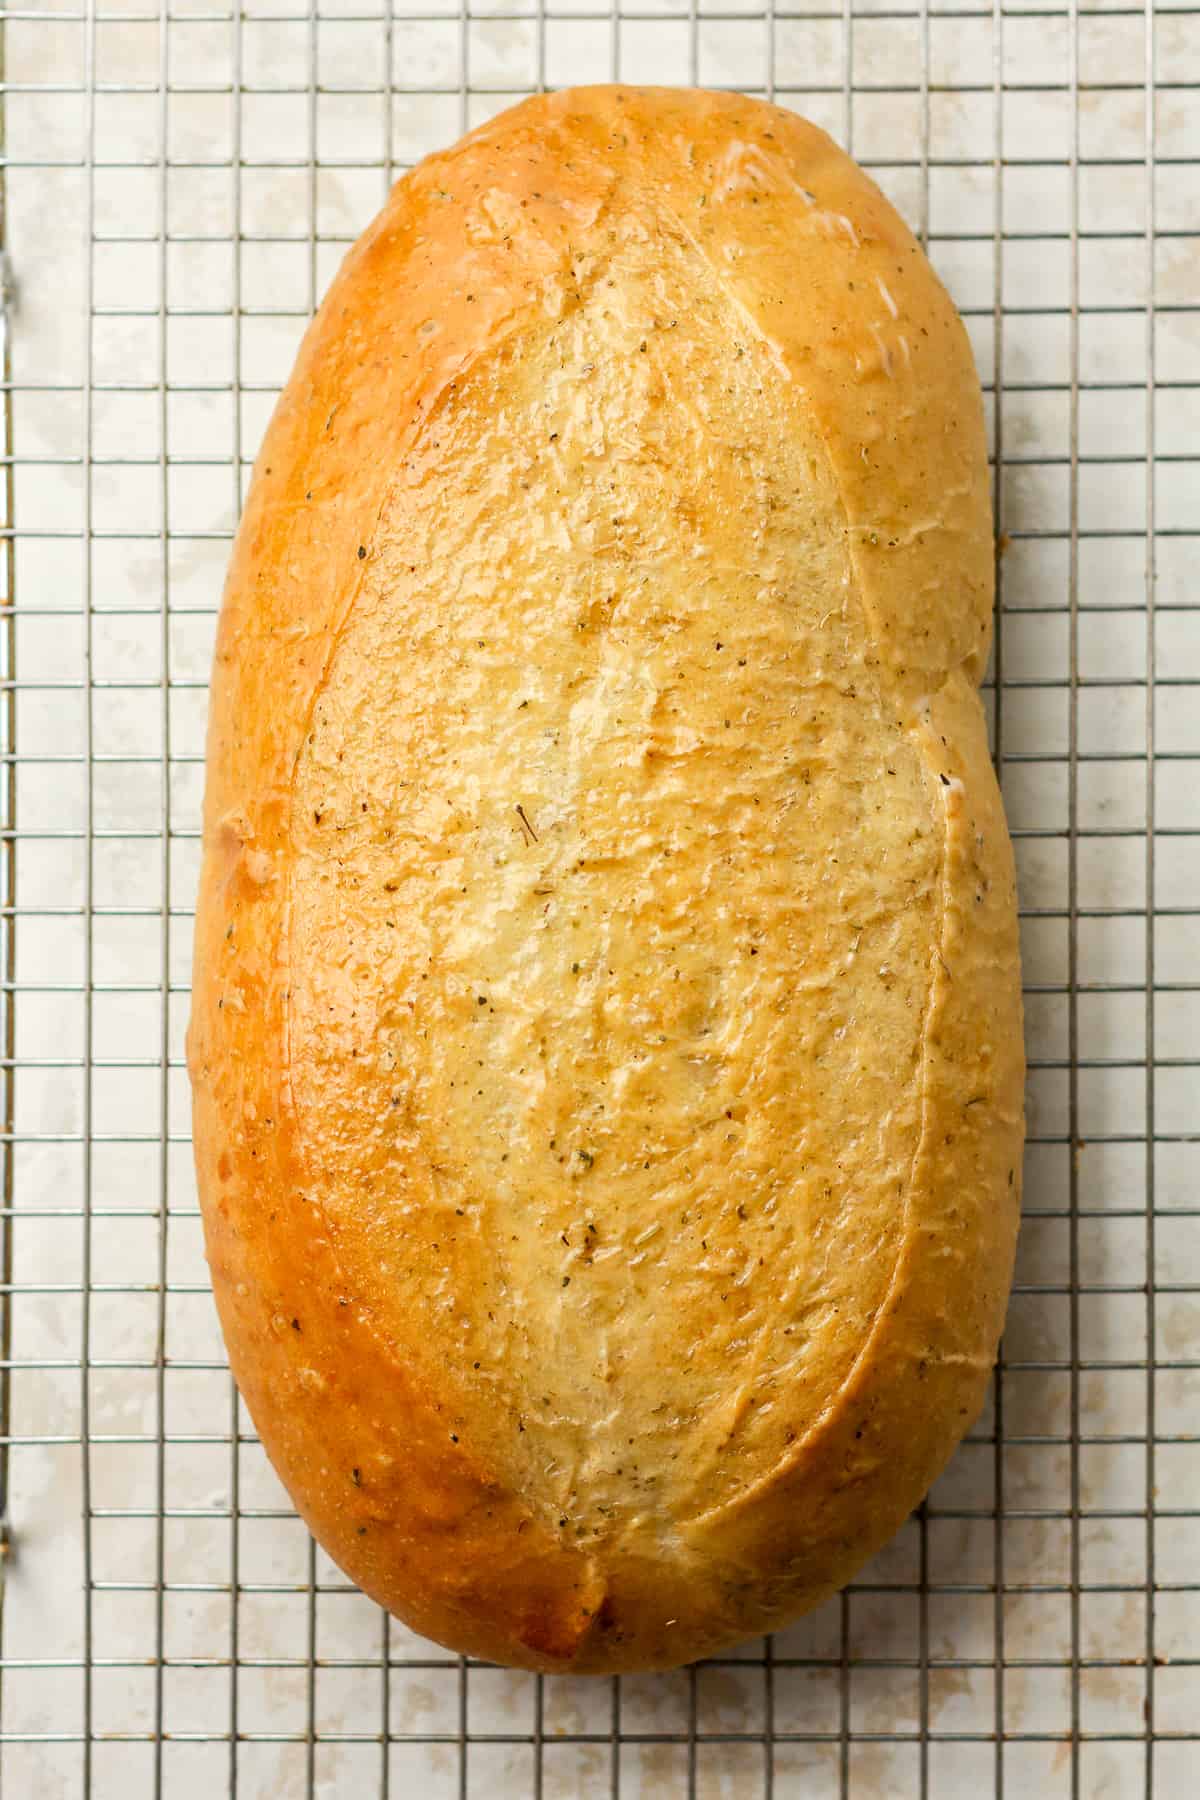
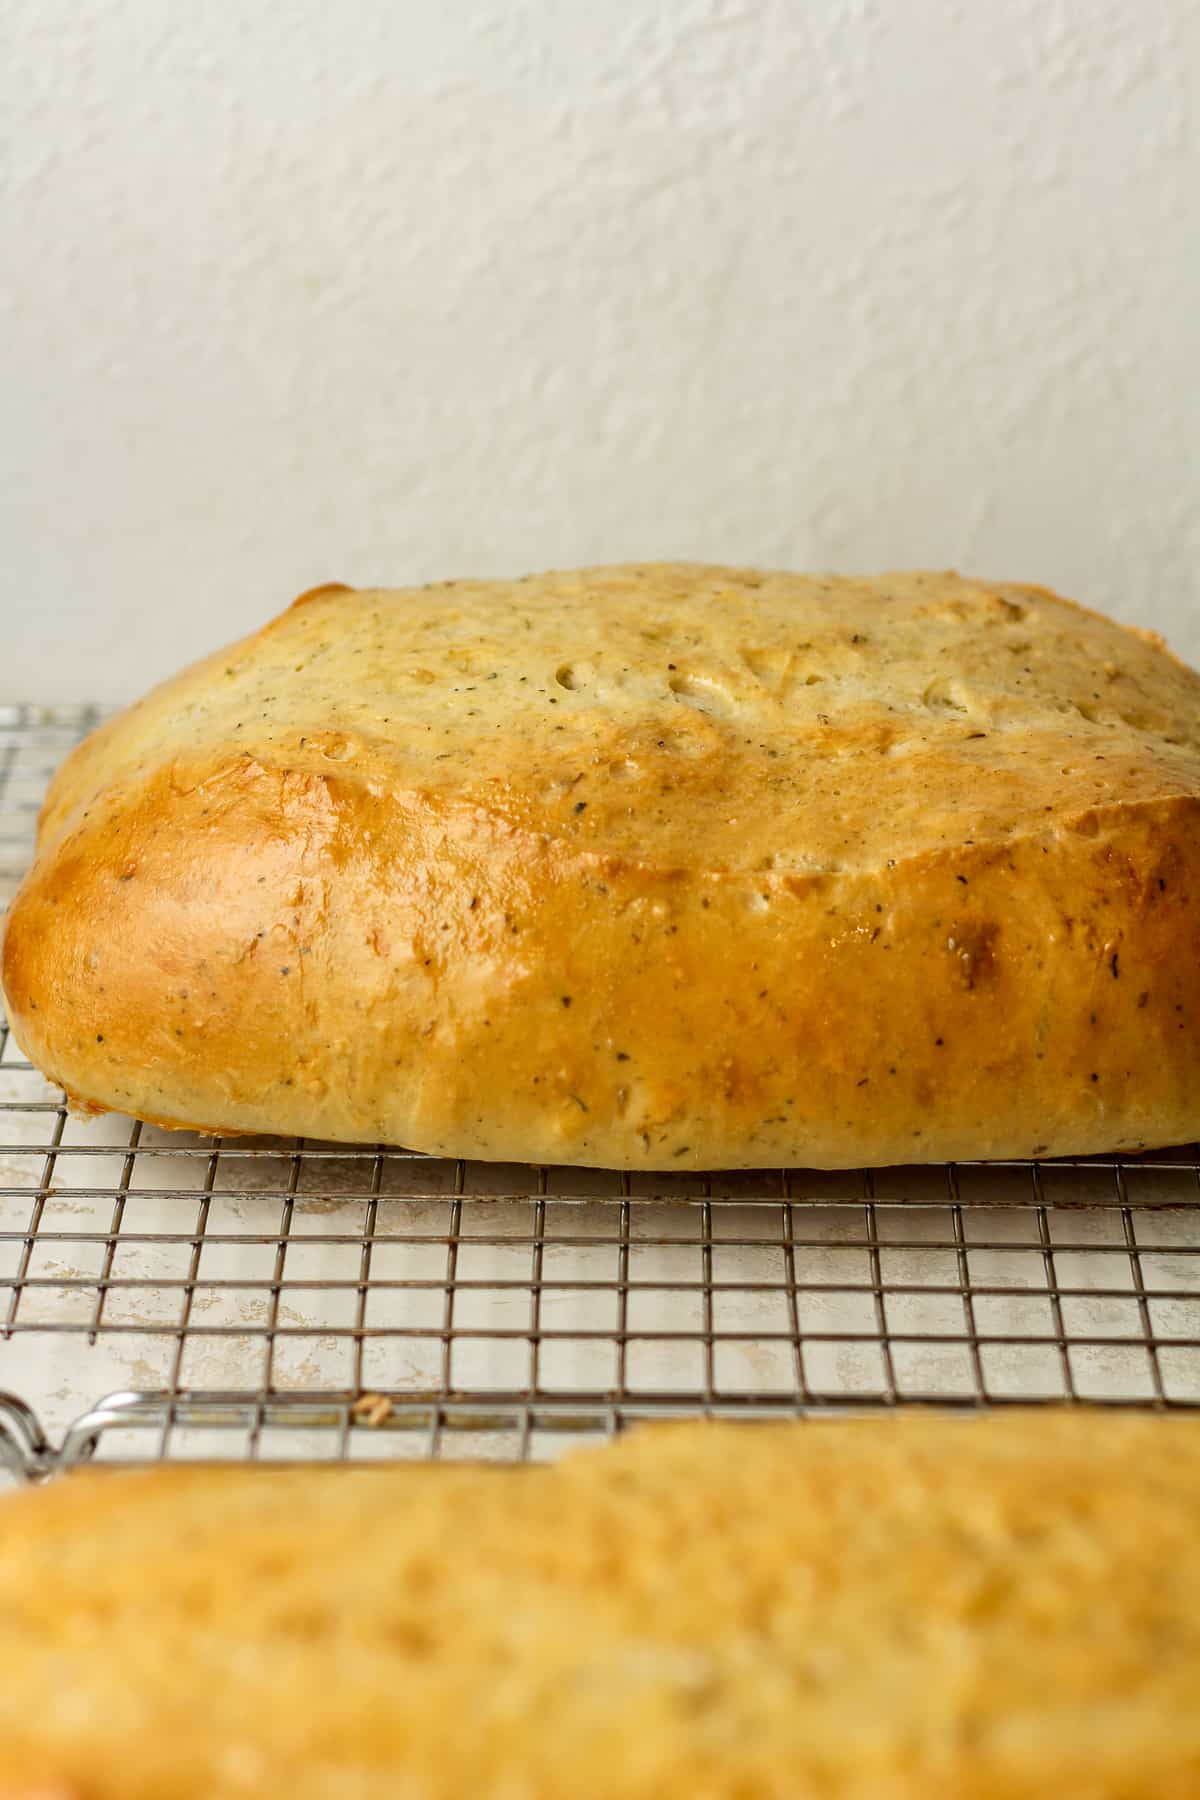
Step 8
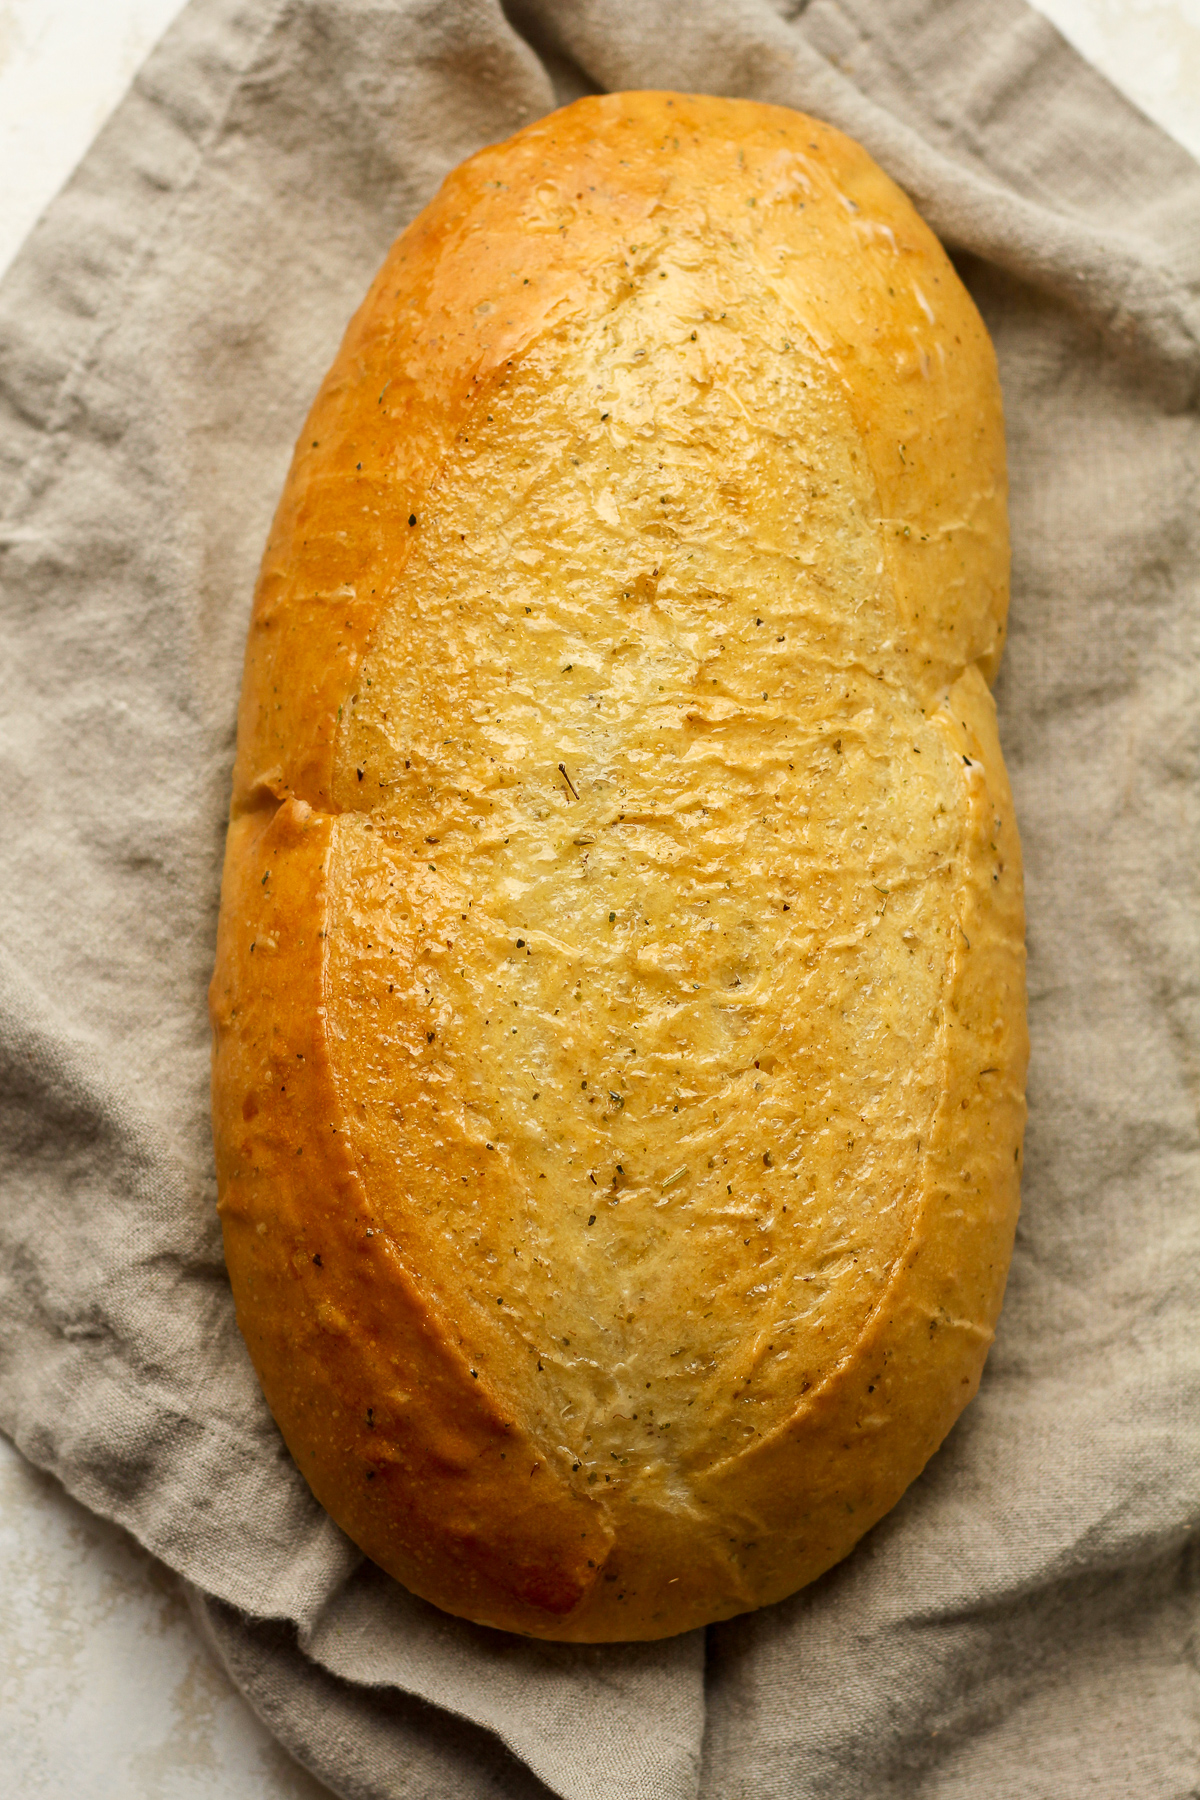
Bake. Bake bread in a preheated 375 degree oven, until done, approximately 25 minutes. The bottoms should be slightly browned, and the tops a nice golden brown. Remove bread to a cooling rack.
Practice makes perfect. The more you make this Italian Herb Bread recipe, the easier it will become, and you will learn to “feel” what consistency works best for you when working with dough.
Possible Variations:
- Instead of Italian Seasoning, use a blend of fresh herbs. You could also add a little bit of garlic powder, onion powder, and/or parmesan cheese to the top of the dough before baking.
- Feel free to play with the ratio of regular all-purpose flour to bread flour. I would not recommend using whole wheat flour, however.
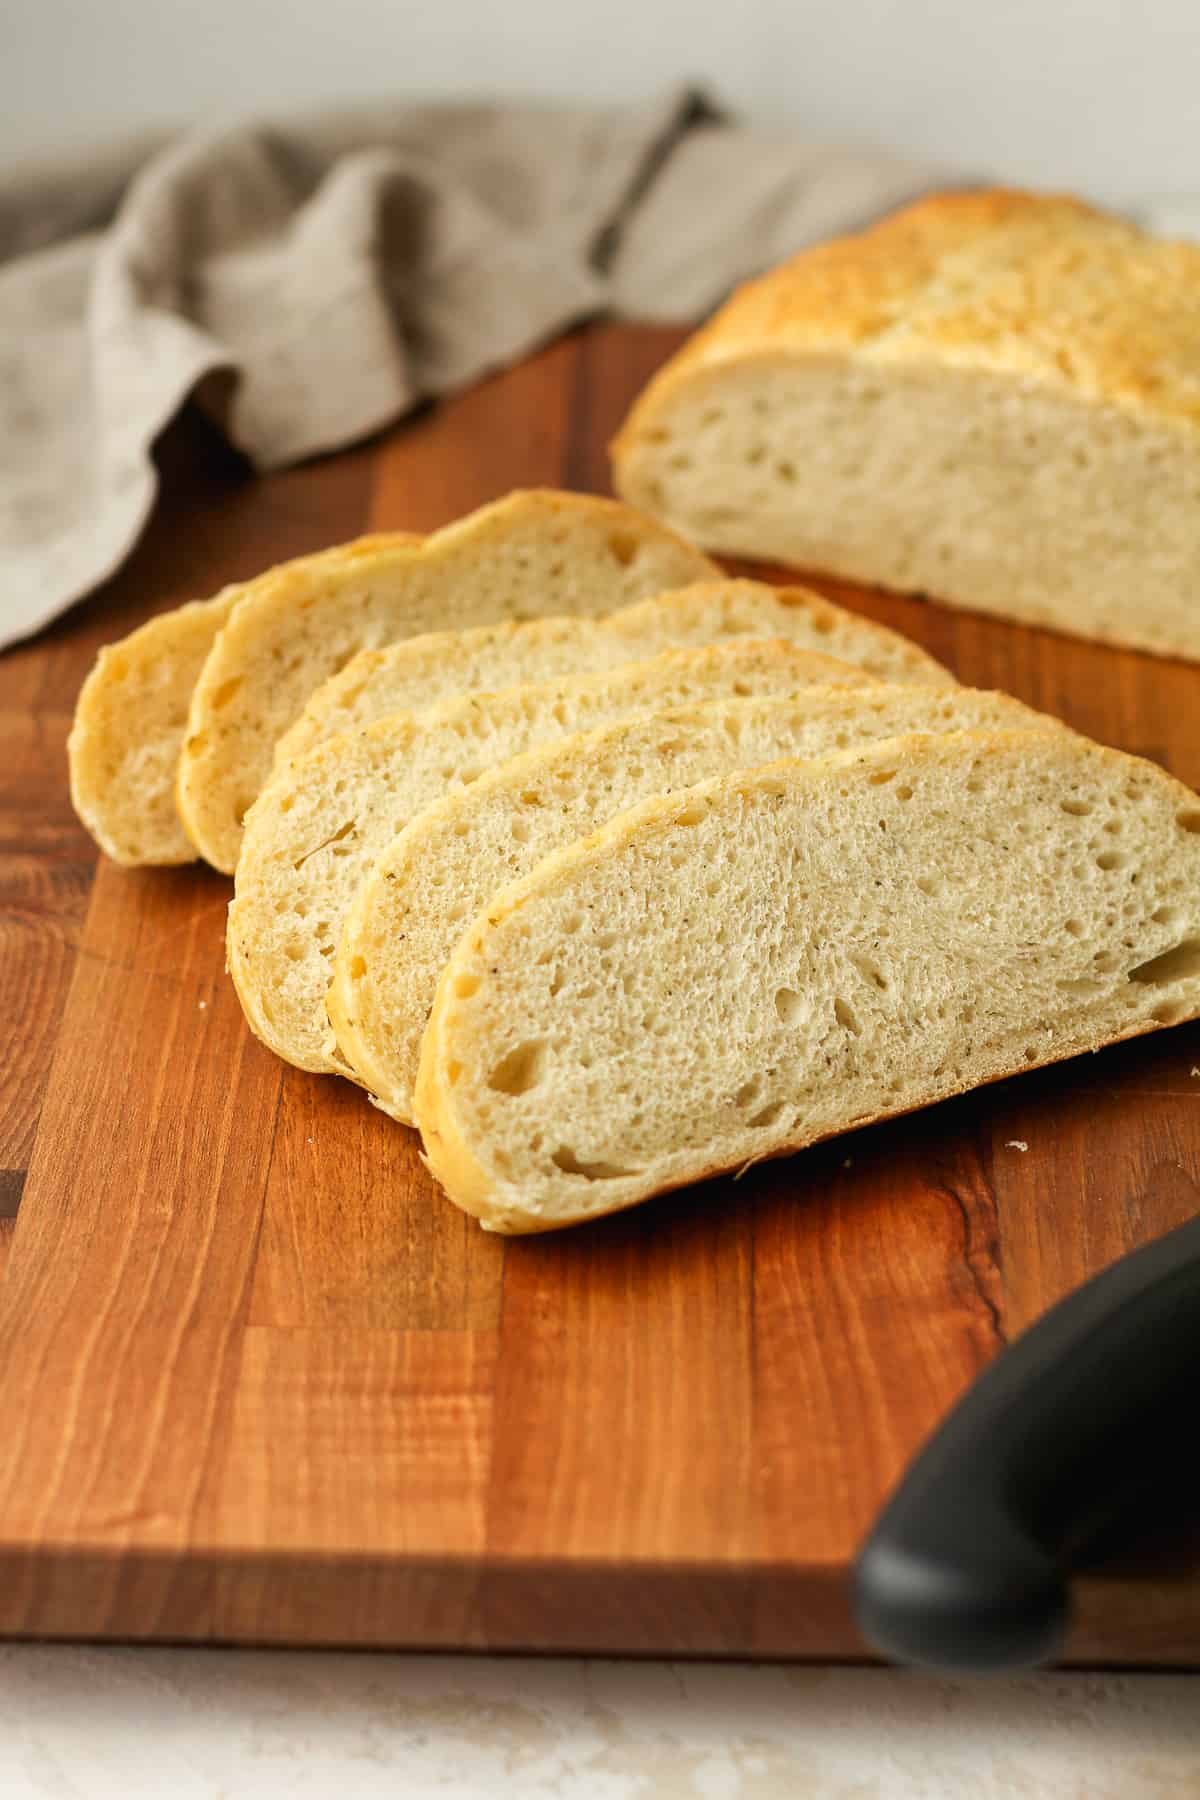
- Use a loaf of bread to make cheese bread. Simply make thin slices it in both directions (not all the way through), stuff some grated cheese inside, drizzle with olive oil, and bake again. So delicious and a perfect complement to any meal!
Storing and Freezing
- Storing Tip: This bread is best fresh the first day! It can be stored in airtight bags at room temperature for 2-3 days.
- Freezing Tip: You can freeze this bread in freezer bags for up to three months.
Ways to serve Italian Herb Bread:
- Use it for our Italian Grinder Sandwich (see below).
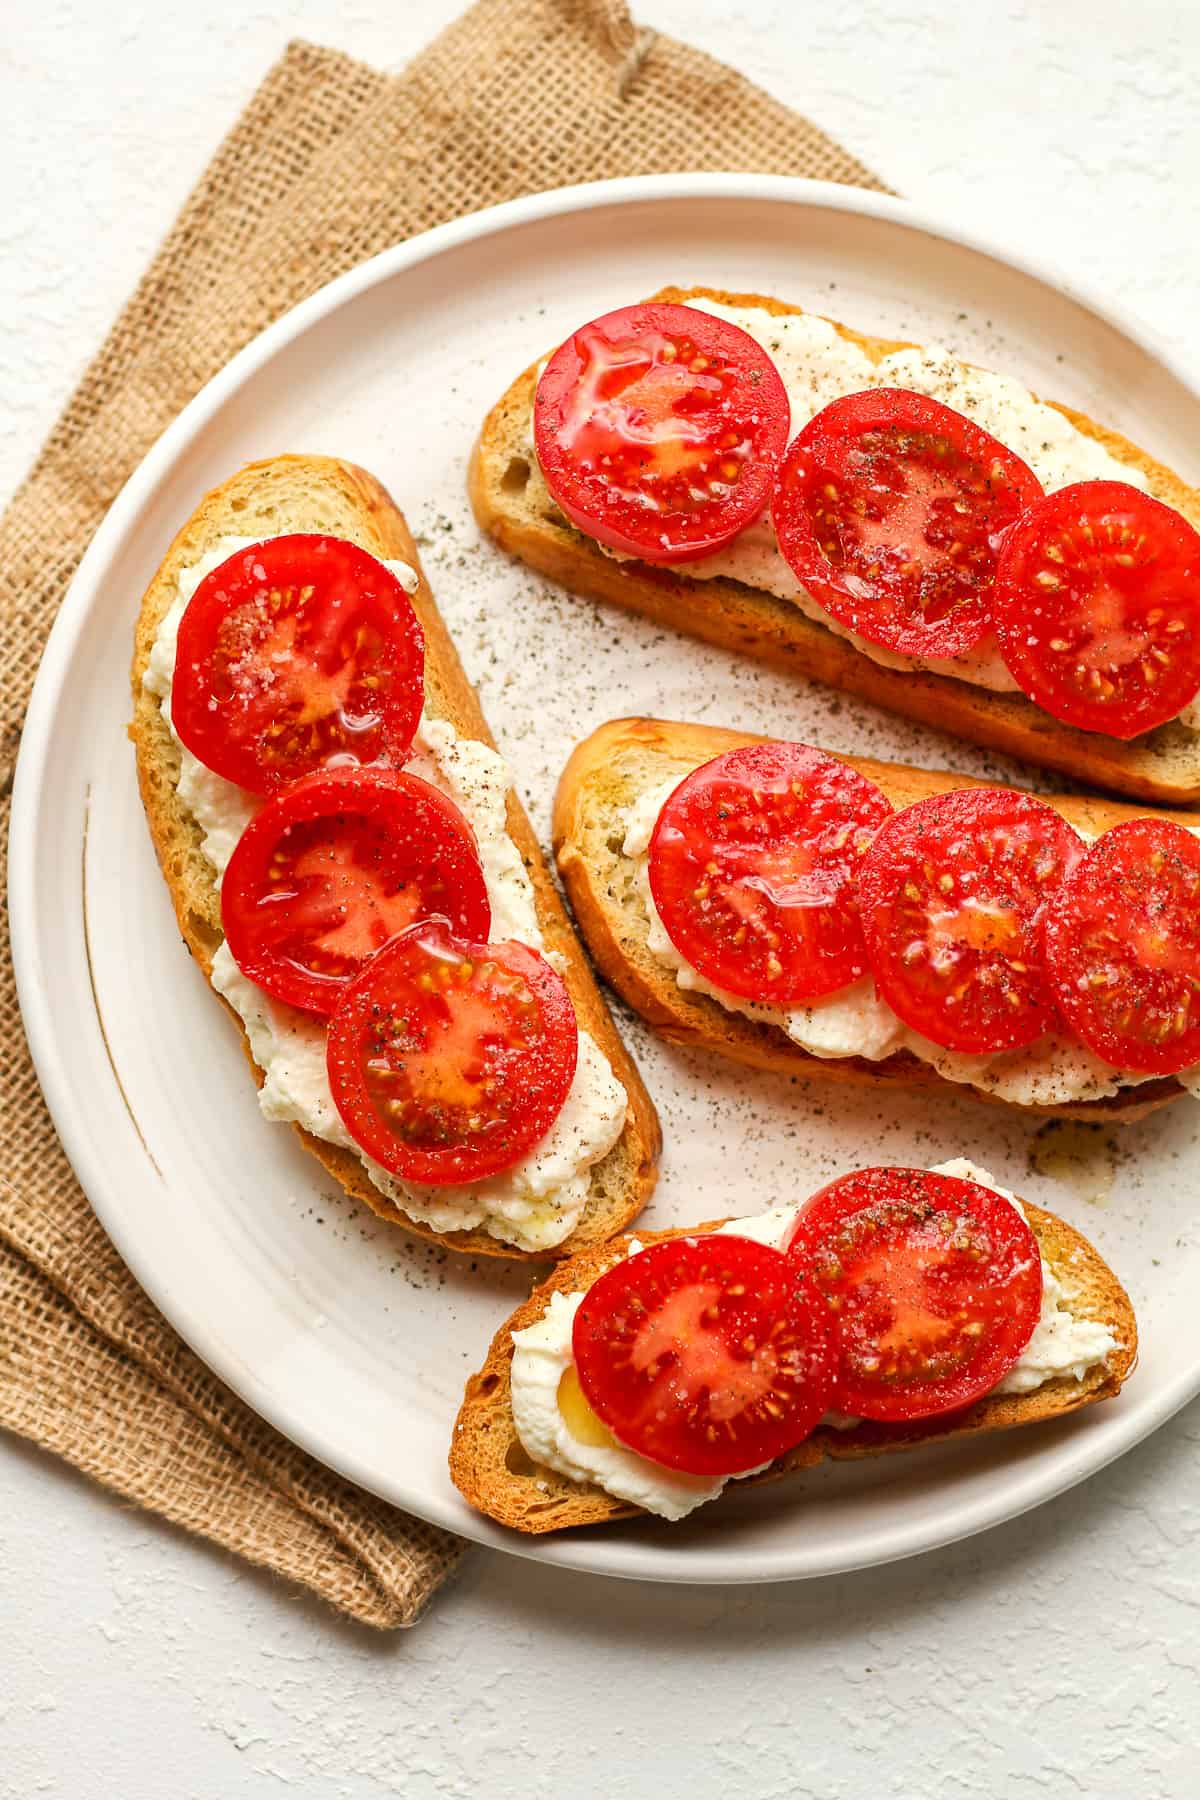
- Serve it as the base for crostini appetizers.
- Dip it in all of the soups! Try our Italian Minestrone Soup with Pesto, Turkey Lasagna Soup, or Turkey Meatball Italian Wedding Soup!
- Toast it and add your favorite toppings – butter, any cheese, jams, fruit, and the list goes on.
Other Delicious Bread Recipes:
Bread is my jam, so to speak. Let’s try some other delicious recipes.
Kitchen Tools Used: (affiliate links)
xoxo ~Sue

Italian Herb Bread
Ingredients
- 17 grams yeast 1 Tablespoon
- 9 grams granulated sugar 2 teaspoons
- 472 grams warm water (100-110 degrees F) 2 cups
- 72 grams olive oil 1/3 cup
- 2 teaspoons kosher salt
- 2 teaspoons Italian Seasoning
- 360 grams bread flour 3 cups
- 335 grams all-purpose flour 2 3/4 cups
Instructions
- In large standing mixer, combine the yeast, sugar, and warm water. Be careful to use warm water, not hot.17 grams yeast, 9 grams granulated sugar, 472 grams warm water (100-110 degrees F)
- Stir with a spatula and let sit for about 15 minutes to get the yeast working.
- Add the olive oil, salt, and Italian Seasoning – and stir again.72 grams olive oil, 2 teaspoons kosher salt, 2 teaspoons Italian Seasoning
- Attach the dough hook and add the bread flour. Start the mixer on medium speed and let the flour absorb.360 grams bread flour
- Then add a cup of all-purpose flour and mix again. Gradually add additional all-purpose flour until you get just the right consistency. You want the dough to be soft but not too sticky.335 grams all-purpose flour
- Grease a large bowl with olive oil and add the dough. Form the dough into a nice smooth ball. Cover with a clean dishtowel and set it in a warm corner of your kitchen. Let the dough rise until doubled in size.
- Form dough into two large oblong shapes (or you can make several smaller loaves or even buns). Place on two large sheet pans prepared with parchment paper. Cover with a towel and let rise again, about 30-40 minutes.
- Cut a long slit along the top of the loaves with a serrated-edge knife. Mix one egg and a splash of water – and brush this mixture on top of the loaves. Add a sprinkle of Italian Seasoning to the tops, if desired.
- Bake on 375 degrees for 25-30 minutes or until the bottom is slightly brown, and top is nice and golden brown. Remove and let cool on baking rack.
Notes
Storing and Freezing
- Storing Tip: This bread is best fresh the first day! It can be stored in airtight bags at room temperature for 2-3 days.
- Freezing Tip: You can freeze this bread in freezer bags for up to three months.
Tasty, but turned out a little dense. Used instant yeast as well. Everything else was fine, not sure if the mile-high altitude or maybe the yeast had that effect on it.
Hmmm, I’m not sure about that either. Thanks for giving it a try Ken!
How should the inside be like?
Can I bake this in a loaf pan?
Do I wait to put a slit in it until after the second rise?
Yes, after the second rise!
Bread makes an excellent side for ANY meal, and this one is full of great flavor. I must not have put enough egg wash on mine though, as it was still very pale when fully cooked.
Just used recipe for the first time. I used instant yeast. The bread was a bit, just a bit, doughy. In the over for 27 minutes, I will add another 5 minutes, which I believe will take care of the doughy feel. Easy recipe, and was great with a bit of butter and garlic seasoning before and during the meal. Thanks.
Thanks Nyal!
This bread was super easy to make and it was so flavorful! I used one loaf to make your giant Italian Grinder Sandwich (so good!) and I put the second loaf in the freezer. My kids liked the bread so much that they took the 2nd loaf out of the freezer the next day and ate it too!
So glad to hear that you enjoyed the bread, Cathy! 🙂 Thanks for your feedback!
Another amazing recipe! I love this for an appetizer.
Agreed!