Butterscotch Ice Cream
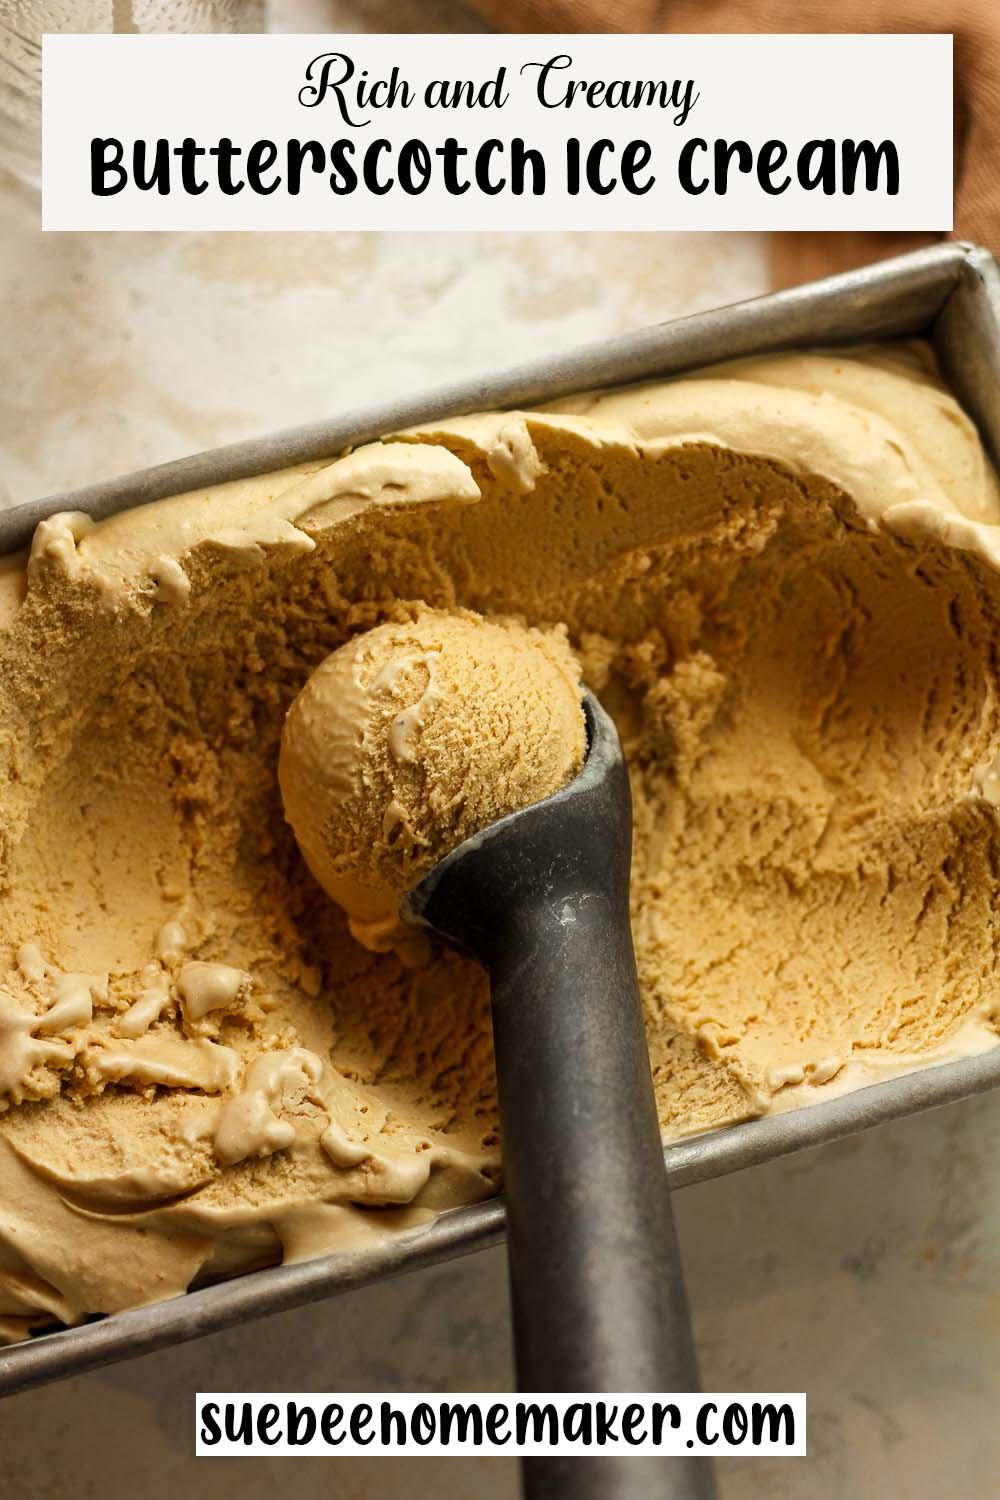
Butterscotch Ice Cream is a rich, creamy dessert infused with the buttery, caramel-like flavor of butterscotch. Each scoop offers a smooth, velvety texture with hints of brown sugar and vanilla, making it a perfect treat for any sweet tooth.
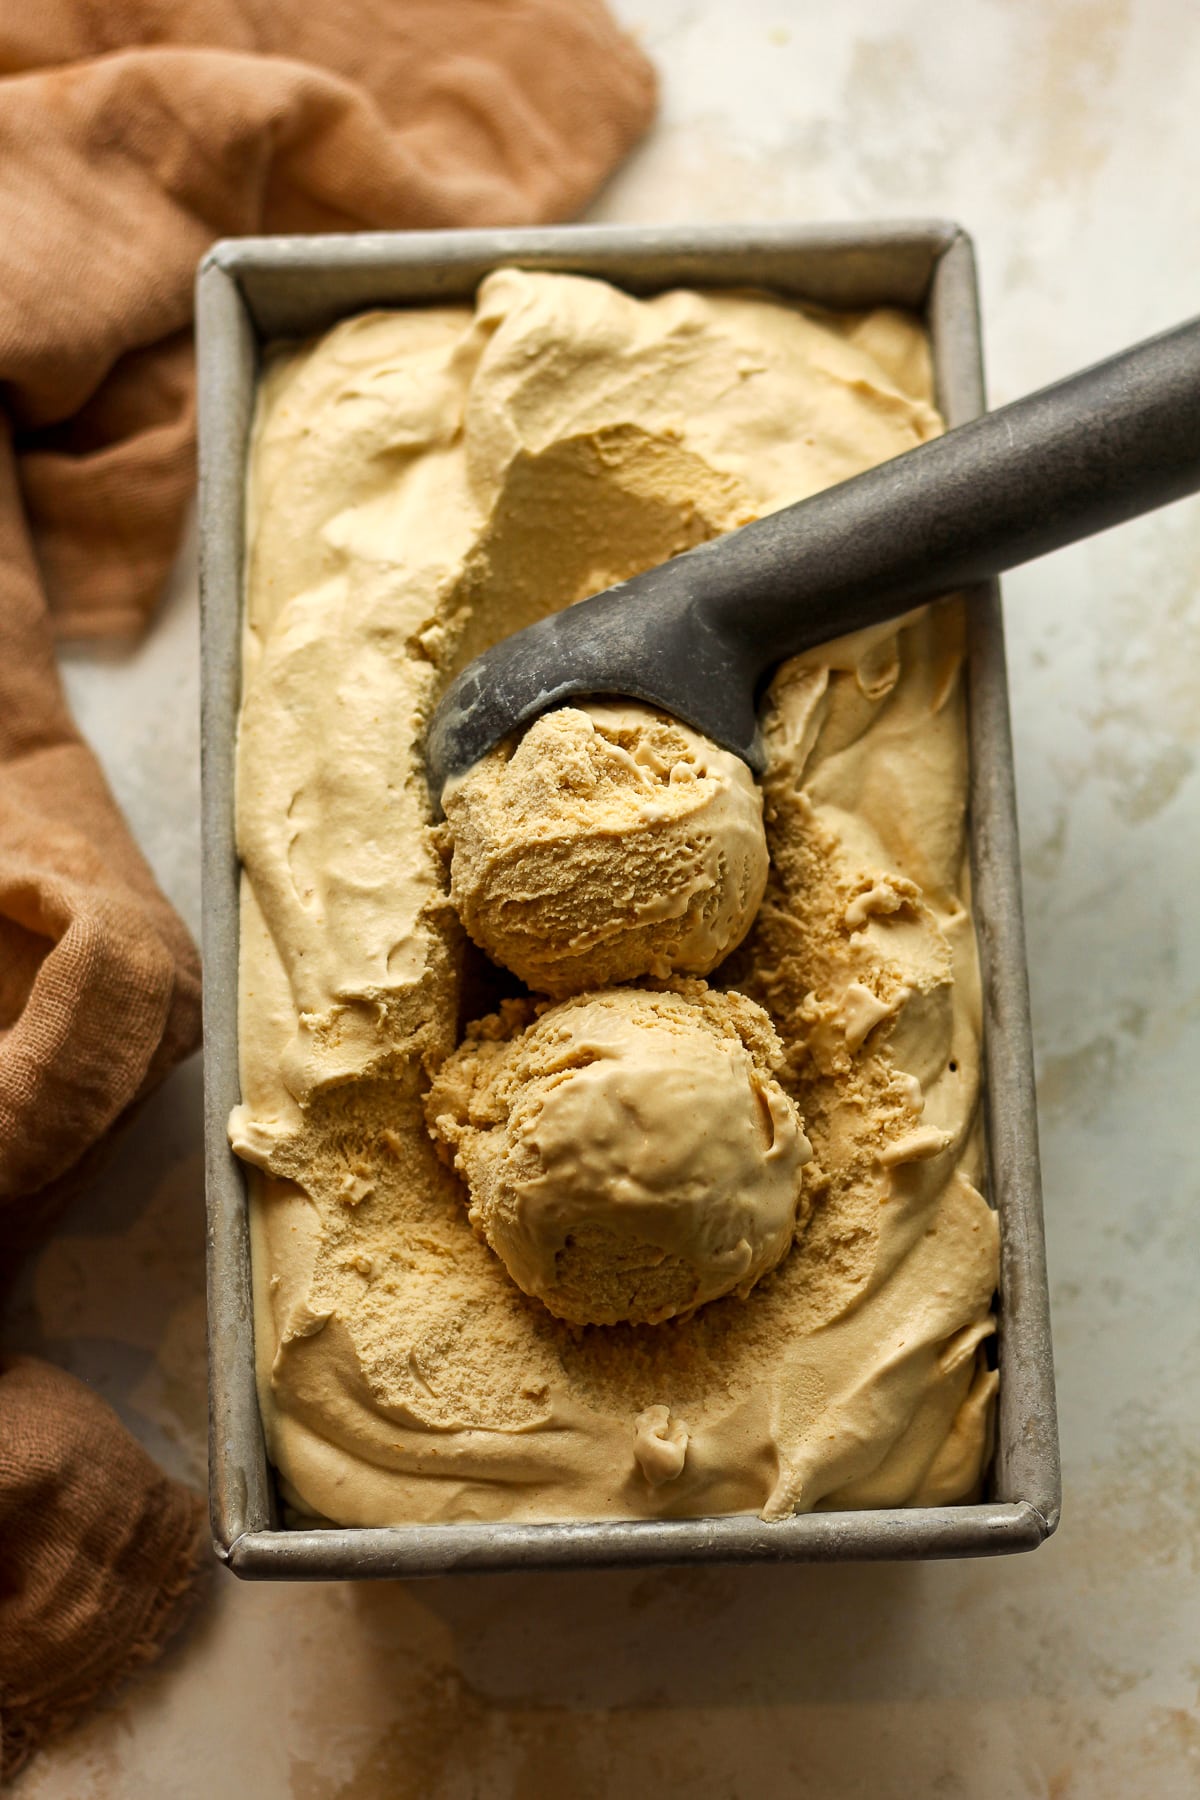
Butterscotch Ice Cream Recipe
Summertime is the perfect time to make homemade ice cream. We’re loving our KitchenAid attachment to make a variety of flavors and textures. It’s fun to try new flavors and this one did not disappoint! For more delicious flavors, head to see all of our KitchenAid Ice Cream Recipes.
Our butterscotch ice cream recipe starts with a delicious mixture of butter, brown sugar, and heavy cream. In fact, the flavor resembles our Old Fashioned Caramel Icing which is delicious on cinnamon rolls, donuts, and cakes.
Why This Recipe Works:
- CREAMY TEXTURE – This custard-based ice cream is OH SO CREAMY! I can’t wait for you to try it for yourself.
- DELICIOUS BUTTERSCOTCH FLAVOR – The caramelized dark brown sugar shines through in flavor and we didn’t need to melt butterscotch chips or add new extracts. You’re going to love the flavor of this butterscotch ice cream!
- IMPRESSIVE FOR GUESTS – We always keep a variety of flavors handy in our freezer for guests. It’s simple to do, especially when you’re constantly testing flavors like I am.
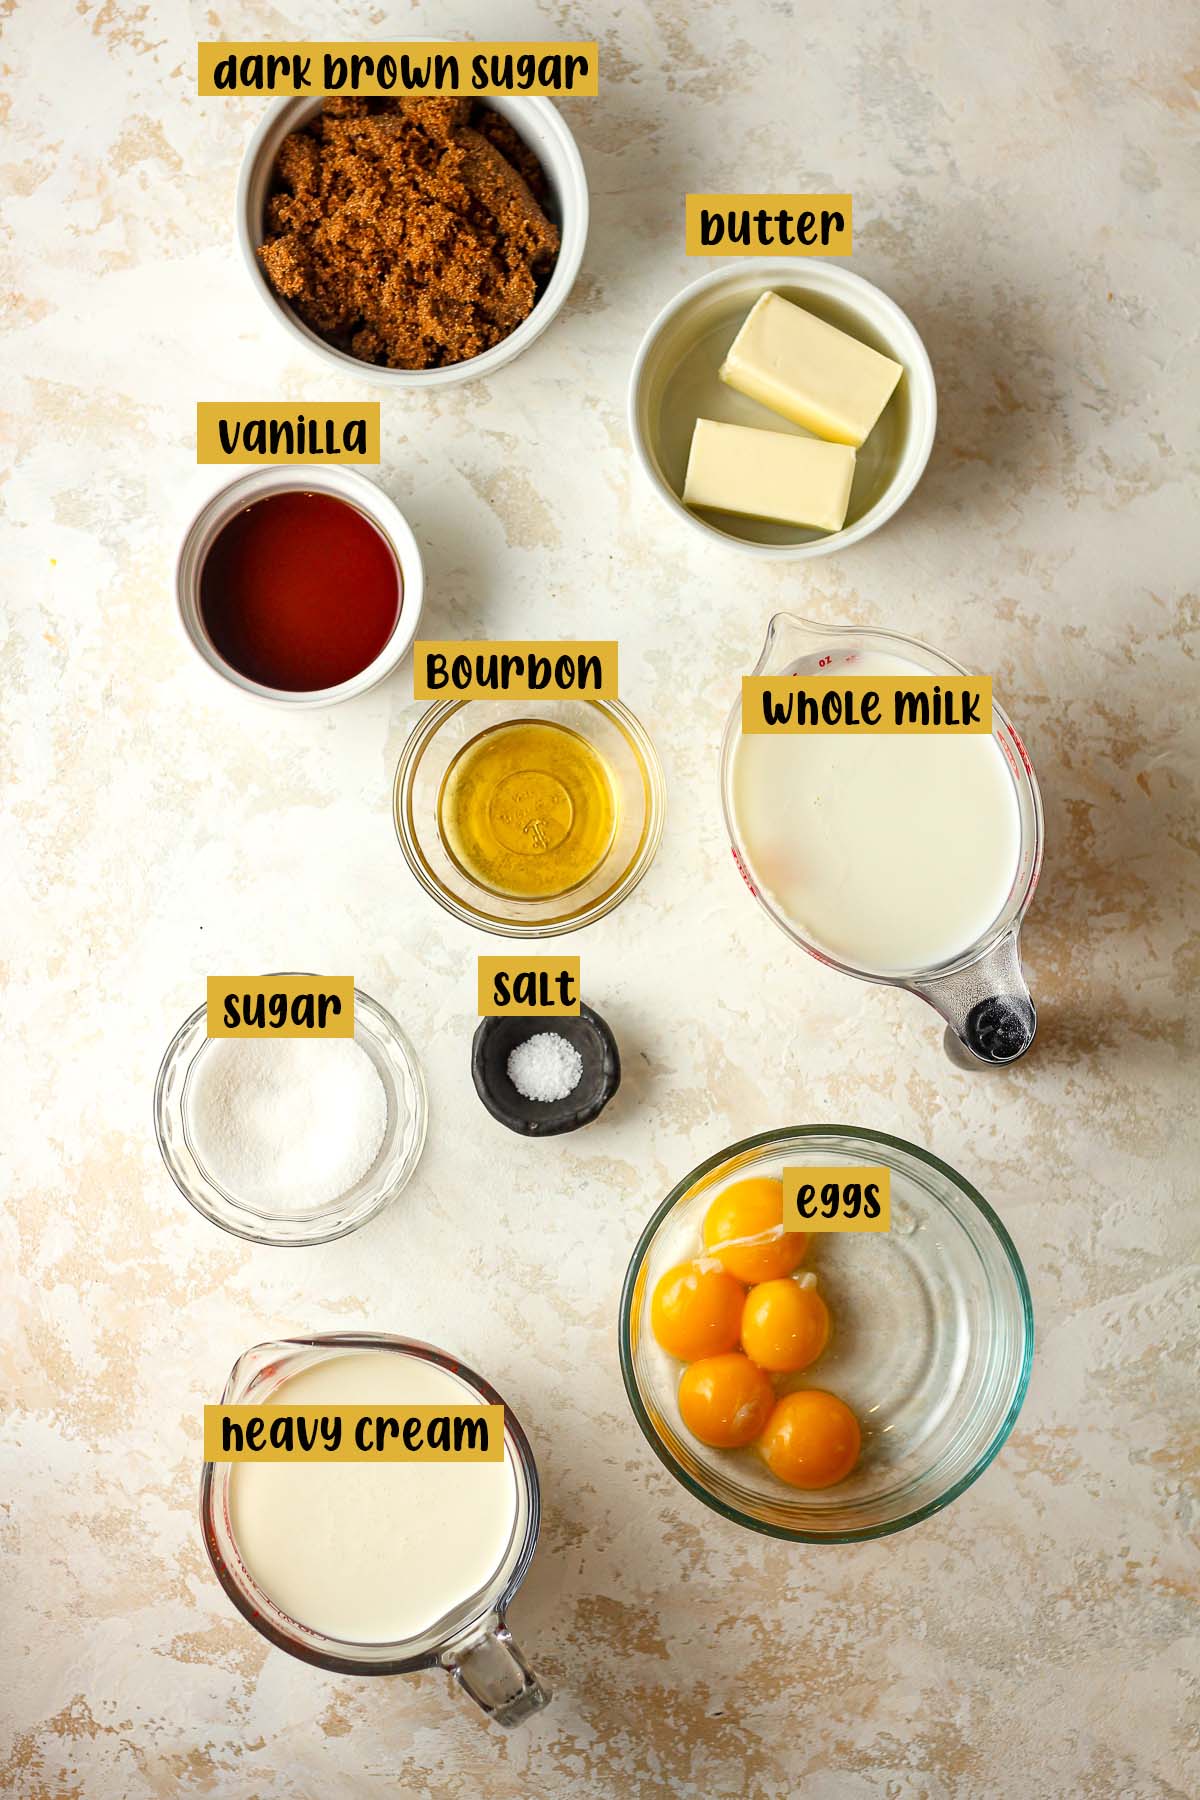
What You’ll Need:
- Unsalted Butter
- Dark Brown Sugar
- Granulated Sugar
- Dairy – Heavy Cream and Whole Milk
- Egg Yolks
- Vanilla Extract
- A pinch of kosher salt
- Bourbon (optional)
NOTE: While a touch of bourbon adds depth and complexity to the flavor profile of the ice cream, it’s optional. Its caramel, vanilla, and oak notes complement the butterscotch, making the overall taste richer.
How to make Butterscotch Ice Cream:
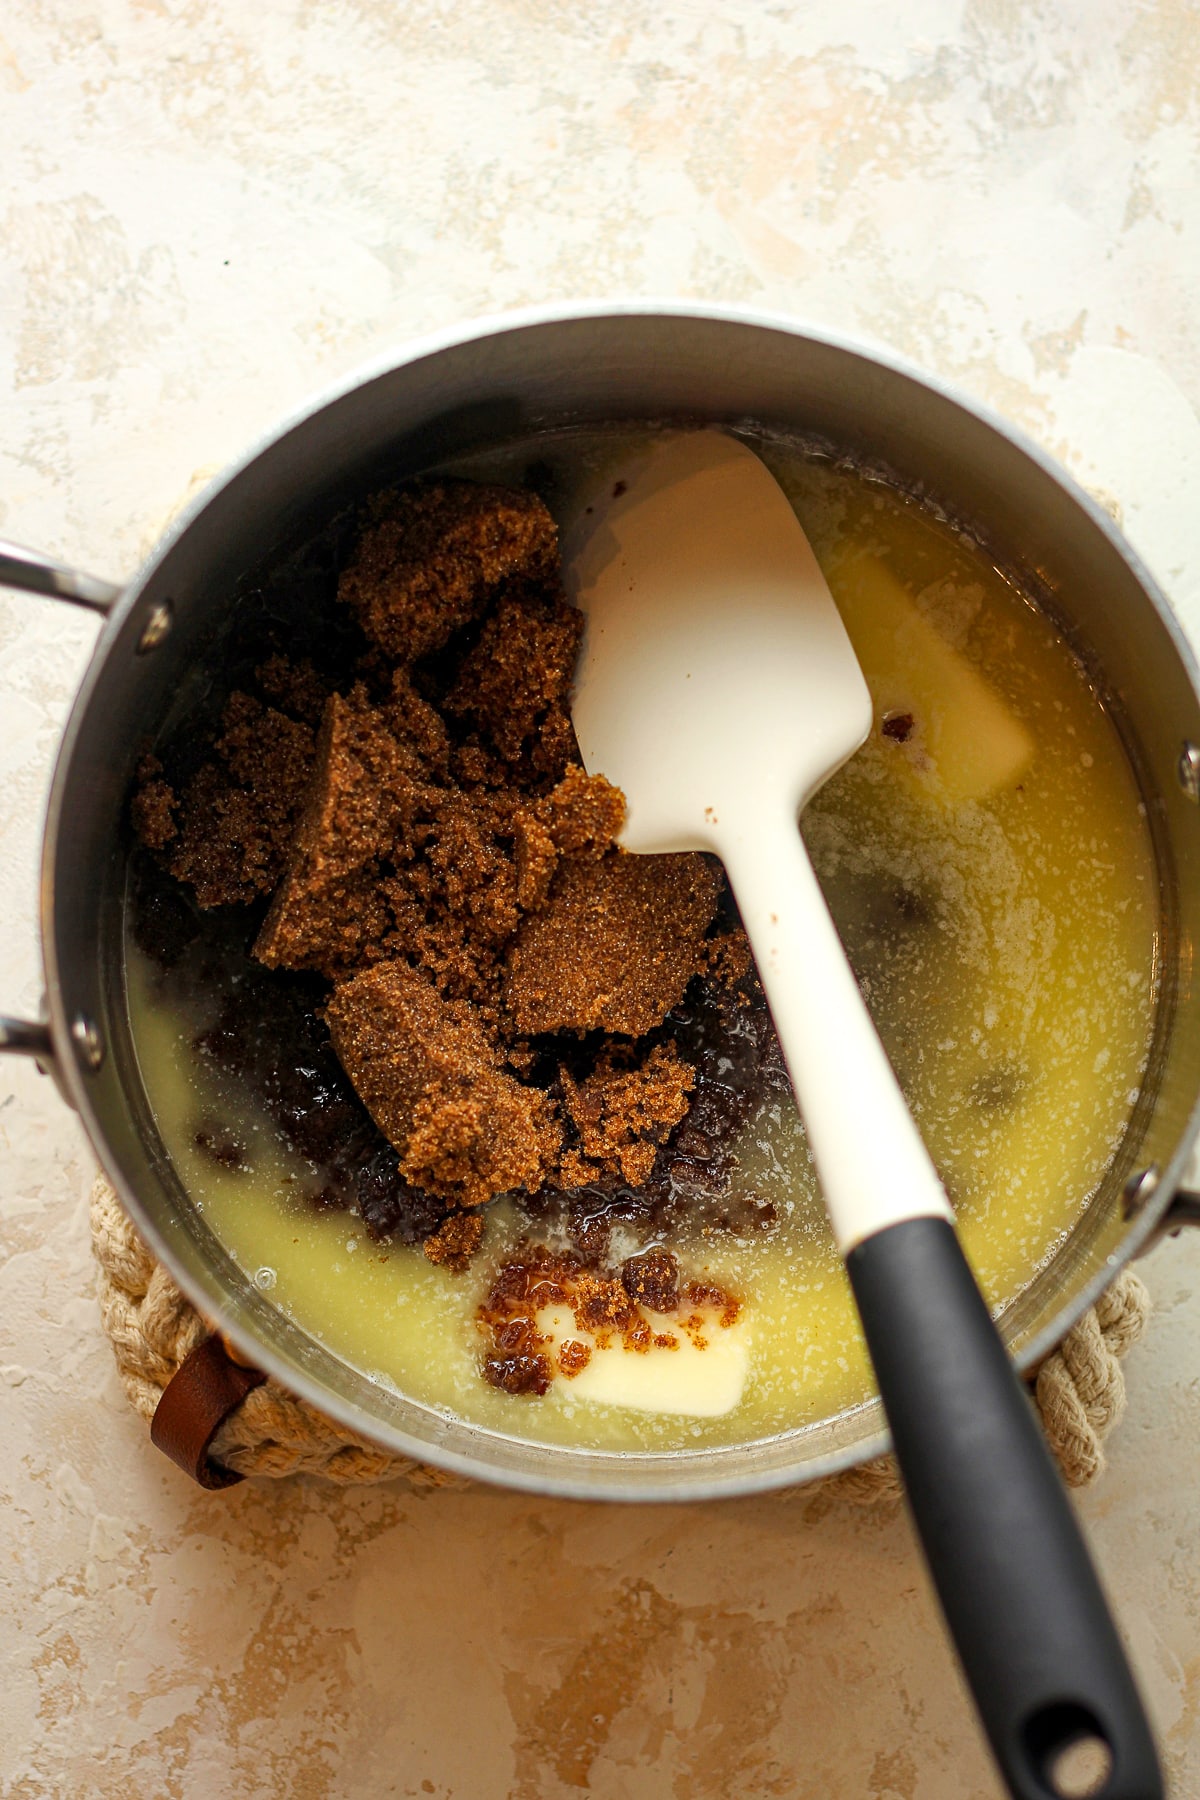
Step 1
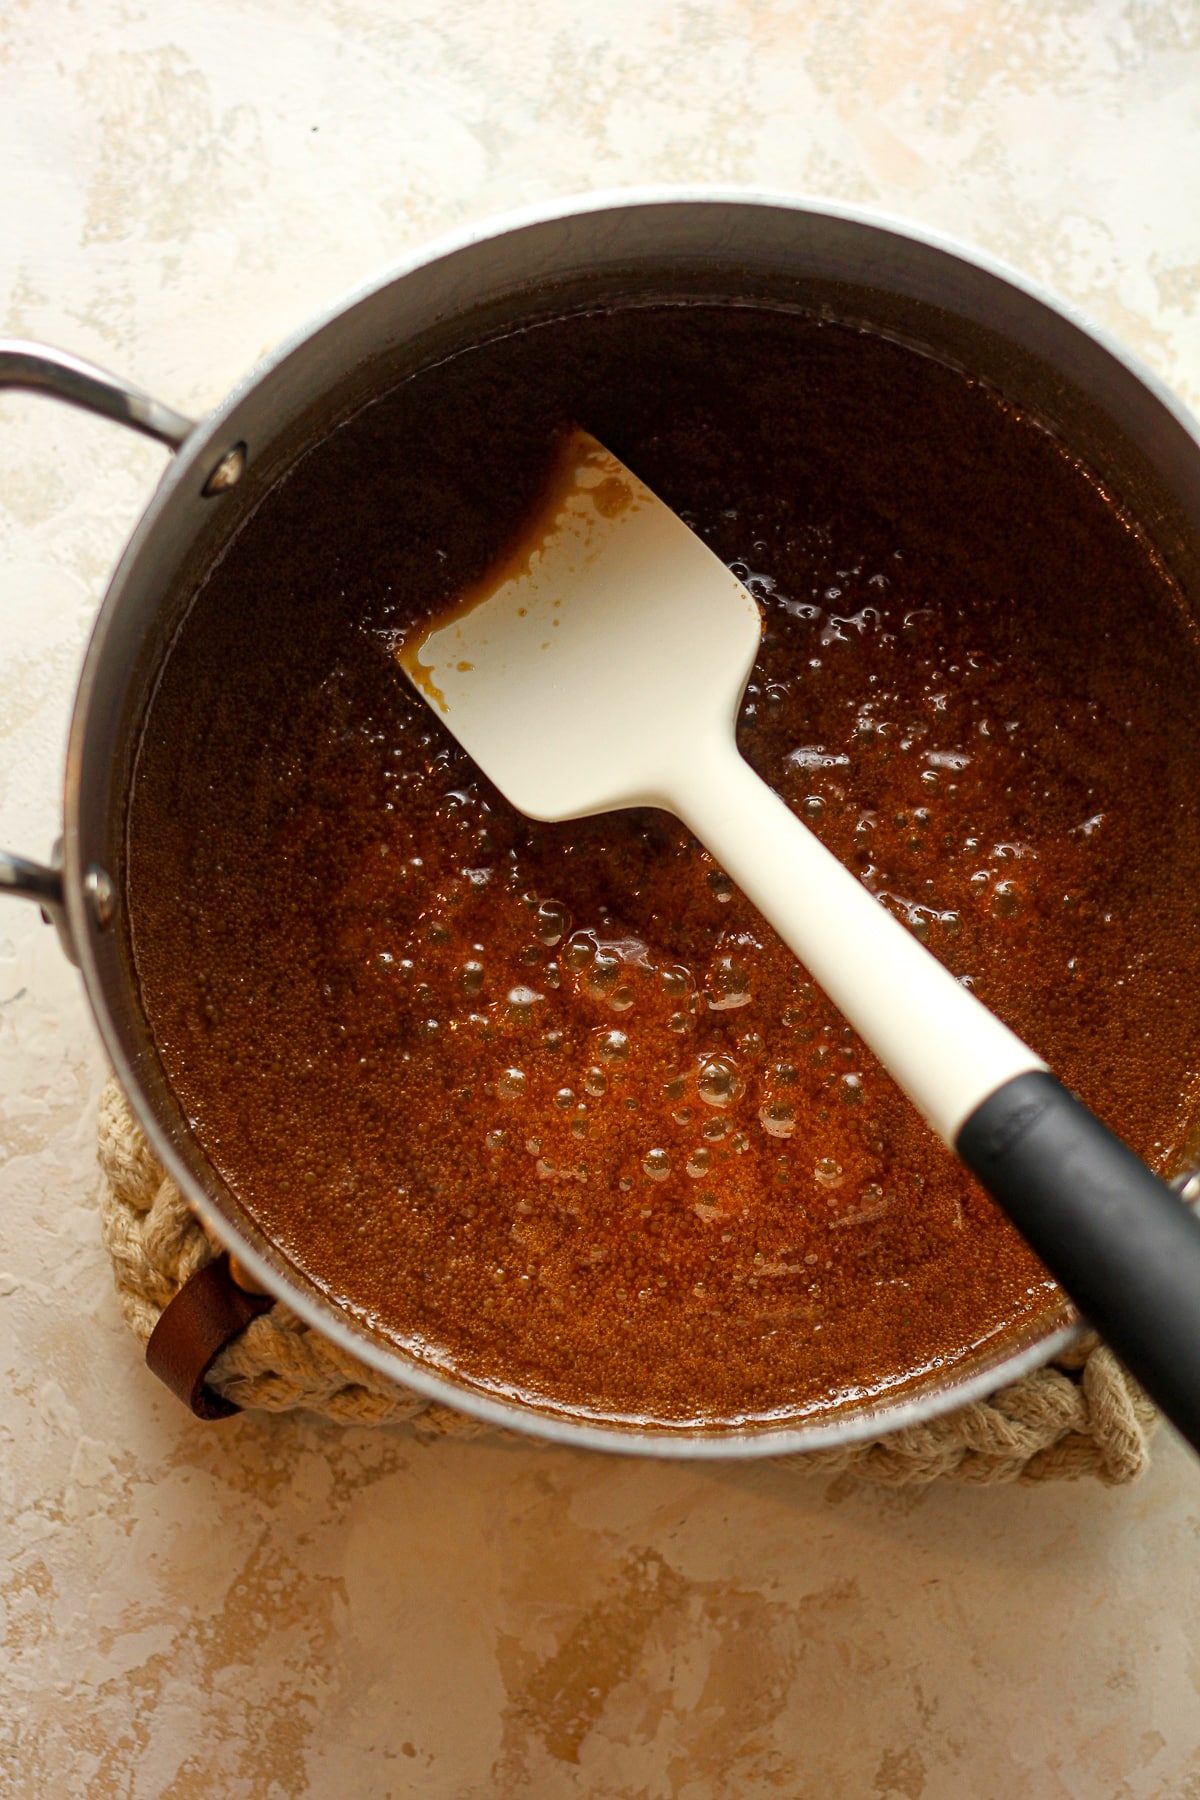
Melt the butter and brown sugar. In a medium saucepan over medium heat, add the butter. When melted, add the brown sugar and stir well. Let simmer for a few minutes. Then add 1/4 cup of the heavy cream and bring to a boil. Let the mixture simmer for 3-4 minutes, stirring constantly.
Step 2
Add ingredients. Then add the remaining heavy cream, whole milk, and Bourbon. Heat over medium heat until the liquid mixture reaches 165 degrees on a digital thermometer.
Step 3
Combine eggs and granulated sugar. In a small bowl, combine the egg yolks and granulated sugar. Use a whisk to mix well.
Step 4
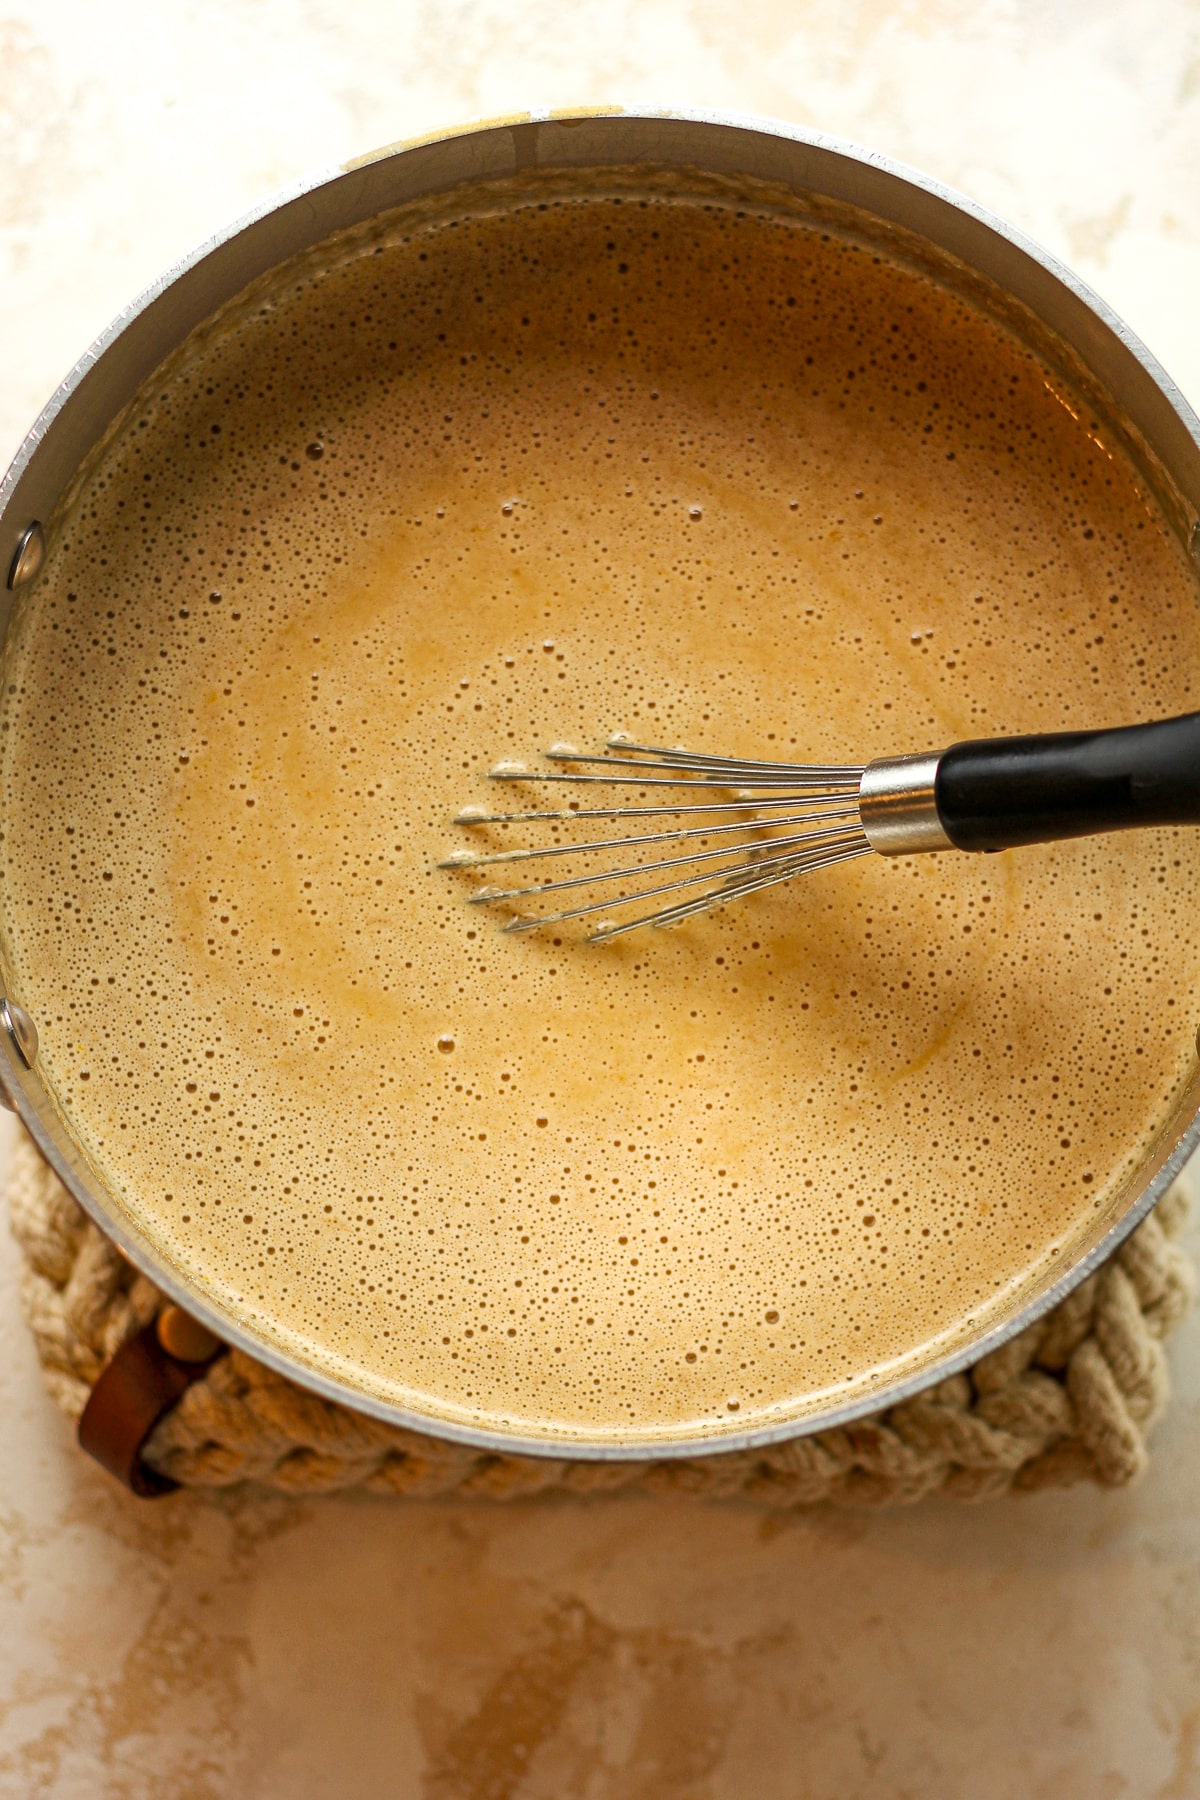
Temper eggs. Then add about 1 cup of the hot mixture to the eggs, using a small measuring cup to drizzle into the eggs, whisking continuously. (We don’t want scrambled eggs!) Continue adding about 1.5 cups of the hot mixture to the eggs. Pour the egg mixture back into the pan and whisk well. When the hot mixture reaches 165 degrees, remove the pan from the heat.
Step 5
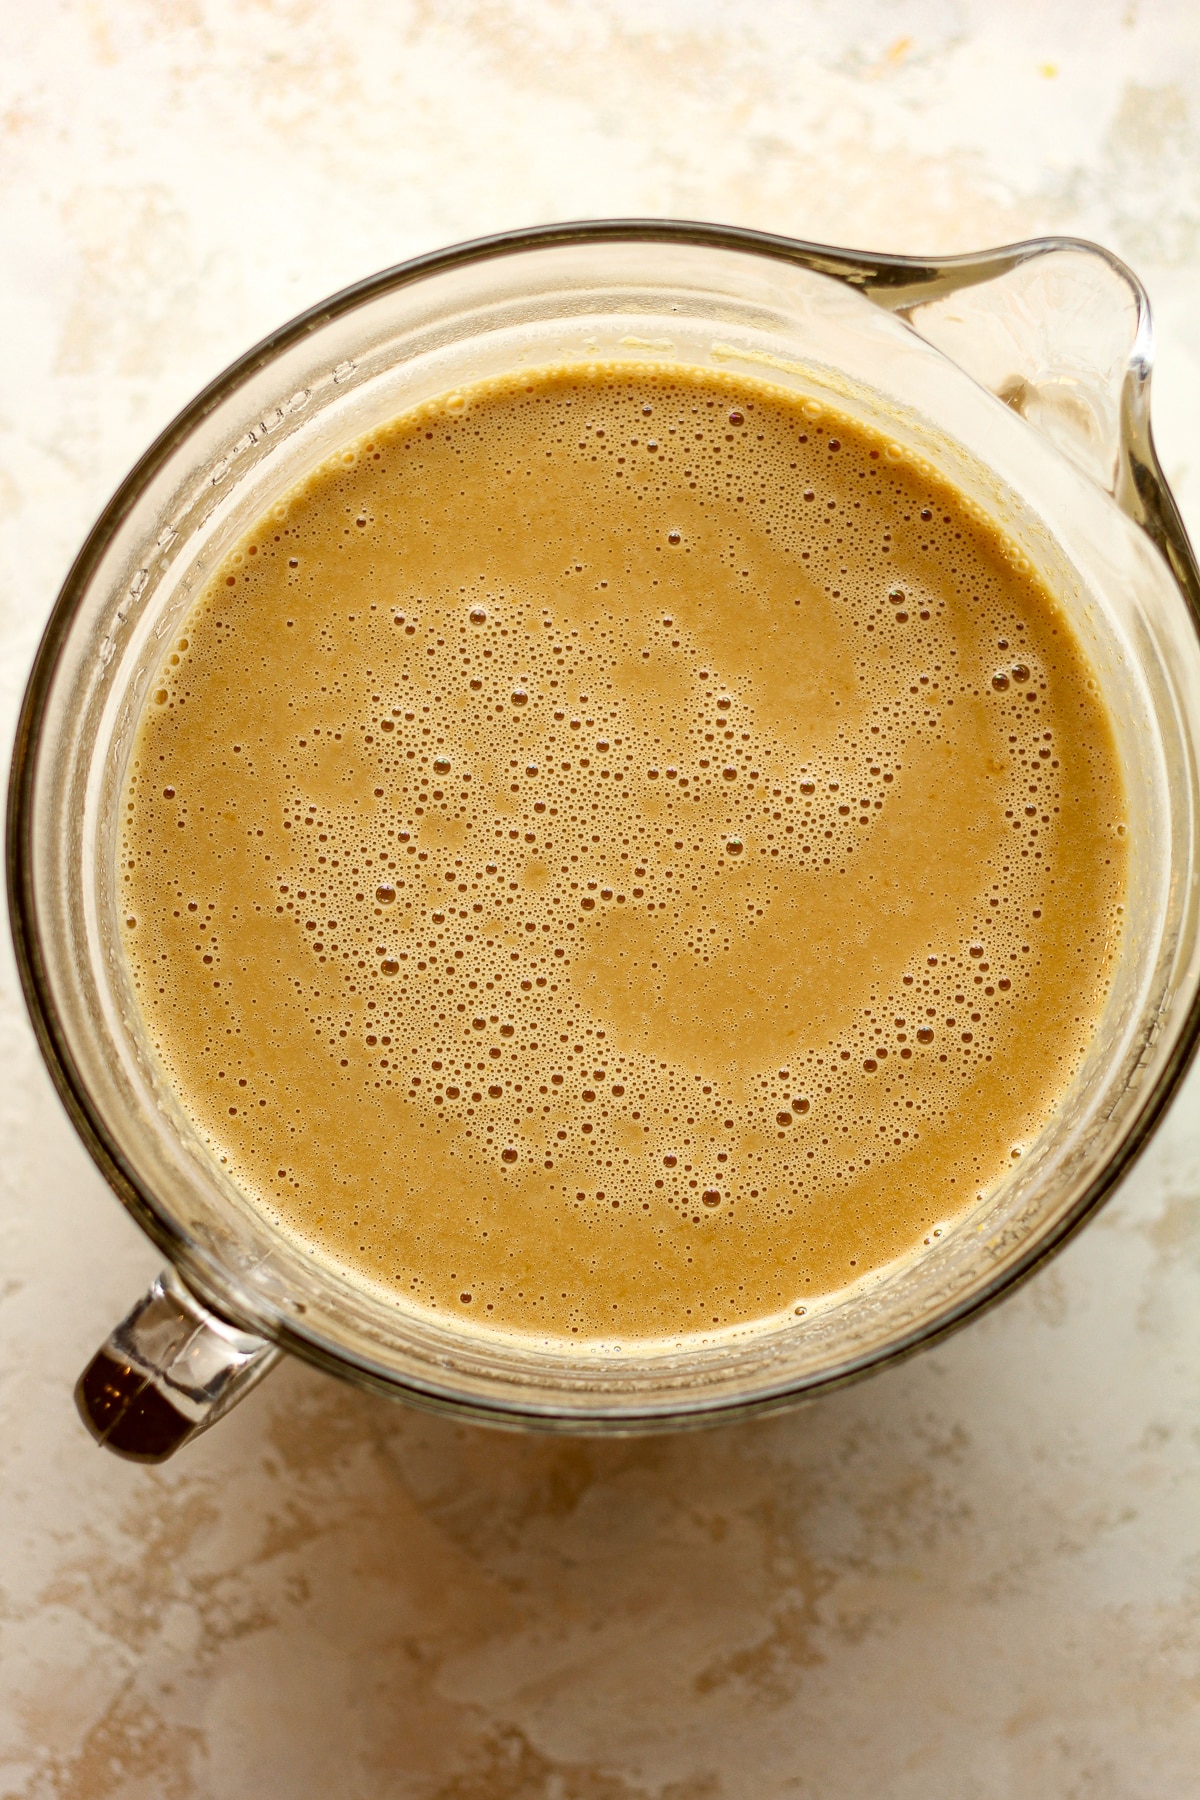
Pour mixture into a bowl. Pour the liquid mixture into a large bowl or an 8-cup measuring cup. Add vanilla and salt – and whisk again.
Step 6
Chill. Place the liquid ice cream mixture into your refrigerator and chill until VERY COLD, or for at least four hours. We often chill it overnight (but this takes a bit of advance planning).
Step 7
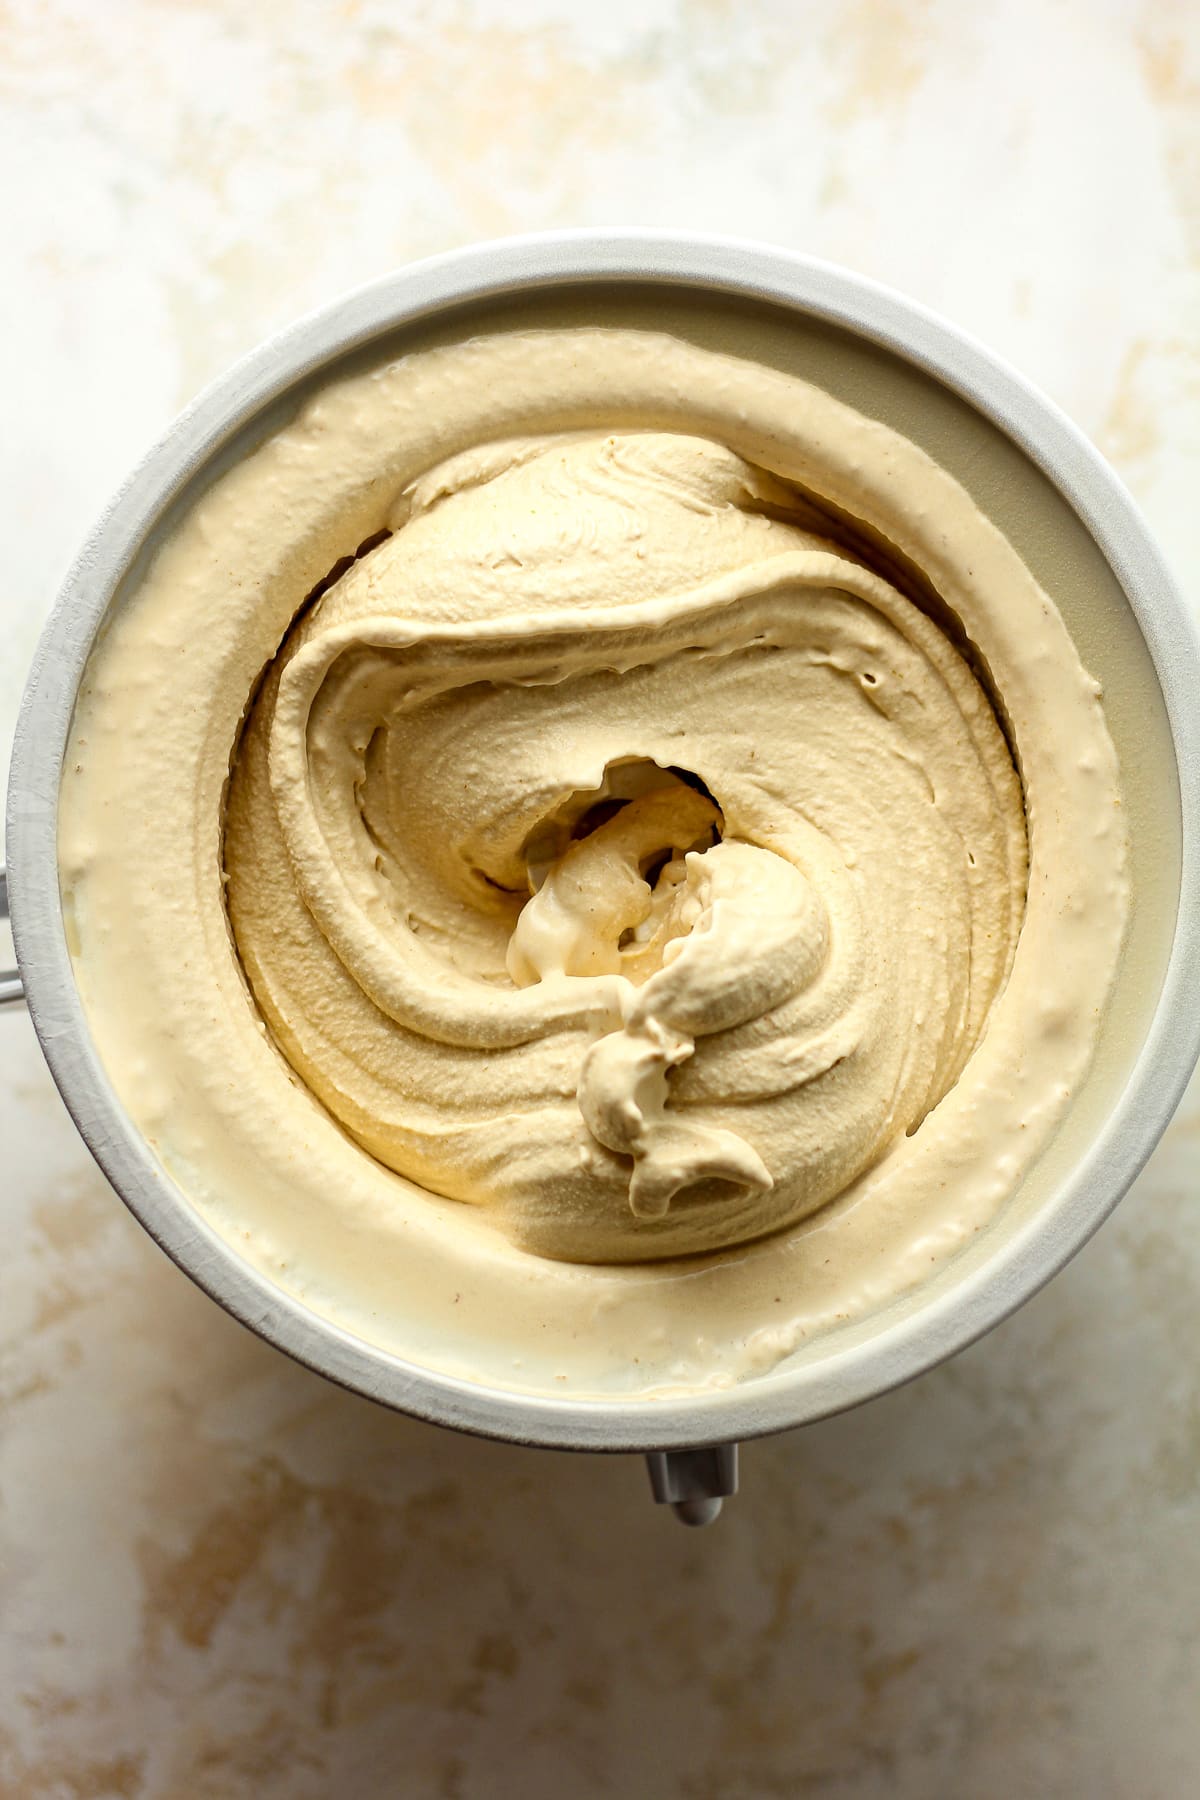
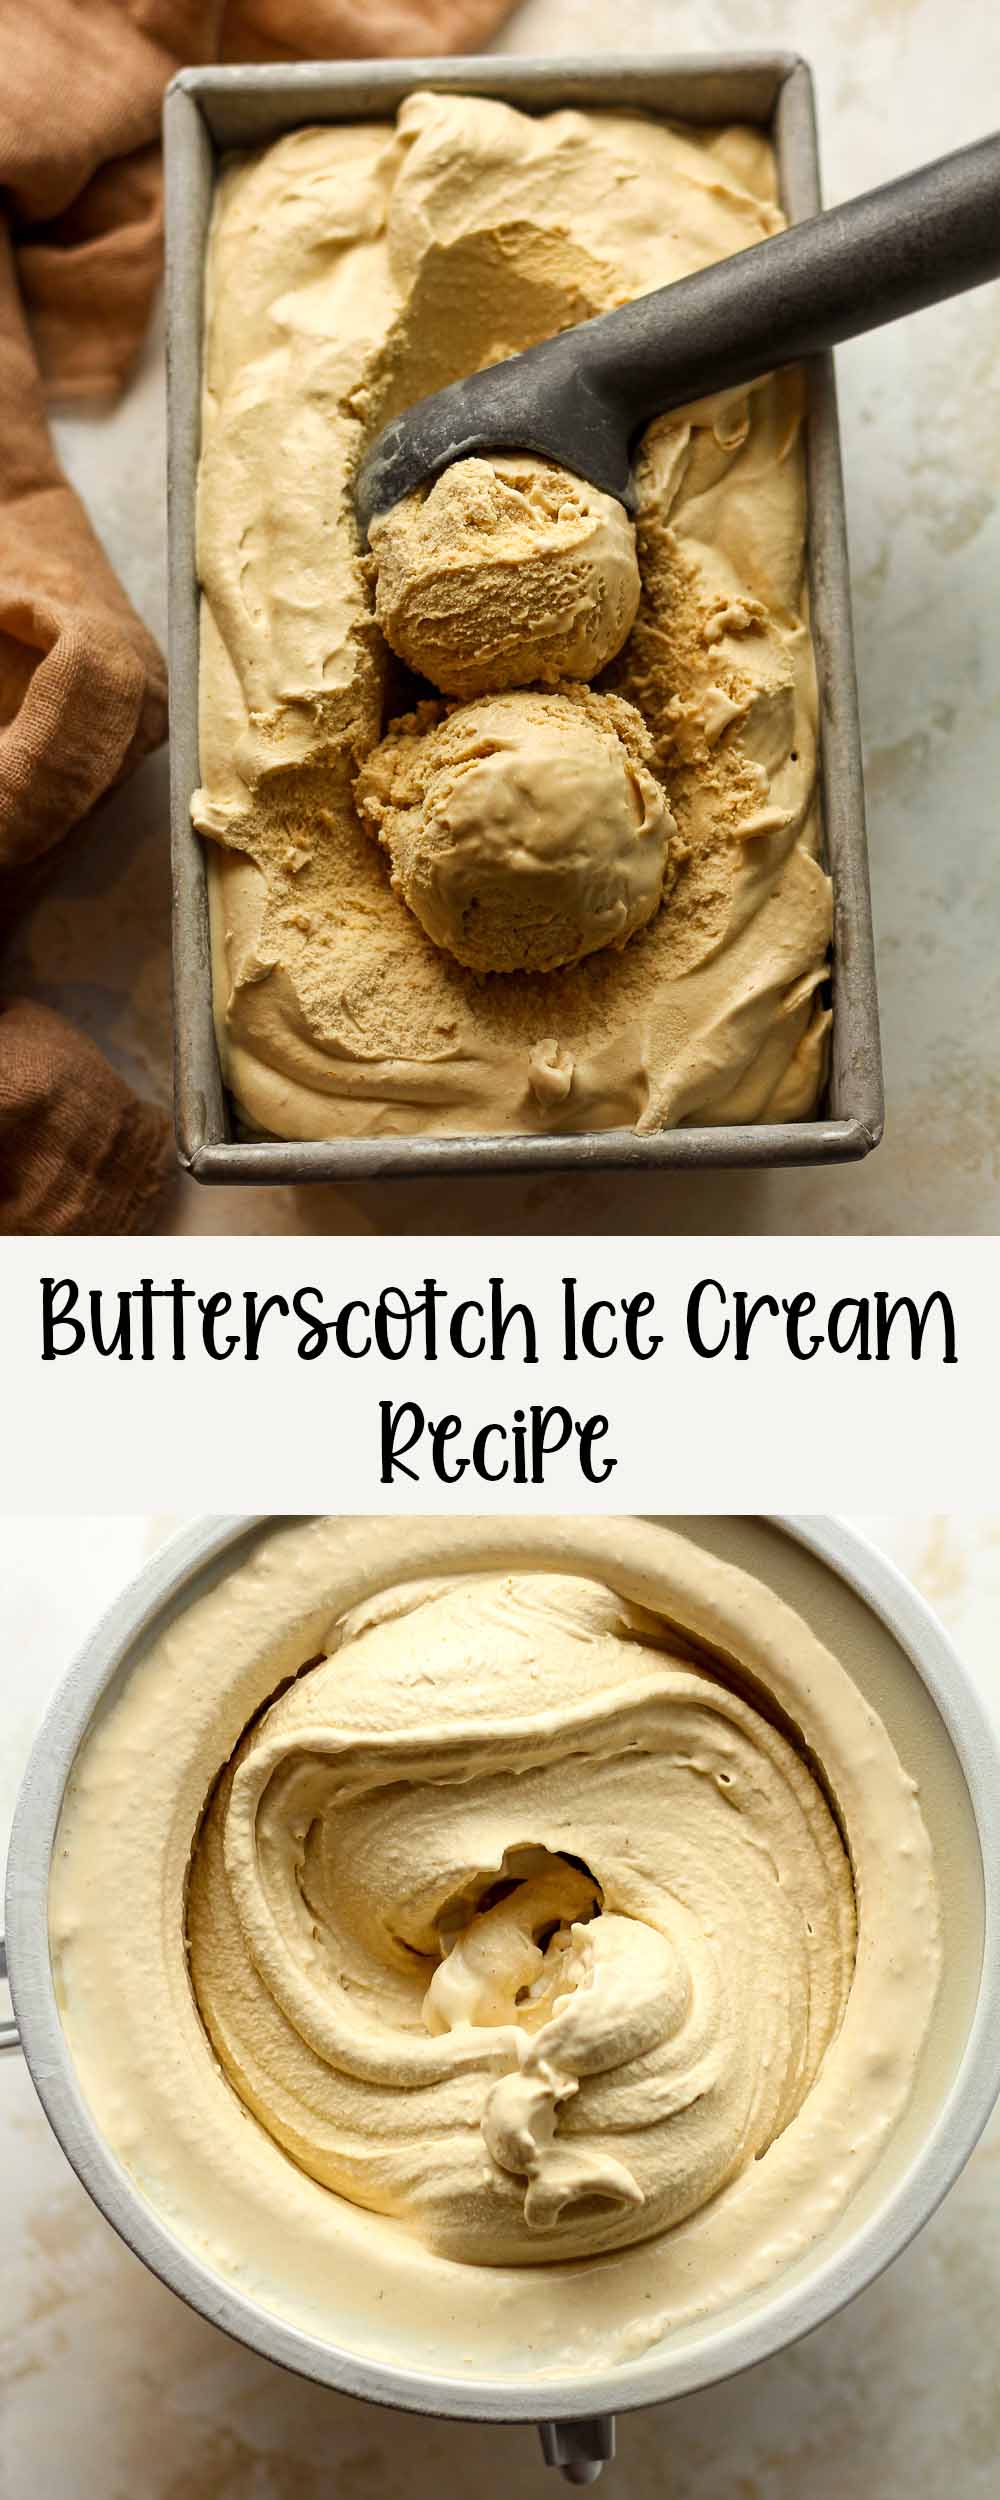
Churn. If using a KitchenAid attachment (as pictured below), start the mixer with the attachment so that it’s turning BEFORE you pour the liquid in. Then pour in whisked ingredients and let it churn until finished. You’ll know it’s done when the mixer starts slowing down and it rises to the top of the bowl (or over it slightly), approximately 25-30 minutes.
NOTE: If you have a different type of ice cream maker, just adjust accordingly. This recipe works for any 2-quart machine. So if using another size, adjust the amounts in the recipe card below.
Step 8
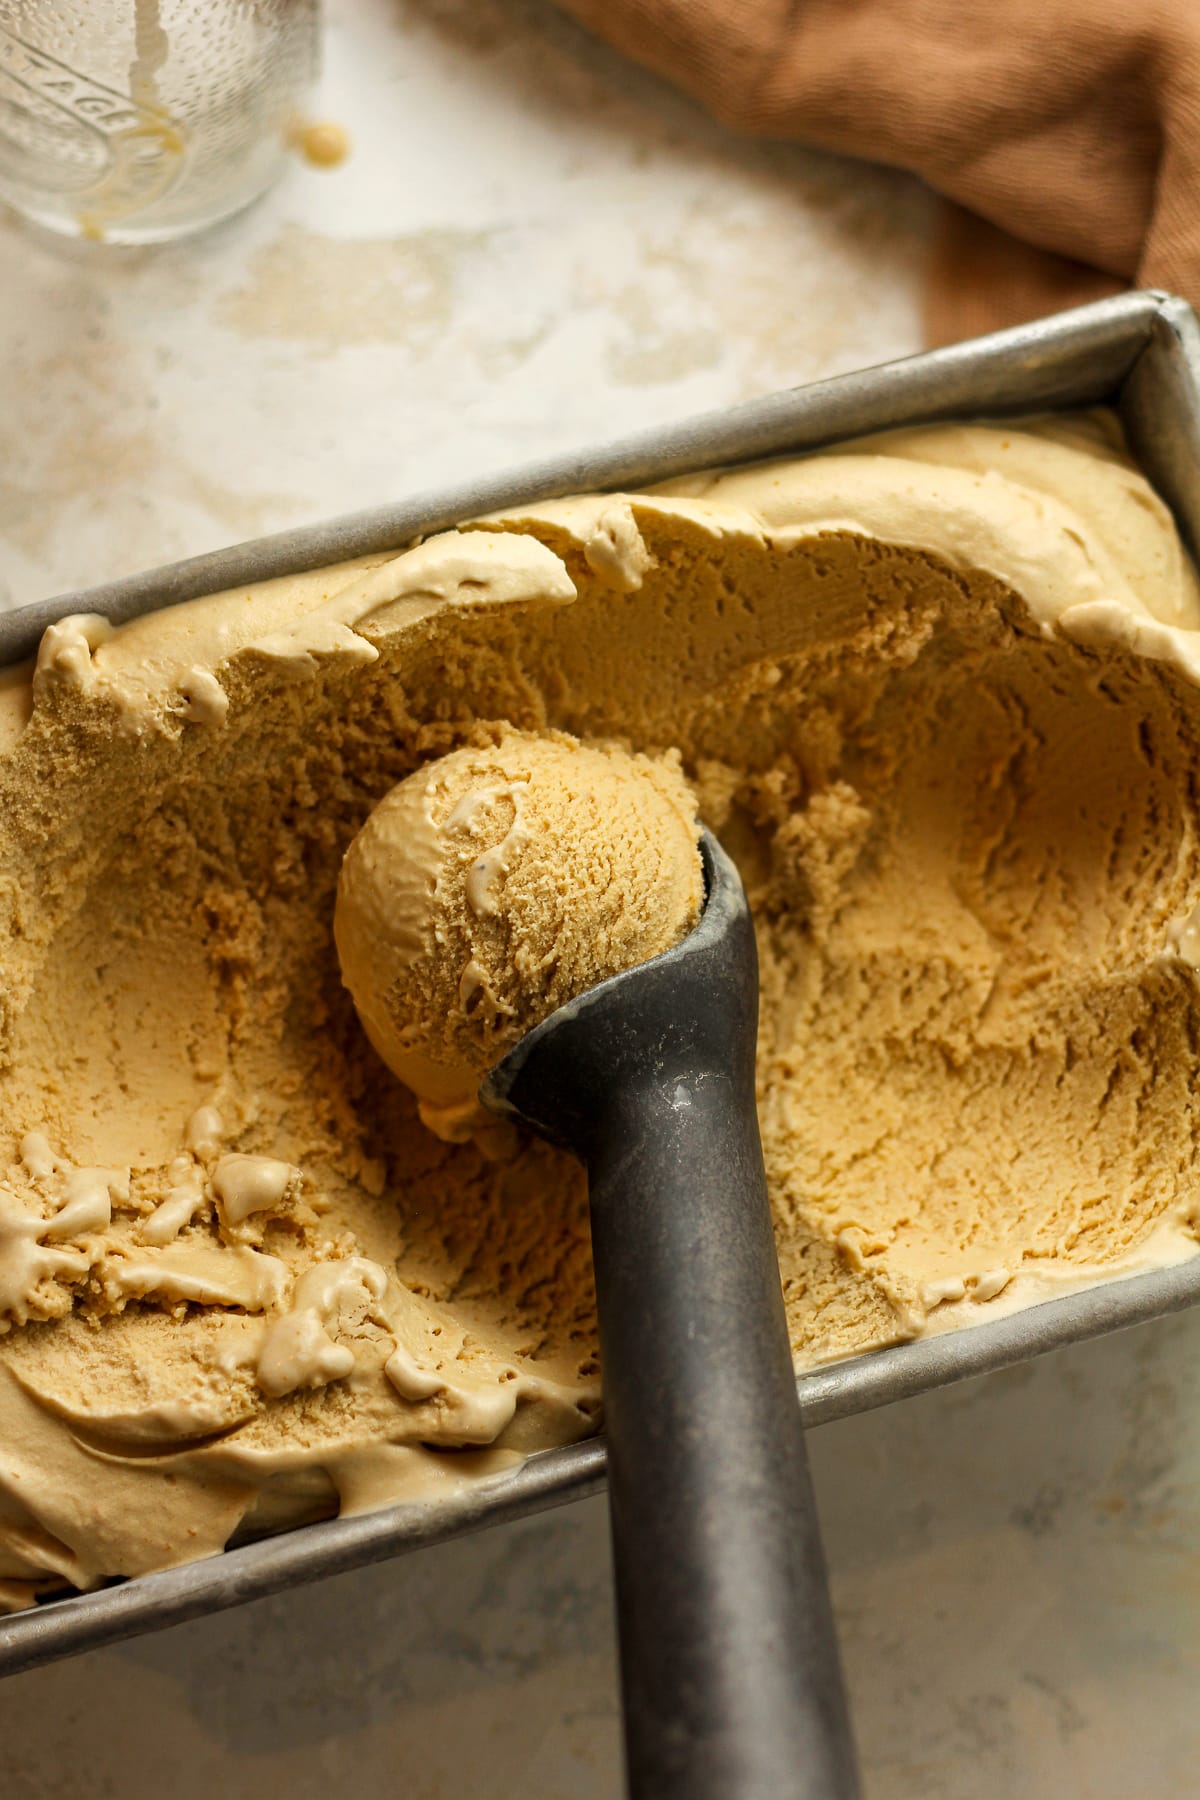
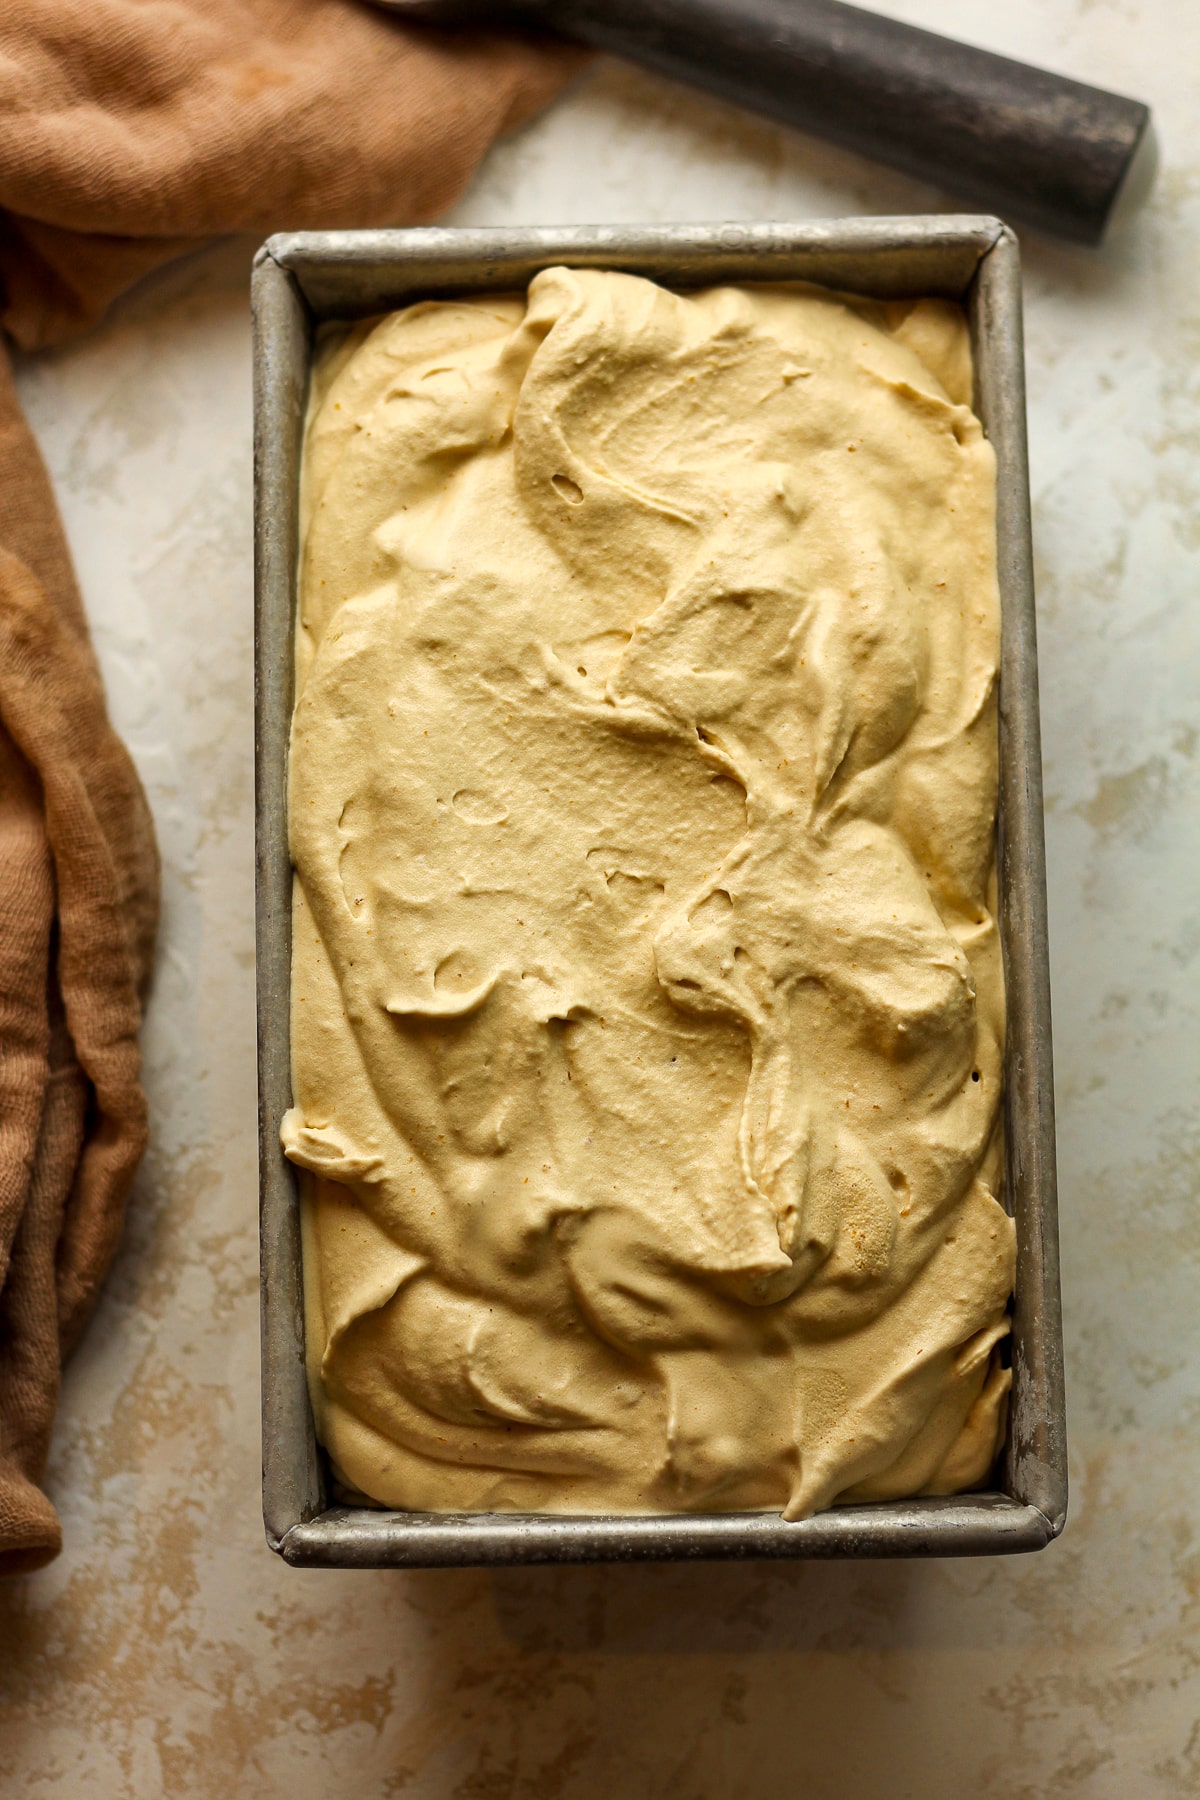
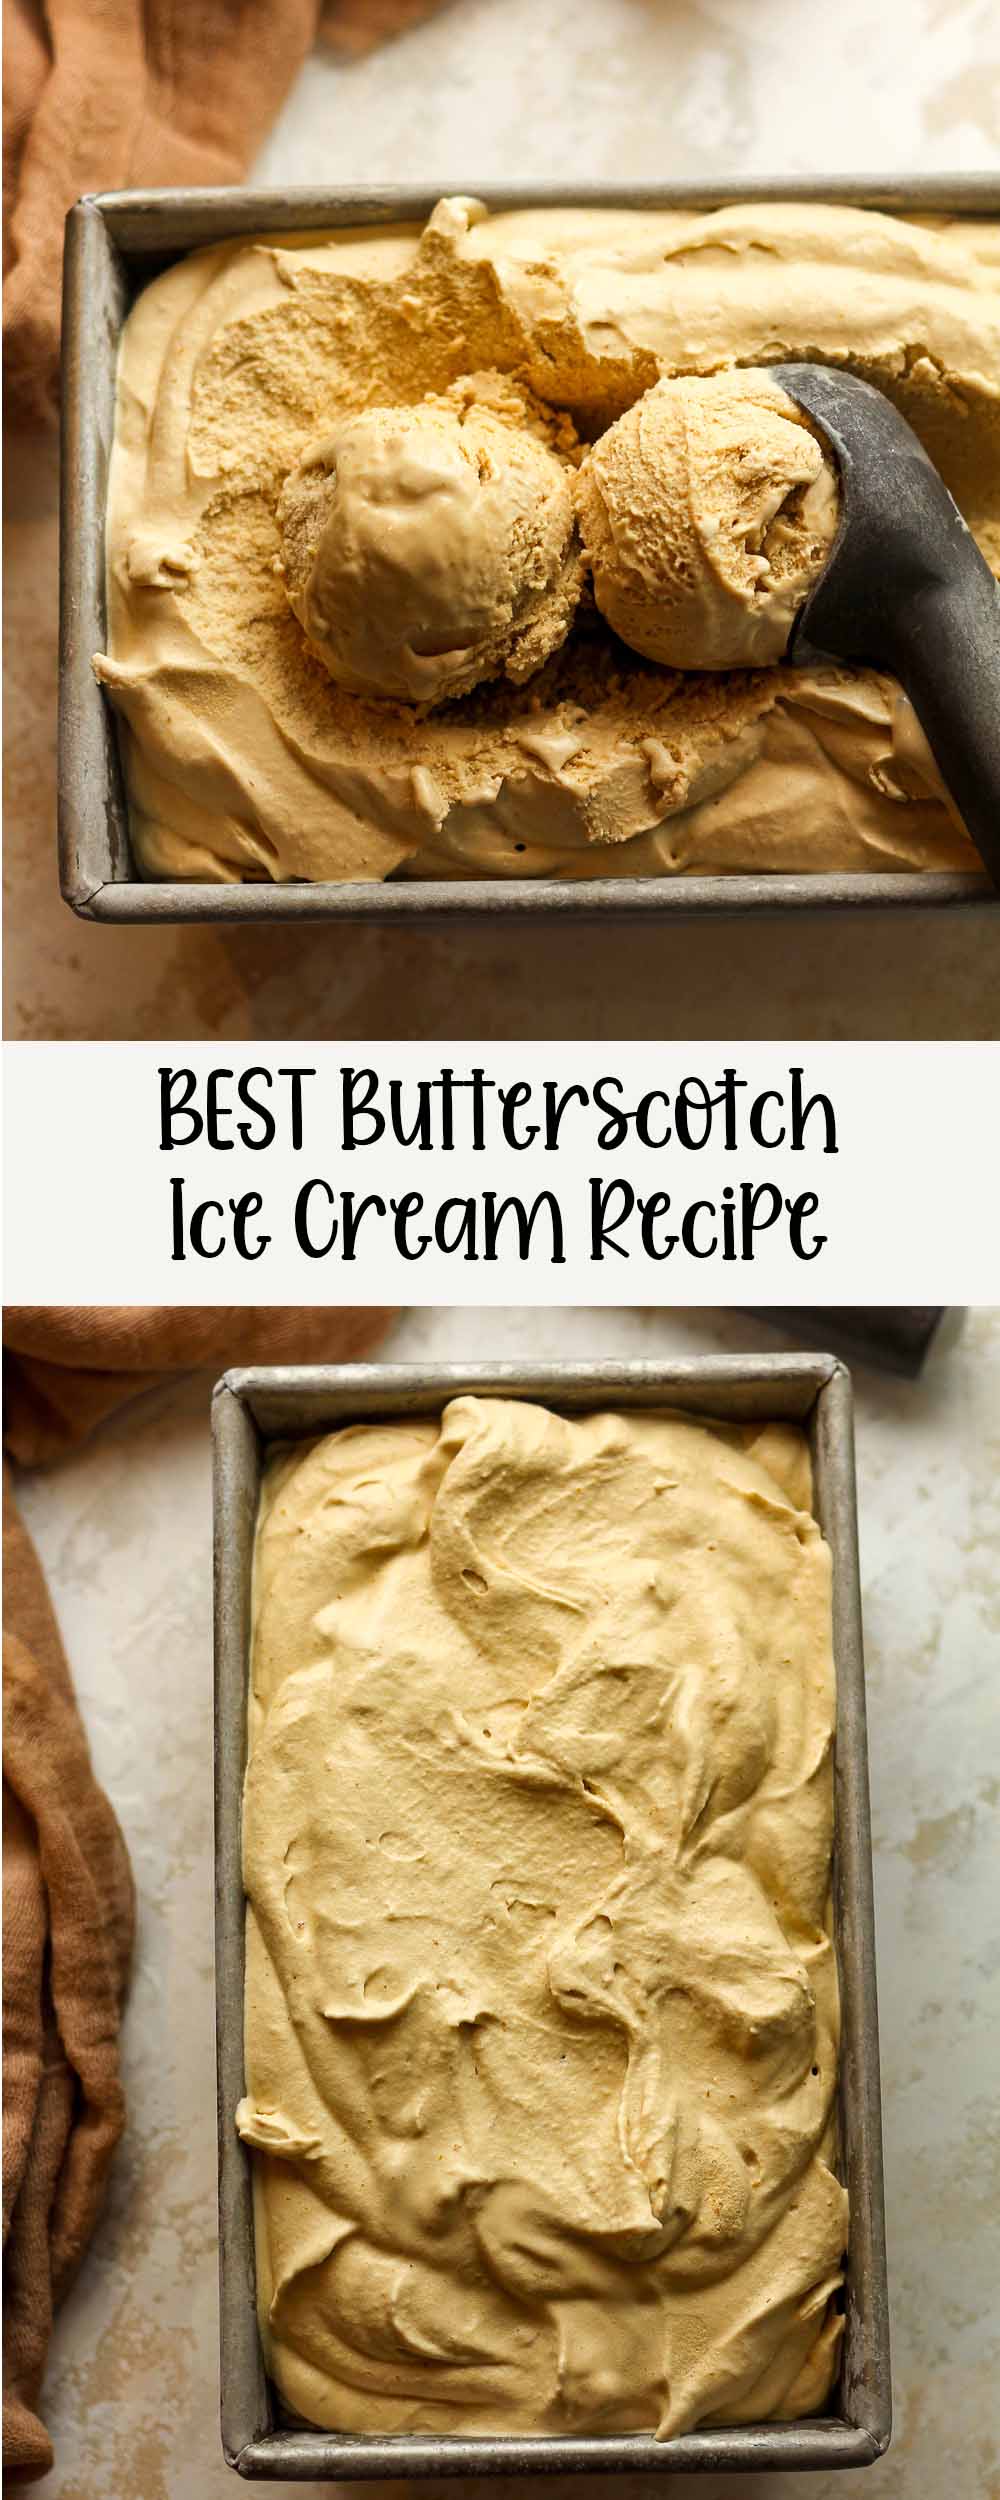
Remove. Use a rubber scraper to spoon the churned ice cream out of the bowl into a freezer-safe container. I occasionally use a loaf pan for ice cream (but that is temporary and for photography purposes).
Step 9
Freeze. Freeze the ice cream until ready to serve. The ice cream will be a bit soft so it needs a couple of hours to firm up.
Step 10
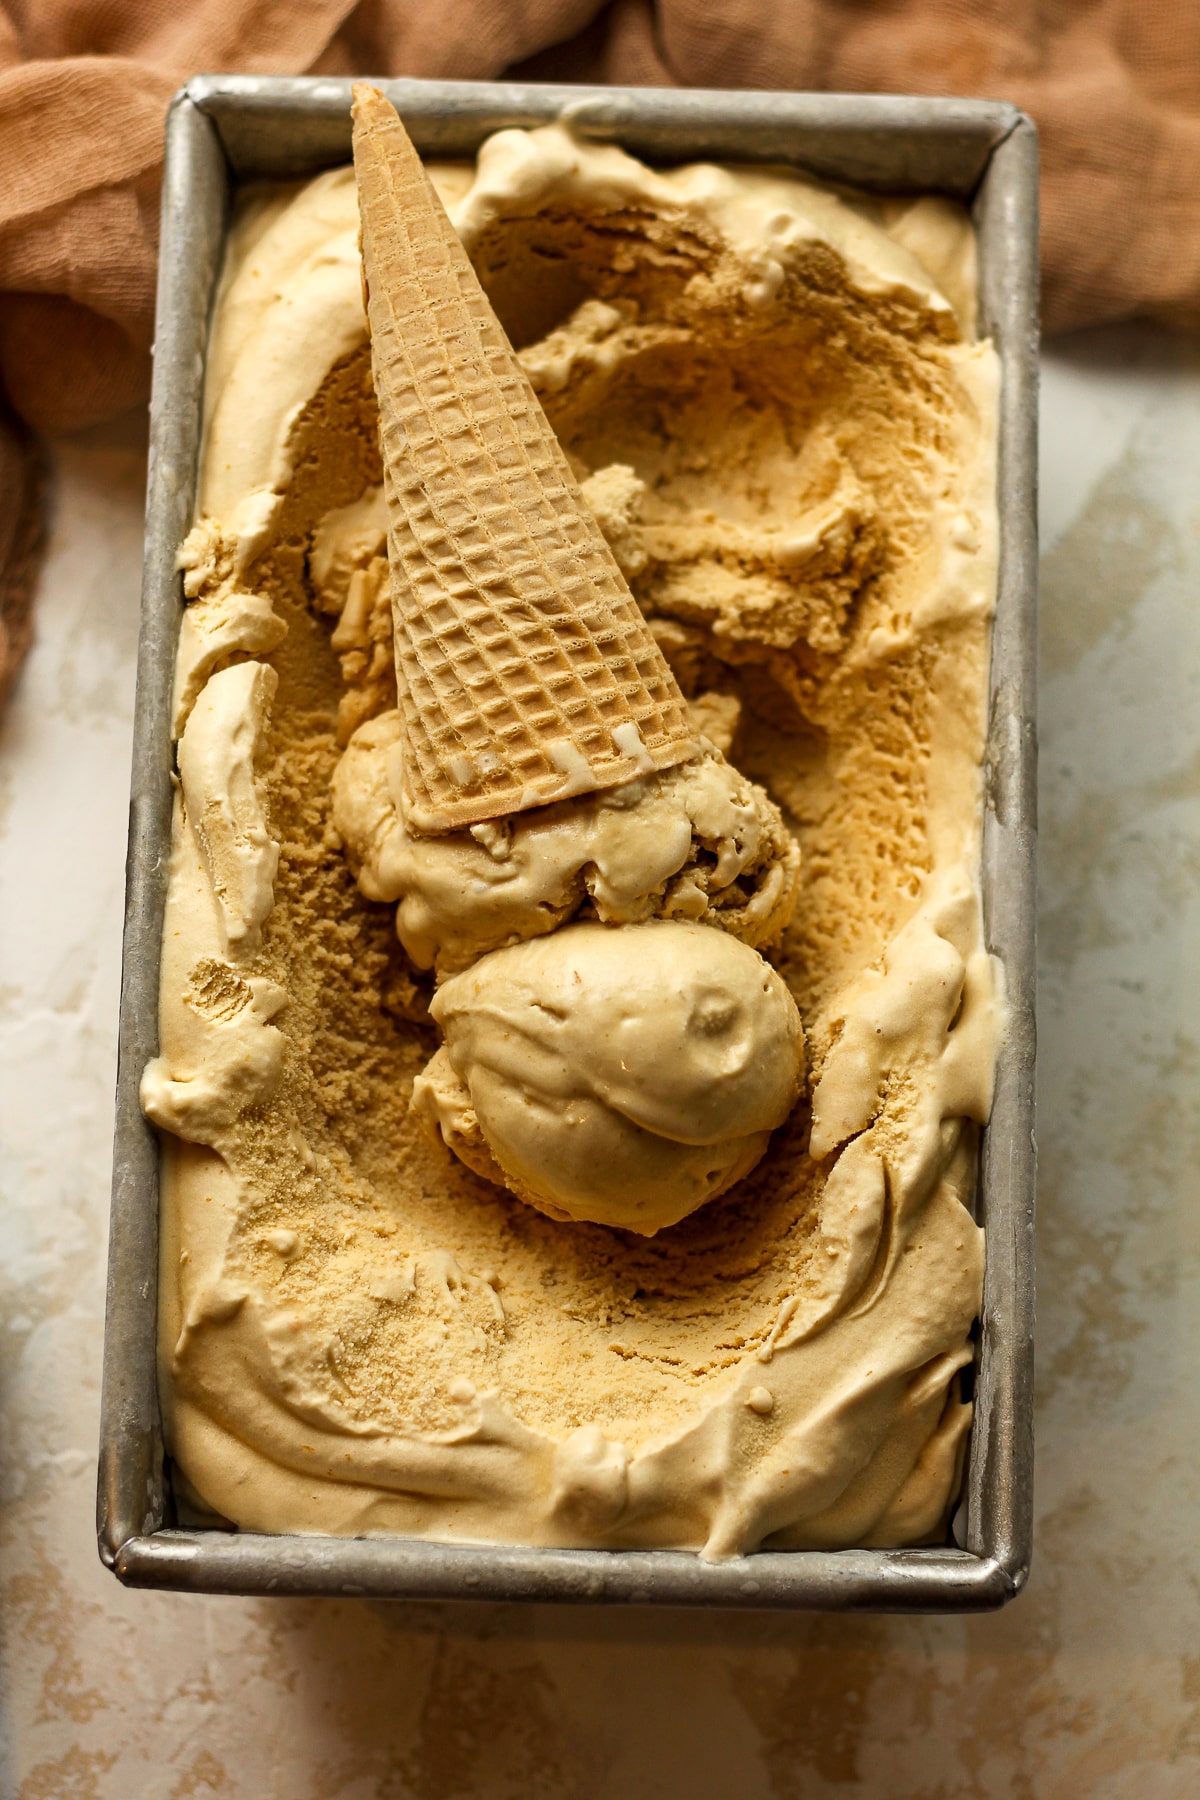
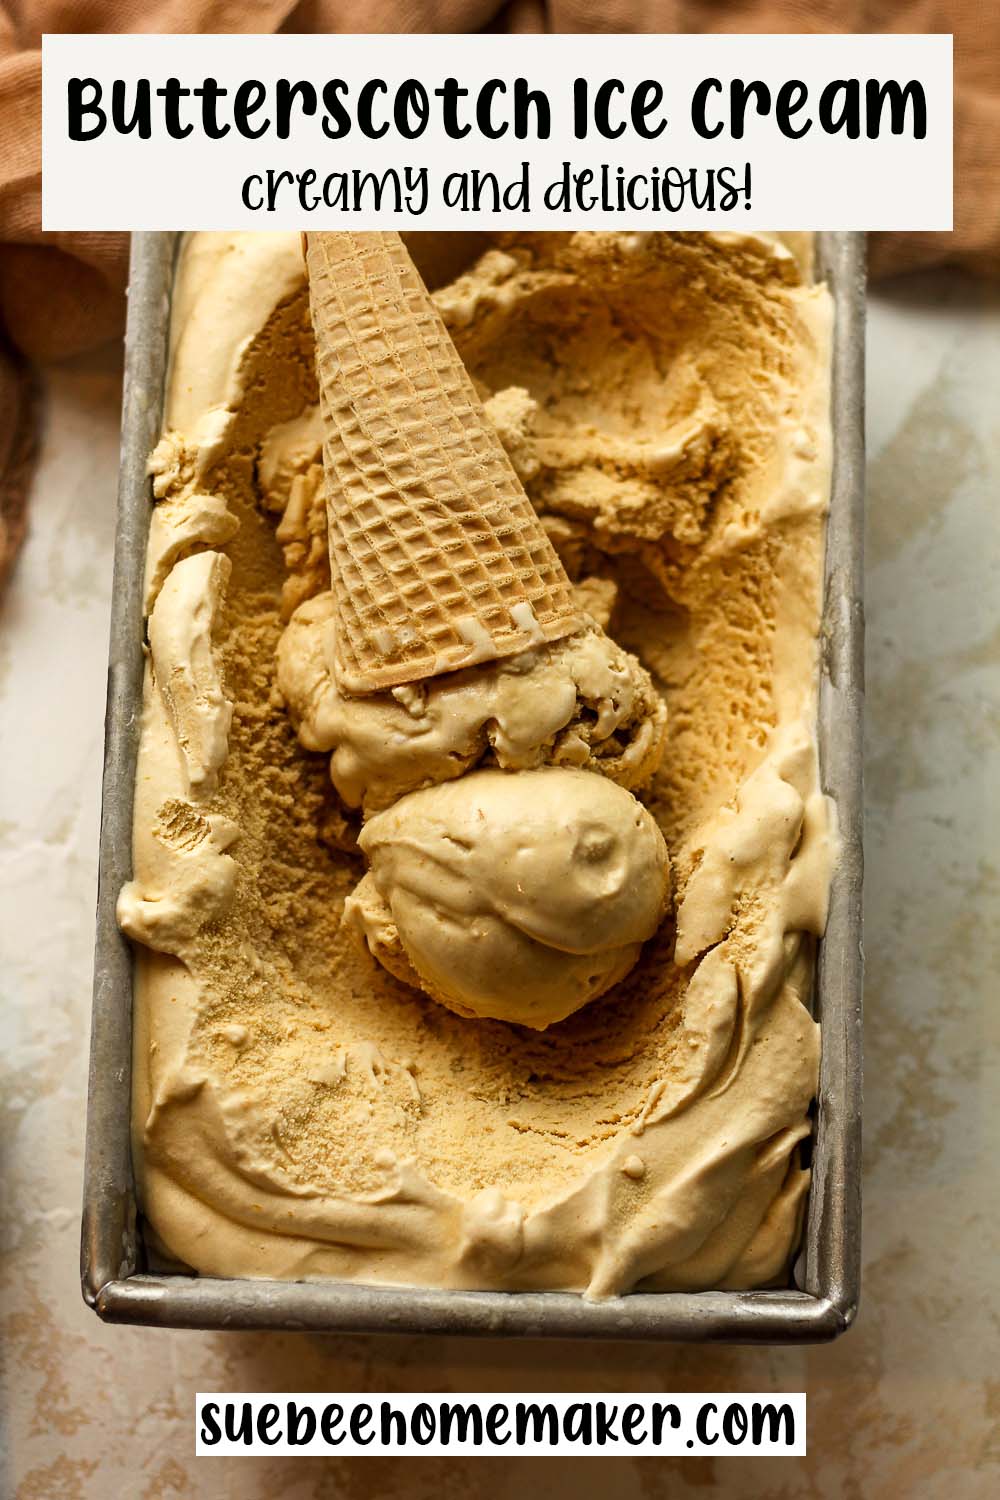
Serve ice cream. Serve butterscotch ice cream in small serving bowls or pile it high on top of sugar cones or waffle cones.
Recipe Tips:
- Freeze the KitchenAid attachment at least 15 hours before using.
- Chill the liquid ice cream mixture until VERY COLD, around 3-4 hours or overnight.
- Don’t overfill the bowl so that the ice cream has room to expand as it is freezing.
- Start the mixer (with attachments) on low before adding the liquid ice cream mixture.
- Let the mixture churn until it thickens and starts to rise to the top of the bowl.
- Transfer ice cream to a freezer-safe container to freeze for a couple of hours before serving.
Recipe FAQs:
Tempering eggs for ice cream is an important step in the ice cream-making process that helps to ensure a smooth, creamy texture and prevent the formation of scrambled egg bits in the final product.
It is important to note that consuming raw or undercooked eggs can pose a risk of foodborne illness, as they may contain harmful bacteria such as salmonella. This is why it is important to cook eggs to the recommended temperature of 160°F (71°C) to ensure that any potential bacteria are killed.
A custard-based ice cream, often referred to as French-style or Philadelphia-style ice cream, is made by creating a custard as the base for the ice cream. The custard typically consists of egg yolks, sugar, and a combination of milk and cream. This style of ice cream is known for its rich and creamy texture.
Yes, you can make the ice cream a few days in advance and store it in the freezer. For best results, allow it to soften for a few minutes at room temperature before serving for a softer consistency.
Other Homemade Ice Cream Recipes:
Do you have a favorite ice cream? What kind will you try next?
- Something fruity? Peach | Blueberry | Strawberry | Creamsicle | Strawberry Cheesecake | Lemon Custard
- Chocolatey? Chocolate Peanut Butter | Nutella | Chocolate Fudge Brownie
- Classic? Vanilla Bean | Butter Pecan | Mint Chip | Oreo | Caramel Swirl
- Something different? Peppermint Stick | Pumpkin | Coffee Toffee | Reese’s PB | S’mores | Cinnamon
We love creating new flavors of ice cream for you to enjoy all year long. Don’t hesitate to suggest new flavors in the comment section below!
Kitchen Tools Used: (affiliate links)
xoxo ~Sue
Butterscotch Ice Cream
Ingredients
- 1/2 cup unsalted butter
- 1 cup dark brown sugar
- 1/4 cup heavy cream
- 1 ¾ cups heavy cream
- 2 cups whole milk
- 2 Tablespoons Bourbon – optional
- 5 large egg yolks
- 1/4 cup granulated sugar
- 1-2 Tablespoons vanilla extract
- pinch of kosher salt
Instructions
- ** The key to great ice cream is to properly prepare before churning. Make sure your ice cream attachment (if using the KitchenAid bowl or another) is frozen and the liquid mixture is properly chilled. See blog post for more details!
- Melt the butter and brown sugar. In a medium saucepan over medium heat, add the butter. When melted, add the brown sugar and stir well. Let simmer for a few minutes. Then add 1/4 cup of the heavy cream and bring to a boil. Let the mixture simmer for 3-4 minutes, stirring constantly.1/2 cup unsalted butter, 1 cup dark brown sugar, 1/4 cup heavy cream
- Add ingredients. Then add the remaining heavy cream, whole milk, and Bourbon. Heat over medium heat until the liquid mixture reaches 165 degrees on a digital thermometer.1 ¾ cups heavy cream, 2 cups whole milk, 2 Tablespoons Bourbon
- Combine eggs and granulated sugar. In a small bowl, combine the egg yolks and granulated sugar. Use a whisk to mix well.5 large egg yolks, 1/4 cup granulated sugar
- Temper eggs. Then add some of the hot mixture to the eggs, using a small measuring cup to pour into the eggs, whisking continuously. (We don't want scrambled eggs!) Continue adding about 1.5 cups of the hot mixture to the eggs. Pour the egg mixture back into the pan and whisk well. When the hot mixture reaches 165 degrees, remove the pan from the heat.
- Pour mixture into a bowl. Pour the liquid mixture into a large bowl or an 8-cup measuring cup. Add vanilla and salt – and whisk again.1-2 Tablespoons vanilla extract, pinch of kosher salt
- Chill. Place the liquid ice cream mixture into your refrigerator and chill until VERY COLD, or for at least four hours. We often chill it overnight (but this takes a bit of advance planning).
- Churn. If using a KitchenAid attachment (as pictured below), start the mixer with the attachment so that it’s turning BEFORE you pour the liquid in. Then pour in whisked ingredients and let it churn until finished. You’ll know it’s done when the mixer starts slowing down and it rises to the top of the bowl (or over it slightly), approximately 25-30 minutes.
- Remove. Use a rubber scraper to spoon the churned ice cream out of the bowl into a freezer-safe container. I occasionally use a loaf pan for ice cream (but that is temporary and for photography purposes).
- Freeze. Freeze the ice cream until ready to serve. The ice cream will be a bit soft so it needs a couple of hours to firm up.
- Serve ice cream. Serve butterscotch ice cream in small serving bowls or pile it high on top of sugar cones or waffle cones.
Notes
-
- Freeze the KitchenAid attachment at least 15 hours before using.
- Chill the liquid ice cream mixture until VERY COLD, around 3-4 hours or overnight.
- Don’t overfill the bowl so that the ice cream has room to expand as it is freezing.
- Start the mixer (with attachments) on low before adding the liquid ice cream mixture.
- Let the mixture churn until it thickens and starts to rise to the top of the bowl.
- Transfer ice cream to a freezer-safe container to freeze for a couple of hours before serving.

This was my first time making my own icecream and it came out amazing! I added Oreo and swirled in Carmel – so exited to try new flavor combos in the future!
Sounds delicious, Erin!
Just made this with sucanat and the mix was amazing tasting I also used some celtic sea salt and it really brought out the caramel notes!
Sounds delicious Ali! Thanks for your feedback!
I’m going to add smashed butterscotch hard candies instead of bourbon.
Let me know how it turns out, Diane!
Another top notch ice cream recipe. I must admit that I am addicted to this one!
Agreed!
Can you give a better idea of how much this makes? I see it says 8 servings, but is is about a quart of ice cream? Or a pint? Thanks!
It makes 2 quarts or 8 cups.