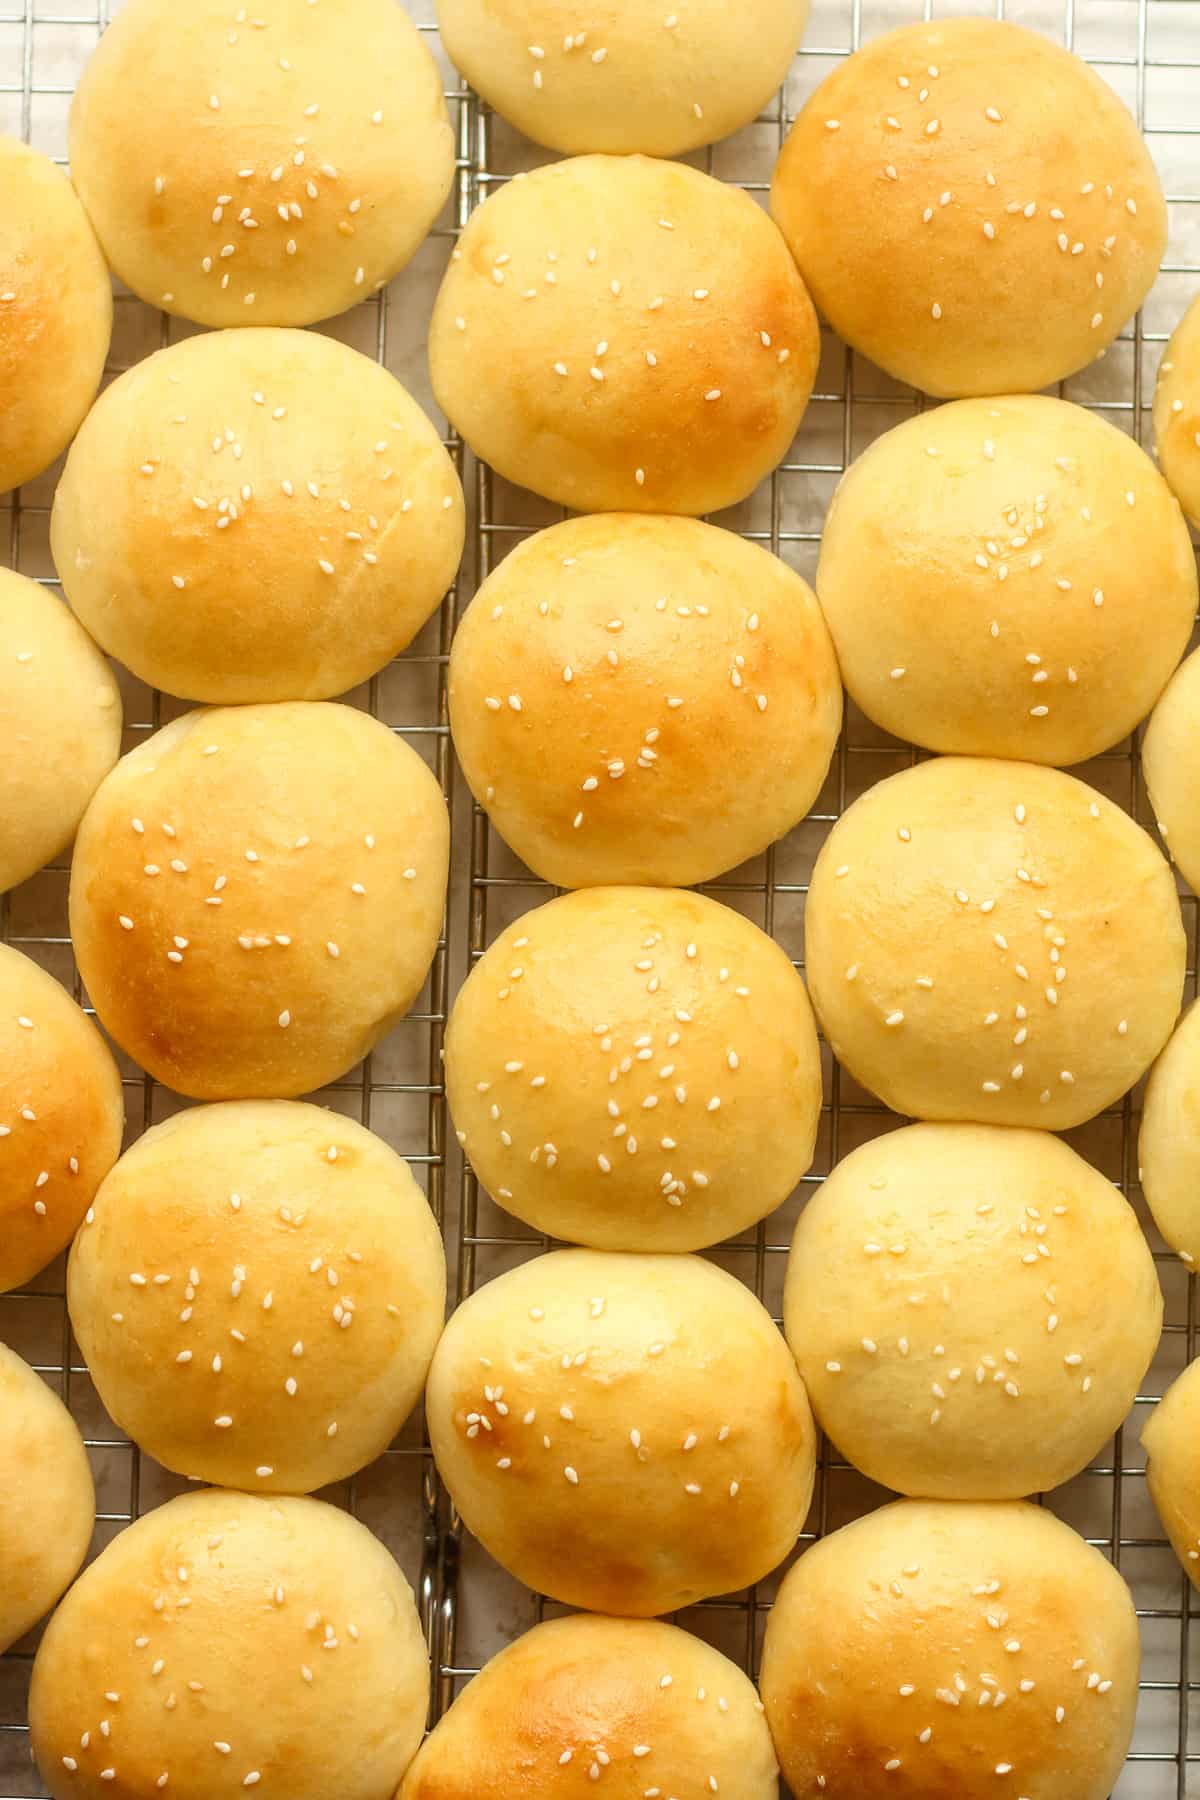
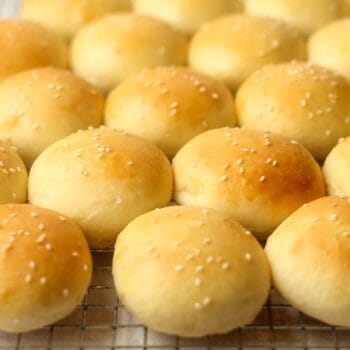
Mini Brioche Buns
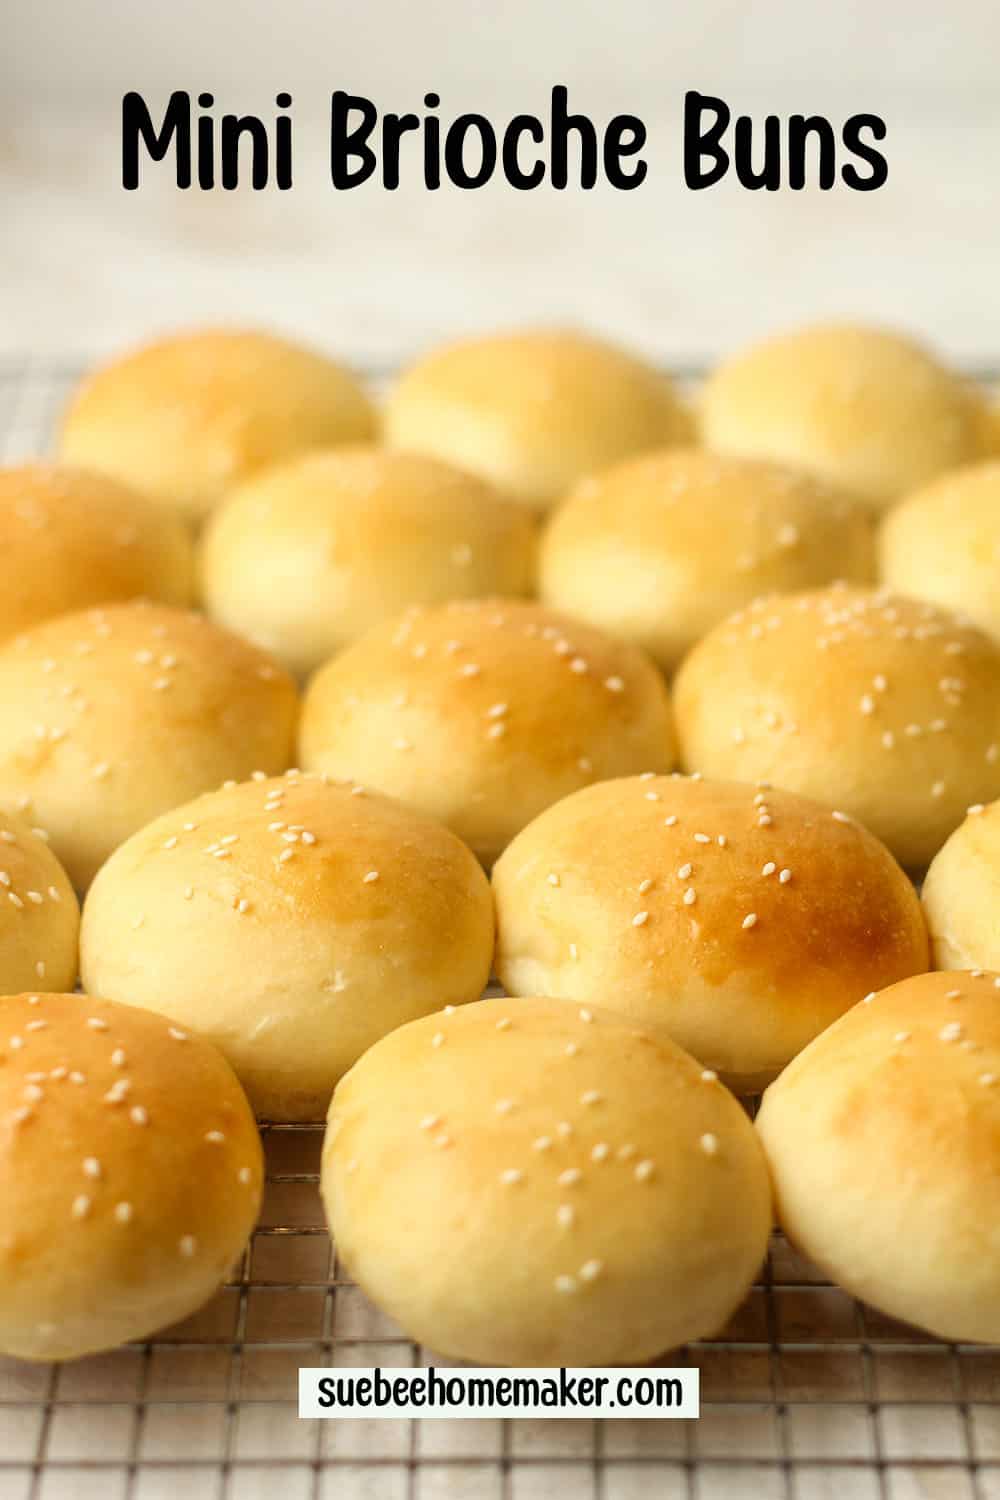
Mini Brioche Buns are the perfect soft, slightly sweet bun recipe for burgers or sandwiches of any size. These are buttery and delicious, and even YOU can make them!
Fresh bread is the best. For some other delicious recipes, try my Everything Bagel Rolls, blog-fav Chewy French Bread, or some Whole Wheat Honey Bread!
Brioche Slider Rolls
Making homemade bread, buns, and rolls is probably one of my favorite things to do. I find it extremely relaxing, and I love the smells and seeing the finished product. It’s a bit like art for me.
There is the brainstorming, the actual act of baking, and then the finished product. When I have success, there is also celebration that involves butter, olive oil, and maybe even some wine!
Let’s call this BAKING THERAPY. What do you do that brings you joy and relaxation?
Why this Recipe Works:
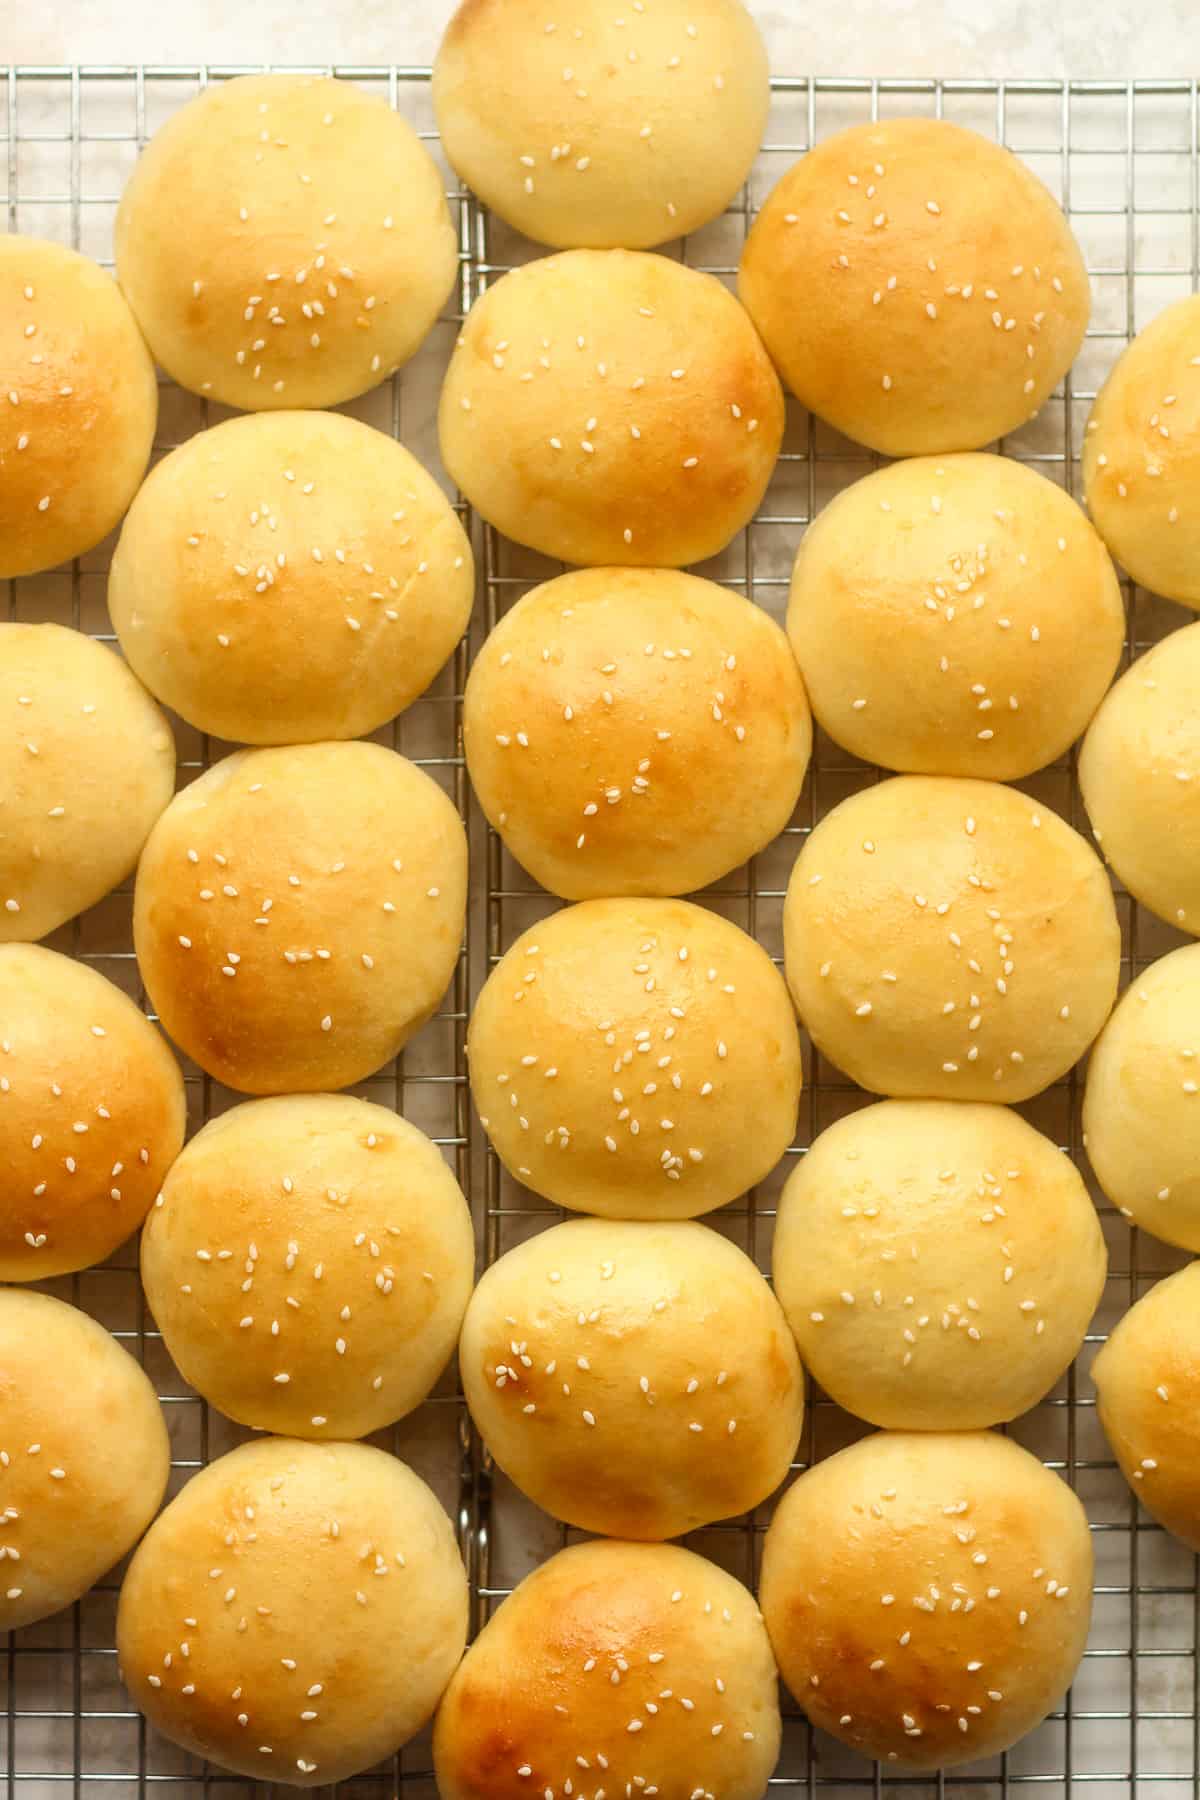
- SOFT and FLUFFY – These rolls are super soft and light. The enriched brioche dough has just the right proportion of ingredients to ensure a perfect texture.
- A little SWEET – Adding a little extra sugar to the dough makes these just a tad sweet, which is the goal here.
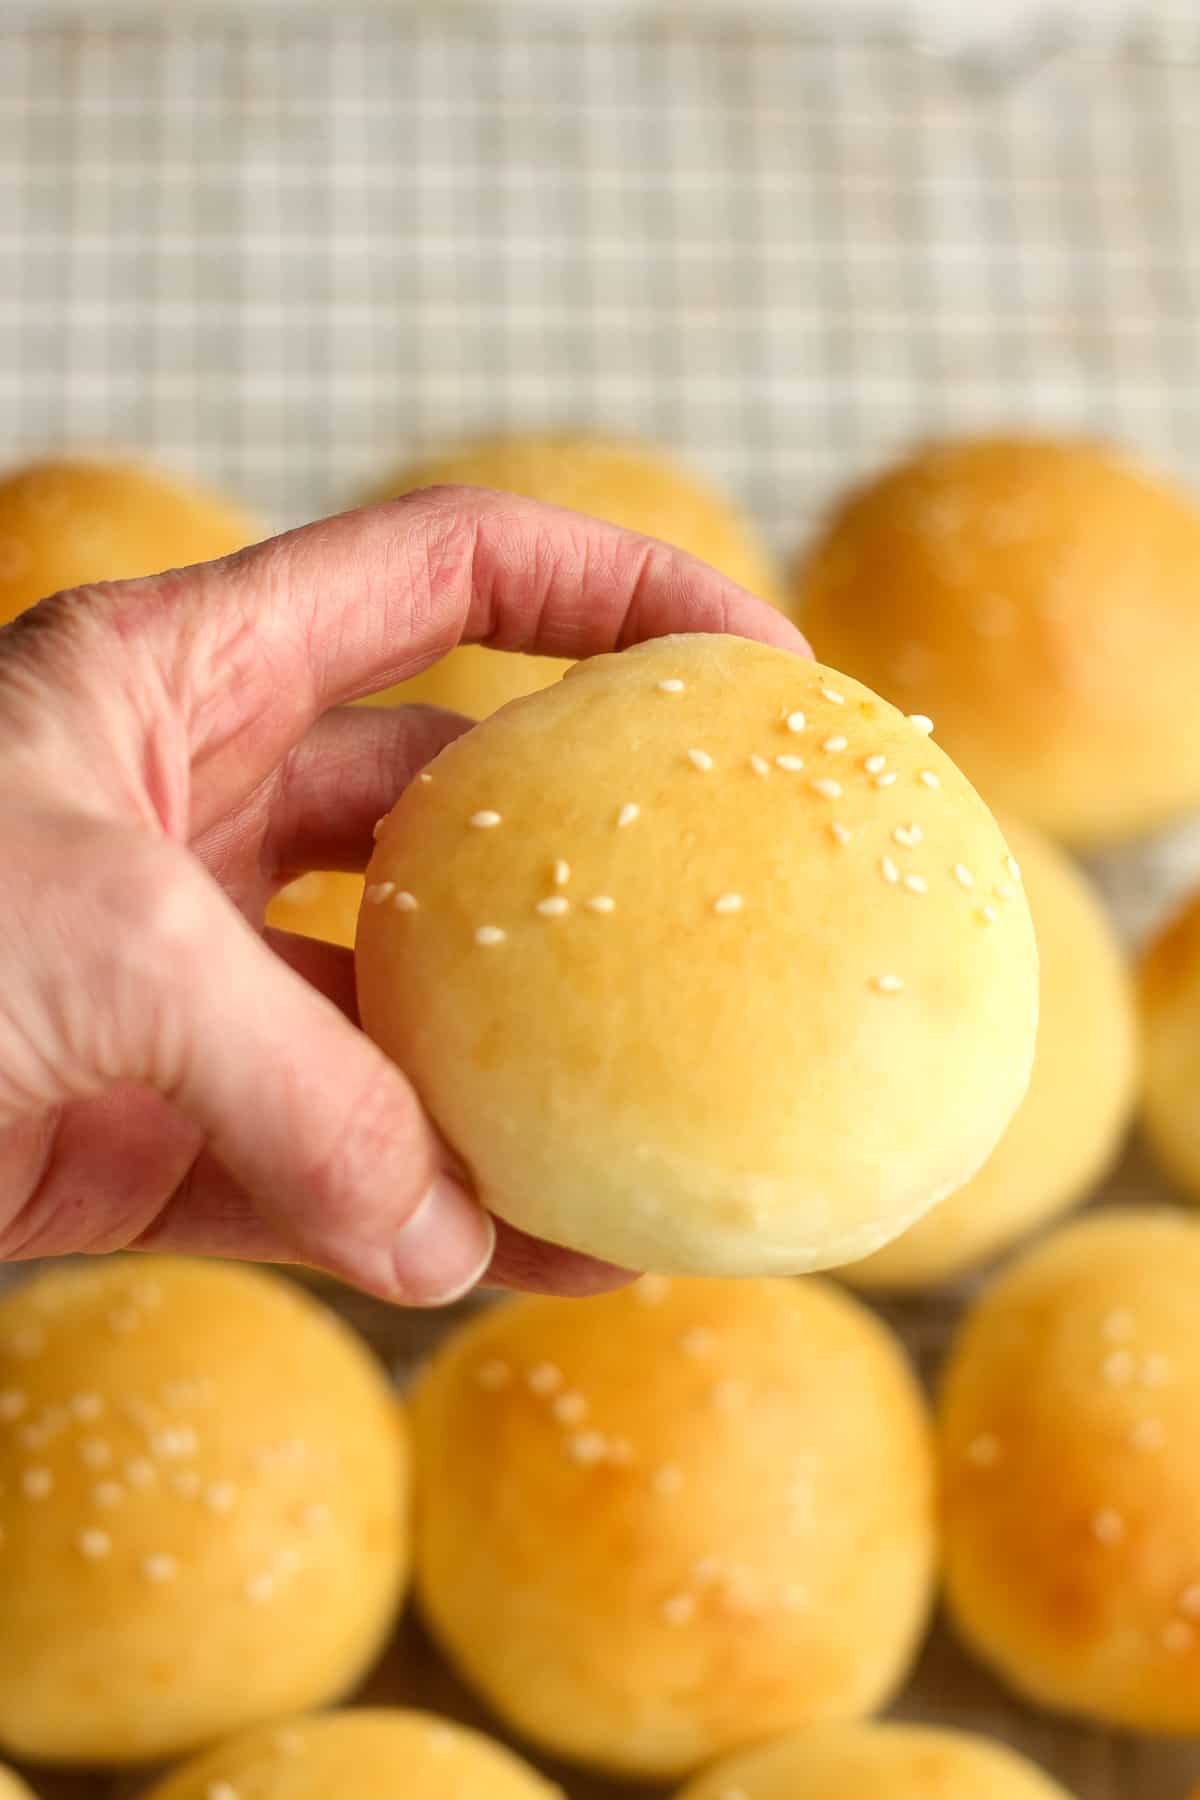
- MINIATURE in size – I love the miniature size of these for sliders and mini sandwiches. One is usually plenty for me, but my guys can easily eat three of them at mealtime.
- LABOR OF LOVE – The dough is simple to make but a little more labor intensive than a simpler bread (like my mom’s Chewy French Bread) and takes a greater amount of time to rise.
- CROWD PLEASER – These soft little buns go fast at a slider party. You might want to double the recipe!
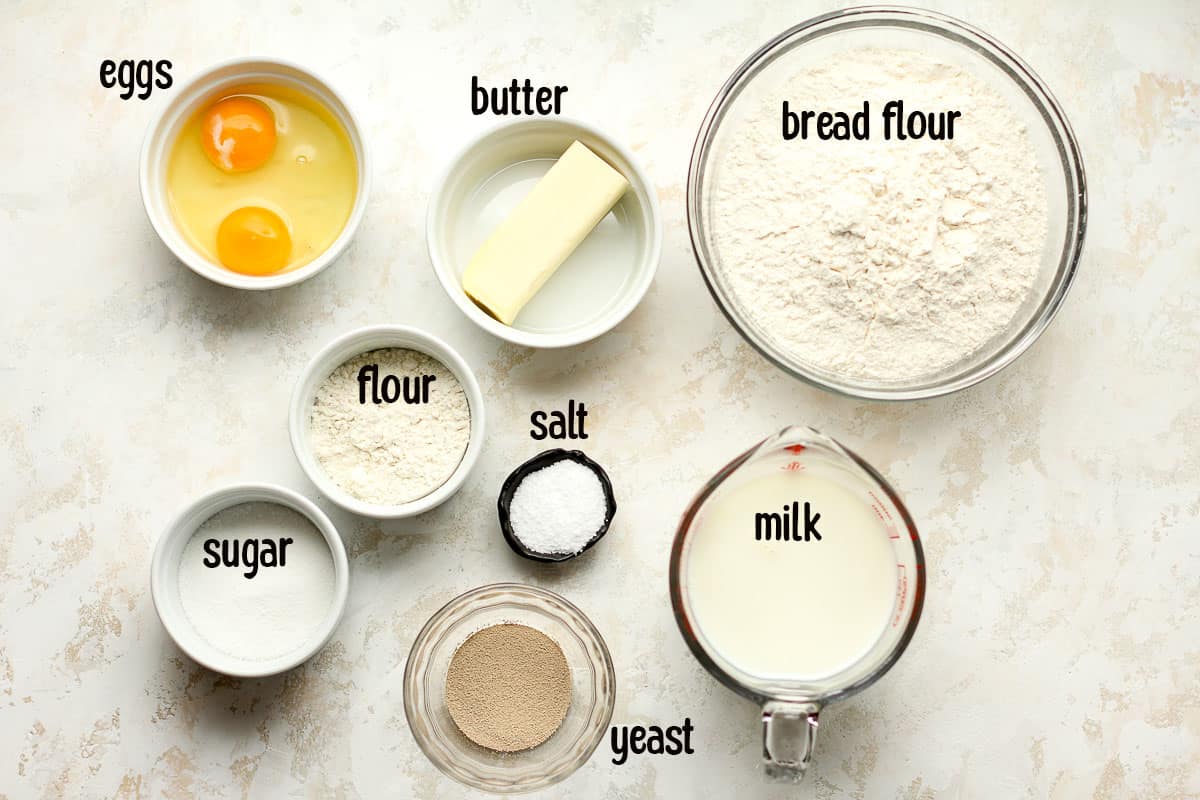
Basic Ingredients Used:
There is a good chance that you have all of these baking staples, except maybe the yeast. If you are at all afraid of using yeast, DON’T BE! You can do it. Just follow my steps and don’t be afraid to experiment a little.
- Yeast – I use Red Star Active Dry Yeast. (This is a very large amount. I keep a bunch in the freezer, and it lasts a long time.) We have perfect bread-making weather here in Texas, and my bread always rises pretty quickly. You may need a Quick Rise Yeast, depending on where you live.
- Sugar – The sugar is needed to help activate the yeast and gives this bread a little sweetness.
- Milk – It’s very important to use warm milk. I test it with a digital thermometer. It should read between 100-110 degrees F.
- Room Temperature Eggs – Whole eggs are very important to this recipe.
- Salt – I use kosher salt in most of my recipes.
- Flour – For best results use just 1/3 cup of all-purpose flour and then bread flour for the remainder.
- Butter – I use unsalted butter so we can control the salt.
- Egg Wash and Sesame Seeds – Add this right before the buns go into the oven.
How to make Mini Brioche Buns:
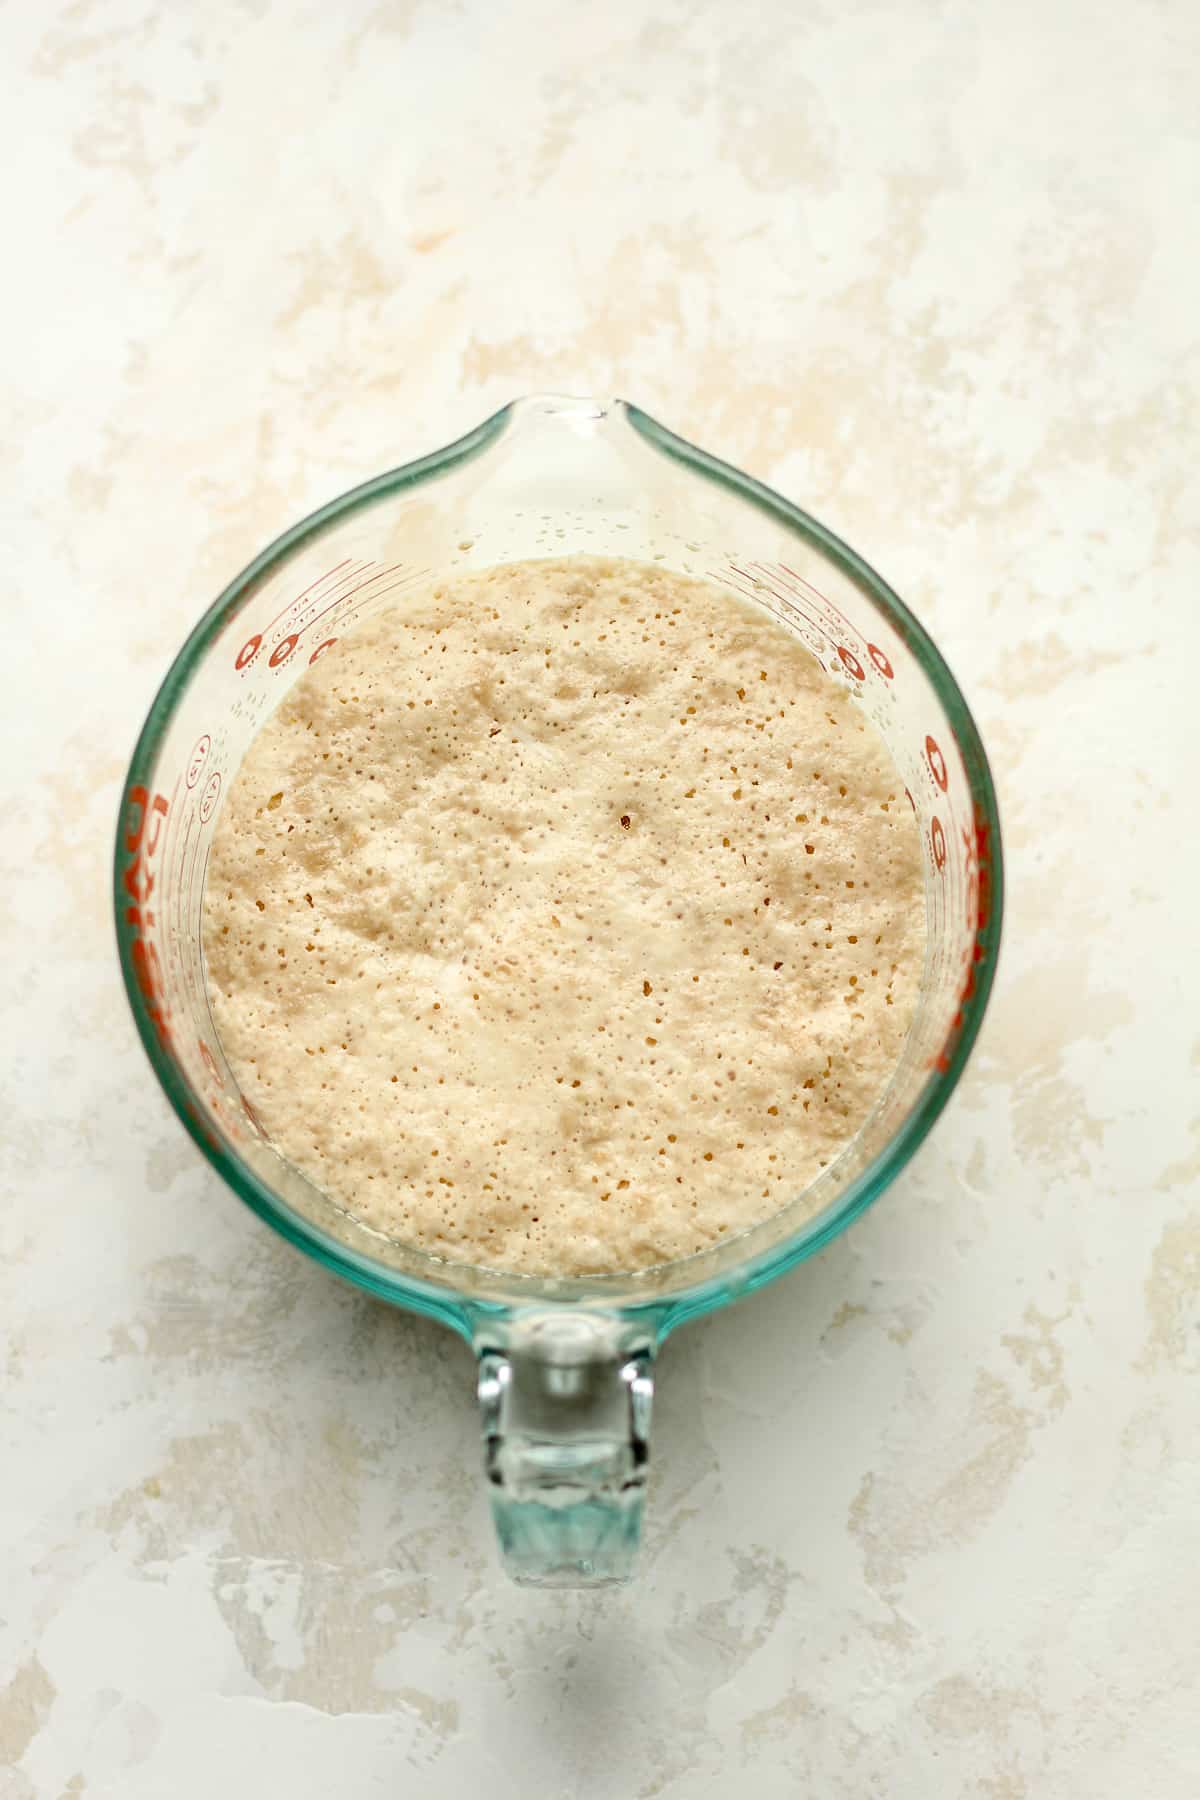
Step 1
Activate the yeast. Using a large measuring cup, combine the yeast, sugar, and warm milk (between 100-110 degrees). Take a spatula, and stir it around a couple of times. Then let it sit for about 15 minutes so that the yeast activates. You should see a bubbly mixture when it’s ready. See below.
Step 2
Add the eggs. After the yeast is activated, add the beaten eggs. Stir again to combine.
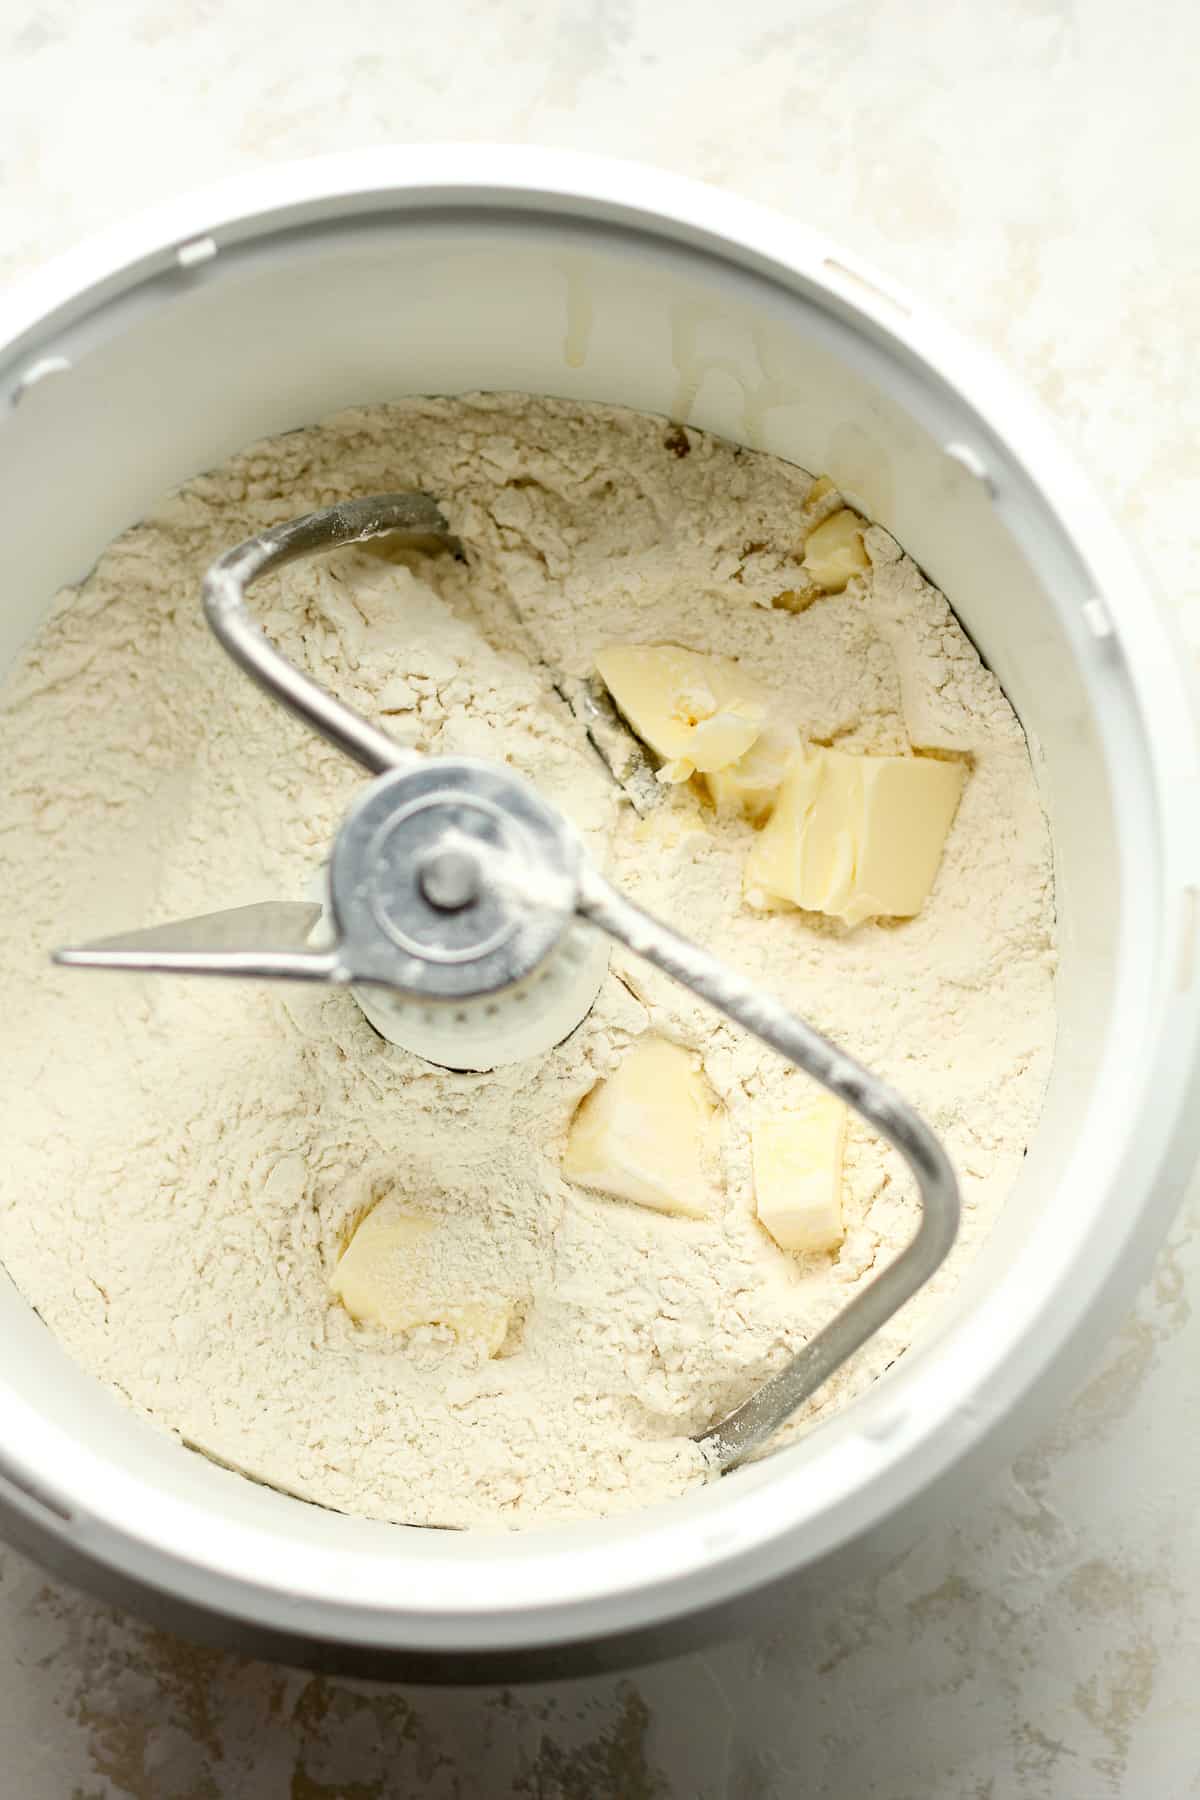
Step 3
Combine flour and butter. In the bowl of a stand mixer, combine the all-purpose flour, four cups of bread flour, and salt. Add the softened butter, attach the dough hook and start the mixer on low speed to combine.
Step 4
Add yeast mixture. Add the yeast mixture to the flour mixture and start mixer, occasionally scraping down the sides of the bowl with a spatula. Gradually add more flour until you get a nice dough consistency. It should be slightly sticky, but easy to handle.
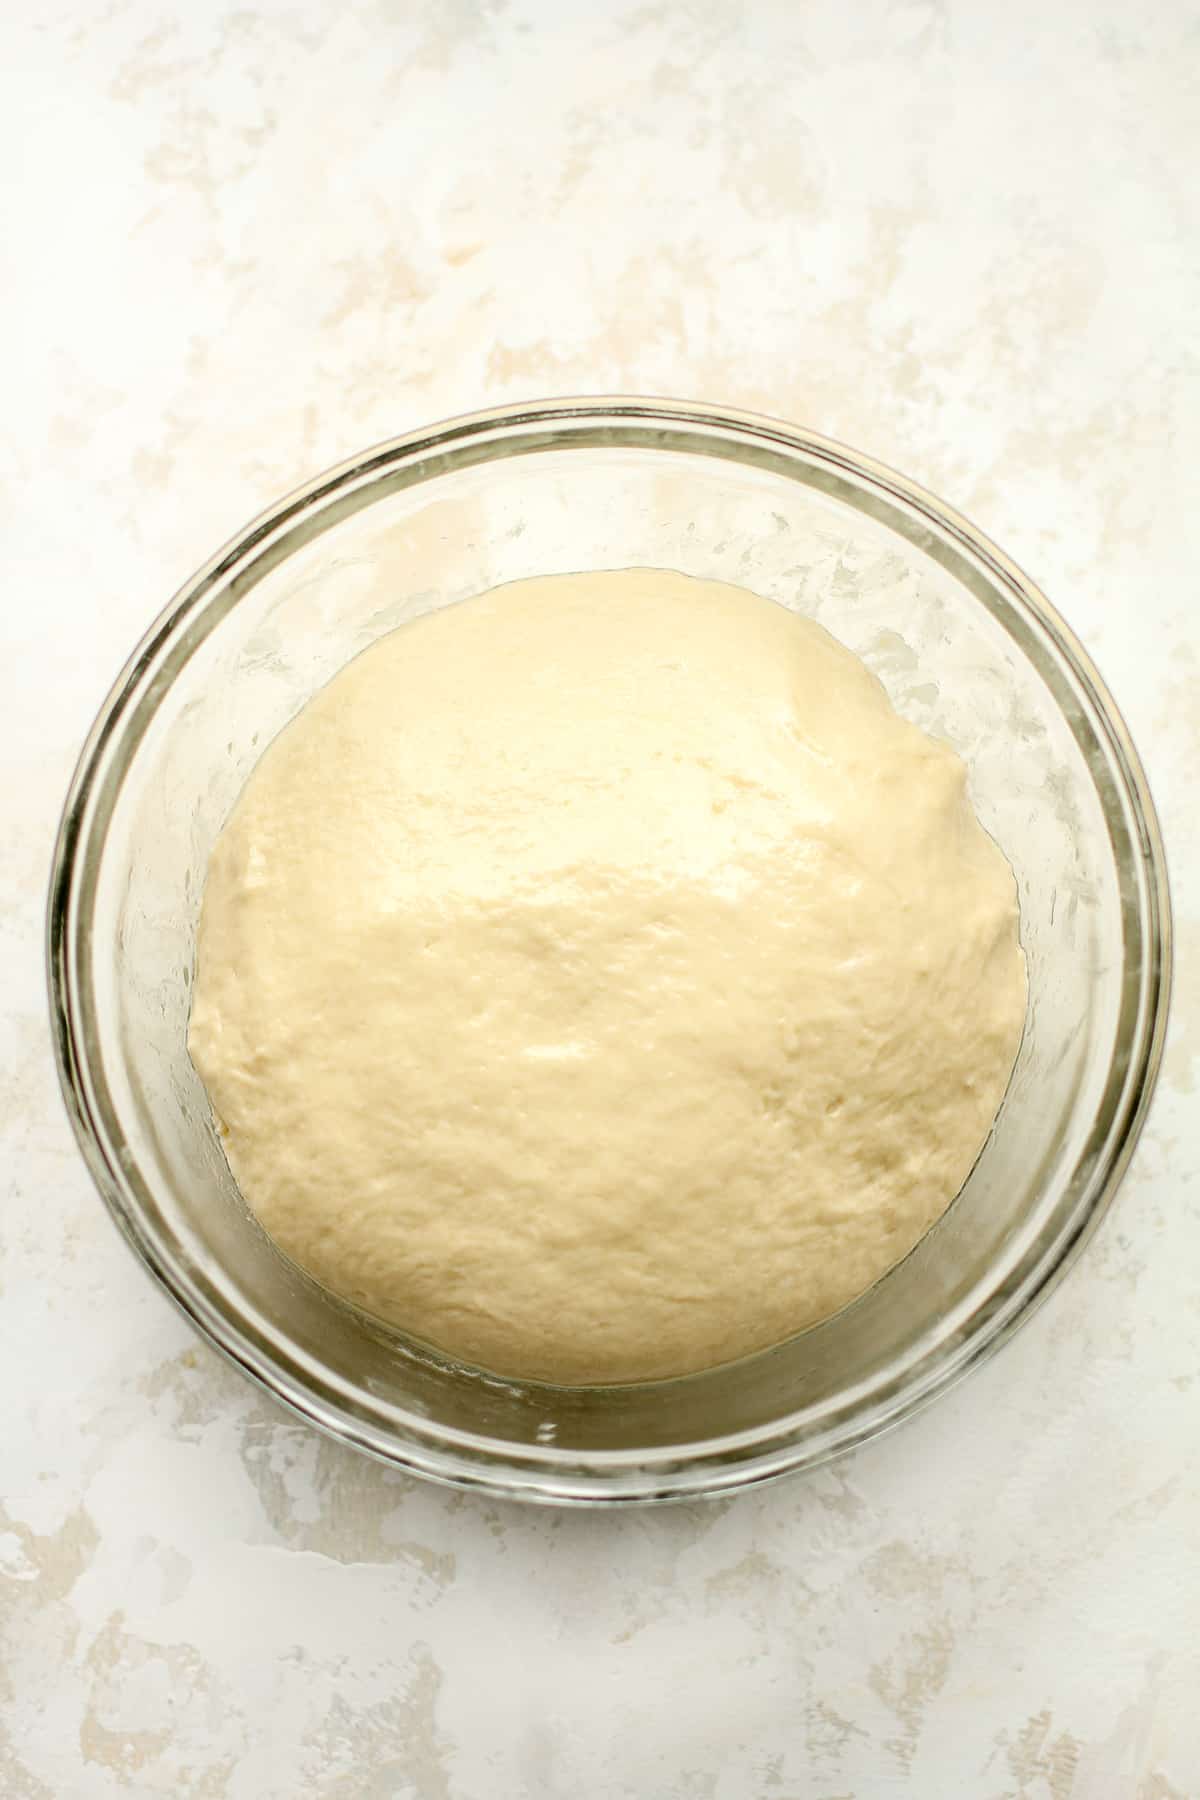
Step 5
Transfer dough. Transfer the dough from the mixer to a large bowl that has been greased with oil. Remove the dough from the mixer and place it in the bowl. Cover the dough with a clean dishtowel or some plastic wrap.
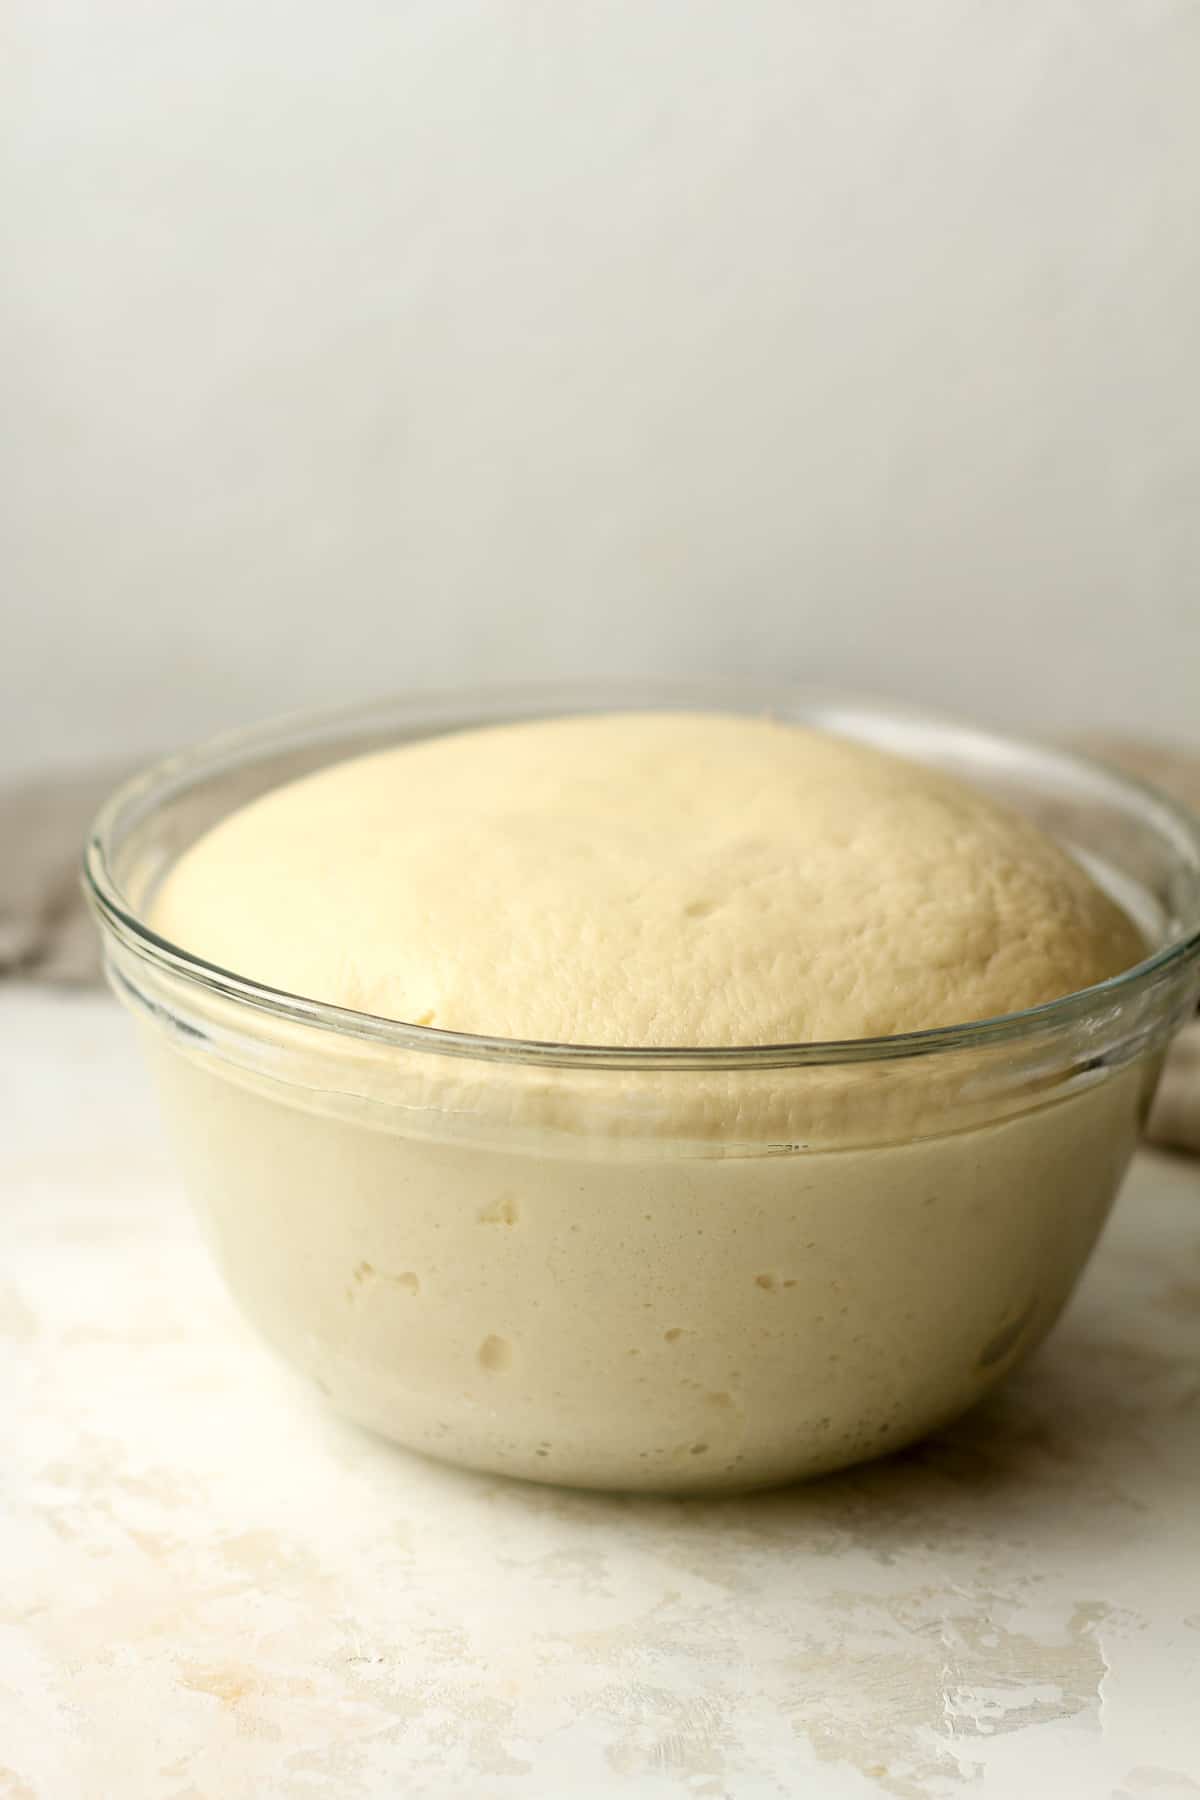
Step 6
Let the dough rise. Place the bowl in a warm spot in your kitchen and let rise until approximately doubled in size. The rise may be different each time and will vary depending on where you live. This particular dough takes longer than regular bread dough.
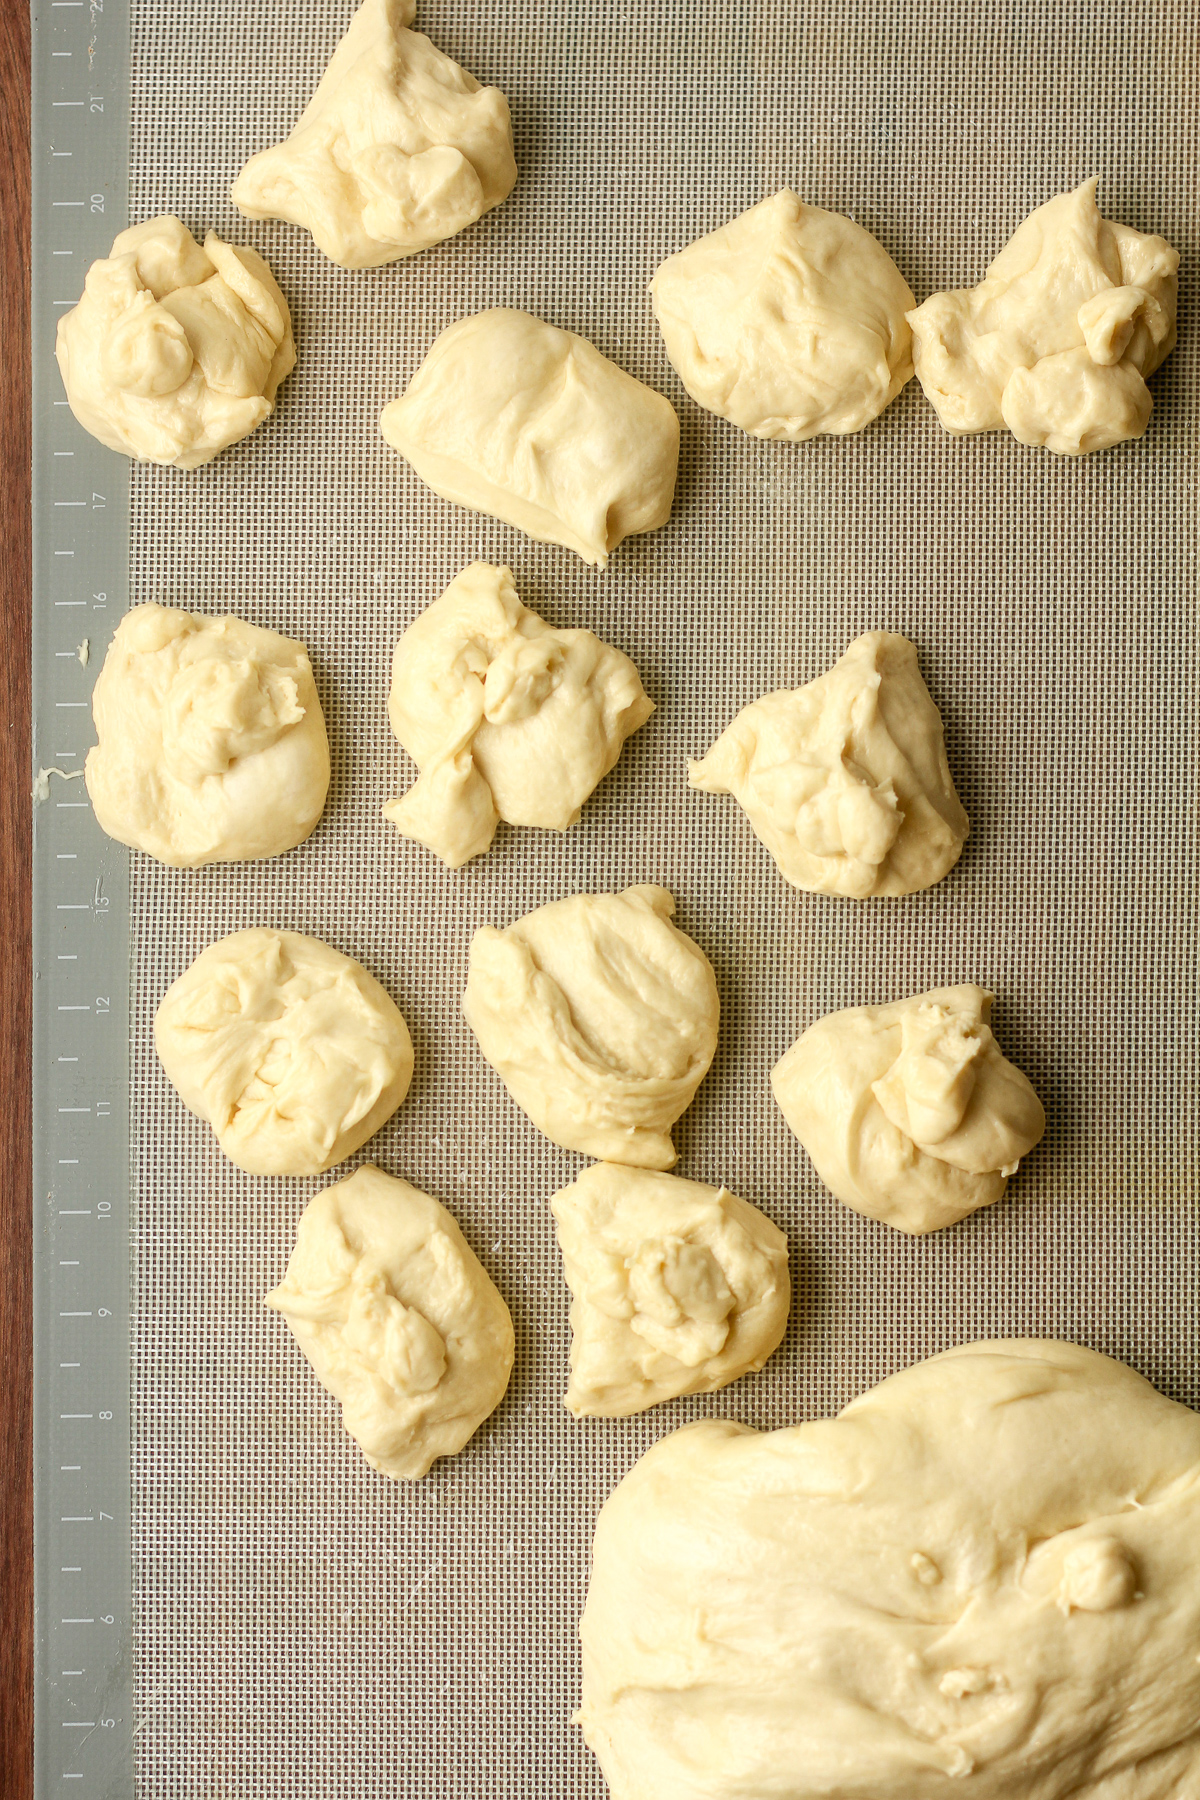
Step 7
Form buns. Once the dough rises, it’s time to form it into mini brioche buns. Prepare sheet pans with parchment paper. (See below for my favorite pans.) Add a little oil to a pastry mat or a large flat surface (a cutting board works too), and form sections of dough into equal pieces for mini buns. I used a kitchen scale and made sure each bun was between 48-50 grams. Place on prepared baking sheets, leaving space between them.
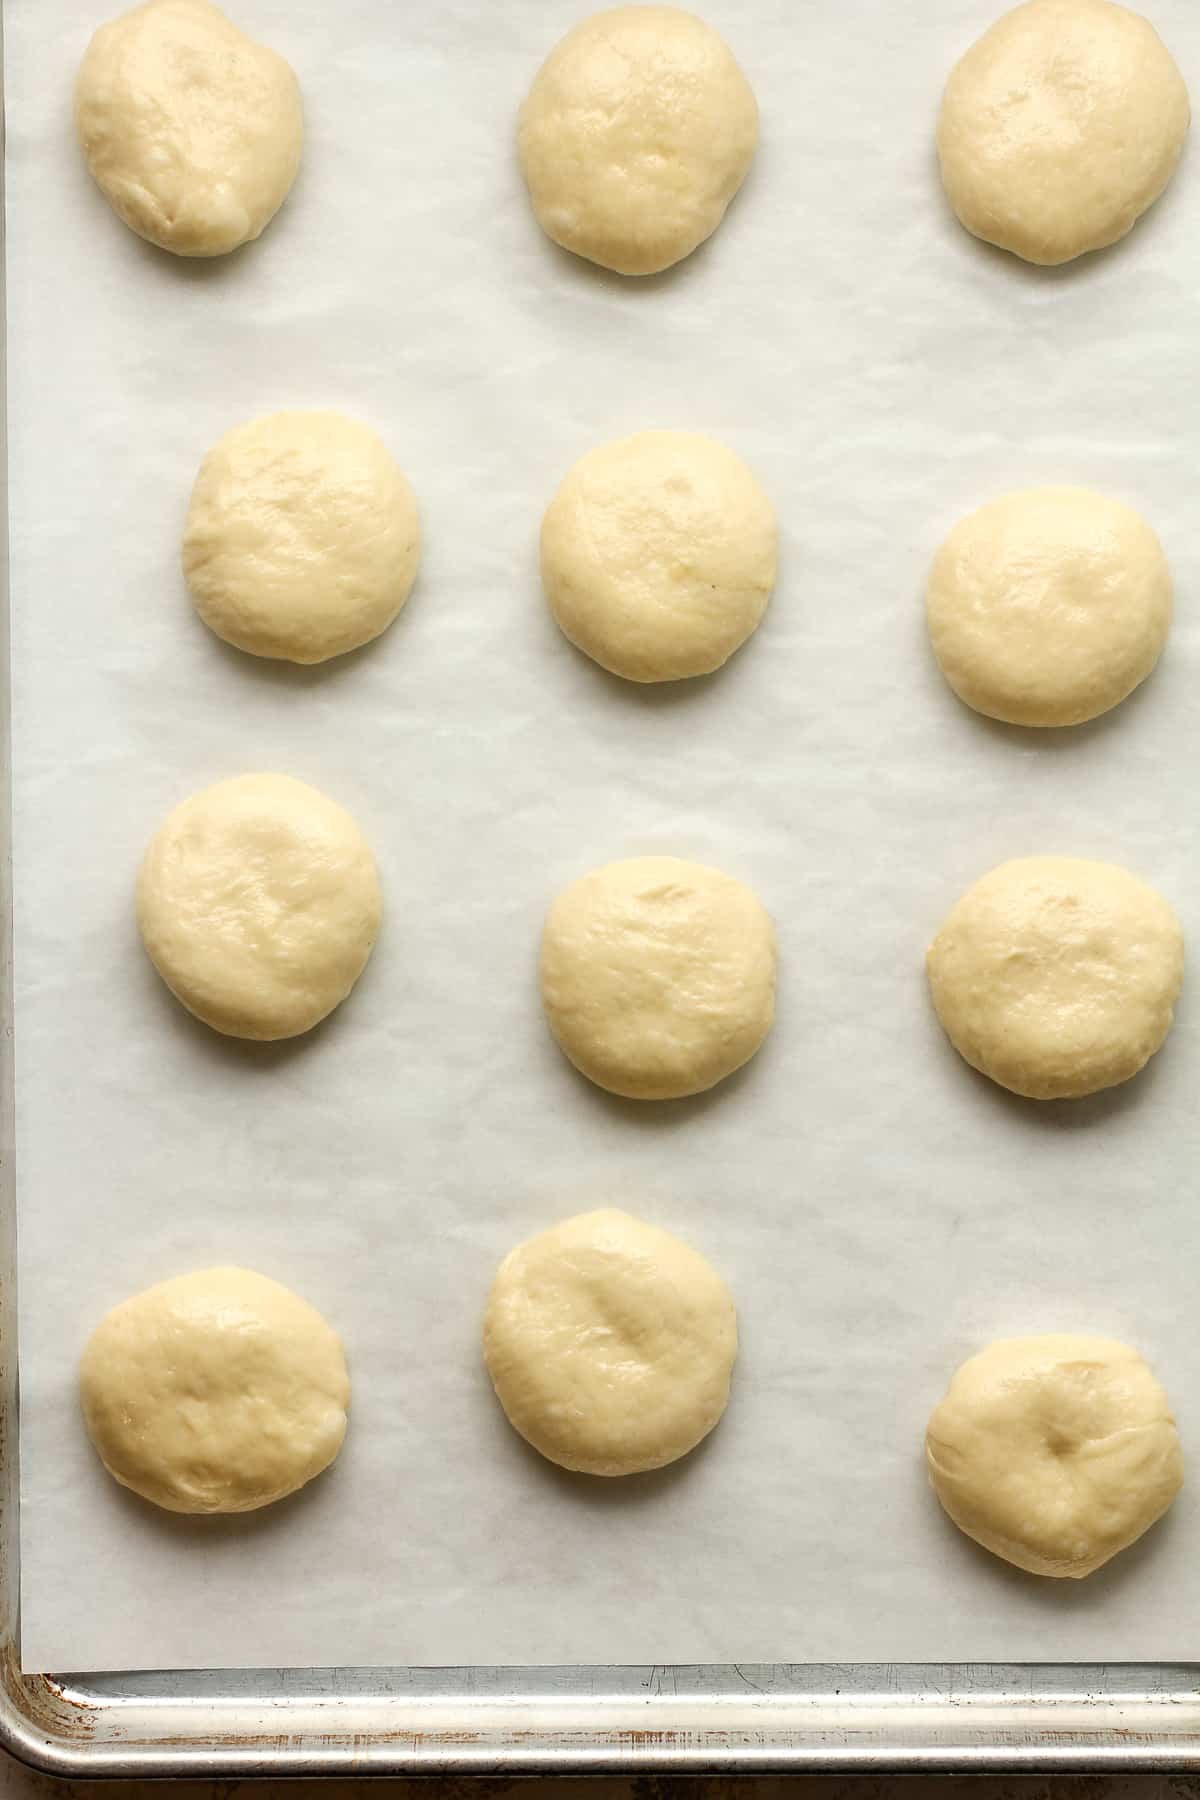
Step 8
Let rise again. Cover pans with clean dish towels, and let it rise again until almost doubled in size.
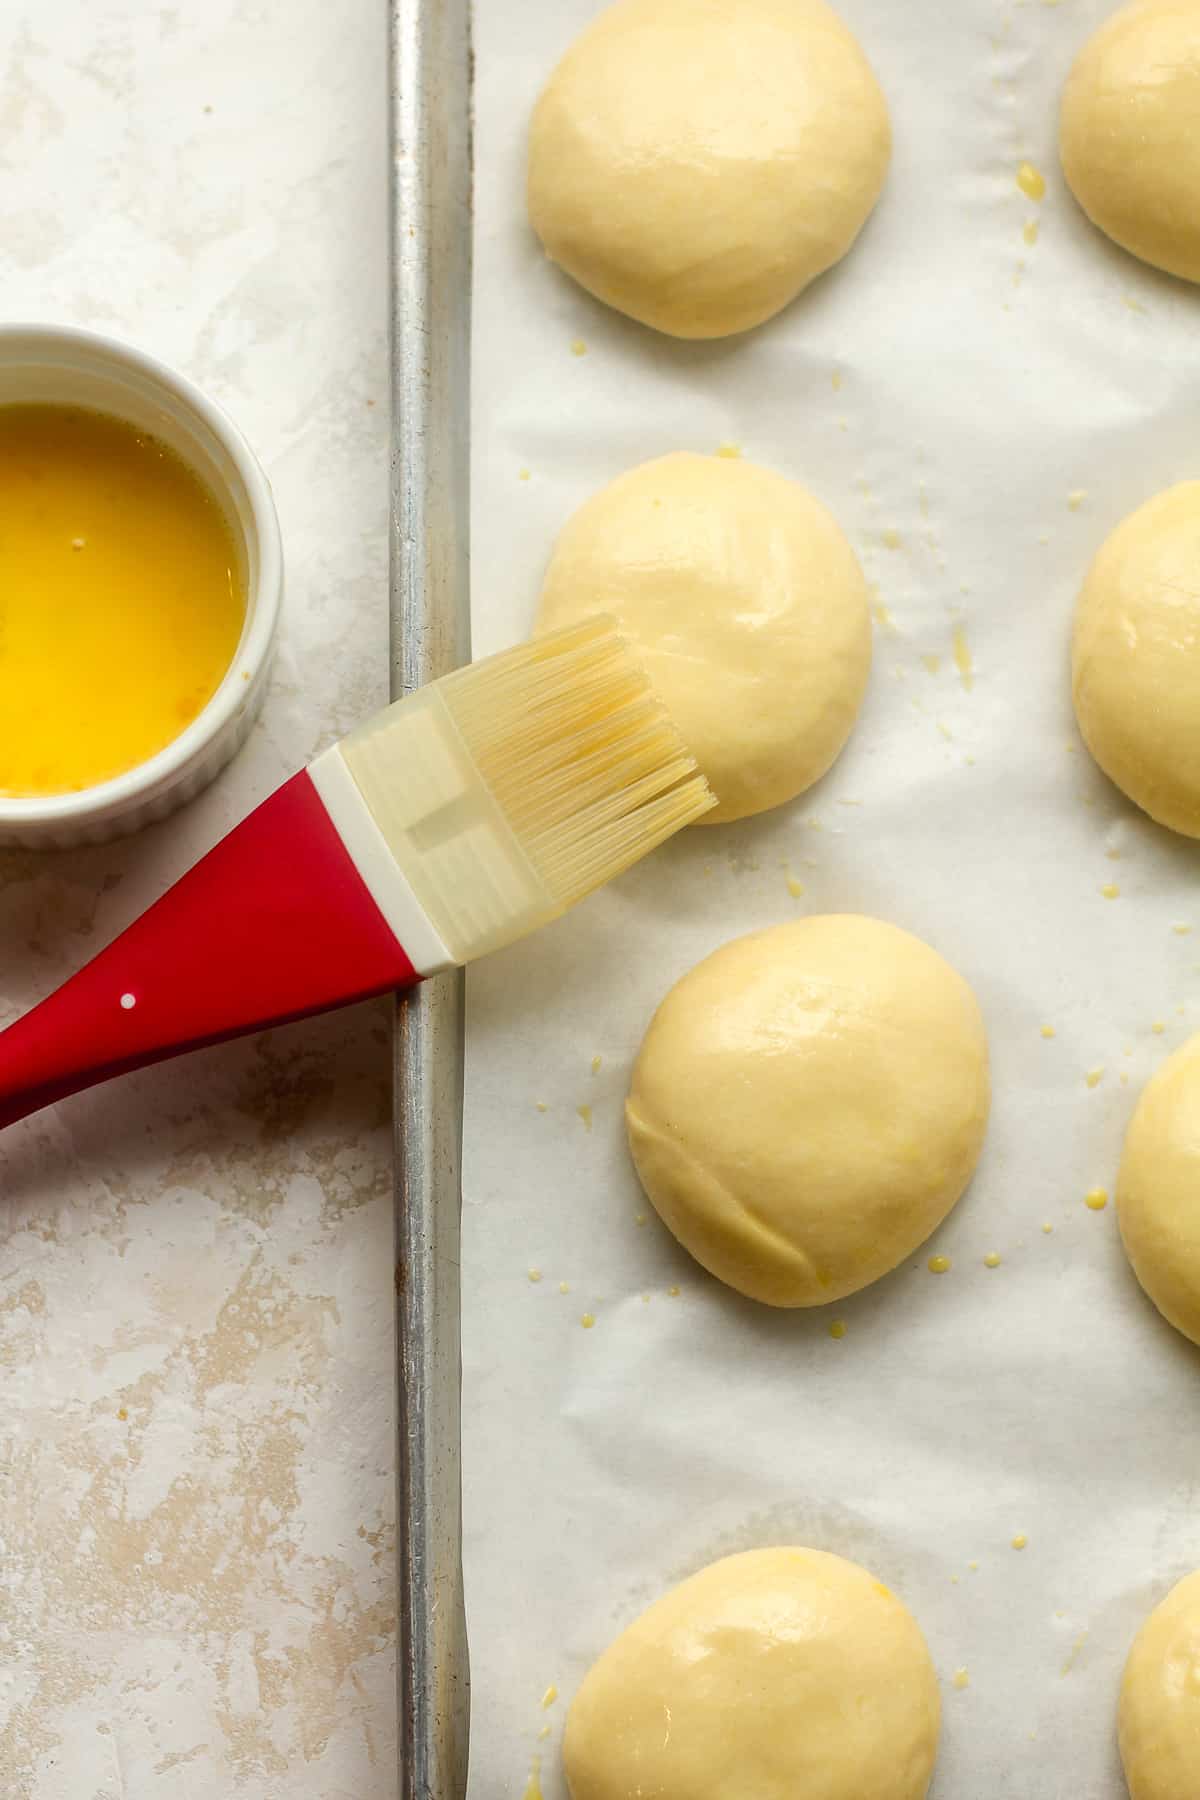
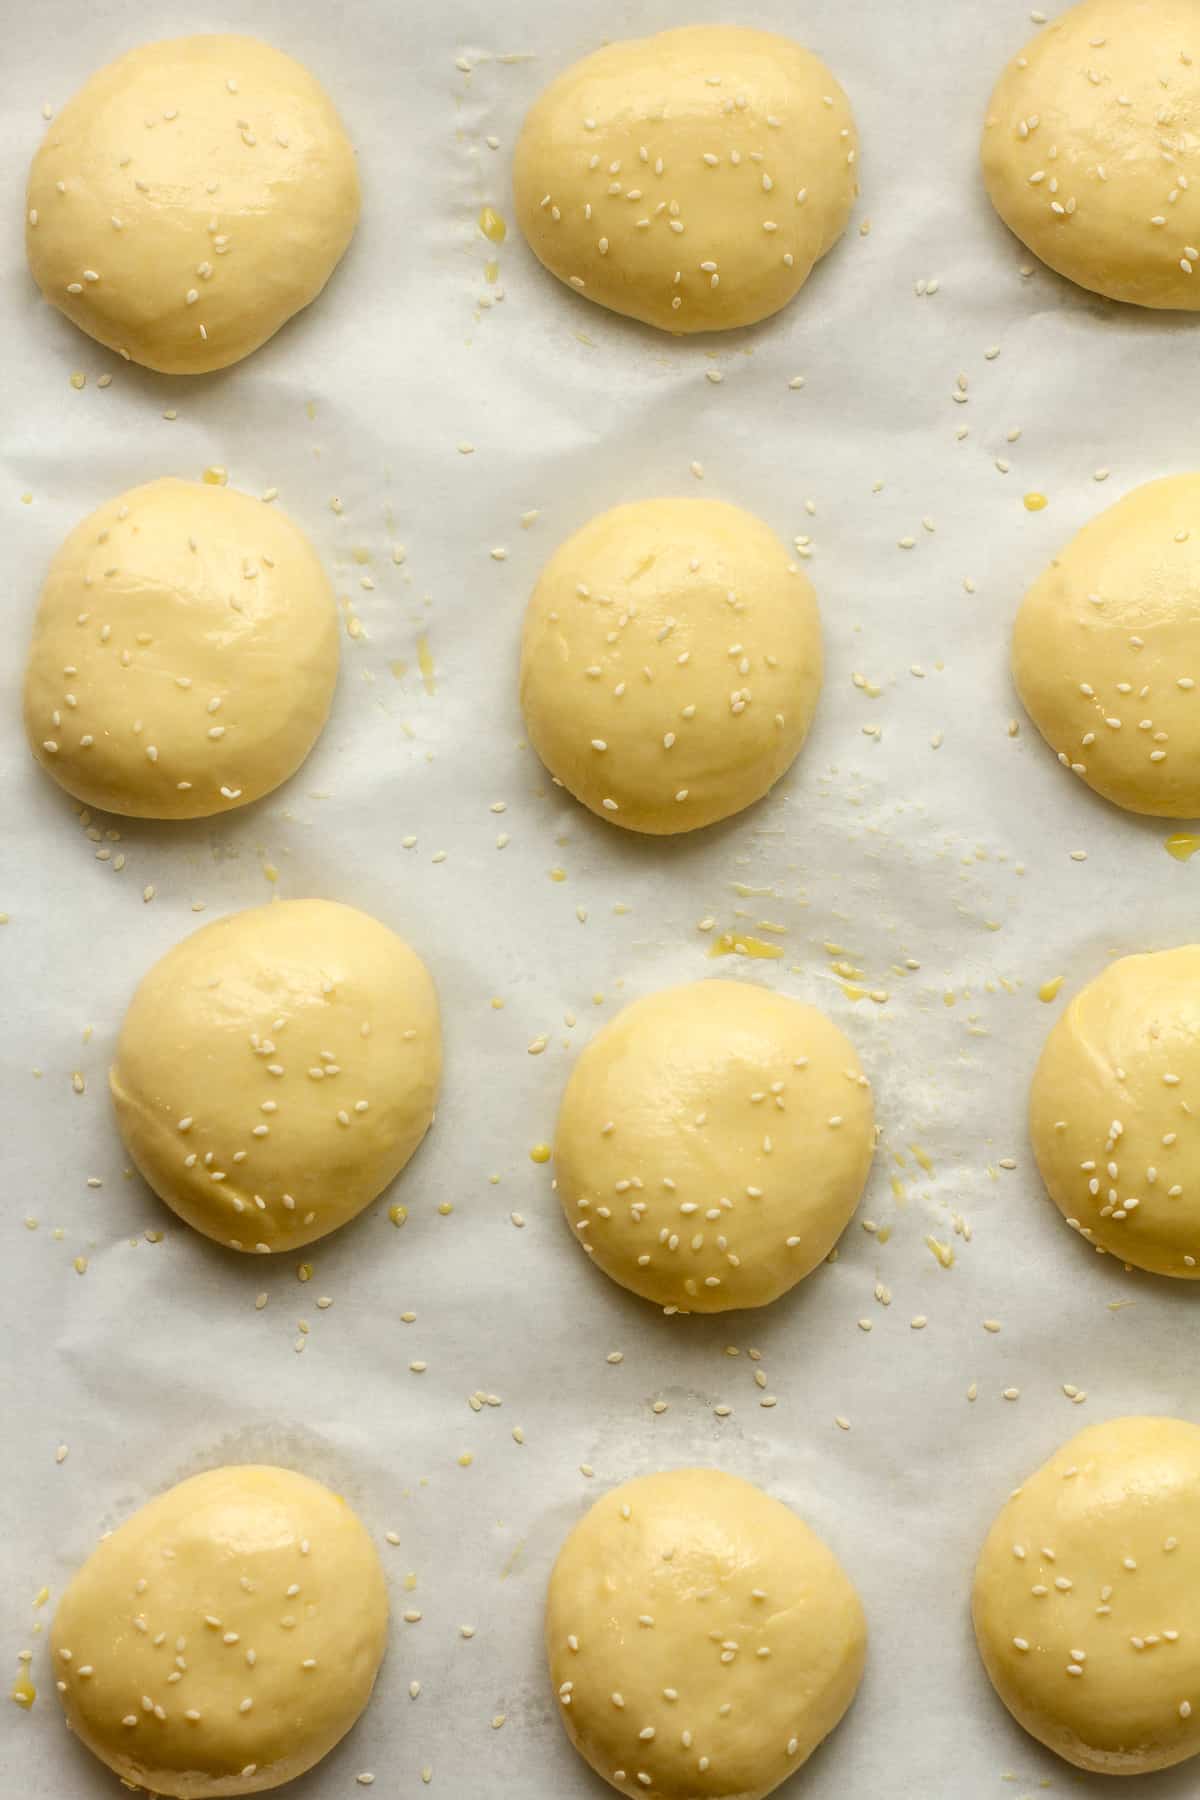
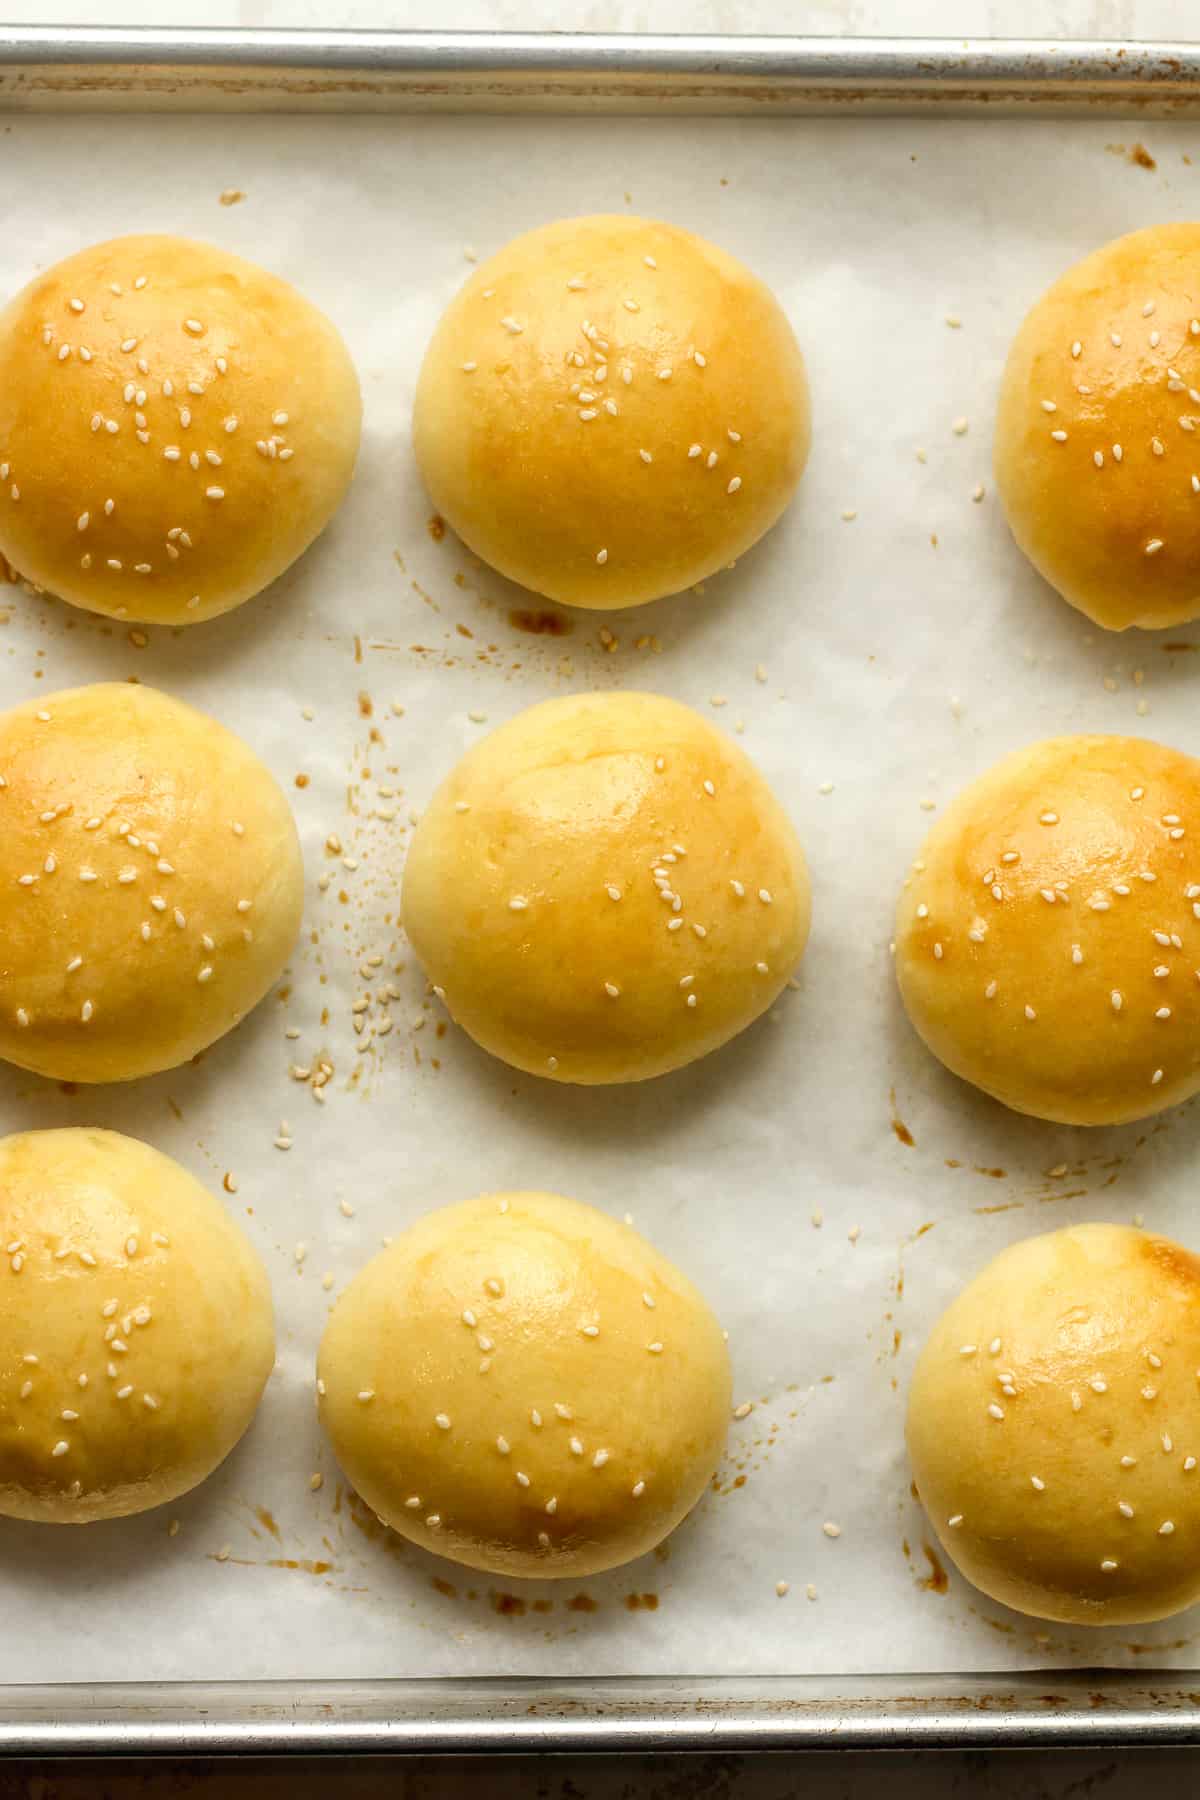
Step 9
Prepare for baking. Beat one large egg with a splash of water, and using a pastry brush, spread a thin layer over the tops of the buns. Add a sprinkle of sesame seeds.
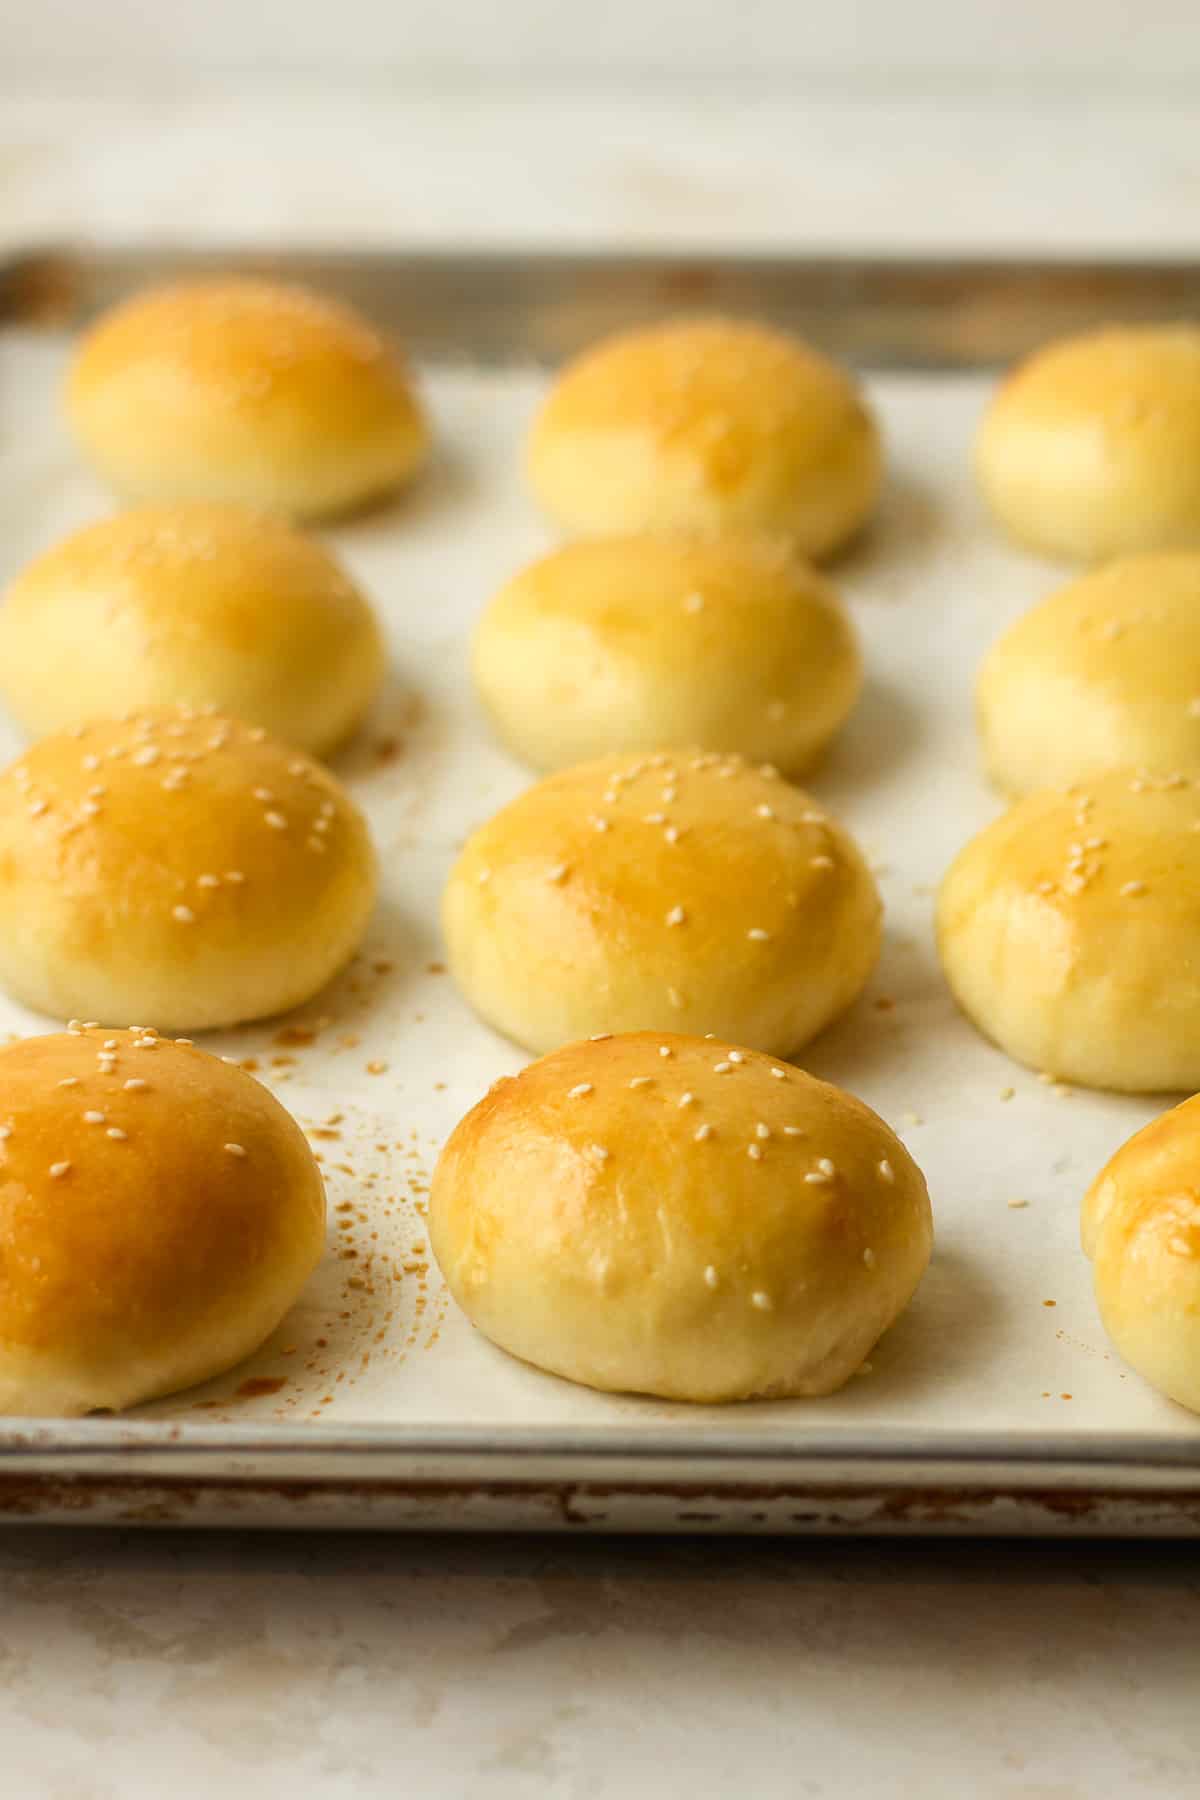
Step 10
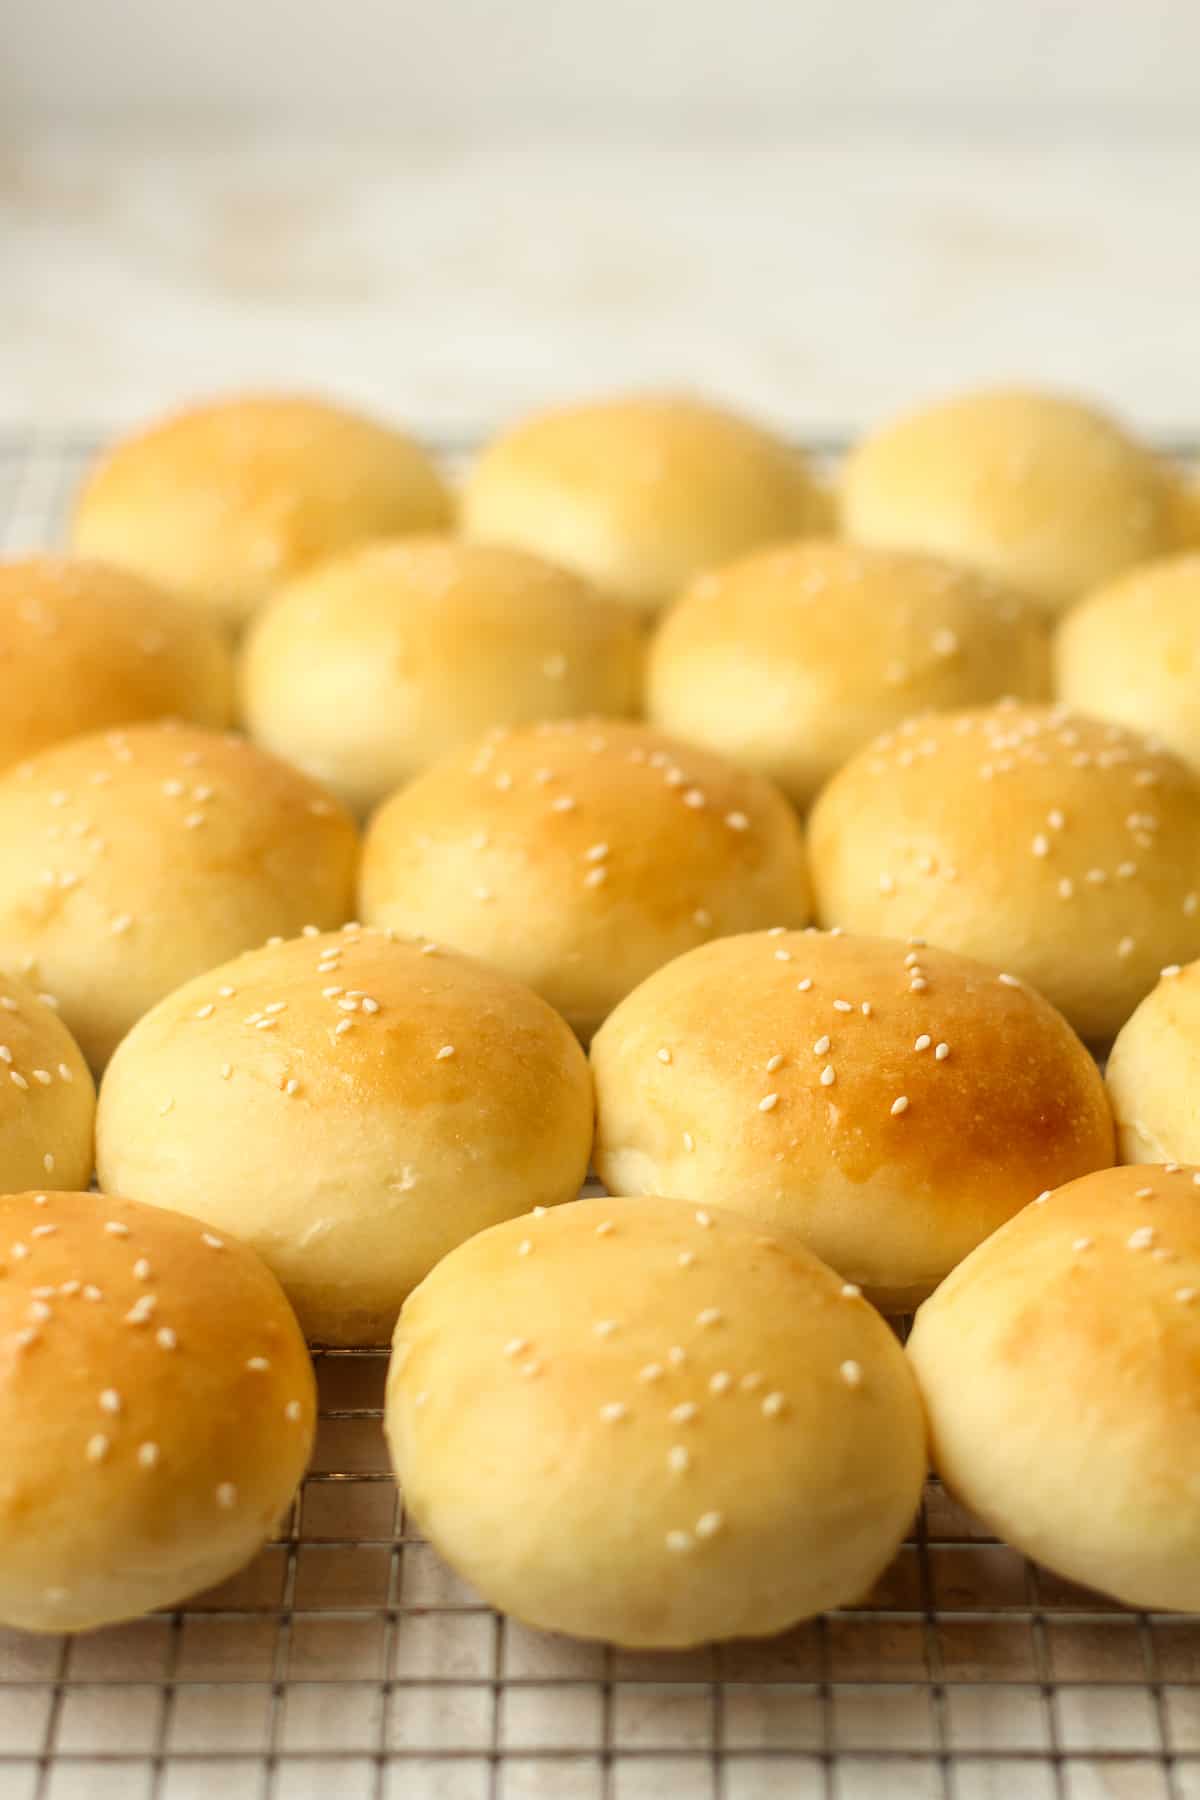
Bake. Bake soft brioche rolls in a preheated 350-degree oven, until done, approximately 15 minutes. The bottoms should be slightly browned, and the tops a nice golden brown. Remove buns to a cooling rack.
Optional Step: Drizzle a little bit of melted butter over the top of the buns.
Storing and Freezing:
- Storing Tip: These buns are best fresh the first day! They can be stored in airtight containers or bags on your counter for 2-3 days.
- Freezing Tip: You can freeze these buns in freezer bags for up to three months.
Making regular-sized burgers? Make these into brioche burger buns – regular-sized!
What is Enriched Dough?
The enriched dough contains a high percentage of fat – thanks to eggs, milk, and/or butter – and is also sweeter than its lean counterpart (like a simple crusty loaf).
Fat (whether from butter, eggs, or milk) tenderizes dough by coating and shortening the gluten strands. This creates a much softer crust and more tender crumb than a lower-fat alternative. However, fat also slows down yeast activity, requiring a longer fermentation time which also helps to develop more flavor.
The extra sugar also hinders yeast activity. Sugar attracts water, leaving the yeast and sugar to fight over the limited water resource in the dough.
In summary, an enriched dough (like this recipe) contains extra fat and sugar which tends to slow down fermentation. My advice is to be patient and let the dough rise over time. The results are worth it!
Recipe Tips:
- When you add the warm liquids to the yeast and sugar – be careful to use WARM liquid, not hot (approximately 100-110 degrees F). If the liquid is too hot, the yeast will disappear and you can’t make bread without yeast. Also, do not use cool liquid because it won’t activate the yeast.
- Don’t add all the flour at once because every baking day is different. Some days you will need a bit more flour and some days, you will need less.
- The dough shouldn’t be overly sticky when ready. It should bounce back slightly to the touch. Over time, you will learn exactly how much flour is needed to make the ultimate brioche buns.
- Be sure to use an egg wash before baking. This is what gives the buns a nice golden color.
- When done, the bottom of the buns should be slightly brown and crunchy, and the top, a nice golden brown.
Active Dry Yeast vs Instant Yeast:
As a rule, I only use Active Dry Yeast in my bread baking. You can use Instant Yeast as well, but will need just a little bit less. Instant Yeast also requires less time to rise, but since I live in a fairly warm, humid climate (Texas), I’ve never had a problem with my bread rise.
- Active Dry Yeast – A type of dry yeast that’s granular, similar to cornmeal. This yeast is a living organism that’s dormant until proofed, requiring a small amount of lukewarm water and a pinch of sugar to activate.
- Instant Yeast – Also known as quick-rise, rapid-rise, or even bread machine yeast. This yeast is milled into smaller particles so it doesn’t need to be dissolved into water. The dough rises faster with this yeast because enzymes and other additives are included to make this happen. You don’t ever need to do more than one rise with this yeast.
Other Brioche Recipes:
Kitchen Tools Used: (affiliate links)
- The Bosch Universal Mixer is the best bread mixer! My Mom had one sitting on her counter for as long as I can remember. She used it so often that she literally wore the first one out and bought a second one after she and Dad moved into an apartment. Mike bought me one for Mother’s Day several years ago and I love it. It doesn’t do the work FOR you, but it can handle a lot of bread making (speaking from experience!) and the lid prevents the dough from falling out of the mixer when making large batches of bread.
- Baking Sheets
- Parchment Paper
- Cooling Racks
xoxo ~Sue
Mini Brioche Buns
Ingredients
- 1 Tablespoon yeast
- 1/4 cup sugar
- 1 2/3 cups 2% milk – warmed to 100 degrees F
- 2 large eggs – beaten
- 3 teaspoons kosher salt
- 1/3 cup all-purpose flour
- 4 3/4 cups bread flour – or to right consistency
- 6 Tablespoons unsalted butter – cut into cubes and softened to room temperature
- egg wash and sesame seeds – add before baking
Instructions
- In a mixing bowl, combine yeast, sugar, and warm milk. Stir and let the mixture sit for about 15 minutes. Once the yeast is activated, you will see lots of bubbles.1 Tablespoon yeast, 1/4 cup sugar, 1 2/3 cups 2% milk
- Crack the eggs into a small bowl, and whisk. Pour into yeast mixture and combine.2 large eggs
- In your standing mixer, combine the all-purpose flour, 4 cups of the bread flour, and salt. Add in softened butter, and start mixer to combine. 1/3 cup all-purpose flour, 4 3/4 cups bread flour, 3 teaspoons kosher salt, 6 Tablespoons unsalted butter
- Add in the yeast mixture, and using dough hook, start mixer. Gradually add in more flour, until the dough starts to pull away from the sides of the mixer. The dough should be easy to handle but yet slightly sticky.
- Grease a large bowl with canola oil, and add the dough. Punch the dough down into a nice smooth ball. Cover with a clean dishtowel and set it in a warm corner of your kitchen.
- Let the dough rise until doubled in size. The time it takes for the rise will depend on where you live and the temperature of your home.
- Using a baking mat or cutting board, spread a bit of oil to use to form slider buns (about 48-50 grams each). Slice off small sections of dough, and using your hands and the oiled surface, form them into small balls and place them on prepared baking sheets. Cover with a towel and let rise again, about 20-30 minutes.
- Preheat oven to 350 degrees. Brush the egg wash on the top of the buns, and then sprinkle with sesame seeds. egg wash and sesame seeds
- Bake for approximately 13-15 minutes, or until the bottoms and tops are slightly browned. Remove and let cool on wire cooling racks.
Notes
-
- Using warm milk will activate the yeast mixture. This will take about 10-15 minutes, or until you see the foam and bubbles on top.
- Add flour until you get the right consistency. It should be slightly sticky, but easy to handle.
- The dough will rise at different rates each time you make it, depending on the temperature/humidity inside and outside your home.
- Different climates also affect how fast your dough rises. In Texas, my dough rises pretty quickly due to more heat and humidity.
- The egg wash makes these rolls nice and shiny on top.
A little over a year ago I discovered I am allergic to soy. To my dismay, I discovered almost EVERYTHING is made with some part of soy. Thankfully, I know how to bake. I use to be a scratch baker in my very distant path, and in my youth, I had a Granny Mitchelle to teach me old school southern cooking and baking. I have been looking for a good hamburger/hotdog bun recipe for months. I have tried many, and there are some good recipes, but for what seems should be a fairly cut and dry concept I hadn’t found anything I liked for these rolls.
I have found what I am looking for! This recipe is good for a beautiful bun that is tender enough to eat easily, yet hold up to the riggers of a hot mess burger! I used the recipe adjustment tool and increased the amount to 15 and was able to make 5, 3.5-inch Hamberger buns, and 5, 7-inch hoagie size rolls.
Ok, the recipe.
*I had big burgers and needed big rolls. I made my rolls, then pressed them down to 2.5 to 3-inch discs. Remember, you’re not making pizza, you want the dough to be rounded and thick enough to rise into a nice bun.
*I didn’t like the salt content. My next time will see a reduction to 1/2 or 2/3 tablespoon instead of 1
*I added a 1 tablespoon LIGHT olive oil to the mix. I used light because it holds up better in baking. I also added it because that is one of those little baker secrets that helps moisten the finished product and keeps that moistness longer, and if you freeze it, the bread won’t be AS dry as without it. I plan to add another tablespoon next time.
Hi Wayne! Thanks for the feedback on my brioche buns! I’m glad you found the combination that is just right for you. 🙂
I can’t wait to try this recipe because I haven’t found a burger bun recipe I am crazy about. Thanks for the tips Wayne.
These are amazing and so are all of your bread recipes! Your Mom was a rock star!