Double Chocolate Ice Cream
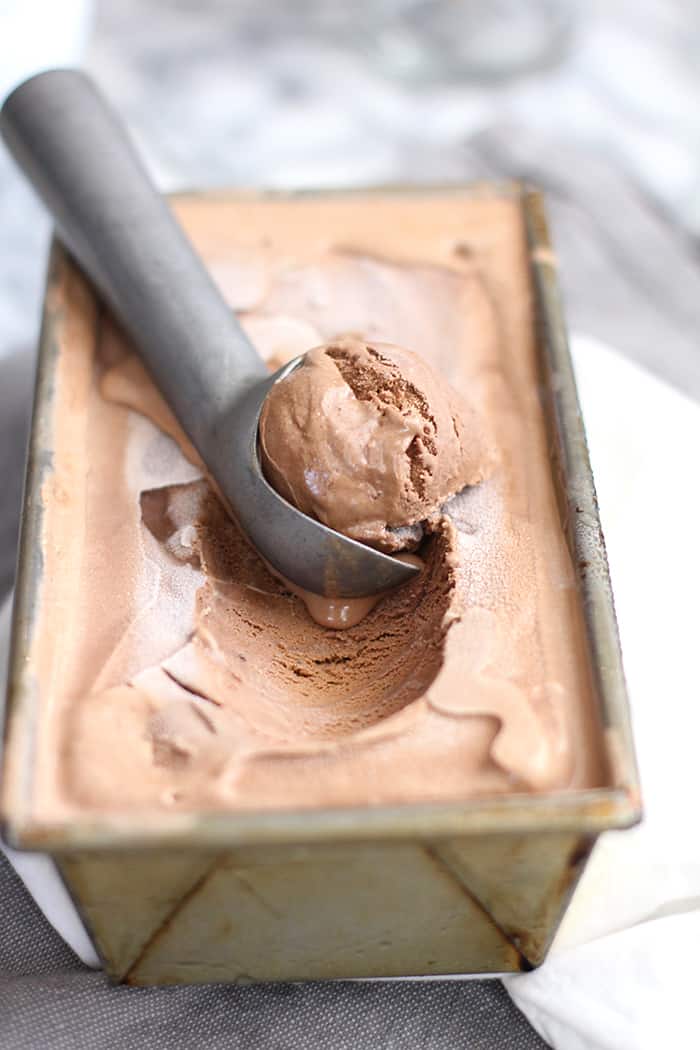
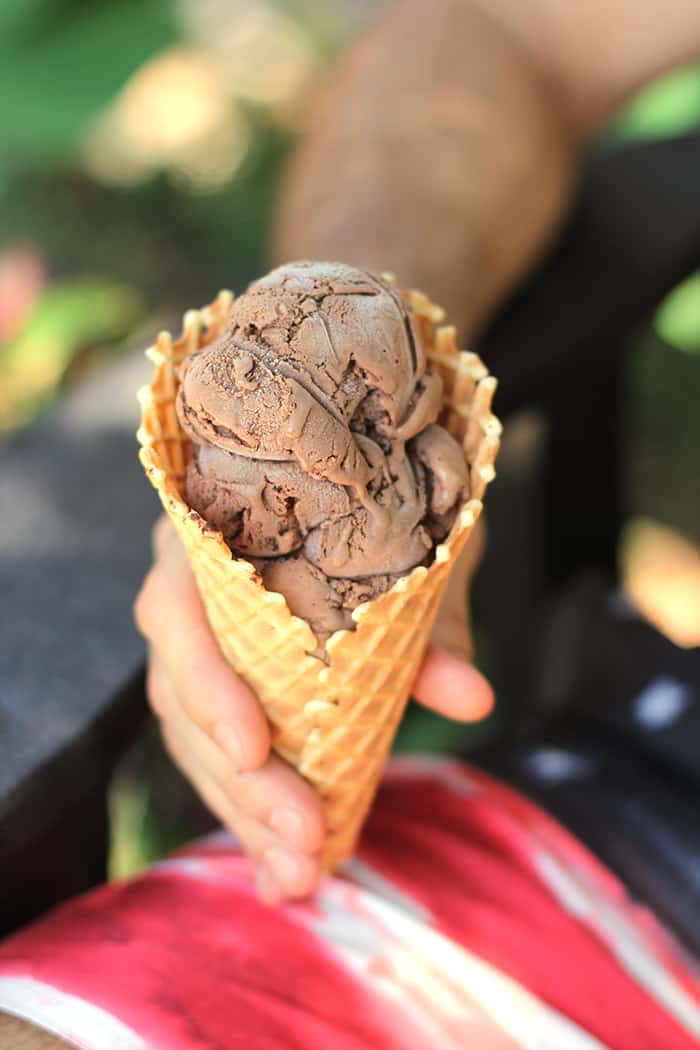
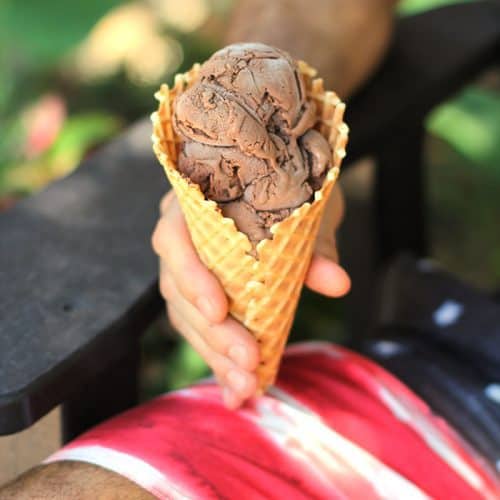
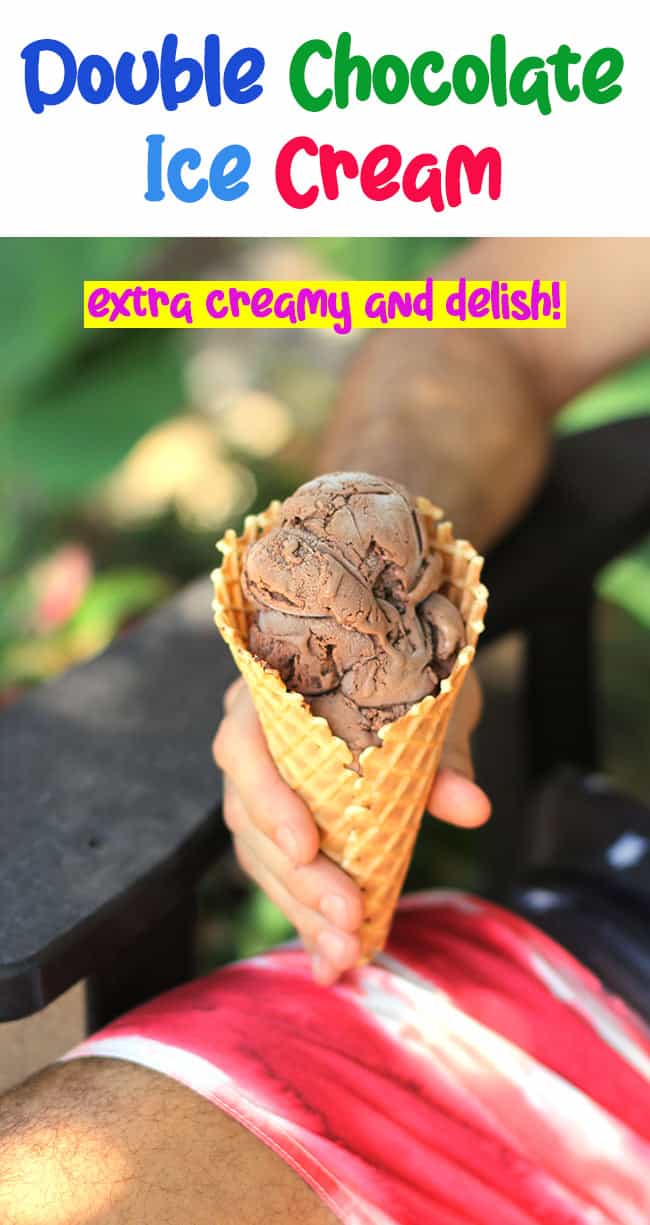
Double Chocolate Ice Cream is unbelievably creamy without being overly sweet! Use a four-quart ice cream maker and have a party, or enjoy ice cream for days.
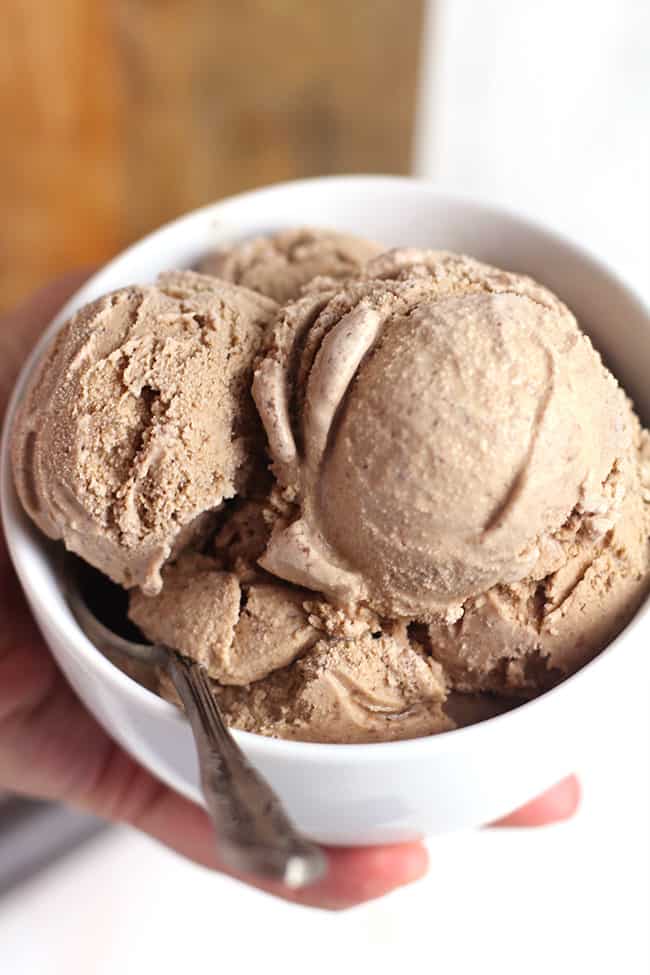
Ice Cream is serious business in our home. Mike and I both come from huge ice-cream-lovin-families. Both of our dads top ice cream with ice cream, and we both grew up making it homemade. When we’re not making it homemade, we are fans of DQ vanilla cones and consume it all year long, even in freezing temps. That’s how much we love our ice cream!
So what can I say about THIS chocolate ice cream? So much!
- Unbelievably creamy.
- Just the right amount of sweet.
- Double the chocolate, double the taste!
Looking for other ice cream recipes?
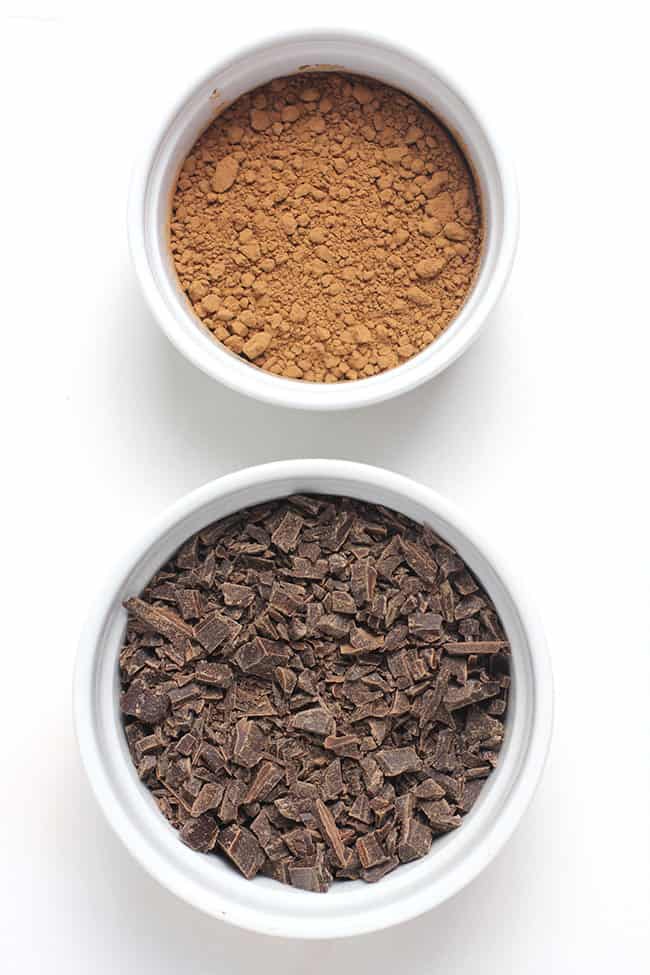
Ingredients needed for Double Chocolate Ice Cream:
- Baking Bar – I use 4 oz. of semisweet chocolate (Baker’s baking bar). Chop it up finely.
- Cocoa Powder – 1/4 cup of (Hershey’s) unsweetened cocoa powder.
- Dairy – Equal parts of heavy cream and 1% milk. Don’t use skim!
- Eggs – Temper the eggs in the chocolate mixture, or use pasteurized eggs (which are safe to eat in raw form)
- Sugar – You’ll need granulated sugar for the ice cream.
- Salt – Just a pinch of kosher salt.
- Vanilla – I always use Watkins Vanilla for my ice cream recipes because it has the best flavor.
- Ice and Rock Salt – These are used for churning the ice cream only. They don’t go into the actual recipe ingredients.
How to make Double Chocolate Ice Cream:
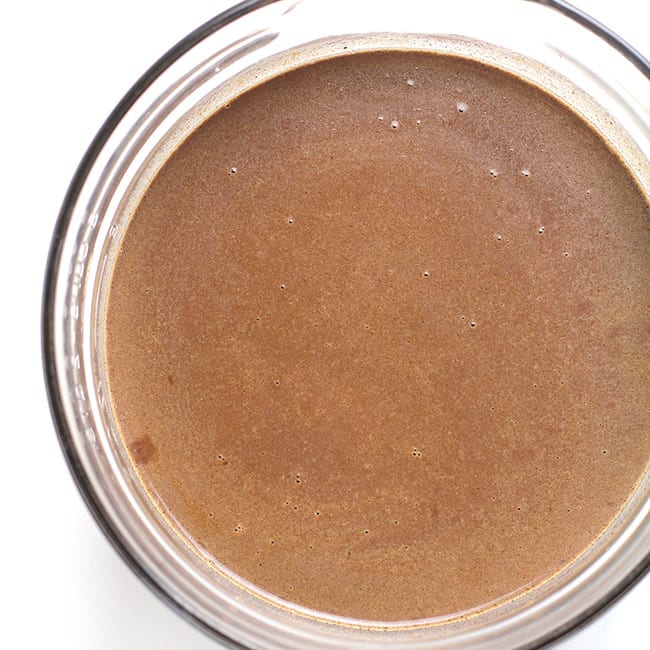
- {IN ADVANCE) The night before mixing (or several hours), prep the chocolate mixture. Use a saucepan, and heat two cups of milk, the cocoa powder, sugar, and salt over medium heat, stirring almost constantly. Heat for several minutes.
- Temper eggs. Crack eggs into a separate bowl, and whisk. Then add in about a cup of the hot chocolate mixture, whisking it constantly as you pour it into the eggs. Add the tempered eggs into the rest of the chocolate mixture and continue heating (over medium heat) until the mixture reads 160 degrees. Add in the chopped chocolate, and cook until the chocolate is creamy. Store this mixture in the refrigerator until cool, or overnight.
- {WHEN READY} Mix up the ice cream. In a large mixing bowl, combine the chilled chocolate mixture, heavy cream, remaining milk, and vanilla – and beat again. Whisk vigorously.
- Add to a 4-quart canister. Carefully, pour the mixture into the canister of the ice cream maker.
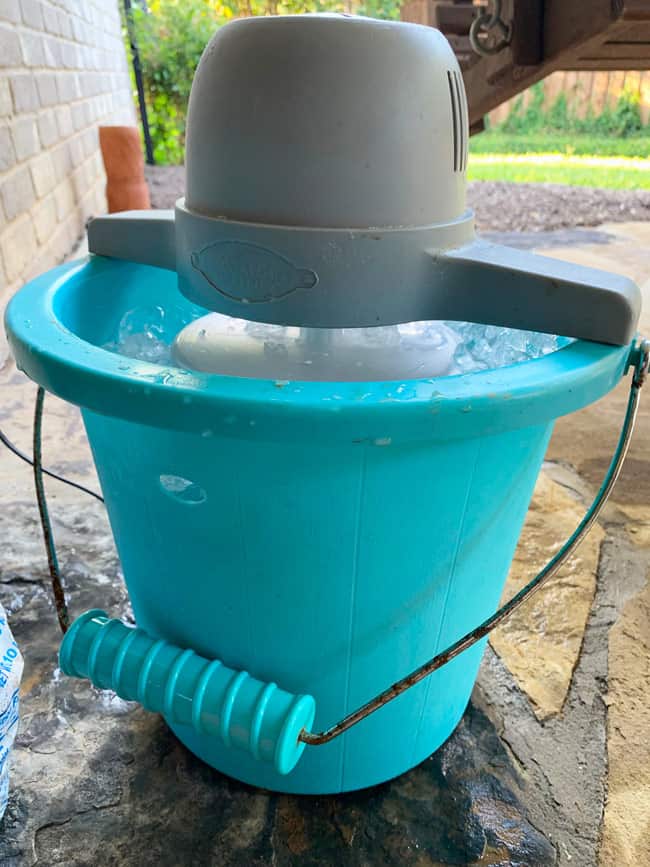
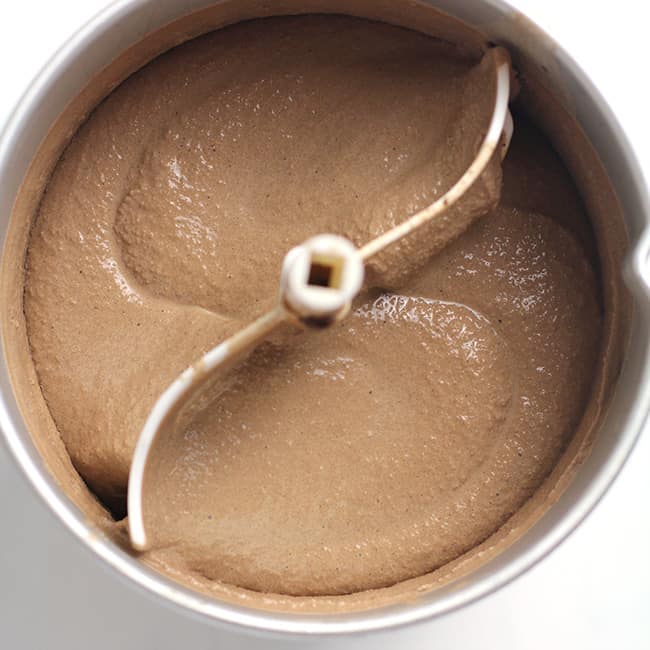
- Start ice cream maker. (We do this outside.) Place the canister into the ice cream maker, and layer the ice and rock salt all around it. As ice melts, continue adding layers of ice and salt. You’ll know when it’s done when ice cream starts to expand and thicken, and the ice cream maker slows down.
- Store ice cream. Remove the canister from the ice cream maker, and pour it into a large Tupperware container. Let the ice cream harden in the freezer a bit before serving, if you can wait that long.
Some helpful tips for making EPIC homemade ice cream:
- NOTE: Pasteurized eggs are sometimes hard to find, but they are safe to eat in raw form. You can use these instead of tempering your eggs.
- You want to make sure that you don’t over-fill the canister. The sweet cream mixture needs room to expand as it freezes, and you will know the ice cream is close when you can see it rise to the top. If you fill it too full, you will be churning forever, and the end result will be a cold creamy liquid, instead of ice cream.
I C E C R E A M Party!!
Kitchen Tools used to make this recipe:
- 4-Quart Electric Ice Cream Maker – You’ll need this for this recipe!
- 11-Inch Whisk – to whisk the ice cream mixture.
Make this ice cream next: Cookies and Cream Ice Cream
Please let know if you try this recipe. Be sure to comment and leave a review on the blog so I can see what you think. You can also like my Facebook Page, follow me on Pinterest, and catch me on Instagram.
xoxo ~Sue
Double Chocolate Ice Cream
Ingredients
- 1/4 cup unsweetened cocoa powder (Hershey’s)
- 4 cups milk – I use 1%
- 1 1/2 cups sugar
- 1 teaspoon kosher salt
- 5 large eggs – use Pastuerized eggs if you don't temper your eggs
- 4 oz. semisweet chocolate baking bar (Baker's) – chop into small pieces
- 3 Tablespoons Watkins Vanilla
- 4 cups heavy whipping cream
Instructions
- {IN ADVANCE} In a medium stockpot over medium heat, combine two cups of milk, the cocoa powder, sugar, and salt. Bring to a simmer and cook for several minutes.
- Crack the eggs in a separate bowl and whisk. Temper the eggs by pouring about one cup of the hot chocolate mixture into the eggs, whisking constantly. (We don't want scrambled eggs here.) Then pour the egg into the chocolate mixture, and continue cooking over medium-low heat, until it reaches about 160 degrees. (Do NOT boil.) Then add the chopped chocolate and cook until creamy. Cool completely. Store in the refrigerator until ready to use.
- {WHEN READY} Mix up the ice cream in a large bowl. Combine the chilled chocolate mixture, the remaining milk, heavy cream, and vanilla – and whip vigorously.
- Pour into 4-quart canister of ice cream maker. This should fill to about 2/3 – 3/4 full. DON’T OVERFILL or ice cream can’t expand, and you will be left with only a sweet cream.
- Place canister into ice cream maker, and layer ice and rock salt all around canister. Fill all the way to the top of barrel and start.
- As ice melts, continue adding more ice and rock salt. When you see ice cream rising to the top of the canister, and ice cream maker starts to slow down, the ice cream should be done. This process may take anywhere from one to two hours. If ice cream is still too soft, continue to churn.
- When ice cream is done, pour it into a tupperware container with a lid. Store in freezer.

Help! I accidentally got some scrambled eggs. What do I do?
I would strain the mixture to remove some of those bits. As long as you don’t have too much, you should be ok to use the strained liquid.
I’ve made this 3 or 4 times now for my husband & he loves it, as does everyone else who’s had it. This recipe makes a double batch if you are using the Kitchen Aid Ice Cream attachment and fills 2 Gladware 64 oz oval containers to the top. I make 1 batch with heath bar and one with chopped up peanut butter cups. I use yolk only & also always strain it before refrigerating. Big hit! Thank you Sue!
HOME-MADE CHOCOLATE ICE CREAM (simpler, faster process: no pre-cooking required)
4-Quarts WOOD-BUCKET, ELECTRIC ICE-CREAM MAKER, 1980 RECIPE
A. Mix together well:
1 cup milk
1 cup sugar
2 teaspoons vanilla
3/4 cup powered cocoa
1/4 teaspoon salt
3 eggs
B. Put the mixture in the ice-cream-maker metal-cylinder with:
1 quart Half-&-Half
1 pint heavy whipping cream
Cover the metal cylinder with its cap
1. Put the capped metal cylinder inside the empty wood bucket. With the cylinder in, on the outside of the cylinder, pack the wood-bucket with alternate layers of ice and rock salt. Sprinkle rock salt over the ice, using a total amount of approximately 1.5 cups rock salt. Keep refilling as ice settles.
2. LET IT TURN!
3. When mixture starts to thicken, add 1 cup (more or less) chopped nuts, M&M’s, or whatever you like.
4. LET IT TURN UNTIL THE MACHINE STOPS (Automatic stop)
5. Remove the cylinder from the bucket, remove the inside plastic paddle, place the covered cylinder inside the fridge-freezer. Let it freeze 1/2 hour minimum.
Whole eggs or egg yolks only? Most recipes I have read only call for egg yolks. Thanks!
I think I’d use egg yolks only. Will update the recipe.
Made this today, but reduced the ingredient quantities by one half so that it could be churned in the Kitchen-Aid ice cream attachment (which makes 2 quarts only).
Also:
Used creamier Half & Half instead of 1% milk.
Used only egg yolks (3).
The 1/4 cup of cocoa powder becomes 1/8 cup, which is 6 tsp or 2 Tbsp.
Note that there are several quality semisweet baking bars on the market other than Baker’s – I used Ghiradelli’s.
Sugar was reduced initially from 1 1/2 cups to 3/4 cup, but then when combining ingredients just before churning I tasted the batter & added another 1/8 cup. You may want to skip this.
Churned for 33 minutes.
My wife – a chocolate fanatic- says this turned out delicious!
Thanks for the great recipe – John
This was a hit this weekend! Everyone said it was the best chocolate ice cream they’ve ever had! Many requests to make it again.
I’m so happy to hear that ya’ll loved the ice cream, Carrie! 🙂
Is 3 tablespoons of vanilla correct? It seems like a lot. Can I use another brand of vanilla if I can’t find Watkins, such as McCormick pure vanilla?
It does seem like a lot but makes it so delish. You can use less if you’d like. Any brand will work.
Delicious recipe!
My whole family loved it. So creamy and rich! Not to mention chocolatey
Hi Ciara! We love chocolate ice cream too! Thanks for your feedback!
I was in at Double…. ❤️. Double. Chocolate. Ice Cream. Homemade at that……
I get it! 🙂
I wish I had an ice cream maker so I could make this! I am such a sucker for chocolate ice cream and your one looks so decadent and delicious.
Thanks Kate!! I hope you get one and try my recipe! 🙂 Thanks for your sweet note.
Hi Suebee, this looks awesome and I just made the chocolate mixture to put in the fridge overnight.
However, where does the 4 cups cream come into play? It seems to be missing from the instructions. Please let us know, thanks!
Hi Carl. I just fixed the instructions – thanks for letting me know! You add the heavy cream when everything else is mixed together…right before you pour into the canister of the ice cream maker. Good luck and let me know how it turns out!
SueBee,
Thank you so much! It’s in the ice cream maker right now and looks like it’s going to be awesome. We made the strawberry last week and it was amazing. Your recipes are the best and thank you for all the posts!
You’re welcome Carl! So glad you are enjoying my recipes. Thank you so much for trying them! 🙂