Rocky Road Ice Cream
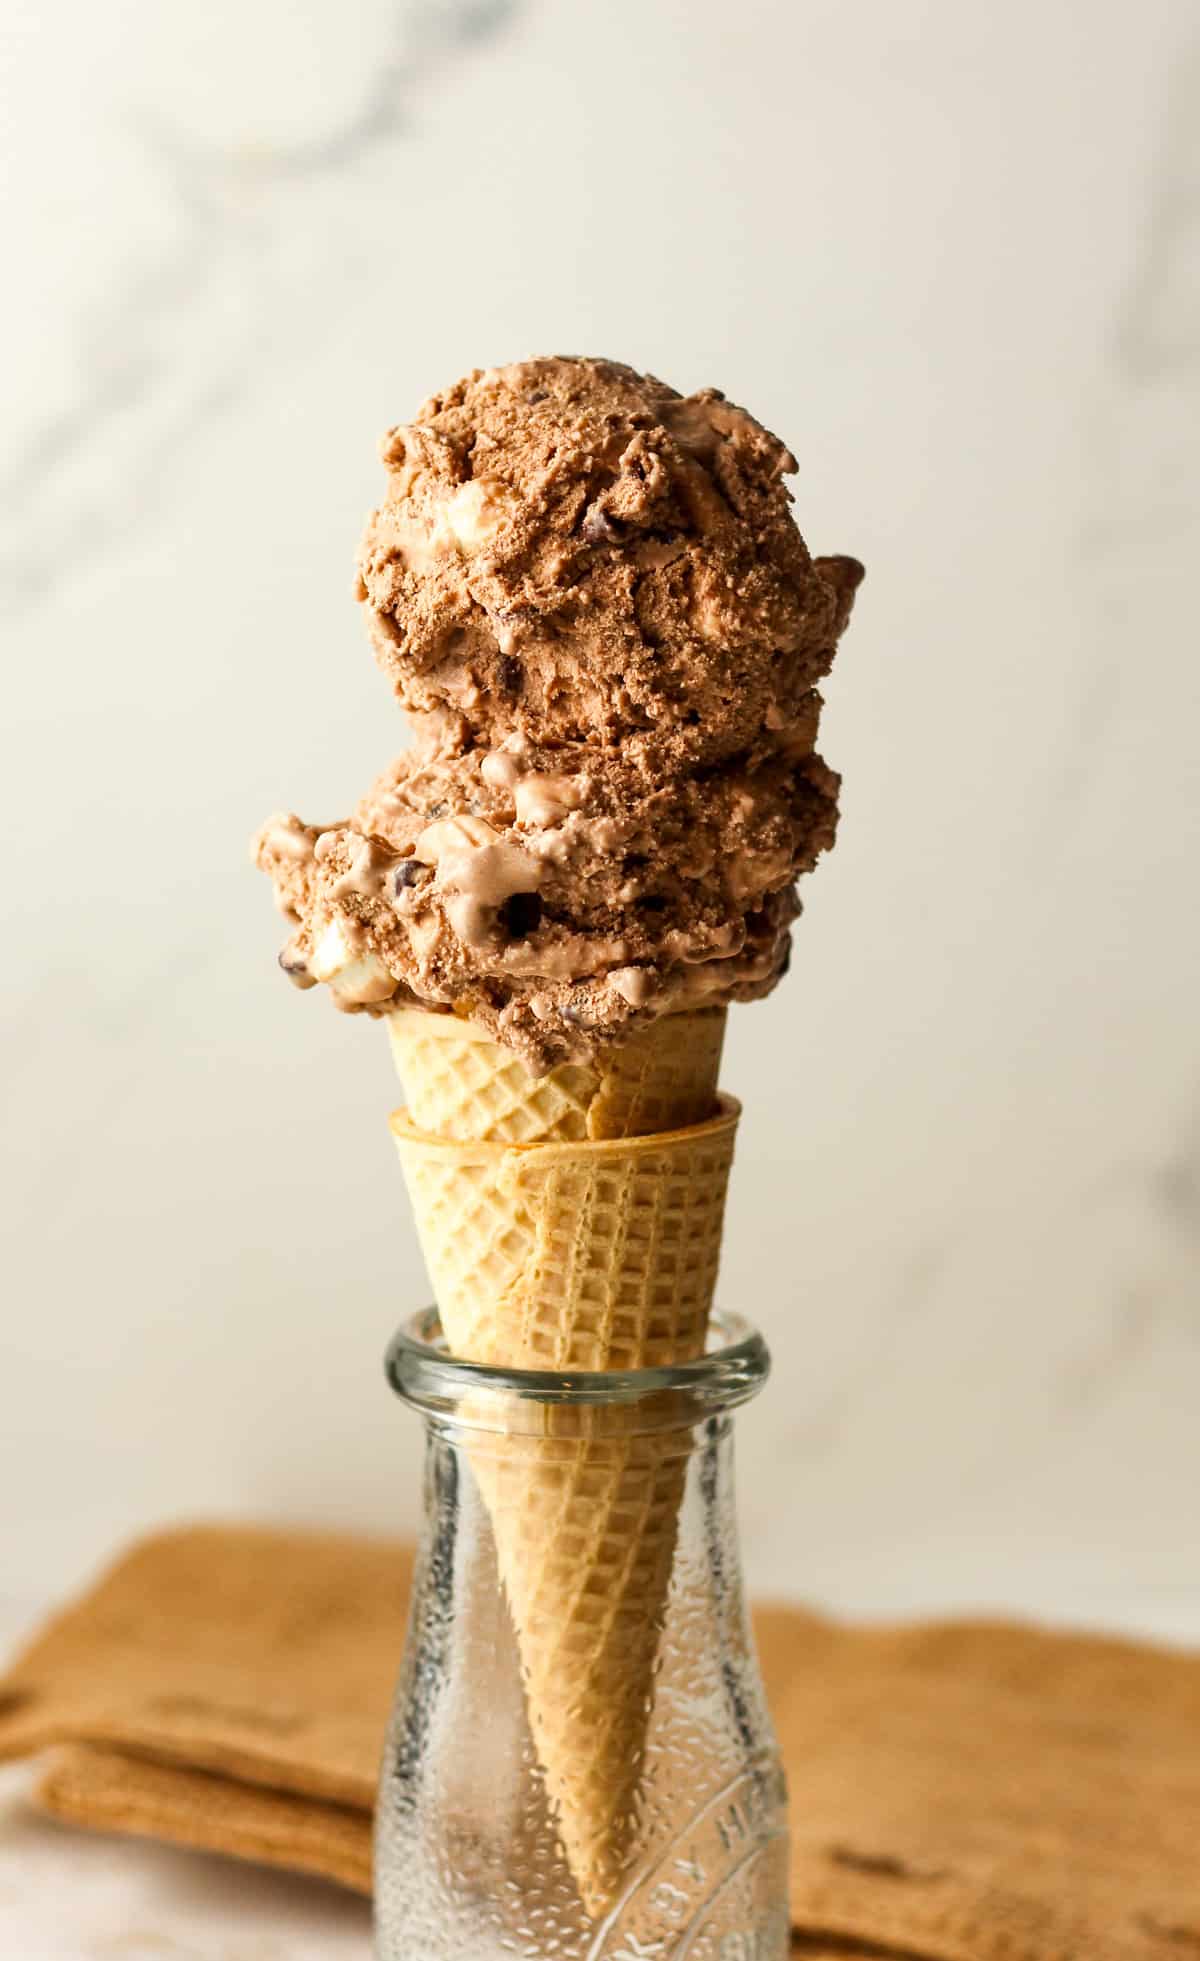
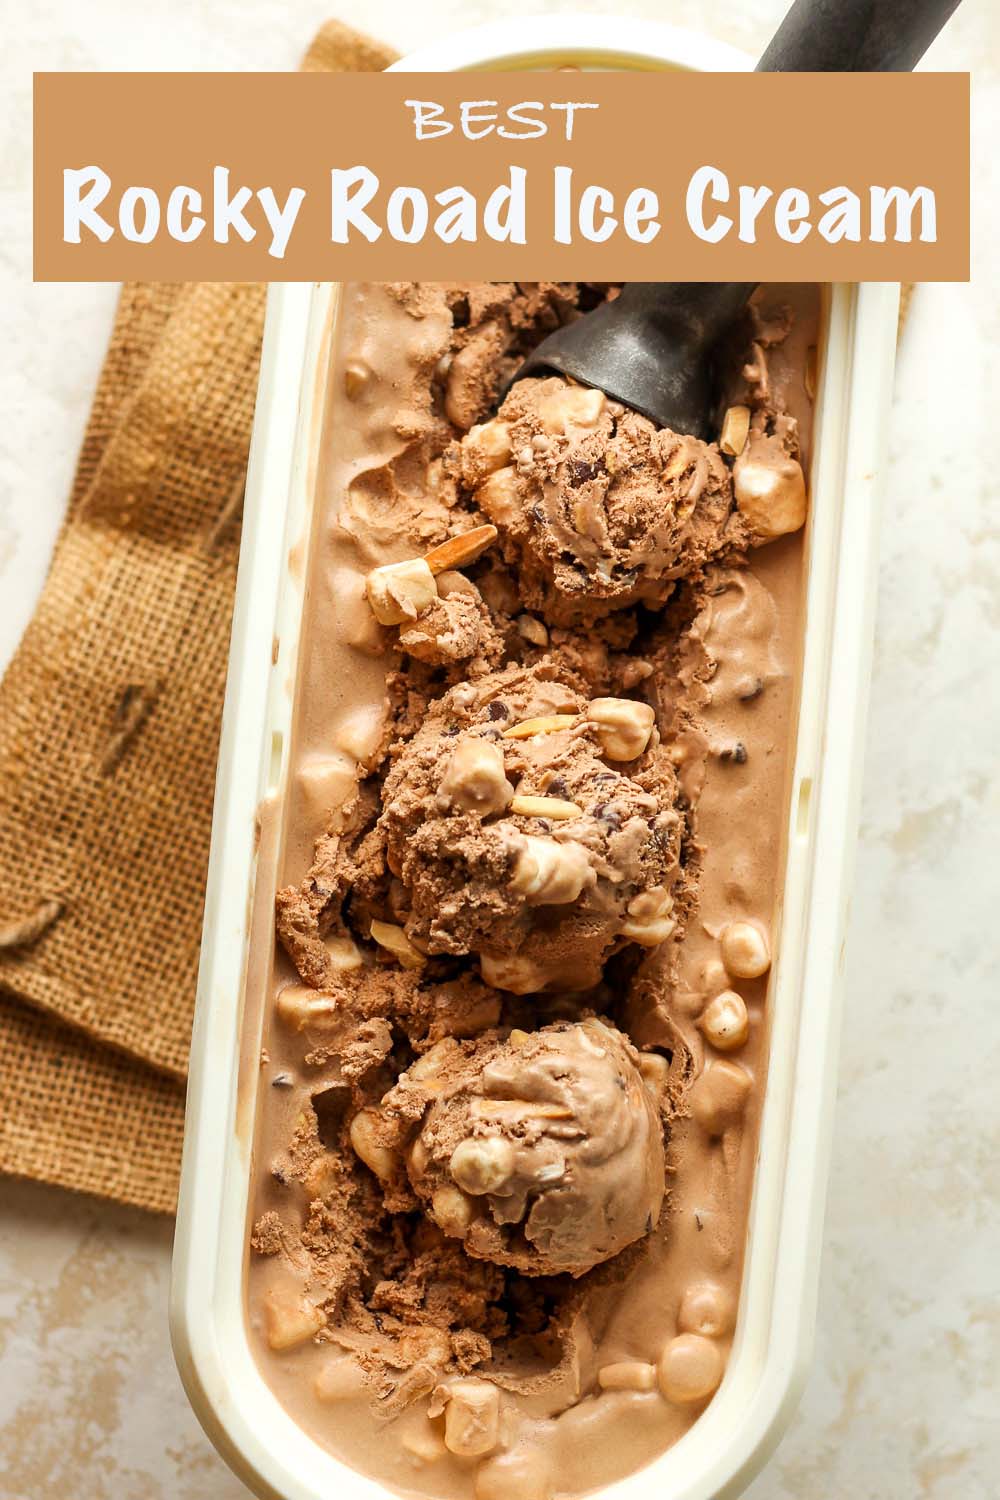
Rocky Road Ice Cream is a rich and creamy chocolate ice cream mixed with crunchy nuts, soft mini marshmallows, and mini chocolate chips. This classic frozen treat is a delicious contrast of textures and flavors that may soon be your favorite flavor!
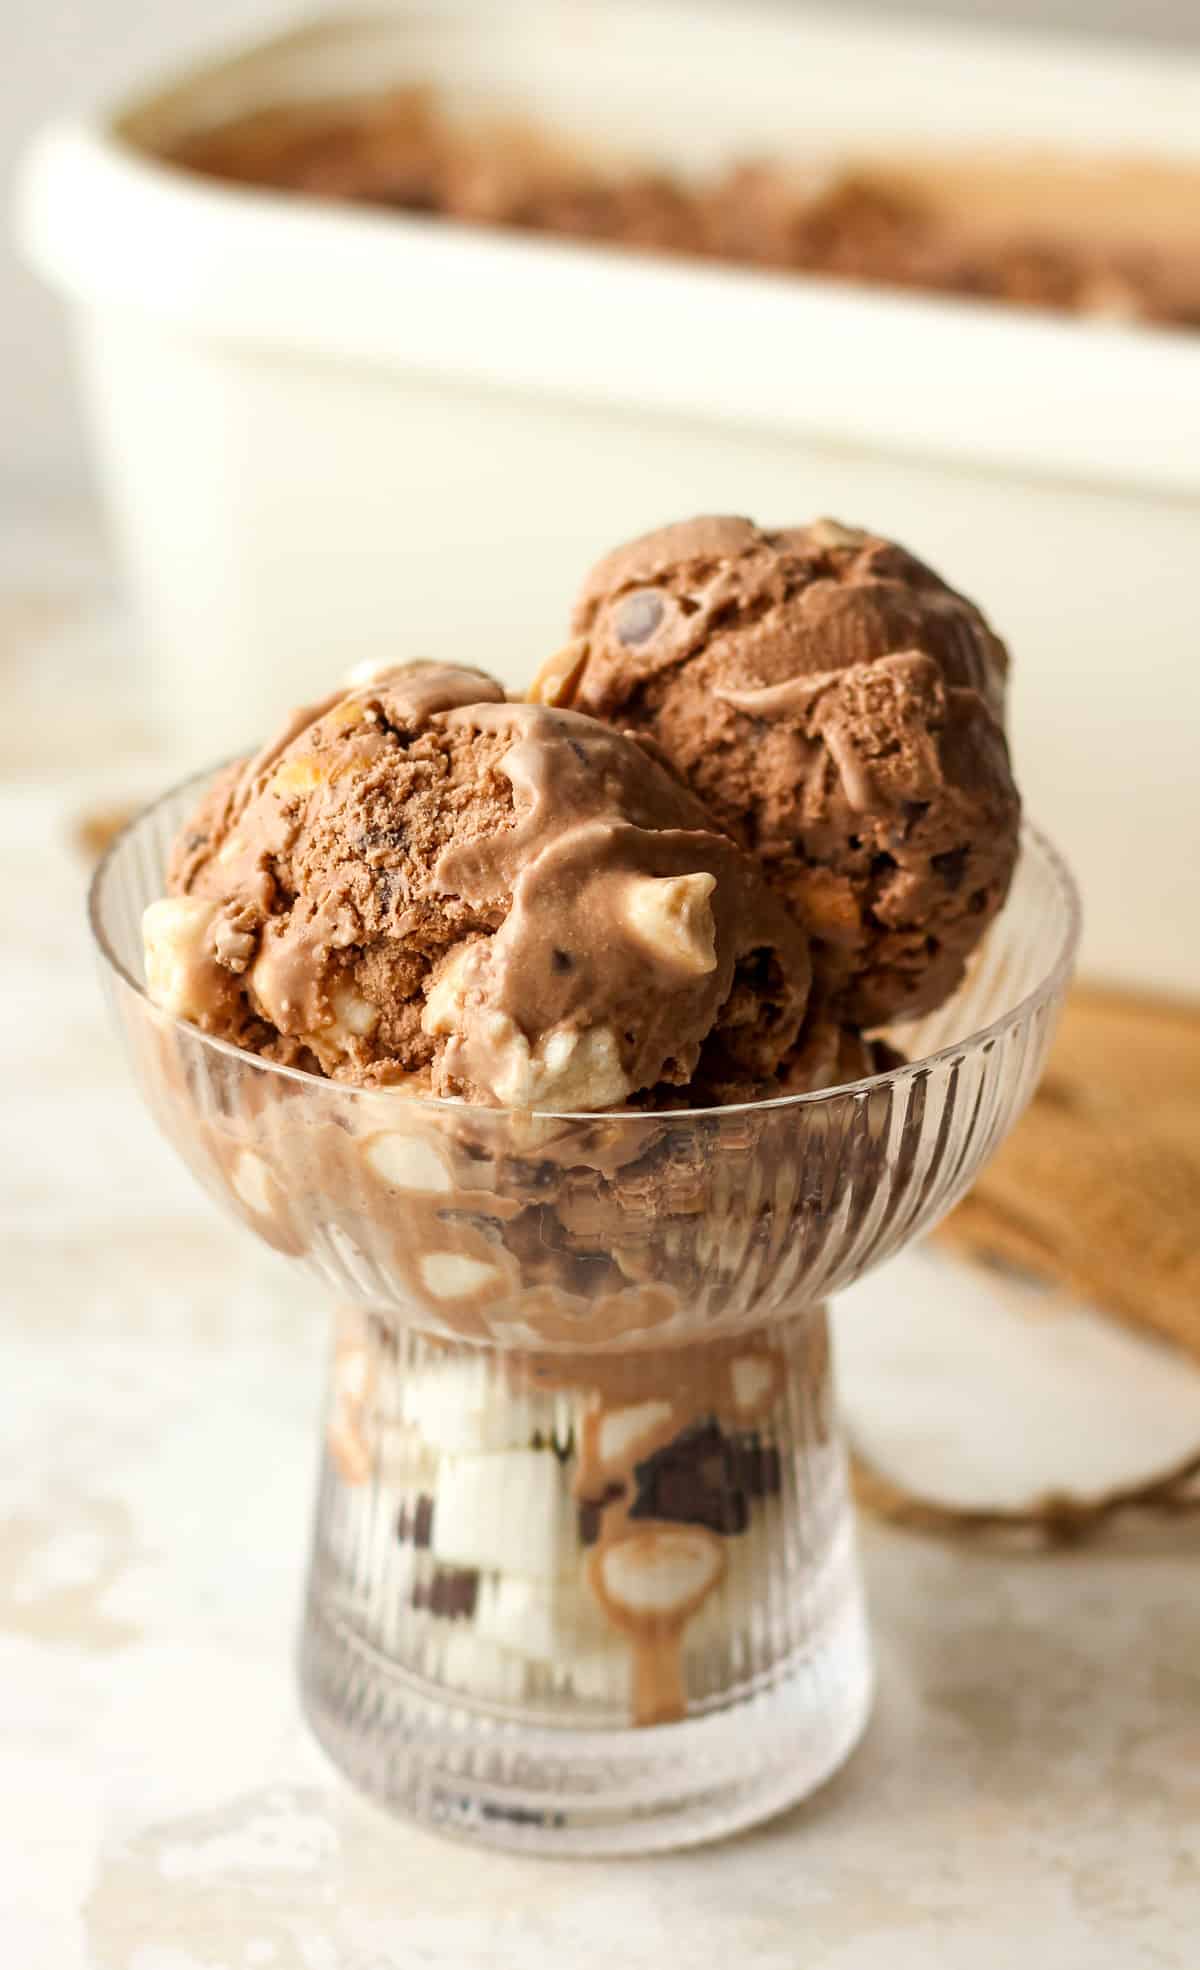
Best Rocky Road Ice Cream
If you love trying new ice cream flavors like we do, then I’ve got a treat for you! This Rocky Road ice cream is full of chocolate flavor and loaded with mix-ins like mini chocolate chips, marshmallows, and slivered almonds. You won’t be able to tell which part you like best!
Ever since we purchased a two-quart ice cream machine, we’ve been on a mission to share as many delicious ice cream flavors as possible. Before we ventured out on this, I’d say I could have lived on Oreo Ice Cream 100% of the time. Now? Gimme all the new flavors!
Why This Recipe Works:
- FULL of TEXTURE and FLAVOR – We’ve got a creamy chocolate ice cream, pillowy marshmallows, plus crunchy almonds and chocolate chips.
- CUSTOMIZABLE – This rocky road ice cream can easily be customized to your taste buds. Don’t like nuts? Skip them. Love marshmallows? Add more.
- FOR CHOCOLATE LOVERS – We love the chocolate base of this simple recipe. Plus we’re adding chocolate chips for all of you chocolate lovers! You’re welcome. 😀
What You’ll Need:
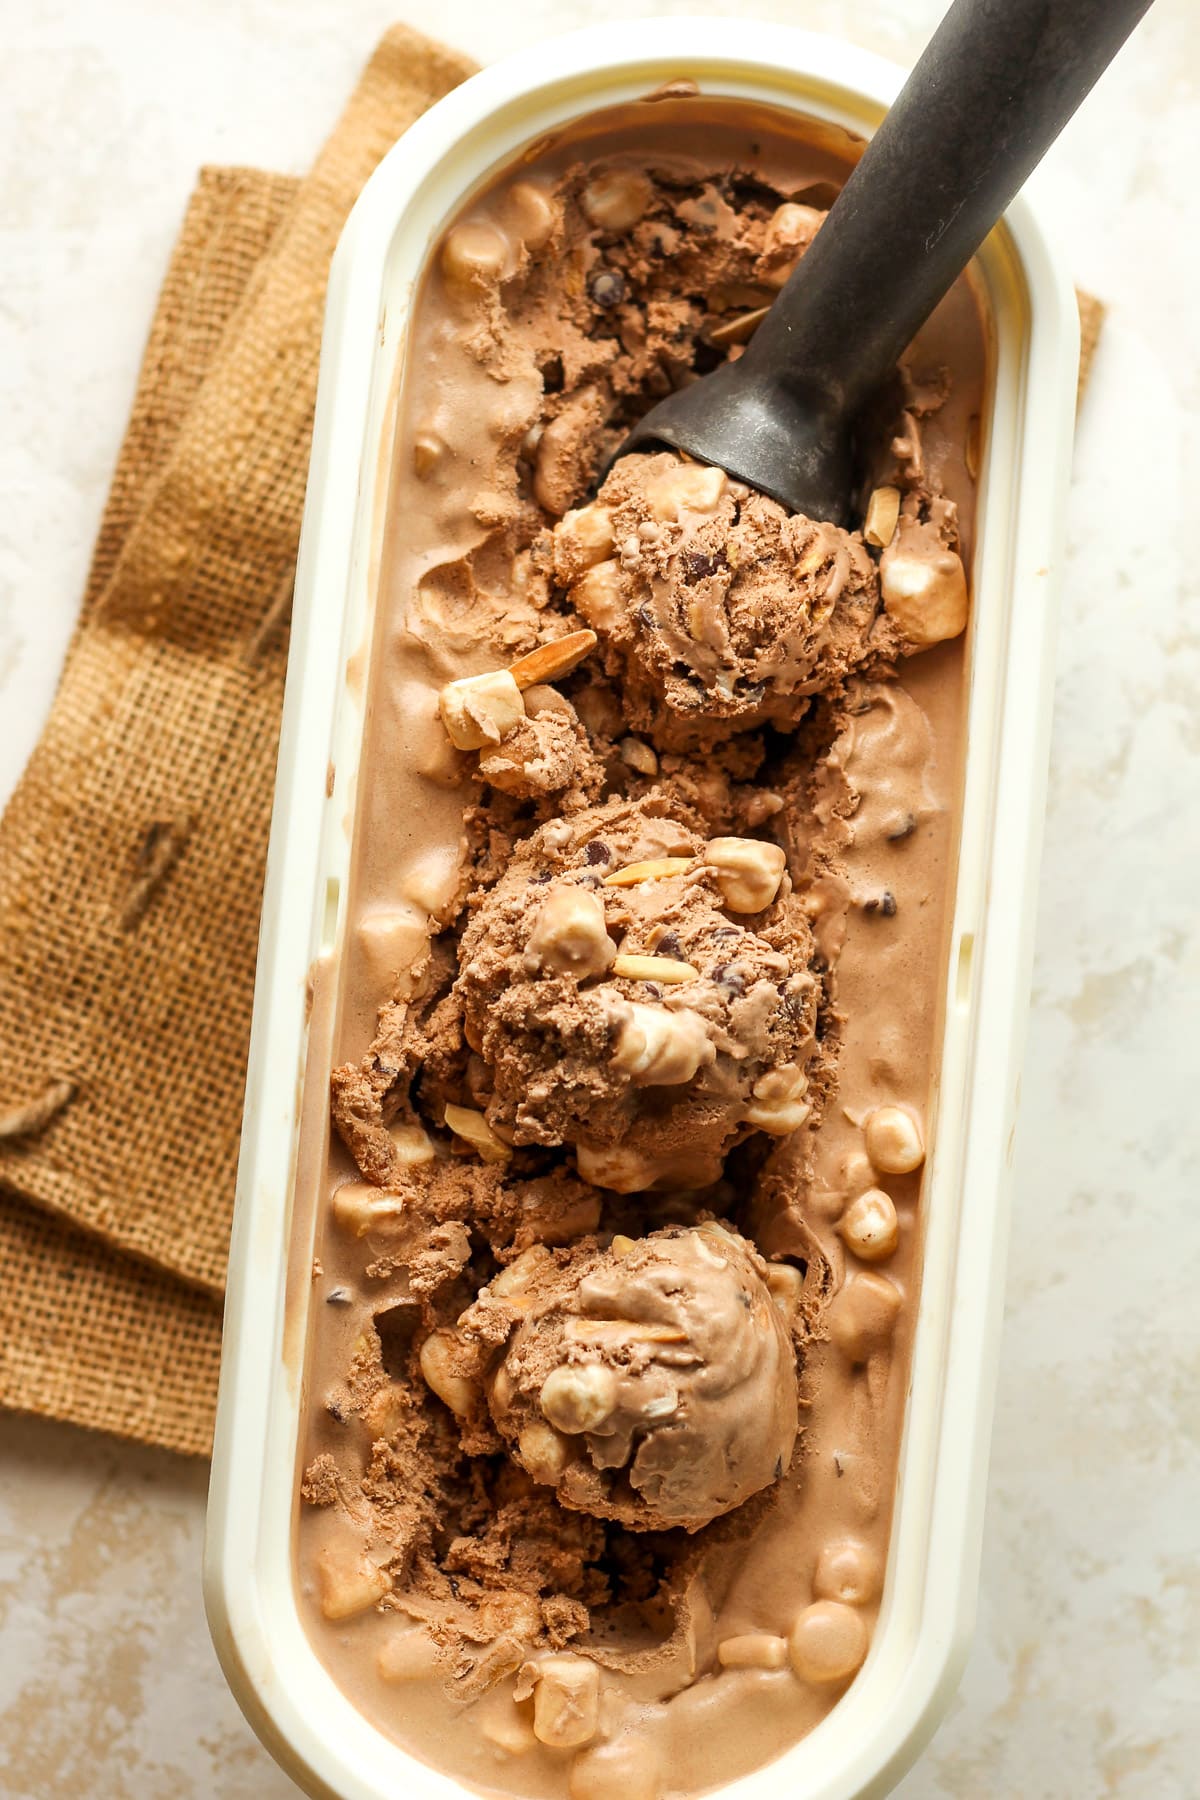
This ice cream recipe starts with a basic chocolate ice cream and incorporates three different mix-ins.
- Dairy Ingredients – a combo of whole milk and heavy cream.
- Egg Yolks – stabilizes the ice cream so it’s silkier, creamier, and lasts longer in the freezer.
- Granulated Sugar – use more or less depending on your tastes
- Cocoa Powder – the ingredient that makes this chocolate flavored
- Vanilla Extract – we use the Watkin’s brand
- Almonds – we use slivered almonds but you could also chop your own
- Mini Marshmallows – or you could cut some large marshmallows into tiny pieces
- Mini Chocolate Chips – or use chopped chocolate
- A pinch of salt – to balance out the sweetness
How to make Rocky Road Ice Cream:
NOTE: Make sure the bowl of your ice cream maker has been frozen for at least 15 hours before using it to make ice cream. We store ours in our extra freezer so we can make ice cream on a whim!
Step 1
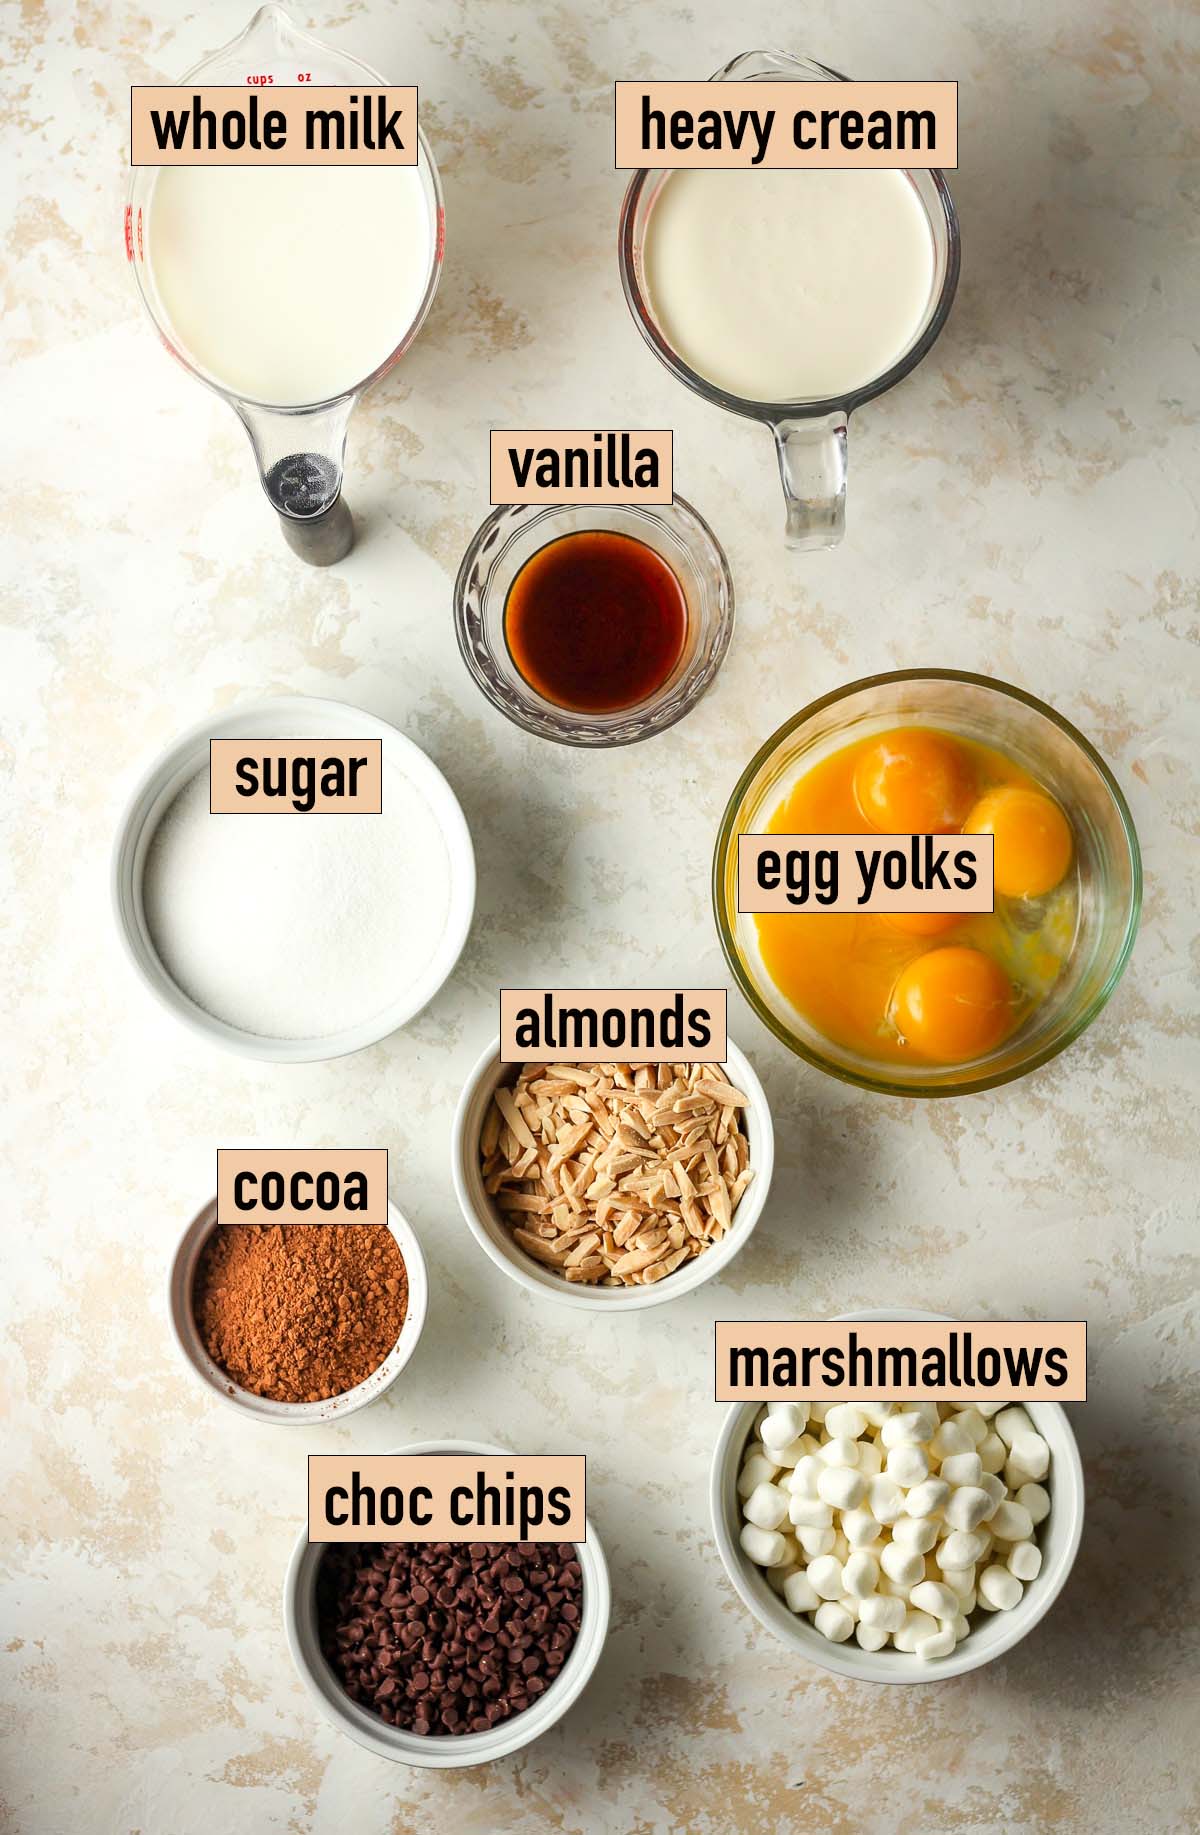
Temper the eggs. In a small bowl, combine the egg yolks and 1/4 cup of granulated sugar. Whisk well. Add the whole milk and cocoa powder to a saucepan and heat over medium heat, whisking often, until the mixture reaches 165 degrees F on a digital thermometer.
When the mixture reaches the desired temperature, use a measuring cup to drizzle some of the hot liquid (1/3 cup at a time) into the egg mixture while continually whisking. Then pour the egg mixture back into the pan plus the remaining sugar, and heat to 165 degrees. The mixture should be thick and easily coat the back of a spoon.
Step 2
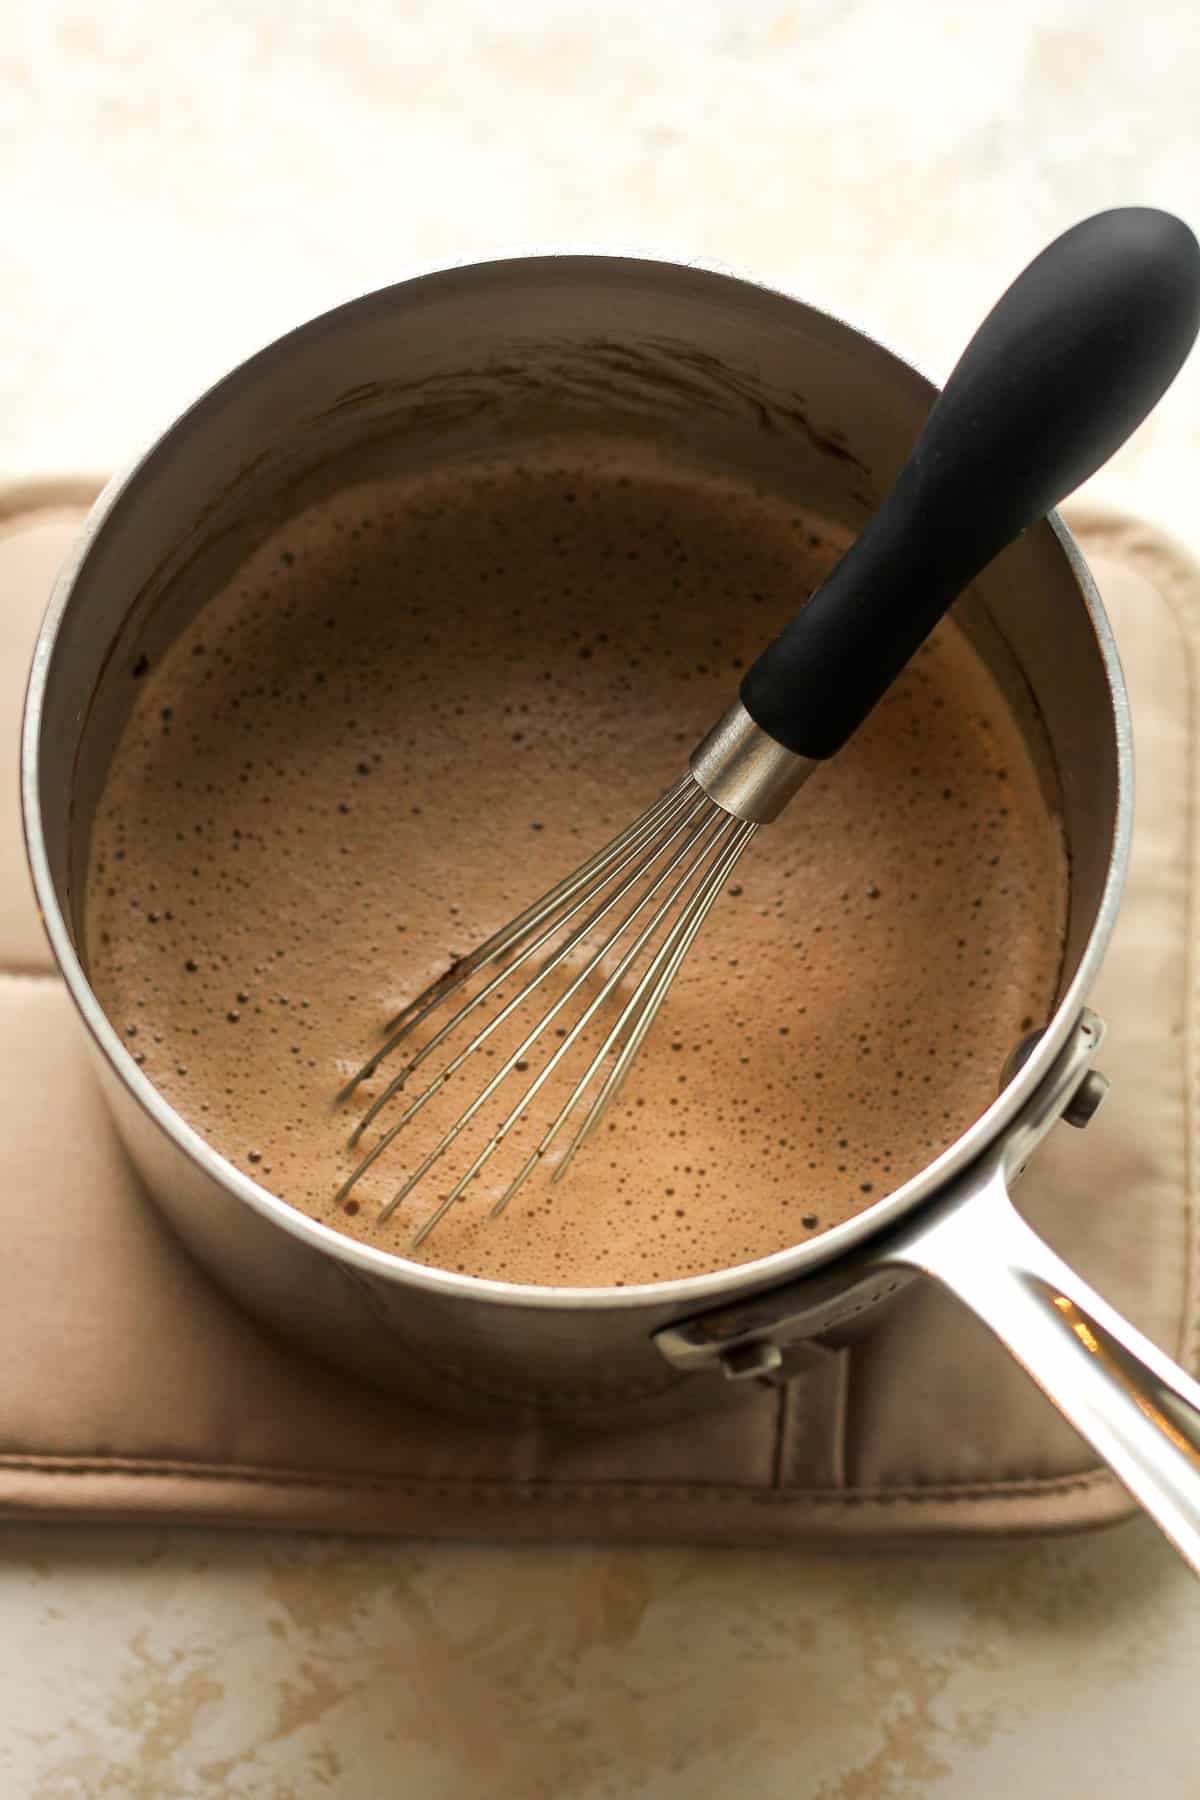
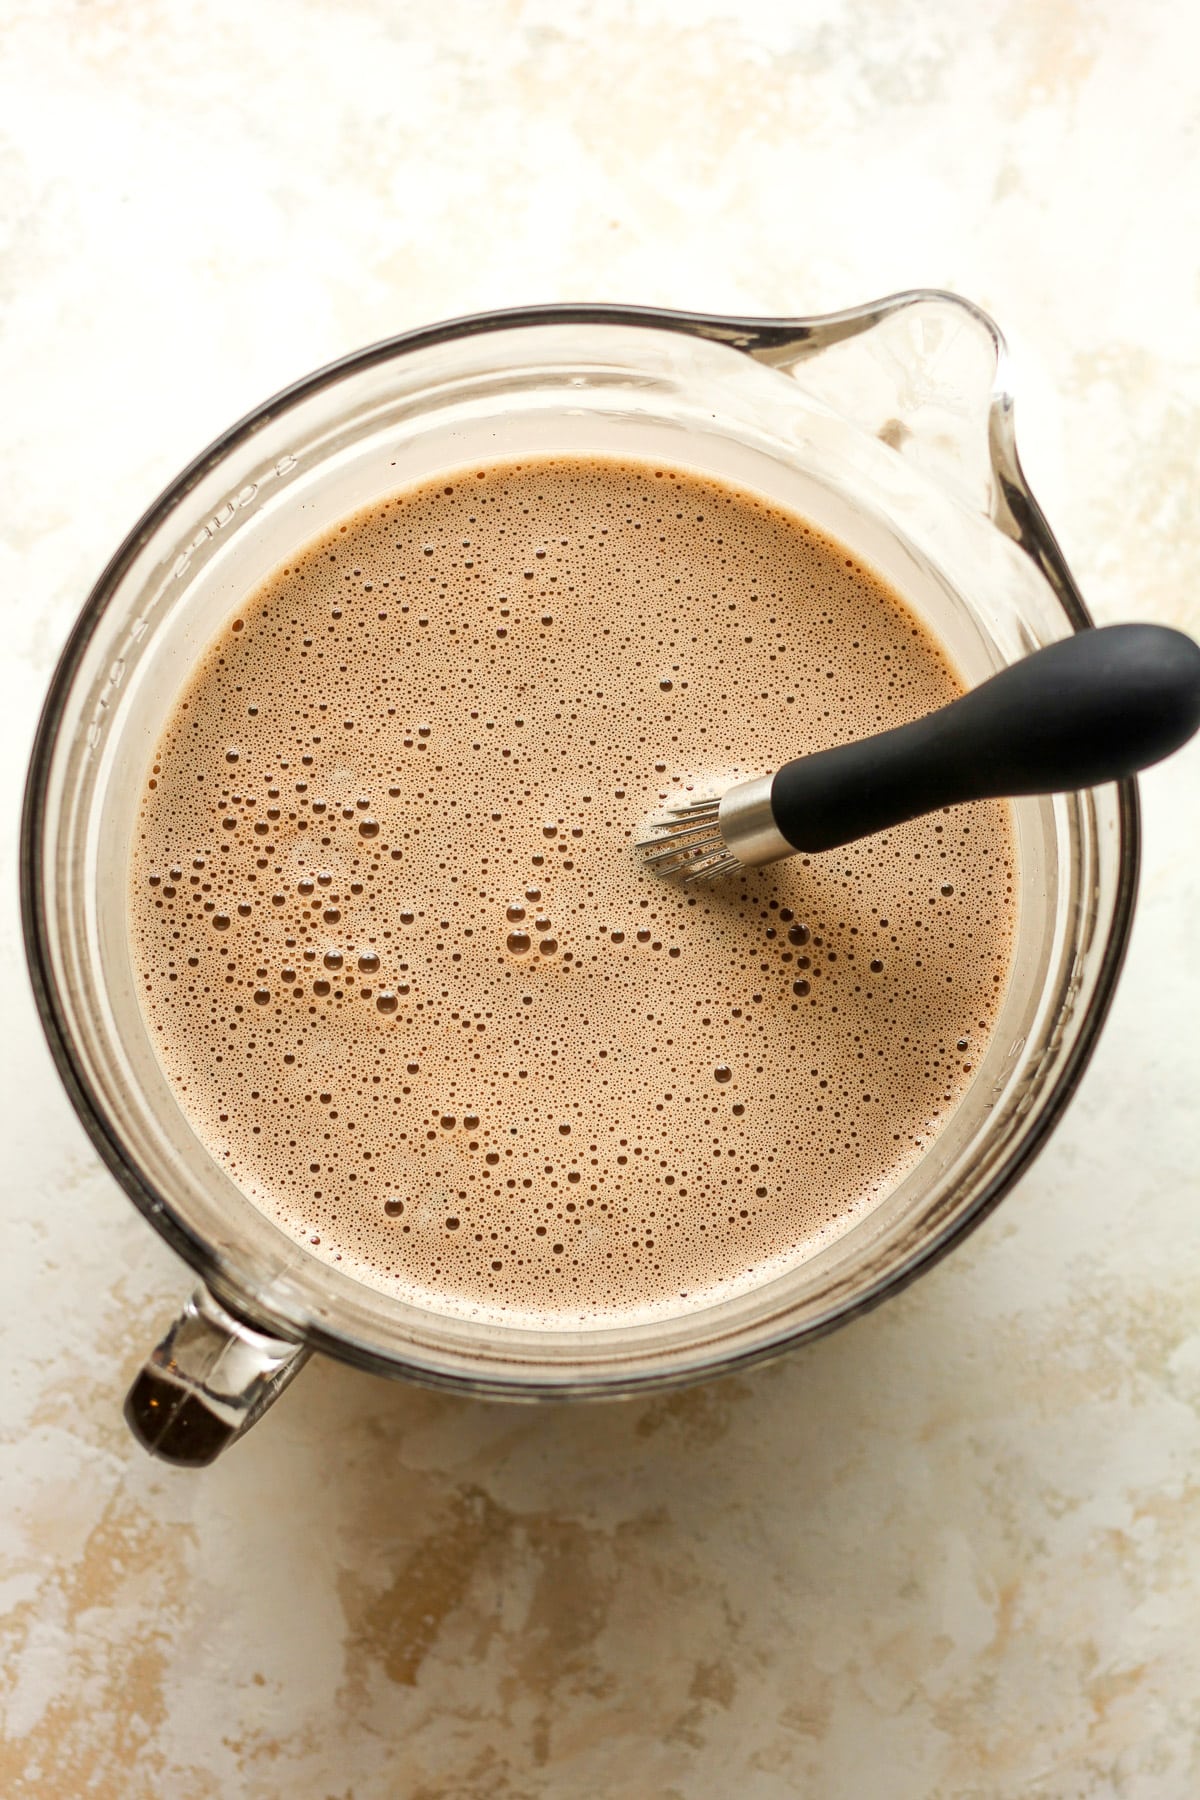
Combine all liquid ingredients. Add the tempered egg mixture to a large 8-cup measuring cup or bowl. Then add the heavy cream, vanilla extract, and pinch of salt.
Step 3
Chill. Place the liquid ice cream mixture into the refrigerator and chill until VERY COLD, or for at least four hours. We often chill it overnight.
Step 4
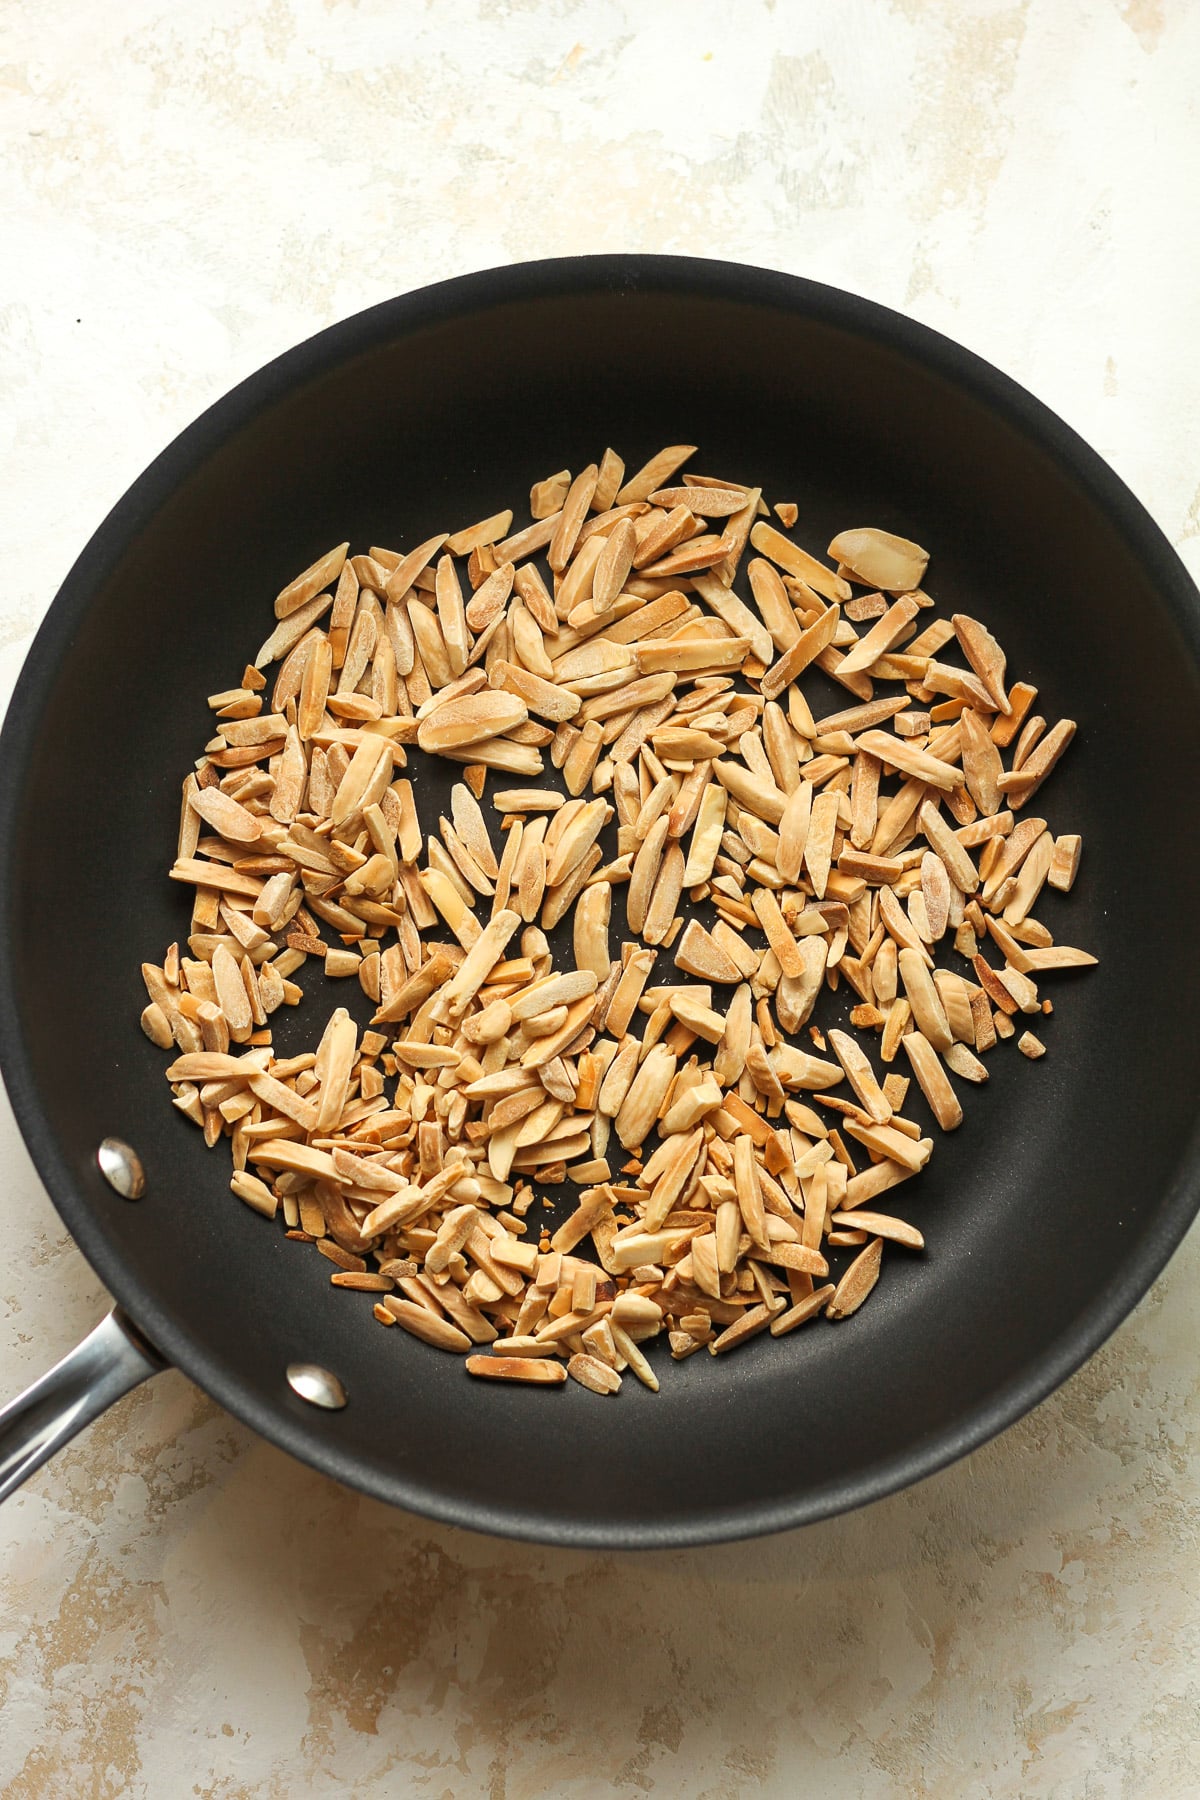
Toast almonds. Toast the almonds in a pan over medium heat until slightly browned and toasty. You’ll know they’re ready when you can smell them!
Step 5
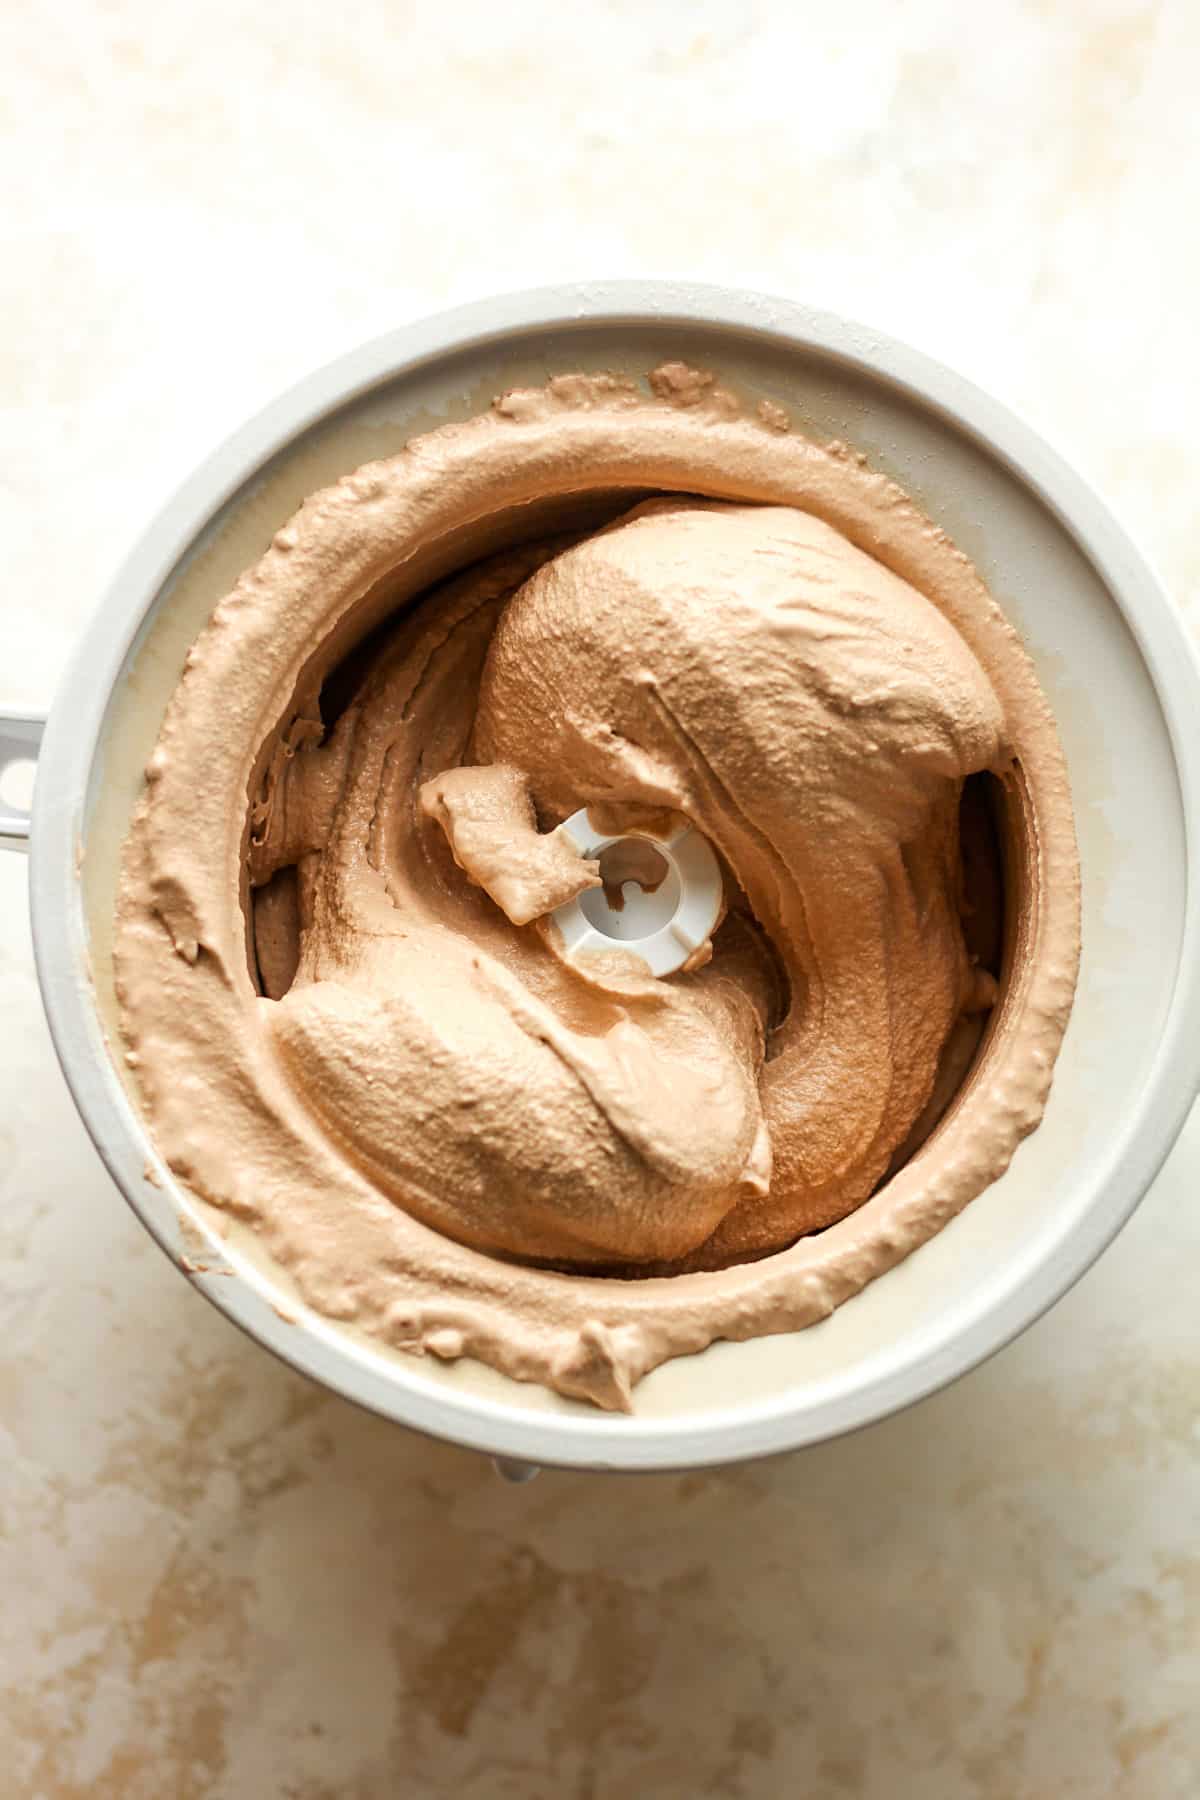
Churn ice cream. Start your 2-quart ice cream churner (I use a KitchenAid Attachment with a stand mixer – linked below.) and pour the chilled ice cream mixture into the bowl (the attachment) while it’s running. Let the ice cream churn until done. You’ll know it’s done when the mixer starts slowing down and it rises to the top of the bowl (or over it slightly), approximately 25-30 minutes.
Step 6
Transfer ice cream to an airtight container. After the ice cream is churned, use a rubber spatula to transfer the ice cream to an airtight container. (I occasionally use a pan for photography purposes.) Smooth it evenly to all sides of the container.
Step 7
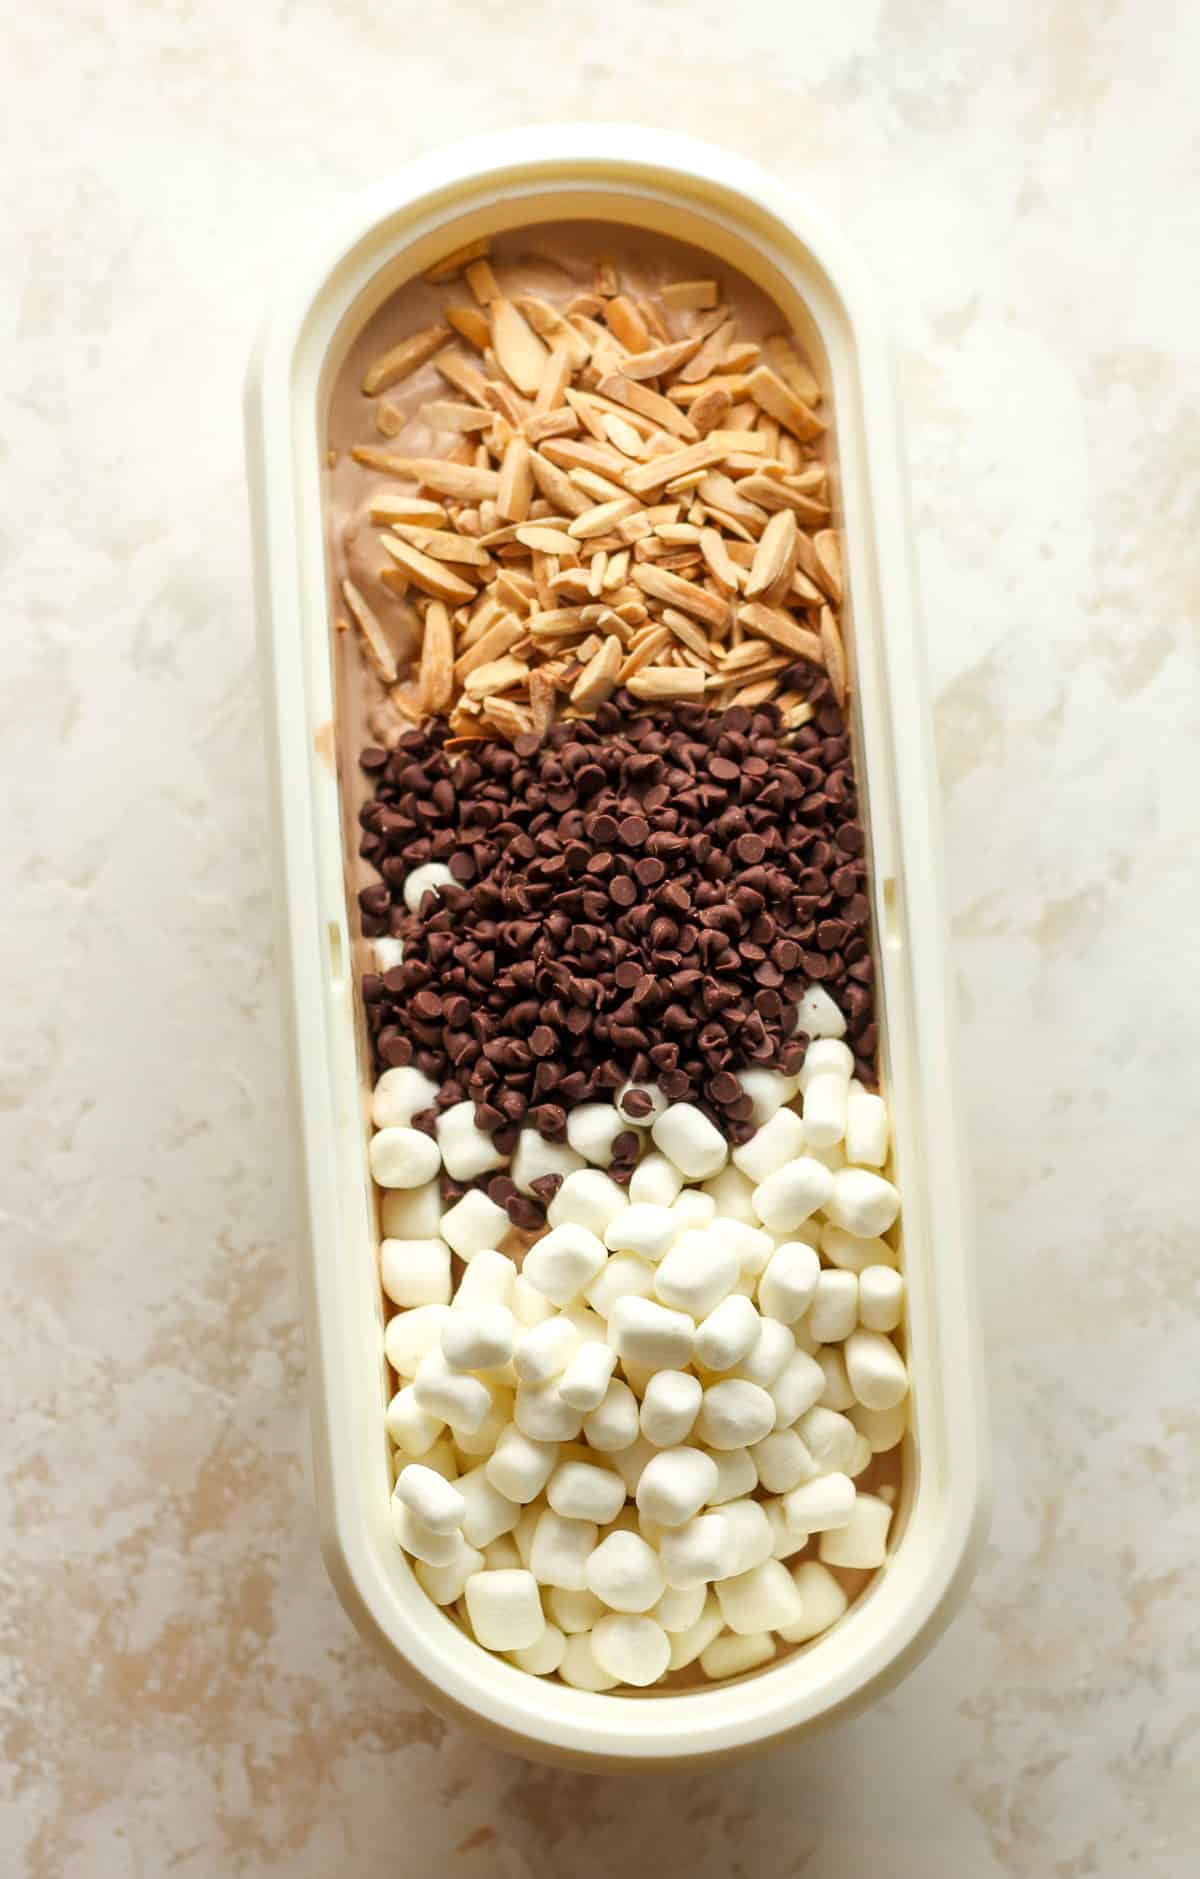
Add mix-ins. Then add the toasted almonds, mini chocolate chips, and mini marshmallows. Stir together.
Step 8
Freeze. Freeze the ice cream until ready to serve. The ice cream will be a bit soft so it needs a couple of hours to firm up.
Step 9
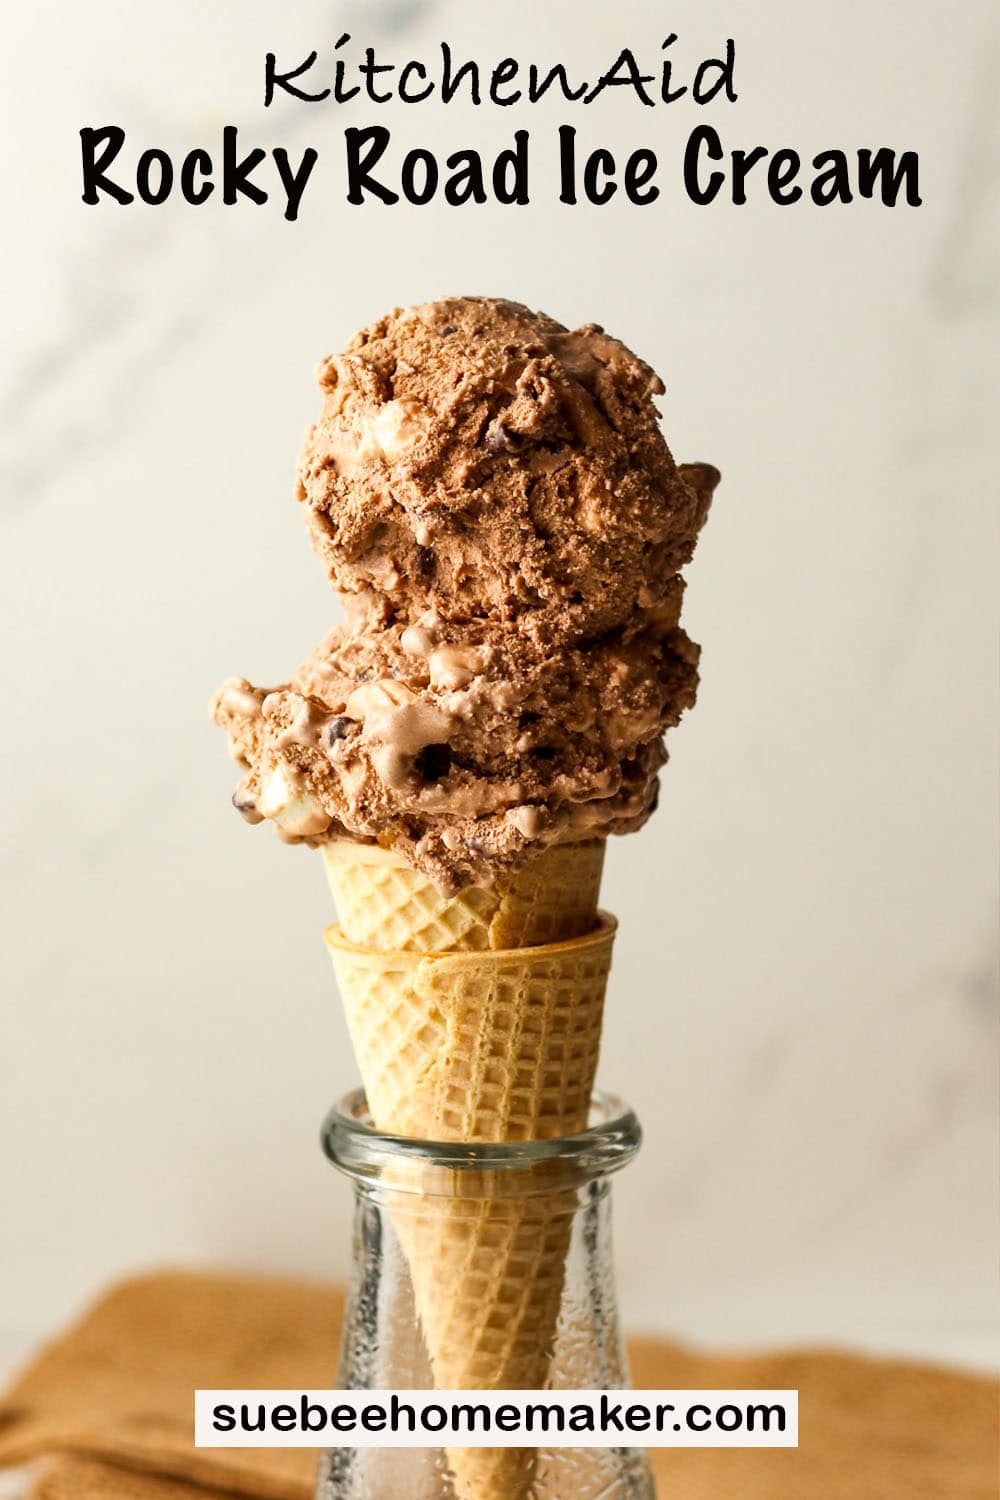
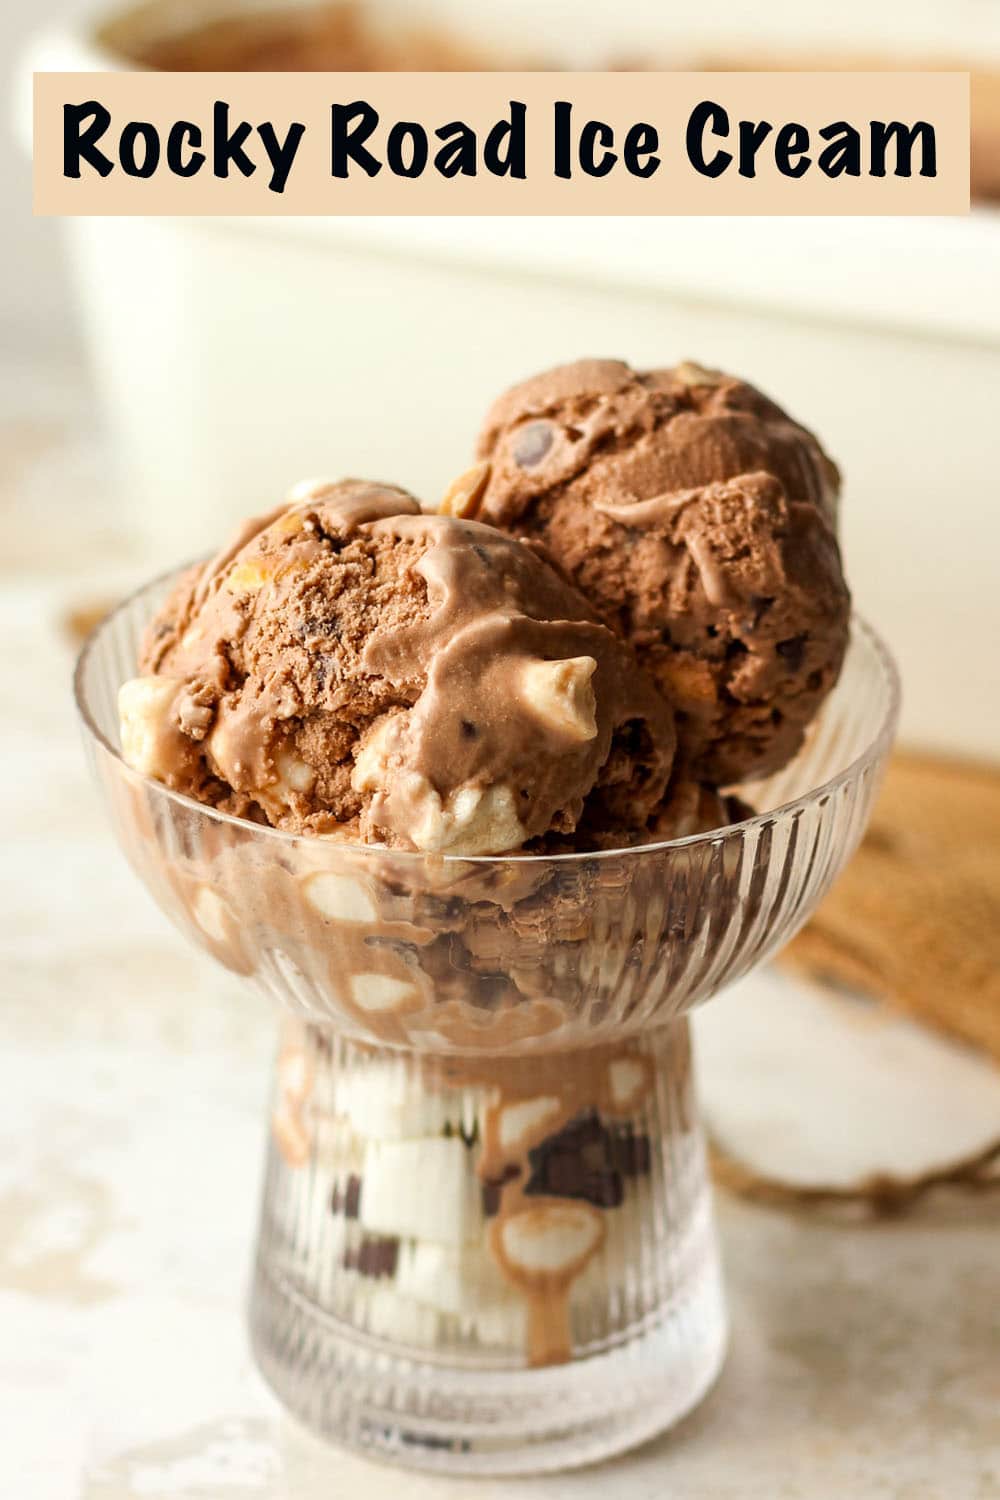
Serve ice cream. Serve rocky road ice cream in small serving bowls or pile it high on top of sugar cones or waffle cones. You can also sprinkle extra toppings over the ice cream to serve.
Homemade ice cream will keep in an airtight container in the freezer for up to 3 months.
Recipe Tips:
- Freeze the bowl ahead of time: The Kitchenaid ice cream maker attachment comes with a freezer bowl that needs to be frozen before use. Make sure to freeze it for at least 15 hours before making your ice cream.
- Chill your ingredients: Before making your ice cream mixture, make sure to chill all the ingredients, including the milk, cream, and any mix-ins you plan to use. This will help the mixture freeze faster and prevent ice crystals from forming.
- Temper the eggs or use pasteurized eggs. If you don’t want to take the time to temper your eggs, you can buy pasteurized eggs in the store (if you can find them).
- Transfer to an airtight container and freeze: Once the ice cream is fully churned, transfer it to a freezer-safe container and freeze it for at least 4 hours, or until it’s firm enough to scoop. Enjoy your homemade ice cream!
Recipe FAQs:
Rocky Road ice cream was first introduced in the early 1920s. The flavor is believed to have been created by William Dreyer, a co-founder of Dreyer’s Ice Cream (now known as Dreyer’s or Edy’s in different regions).
A custard-based ice cream, often referred to as French-style or Philadelphia-style ice cream, is made by creating a custard as the base for the ice cream. The custard typically consists of egg yolks, sugar, and a combination of milk and cream. This style of ice cream is known for its rich and creamy texture.
You can customize Rocky Road ice cream by using different types of nuts, swapping out marshmallows for caramel bits, or adding other types of chocolate or candies. Just be sure to keep the balance between ingredients so the ice cream maintains its texture and flavor.
Other Ice Cream Flavors:
Here are some of our favorite flavors if you’re interested in trying others. Head to see all of our KitchenAid Ice Cream Recipes.
- SOMETHING FUN – S’mores, Coffee Toffee, and Cinnamon
- CHOCOLATEY – Dark Chocolate, Chocolate Fudge Brownie, and Nutella
- FRUIT FLAVORED – Strawberry, Lemon Custard, and Blueberry
- BASIC FLAVORS – Vanilla Bean, Oreo, and Mint Chip
Kitchen Tools Used: (affiliate links)
xoxo ~Sue

Rocky Road Ice Cream Recipe
Ingredients
- 5 large egg yolks
- 1 cup granulated sugar – divided
- 2 cups whole milk
- 1/2 cup unsweetened cocoa powder
- 2 cups heavy cream
- pinch of salt
- 1-2 Tablespoons vanilla extract
- 1 ½ cups mini marshmallows
- ¾ cup chopped almonds
- 1/2 cup mini chocolate chips
Instructions
NOTE: Make sure the bowl of your ice cream maker has been frozen for at least 15 hours before using it to make ice cream.
- Temper the eggs. In a small bowl, combine the egg yolks and 1/4 cup of granulated sugar. Whisk well. Add the whole milk and cocoa powder to a saucepan and heat over medium heat, whisking often, until the mixture reaches 165 degrees F on a digital thermometer.When the mixture reaches the desired temperature, use a measuring cup to drizzle some of the hot liquid (about one cup total) into the egg mixture while continually whisking. Then pour the egg mixture back into the pan plus the remaining sugar – and heat to 165 degrees. The mixture should be thick and easily coat the back of a spoon.5 large egg yolks, 1 cup granulated sugar, 2 cups whole milk, 1/2 cup unsweetened cocoa powder
- Combine all liquid ingredients. Add the tempered egg mixture to a large 8-cup measuring cup or bowl. Then add the heavy cream, vanilla extract, and salt.2 cups heavy cream, 1-2 Tablespoons vanilla extract, pinch of salt
- Chill. Place the liquid ice cream mixture into the refrigerator and chill until VERY COLD, or for at least four hours. We often chill it overnight.
- Toast almonds. Toast the almonds in a pan over medium heat until slightly browned and toasty. You'll know they're ready when you can smell them!
- Churn ice cream. Start your 2-quart ice cream churner (I use a KitchenAid Attachment with a stand mixer – linked below.) and pour the chilled ice cream mixture into the bowl (the attachment) while it’s running. Let the ice cream churn until done. You’ll know it’s done when the mixer starts slowing down and it rises to the top of the bowl (or over it slightly), approximately 25-30 minutes.
- Transfer ice cream to an airtight container. After the ice cream is churned, use a rubber spatula to transfer the ice cream to an airtight container. (I occasionally use a pan for photography purposes.) Smooth it evenly to all sides of the container.
- Add mix-ins. Then add the toasted almonds, mini chocolate chips, and mini marshmallows. Stir together.¾ cup chopped almonds, 1/2 cup mini chocolate chips, 1 ½ cups mini marshmallows
- Freeze. Freeze the ice cream until ready to serve. The ice cream will be a bit soft so it needs a couple of hours to firm up.
- Serve ice cream. Serve rocky road ice cream in small serving bowls or pile it high on top of sugar cones or waffle cones. You can also sprinkle extra toppings over the ice cream to serve.
Notes
- If you don’t want to take the time to temper your eggs, you can buy pasteurized eggs in the store (if you can find them).
- You can customize Rocky Road ice cream by using different types of nuts, swapping out marshmallows for caramel bits, or adding other types of chocolate or candies.
- Homemade ice cream will keep in an airtight container in the freezer for up to 3 months.


Best ice cream ever