Cast Iron Naan
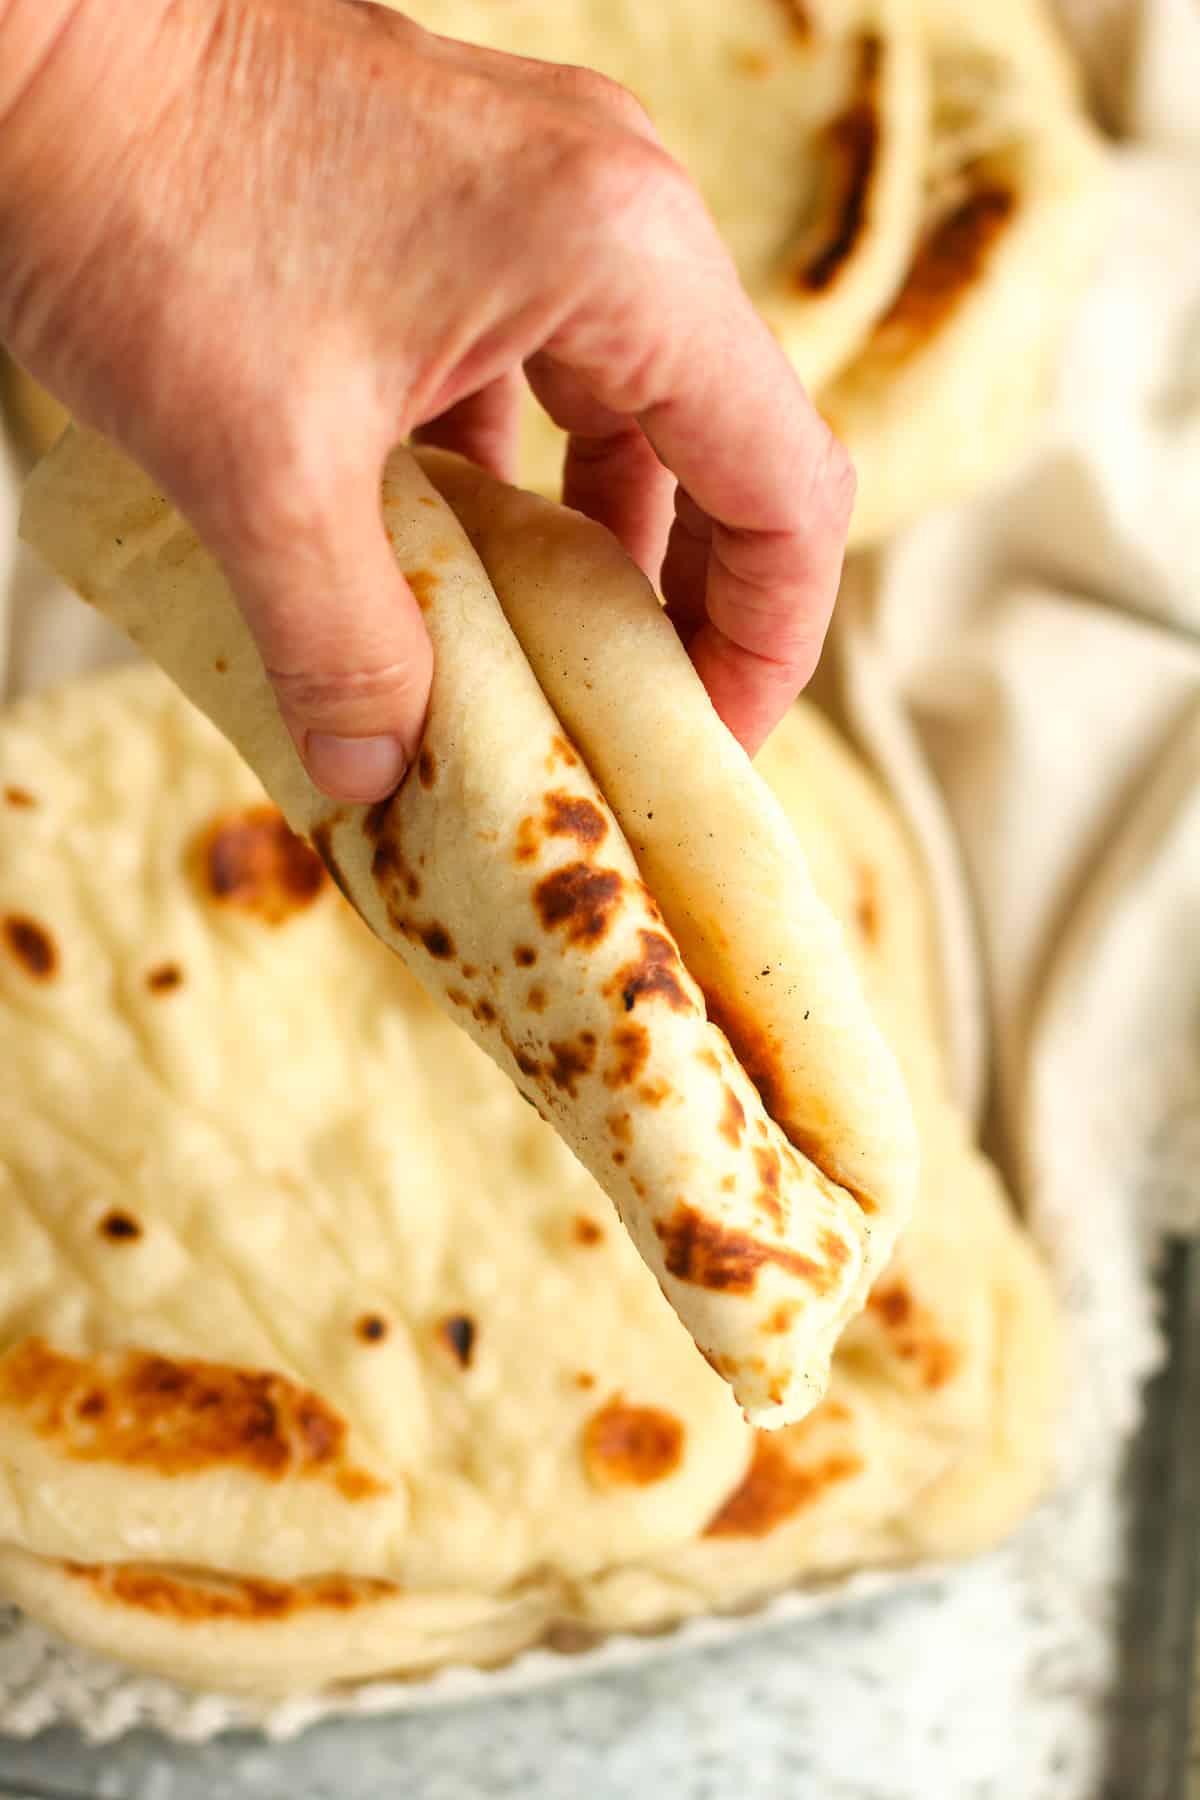
Cast Iron Naan is an extra soft naan bread, that’s slightly doughy and pillowy, just as we like it. Serve this homemade naan with soups, your favorite curry recipe, and practically anything else. You can’t go wrong!
Make my Everything Bagel Rolls next or hop on the sourdough train!

Homemade Naan Bread
I’m definitely a “dough girl”, raised by a mother who only made homemade bread. There was rarely a loaf of sliced bread from the store on our counters. She taught me well, and I’ve repeated those habits for my family as well. We eat far less bread though than the days of old, but when we do, we eat only the good stuff.
Do you know what’s really nice about naan bread? You mix it, let it rise once, and then it’s time to grill it. There is no proofing in pans, and baking in the oven. You can also keep it in the fridge for several hours and grill it right at meal time. Talking about impressing your family and friends!
Try our Sourdough Naan Bread Recipe next!

What is naan bread?
According to Wikipedia, naan is a leavened, oven-baked flatbread found in the cuisines mainly of Iran, India, parts of Asia, Myanmar, and the Caribbean. While it was traditionally made in a tandoor, or cylindrical clay oven, many people (including me) now make it in a very hot cast iron skillet instead.
I’ve been experimenting with this recipe for awhile now, making it for several at-home “date nights” with my hubby, where we enjoy eating a simple charcuterie board of meats, cheeses, and of course, fresh naan. I knew I finally had a winner when our son Josh and his girl, Tiff, came over recently after I had just tried a slightly different recipe. They inhaled it, and said it was the BEST, so I declared my testing complete. 😀
Ingredients Used:
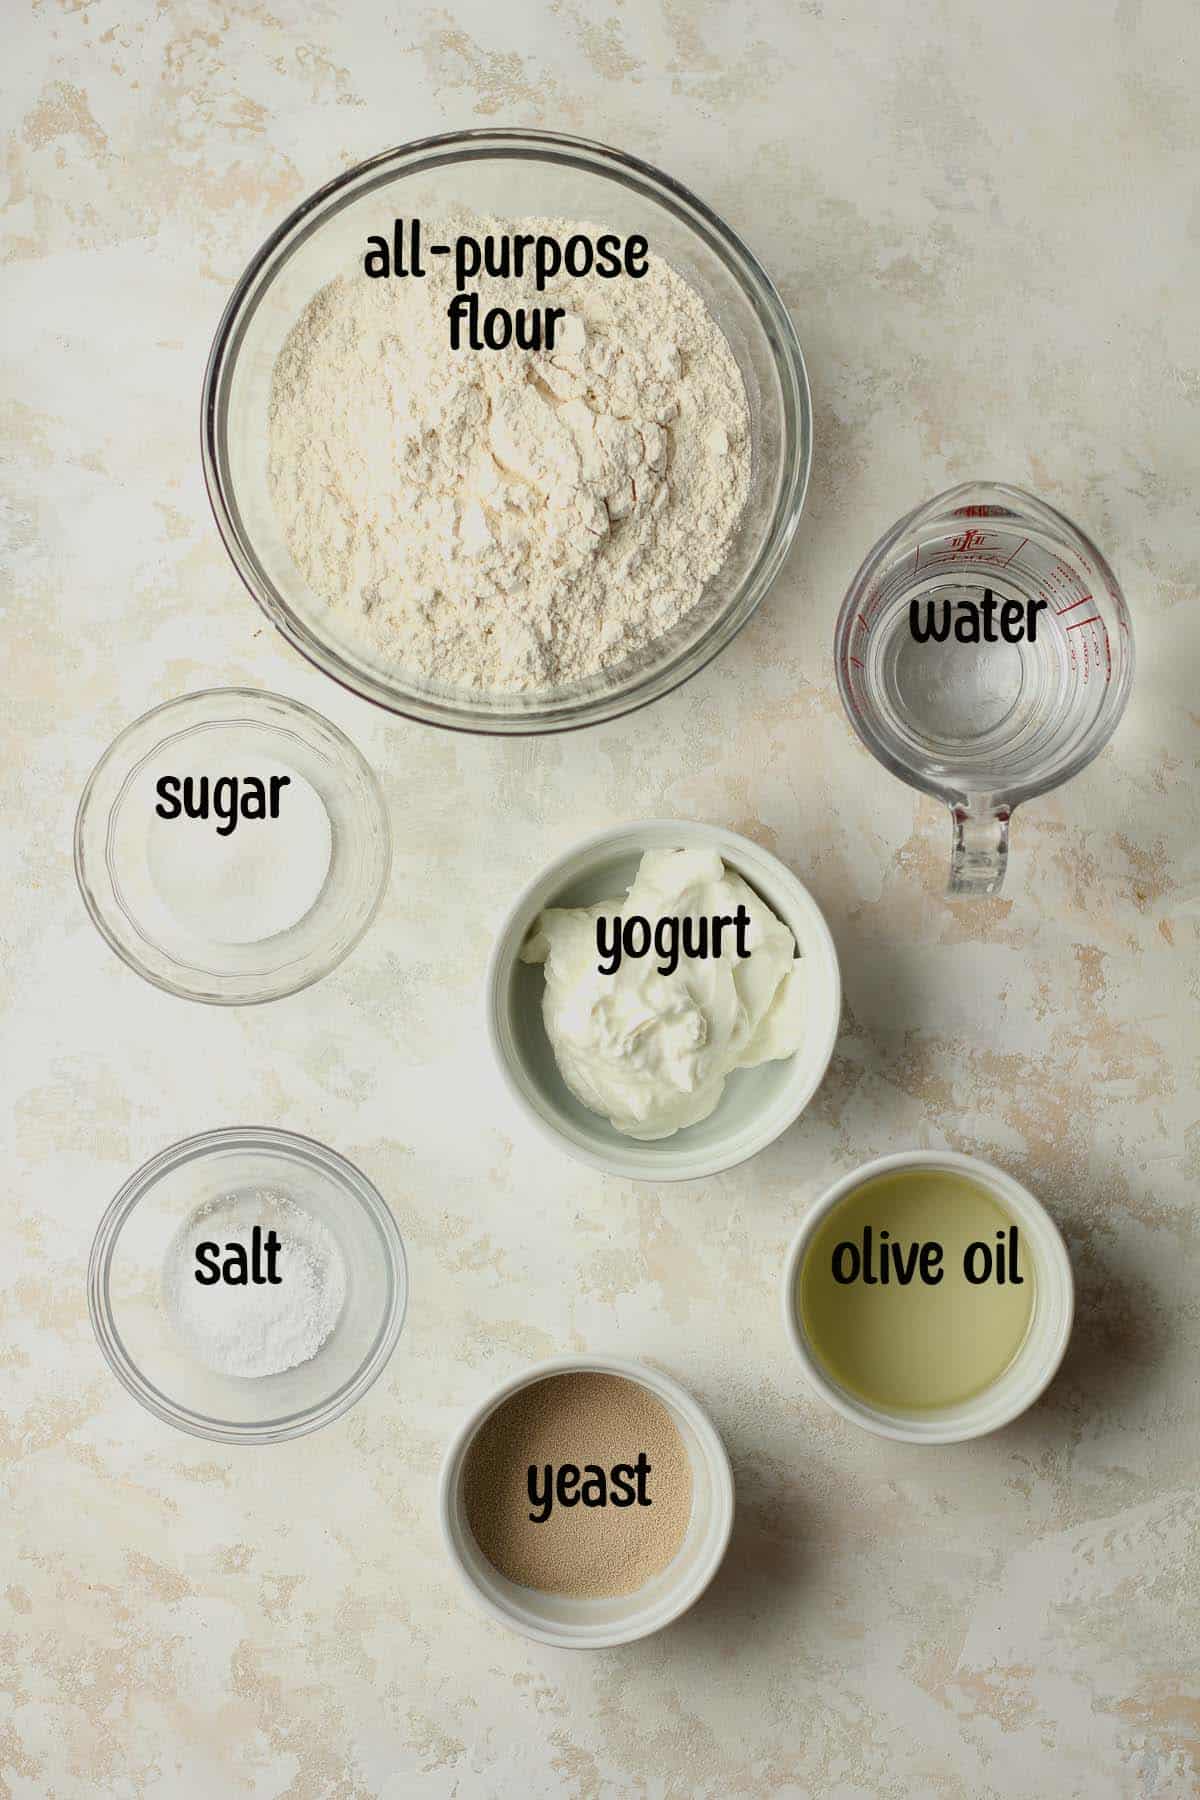
The ingredient list is pretty short. But it’s important to mix them in a particular order for best results.
- The Yeast Mixture – water, sugar, and yeast
- Dairy – yogurt
- Other – salt, olive oil, and flour
- Butter – for brushing on afterward
How to make Cast Iron Naan Bread:
Step 1
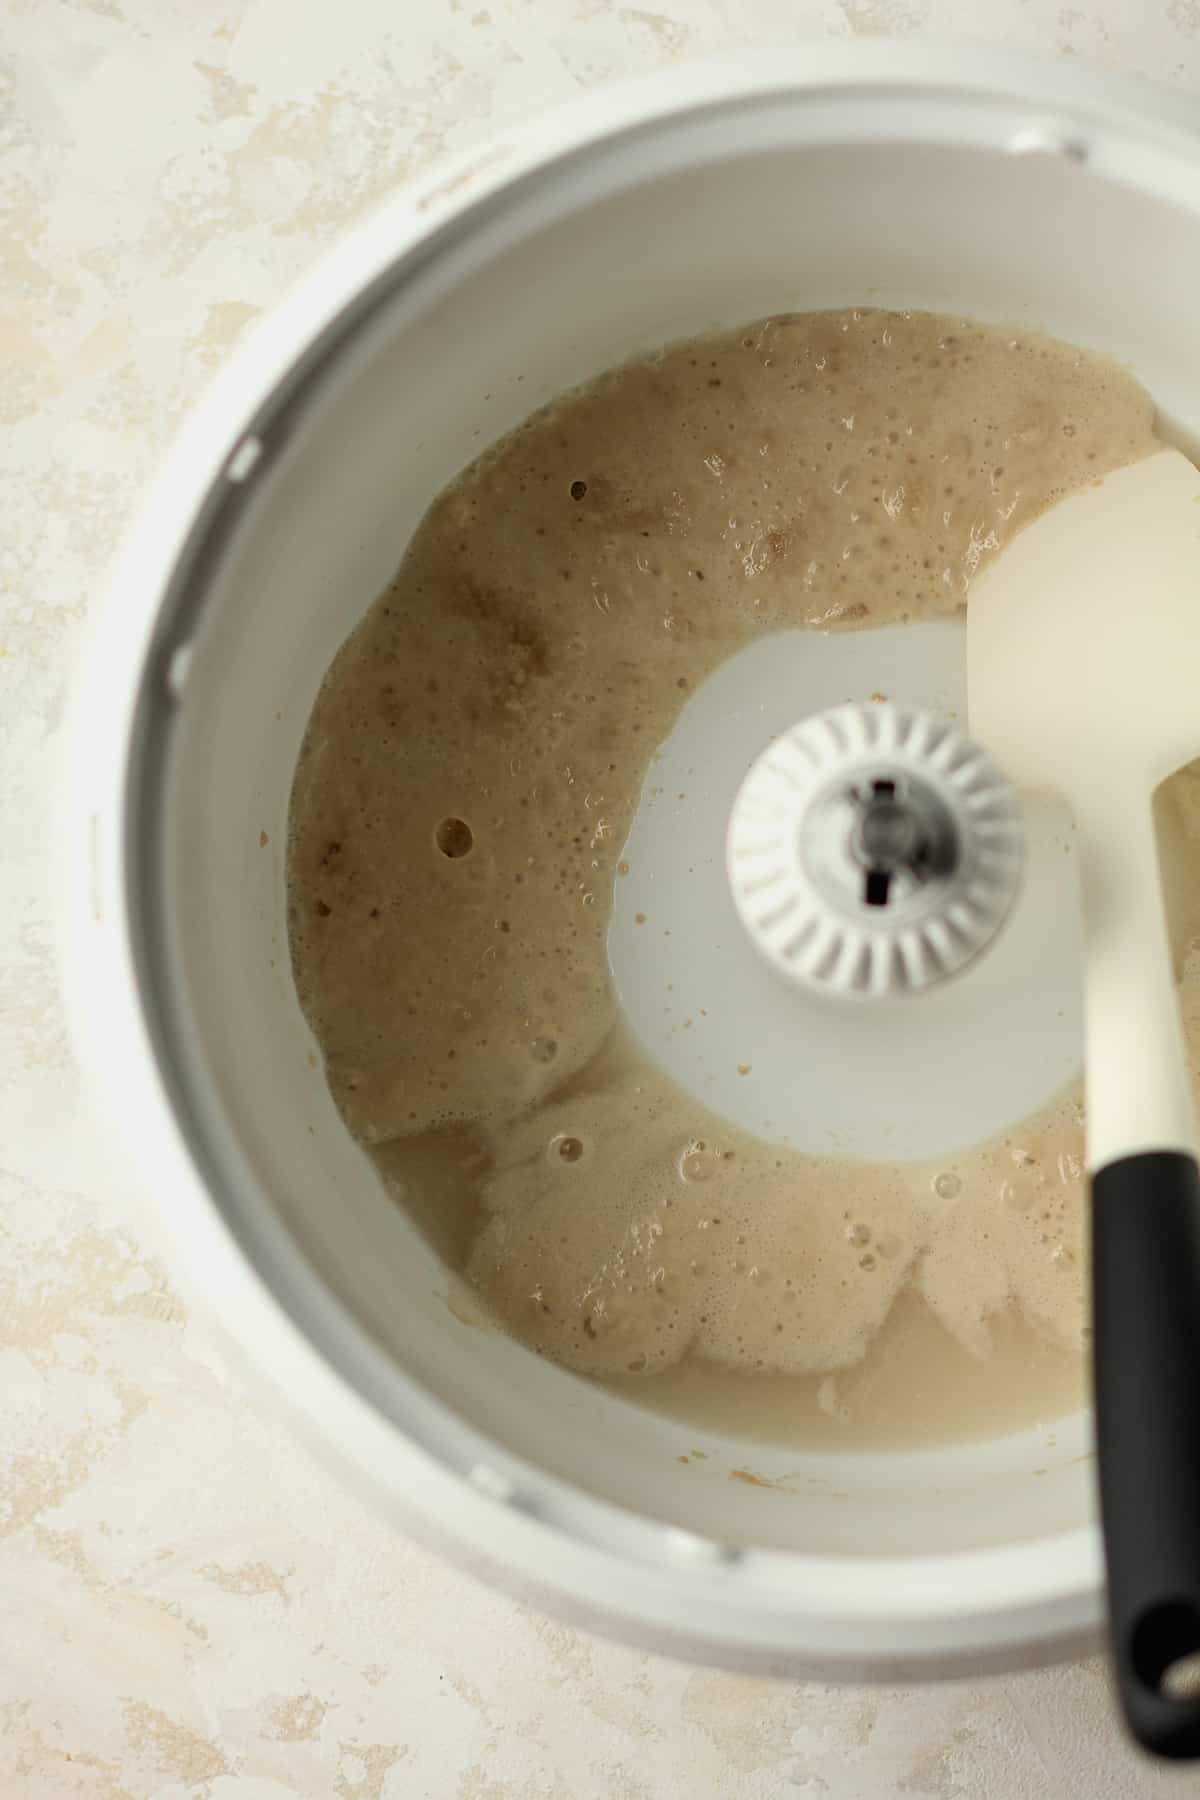
Activate the yeast. In a large standing mixer (or use a large bowl and mix it by hand), combine the yeast, sugar, and warm water. Stir with a spatula, and let sit for about 15 minutes, or until the mixture gets bubbly.
Step 2
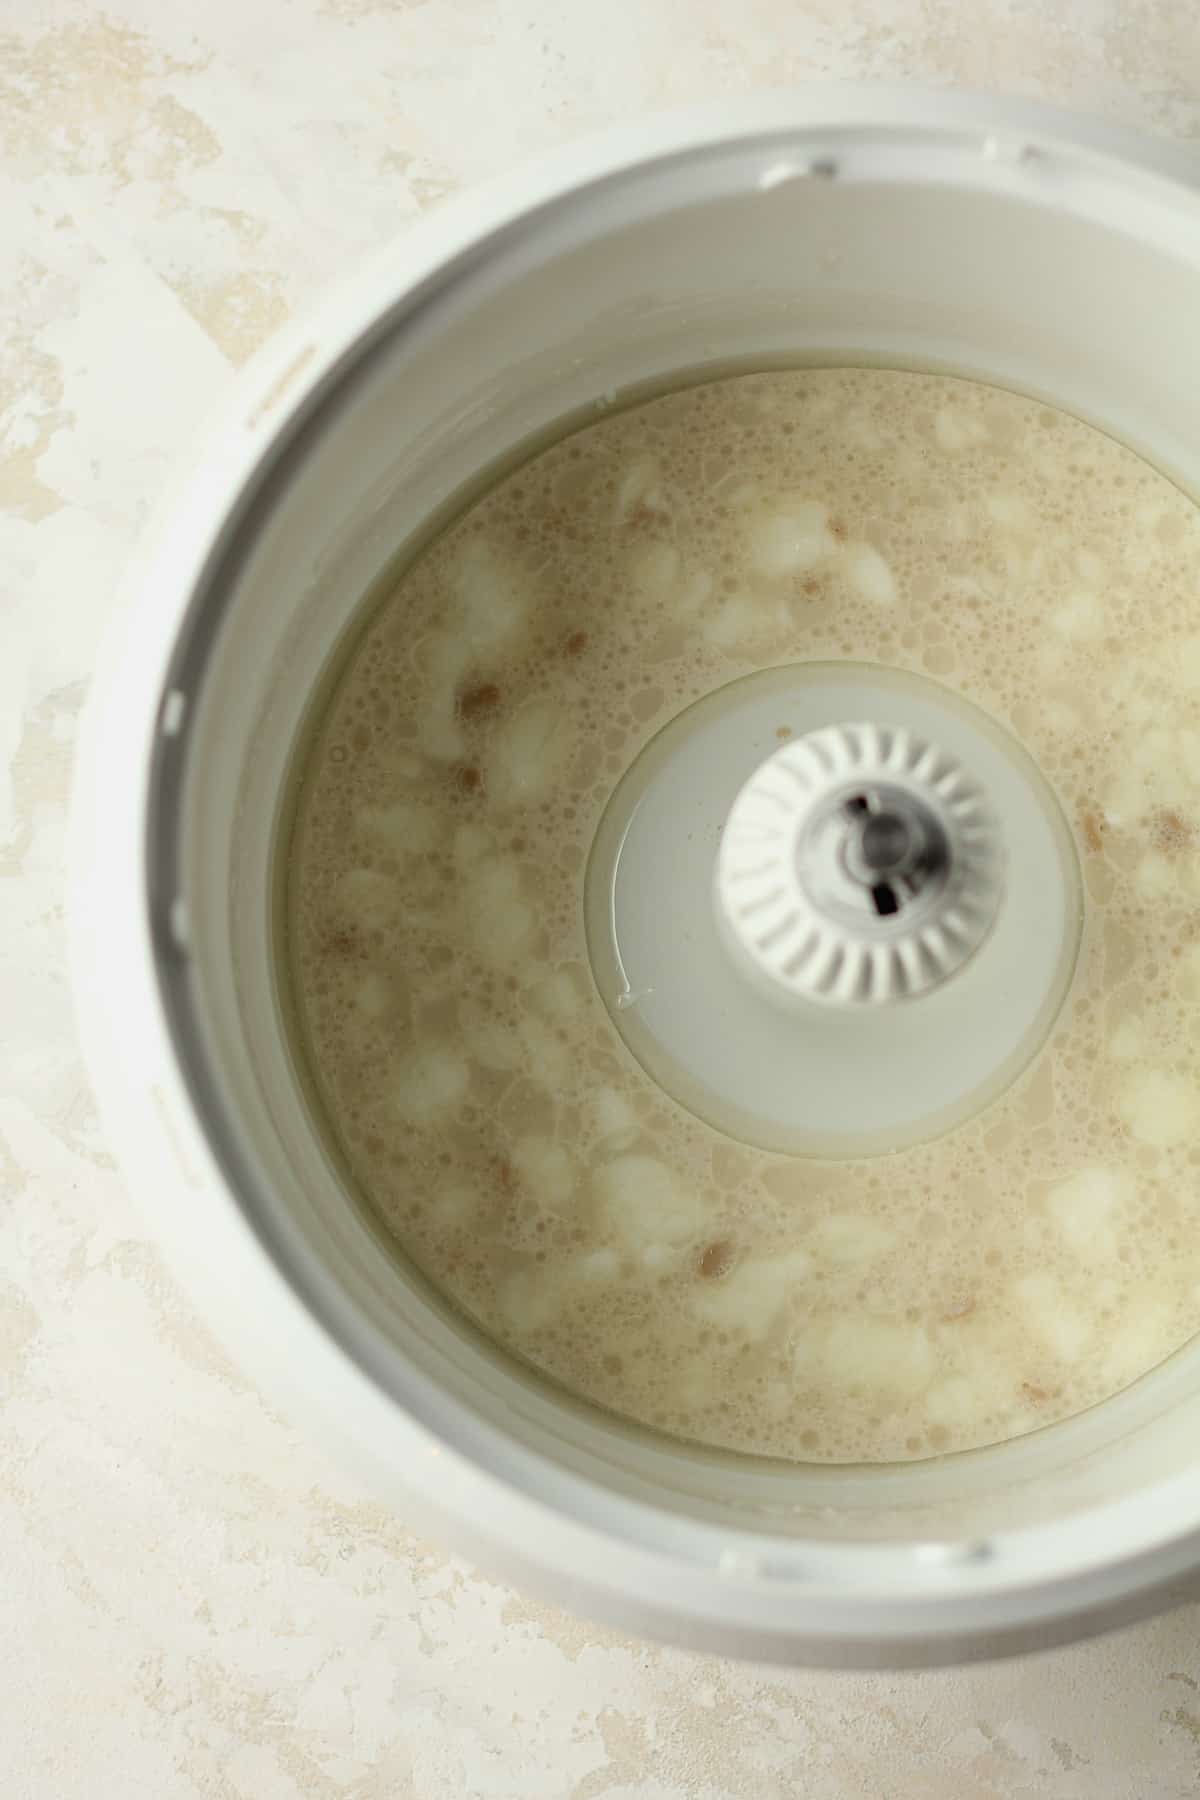
Continue adding ingredients. Add the yogurt, olive oil, and salt – and mix again.
Step 3
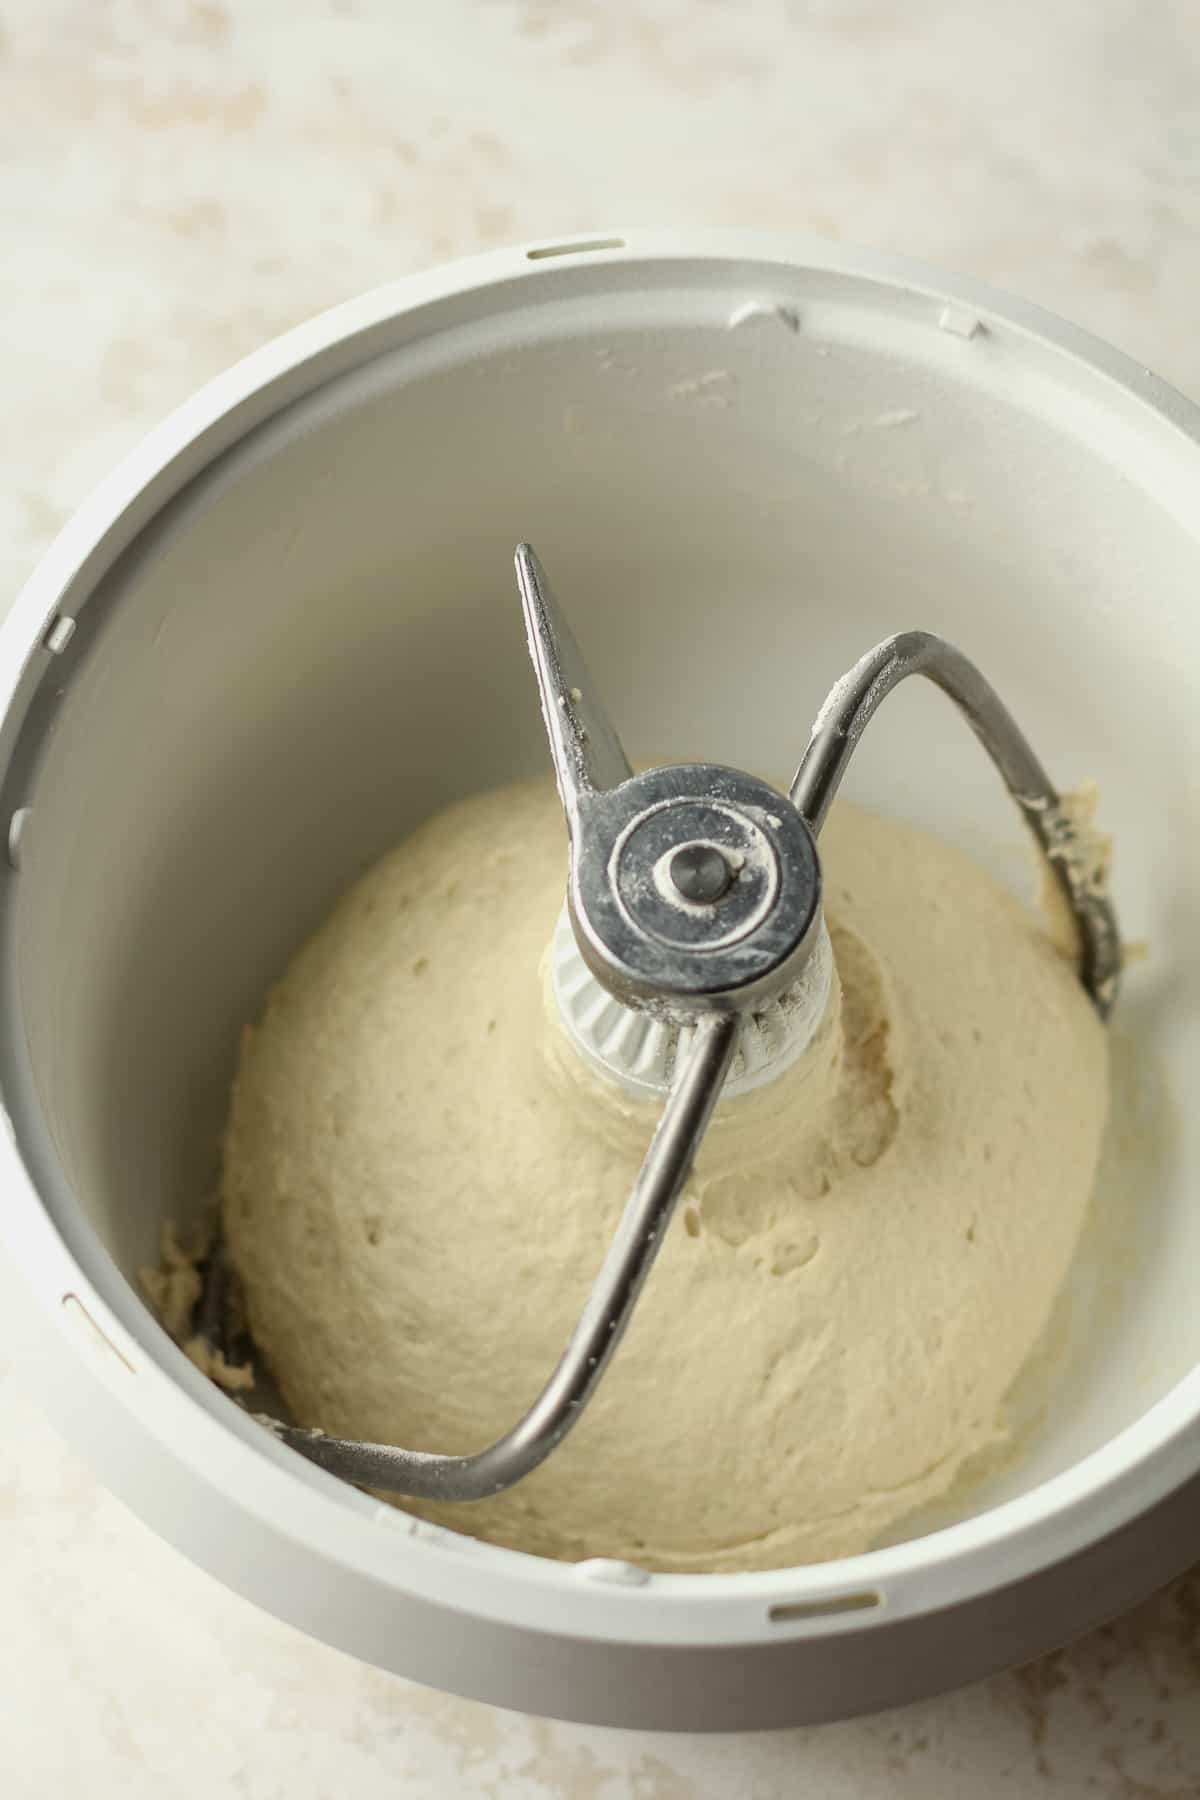
Attach dough hook. Attach the dough hook and start adding flour. Add about two cups, start the mixer, and then continue adding until the dough starts to form a ball. It should start to pull away from the mixer, but it will be sticky. You want it to be slightly sticky.
Step 4
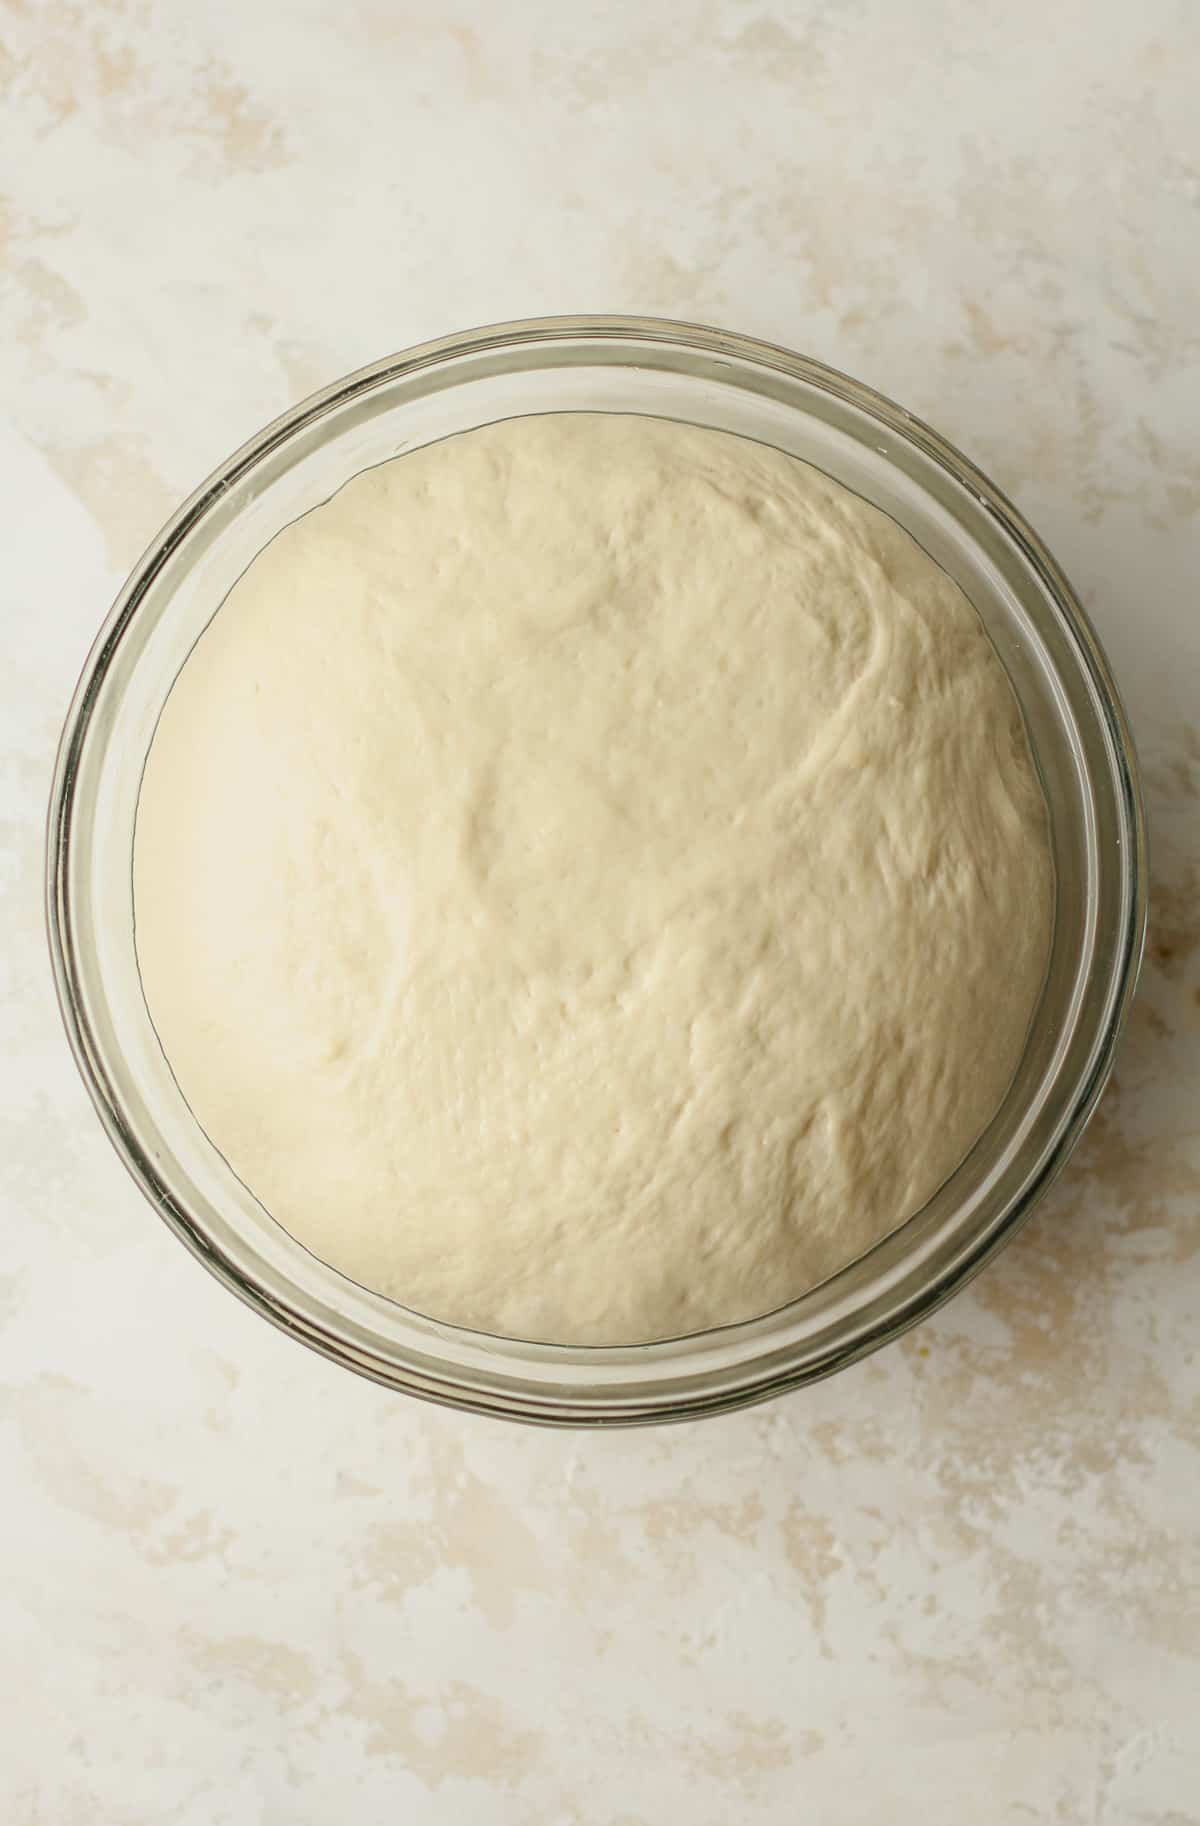
Proof the dough. Remove the dough to a well greased mixing bowl, patting it together to form a nice ball. Cover with a clean dish towel, and sit it in a warm corner of your kitchen. Let it double in size, for approximately one hour.
Step 5
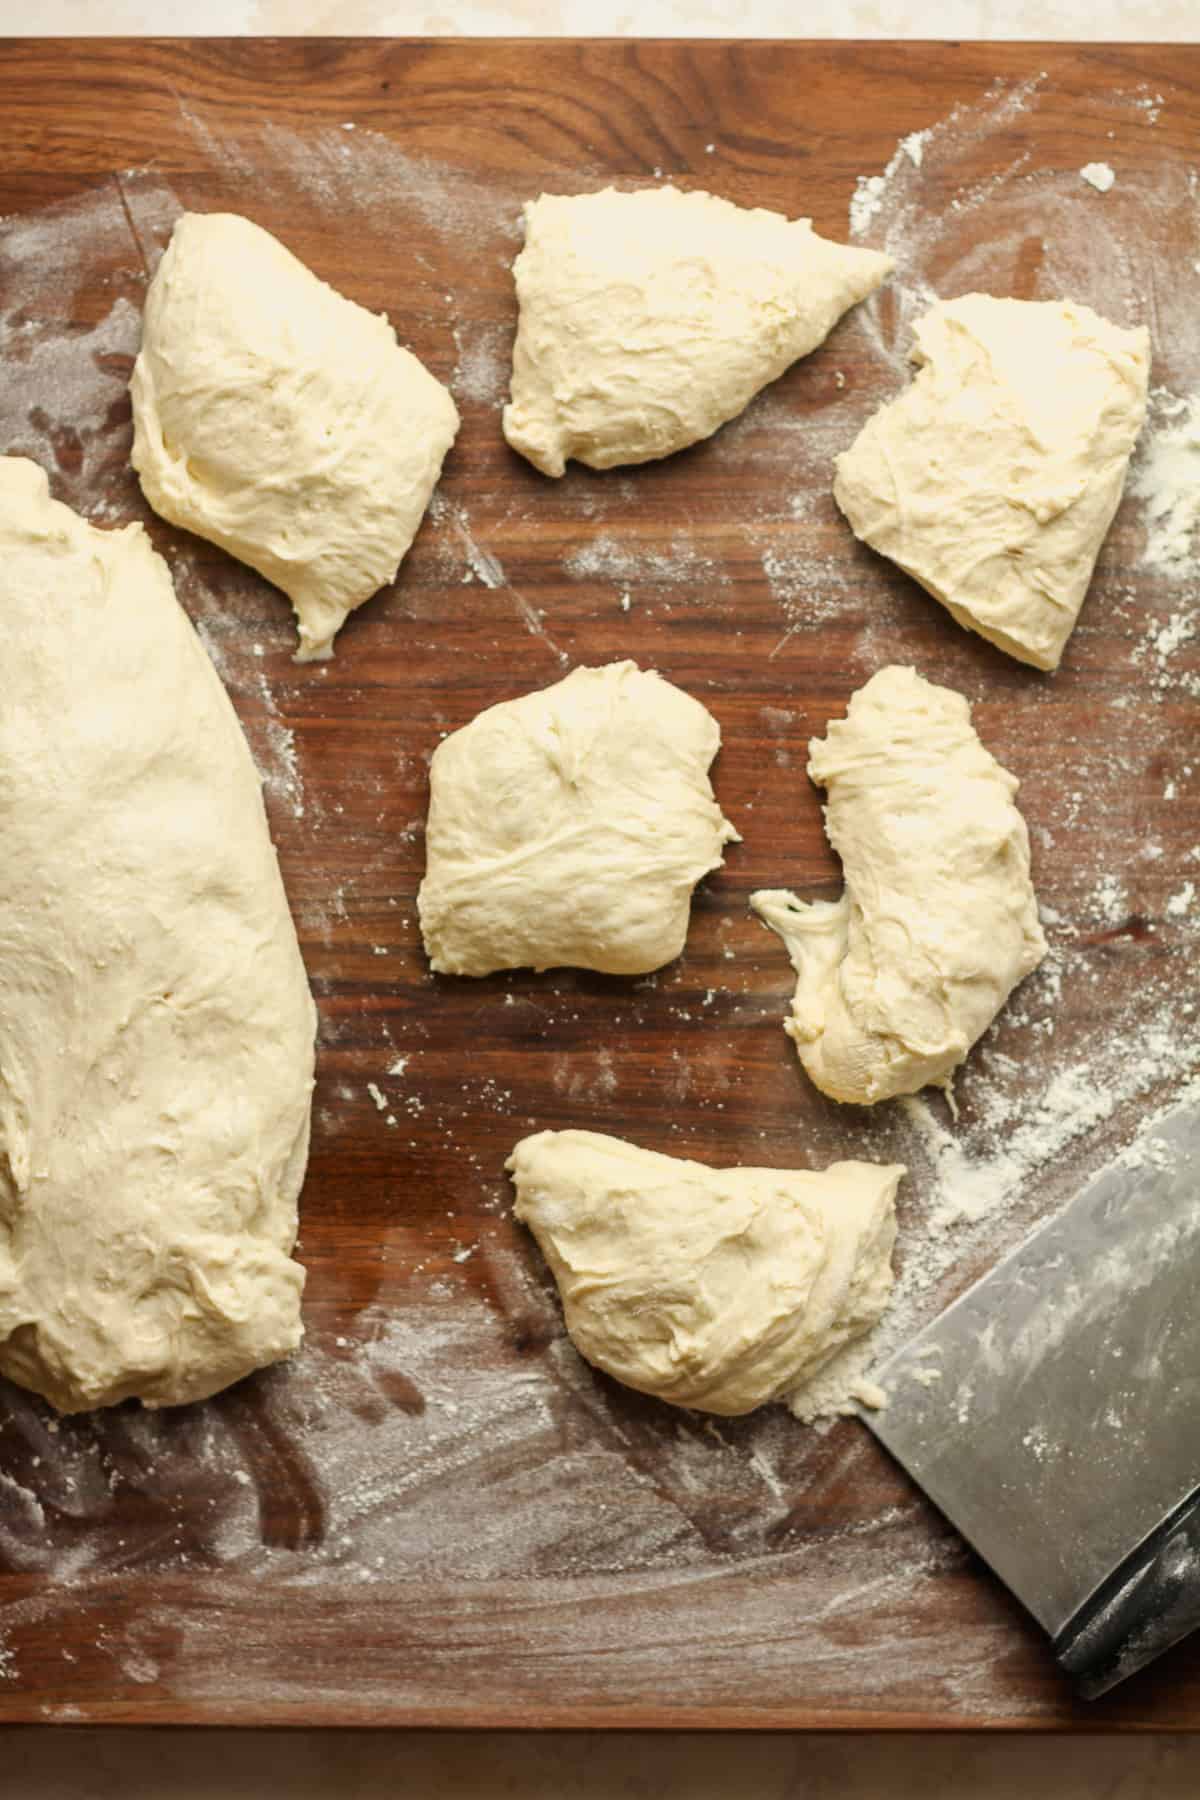
Prep to grill the naan. Sprinkle some flour on a baking mat, and set the dough on top. Divide the dough into 12 equal sections. Place a cast iron skillet on the stove top at medium high heat.
Step 6
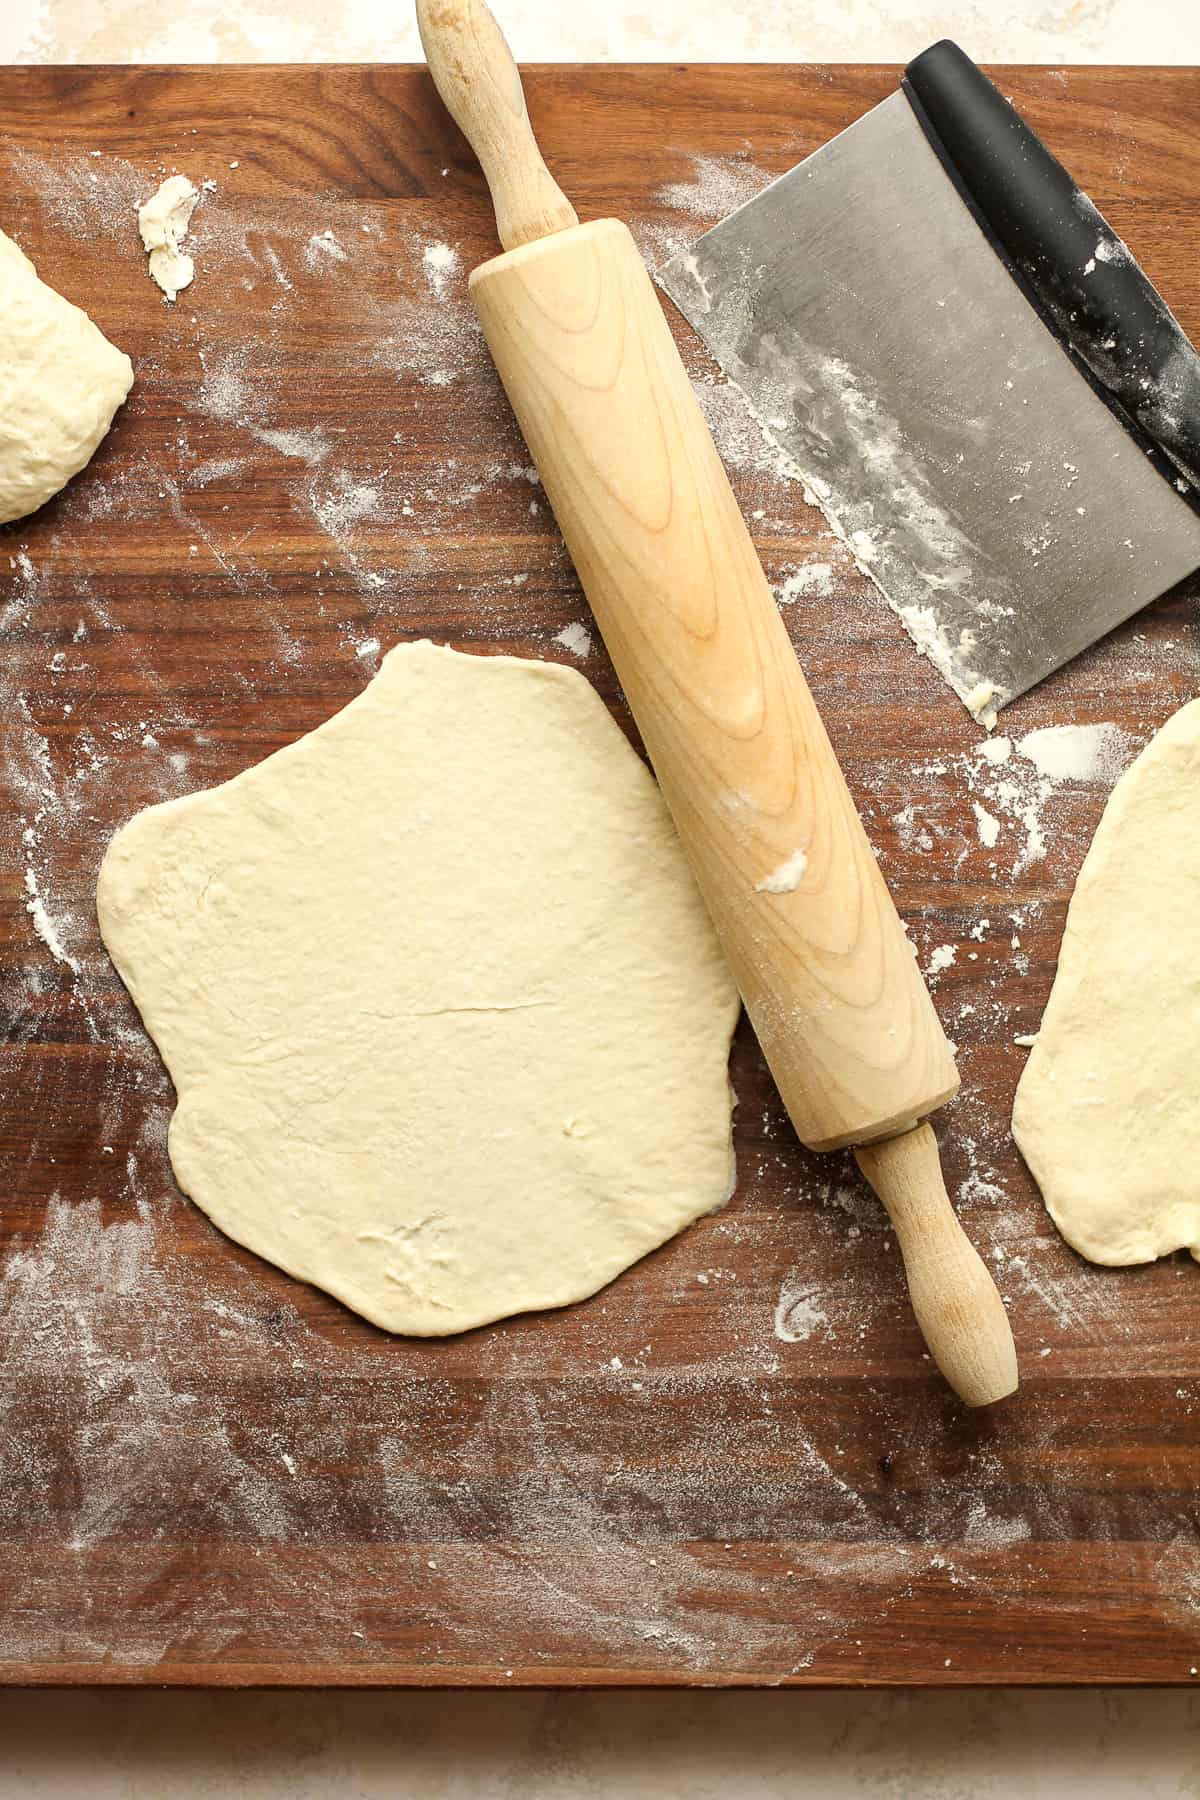
Roll out naan. As your skillet heats up, take one section of dough at a time and form into a ball. Then use a rolling pin to roll out the dough into a very thin shape. (See picture below.) You’ll need extra flour to roll out each naan because it likes to stick.
Step 7
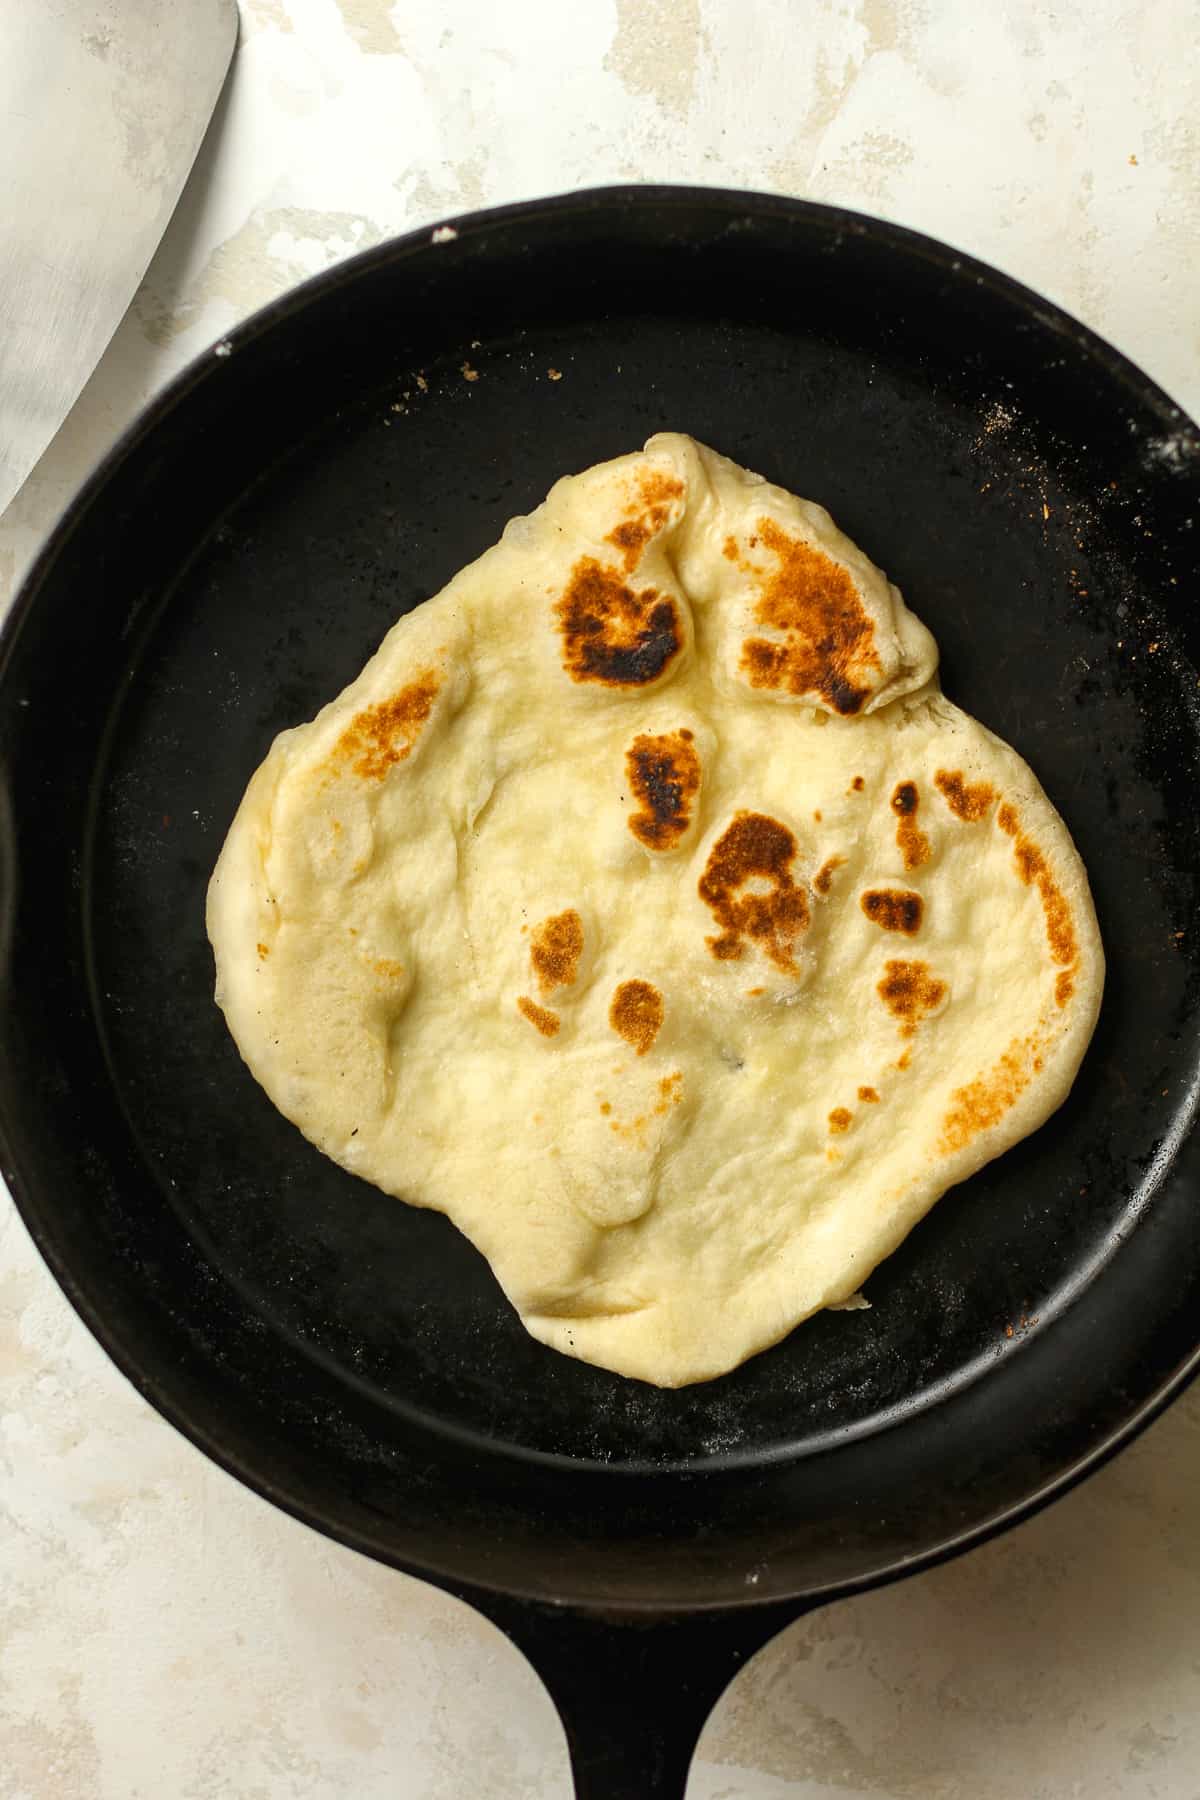
Grill. Carefully move the naan to the (dry) hot skillet and cook on one side until you see bubbles forming. After a couple of minutes, flip it to the other side and cook for about 30 seconds to a minute. (See picture below.) Brush with butter.
Step 8
Repeat. Repeat for all dough sections, rolling each one out right before grilling. This will ensure those nice bubbles and dark spots!

PRO-TIP: Refrigerate if necessary. If you decide that you only want to grill a few, place the remaining dough in the refrigerator until later.
Recipes that go perfectly with Homemade Naan:
- Charcuterie Board – Not on the blog, but we love to eat homemade naan with cured meats and a variety of cheese. A simple date night – with wine of course!
- Soups – Some thicker soups would be great to soak up with naan, like my Roasted Carrot Soup, Creamy Potato Soup, Creamy Wild Rice Soup, or Creamy Broccoli Cheddar Soup. So many great choices!
- Indian Food – Since naan is an Indian bread, any Indian food would be wonderful to eat with homemade naan. Try my Chicken Curry with Vegetables!
Cast Iron Naan Recipe Tips:
- When you add the warm water to the yeast, sugar, and salt – be careful to use WARM water heated to between 100-110 degrees F.. If the water is too hot, the yeast will disappear and you can’t make bread without yeast. Also, do not use cool water because it won’t activate the yeast.
- Don’t add all the flour at once because every baking day is different. Some days you will need a bit more flour and some days, you will need less.
- The dough should be slightly sticky when ready, especially because you will be adding a bit more flour when rolling the naan out. Over time, you will learn exactly how much flour is needed to make the ultimate naan bread.
- Be sure to roll out just one naan bread out at a time. You should roll it out right before you put it on a hot skillet so you can those nice bubbles that will make the naan nice and pillowy.
- You’ll need extra flour to roll out the naan, but be careful to avoid using too much. You want the naan to be soft and adding too much flour might make it tough.
- Also, make sure the skillet is nice and hot when cooking. I use a cast iron skillet (no need to add oil or butter to the pan) and set it to medium-high heat.
- I recommend brushing the warm naan bread with butter.
Can I keep the naan dough in the refrigerator?
You most definitely can keep the naan dough in the refrigerator for awhile to prevent it from rising too much. Set it out about 30-60 minutes before grilling the naan.
Can I freeze naan bread?
You can freeze the grilled naan bread after it cools completely. Just separate each naan with parchment paper, and place in a freezer bag. I don’t recommend freezing the dough. Fresh dough is best!

Kitchen Tools used for this recipe: (Affiliate Links)
xoxo ~Sue

Cast Iron Naan
Ingredients
- 1 Tablespoon dry active yeast
- 1 Tablespoon granulated sugar
- 1 cup warm water (heated to 100-110 degrees F) -236 grams
- 1/4 cup olive oil
- 2/3 cup plain, full-fat yogurt
- 1 teaspoon kosher salt
- 3 1/2 cups all-purpose flour (plus or minus a couple of tablespoons) – 420 grams, plus more (about 30 grams) for rolling out
- melted butter – to add after cooking, optional
Instructions
- * Be sure to read all the tips on the blog post before proceeding!
- ** When measuring the water and flour, it's best to use grams. Or go by touch. You want the dough to be a little sticky but not too much.
- Activate the yeast. In a large standing mixer (or you can make this by hand too), combine the yeast, sugar, and warm water. Stir with a spatula and wait for the mixture to get bubbly.1 Tablespoon dry active yeast, 1 Tablespoon granulated sugar, 1 cup warm water (heated to 100-110 degrees F)
- Add the yogurt, olive oil, and salt, and stir again. Then attach dough hook, and start adding flour. Start with two cups of flour, and then mix. Continuing adding more flour, a little at a time, until you get the right consistency. The dough should start pulling away from the sides of the mixer, and it should be just slightly sticky.2/3 cup plain, full-fat yogurt, 1/4 cup olive oil, 1 teaspoon kosher salt, 3 1/2 cups all-purpose flour (plus or minus a couple of tablespoons)
- Remove the dough to a greased bowl, and shape it into a ball. Cover with a clean dish towel, and set it aside to double in size in a warm corner of your kitchen. This will take approximately one hour.
- Sprinkle some flour on a clean working surface, like a large cutting board or a baking mat. Place the dough on top of the flour, and slice it in approximately 10 wedges.
- Preheat a large cast iron skillet to medium-high heat on your stove top.
- Meanwhile, roll out one naan at a time, using a rolling pin (and plenty flour) to get a very thin, flat shape. (See blog pictures.) Carefully lift the naan to the hot (dry) grill pan. Cook on one side for a minute or two. You should see bubbles forming on this first side. Then flip and cook on the other side for 30 seconds to a minute, or until nice and golden brown.
- Remove grilled naan to a clean towel, and immediately brush some butter on top. Continue rolling out one naan at a time and grilling, until all naan breads are done and piled up high on the towel.melted butter
- Serve immediately (you won't be able to resist them!) or let cool, and store in a storage bag or airtight container.
Video
Notes
- Make the dough in advance, place the bowl in the refrigerator, and remove it later to grill it up at serving time.
- Naan Bread is best served fresh! You can heat it up slightly in the microwave and add extra butter.
- You can freeze the grilled naan bread after it cools completely. Just separate each naan with parchment paper, and place in a freezer bag.


Can I substitute the yogurt for sour cream?
I have not tried this recipe with sour cream so I can’t really say.
These were delicious! As so many of the other recipes I’ve tried recently from the Sue Bee site! Thank you
Thanks so much Ashley!
If I don’t have a mixer, should I use a spatula to mix things orrrr a wooden spoon? 🤷🏻♀️
You could use either one until you get the flour going. Then you’ll need to use your hands to kneed the naan until you reach desired consistency.
Wonderful, thank you!!!
Hope to make these soon, as I love naan bread. Question, do you oil the pan, or cook dry pan? Thanks.
Hi Kathy. Cook in a dry pan. I’ll add that to the directions!
First time making naan – instructions were very easy to follow. So delicious – perfect complement to Suebee Sun-dried tomato dip!!
So happy to hear this, Dan!
Must try!
Outstanding recipe! We’ve made this 3 times already, absolutely delicious and easier to make than I thought. The freezed nan is amazing for sandwiches too. Thanks Sue!
I love hearing this, Peter! Thanks for your feedback!
Wow! I just made these tonight and they were great! I used them for chopped chicken & bacon blt sandwiches. Hubby & son said they were awesome!
Yay! Thanks for letting me know, Cathy!
Have been wanting to try this recipe for quite a while. So straightforward and delicious. Serving it with soup later. (If I don’t eat all of it first 😅)
Yay! I’m so happy you had success with this naan bread, Judy. Thanks for your feedback!
Great bread.
Thanks so much!
Recently discovered naan bread and it is epic! Light bread for any occasion, but I really enjoy with wine during Happy Hour!
It is THE BEST! 🙂