S’mores Cookie Bars
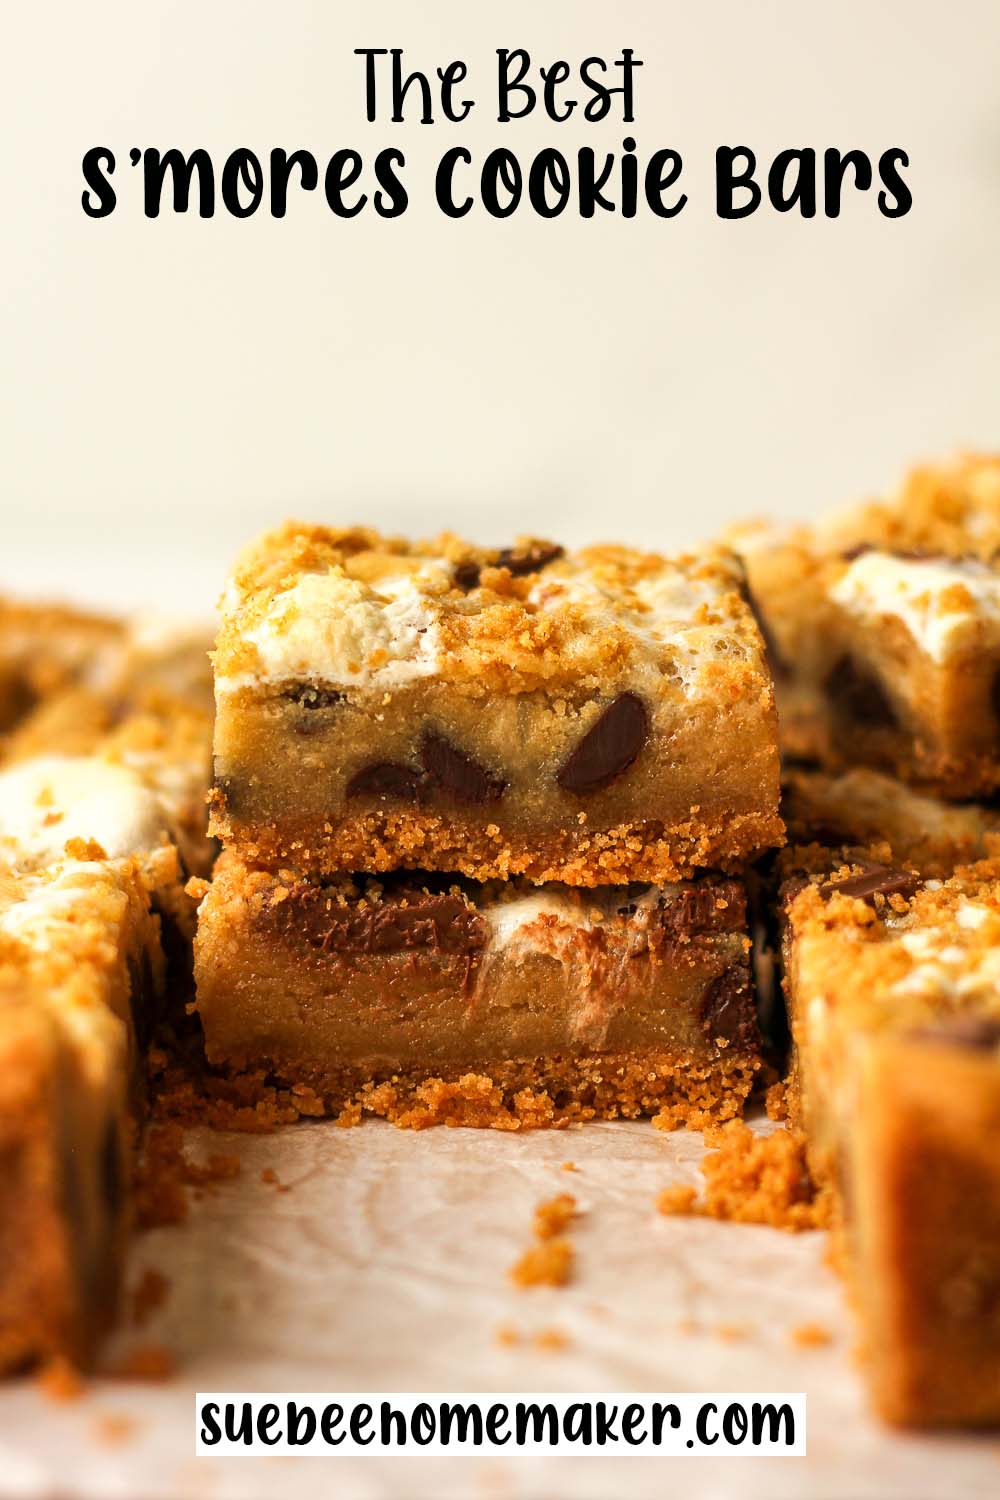
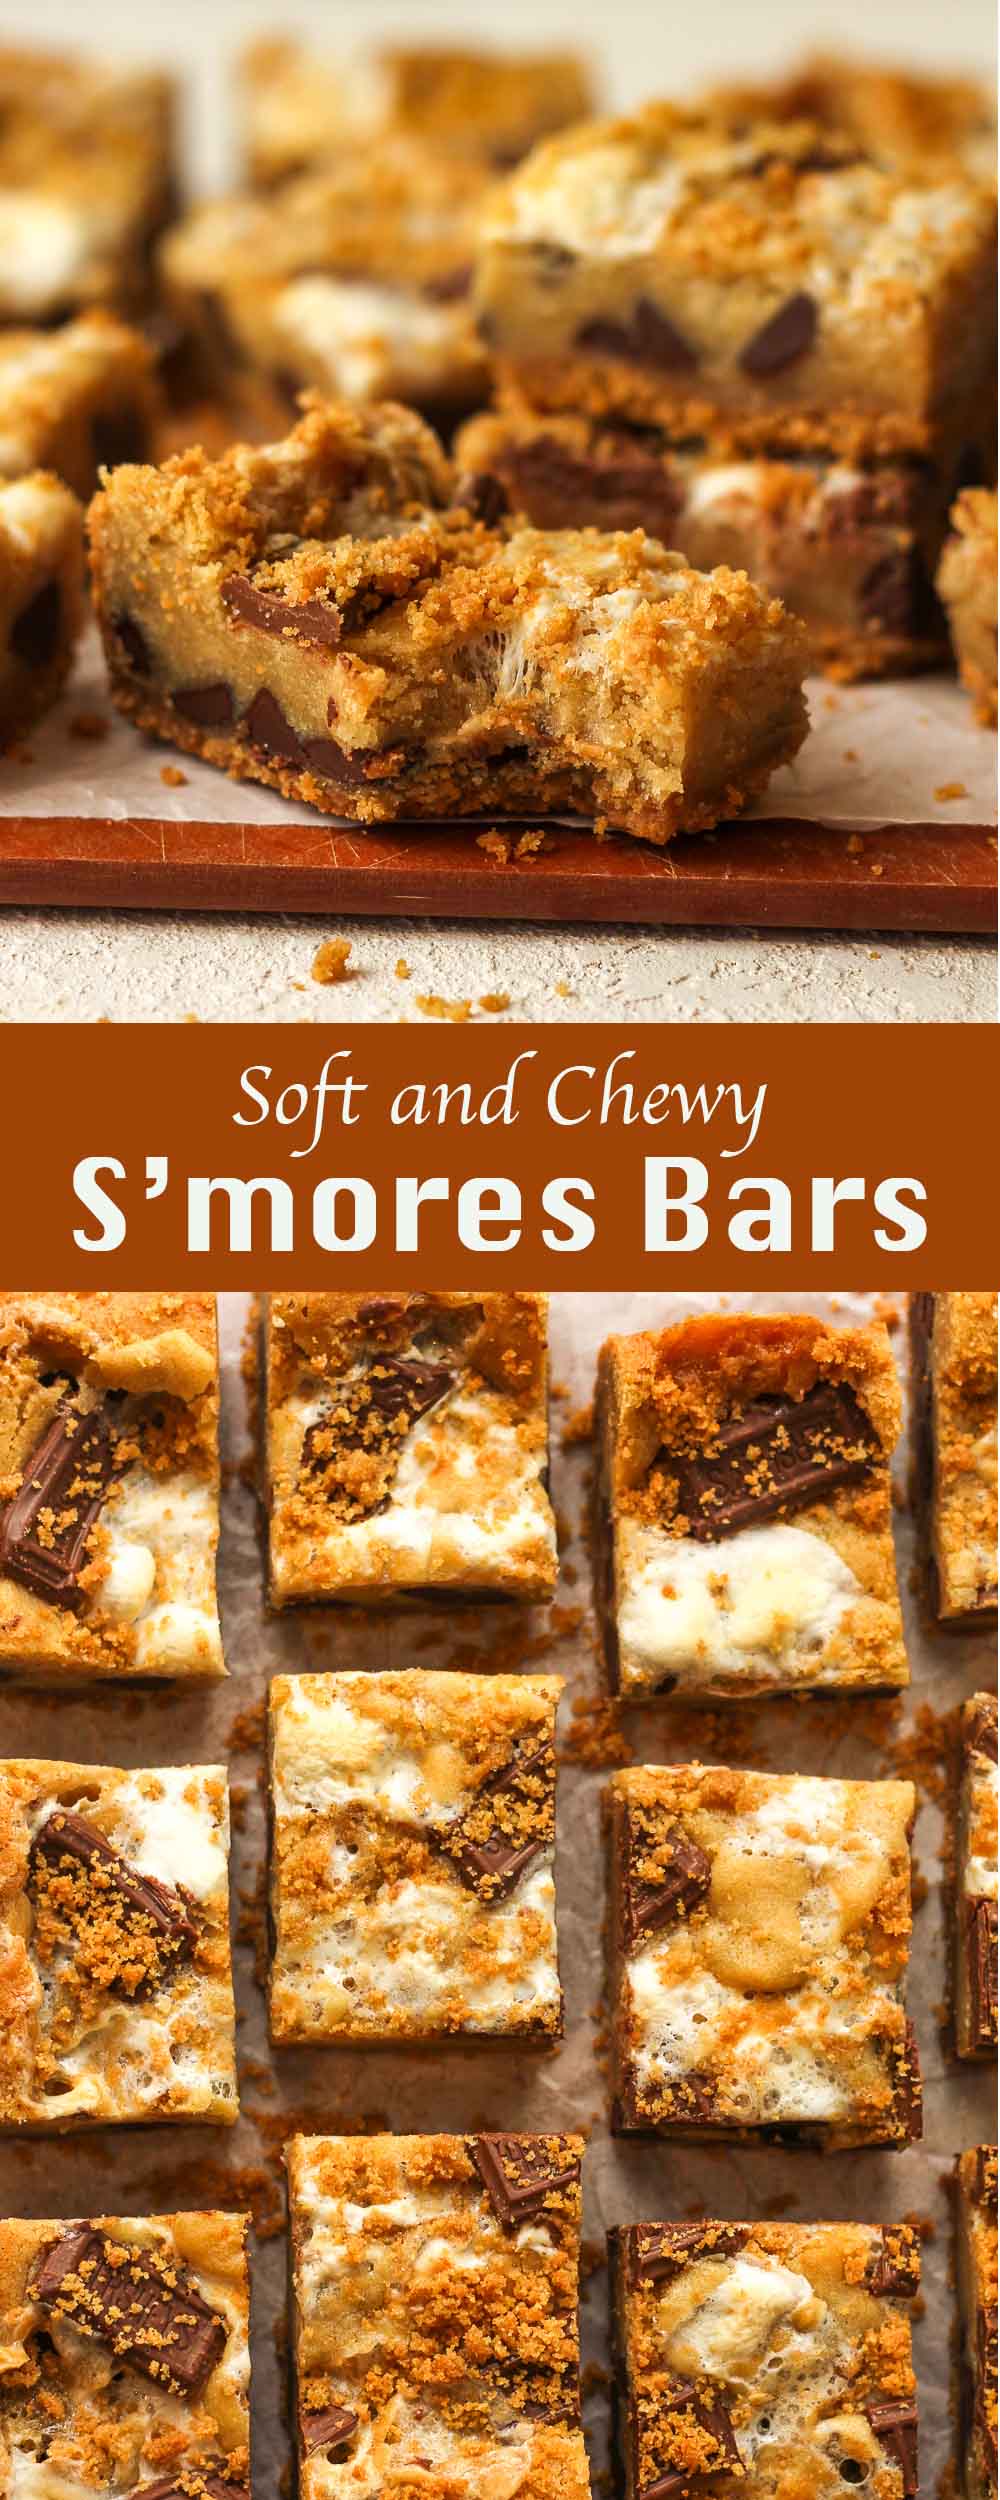
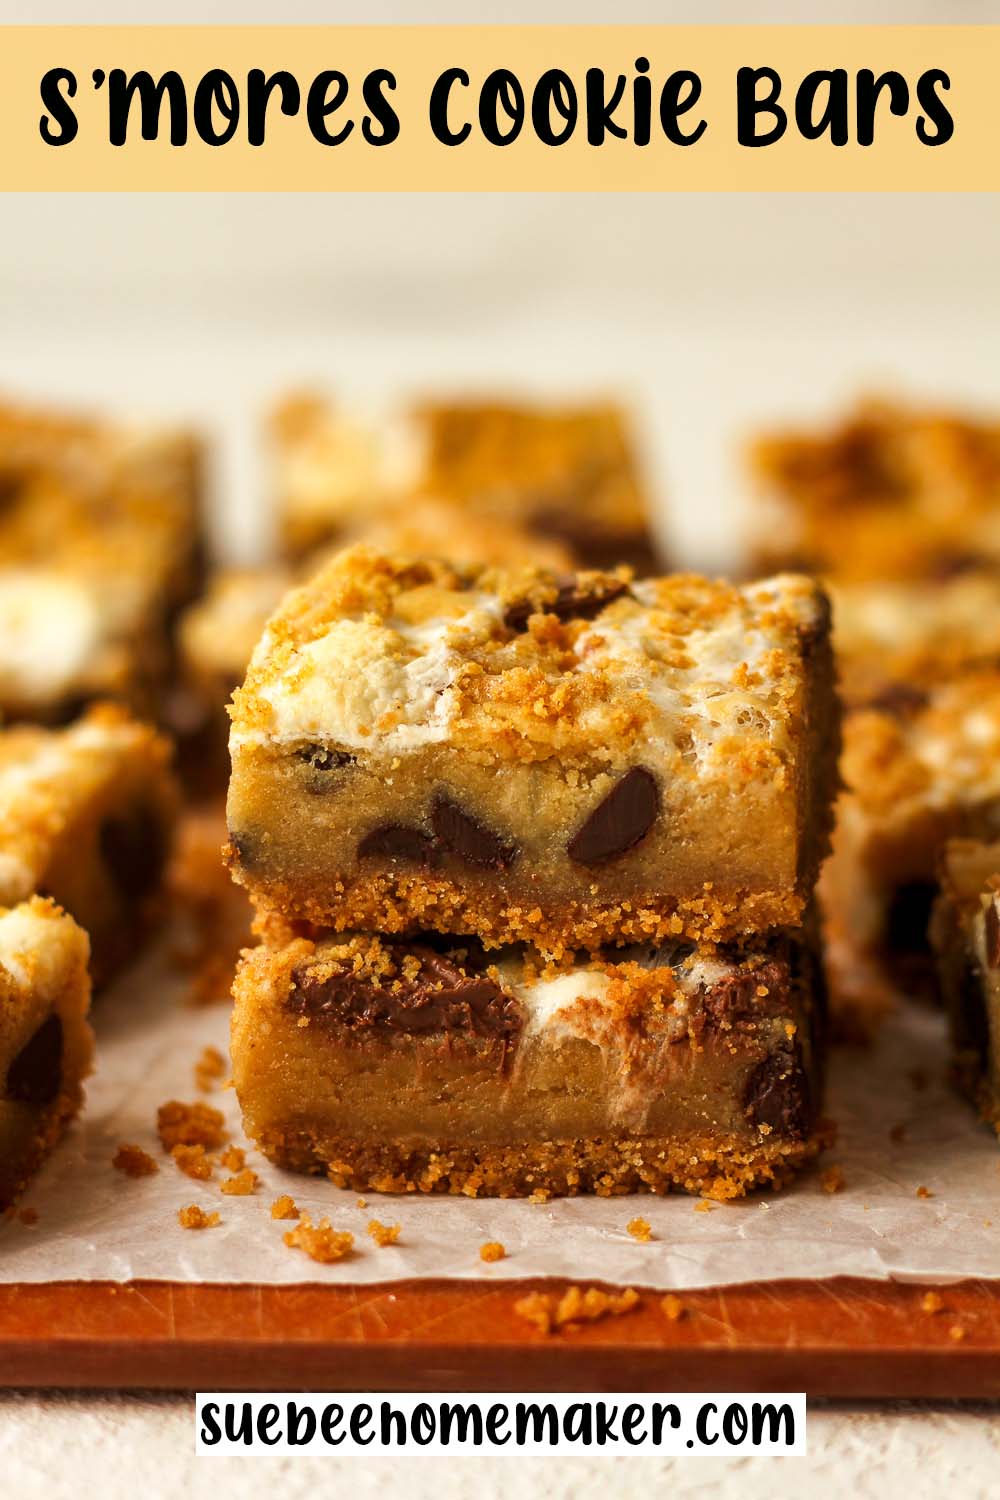
S’mores Cookie Bars are a nostalgic dessert that layers graham cracker crust, rich chocolate, and gooey marshmallows atop a buttery cookie base. Skip the classic campfire s’mores and try them in convenient bar form for a fun treat the whole family will love!
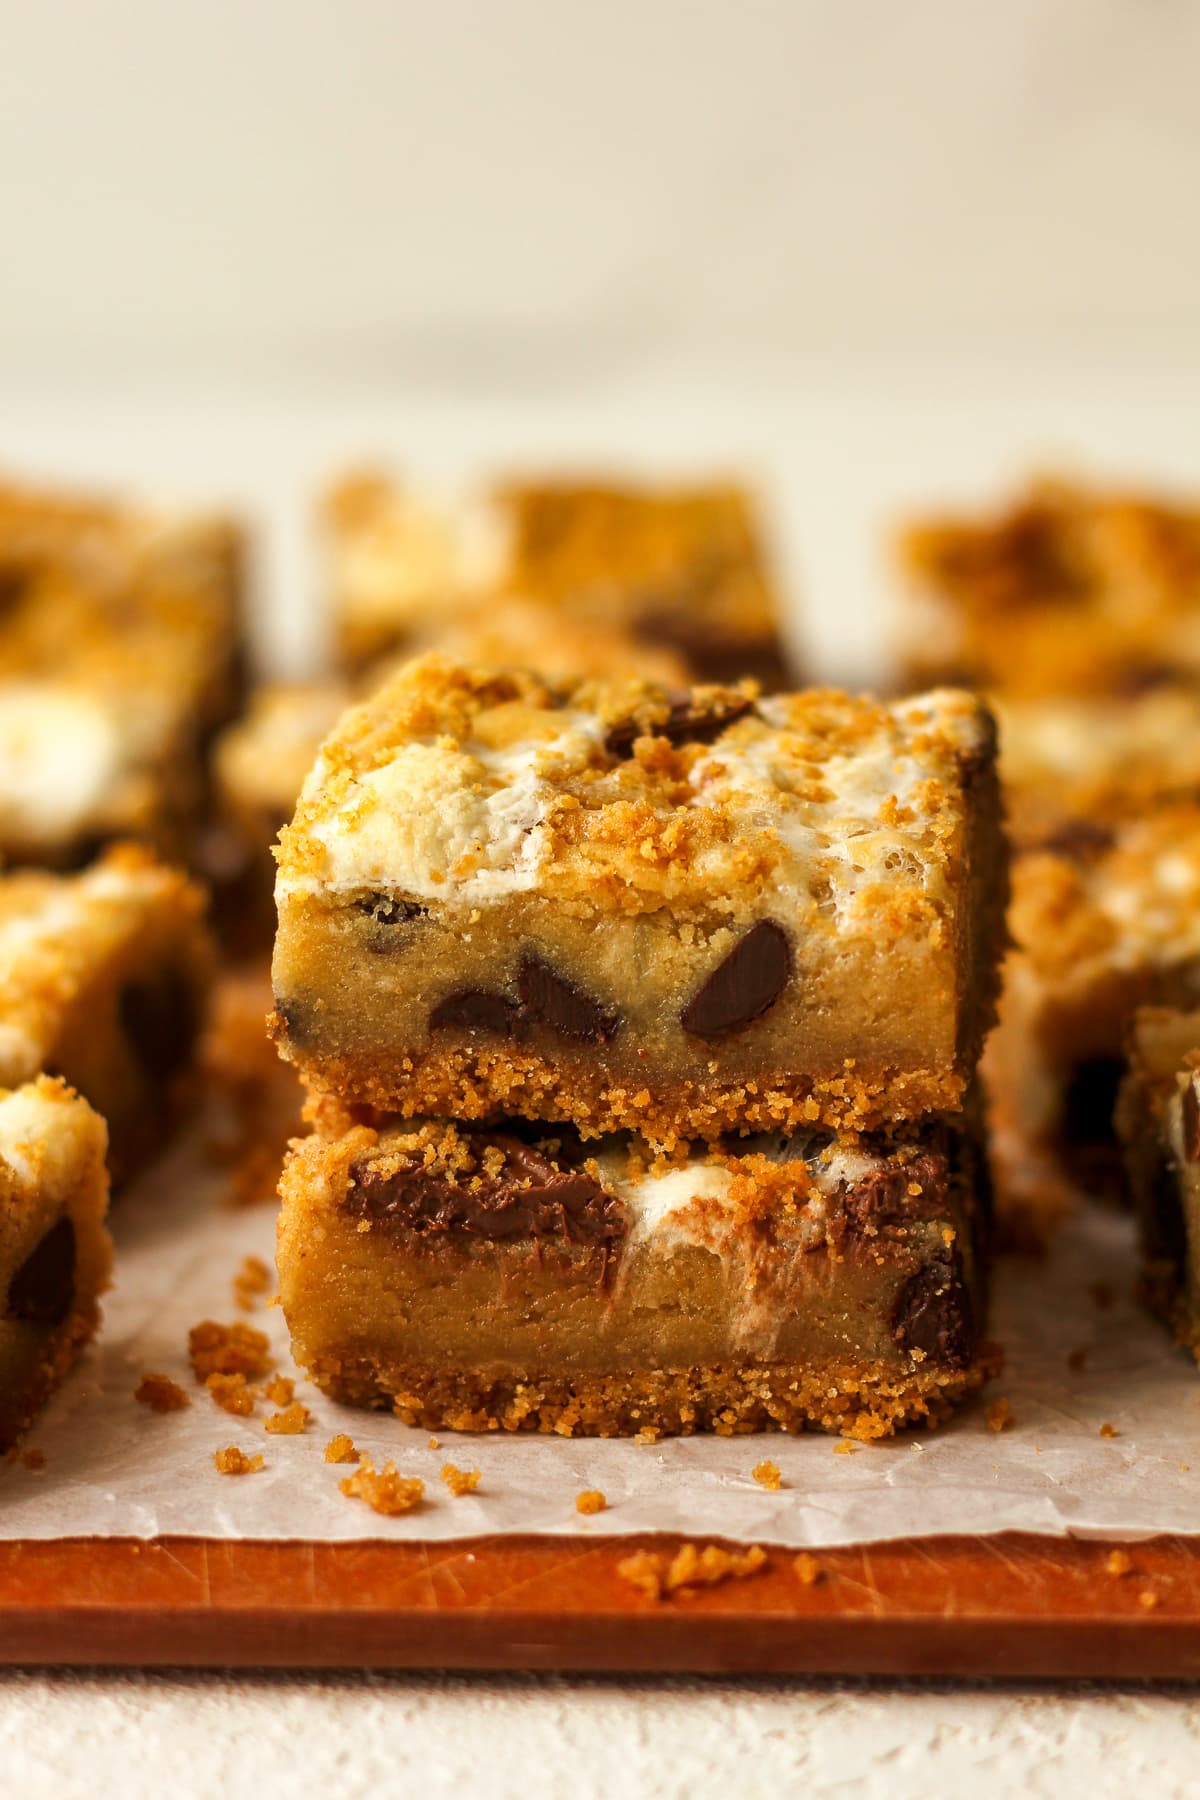
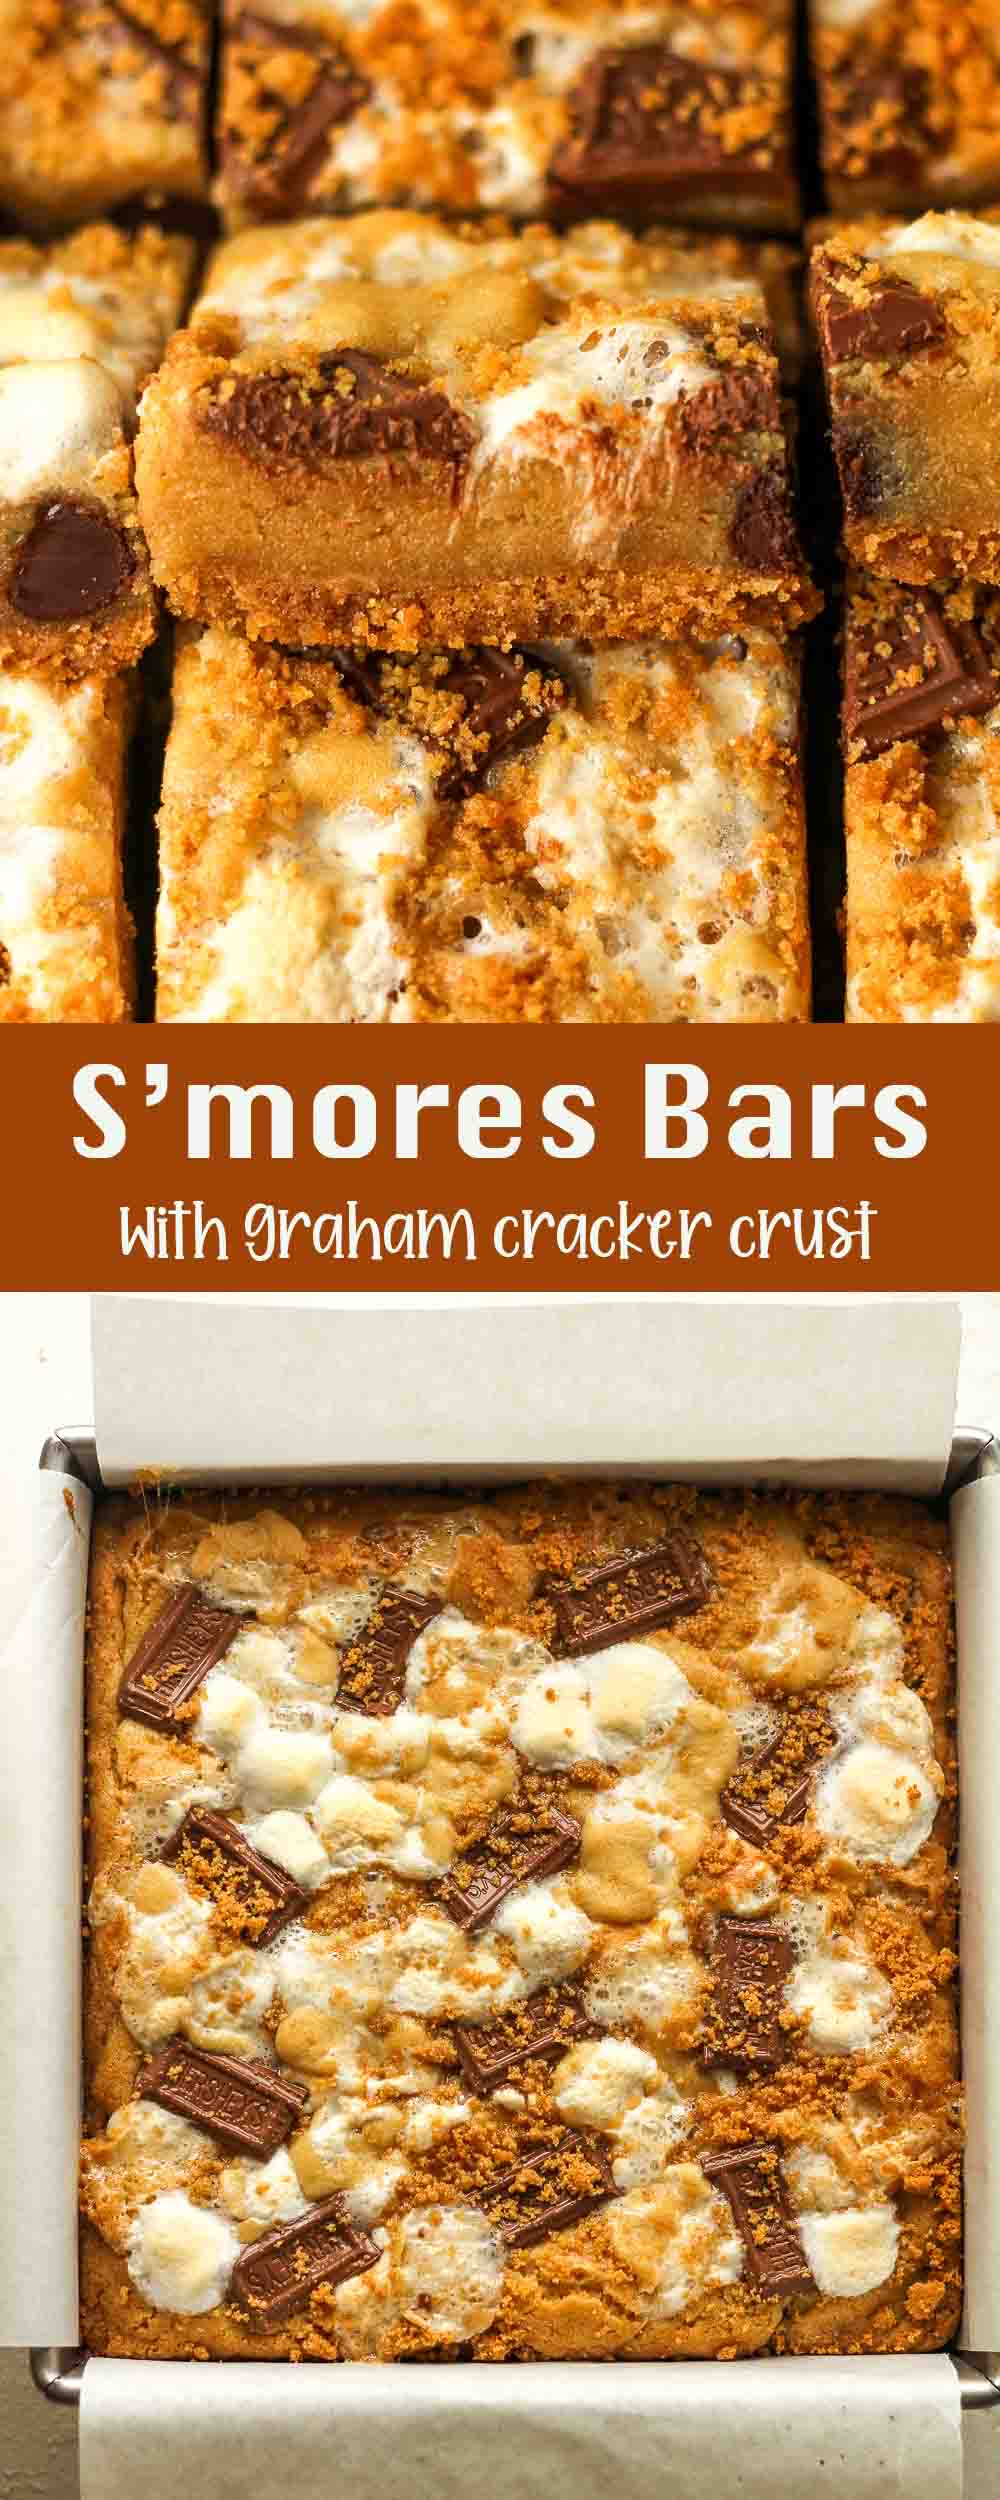
S’mores Bars
Going camping this summer? Have a fire pit at home? Well, these require neither! You can pretend you’re camping and whip up a batch of your favorite s’mores bars right in the comfort of your home. And guess what? They’re WAY better than traditional s’mores!
Yup, I said it. I’ll never enjoy regular s’mores as much after eating these. NO comparison, folks. Restaurants…take note. Those table-side s’mores are no bueno. Make THESE BARS and your guests will order them every single time they dine with you.
You can even take a container of these with you when you camp. Just warm them up over the fire and eat them while they are oooey gooey. Or make a regular old s’more and don’t make me tell you “I told you so”. 😀
Why This Recipe Works:
- SIMPLE TO MAKE – This recipe uses simple ingredients and can be done in around one hour. You’ll bake a simple graham cracker crust and then top it with cookie dough plus lots of chocolate and marshmallows.
- BETTER THAN CAMPFIRE S’MORES – I promise – you’ll love these more than campfire s’mores!
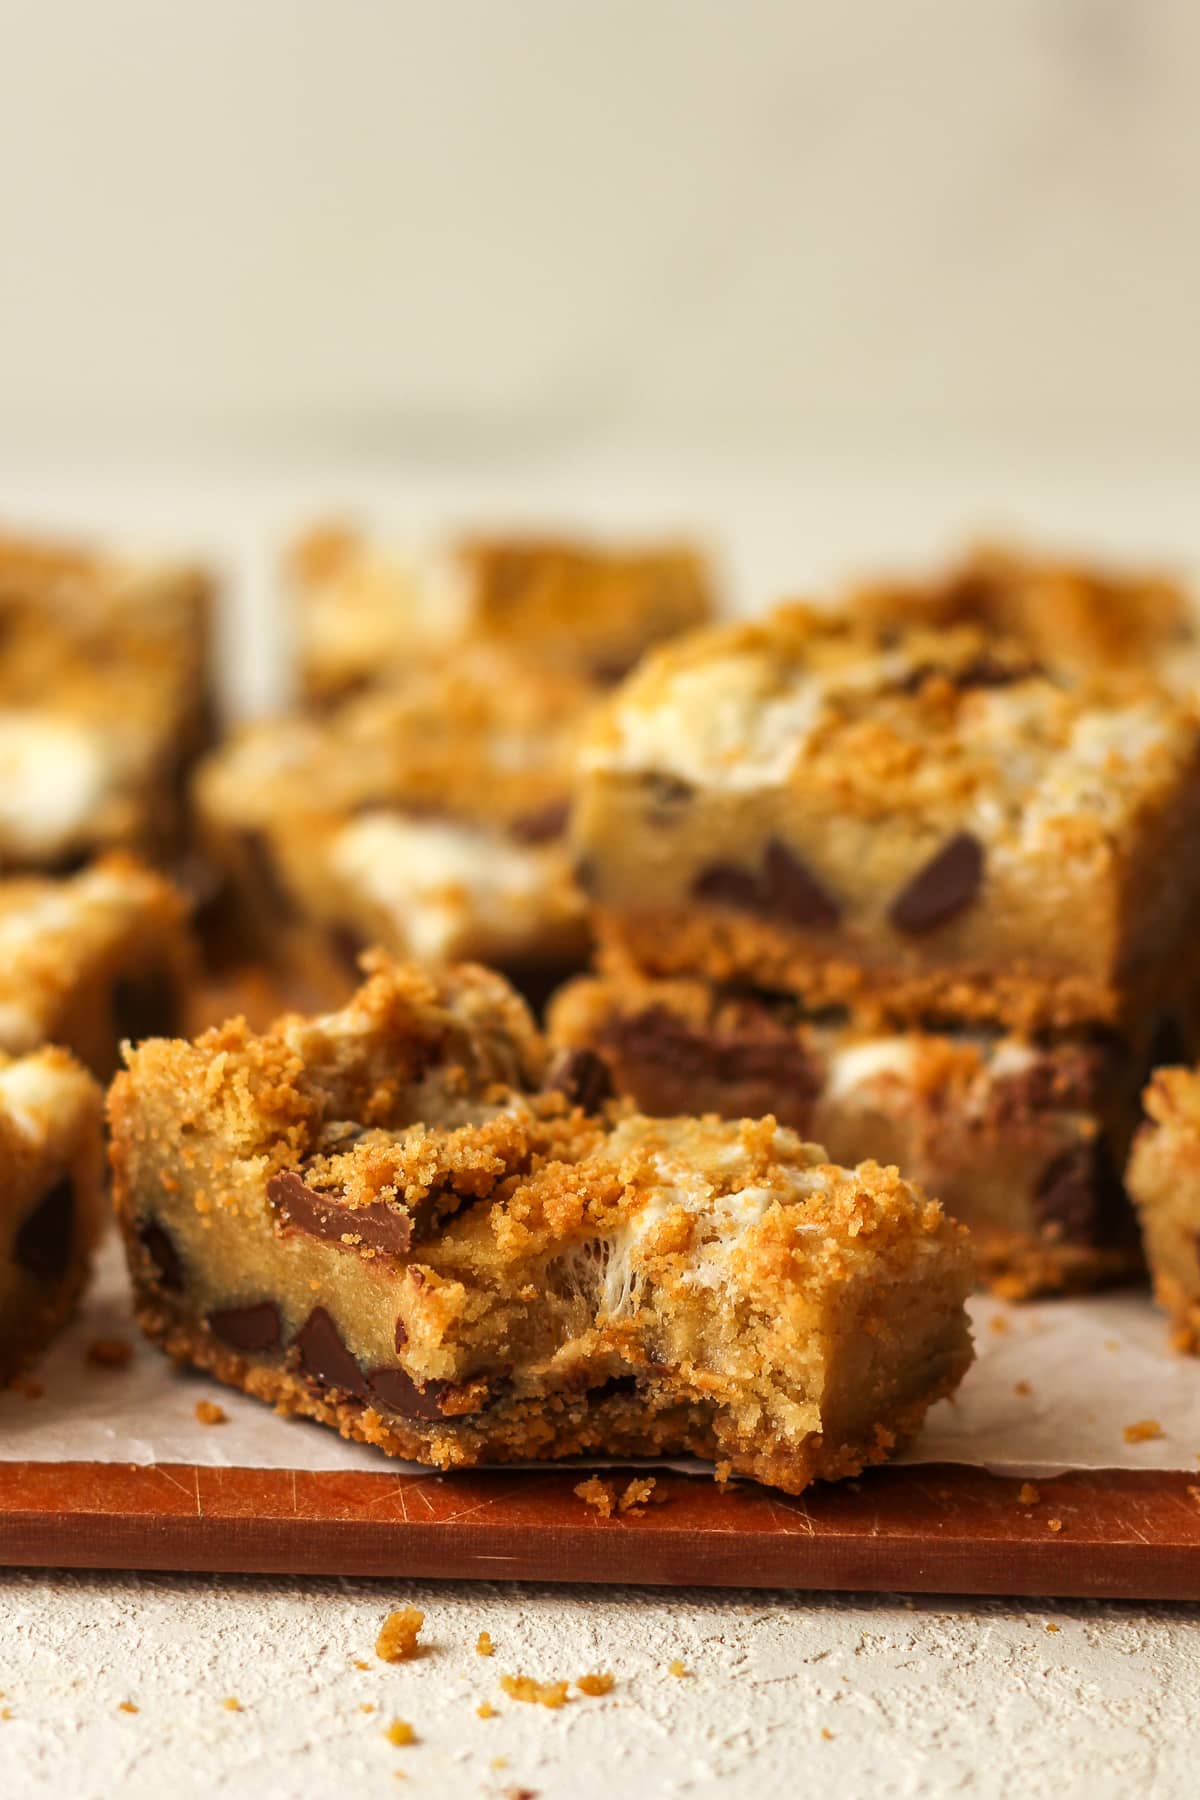
- OOEY GOOEY – You can bake them for longer if you wish, but we like them oooey gooey. Let them sit in the pan to sit up before trying to remove the bars from the pan.
- FREEZE WELL – These bars freeze exceptionally well for up to three months.
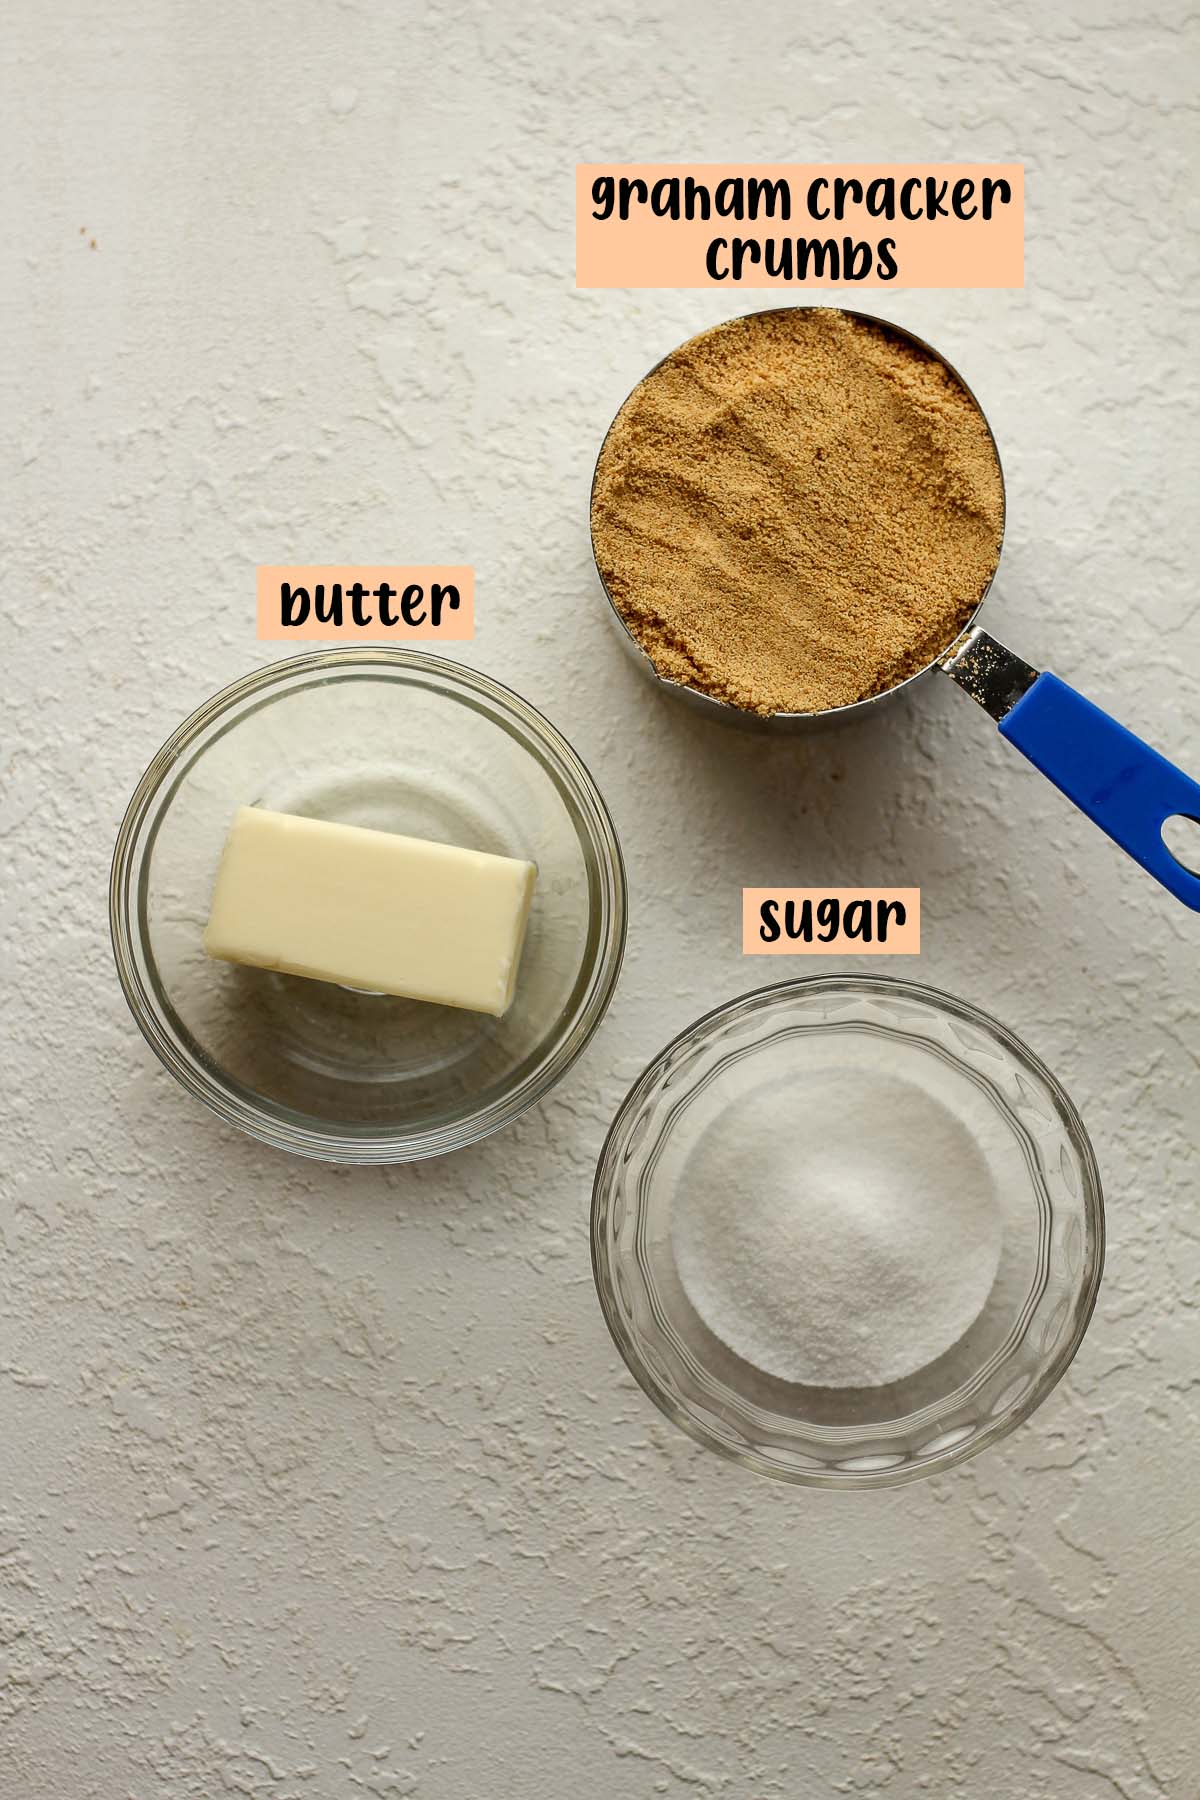
Ingredients Needed for Graham Cracker Crust:
This is the same crust we use in our French Silk Pie, and I cut it down slightly for this recipe. Save a few crumbs for the top of the bars.
- Graham Crackers – One cup of crushed graham crackers is required. You’ll need about 9 whole graham crackers.
- Granulated Sugar – Just two tablespoons are needed to add some sweetener to the crust.
- Unsalted Butter – You’ll need to melt 1/4 cup of butter.
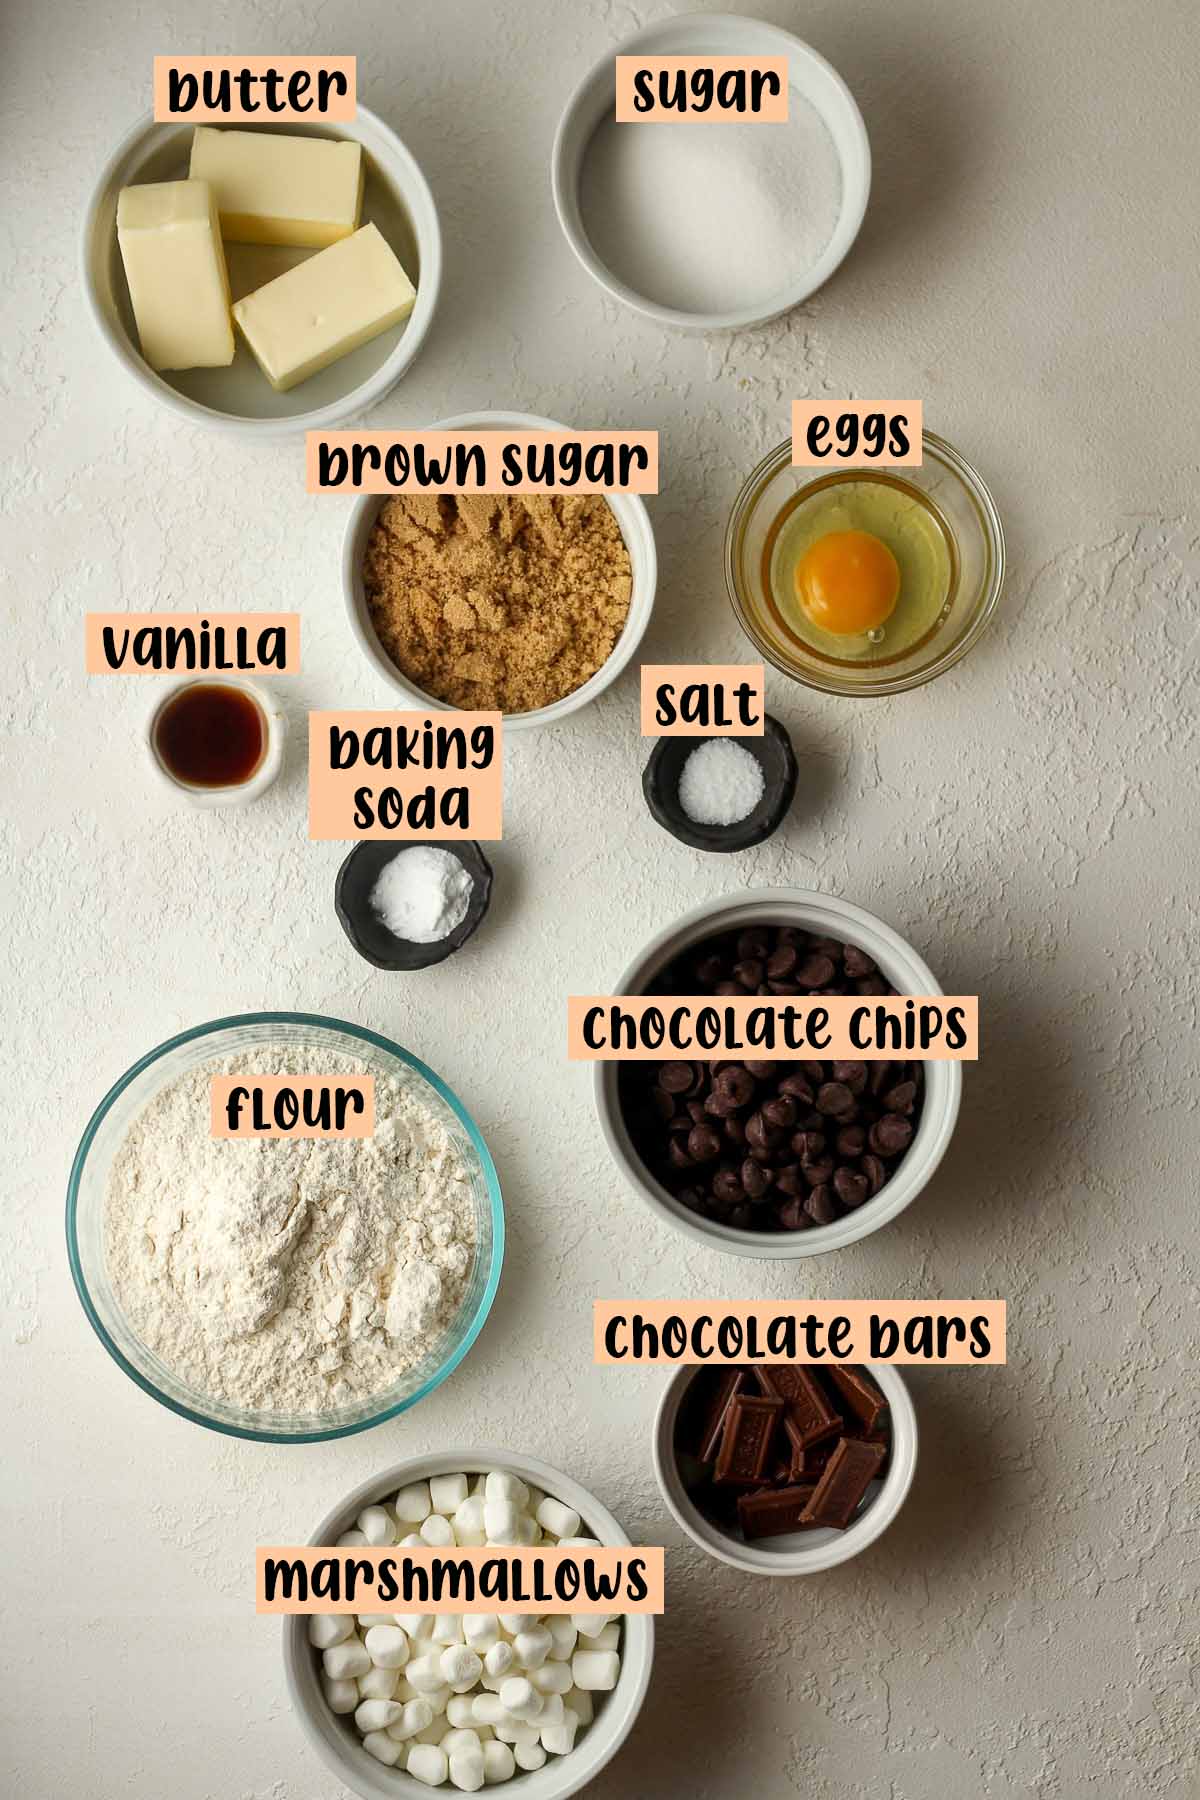
Ingredients for the Cookie Layer:
- Butter – I always go with unsalted butter. Make sure you let it soften to almost room temperature before using.
- Sugar – I used equal parts brown sugar and granulated sugar for the cookie dough.
- Egg – Just one large egg is required.
- Vanilla – I use the Watkin’s Vanilla brand.
- Flour – You’ll need two cups of all-purpose flour for these cookies.
- Baking Soda – Needed to leaven the bars!
- Salt – Just a pinch of kosher salt.
- Marshmallows – You’ll add the mini marshmallows right into the cookie layer. Plus a few extra for the top of the bars!
- Chocolate Chips – I went with dark chocolate chips, but semi-sweet chocolate would be excellent as well.
- Chocolate Bar – Adding one full-sized chocolate bar to the top of the cookie layer makes these picture-perfect!
How to make S’mores Cookie Bars:
Step 1
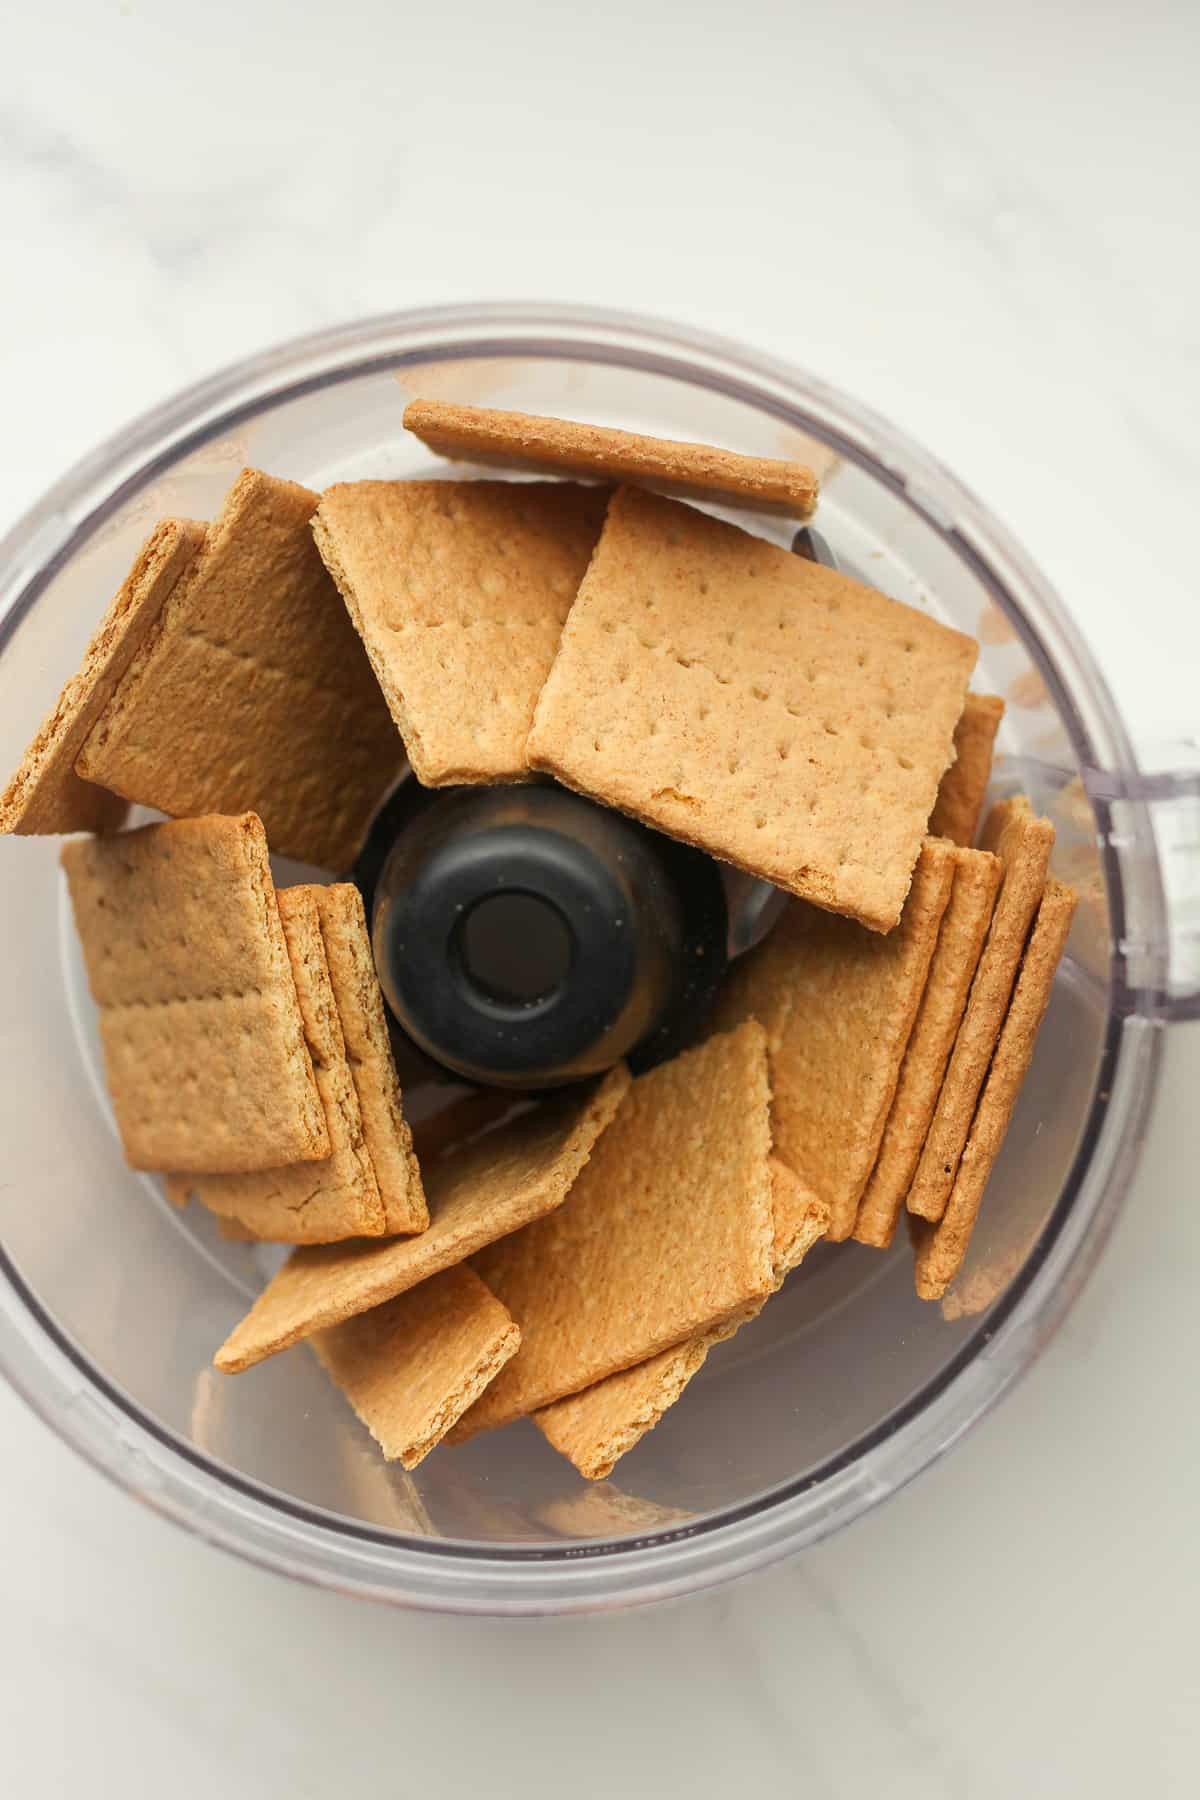
Crush graham crackers. Use a food processor to crush the graham crackers into crumbs. You’ll need one cup for the crust.
Step 2
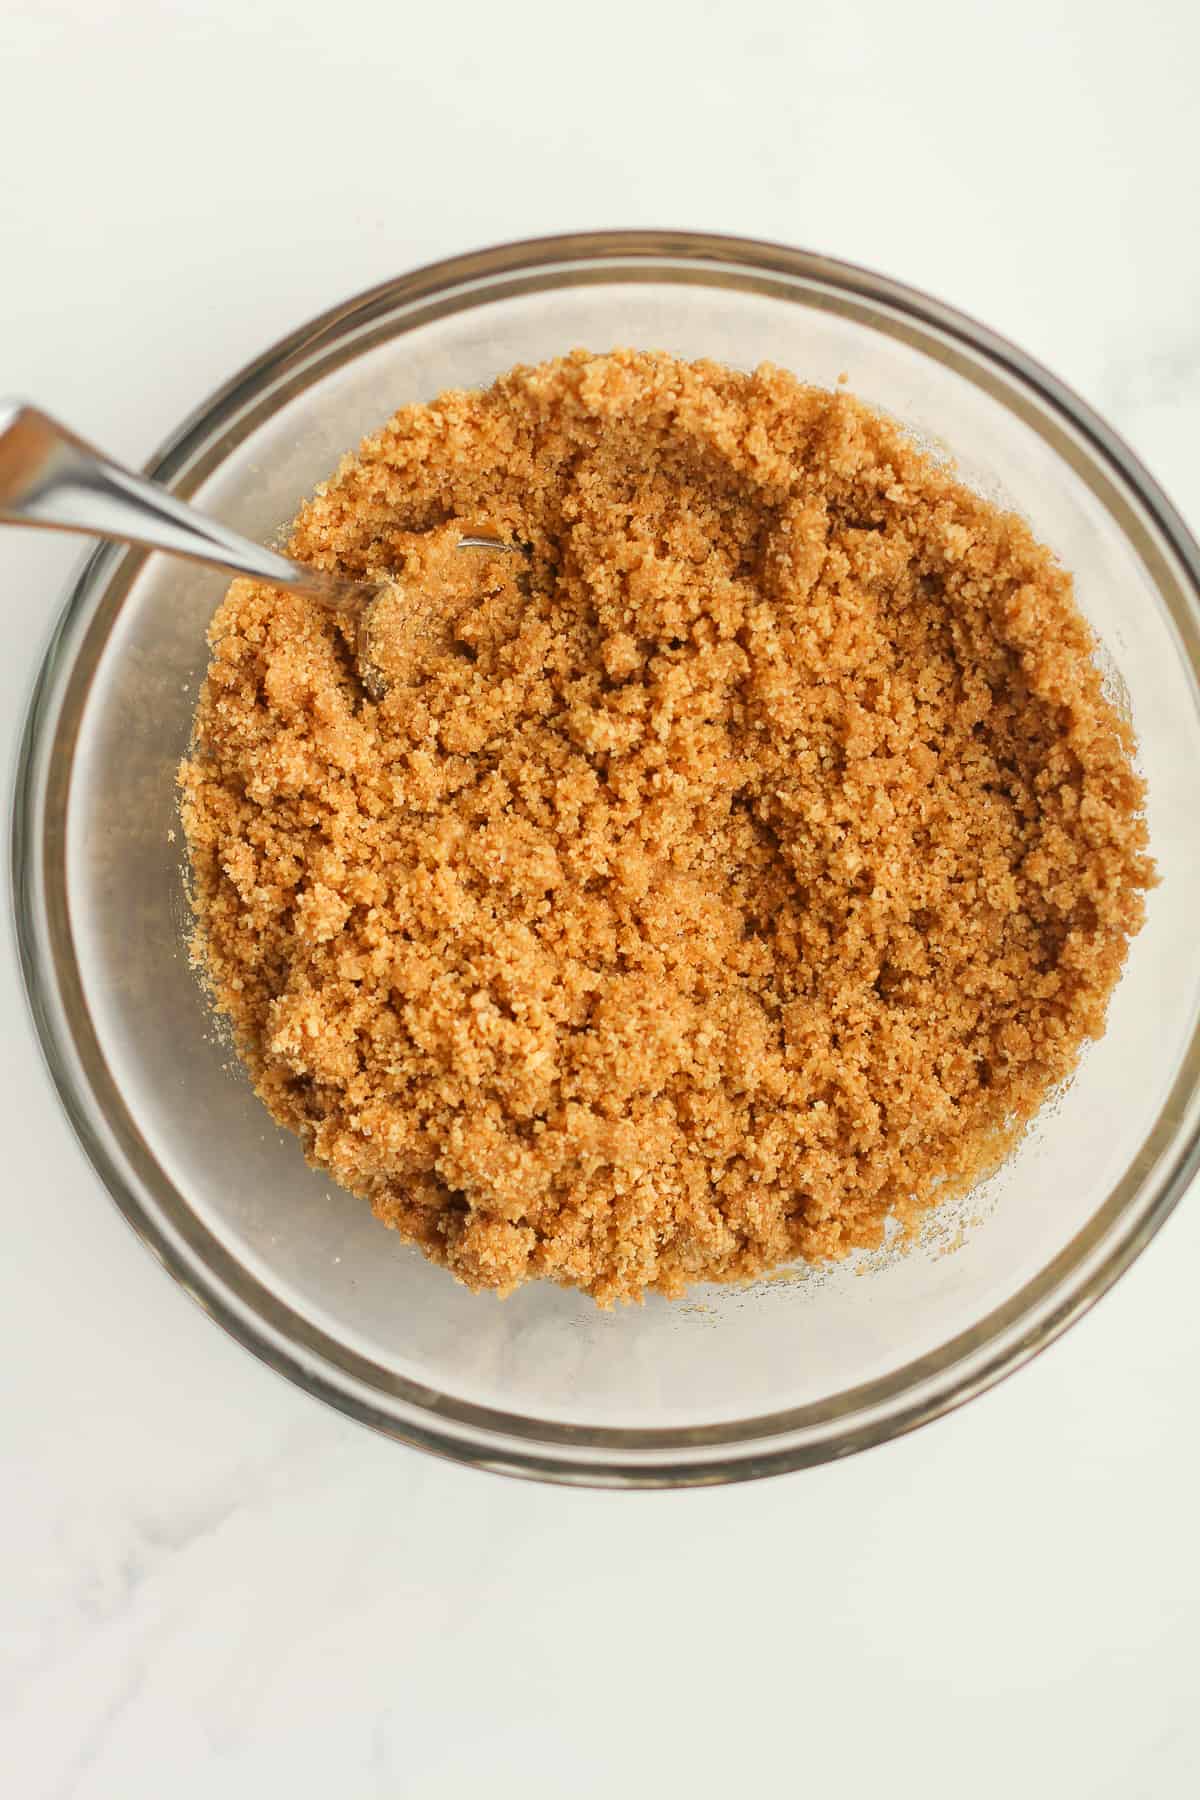
Combine crust ingredients. Combine the crushed crackers, sugar, and melted butter to a bowl. Stir to combine.
Step 3
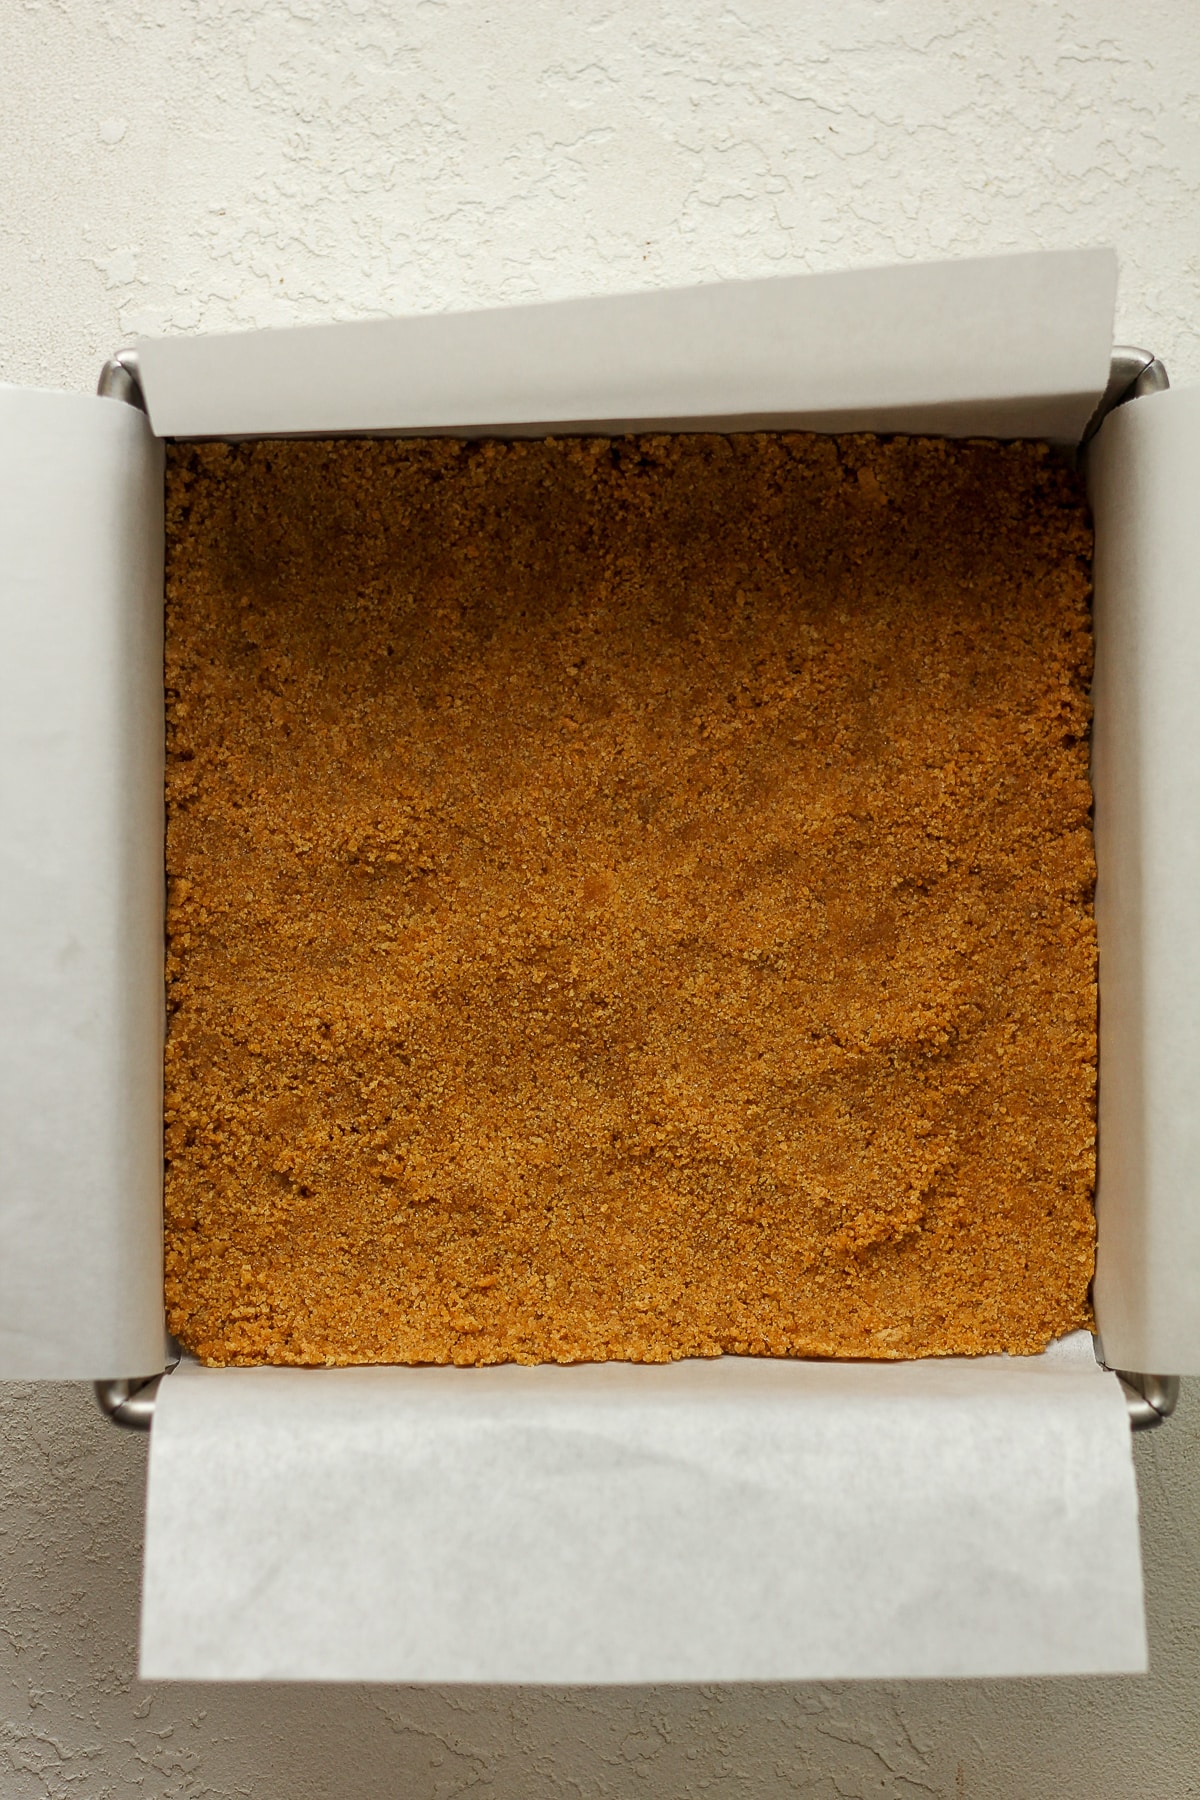
Add crust to 8×8 pan. Press graham cracker crumbs into a square pan prepared with parchment paper.
Step 4
Bake crust. Bake in a preheated 350-degree oven for six minutes to set.
Step 5
Make cookie layer. Using a large standing mixer (or a hand mixer), cream together the butter and sugars. Add the egg and vanilla and mix again. Add dry ingredients – flour, baking soda, and salt and mix until combined.
Step 6
Add goodies. Then add the mini marshmallows and chocolate chips, and stir with a spatula.
Step 7
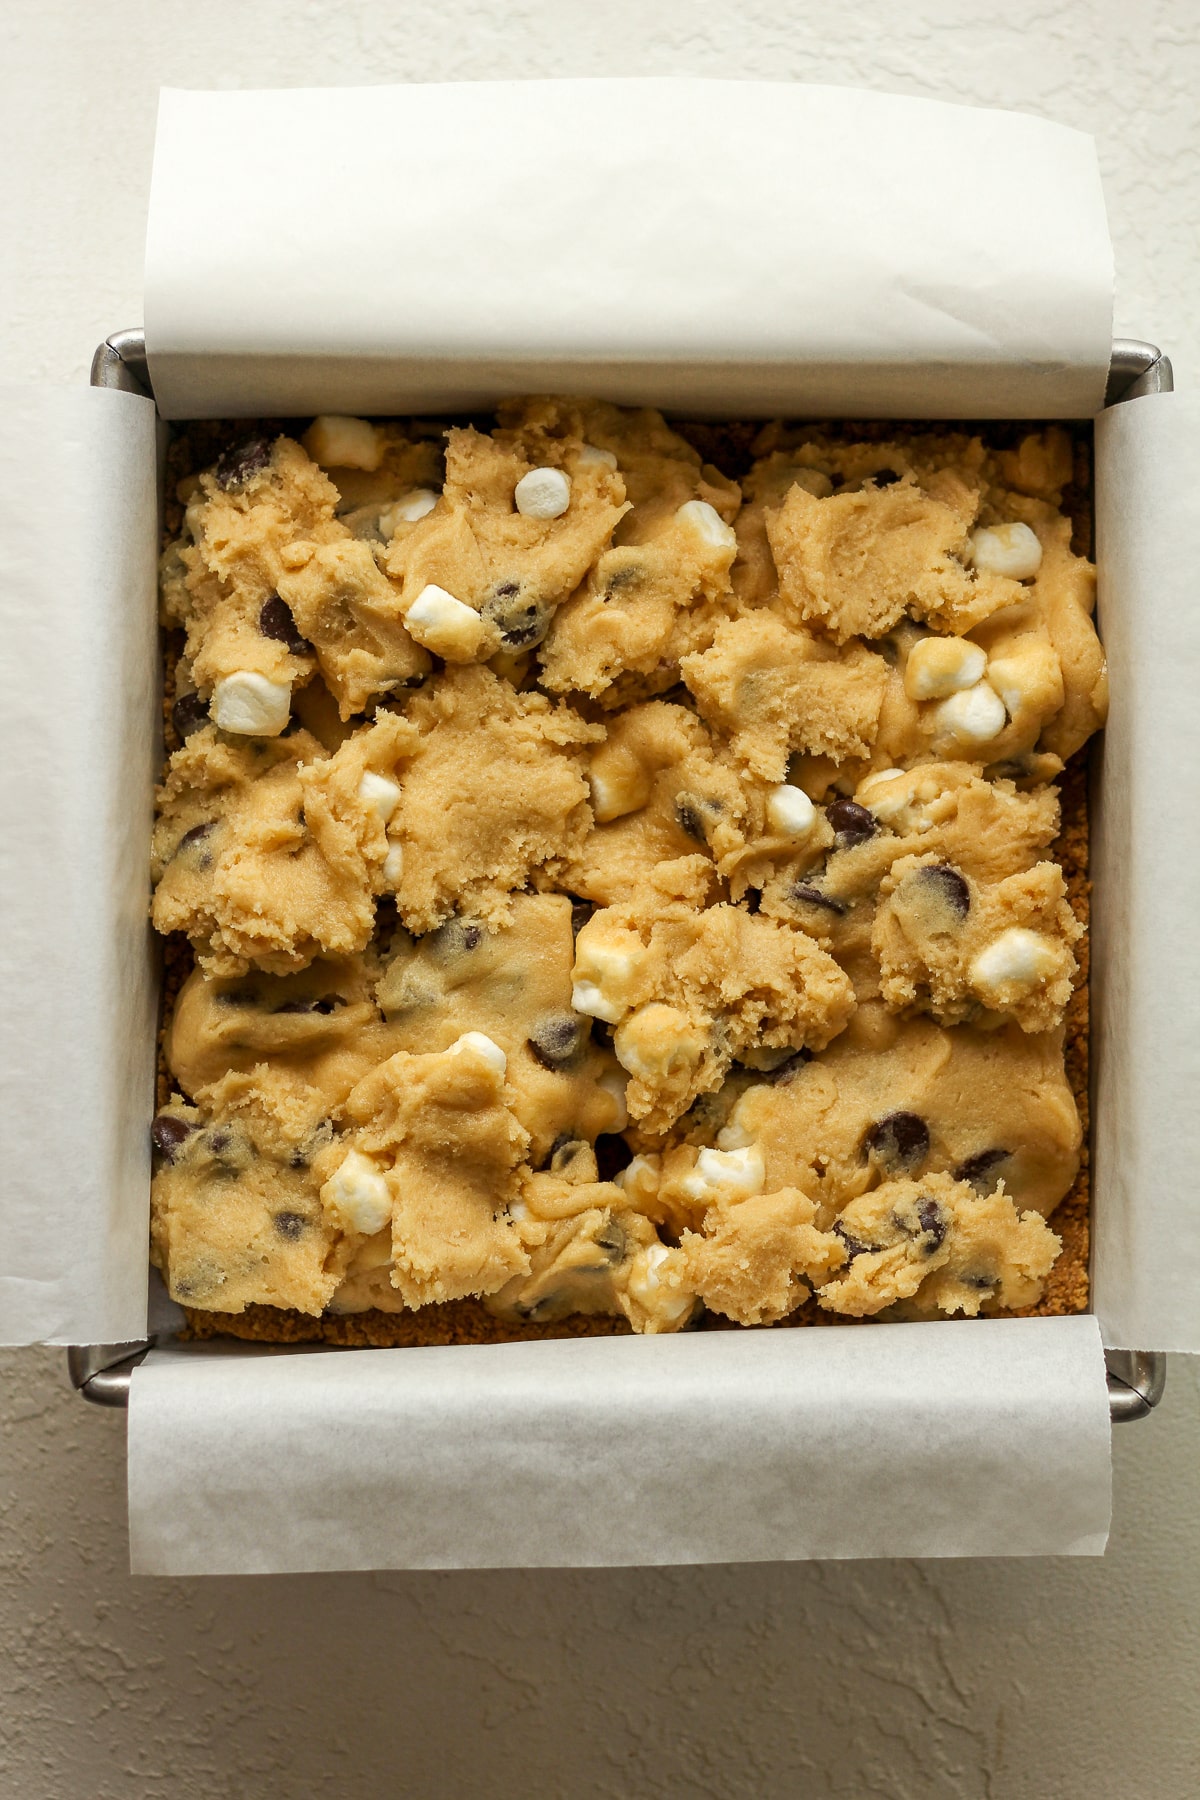
Add batter to pan. Carefully, drop cookie batter by spoonful onto the baked graham cracker crust. I use my hands so I can more easily leave the crust intact.

Step 8
Bake. Bake for 20 minutes and remove momentarily to add additional ingredients.
Step 9
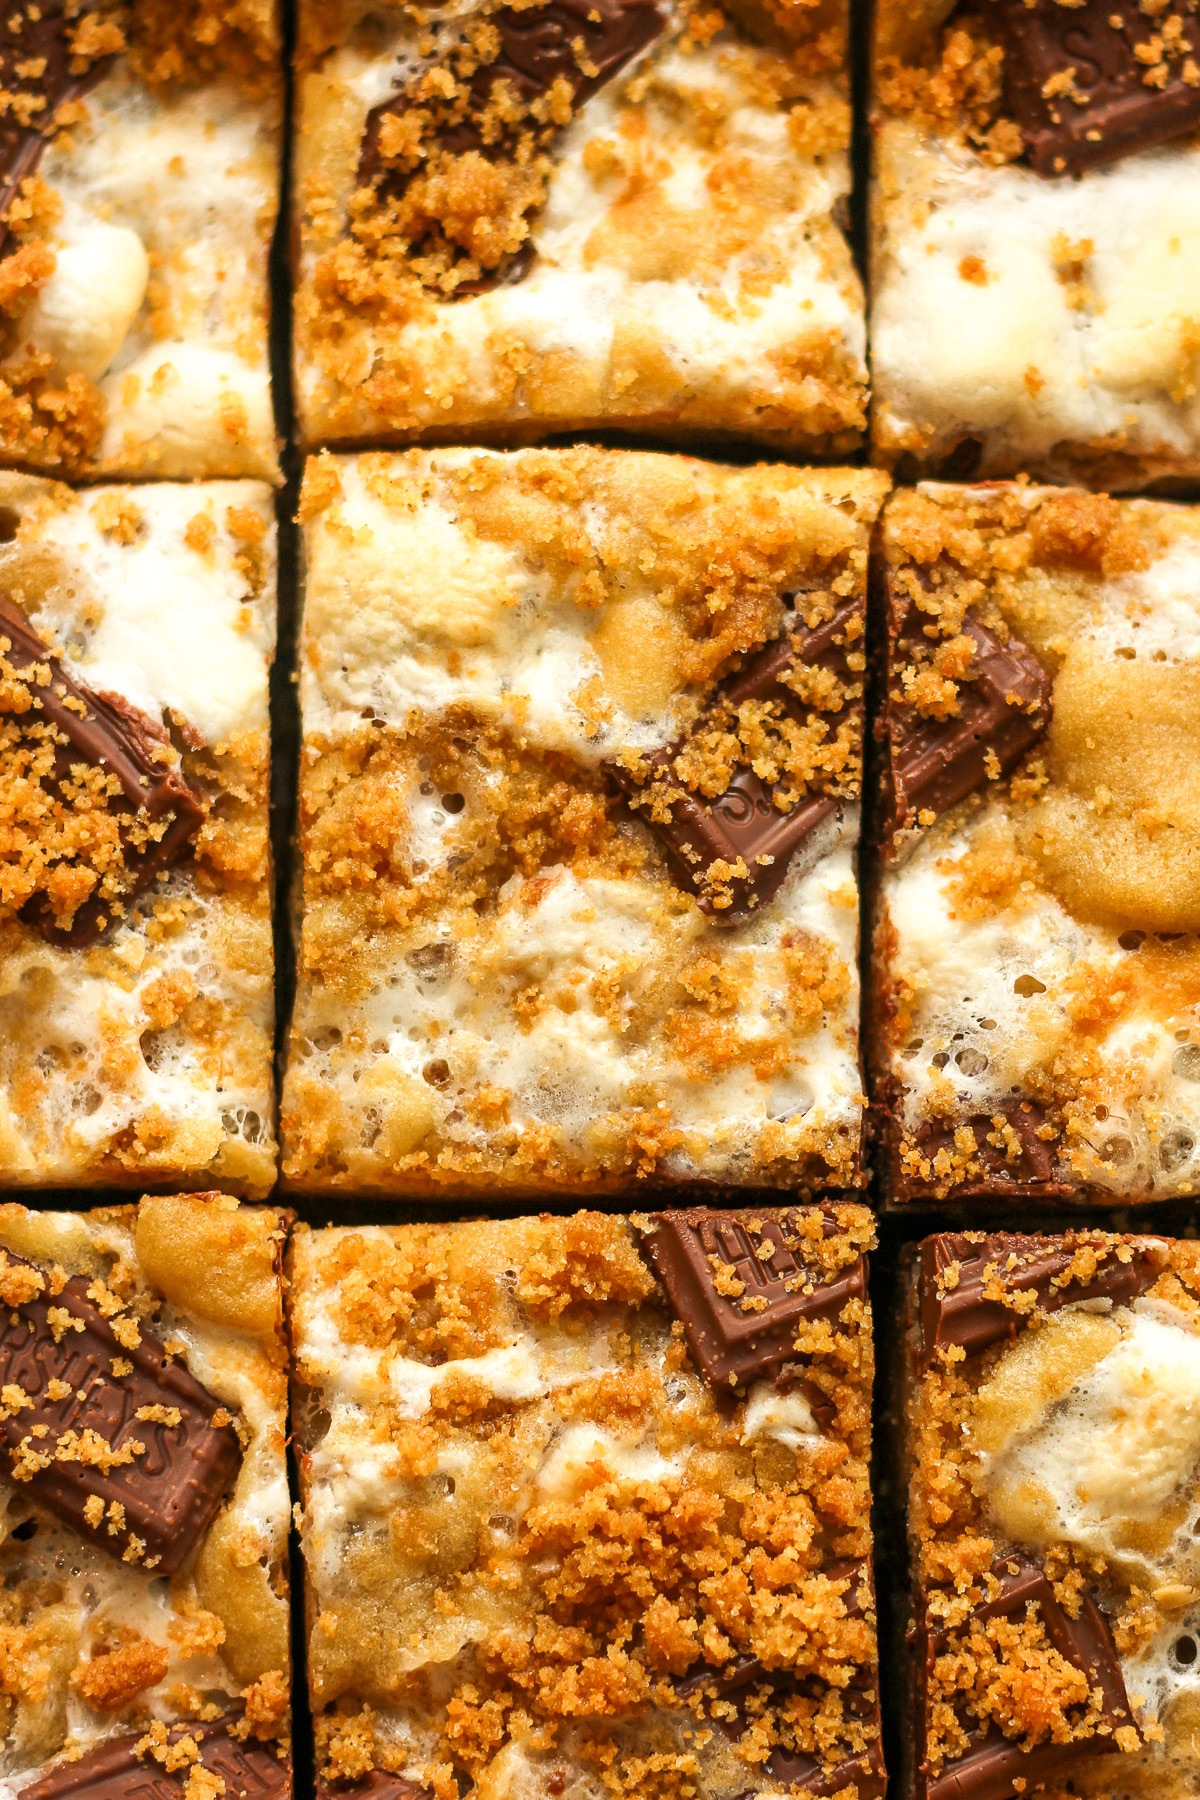
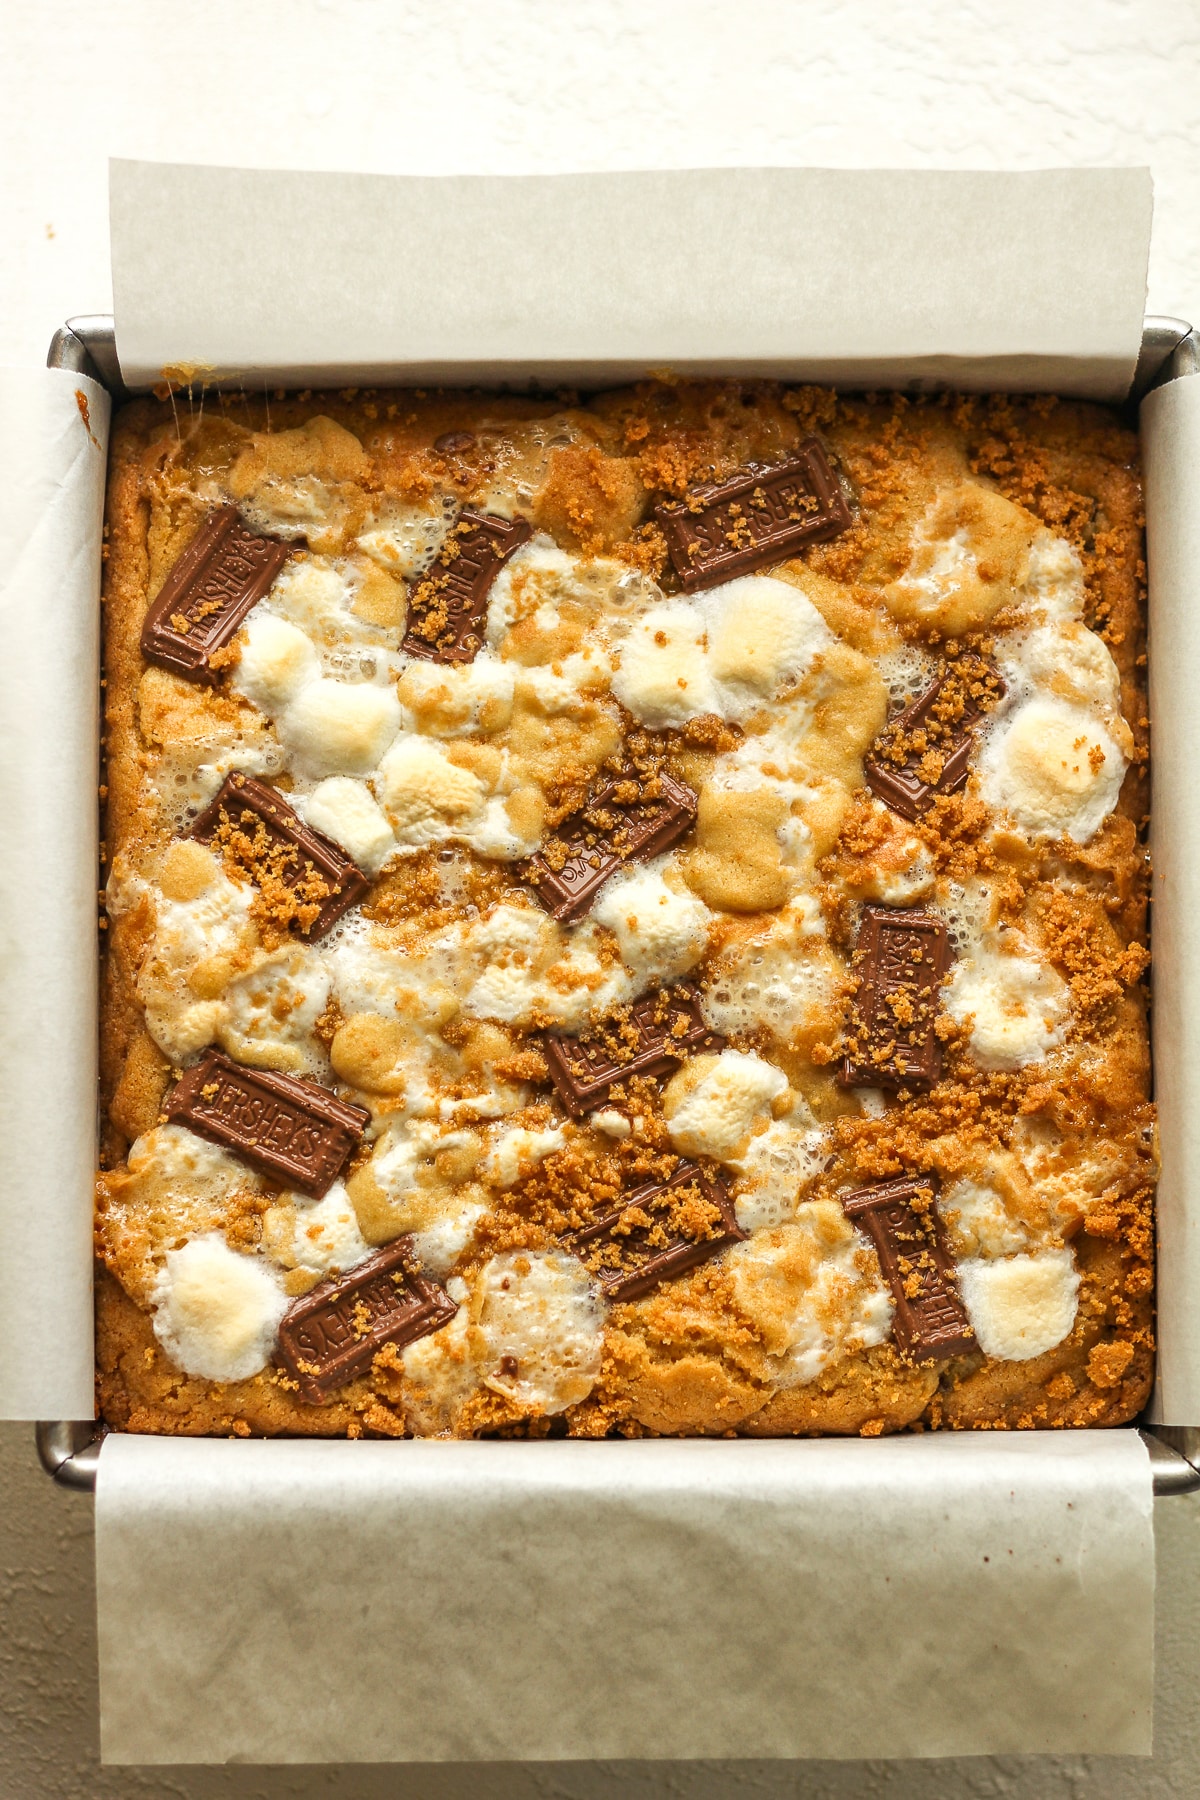
Add more goodies. Add the chocolate squares to the top of the cookie layer, along with another handful of mini marshmallows. Then sprinkle some reserved graham cracker crumbs on the top!
Step 10
Bake again. Bake for an additional 8-10 minutes, or until it’s done to your liking. The insides will be slightly gooey, which is a good thing!
Step 11
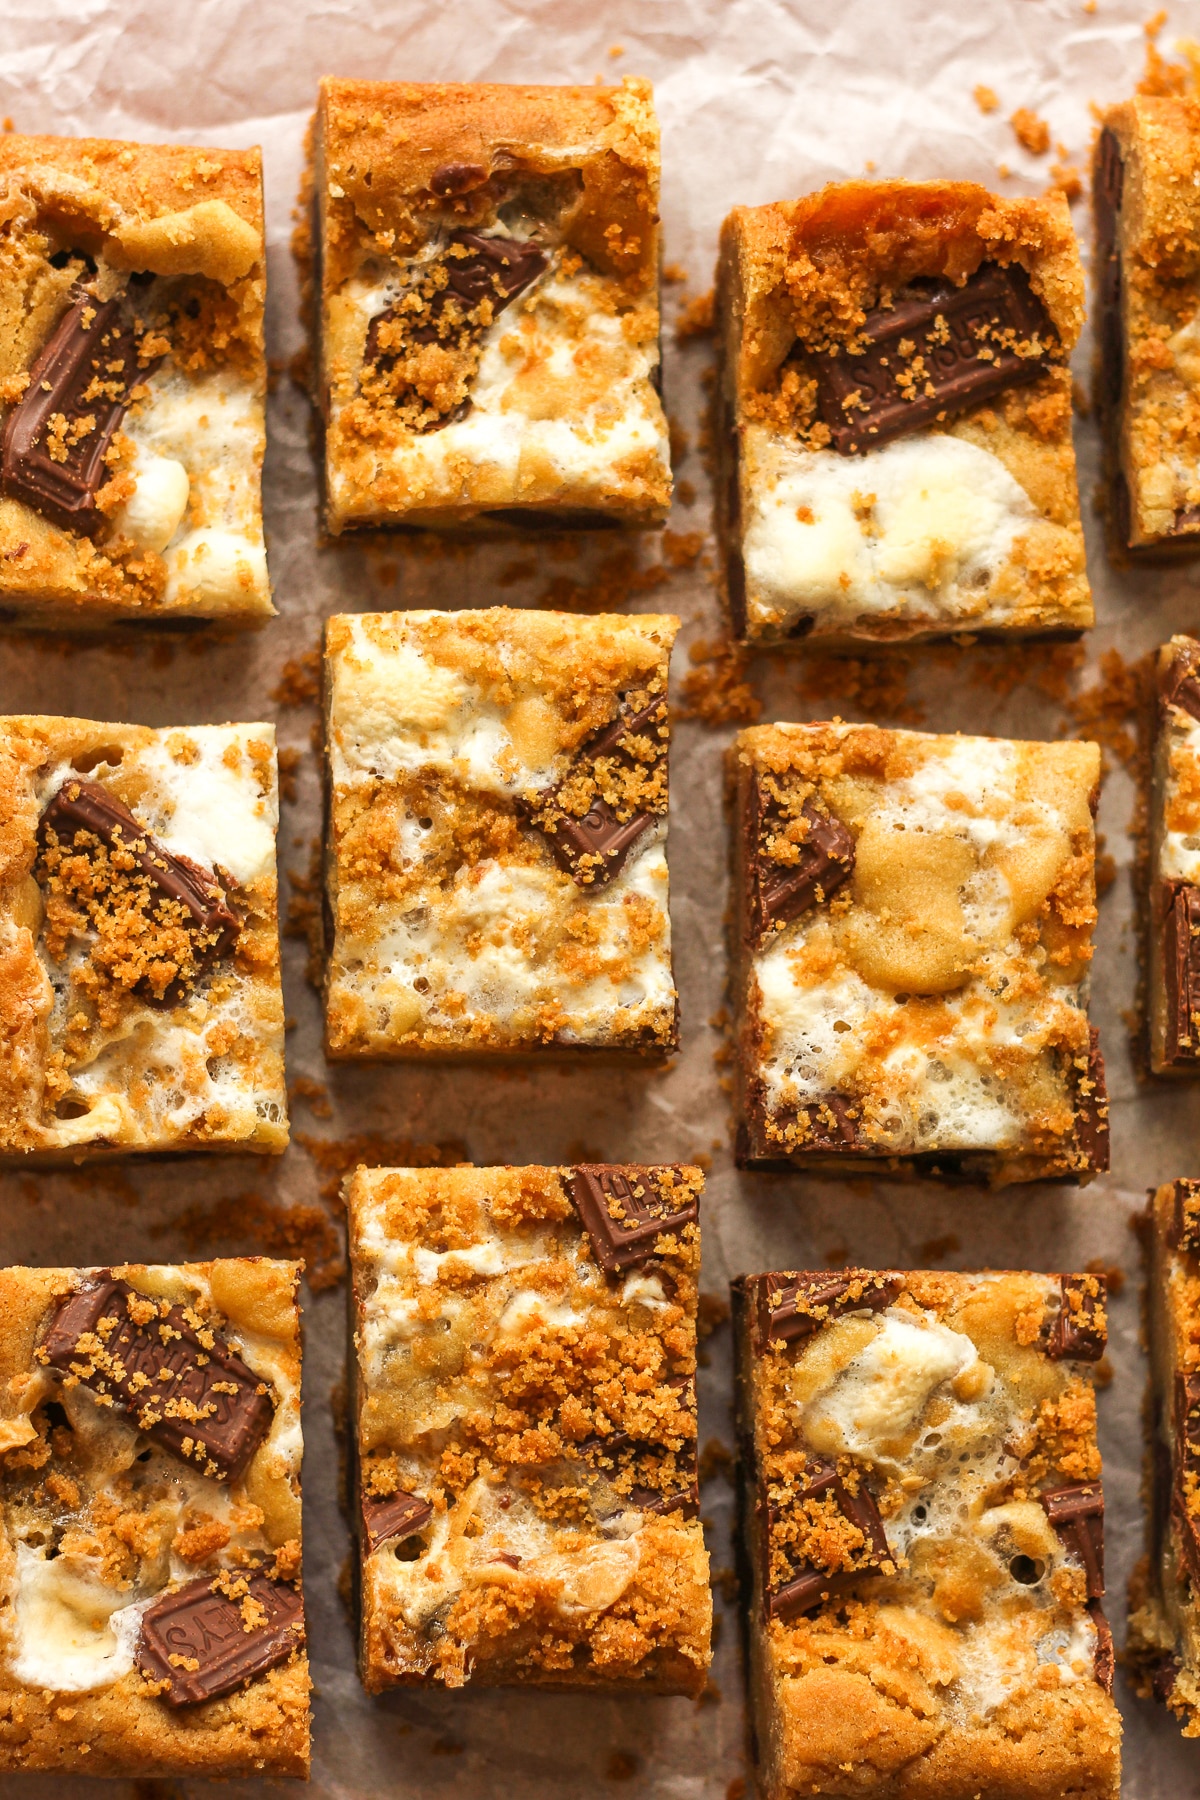
Let sit. Letting the s’mores bars sit in the pan will allow them to sit up a bit (about 10 minutes). Then carefully remove the bars using the parchment paper as handles. Place on a cooling rack.
Step 12
Serve. Serve the bars warm or let them sit longer, allowing them to firm up even more.
Storing and Freezing:
- Storing – Place bars in an airtight container and store on the counter for three to four days.
- Freezing – You can freeze these for up to three months. But I suggest either eating them or sharing them with neighbors and friends instead! I actually love sending goodies to Mike’s work and they get devoured quickly.
Tips for the best S’mores Bars:
- Using a graham cracker crust is worth the extra step. That buttery crust will not go unnoticed! And reserving some crumbs for the tops is 10/10.
- Set a timer! When baking the cookie layer, make sure you set a timer so you can remove the pan, add more toppings, and continue baking. This is key to the look, and it’s worth it as well.
- Don’t forget to add parchment paper to the pan. This makes it way easier to pull the bars out of the pan without messing them up. You’ll be glad you did!
- Bake to your liking. If you like less gooey, bake these for slightly longer. If you like them gooey, follow my directions. 😀
- Serve with milk or hot chocolate. Depending on the time of year, I suggest you pour either a large glass of milk or a cup of hot cocoa. Super fun!
I’m personally not much for camping. But if I were, I’d be taking some of these along to enjoy around a campfire. I might share a few as well.
More Delicious S’mores Recipes:
These recipes come from fellow food blogger friends – all of which I highly recommend!
Kitchen Tools Used: (affiliate links)
xoxo ~Sue
S’mores Cookie Bars
Ingredients
For the graham cracker crust:
- 1 cup graham cracker crumbs – crushed in food processor or rolling pin
- 2 Tablespoons granulated sugar
- 1/4 cup unsalted butter – melted
Cookie bar – wet ingredients:
- 3/4 cup unsalted butter – softened to almost room temp
- 1/2 cup brown sugar (110 grams)
- 1/2 cup granulated sugar (100 grams)
- 1 large egg
- 2 teaspoons vanilla
Cookie bar – dry ingredients:
- 2 cups all-purpose flour (240 grams)
- 1 teaspoon baking soda
- 1/2 teaspoon kosher salt
- 1 cup chocolate chips
- 1 ¼ cup mini marshmallows
- 1.55 oz. milk chocolate bar – Hershey's (one full sized bar)
- plus a few more marshmallows for the top
Instructions
Make graham cracker crust:
- Preheat oven to 350 degrees.
- Use a food processor to crush the graham crackers into course crumbs. Add to a bowl and add melted butter and sugar. Stir to combine.
- Press the crumb mixture into a square 8×8 pan lined with parchment paper. Bake for 6 minutes to "set" the crust slightly. It will continue to bake with the cookie layer.(Save a couple of tablespoons of the crumb mixture for the top of the bars.)1 cup graham cracker crumbs, 1/4 cup unsalted butter, 2 Tablespoons granulated sugar
Make cookie layer:
- Use a large standing mixer (or a hand mixer) to cream together the butter and sugars. Add the egg and vanilla and mix again.3/4 cup unsalted butter, 1/2 cup brown sugar (110 grams), 1/2 cup granulated sugar (100 grams), 1 large egg, 2 teaspoons vanilla
- Add the dry ingredients (flour, baking soda, and salt) to a separate bowl and mix. Then pour into the wet ingredients and mix until just combined. (Don't over-mix.)2 cups all-purpose flour (240 grams), 1 teaspoon baking soda, 1/2 teaspoon kosher salt
- Add the marshmallows and chocolate chips to the bowl and stir with a spatula to combine. 1 ¼ cup mini marshmallows, 1 cup chocolate chips
- Use your hands to drop the cookie mixture onto the par-baked crust, carefully so that the crust stays in tact. No need to spread all the way to the corners as the cookies will spread as it bakes!
Bake.
- Bake on 350 degrees for 20 minutes, remove pan from oven, add the chocolate bar (in pieces), a few more marshmallows, and a couple tablespoons of reserved graham cracker crumbs. Place back in the oven and bake for another 8-10 minutes.1.55 oz. milk chocolate bar, plus a few more marshmallows for the top
- Remove pan and let the bars sit for 10 minutes. Then use the parchment paper to carefully lift them out of the pan on to a cooling rack. Slice and enjoy!
- If you like a firmer bar, feel free to bake for longer. We like them ooey gooey!
Notes
- Using a graham cracker crust is worth the extra step. That buttery crust will not go unnoticed! And reserving some crumbs for the tops is 10/10.
- Set a timer! When baking the cookie layer, make sure you set a timer so you can remove the pan, add more toppings, and continue baking. This is key to the look, and it’s worth it as well.
- Don’t forget to add parchment paper to the pan. This makes it way easier to pull the bars out of the pan without messing them up. You’ll be glad you did!
- Bake to your liking. If you like less gooey, bake these for slightly longer. If you like them gooey, follow my directions. 😀
- Serve with milk or hot chocolate. Depending on the time of year, I suggest you pour either a large glass of milk or a cup of hot cocoa. Super fun!

We ate these at a lake house this summer. So much easier than making s’mores the traditional way! They also were great with a scoop of ice cream on the side!
I appreciate the feedback, Cathy!
You know I LOVE s’mores & these are SO yum!!!
Yay! Thanks for letting me know, Tiffany! 🙂
Smores have come a long way since I was a kid! Love it!